
This missions begins immediately after A Leap in the Dark. After speaking with Priest Entity Nada and others on the Space Anomaly, you should return to space and use the scanner from your Starship to locate the nearest Holo-Terminus.
Speak with -null- at a Holo-Terminus
Although you might expect to meet Apollo again at a Holo-Terminus, once you’ve located a Holo-Terminus and interacted with the terminal at the top, you’ll encounter another entity known only as -null-. This entity will ask you a question regarding the purpose of life, and you can answer with anything you like since the outcome will be the same regardless. -null- will then propose a way to bring Artemis back to life, and they’ll provide you with a blueprint for the Soul Engine and Mind Arc. -null- will then summon a representation of Artemis, from which you can extract something of their essence by speaking with them. After this you can leave the Holo-Terminus and return to the Space Anomaly, where you should speak with Priest Entity Nada and Specialist Polo about what -null- has proposed.
How to Craft the Soul Engine and Mind Arc
Visit a Red Star System for Cadmium
After speaking with the inhabitants of the Space Anomaly, you’ll need to craft the Soul Engine and Mind Arc to continue with the quest. The Soul Engine requires 3 Metal Plating, 1 Living Pearl, and 120 Cadmium to craft. You can find Living Pearls by killing creatures with armoured shells, some variant of which can be found on most planets, but you may need to travel to a few before you find a relevant creature such as the Armoured Clam. The item that you may have most difficulty finding here is the Cadmium, especially if you haven’t visited a red star system yet. If this is the case, you’ll first need to install the Cadmium Drive Hyperdrive module for the Starship, which will allow you to warp to red star systems. To learn more about this and other Starship modules, see our page on How to Upgrade the Starship and Living Ships.
Once you’re in a red star system, you can scan each planet that you encounter and look for whether it has Cadmium listed as a primary resource. If it does, all you need to do is land on the planet and use the Analysis Visor to locate a Cadmium resource deposit. You can then use the Terrain Manipulator to extract the Cadmium. When you have all the materials listed above, you can craft the Soul Engine and then focus on acquiring the remaining materials for a Mind Arc, which requires 3 Glass, 3 Wiring Loom, and the Soul Engine. The Wiring Loom can be acquired from most merchants or from a Galactic Trade Terminal. You may be able to find some glass in the same way, but if not you can craft it using Frost Crystal, or refine it from Silicate Powder or Cyto-Phosphate and Salt.
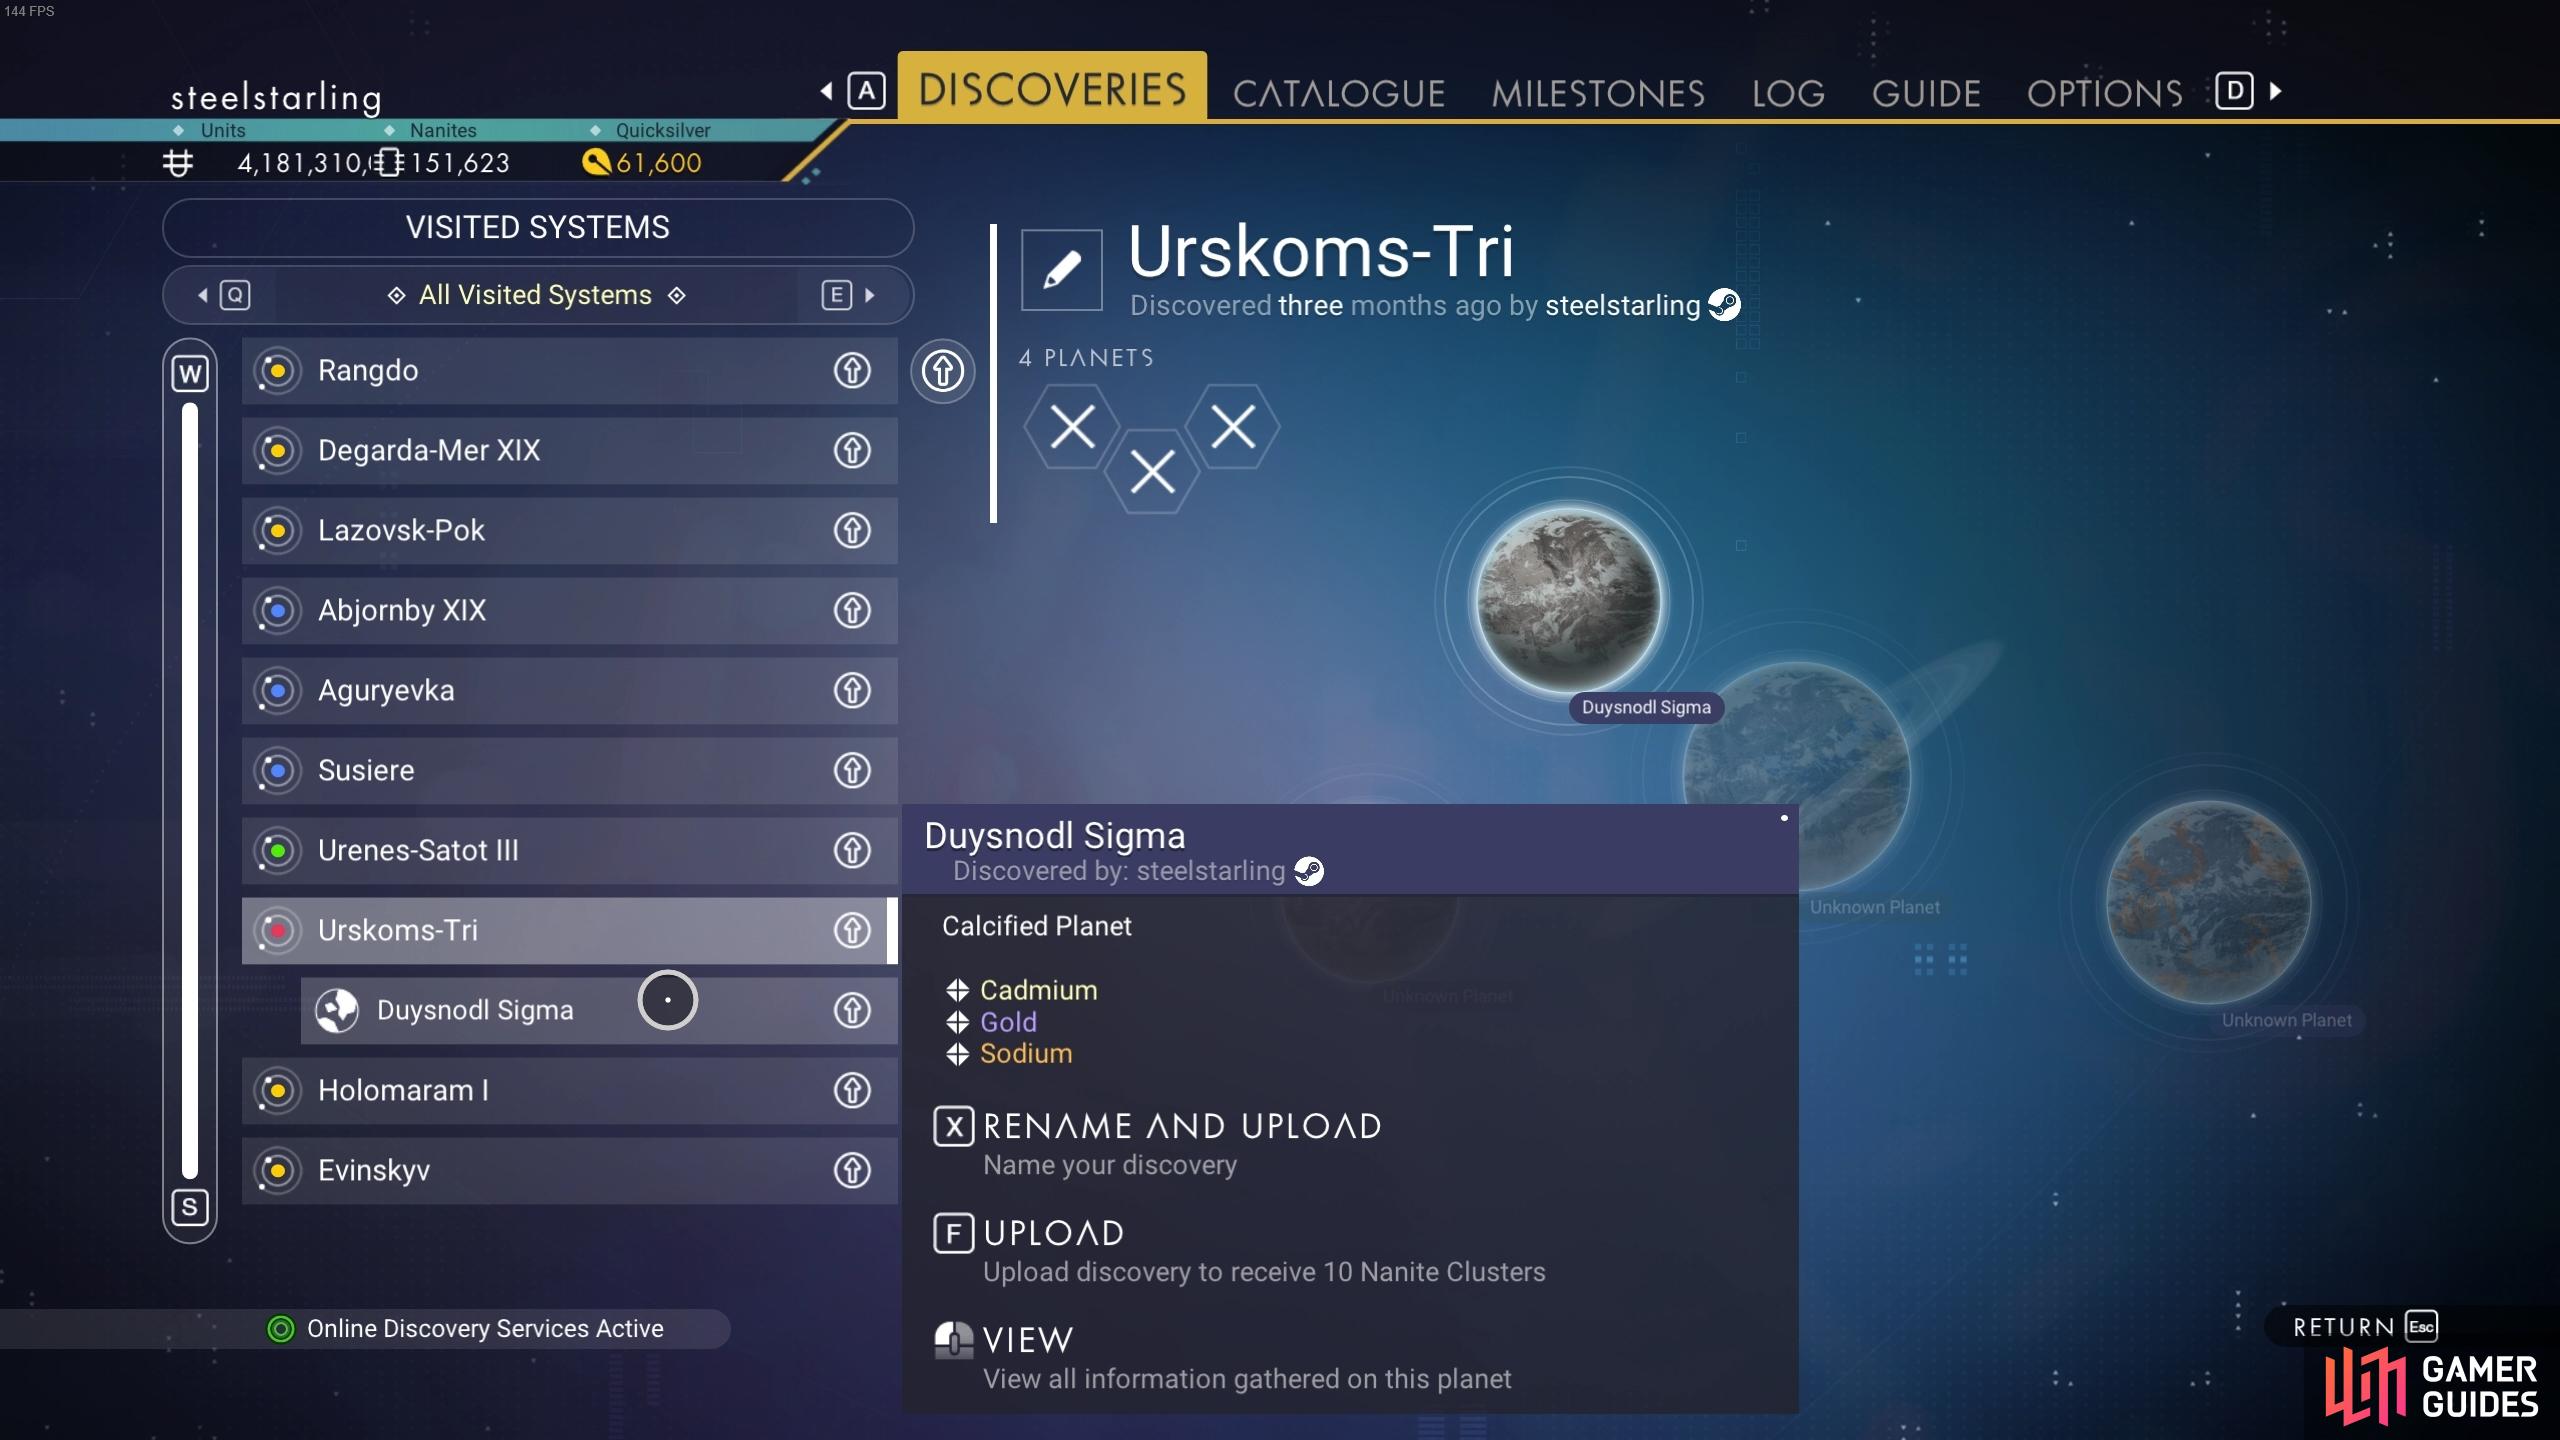
(1 of 3) You can check your discoveries tab for any systems and planets with Cadmium present.
Speak with Priest Entity Nada and Specialist Polo on the Space Anomaly
However you do it, once you’ve crafted the Mind Arc you can return to a Holo-Terminus (scanning for one from the Starship if you don’t already have one marked on the mission objective) and speak with -null- again. There will be a series of dialogue options before you’re prompted to return to the Space Anomaly. Here you can speak with Priest Entity Nada and Specialist Polo about the plan that -null- has suggested in terms of using the Mind Arc to “revive” Artemis. Priest Entity Nada will inform you that this cannot really be done, and that the only way to bring Artemis back is by placing his essence inside a simulation. This comes with its own consequences and risks bringing misery to what remains of Artemis, so the alternative option is to avoid this risk altogether by allowing them to die.
Upload Artemis or Allow Artemis to Die?
After speaking with both Priest Entity Nada and Specialist Polo, you’ll unlock a new part of the Space Anomaly which contains a Korvax Simulation Terminal. This is located just to the right of the large teleport module on board the Space Anomaly. Once inside, you can interact with the terminal and consider the fate of Artemis.
What Happens if You Upload Artemis
If you choose to upload what remains of Artemis to the Korvax Simulation, you will be able to speak with him again periodically throughout the remainder of the main story missions. These won’t be particularly significant conversations, but you’ll have the option to tell him the truth about what you’ve done to his remaining consciousness. Alternatively, you can lie to him and give him the impression that you will soon be able to meet him. He may be happier with the latter option, but the dialogue is more interesting if you choose the former.
What Happens if You Allow Artemis to Die
If you choose to allow Artemis to die rather than upload what remains of him to the Korvax Simulation, you won’t hear from or speak with him again throughout the main missions. Priest Entity Nada and Specialist Polo will understand your decision regardless of what you choose to do, and in truth the implications of your decision aren’t particularly significant. The only thing that will change is whether you’re able to contact Artemis again throughout the main missions. As there are no real-world consequences here, you should do whatever feels right to you.
Potential Fix for The First Traveller: Korvax Simulation Terminal Bug
How to Charge Glyphs to Activate the Portal
Once you’ve made your decision regarding Artemis, you’ll need to return to space and contact Apollo from your Starship so that you can inform him of what has transpired. You’ll then need to use the scanner from the Starship to mark the location of a nearby Monolith. This will provide you with more glyphs which can be used to activate a Portal. The location of a Portal will be marked as the next objective once you’ve interacted with the Monolith.
To charge the portal, you’ll need the following materials, each of which will charge four glyphs:
- Sodium or Sodium Nitrate
- Carbon, Condensed Carbon, or Oxygen
- Di-hydrogen, Deuterium, Cobalt, Ionised Cobalt, or Salt
- Copper, Cadmium, Emeril, Indium, or Activated Copper
Should You Transmit Glyphs to Apollo?
Make sure you have enough of each material or its alternatives before you reach the Portal. After establishing the address, you can scan to locate a Holo-Terminus (try doing this from your Starship if it doesn’t work on the planet surface). Once you interact with the terminal you’ll encounter Apollo again, and you’ll need to decide whether you want to transmit the glyphs to him or not. In truth, it doesn’t matter much in terms of real-world consequences whether you do transmit the glyphs or whether you refuse to do so. However, Apollo will be hurt if you choose not to, and you’ll have a slightly different conversation with the Atlas Interface later on.
Investigate the Crashed Freighter
After your encounter with Apollo, you’ll need to return to space and speak with Priest Entity Nada and Specialist Polo on board the Space Anomaly. This will give you an opportunity to inform them about what has ocurred with Apollo, more specifically the plan to contact the entity named -null- again. When you speak with -null- they will ask you to help by investigating what might be happening to the Atlas, and you’ll have to agree to this in order to continue with the mission.
The first thing -null- asks you to do is visit a nearby Observatory. You’ll need to use the scanner on your Starship to mark the location, then visit it and interact with the terminal inside. The terminal will direct you to the site of a crashed Freighter, which you must now find and explore for clues. The location of the Freighter should already be marked on your compass. When you arrive at the site, be sure to loot all that you can from the containers locked behind some of the destructible doors. You’ll soon discover that the logs from the distress beacon are encrypted, and you’ll need some Log Encryption Keys to unlock them. You’ll need 3 keys in total, and these can be found by looting nearby Cargo Pods. You can use the Analysis Visor to locate them if necessary.
What Happens if You Tell Artemis the Truth or Lie?
Once you’ve used the keys to decrypt the distress beacon logs, you can return to your Starship and enter space. At this point, you’ll be contacted by Artemis from the Korvax Simulation if you chose not to allow him to die earlier. You’ll be faced with two options when speaking with Artemis: tell them the truth about what you’ve done to by placing what remains of them in the Korvax Simulation, or lie to them. Artemis won’t like to hear that he’s living in a fabricated reality, but he’ll be comforted if you lie to him. The choice here is entirely based on your own preference, as it doesn’t have any major implications outside of dialogue going forward.
If you placed Artemis in the Korvax Similation, you’ll need to return to the Space Anomaly to inform Priest Entity Nada and Specialist Polo about the conversation you’ve had, regardless of whether you now lied to him or told him the truth. After this, you can return to a Holo-Terminus (use the scanner from the Starship to locate one if necessary), then speak with -null- once more. Here you will inform -null- about the distress beacon from the crashed Freighter, and the mission will end when the conversation is done.
No Comments