
White Orchard is the prologue area in The Witcher 3, in many ways a tutorial for when the game later opens up, but if White Orchard is a lesson, it’s often a harsh one, and CDPRojekt clearly believes that you should learn by doing. That being the case, aside from the low level of enemies in the area and the odd tutorial box, what you’ll do in White Orchard mirrors the gameplay that awaits you further in the game, just on a smaller scale, and like most things in The Witcher 3, what you get out of White Orchard depends on how much initiative you show. There are plenty of optional quests, witcher contracts, points of interest, map markers, and all the attendant loot and EXP that comes with these things that you’re free to peruse or ignore at your leisure. Open worlds can intimidate some players, so this page will break down all the optional content in White Orchard.
White Orchard Activities
Play Until You Start The Beast of White Orchard
You’ve a lot of freedom throughout most of The Witcher 3, and can, at a whim, veer off the beaten path in search of adventure. That said, the game does try to keep you on rails a little bit at the start, and it’s best to just follow the narrative during the quest Lilac and Gooseberries… at least for a while, as this will introduce you to things like horse riding, sign posts and fast travel, using the ![]() Axii sign in dialogue, Gwent, fist-fighting, notice boards, and it’ll take you to the town of White Orchard where you’ll find the odd merchant and your storage chest - all useful things to have at least a rudimentary understanding of. That being the case, it’s recommended you advance the main questline until the quest The Beast of White Orchard starts, to provide a firm grasp of the fundamentals before you start turning your attention to secondary quests and far-flung map markers.
Axii sign in dialogue, Gwent, fist-fighting, notice boards, and it’ll take you to the town of White Orchard where you’ll find the odd merchant and your storage chest - all useful things to have at least a rudimentary understanding of. That being the case, it’s recommended you advance the main questline until the quest The Beast of White Orchard starts, to provide a firm grasp of the fundamentals before you start turning your attention to secondary quests and far-flung map markers.
Advance the main questline until you unlock The Beast of White Orchard, at which point you can explore White Orchard at your leisure.
Earn Ability Points, New Weapons and EXP
White Orchard is a pretty small area, as far as regions in The Witcher 3 go, but there’s still plenty to do. Your absolute first step - aside from advancing the main questline until ![]() The Beast of White Orchard begins and reading the notice board in town - should be to get stronger. This will make every other task easier to complete, and there are three ways to get stronger in White Orchard:
The Beast of White Orchard begins and reading the notice board in town - should be to get stronger. This will make every other task easier to complete, and there are three ways to get stronger in White Orchard:
- Meditate at Places of Power
- Obtain the Viper School Swords
- Gain more EXP by completing Secondary Quests and Witcher Contracts
Places of Power
There are six Places of Power in White Orchard and at a glance they’re nothing special. Many of them are guarded by some beastie or another, including ![]() Ghouls,
Ghouls, ![]() Wraiths and the odd Bear. While worth a bit of EXP on their own, the real draw of claiming a Place of Power is the bonus Ability Point you gain each time you meditate at one for the first time. That’s six Ability Points just waiting to be claimed, and since you’ll likely only hit Lv3 by the time you’re nearing the end of White Orchard, Places of Power will account for the majority of your Ability Points. This is especially crucial in Death March! difficulty, as more Ability Points invariably means a stronger
Wraiths and the odd Bear. While worth a bit of EXP on their own, the real draw of claiming a Place of Power is the bonus Ability Point you gain each time you meditate at one for the first time. That’s six Ability Points just waiting to be claimed, and since you’ll likely only hit Lv3 by the time you’re nearing the end of White Orchard, Places of Power will account for the majority of your Ability Points. This is especially crucial in Death March! difficulty, as more Ability Points invariably means a stronger ![]() Quen sign, which will greatly improve your survivability.
Quen sign, which will greatly improve your survivability.
Find the Viper School Swords
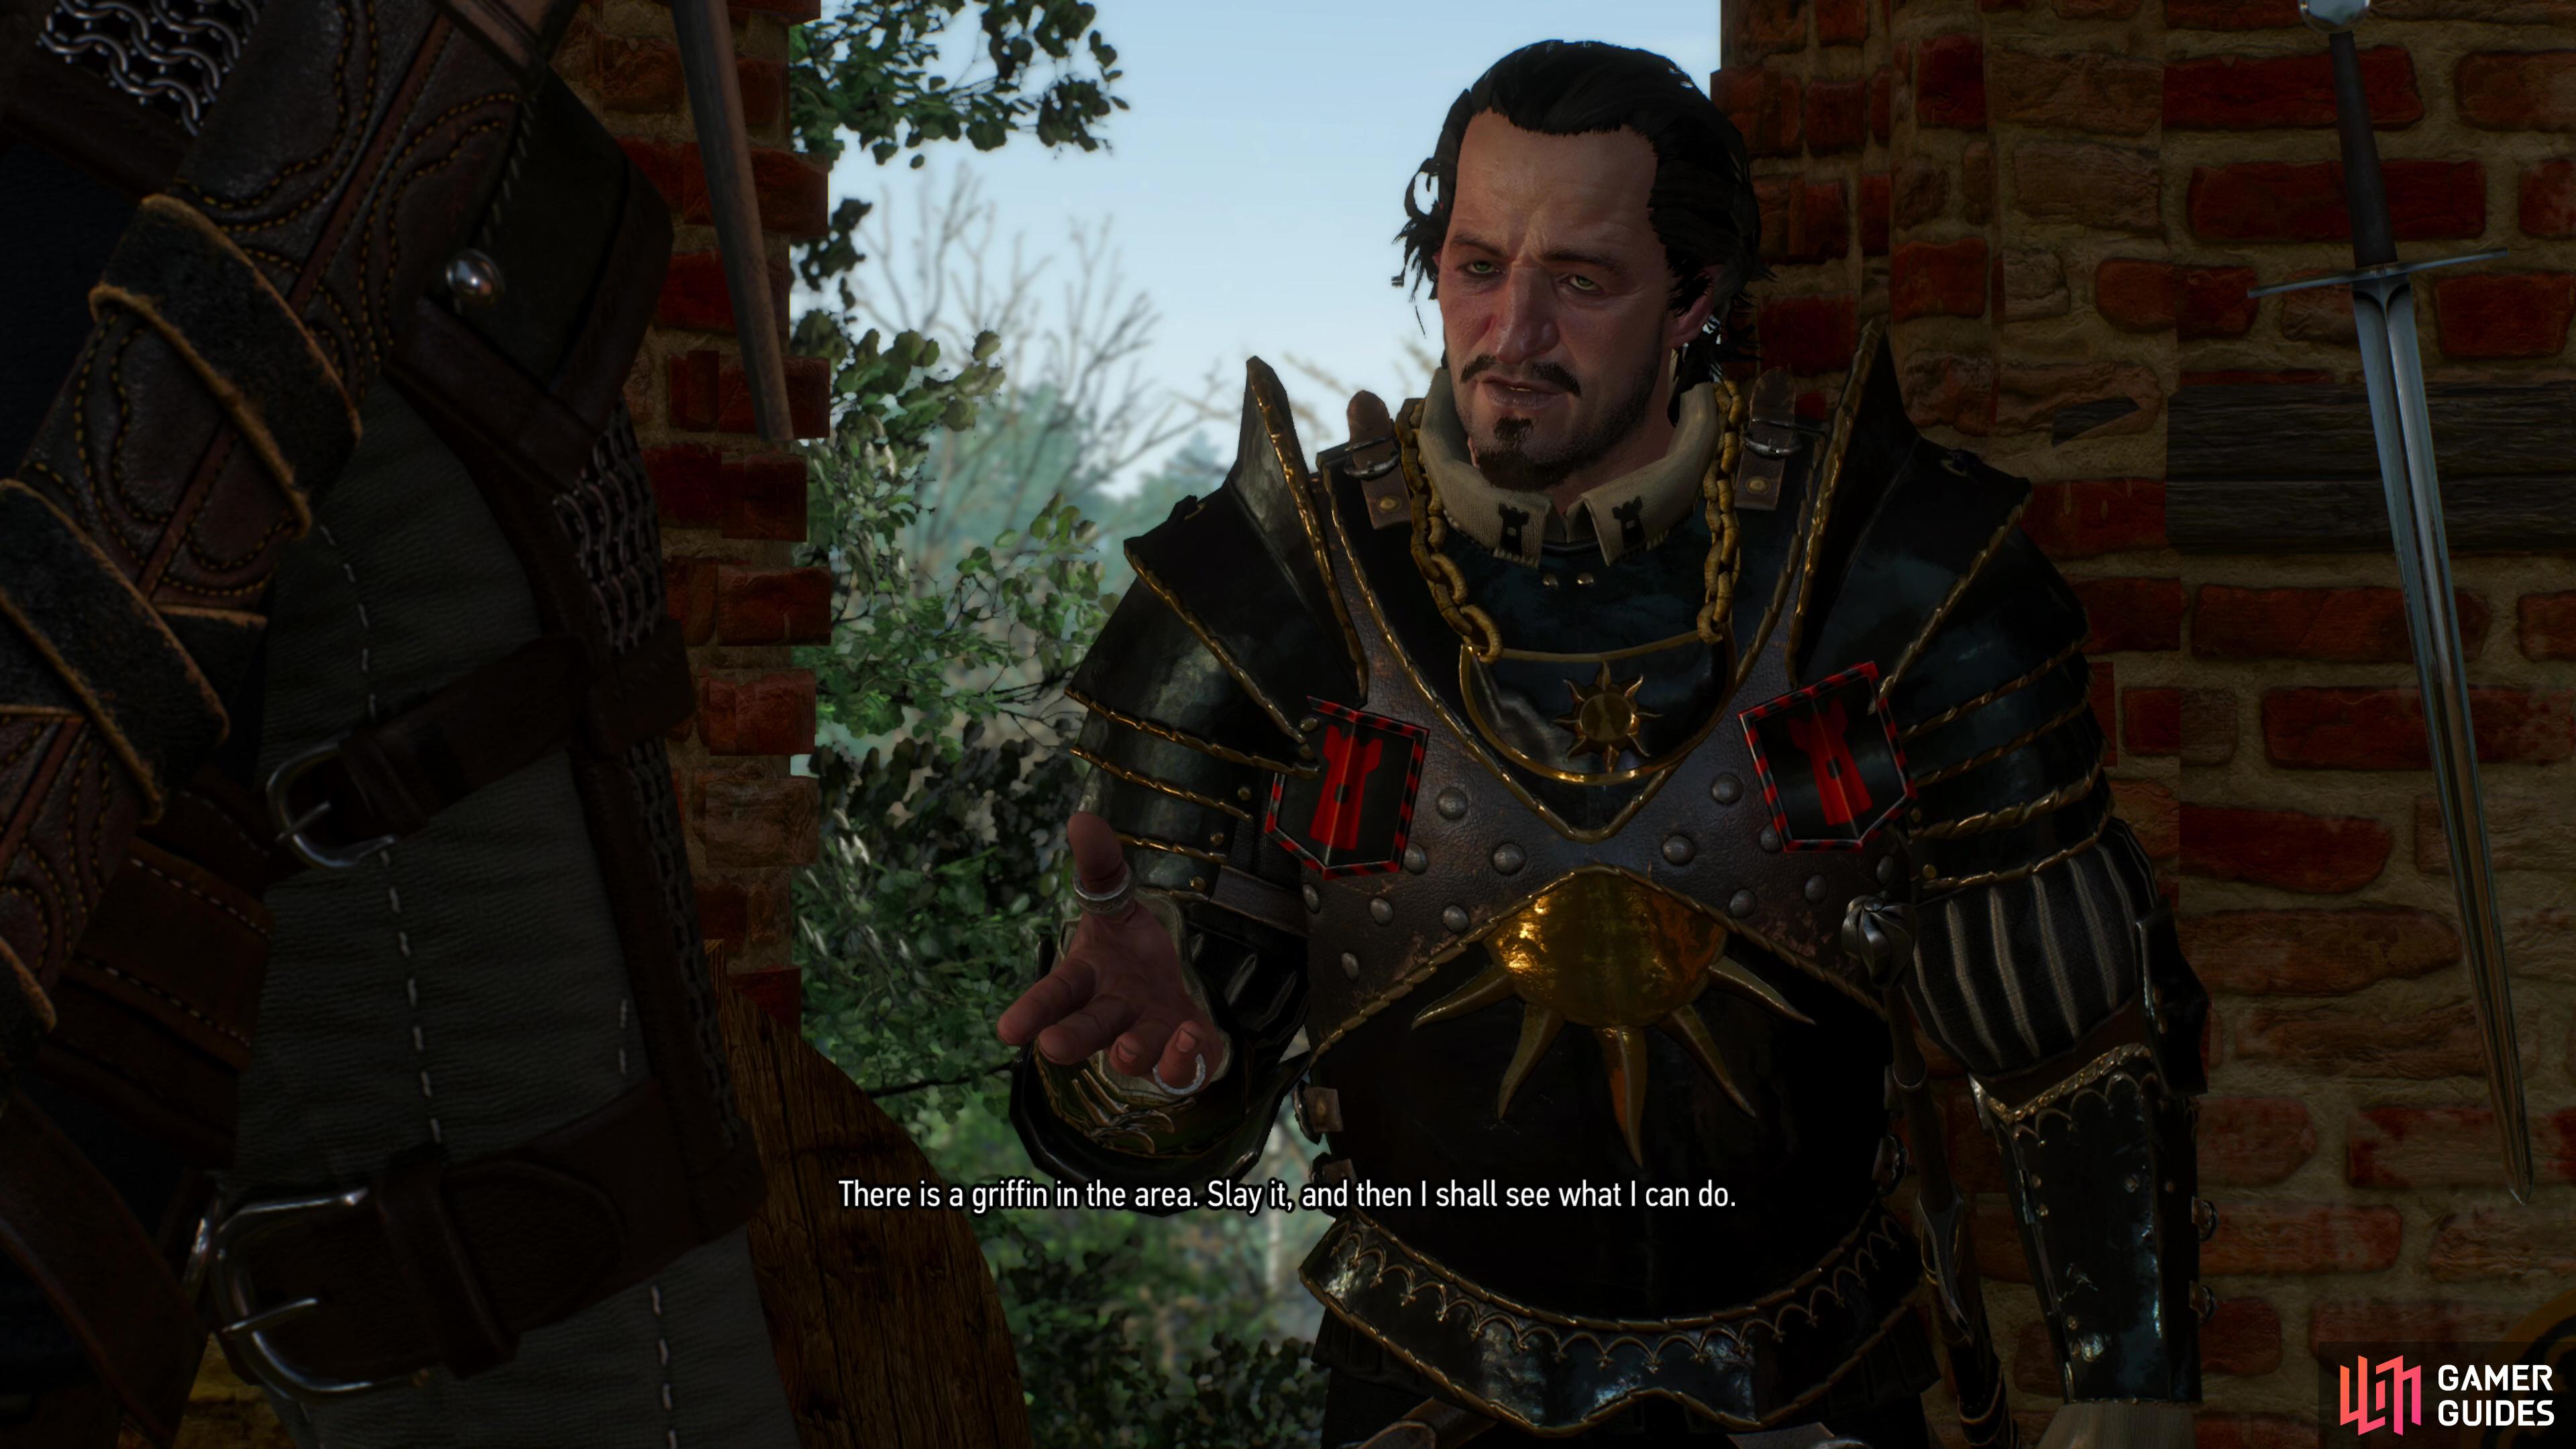
You’ll likely find numerous new swords as you explore White Orchard, but finding new Witcher set weapons generally constitutes a great increase in damage output far beyond what you’ll get by pulling weapons out of random chests. This is a trend that will continue throughout the game, but dropping your initial swords for the Viper Steel Sword and Viper Silver Sword will arguably do more for your damage output than anything else you can do in White Orchard. It doesn’t hurt that the diagram for the Viper ![]() Silver Sword can be found while claiming one of the aforementioned Places of Power.
Silver Sword can be found while claiming one of the aforementioned Places of Power.


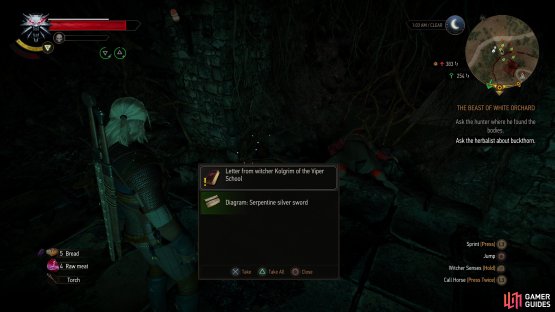
(1 of 2) Meditate at new Places of Power to permanently gain Ability Points,
Meditate at new Places of Power to permanently gain Ability Points, (left), and hunt down the Viper School Swords to improve your damage output. (right)
Complete Secondary Quests and Witcher Contracts
Few things give you less EXP in The Witcher 3 than killing enemies, oddly enough, but this is offset by the great amounts of EXP you gain by completing quests. Most of the EXP you’ll earn in White Orchard will come from advancing main quests, but there are a few secondary quests - especially On Death’s Bed that give a bit of EXP, ![]() Crowns and/or other rewards. A list of all the secondary quests in White Orchard can be found below:
Crowns and/or other rewards. A list of all the secondary quests in White Orchard can be found below:
Secondary Quests and Witcher Contracts in White Orchard
| Secondary Quests and Witcher Contracts |
|---|
| Missing in Action |
| Twisted Firestarter |
| Precious Cargo |
| A Frying Pan, Spick and Span |
| On Death’s Bed |
| Devil By the Well |
White Orchard Exploration
With a boatload of Ability Points, new weapons (or at least diagrams for them) and a level or two under your belt you’ll be well-equipped to handle the hazards that await you at unexplored map markers. These come in several types, as follows:
Guarded Treasure
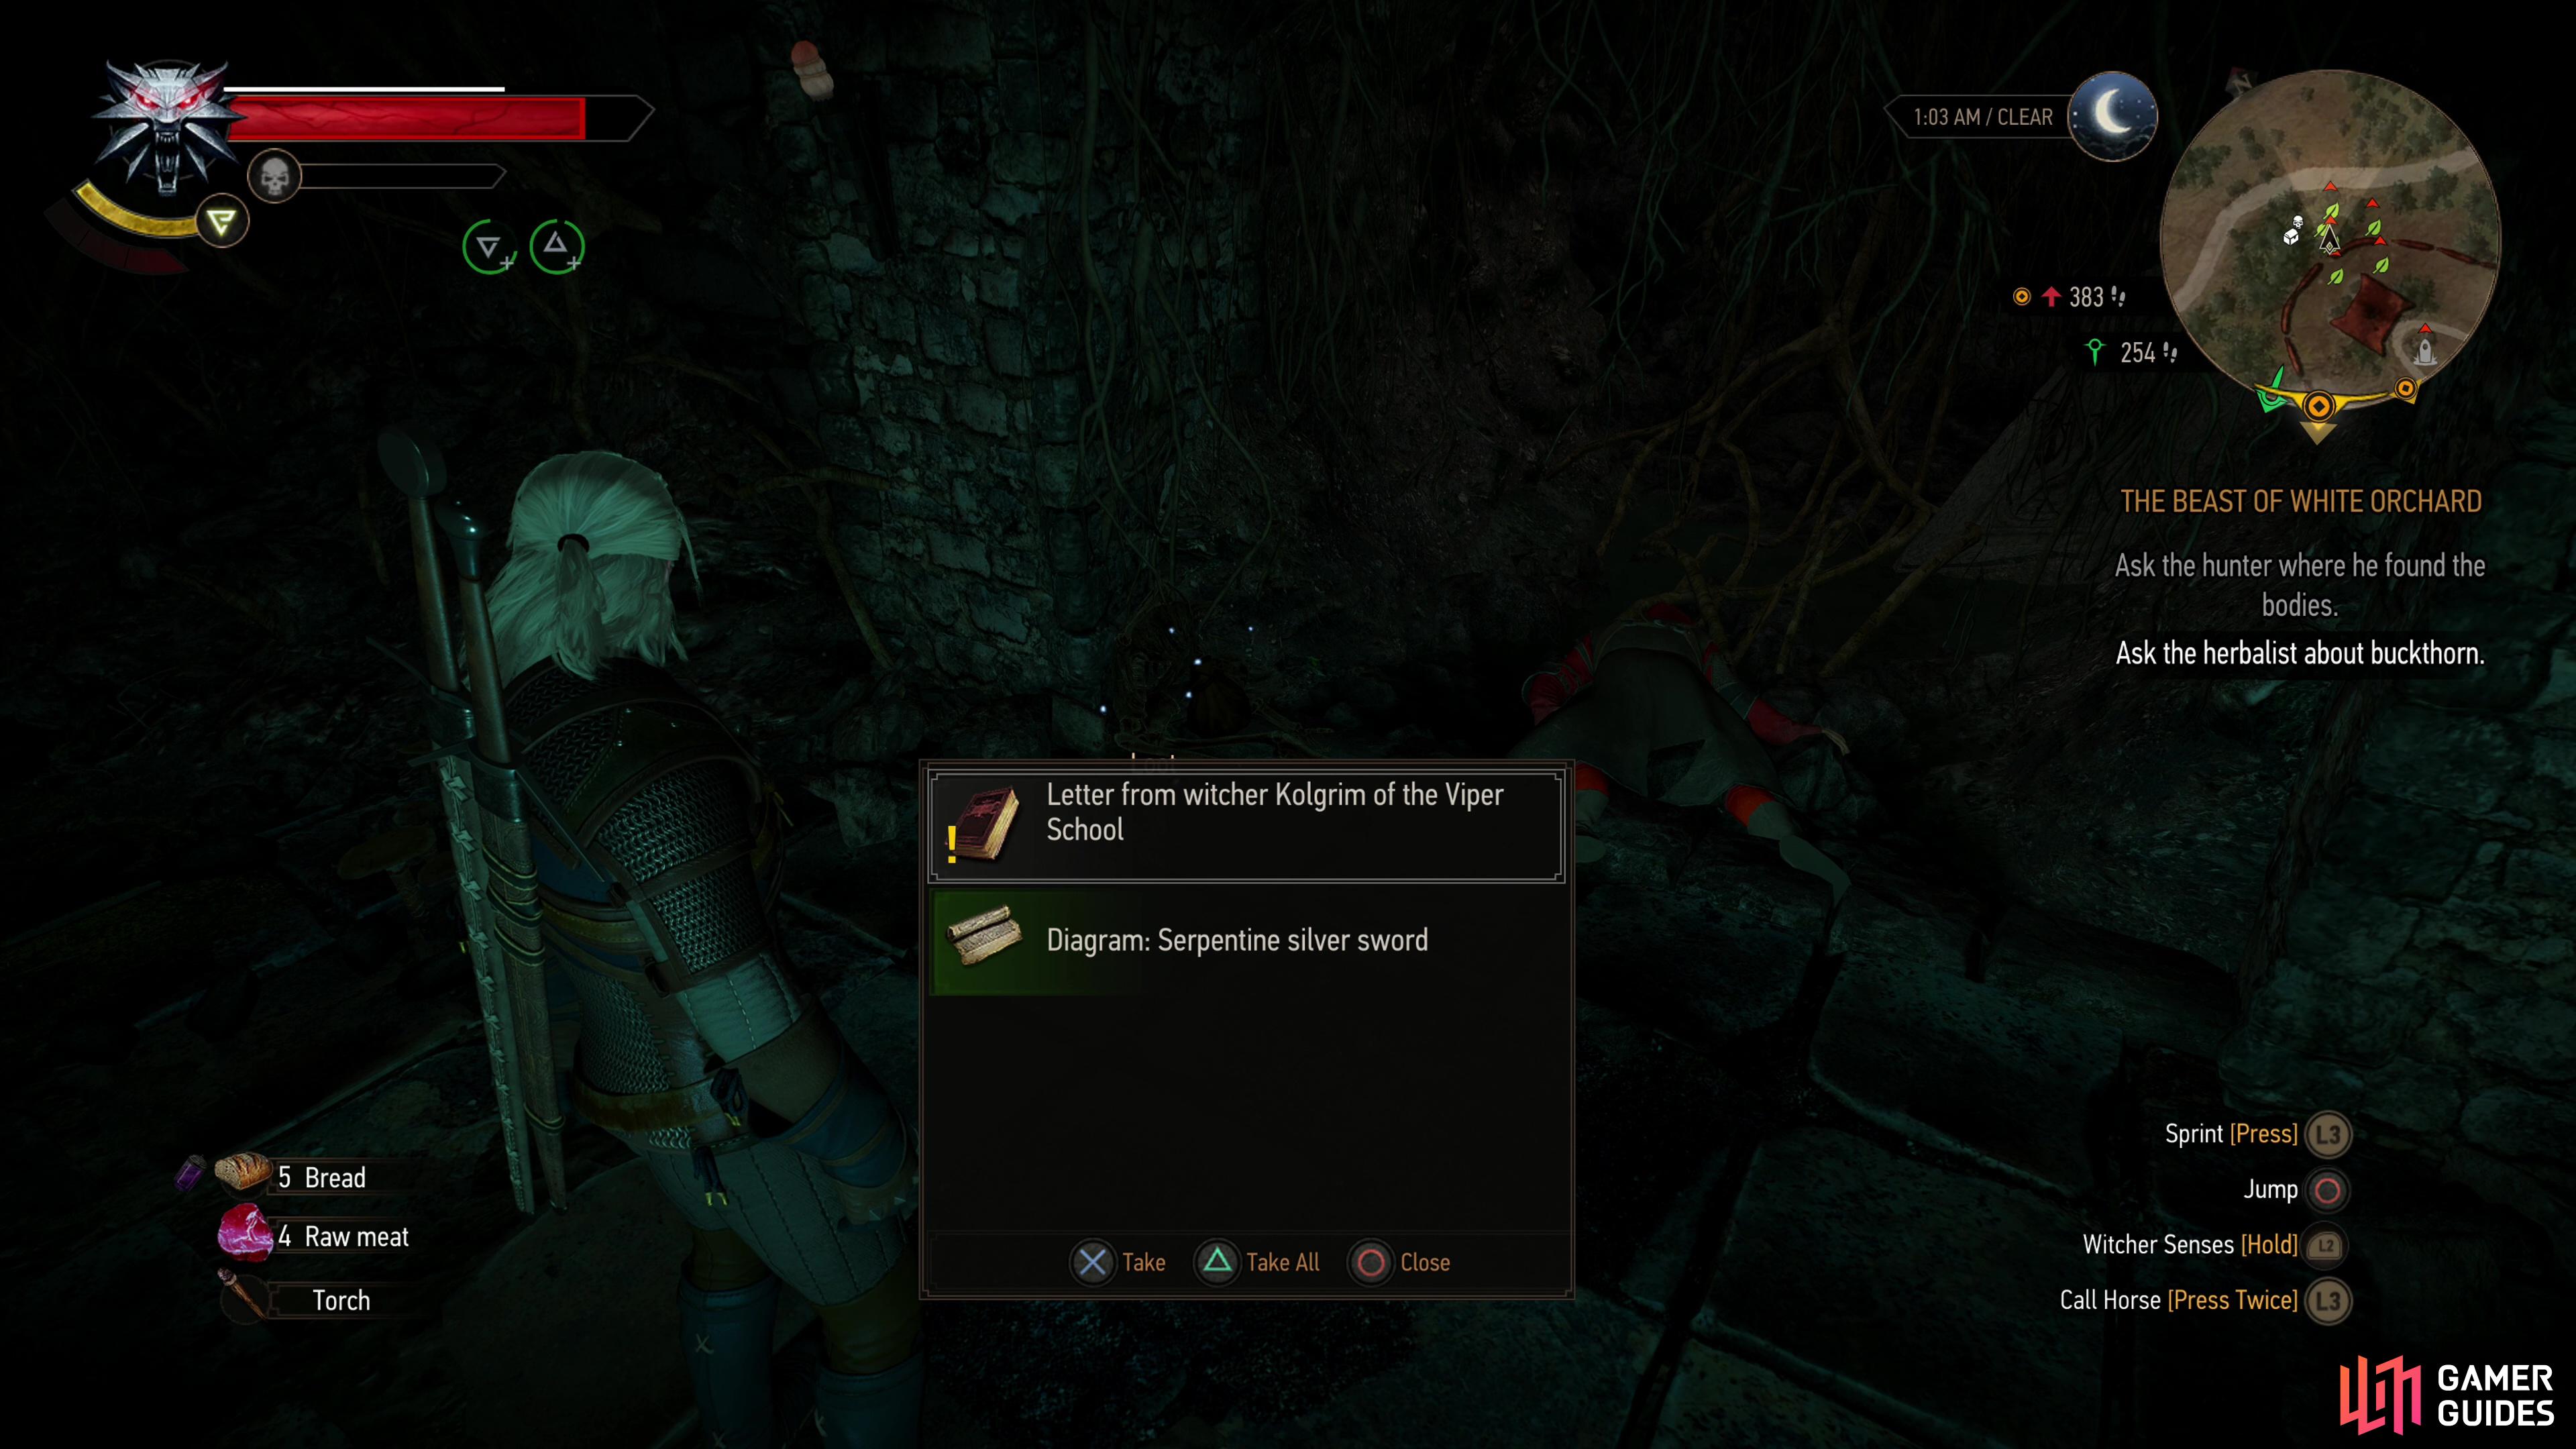
Find some monsters and kill them, then loot the treasure they guard. Very similar to Bandit Camps, but with more diverse enemy potential… although not so much in White Orchard - all four Guarded Treasure events are guarded by ![]() Drowners here.
Drowners here.

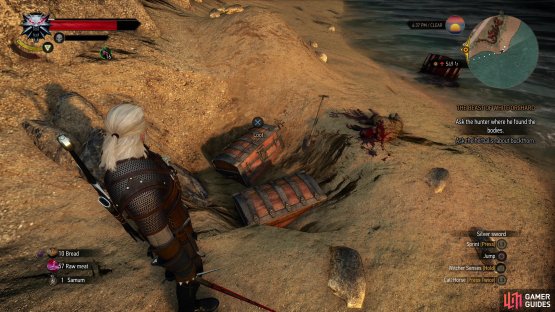
(1 of 2) Kill monsters,
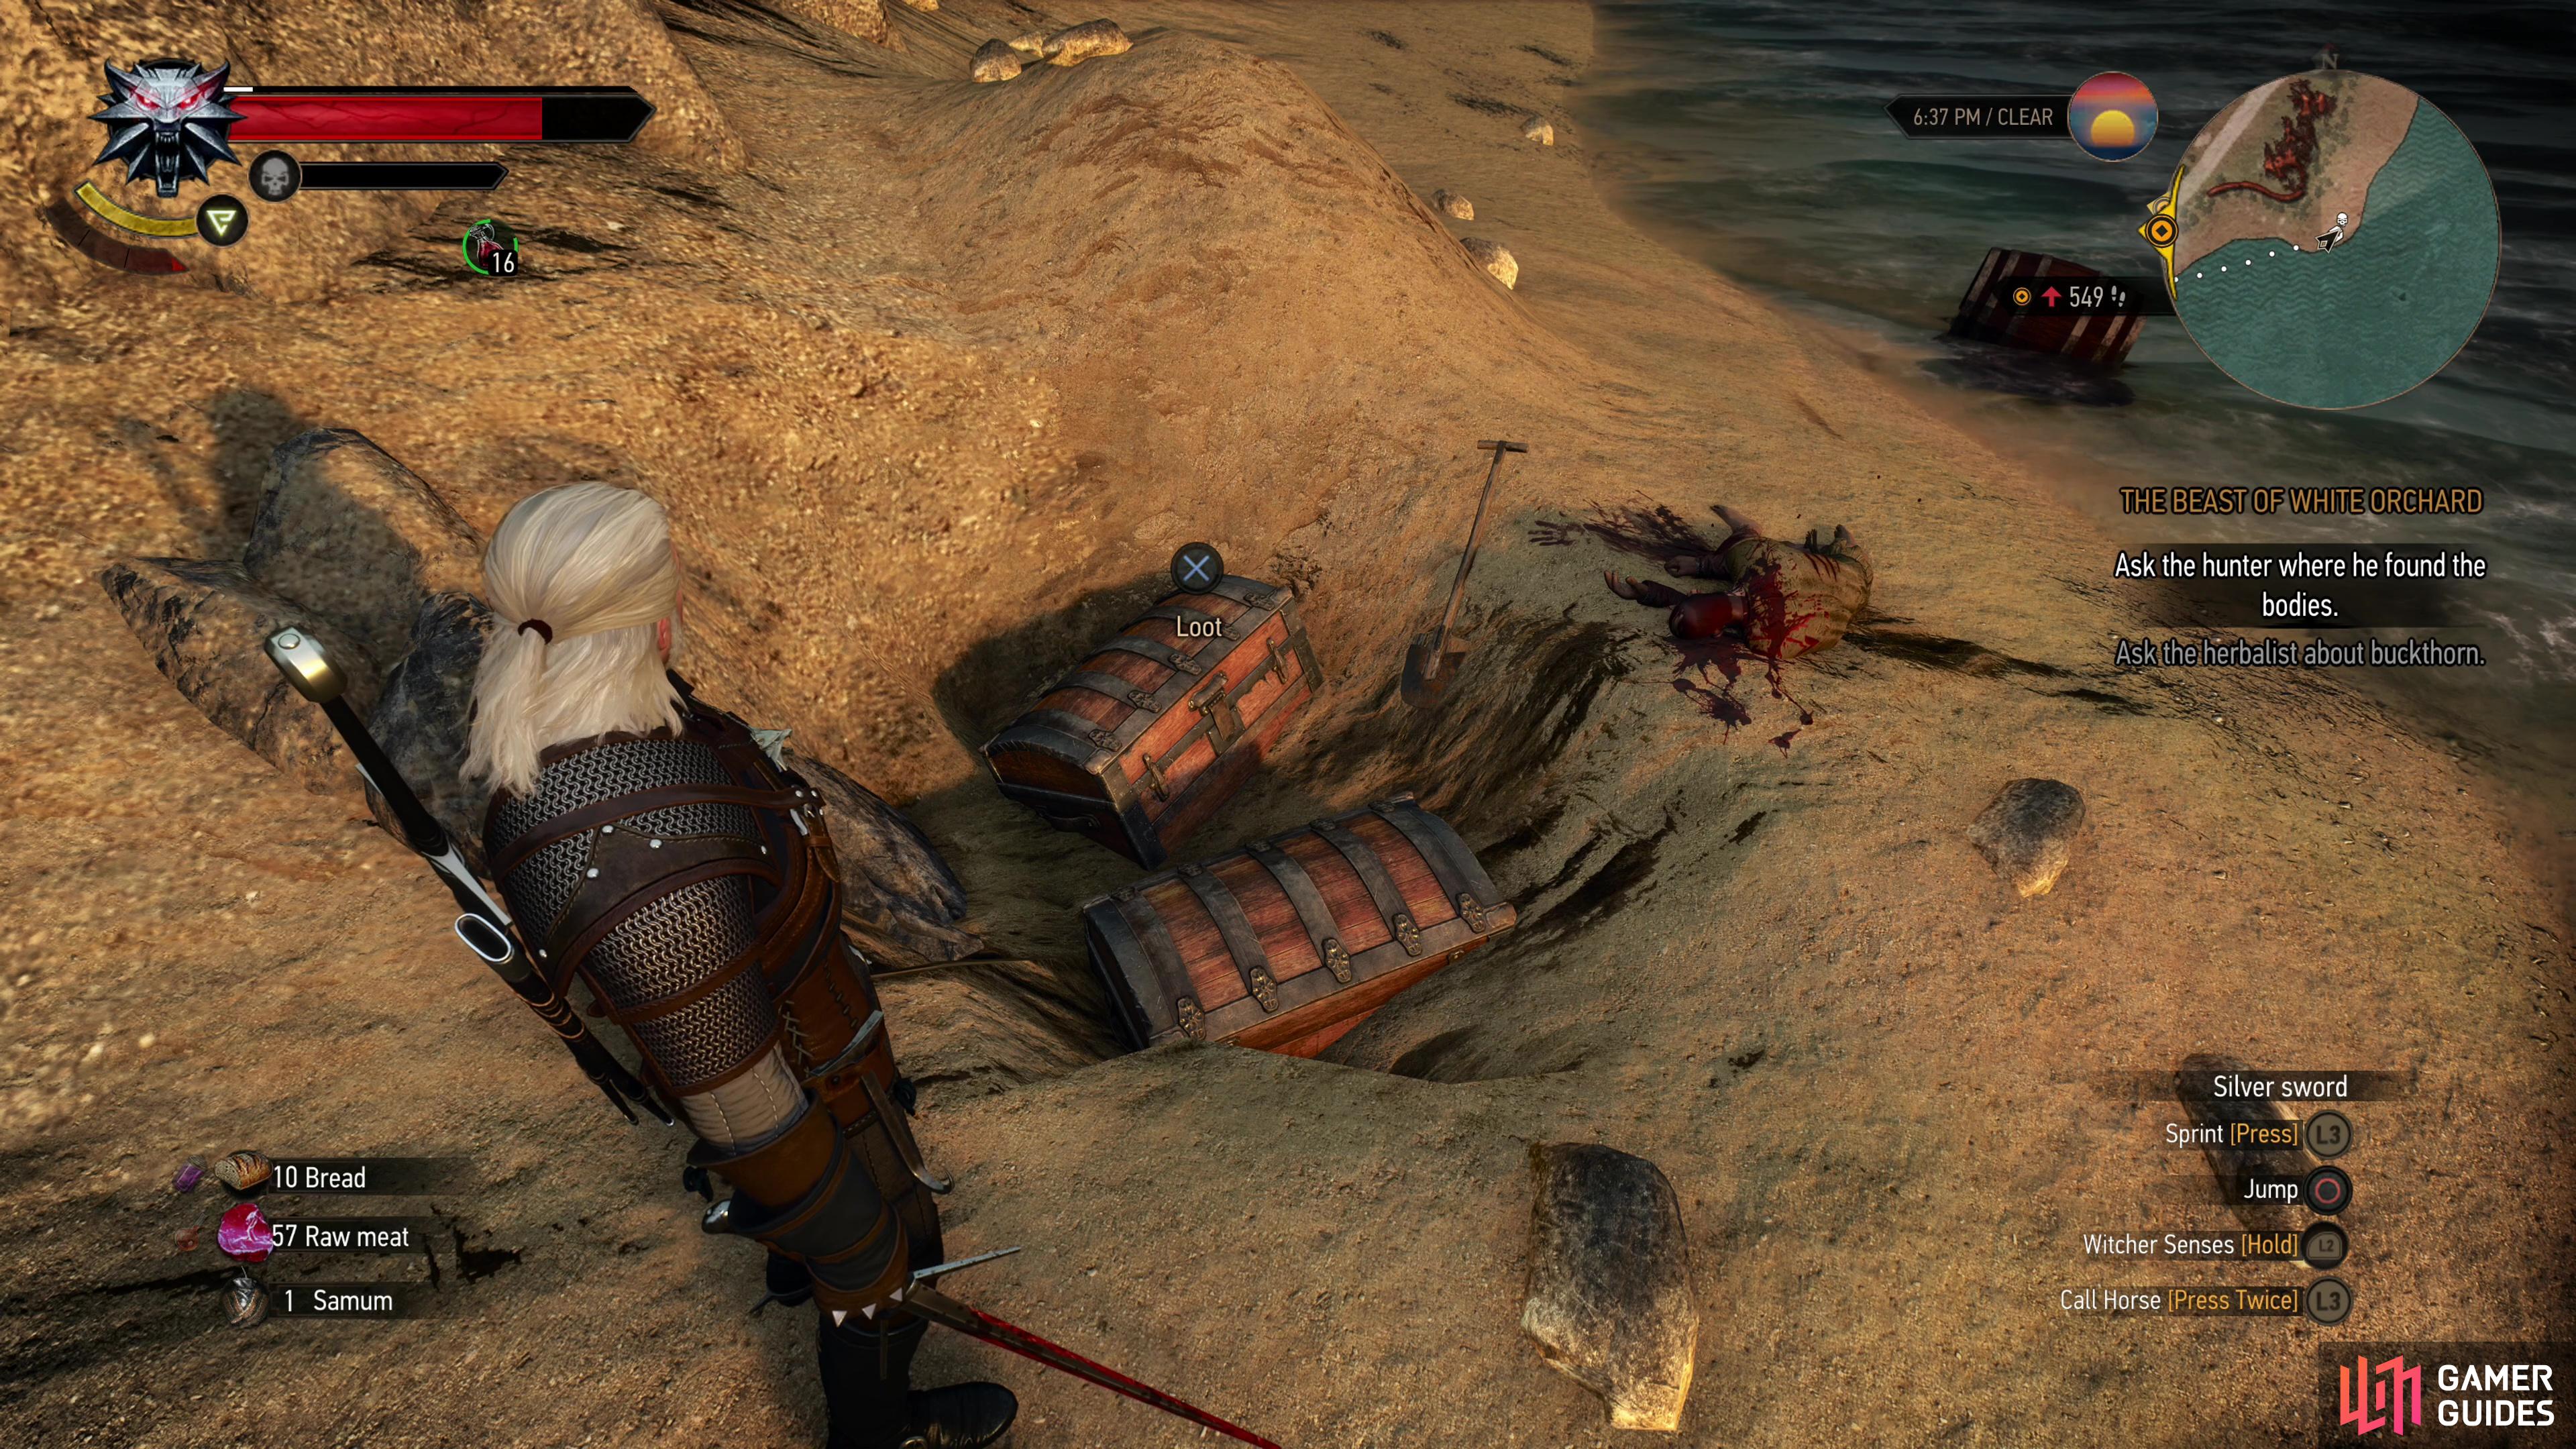
Kill monsters, (left), and steal the treasure they guard - it’s about as honest work as a witcher can find! (right)
Hidden Treasure
Functionally scavenger hunt miniquests that leads to some hidden and/or locked container or another. There are three of these in the White Orchard area, but two of them lead to the same cache of loot, oddly enough.
Monster Nests
Kill the monsters around the nest, then drop a bomb in it to remove the infestation for good. There are three ![]() Monster Nests in White Orchard and they’re all inhabited by
Monster Nests in White Orchard and they’re all inhabited by ![]() Ghouls. The rewards you’ll pull out of Monster Nests tends to skew more towards monetary (including gems and jewelry) and alchemical (monster bits).
Ghouls. The rewards you’ll pull out of Monster Nests tends to skew more towards monetary (including gems and jewelry) and alchemical (monster bits).

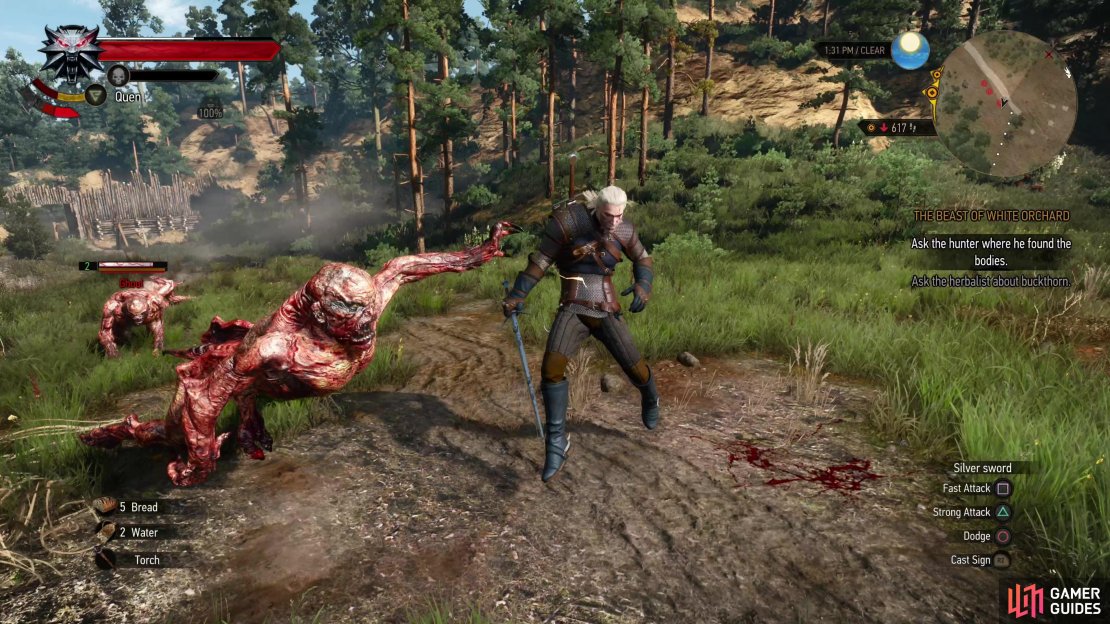


(1 of 3) Kill the monsters outside of the nest,
Abandoned Sites
Head to a location overrun by bandits, beast or monsters, clear it out, and civilization will return. These events differ a bit from the others, as you tend not to get some specific chest full or loot for completing it, but you do get a decent EXP reward. In the case of White Orchard you’ll also unlock new merchants.
Bandit Camps
There are six Bandit Camps littered throughout White Orchard, occupied by enemies armed with bows, single-handed weapons, two-handed weapons, or swords and shields, each of which requires a different strategy to defeat. Aside from the practical experience of defeating bandits - something you’ll be doing a lot of going forward - Bandit Camps tend to have some container (usually a chest) you have to loot in order to complete it.
Follow the links provided on this page and you’ll complete every bit of content in White Orchard, and come out quite a bit stronger because of it. When you’re ready, continue on with the main quest The Beast of White Orchard.
No Comments