
This page covers the St. Ursula Medical College dungeon during the Finale of The Legend of Heroes: Trails from Zero. Details on how to clear the dungeon, find every chest, and details about avoiding monsters for an Achievement.
St. Ursula Medical College is a dungeon in the Finale chapter.
As soon as you arrive at St. Ursula Medical College, it dawns upon the group that something is up. Not only is it too early for the gates to be closed and all of the lights are off in the actual building. Before you have any longer to ponder the current situation, you’ll be ambushed by three Armored Doven Kaisers and two Mafiosos.
The Kaisers are the same as they were before, but the Mafiosos now have a natural regen on their turns and will cure each other if they’re low on HP. That aside, they’re no different than all of the other Mafioso and Kaiser battles so scan both the Pistol and Machete users along with a Kaiser and take them out.
More scenes will follow and eventually you’ll regain control with Yin as a Support Member. Yin is a very powerful character with extremely useful Crafts so you may wish to stick her in your party, alternatively, all members of the SSS are very powerful themselves at this stage of the game. Regardless of your choice, you’ll need to investigate St. Ursula Medical College to determine what is going on and find the missing people.
There’s plenty of optional DP on offer here and the area itself works almost like a dungeon, so keep that in mind as you explore the area.
Exploring St. Ursula Medical College
| Enemy | Lv | Elemental Effectiveness | Drops |
|---|---|---|---|
| Mafioso - Machete | 34 | Teara Balm, Smoke Bomb | |
| Mafioso - Pistol | 34 | Teara Balm, S-Tablet | |
| Armored Doven Kaiser | 34 | Beast Flesh, Reviving Balm | |
| Death Moon | 34 | Antidote, EP Charge II | |
| Octobrain | 34 | Clear Gelatin, Curia Balm |
| Items | Notes |
|---|---|
| Celestial Balm | Restores 2000 HP, cures K.O. |
| Curia Balm | Cures Ailments |
| Scorpio Gem | Chance to critically strike +20%, Chance to poison +20% |
| EP Cut 3 | Arts’ EP cost -15% |
| EP Charge II | Restores 300 EP |
| Stellar Pendulum | Prevents Faint, Sleep, Confusion |
Once you regain control, decide what to do with Yin and then examine the door of the main building to discover that it’s locked. Head into the Le Lectier Inn to the north and you’ll be forced into another battle with the Mafioso. If you scanned the Mafioso and Kaisers during the first battle here, you won’t have to scan any others as they’re all the same (Pistol or Machete). Remember that Randy’s Crash Bomb is excellent here as they’re not resistant to Blind.
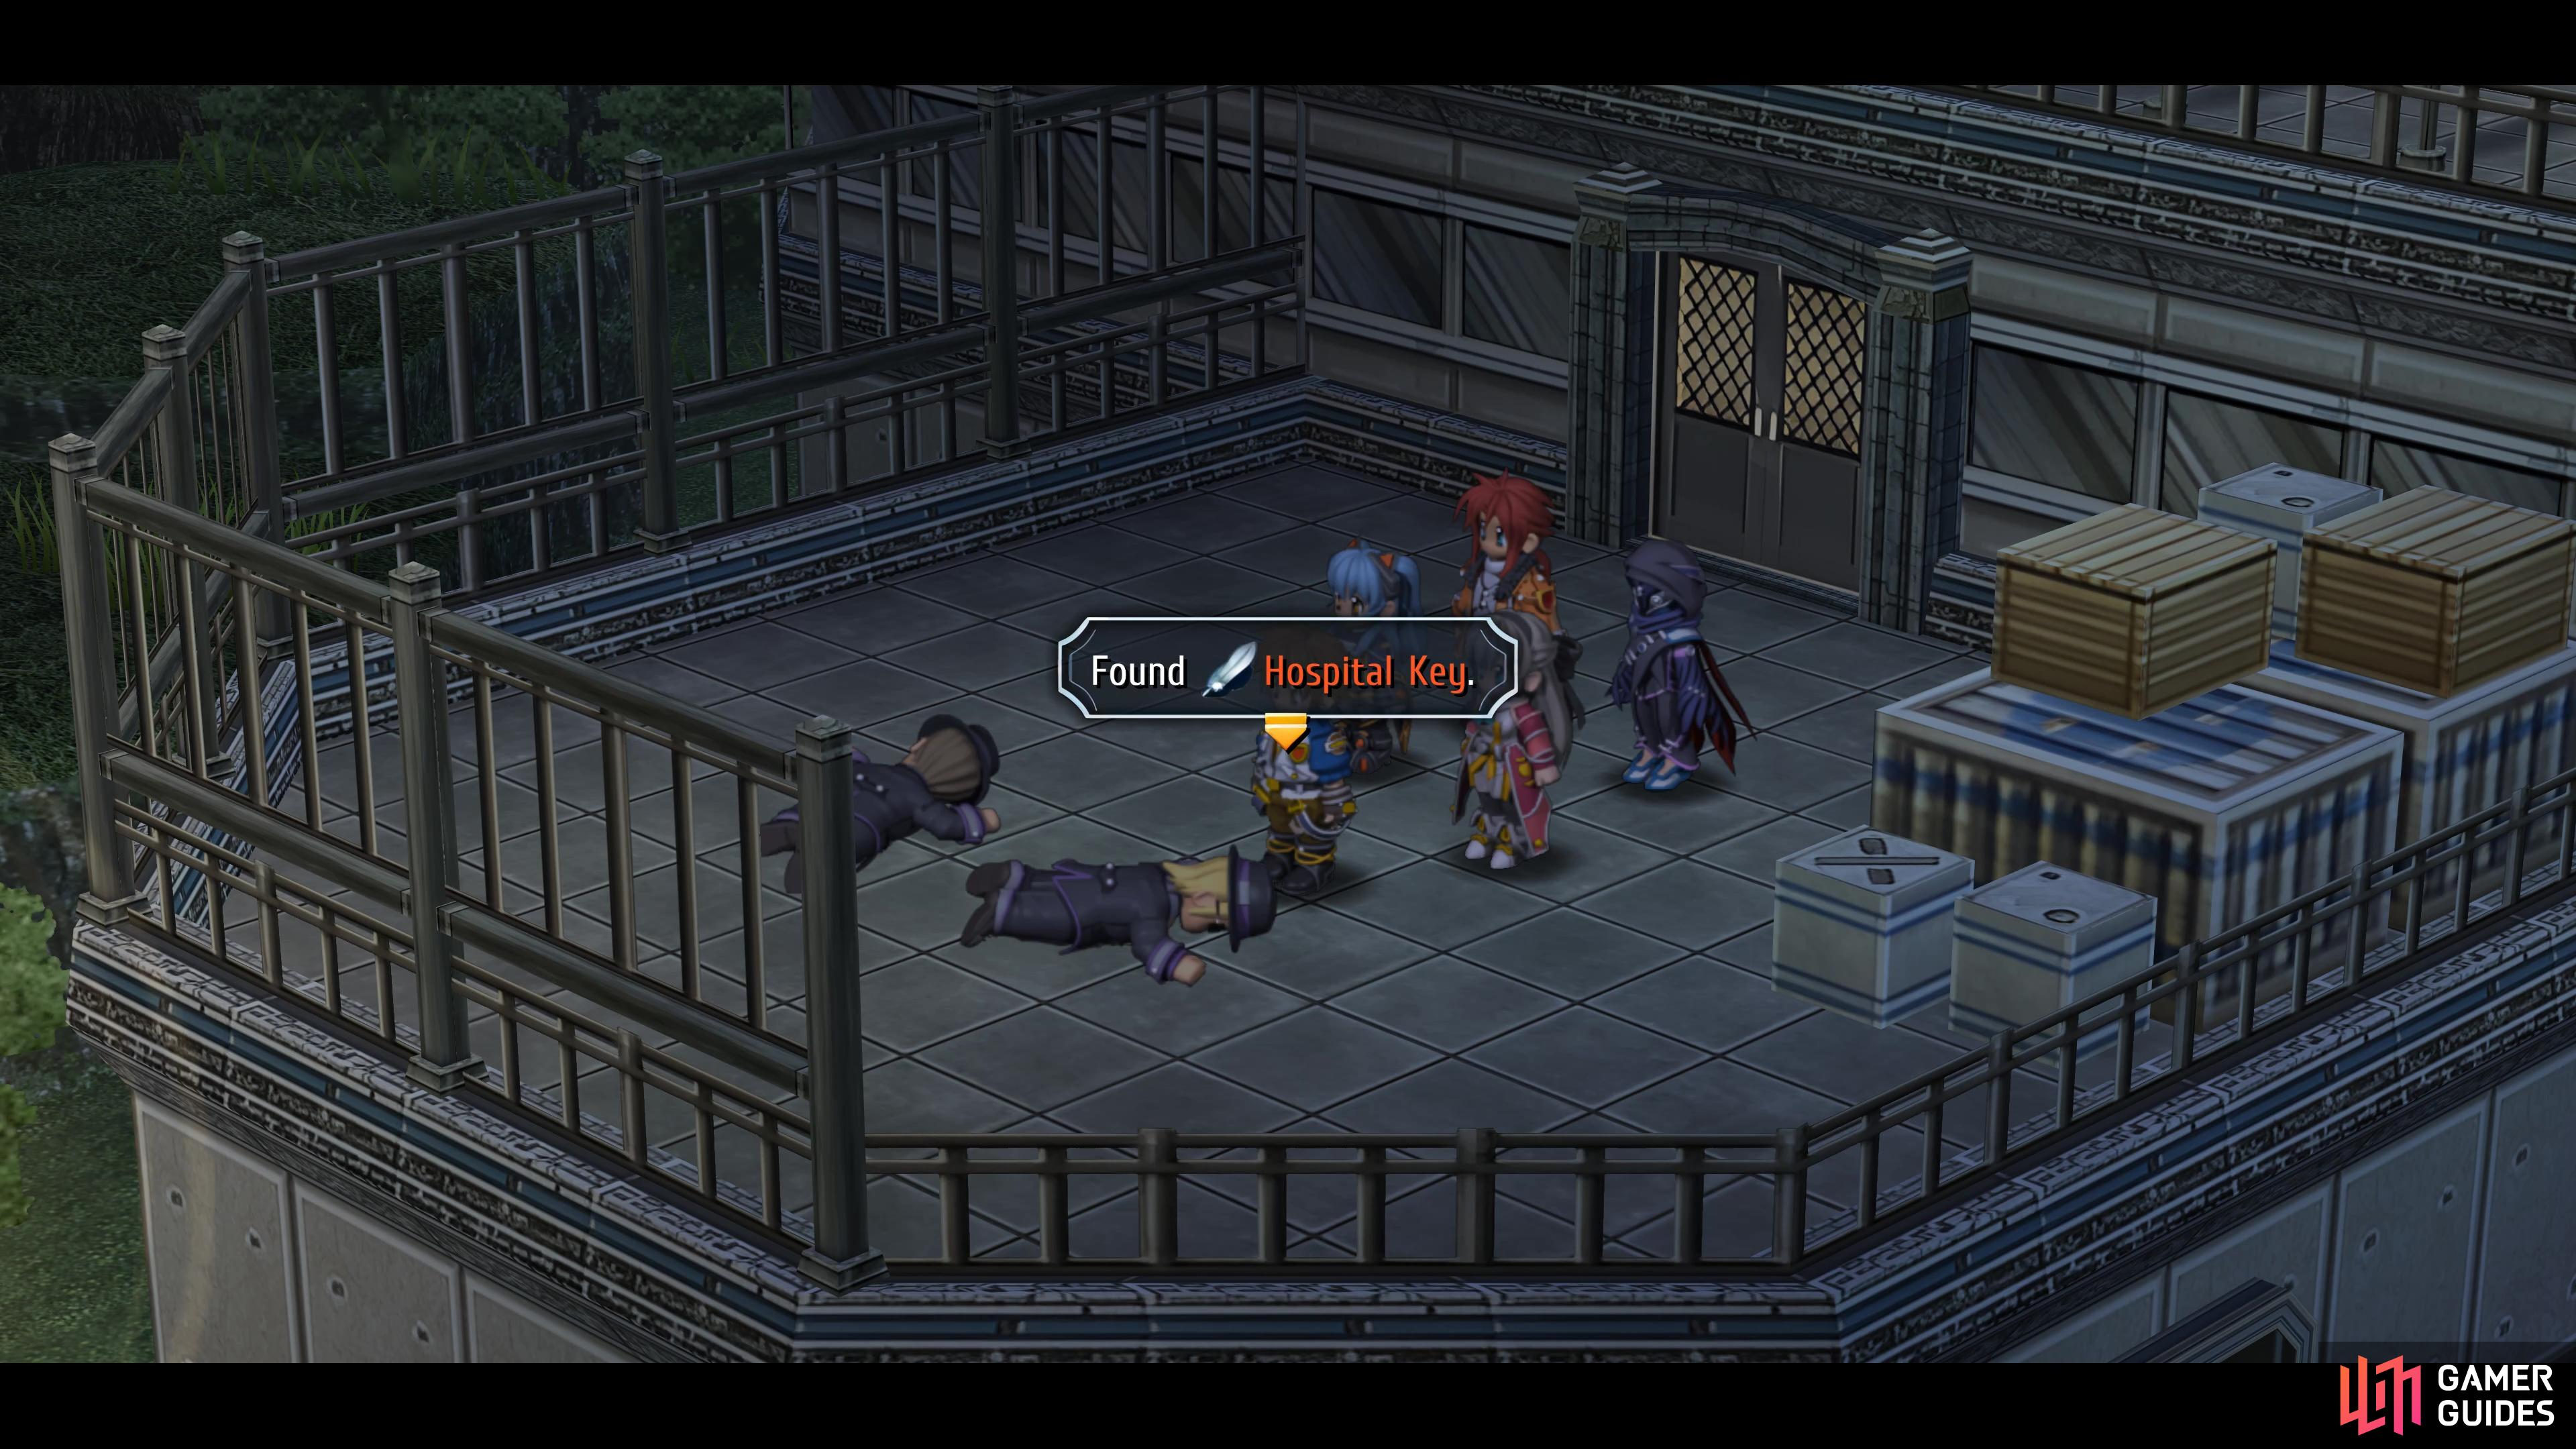
Head to the terrace in the Inn to find the Hospital Key
be sure to head up to the 3F and enter this room for bonus DP.
Head through the door to the north to reach a hallway, then check in on both rooms to find some of the missing people from the bus. Return to the lobby and take the stairs up, ducking into the 2F hallway (ignoring the stairs for now). Head through the hallway to find yourself back outside where you’ll run into another group of Mafioso and Kaisers. Once the battle is over, examine the bodies of the Mafioso to obtain the Hospital Key, needed for entering the main building.
Don’t rush outside to the main building just yet though, there’s optional DP to be had. Return to the lobby and take the stairs up to 3F and as you get close to the first room, you’ll be attacked by Mafioso. Take them out and enter the second room to earn 1 DP. You can now head back outside and to the main building, using the hospital key to gain access.
Main Building
The lobby will be devoid of all people, but once again, you’ll want to check everywhere out so that you obtain all of the optional DP on offer. Begin by heading east into the Medical Office where you’ll be attacked by more Mafioso. Once the battle is over, go into the northern door to trigger an event worth 1 DP, then return to the lobby and head up to the 2F.
Your search on this floor begins with another battle against the Mafioso, defeat them and then go into room 201 for a scene and 1 DP. Leave this room, continue down the corridor for another forced battle and then head into room 202 for another scene and 1 DP. Leave this room following the scene and take the nearby stairs up to 3F.
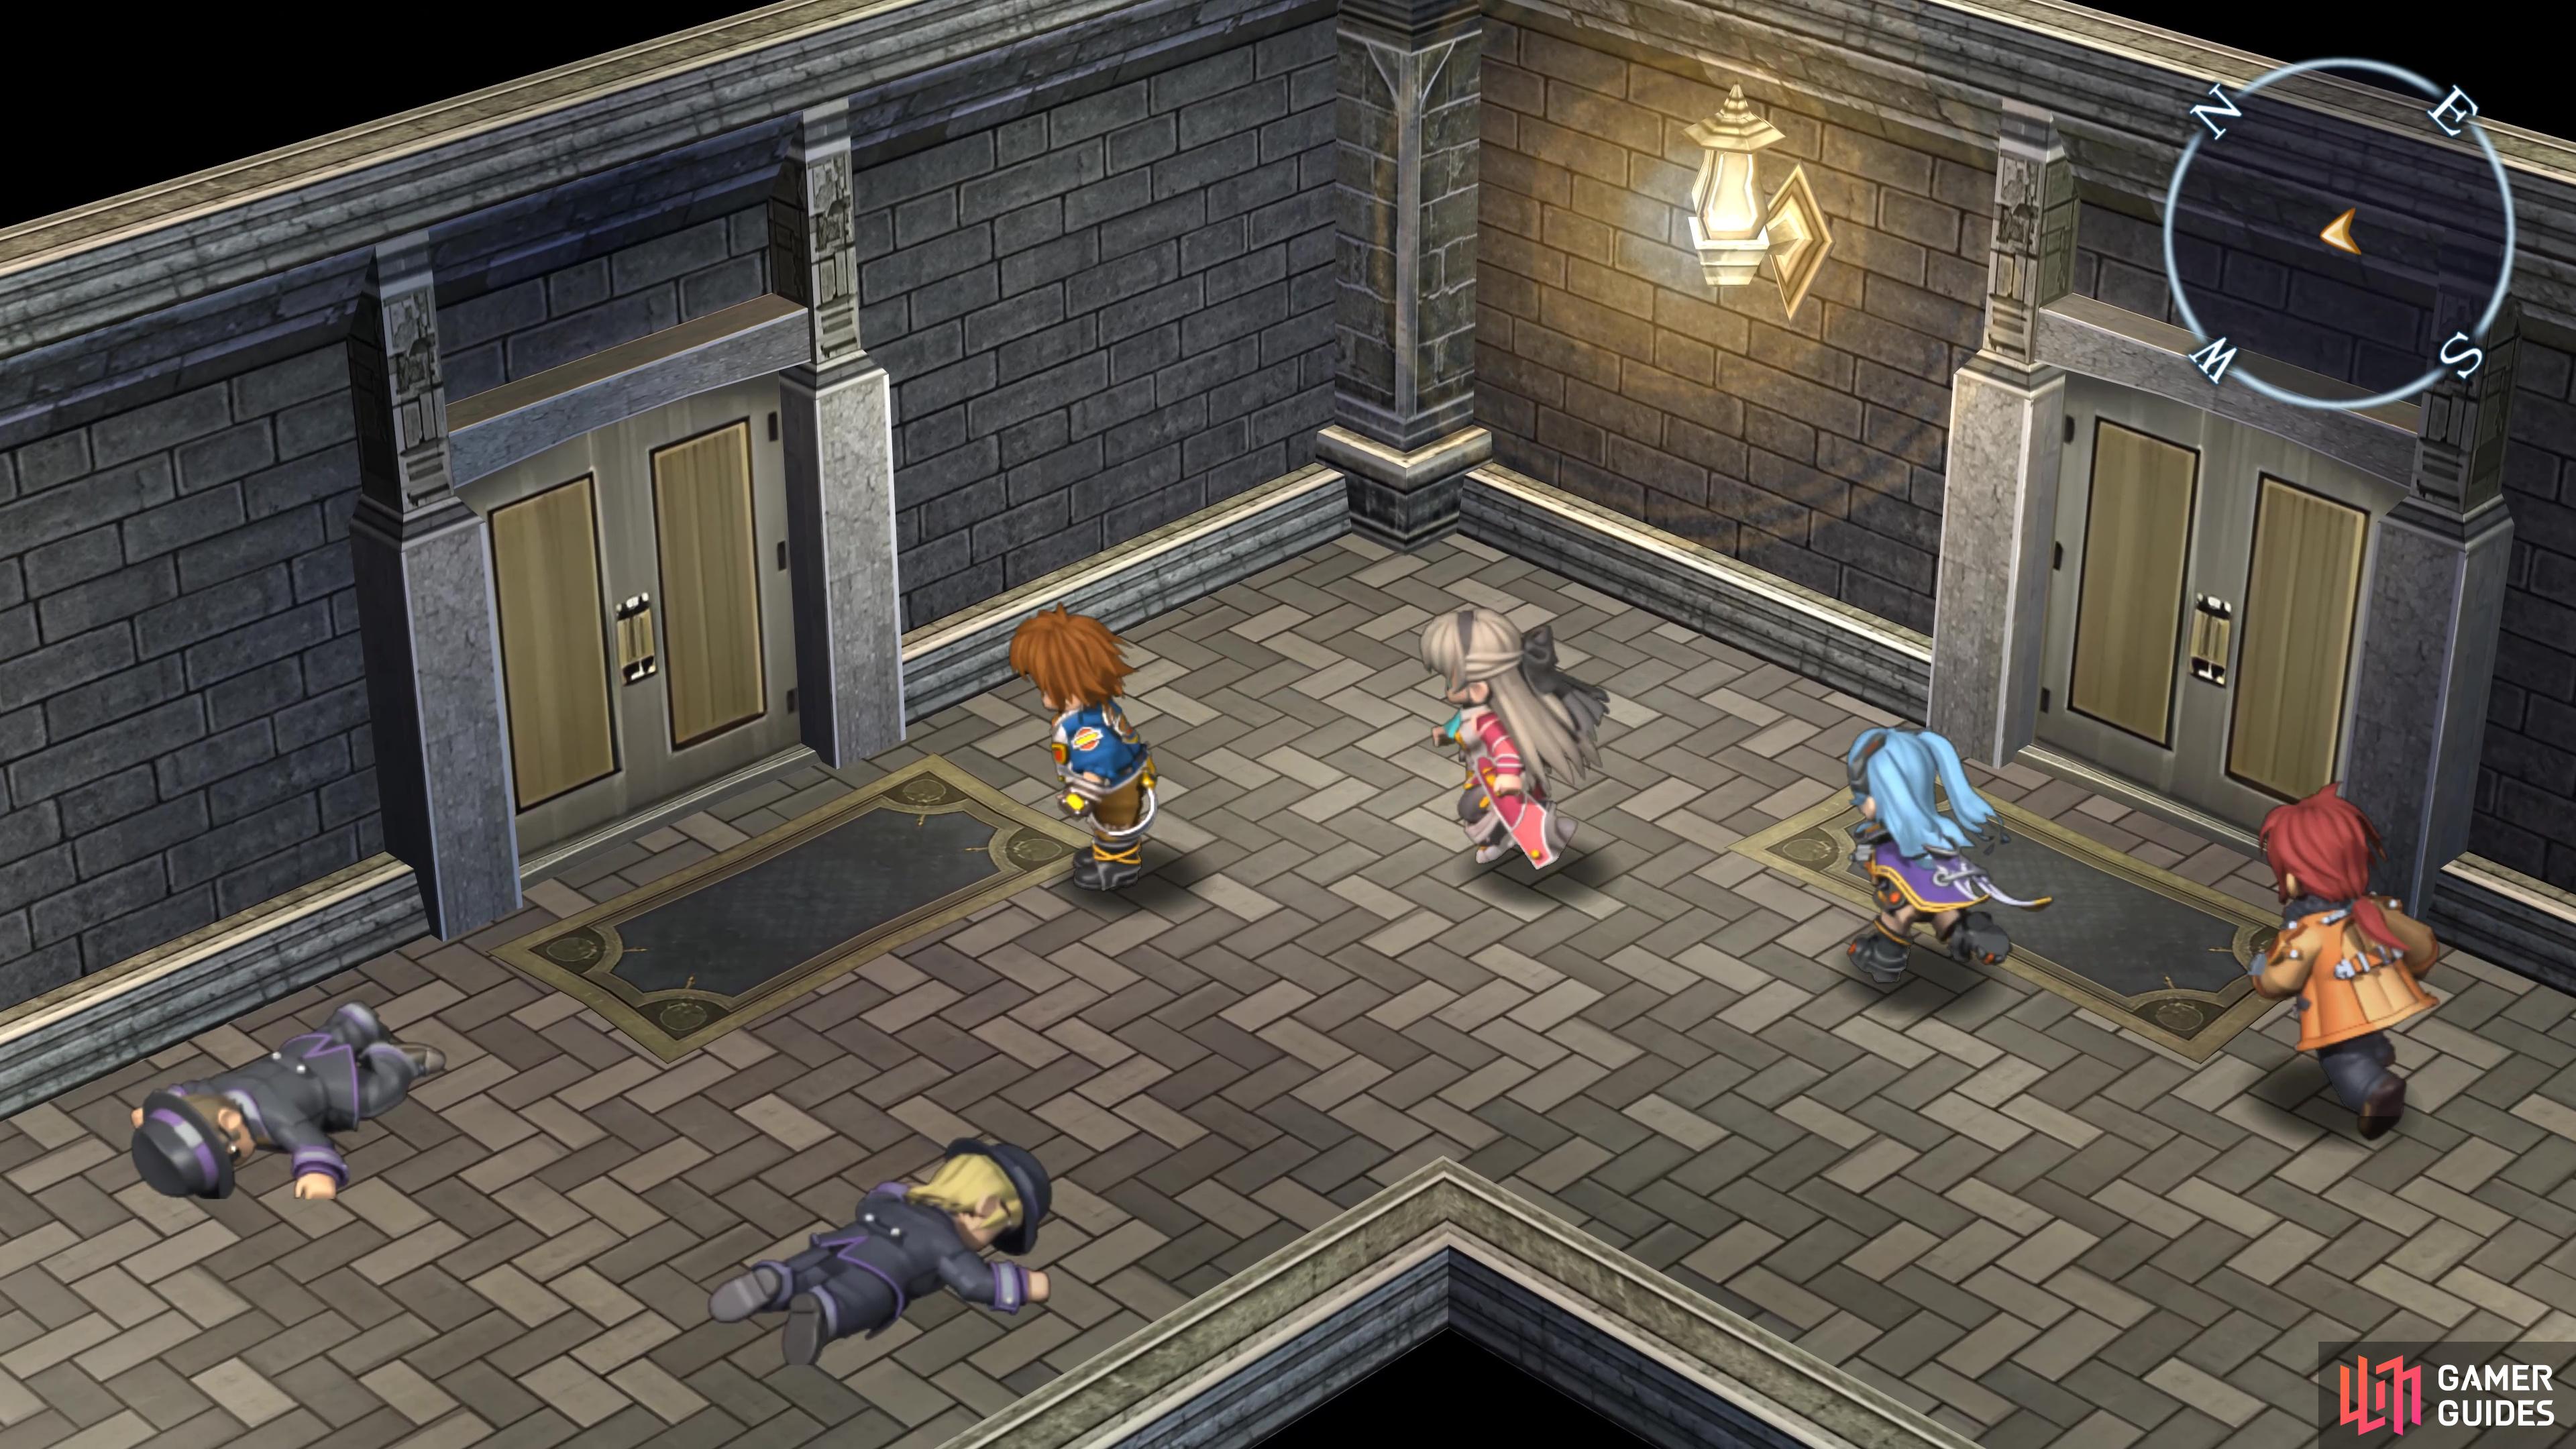
(1 of 3) There are several opportunities to get bonus DP by visiting certain rooms like this one
Head just beyond room 301 and you’ll trigger another battle with more Mafioso. Once the battle is over, go into room 302, then leave and into room 301 for 1 DP. Once you’ve seen both scenes there, head north down the corridor and enter the room near the notice boards in the corner for 1 DP after you speak to Representative Gable hiding behind a shelf.
This is the final DP event for the main building, so leave this room and follow the corridor outside to reach the roof. As you head south here, you’ll spot Cecile in immediate danger and the SSS will rush to her rescue. The Death Moon here is a new enemy, so be sure to scan it before defeating them, they’re nothing more than fodder at this point. You’ll find yourself back in Room 301 following the scenes so return to the roof, head to the door to the south and enter to explore the Research Building.
Research Building
This building is all that remains in your search for the perpetrator of the events here. You won’t encounter any more Mafioso at this point, instead, they’re replaced with Death Moons and one other new enemy, the Octobrains so be sure to scan at least one of them, and then avoid all other enemies.
Following the battle with more Death Moons, use the Recharge Station if you need and then exit through the southern door to find a chest containing a Celestial Balm. Leave and take the stairs up to 2F and enter the first door here to open a chest with a Curia Balm.
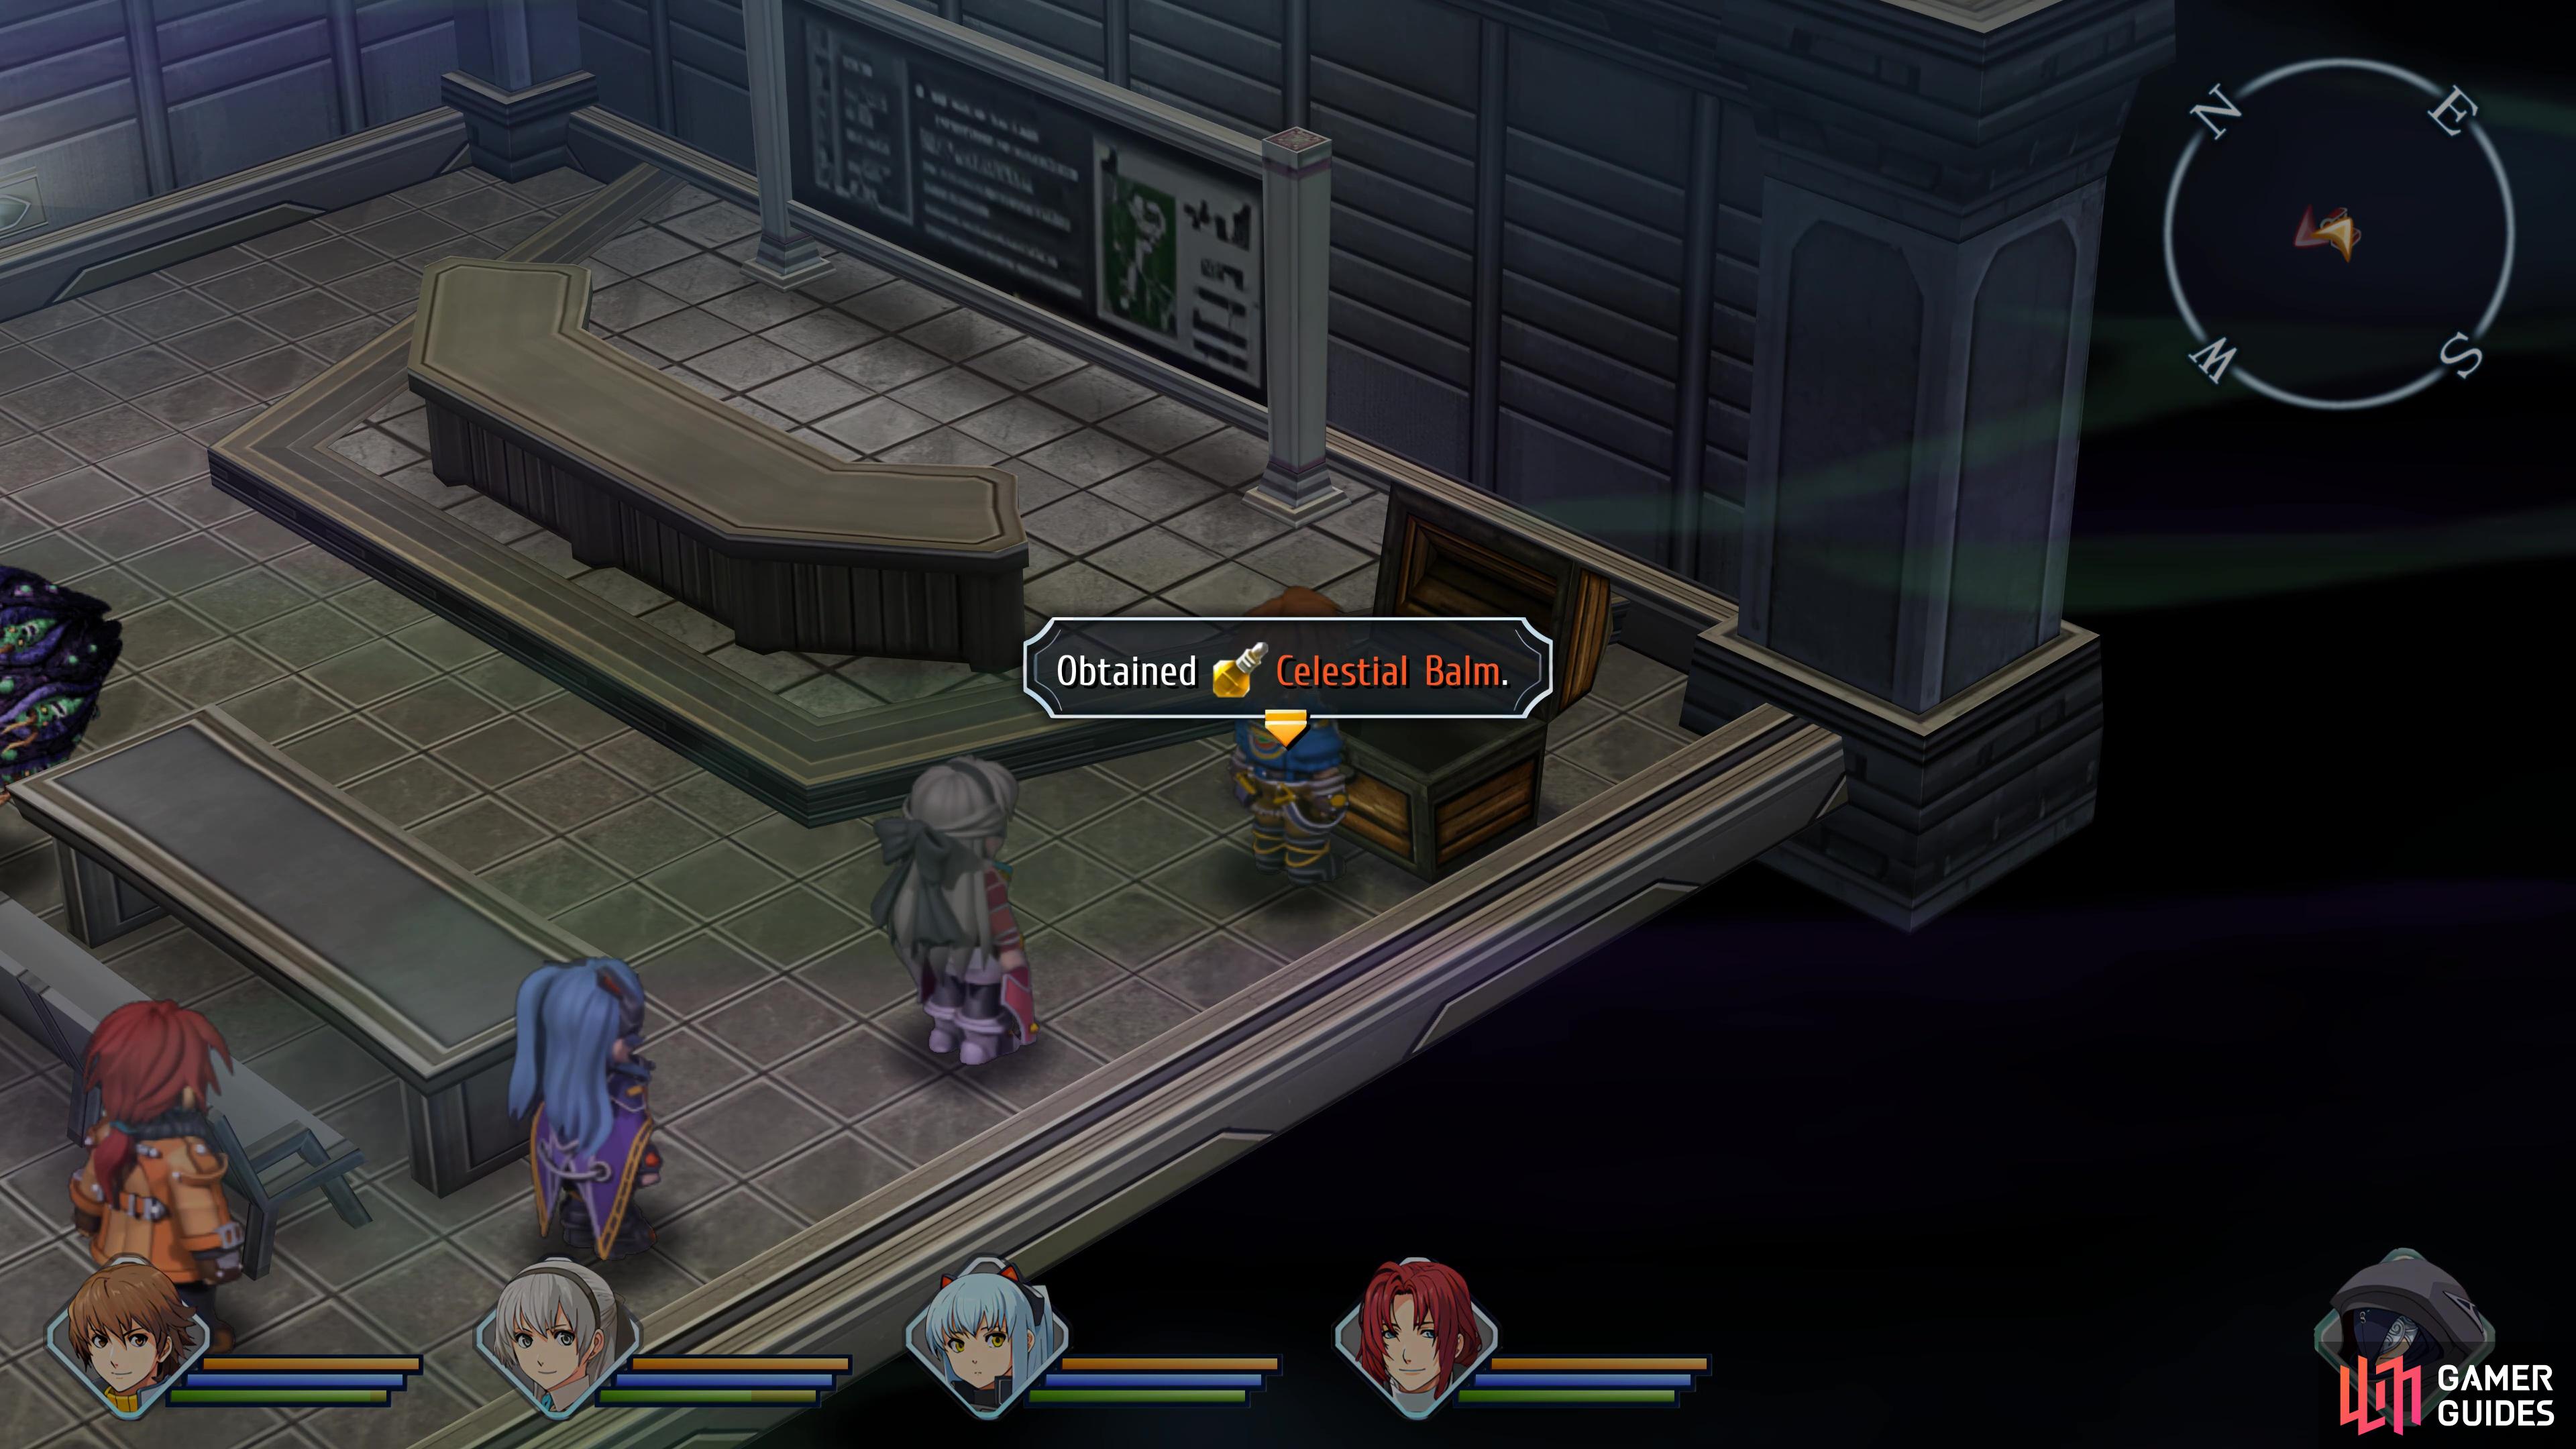
A Celestial Balm sits in a room on 1F
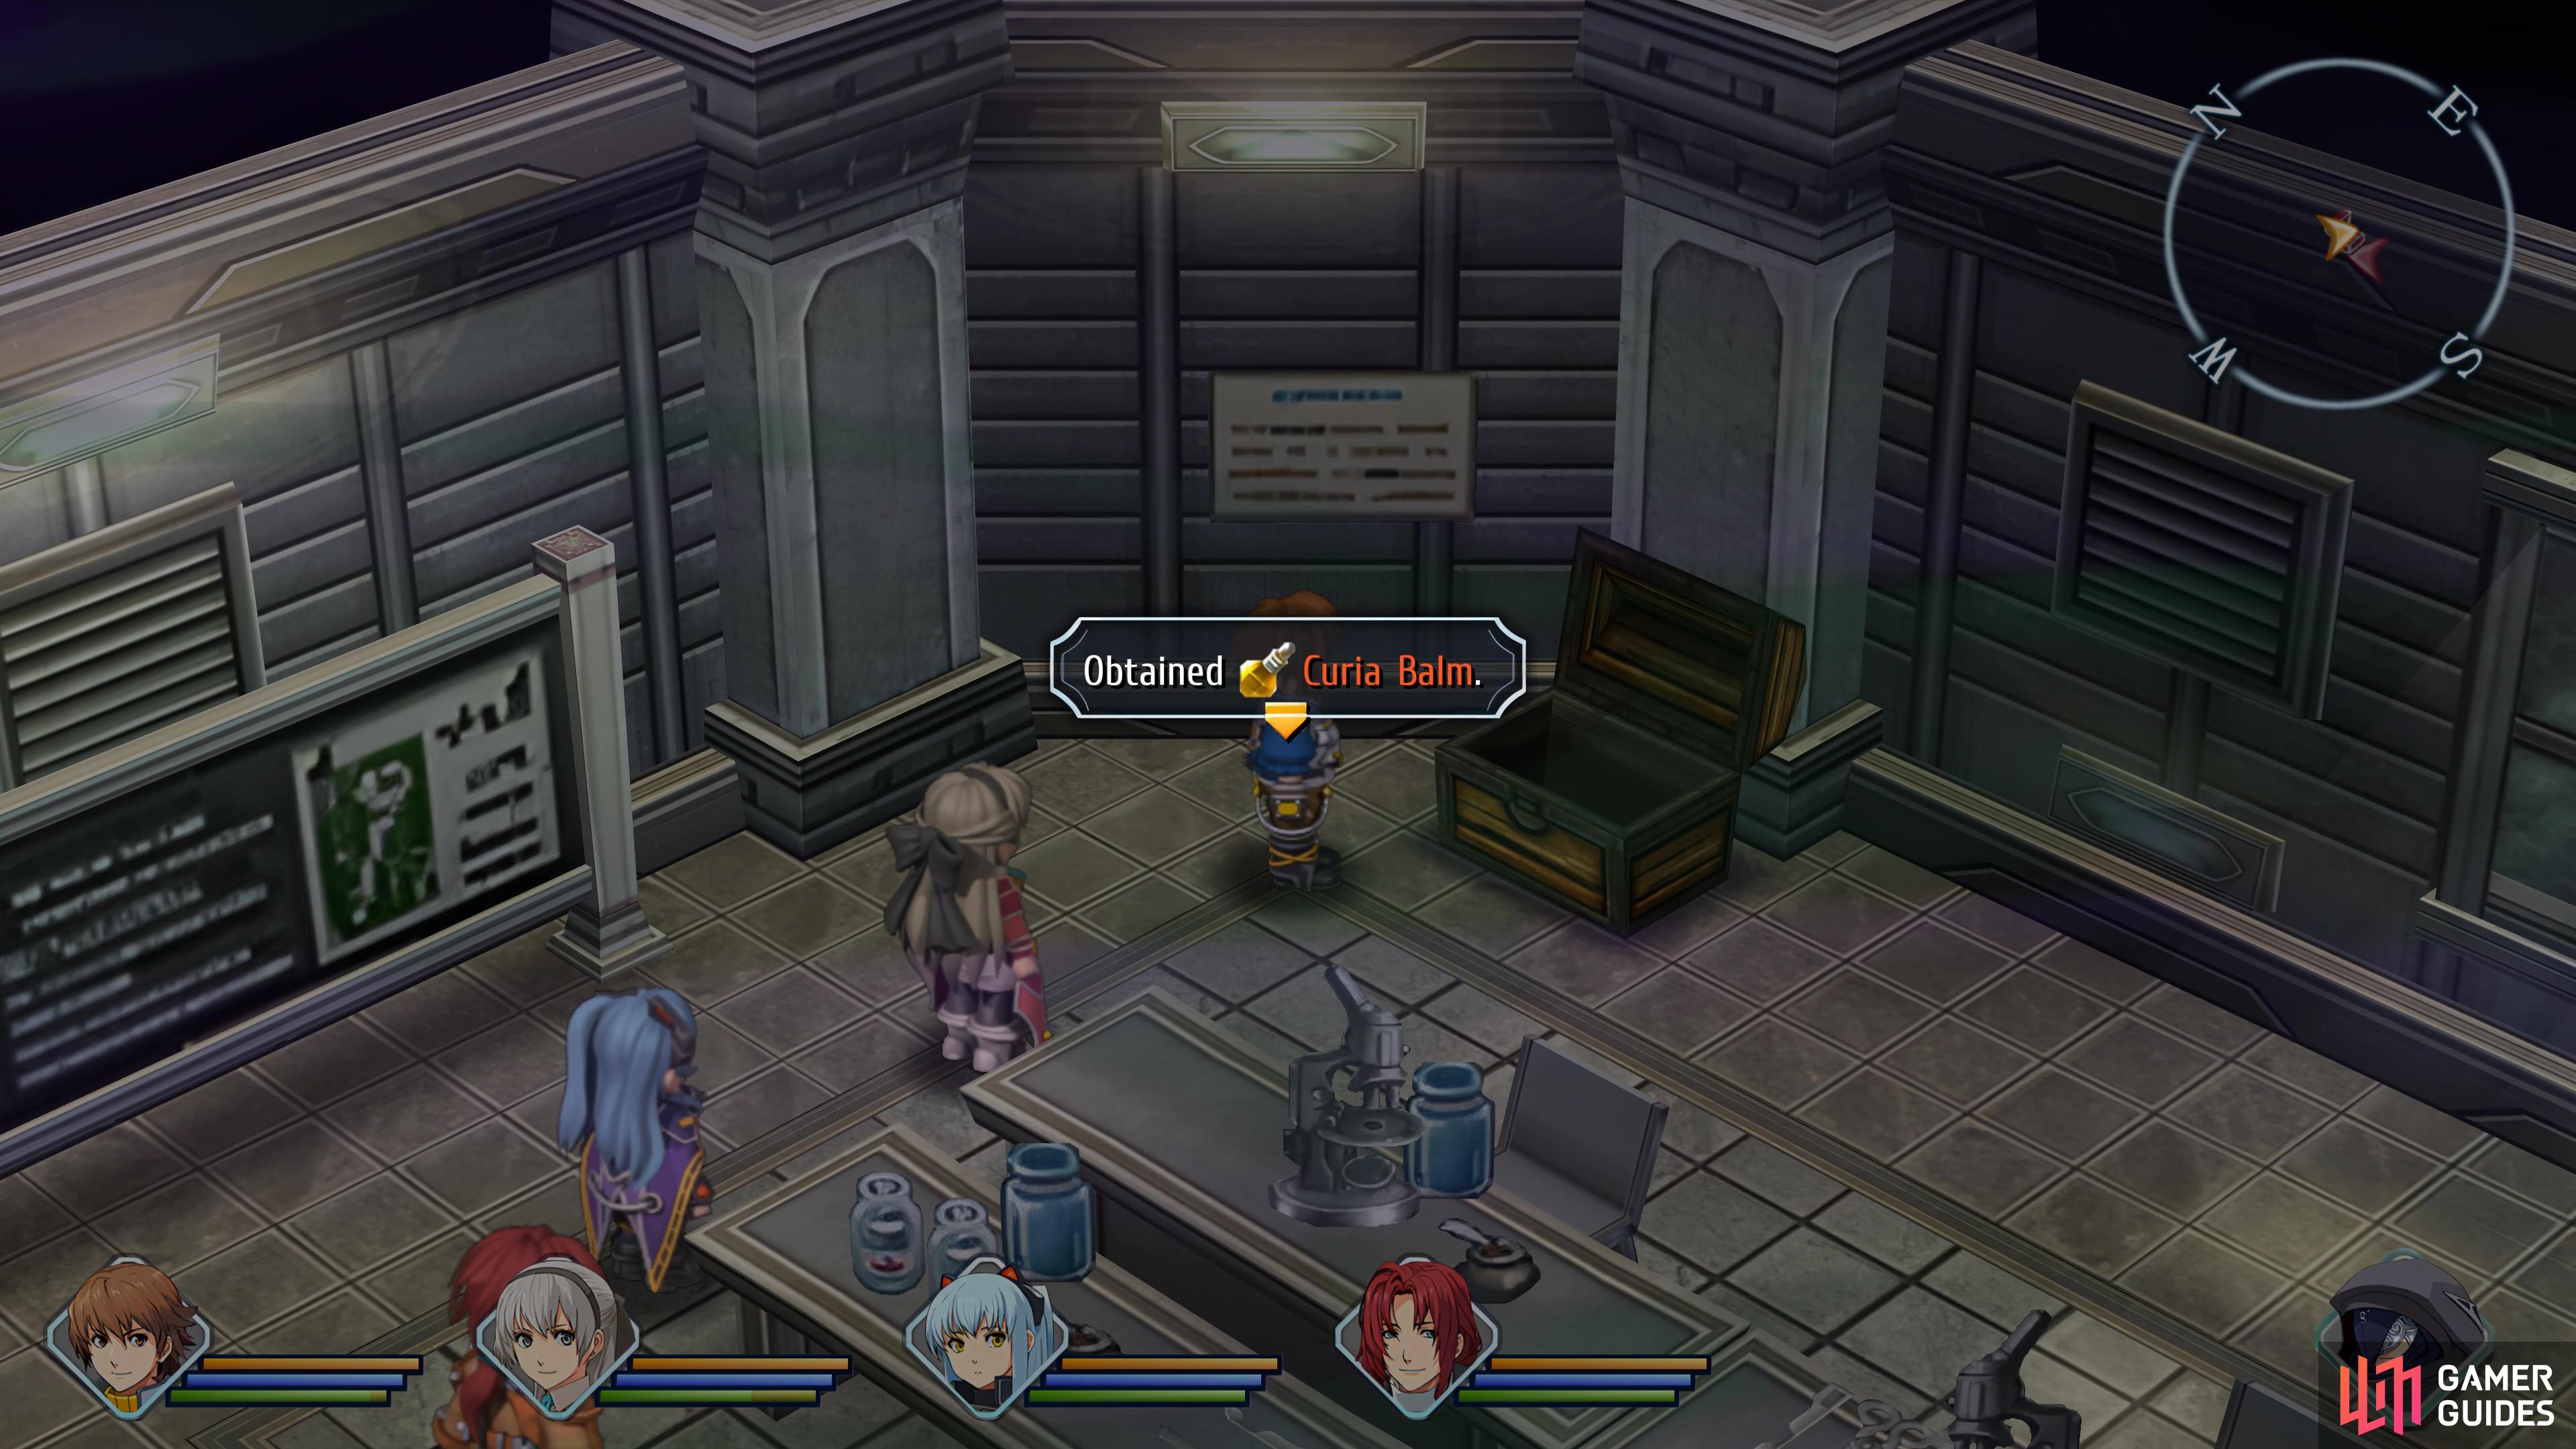
while a Curia Balm can be found on 2F.
Return to the corridor and enter the next room to trigger a scene where you’ll escort some people out to the roof. Return to the research building and back to the previous corridor and through the door at the end. Go through the only available door here and pass through the large room to come out the other side of the barricade in the corridor and take the stairs up to 3F.
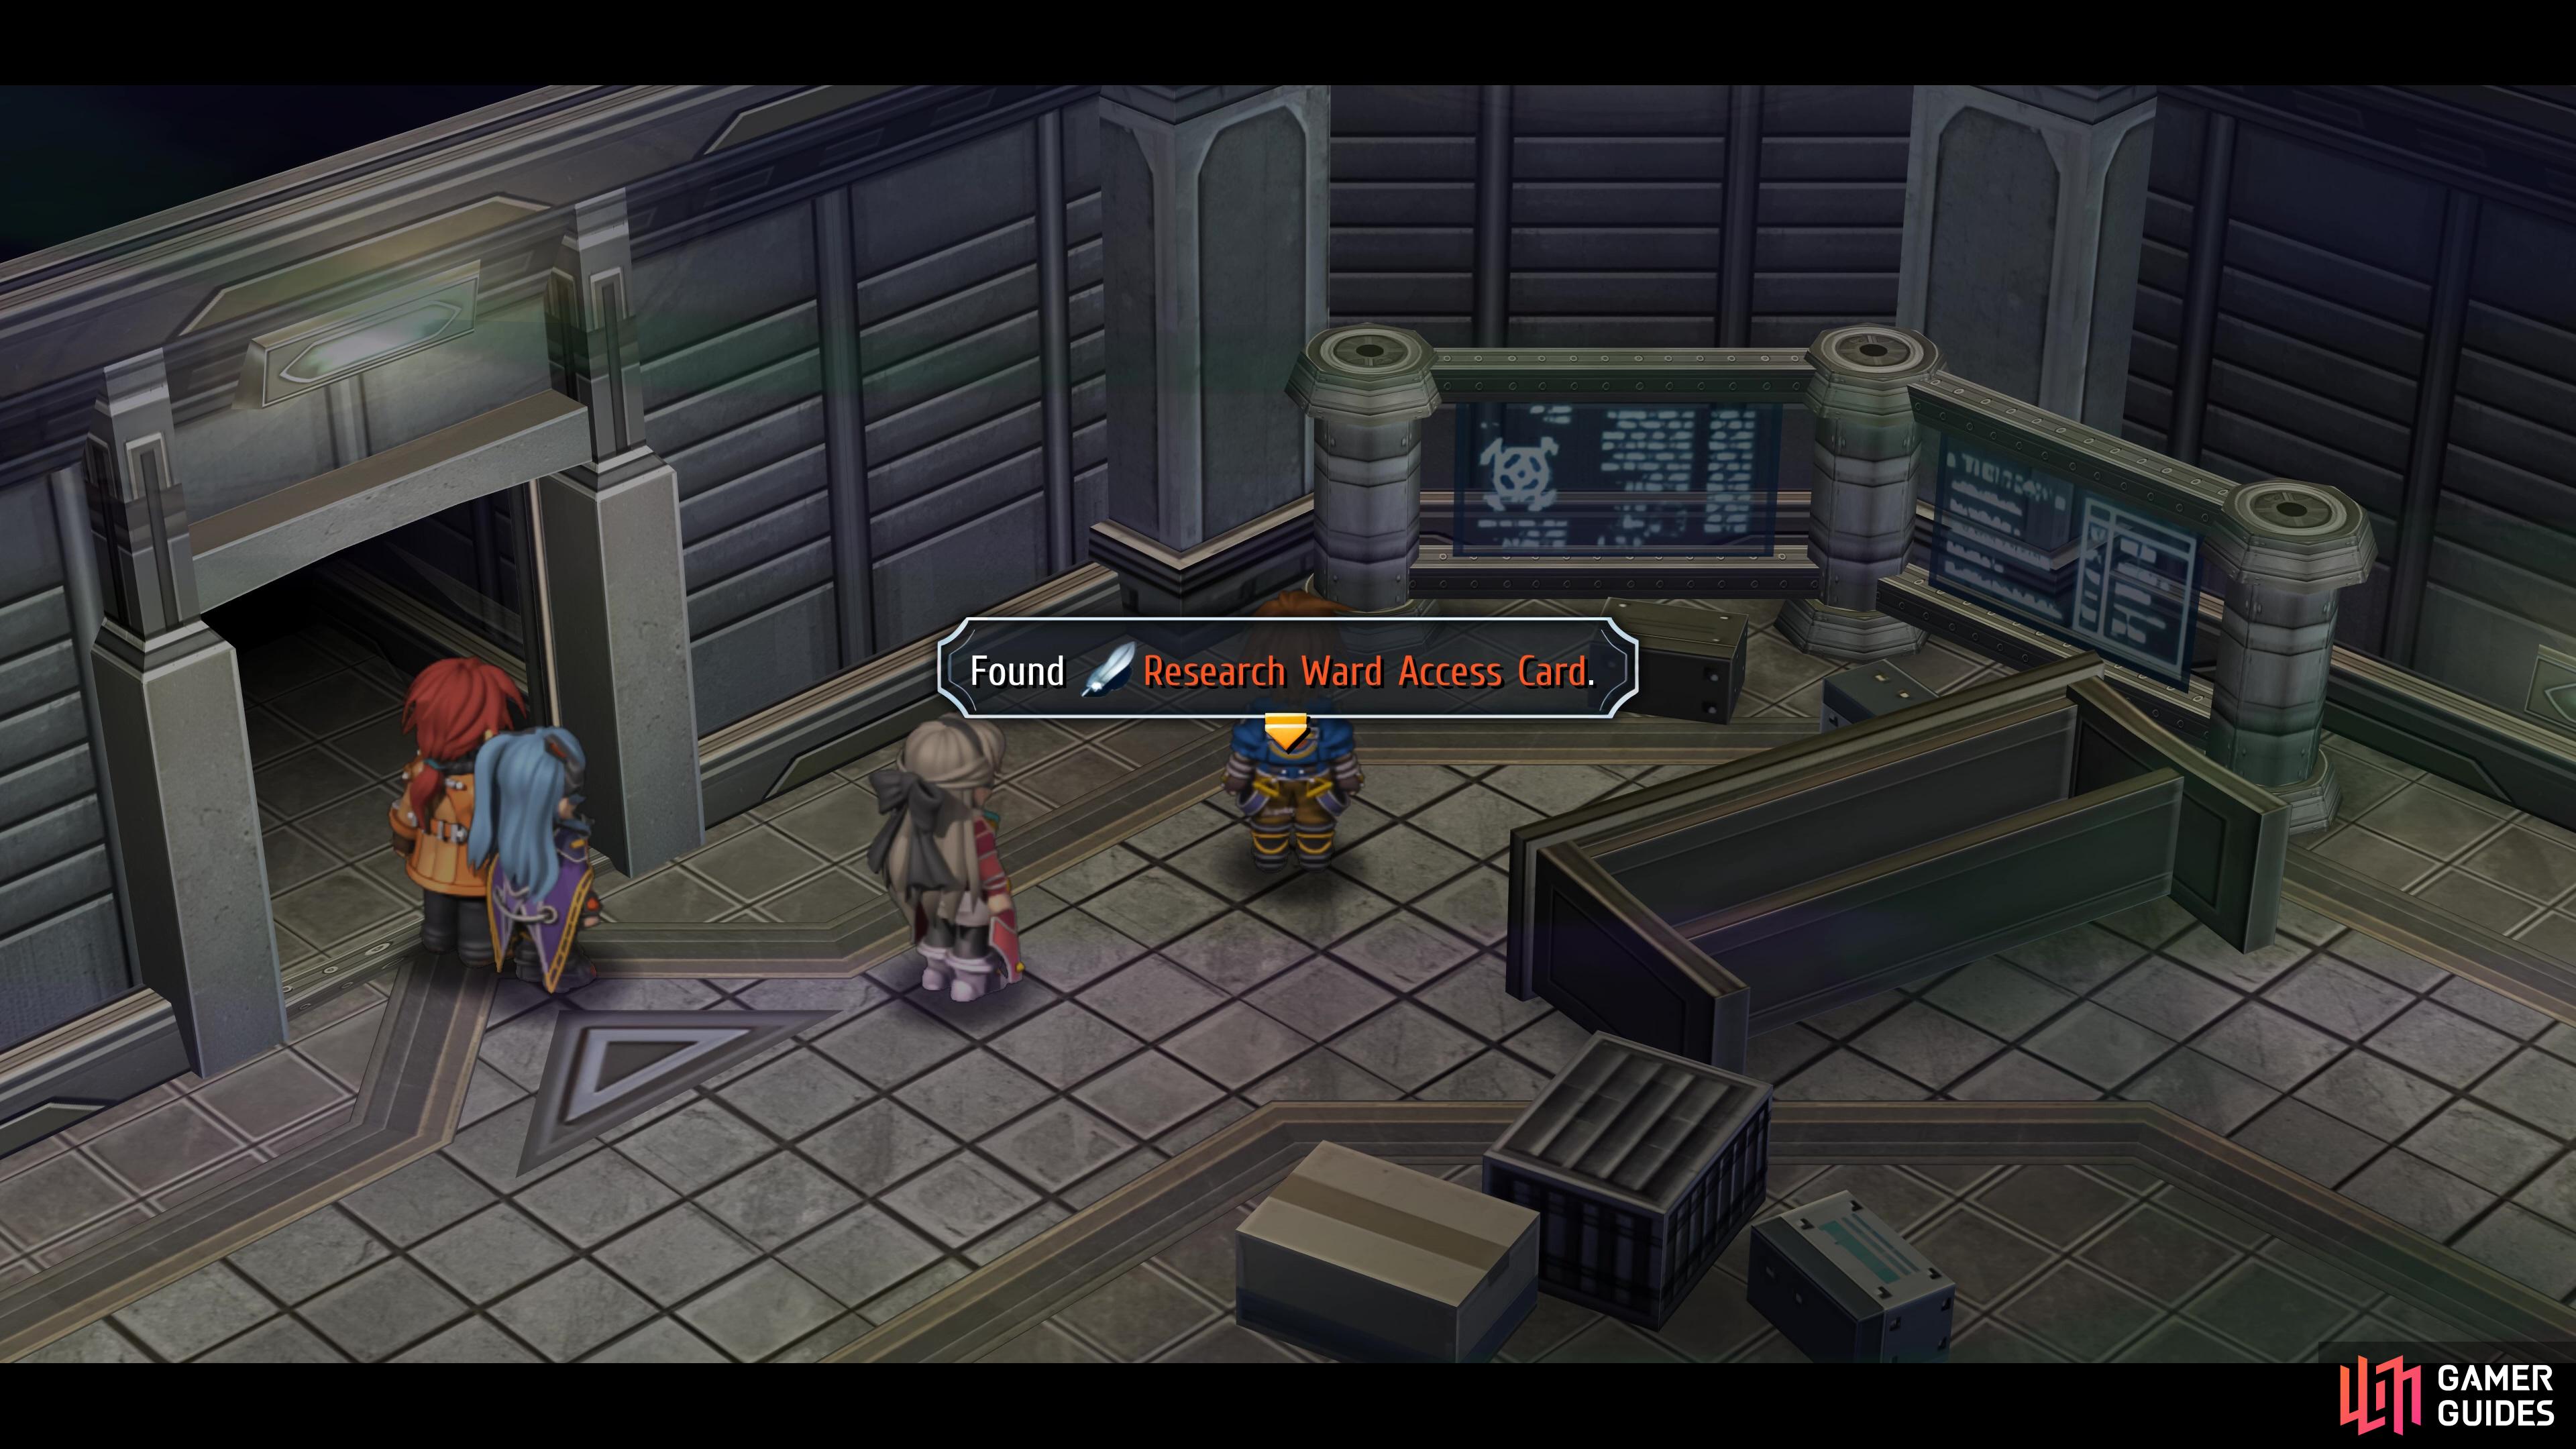
Enter the first room on this floor and pass through to the next which will lead you back to the corridor. Immediately search to your right here to find the Research Ward Access Card, this will allow you to use the elevator on 1F but hold off on that for now. Instead, exit to the west and head through the next two rooms to return to the corridor and open a chest to your left containing a Scorpio Gem.
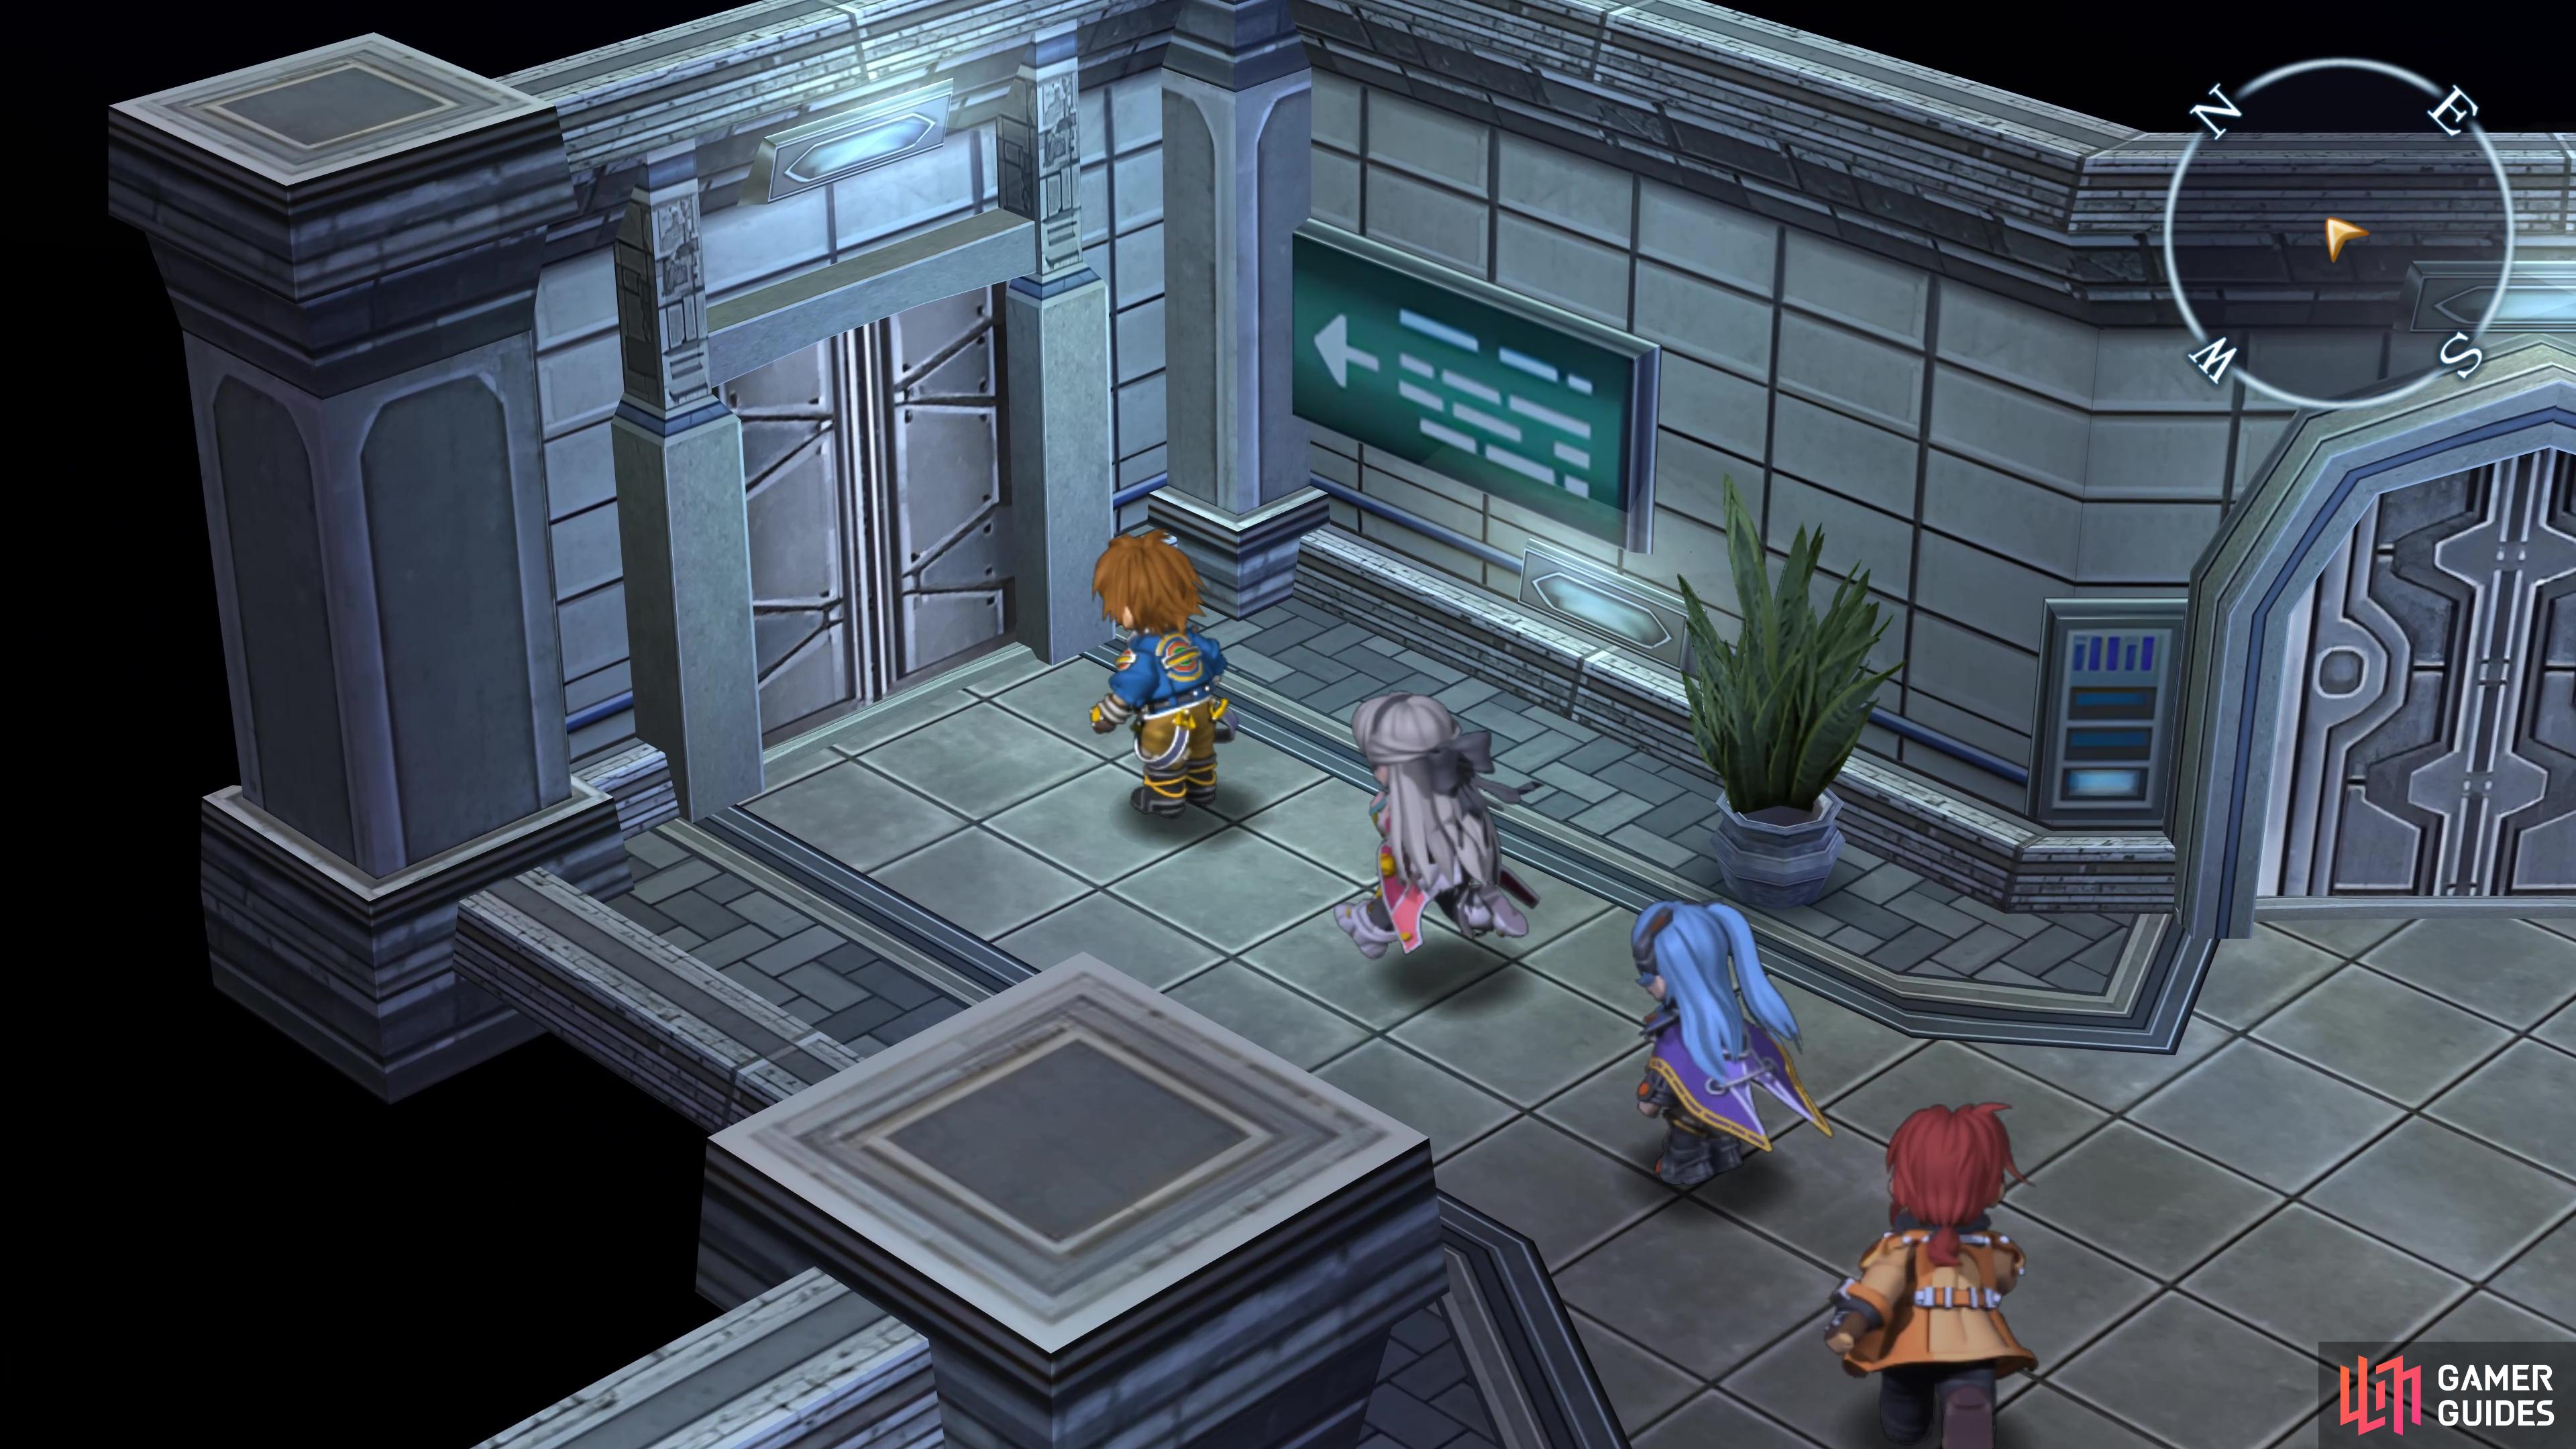
Make your way down to 1F and enter the door near the Recharge Station, check the control panel and you’ll use the Access Card which will allow you to take the elevator up to 4F. Enter the southern room here to discover a chest housing an EP Cut 3, then return and enter the western room for a chest with an EP Charge II.
Return to the corridor once again and this time, take the northern door to continue. Enter the first room here and you’ll find the final chest of this dungeon, open it to obtain a Stellar Pendulum. Leave this room, save your game and when you’re ready, head into the final room to find the culprit of all this madness.
Boss Battle - Ernest
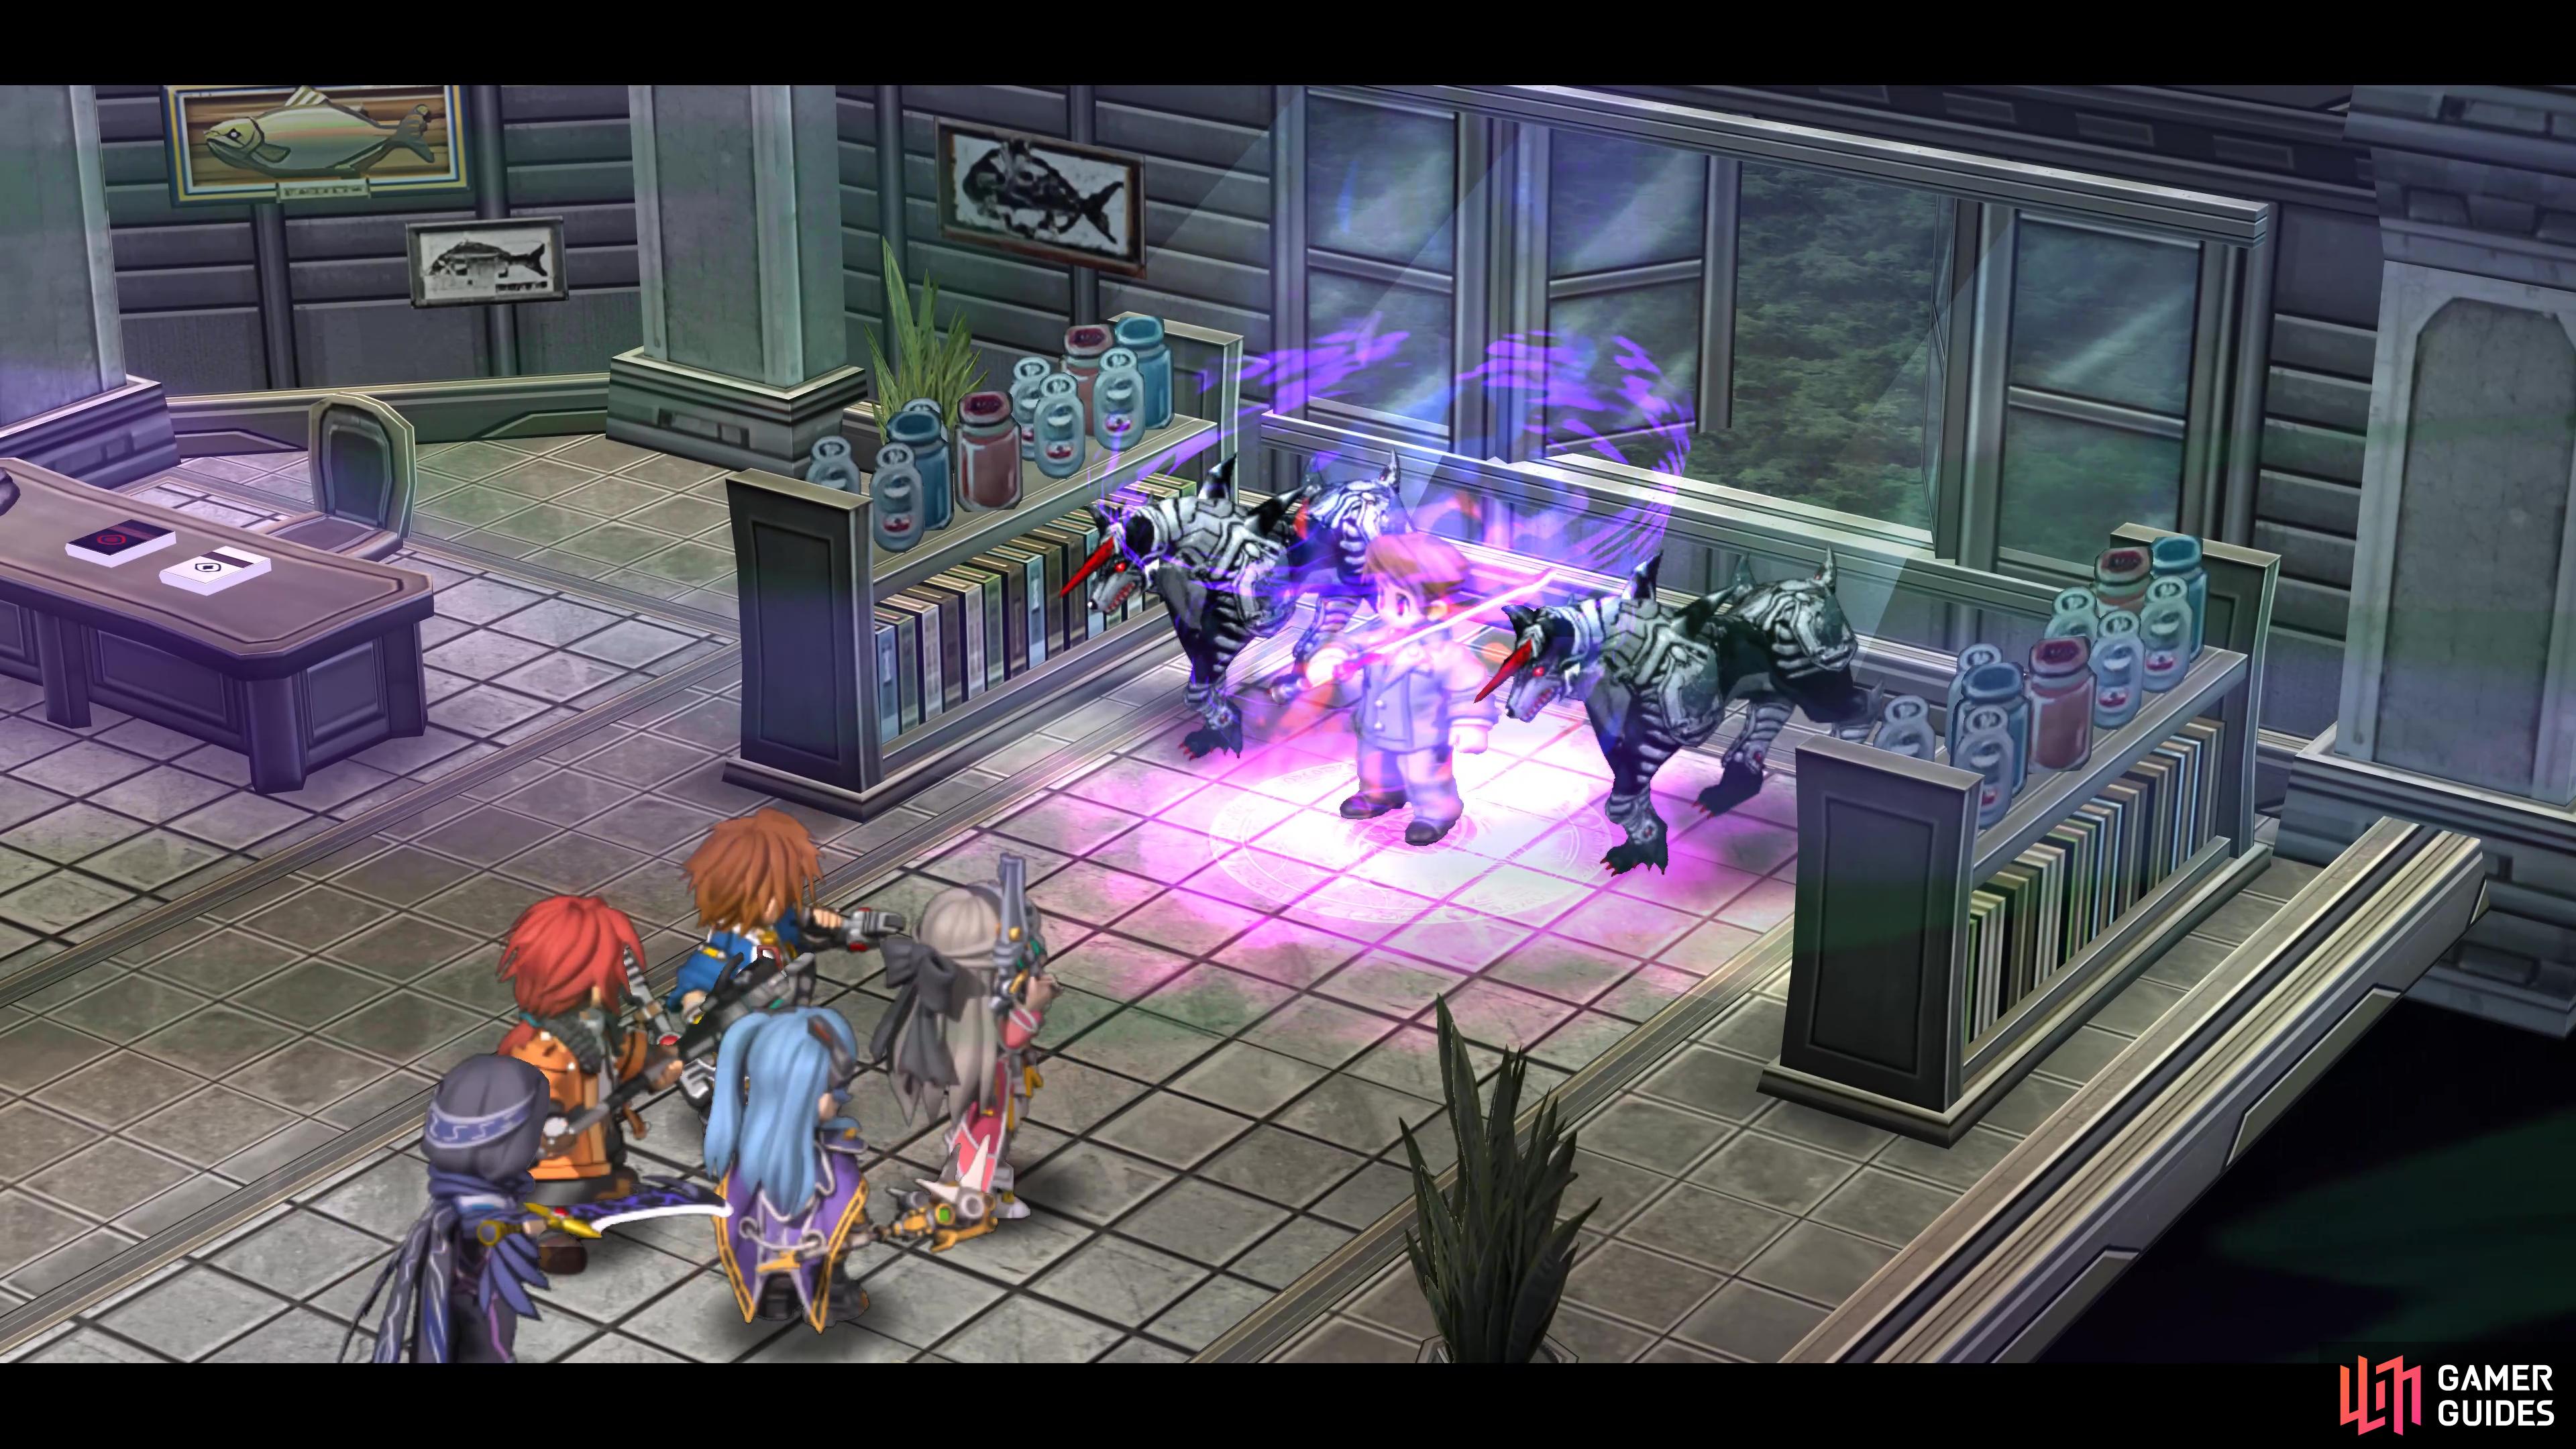
Ernest and the Hellhounds are a boss in St. Ursula Medical College.
| Enemy | Lv | Elemental Effectiveness | Drops |
|---|---|---|---|
| Ernest | 36 | – | |
| Hellhound | 34 | U-Material |
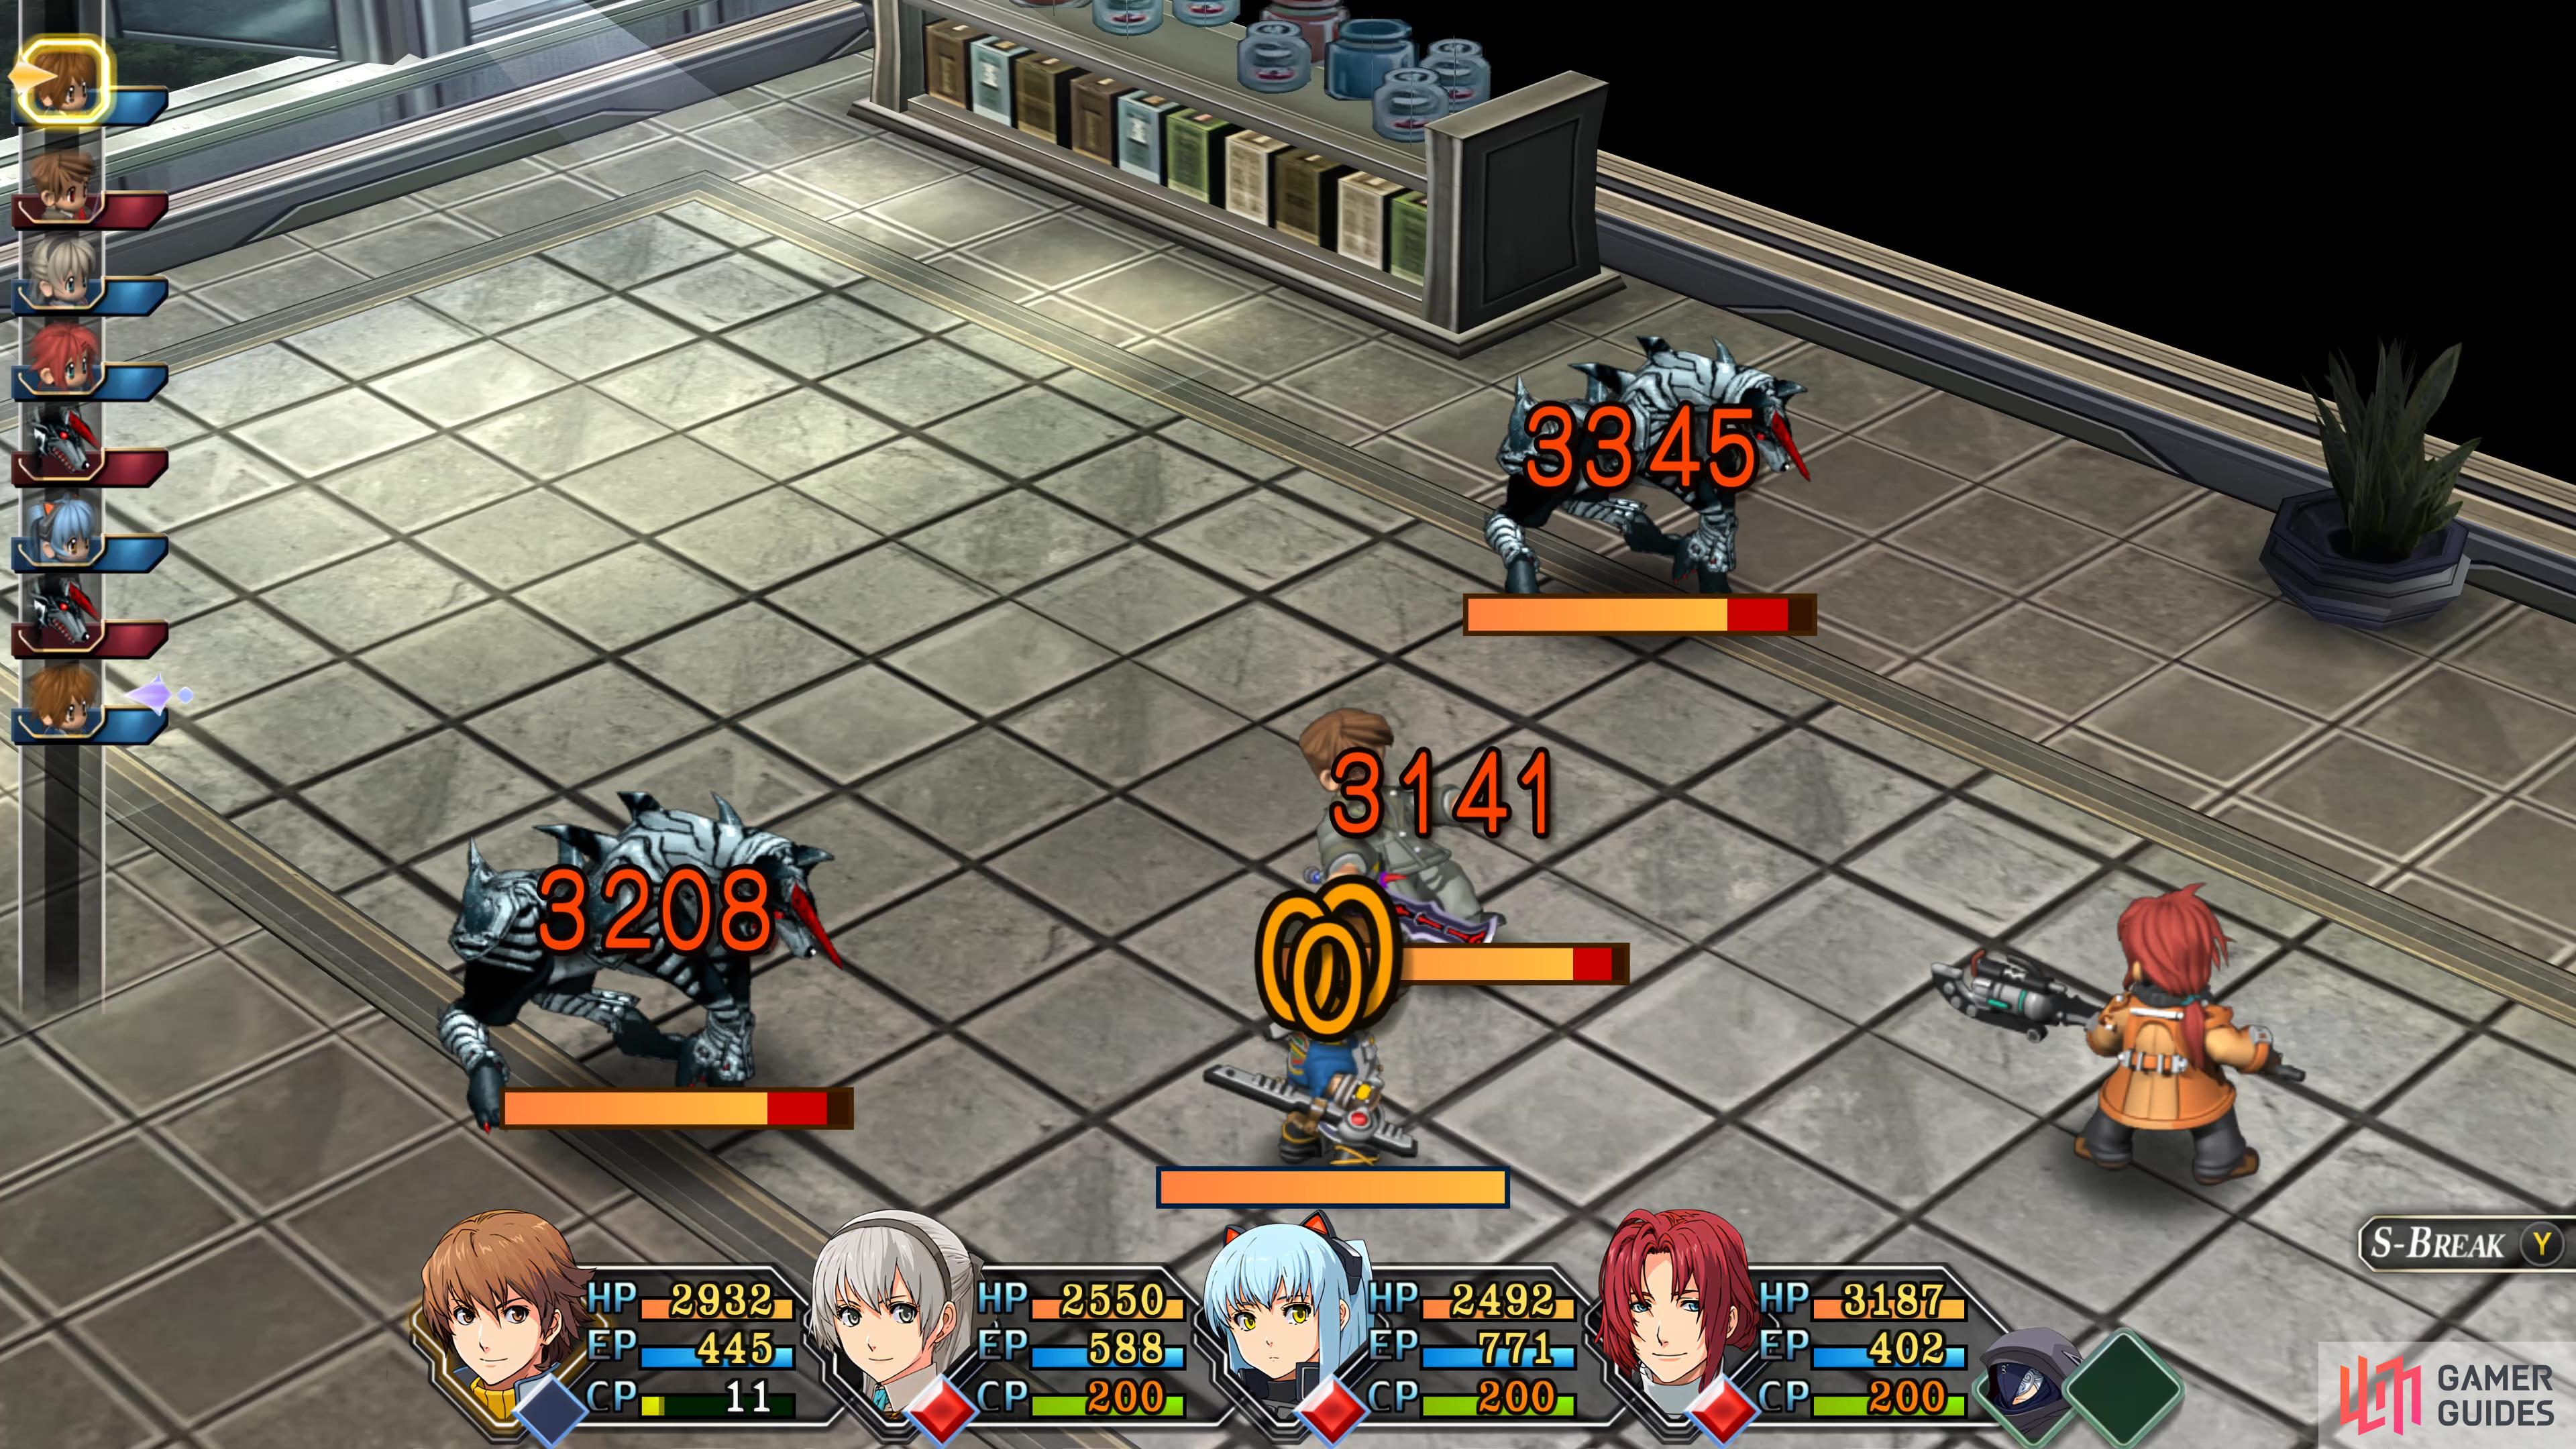
The first thing you’ll notice is that both Ernest and the Hellhounds have a lot of HP. This shouldn’t be as daunting as it was before, however, as at this stage of the game, you can pump out a lot more damage. As with many bosses, you’ll want to focus on dealing with the Hellhounds before you focus on Ernest, making the battle a lot more manageable.
Ernest has a few tricks up his sleeve and his regular attacks hit for around 700 HP. Demon Blade will hit anyone in an AoE arc in front of him for around 700 HP and has a chance to inflict Blind. Hand of Lightning is a line AoE and although it’ll deal less damage than Demon Blade, it will inflict Mute unless you’re protected against it. His deadliest attack, however, is Shadow Ritual, his S-Craft, as it will hit in an AoE around him dealing around 1800+ HP and absorbing 50% of that damage from each character.
The Hellhounds will use Fang, which is a dash in a line that will deal around 500 HP and cause AT-Delay, pushing you back on the timeline. Their regular bites will also deal similar damage and can cause DEF Down. With all of these attacks in mind, make sure that your HP remains around 2000 HP at all times.
As for attacking them, using Randy and Lloyd’s S-Breaks as they become available should be a given. You can leave Elie on healing support, using Holy Bullet to give both CP and heal. Tio should sit back, with both Cast and a Gemini Gem, she should be able to dish out heavy damage with high-level Arts. Dark Matter is also good to use as it will group everyone up and hit Ernest’s weakness for around 1000+ HP.
Watch the many scenes that follow after the battle (checking the files on the desk when prompted) and Noel Seeker will drive the SSS back to Crossbell.
No Comments