
This page covers the Sun Fort - First Stratum during the Finale of The Legend of Heroes: Trails from Zero. This is the final dungeon in the game, and you’ll find details on all monsters, how to open every chest, and defeat the boss.
The Sun Fort is the final dungeon in the game.
All things have led to this point as the SSS, with the aid of Joshua and Estelle from the Bracer’s Guild must infiltrate the Sun Fort, find the missing people, and stop the culprit, Joachim Guenter. The final dungeon is a large one that takes place across four areas, each of which has a different set of enemies with a boss at the end.
Both Estelle and Joshua are very strong characters, Joshua more than Estelle and it’s up to you whether you decide to place them in the party. The SSS should be very strong at this point, and it’s tough to find someone to take out of your team. Also note that Estelle’s Support Craft is very useful, boosting your stats and providing CP, another reason to keep her in reserve.
Sun Fort - First Stratum
| Enemy | Lv | Elemental Effectiveness | Drops |
|---|---|---|---|
| Black Onyx | 37 | Eye Drops, Beast Flesh | |
| Prairie Bat | 37 | Savory Pinion, Battle Scope | |
| Orgone Spider | 37 | Chitinous Shell, Softening Ointment | |
| Zan Su | 37 | Prickly Seed, S-Tablet |
| Items | Notes |
|---|---|
| EP Charge II | Restores 300 EP |
| Lunar Pendulum | Prevents Poison, Blind, and Burn |
| Curia Balm | Cures Ailments |
| Deep Ocher | DEF+25 ADF+25 SPD+10, Prevents Seal and Mute |
| Celestial Balm | Restores 2000 HP, cures K.O. |
| Tearal Balm | Restores 5000 HP |
| All Sepith (200) | – |
| EP Charge II | Restores 300 EP |
| All Sepith (200) | – |
| Ares Greaves | DEF+55 MOV+3 ACC+10% (Men Only) |
| S-Tablet | Cures Stat Down |
| Curia Balm | Cures Ailments |
| Proxy Puppet | Prevents K.O. once, then breaks |
| EP Charge II | Restores 300 EP |
| Lost Campbell | STR+160 RNG+4 ACC+10% |
Head down the stairs and at the main fork, you’ll spot a Recharge Station. Go south to open a chest containing an EP Charge II and then go up the northern stairs and go northwest to find another chest at the end housing a Lunar Pendulum. Go through the nearby door and head to the end to find another chest, this one containing a Curia Balm.
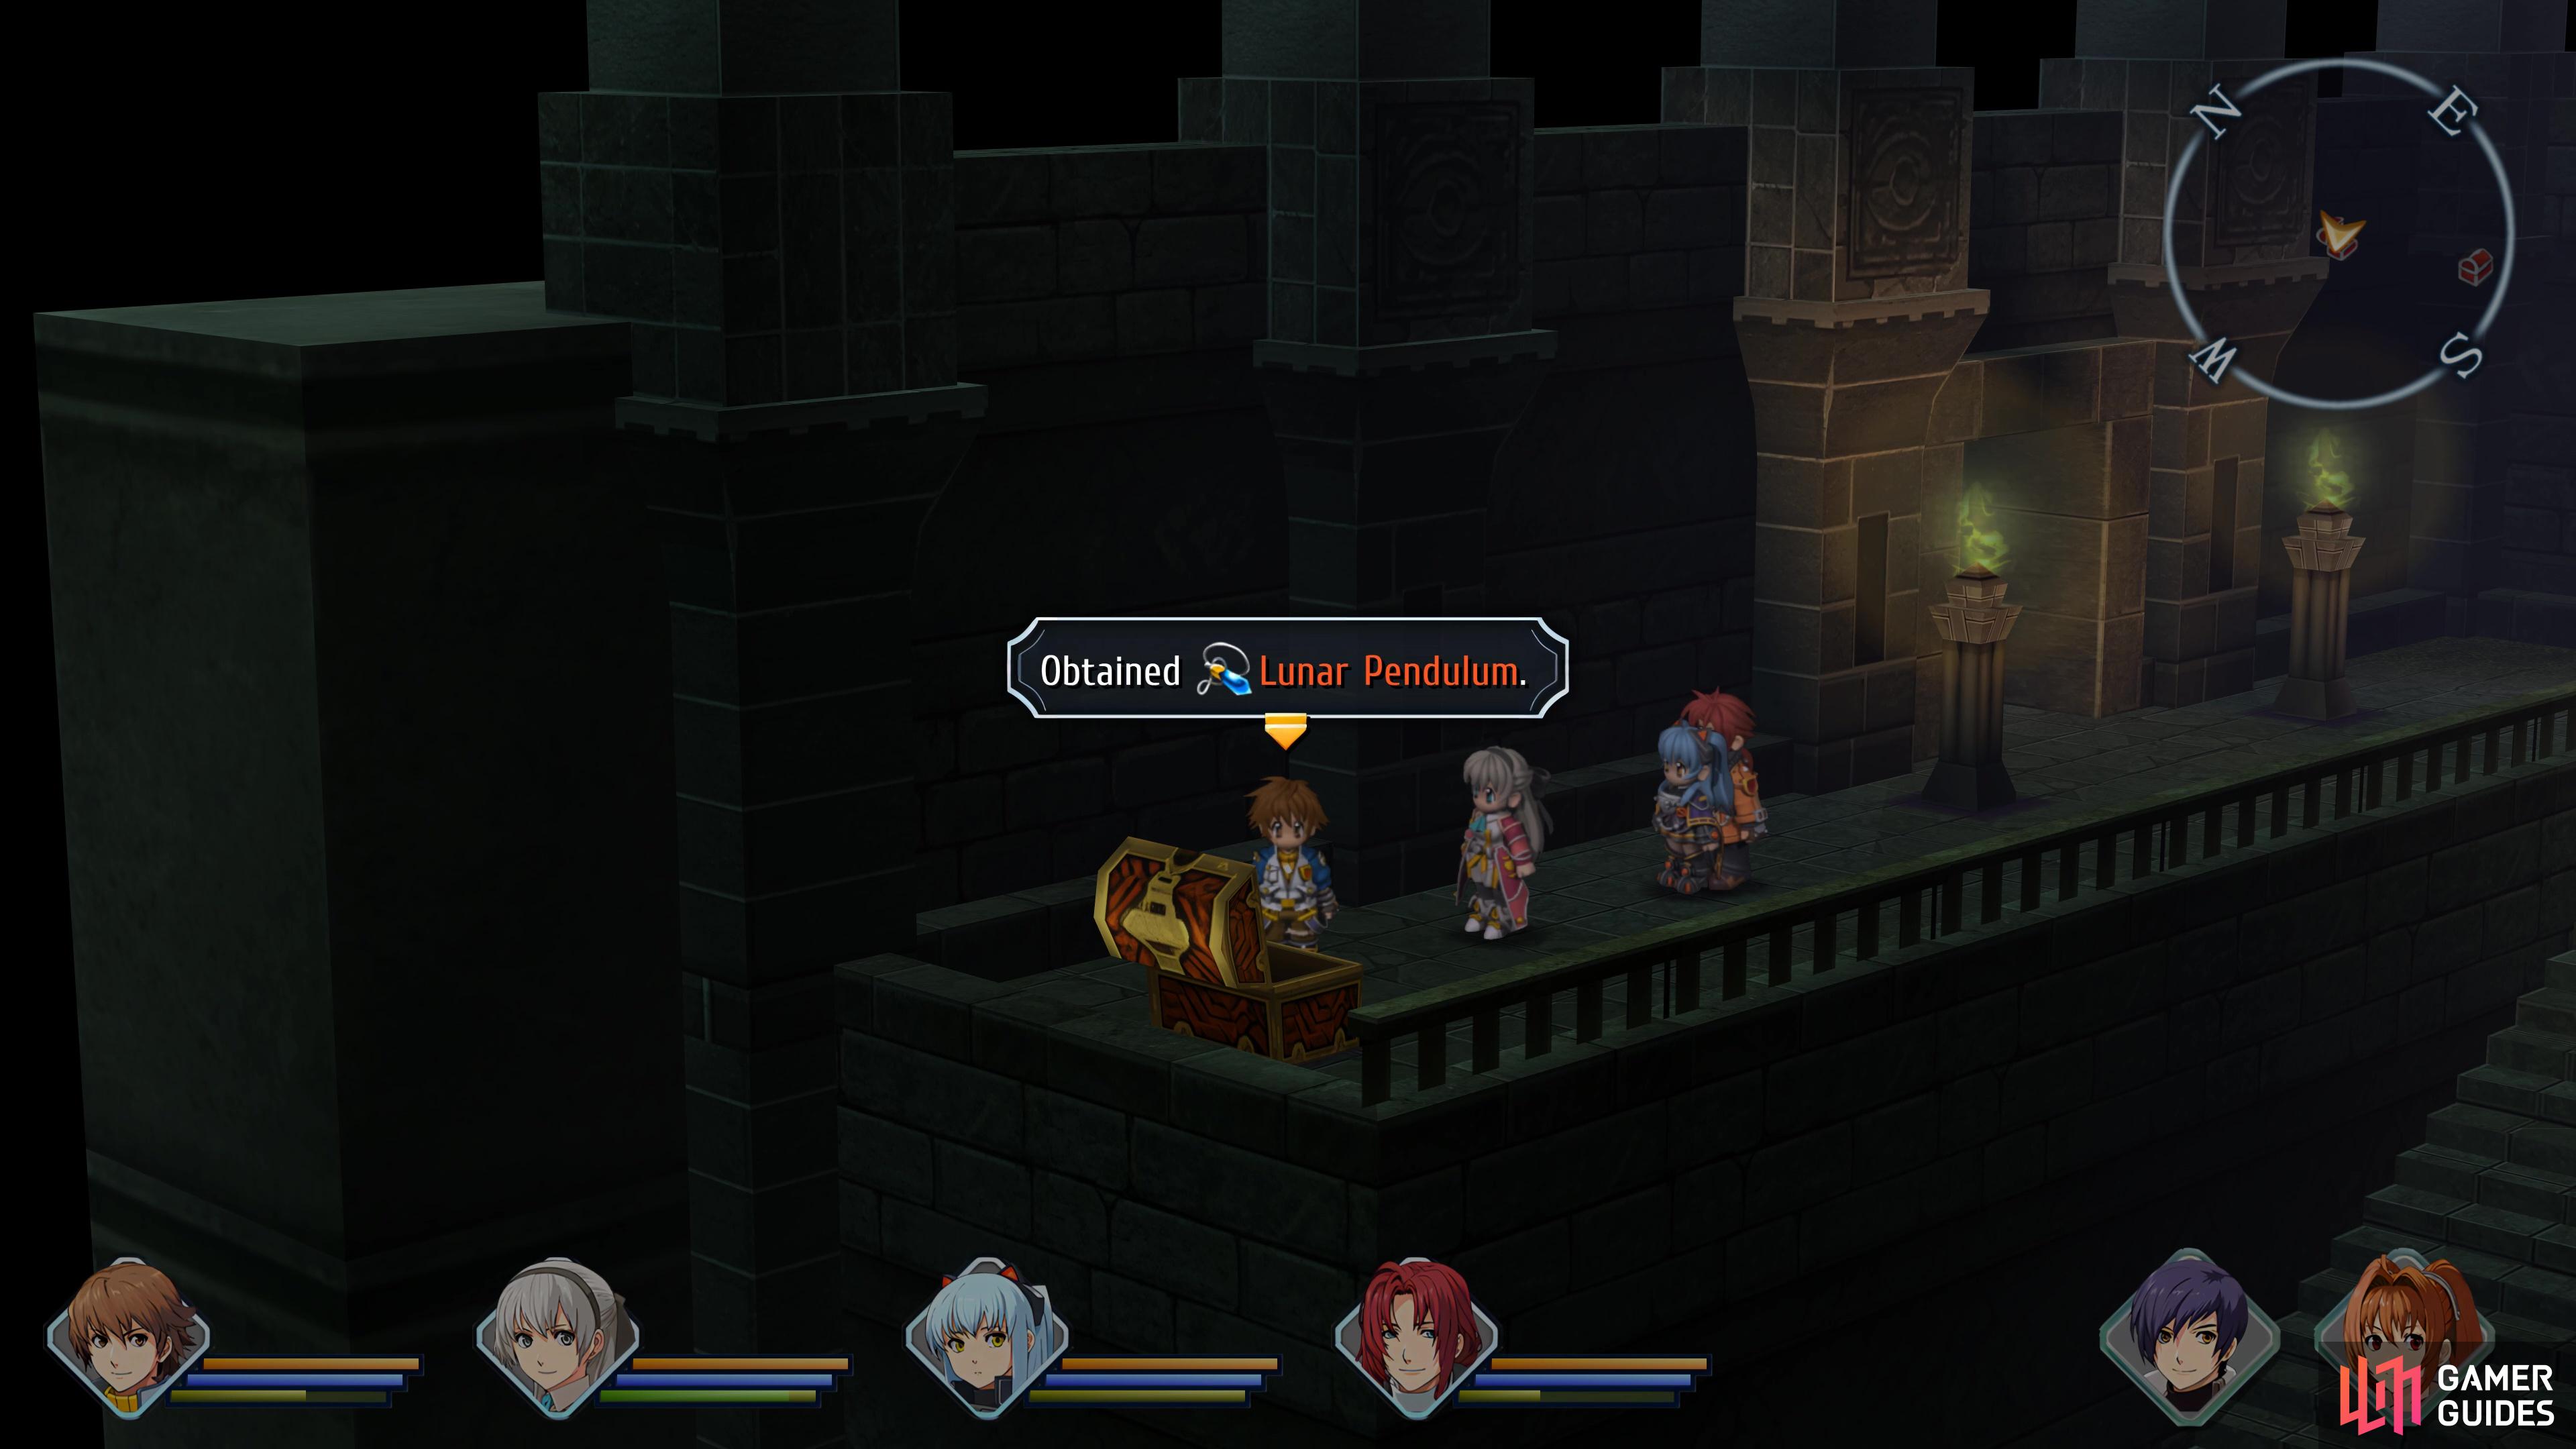
You can find a Lunar Pendulum
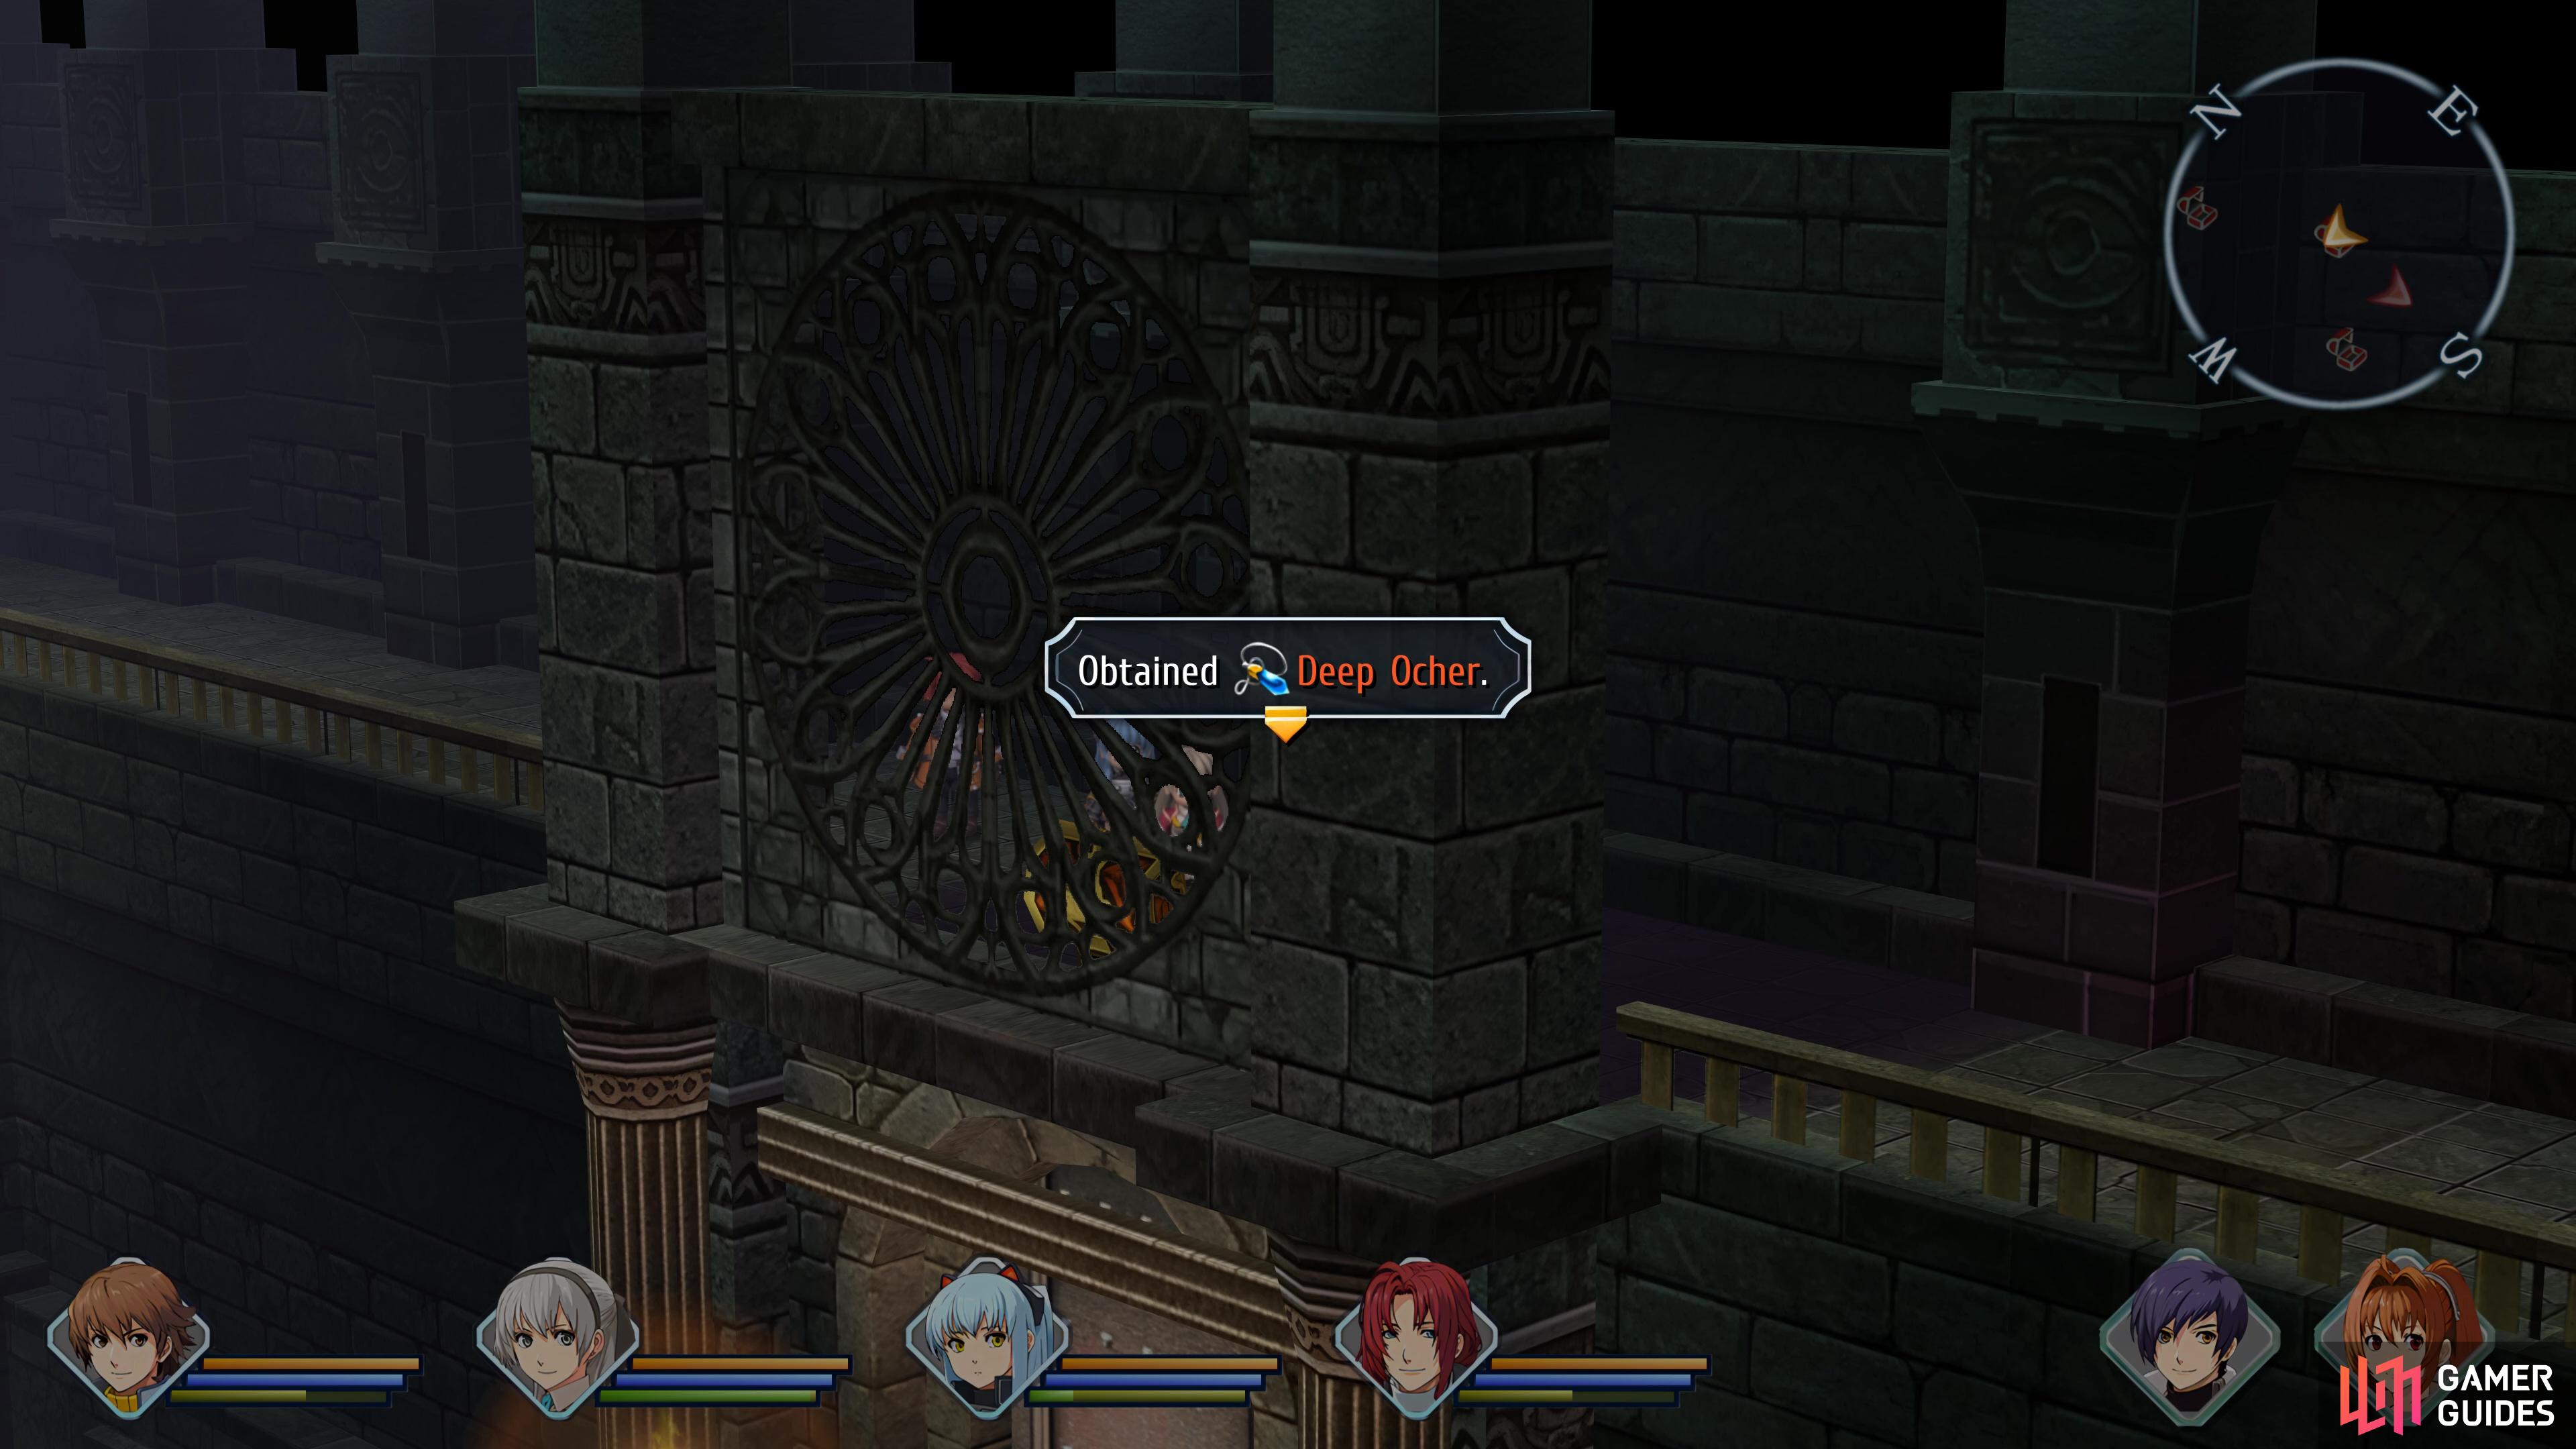
and Deep Ochre on the upper level of the main room.
Return to the main room and head southeast to find a chest with a Deep Ocher, then follow the rest of the path around to exit through the southern door. Take a look at the line of statues and you’ll spot on that has its sword horizontal, examine it to raise it and you’ll open a door near the Recharge Station. Return there, heal up and then pass through the door for the first boss of the Sun Fort.
Boss Battle - Aka Manah
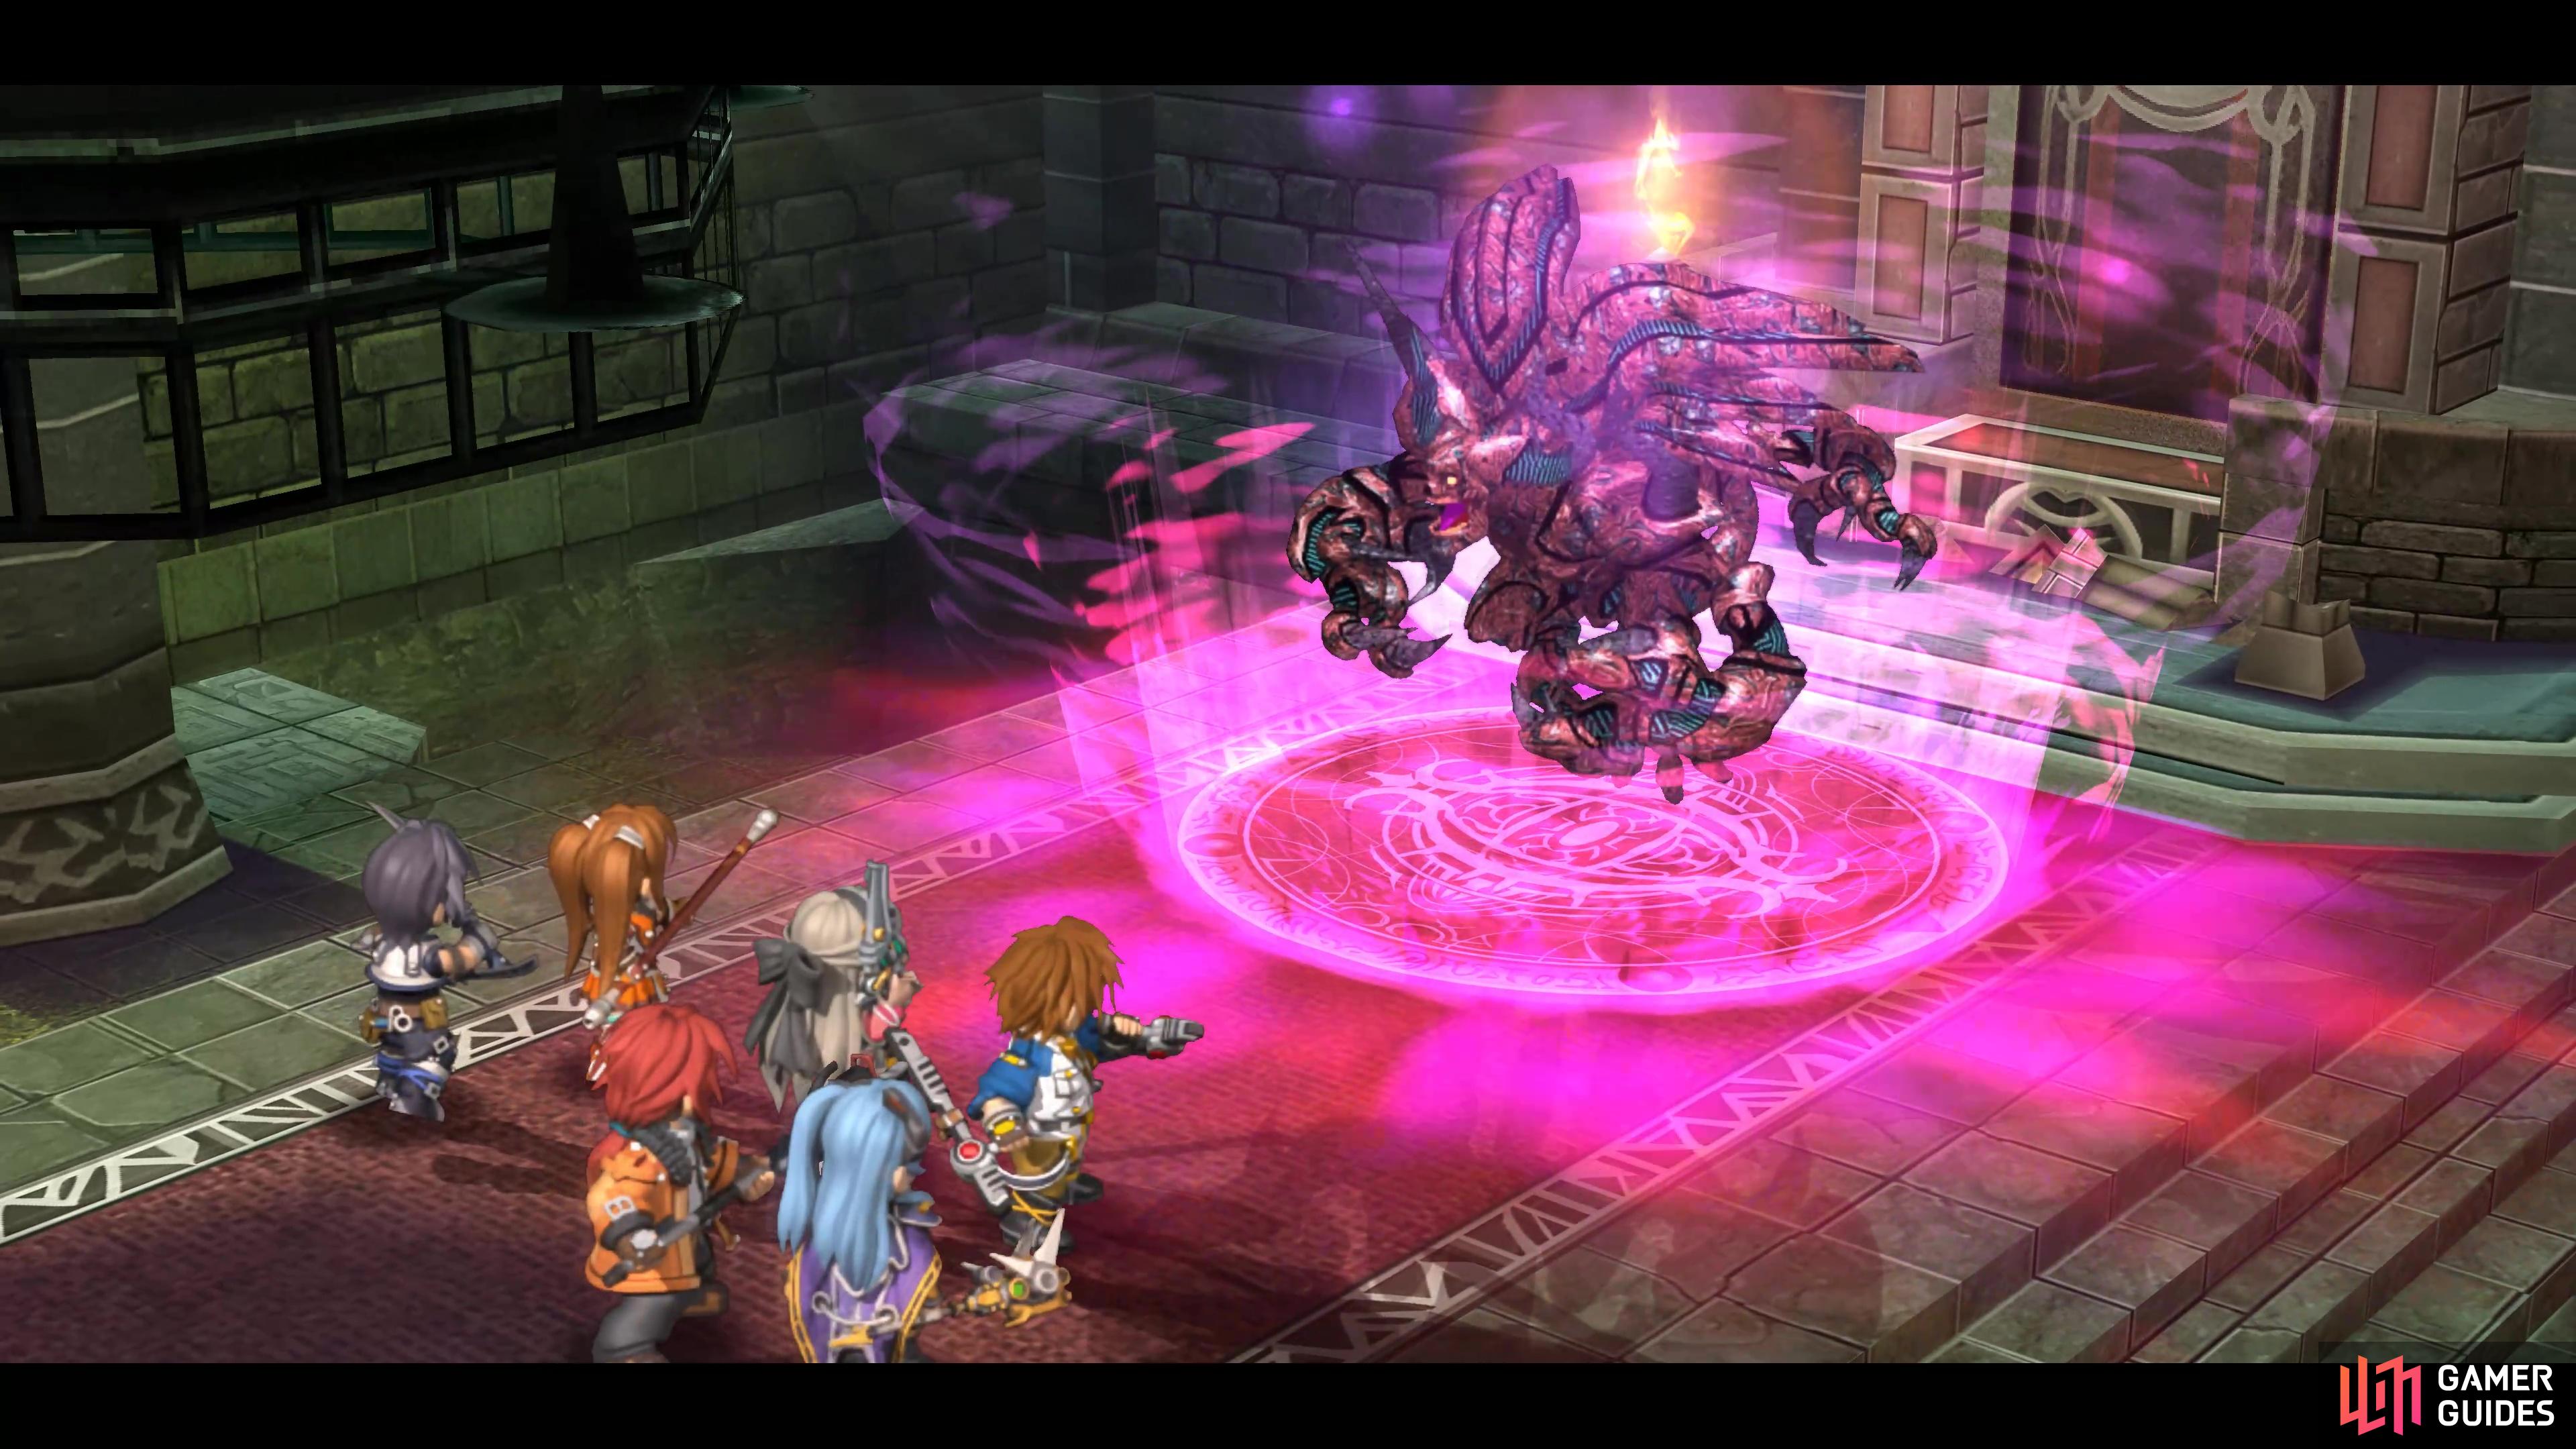
Aka Manah is the boss of the First Stratum.
| Enemy | Lv | Elemental Effectiveness | Drops |
|---|---|---|---|
| Aka Manah | 36 | Tearal Balm, Celestial Balm |
Being the first boss of the final dungeon, Aka Manah doesn’t pose too many threats, and merely serves as a warm-up for things to come. Aka Manah has Super Recovery, which it will use before taking another turn and it will heal it for around 650+ HP. Demon Claw will target a single character and will inflict Poison, Seal, or Faint unless the character is protected against them.
If you see it casting an Art, be sure to Impede as it’ll cast Shadow Blade, this hits in a large AoE and will also absorb some of that damage back. This will also deal around 1800+ damage to anyone it hits so be ready to heal whoever is struck by it should you not get the chance to cancel it.
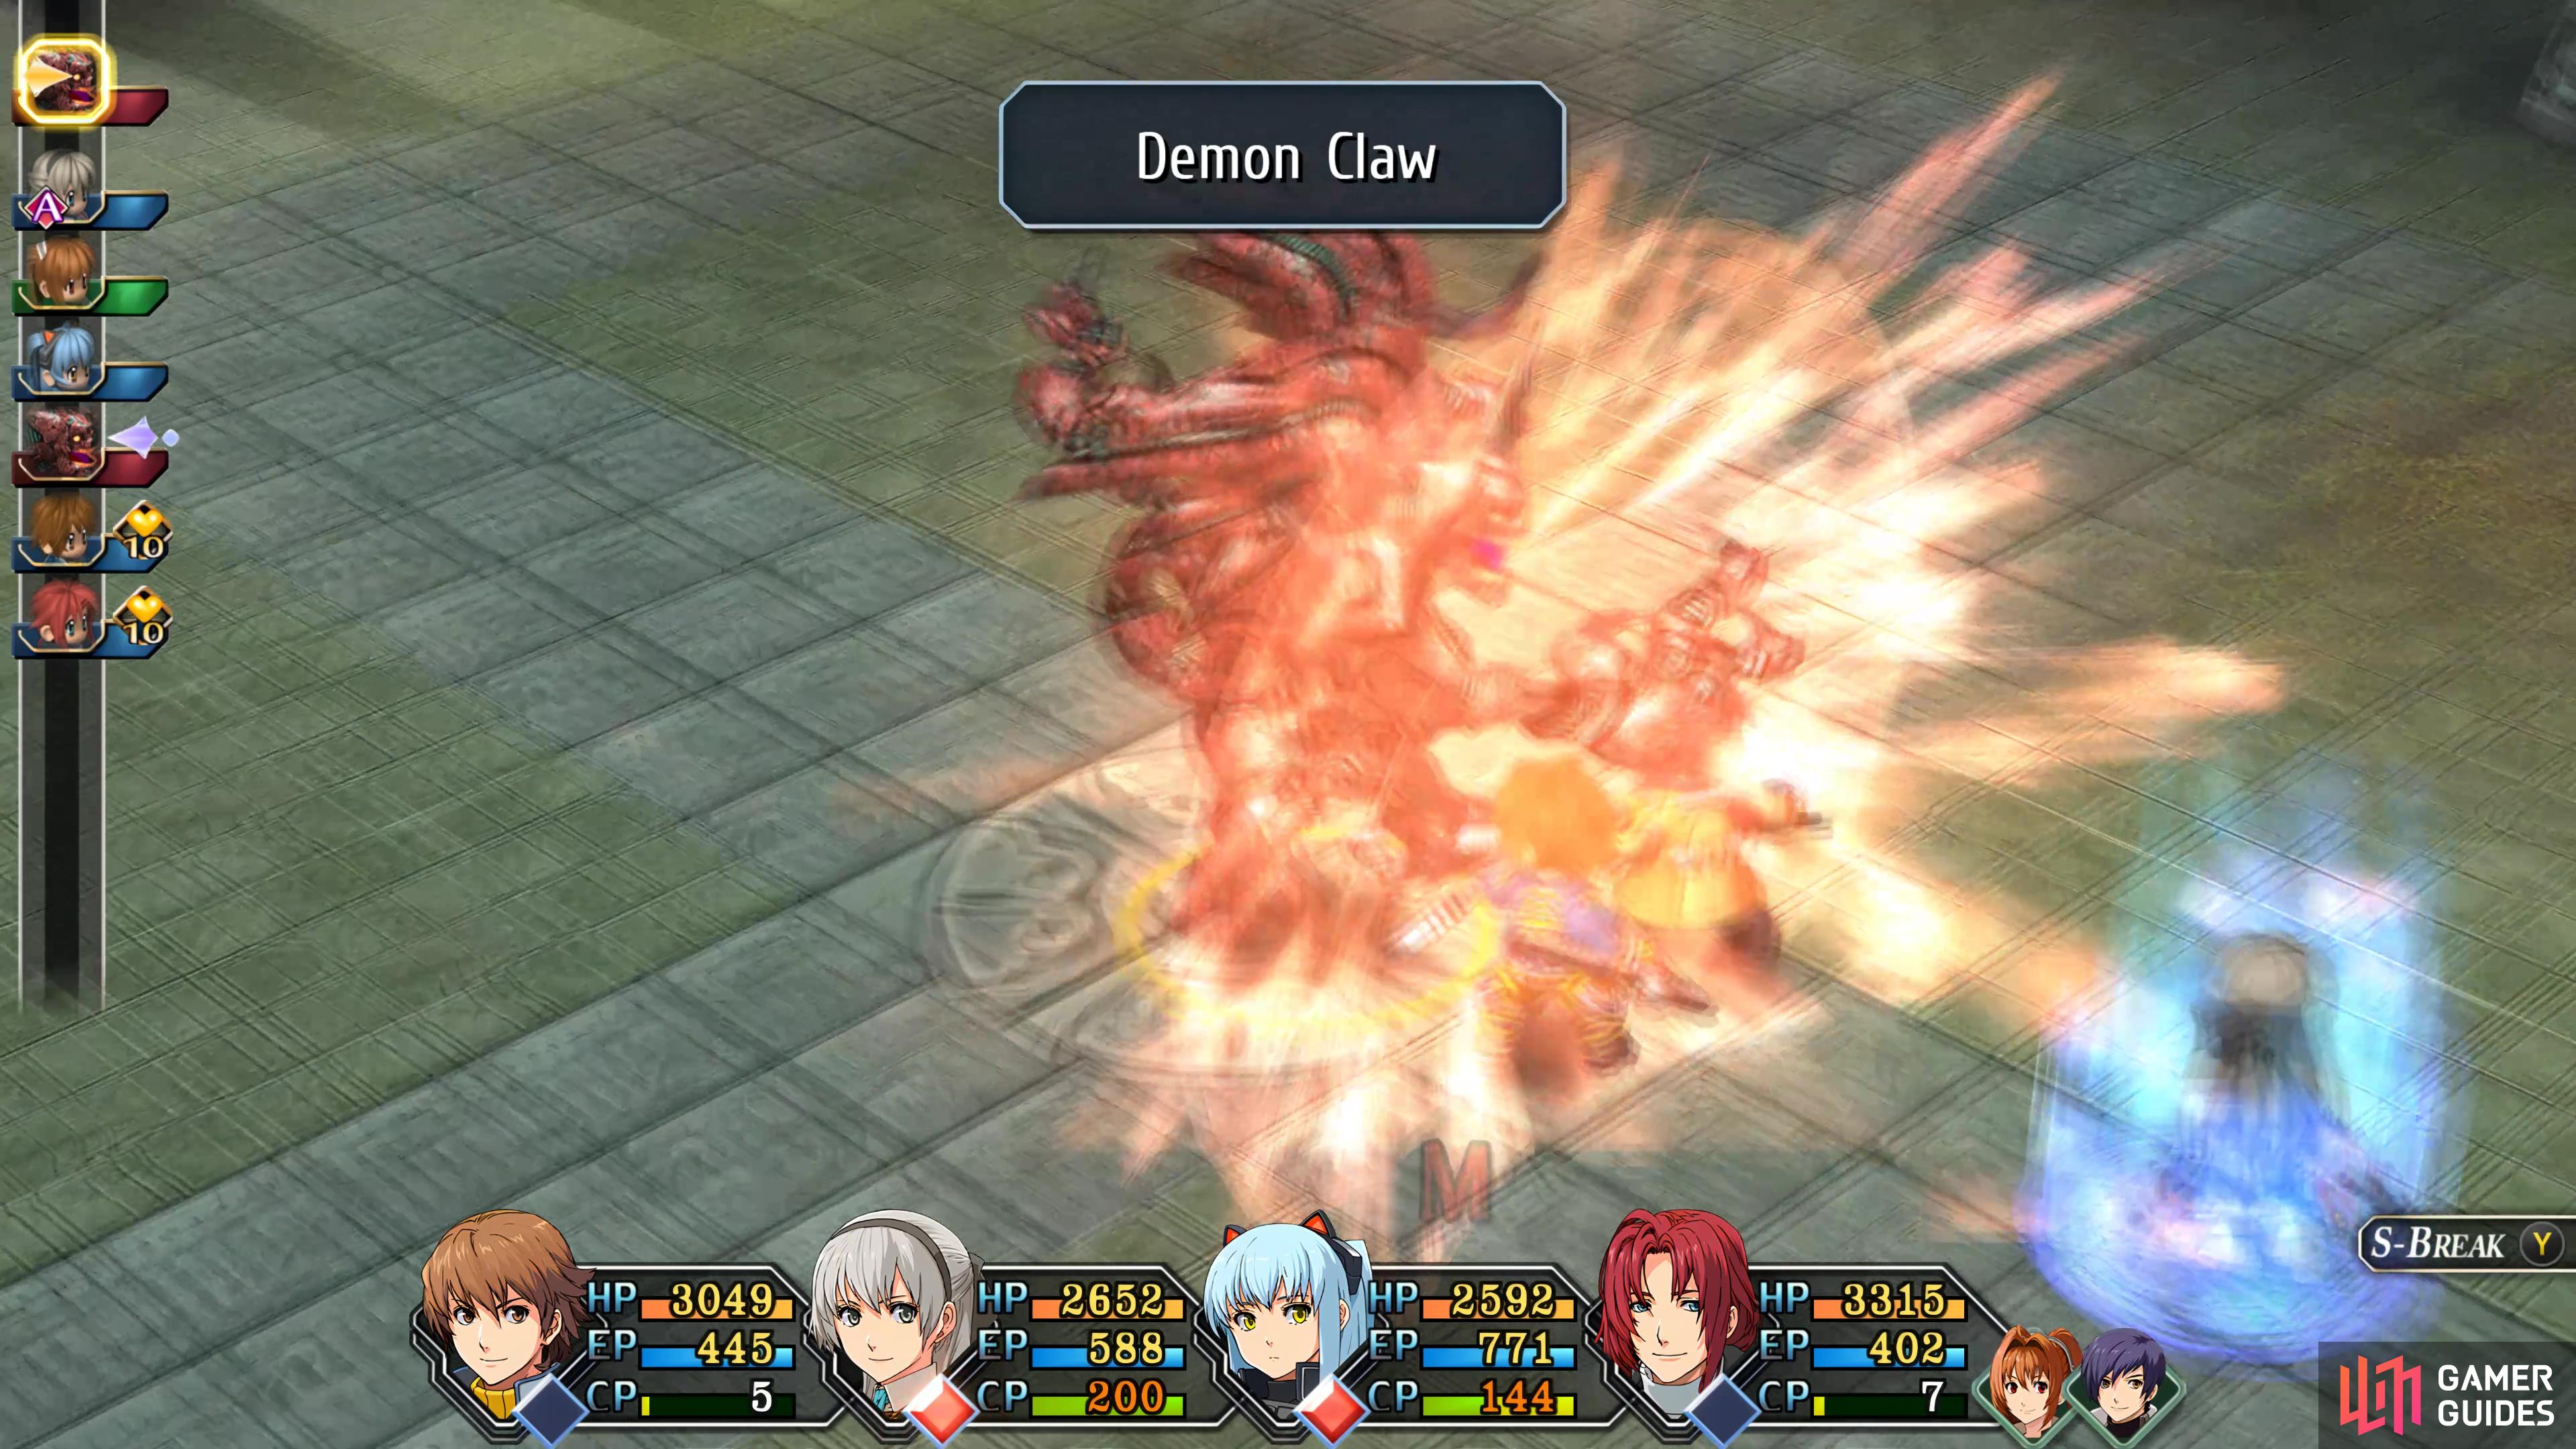
(1 of 3) Demon Claw will inflict Seal, Poison, or Mute if you’re not protected against it
As for damaging Aka Manah, as always, Randy and Lloyd’s S-Breaks can easily hit for 5000+ HP at this point of the game, that’s over half of its HP right there. Aka Manah is also weak against Space Arts, so if you have any Arts such as Dark Matter or especially Last Disaster, use them. Using Tio with the Gemini Gem, Cast, and ultimate equipment (including her weapon), she was dealing around 7000+ HP to Aka Manah.
After the battle, check the northern and southern walls of this room to find two chests containing a Celestial Balm and a Tearal Balm. Use the Recovery Station in the previous room if you need to and then head through the eastern door in the boss room.
Make your way down the stairs, ignoring the first two exits to the south and west and you’ll reach a chest at the end containing All Sepith (200). Return to the last door you went by and head through to find another Recharge Station. Head up the northern stairs and flip the switch then continue to the door in the northeast.
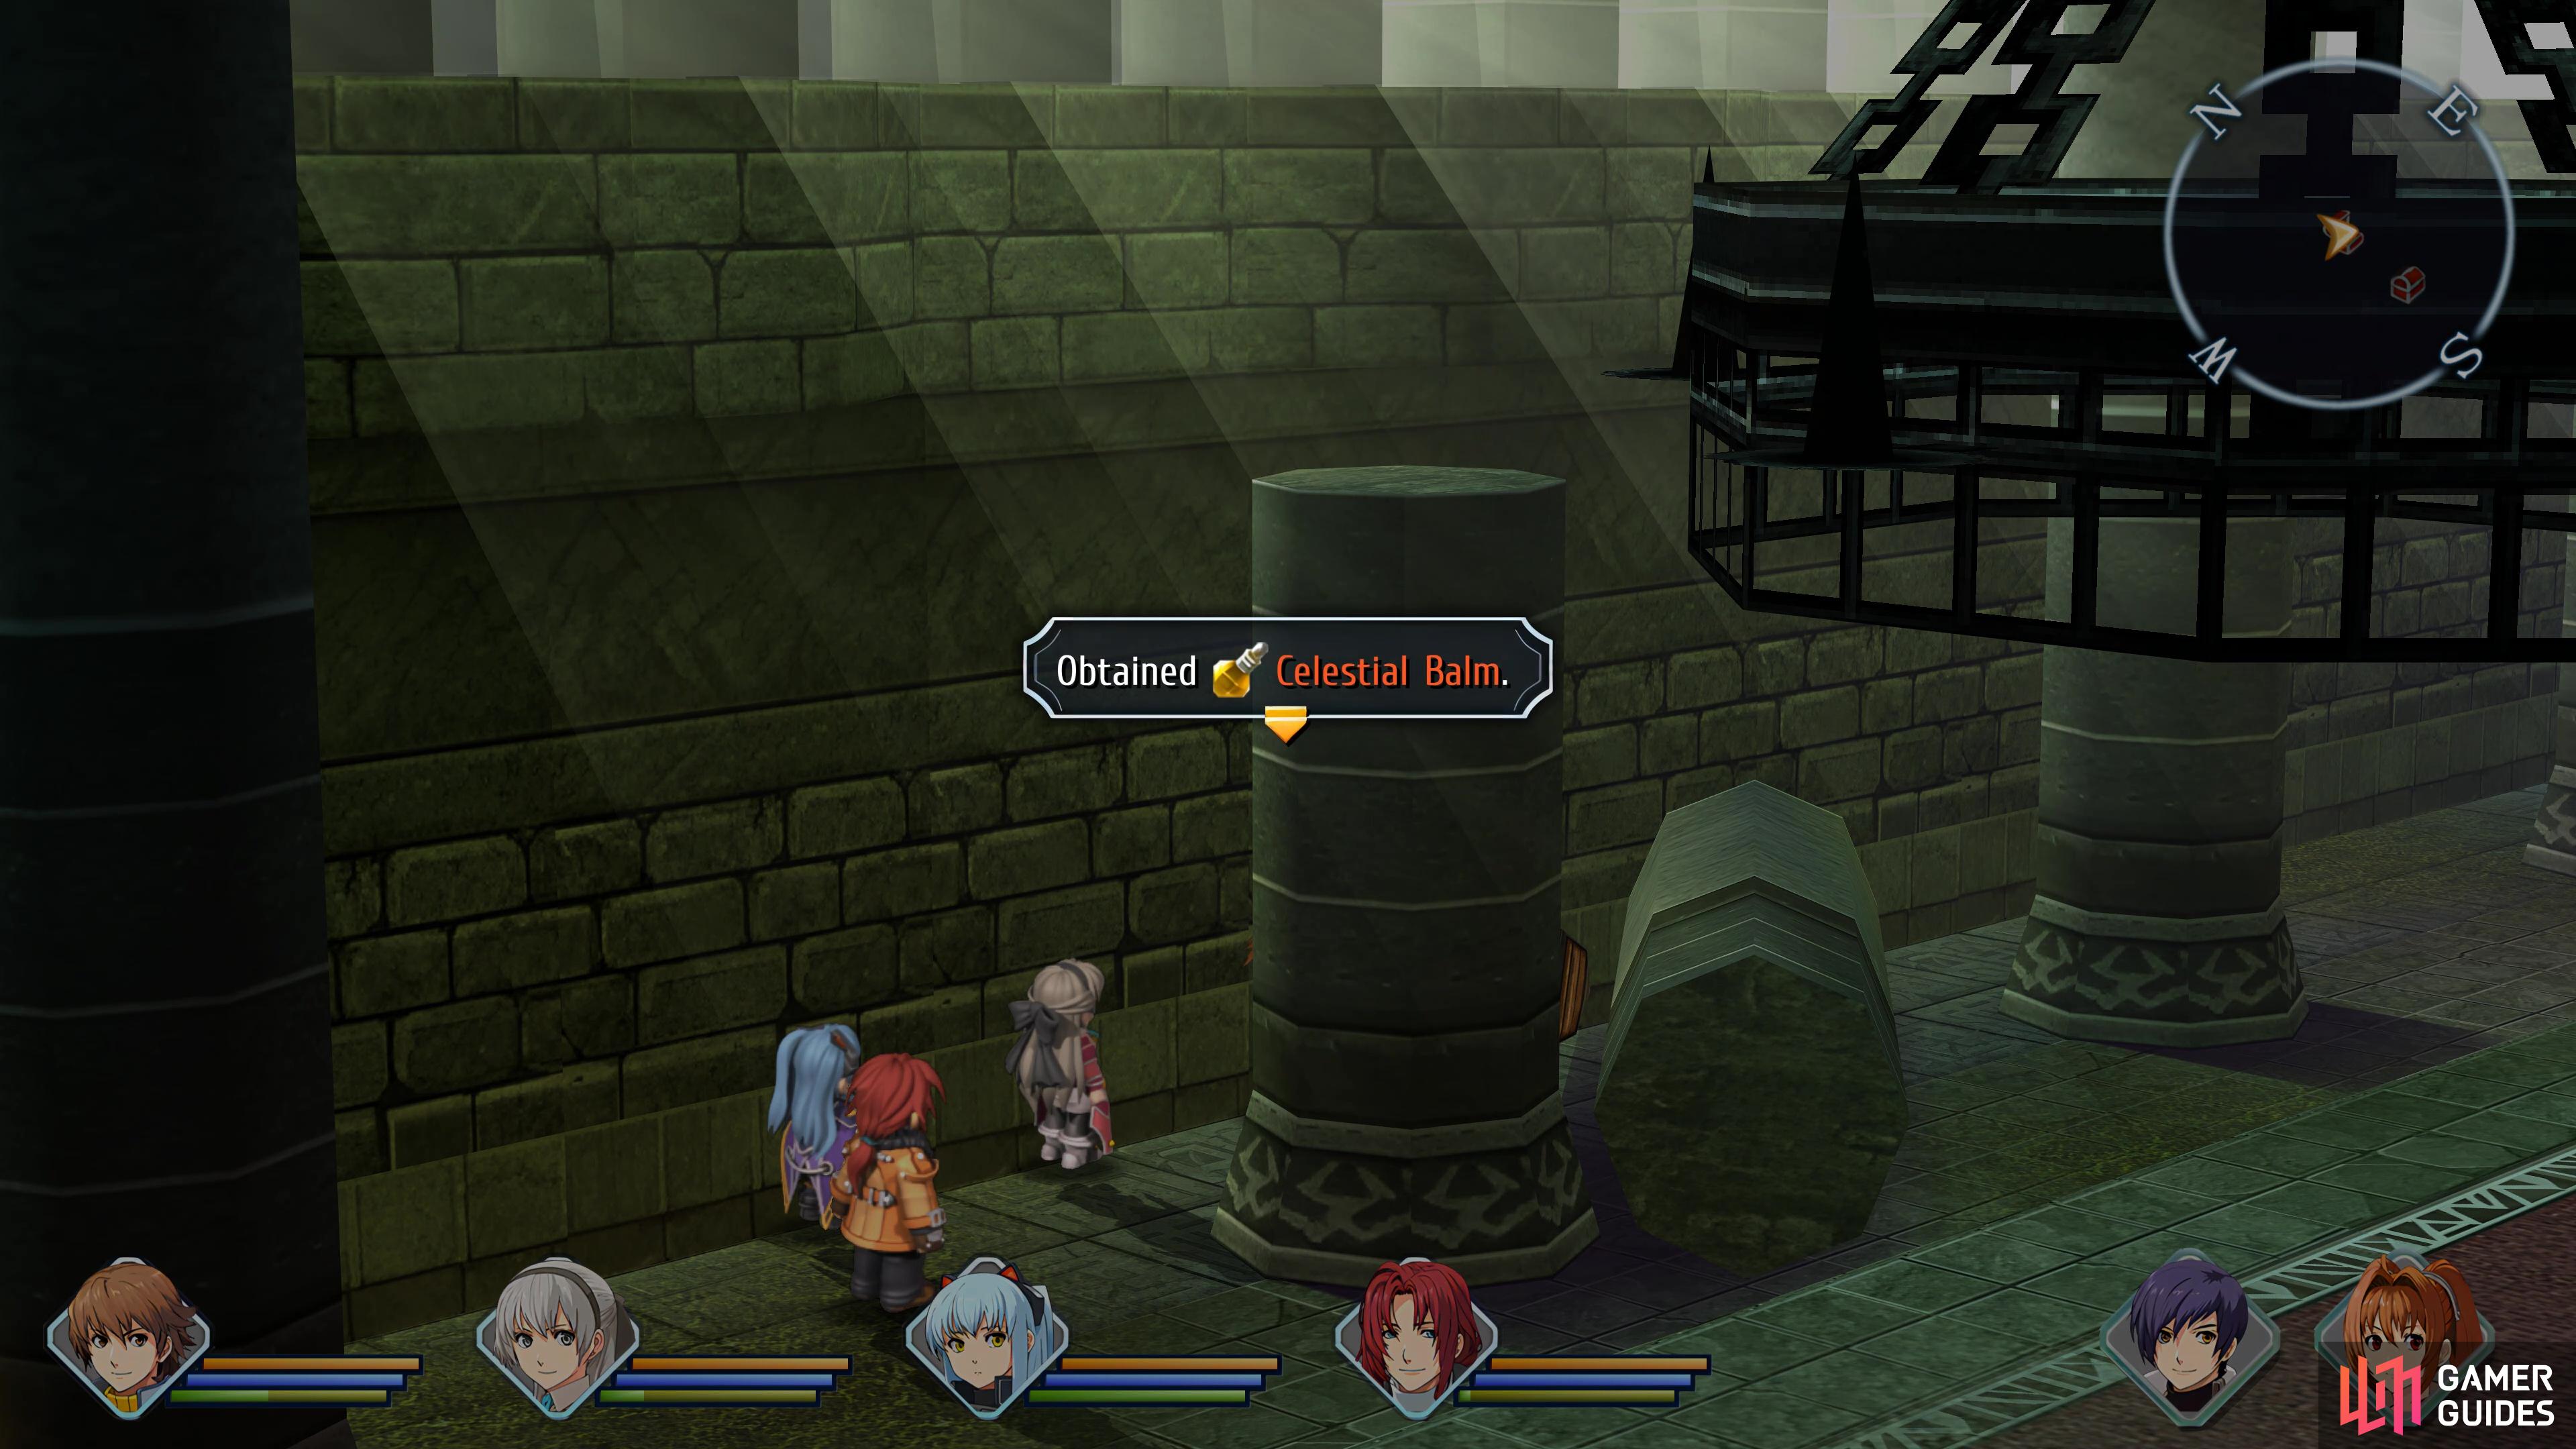
This Celestial Balm is hidden behind a pillar in the boss room
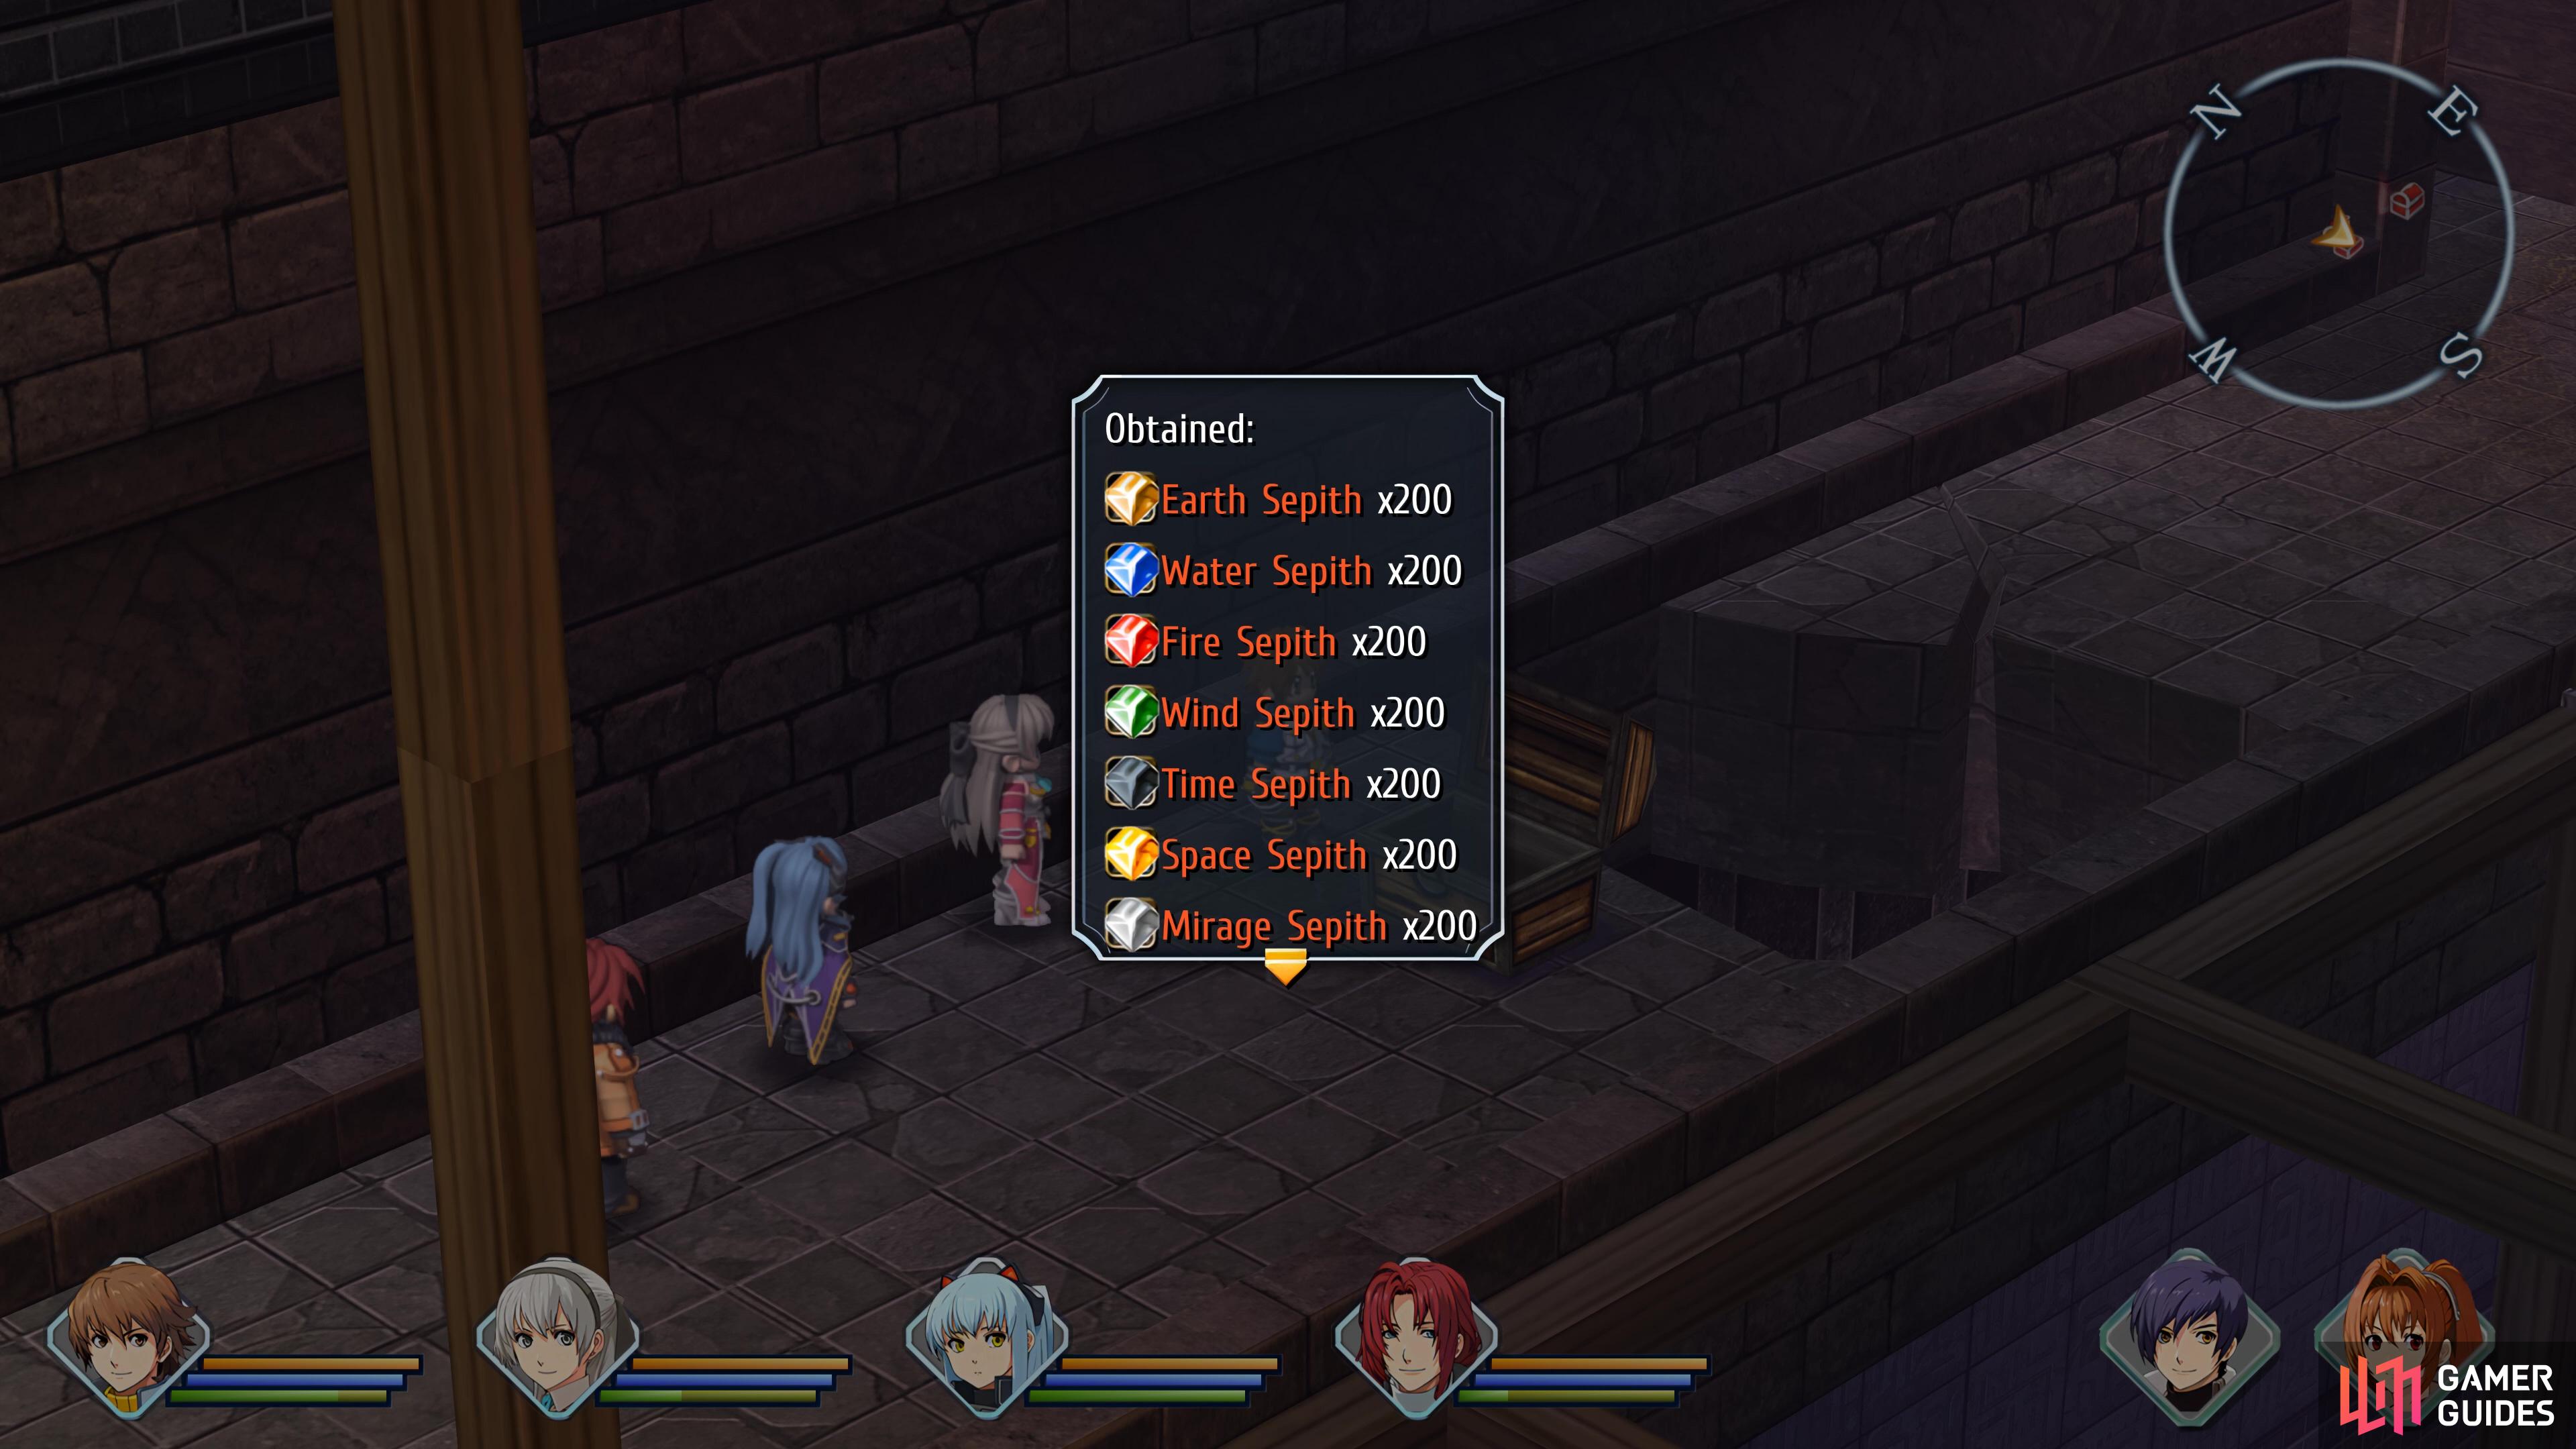
you will find two chests with 200 of All Sepith.
In this next corridor, ignore the door and go to the end to find a chest containing an EP Charge II, then go through the other door and through the southern exit in the next corridor, you’ll find a chest with All Sepith (200). Return to the previous corridor and take the stairs up until you reach a fork.
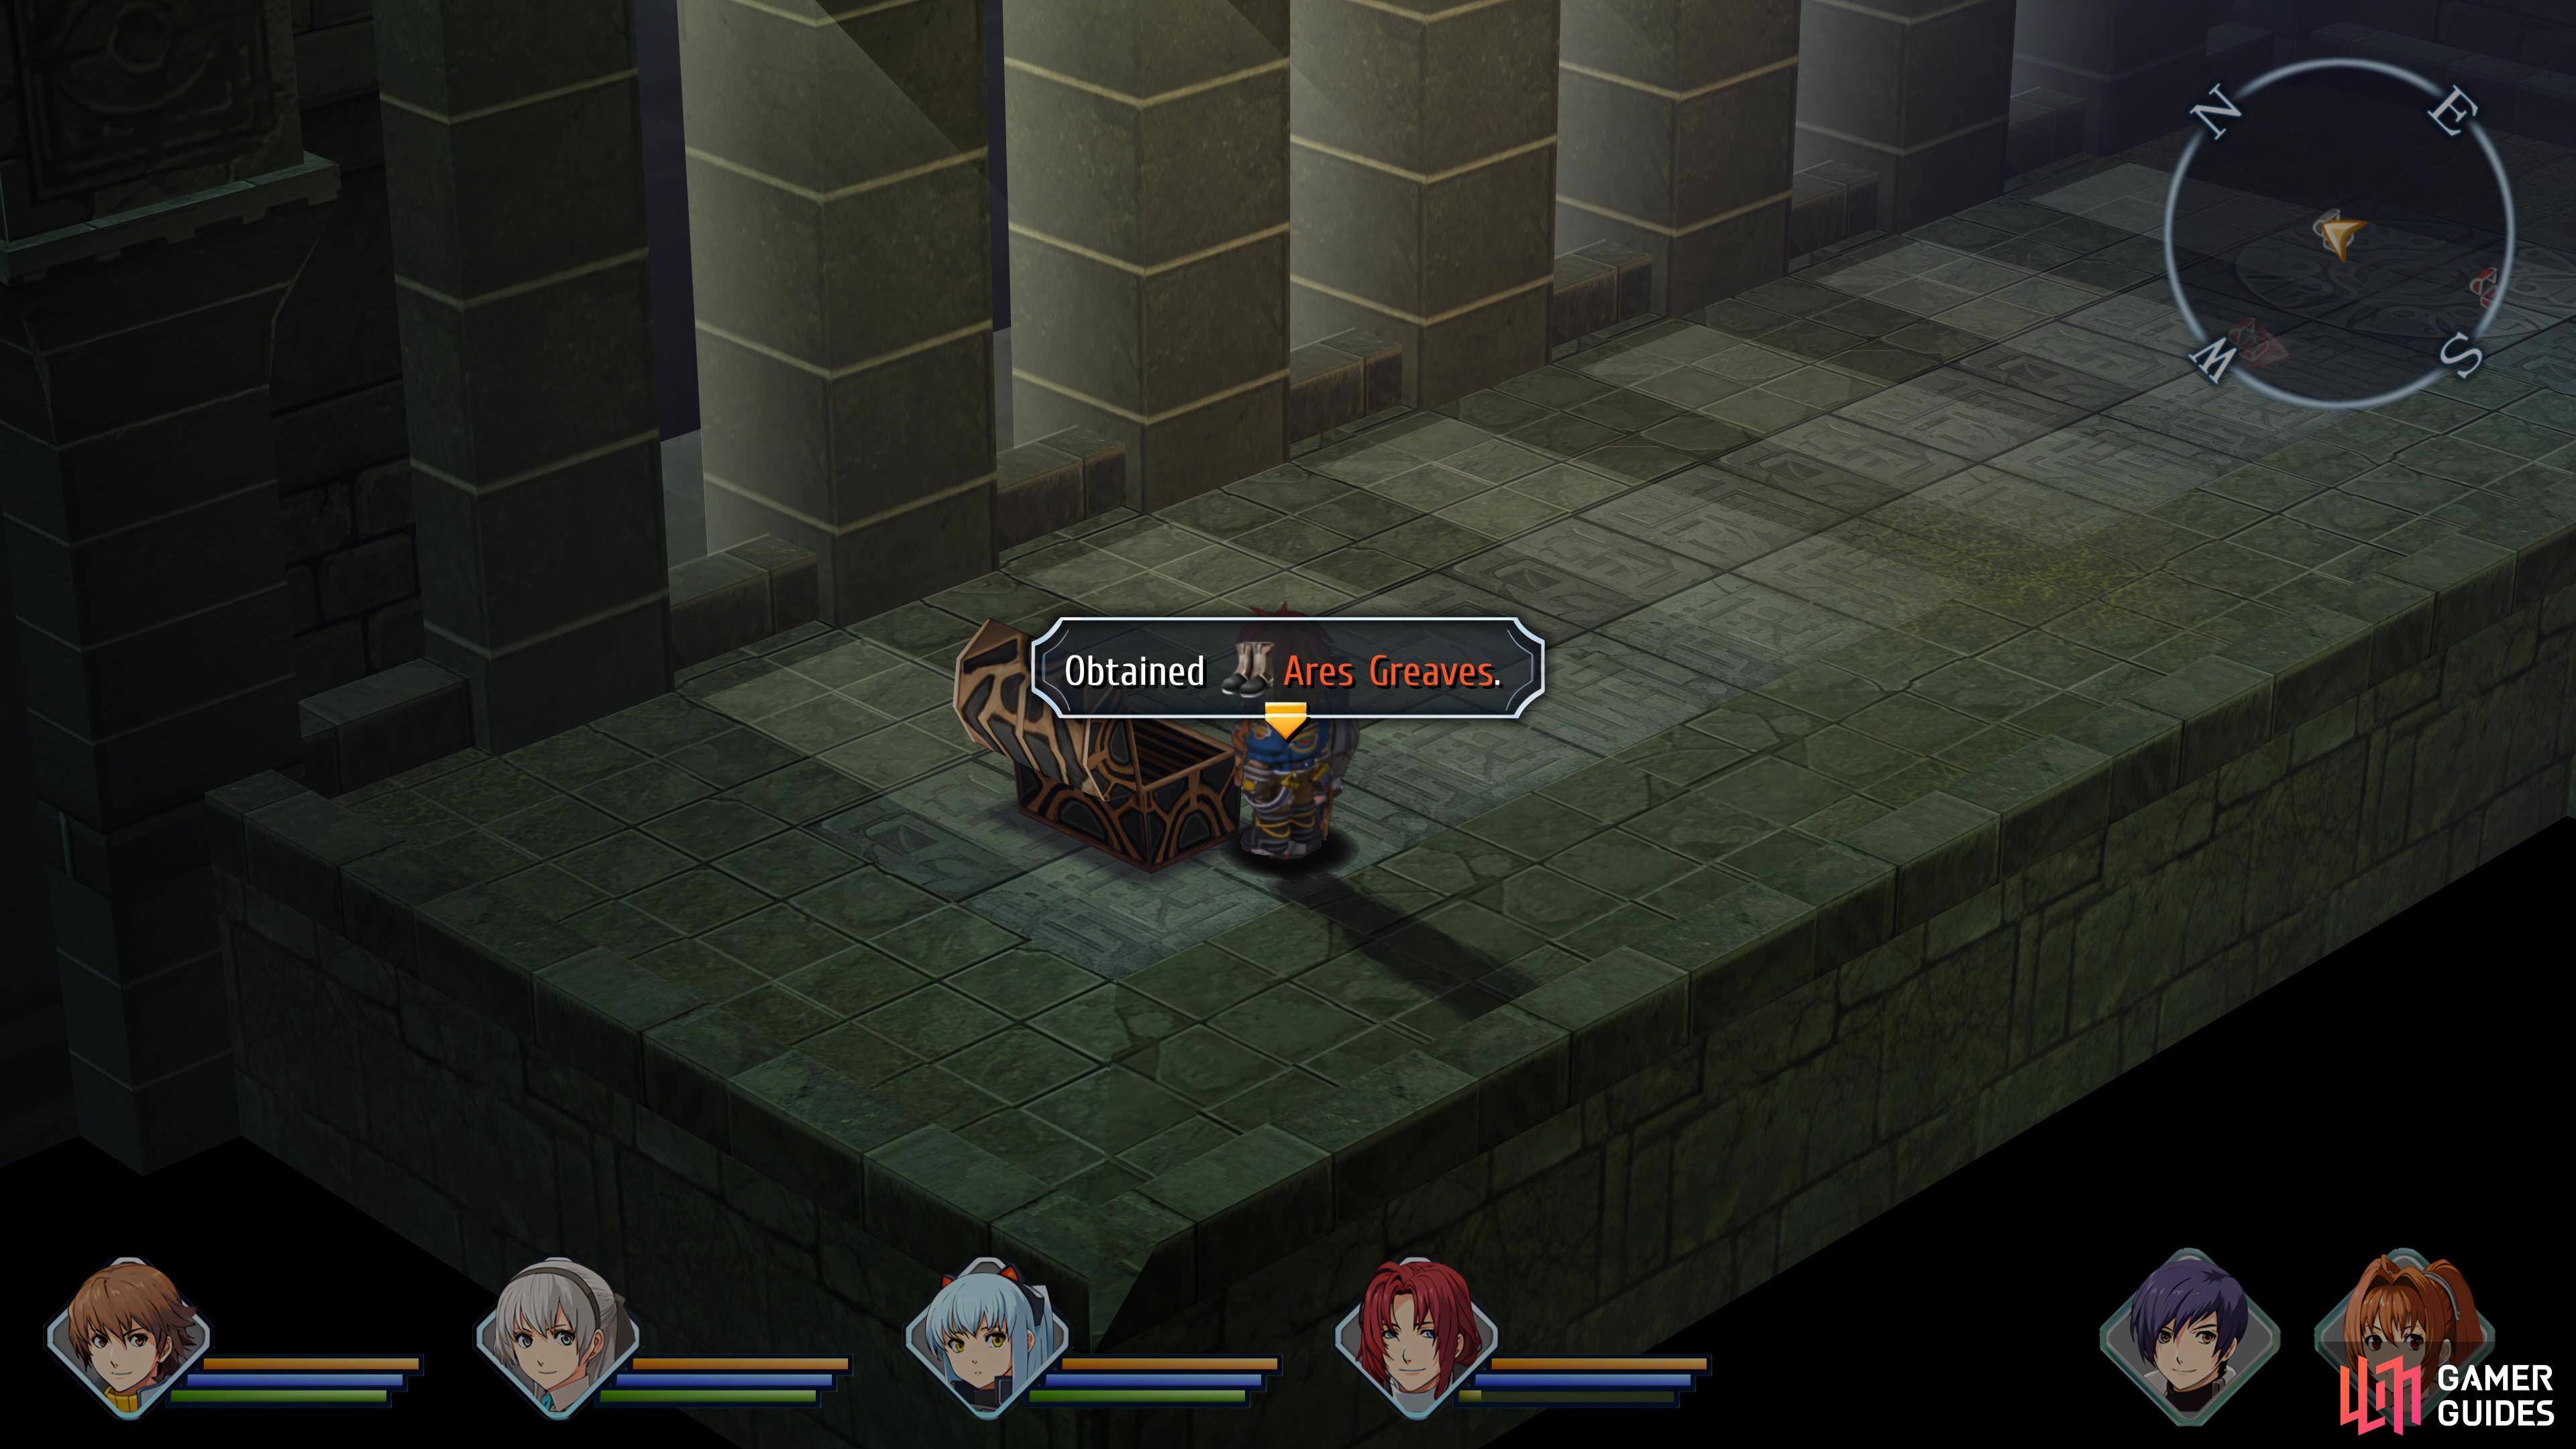
Go west here and in the next corridor, go to the south to find a chest with a S-Tablet. There’s a monster chest to the north against enemies you’ve been fighting throughout this stratum. For winning the battle, you’ll obtain some Ares Greaves (these are worse than the ultimate boots you hopefully already crafted). Return to the previous room and continue around to the eastern exit. There are no enemies in this next area so simply pass through it (while admiring the scenery).
Follow the path down the stairs and you’ll reach a wheel you can spin to open the gate below. Continue west and in the next area go south to find a chest containing a Curia Balm, then go west and down the stairs to find another chest at the end, this one containing a Proxy Puppet. Once you have both chests, pass through the western door.
Continue north to find the second switch that will fully lower the gate and create a bridge for you. Go over this bridge, down the stairs to your right and out the eastern door. Take the stairs back up until you reach the southern door you skipped earlier and go through it. Head down the stairs here and you’ll find two chests, one containing an EP Charge II along with a monster chest containing the Lost Campbell. If you didn’t go for Elie’s ultimate weapon, this is the best one you can get for her.
This is also the final chest of the first stratum so return down the stairs to the gate you opened and pass through to reach the second stratum.
No Comments