
This page covers the first main quest in Day 2 for the Prologue in The Legend of Heroes: Trails from Zero. This will include any missables that become available during this main quest.
You’ll learn about Support Requests in day 2.
Key Information
Quests
| Quest | Availability | DP |
|---|---|---|
| Lost Item Search | After completing Support Request Explanation | 3 |
| Vacancy Verification | After completing Support Request Explanation | 3 |
Items
| Item | Location |
|---|---|
| Crossbell Times - Issue 1 (Book) | Central Square: Times Department Store |
| Fish Filet (3) | Central Square: Give Coppe Cat Food on the SSS roof |
| All Sepith (30) | Central Square: Access via the Geofront ladder |
| Recipe Notebook | West Street: Morges Bakery |
| Happy Ham Sandwich (Recipe) | West Street: Morges Bakery |
| Eagle Eye Quartz | West Street: Villa Raisin’s Apartments |
| Vanilla Au Lait (Recipe) | Entertainment District: Ice Cream stand |
| Crispy Fry (Recipe) | East Street: Fisherman’s Guild Bookshelf |
| Flower Pumps | Downtown District: Chest southwest of Trinity |
| Back Alley Doctor Glenn - Ch. 1 (Book) | Administrative District: Library |
Exploring Crossbell City
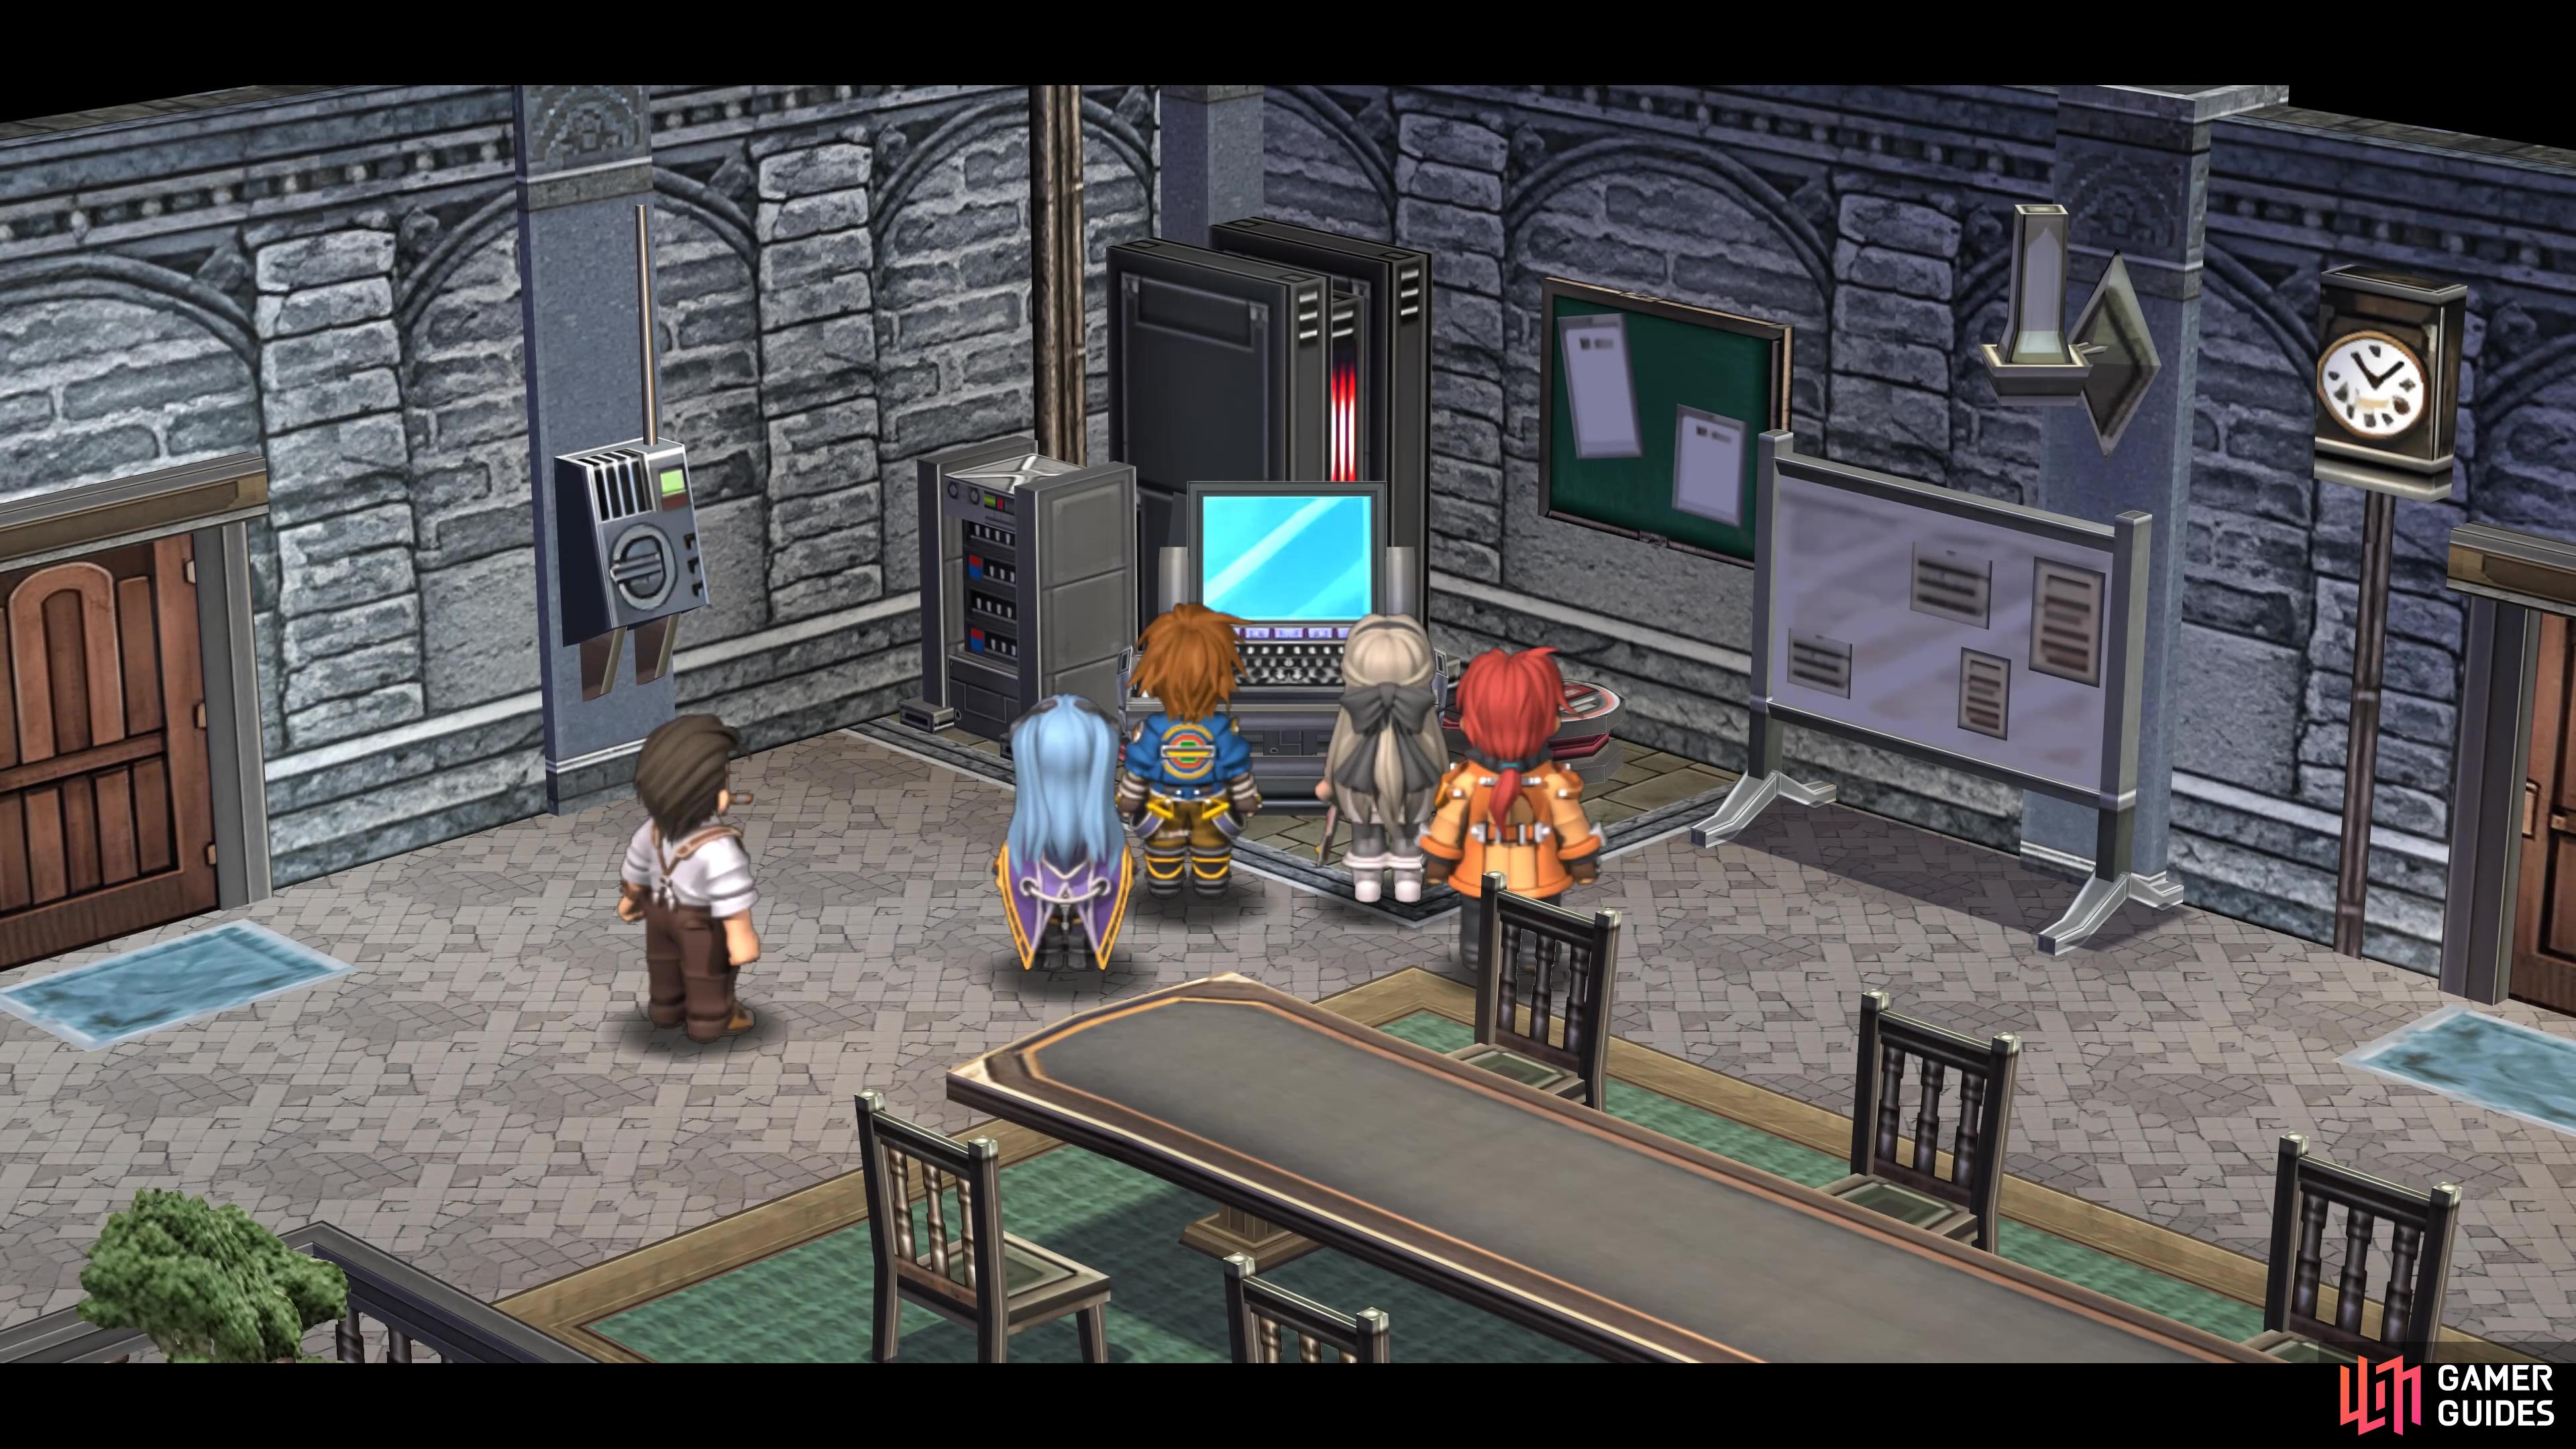
Once you regain control, you’ll find yourself in front of the Orbal Computer in the SSS HQ. Examine it to check the available requests and you’ll see a single, urgent one there. Any Request that is marked as urgent will advance the main story, so be sure to do all other requests before them so that you don’t miss them (and the DP they offer).
Your first task is an easy one, go to the CPD in the Administrative District however, as Chief Sergei suggested, now is a good time to get acquainted with the Crossbell city, which acts as your main hub for Trails from Zero. There are also mini-events that you can access and chests to plunder, let alone books and other missables. Below you’ll find what each district has to offer right now.
Central Square
This is where you are right now, and you’ll find several important amenities.
- SSS HQ: This is where Lloyd and the others live, and you’ll find the Orbal Computer here where you can accept and turn in Requests.
- Gironde Armory: Up the stairs from the SSS building is the weapon shop.
- Genten Orbal Store: As the name suggests, come here for anything Orbment related, be it opening slots or crafting Quartz.
- Times Department Store: This is a mall with multiple shops here such as stores for Items, Food, Armor, Footwear, and Accessories.
- Vingt-Sept Cafe: A Restaurant where you can purchased already cooked food to use as items in battle.
With that out of the way, visit Gironde and purchase only Lloyd’s Hard Breaker. You’re limited on funds right now and you’ll want Lloyd wearing the best equipment for a tough solo battle later in the day. Make for Genten next and consider opening up a slot for every character, not only will this allow you to equip more Quartz but every slot you open will increase your max EP.

Make for the Times Department Store next and head to the food store to begin with. Purchase a single Tender Whitefish (you’ll need this shortly) from Legion’s Foods, Crossbell Times - Issue 1 from Southwark General Store, and then a Denim Jacket for Lloyd at Lucca Boutique upstairs (you’ll have to come back for boots later). There’s nothing you can do at the restaurant for now so exit Central Square to the west.
West Street
West Street is one of the residential areas in Crossbell City, but you can find a few shops here too.
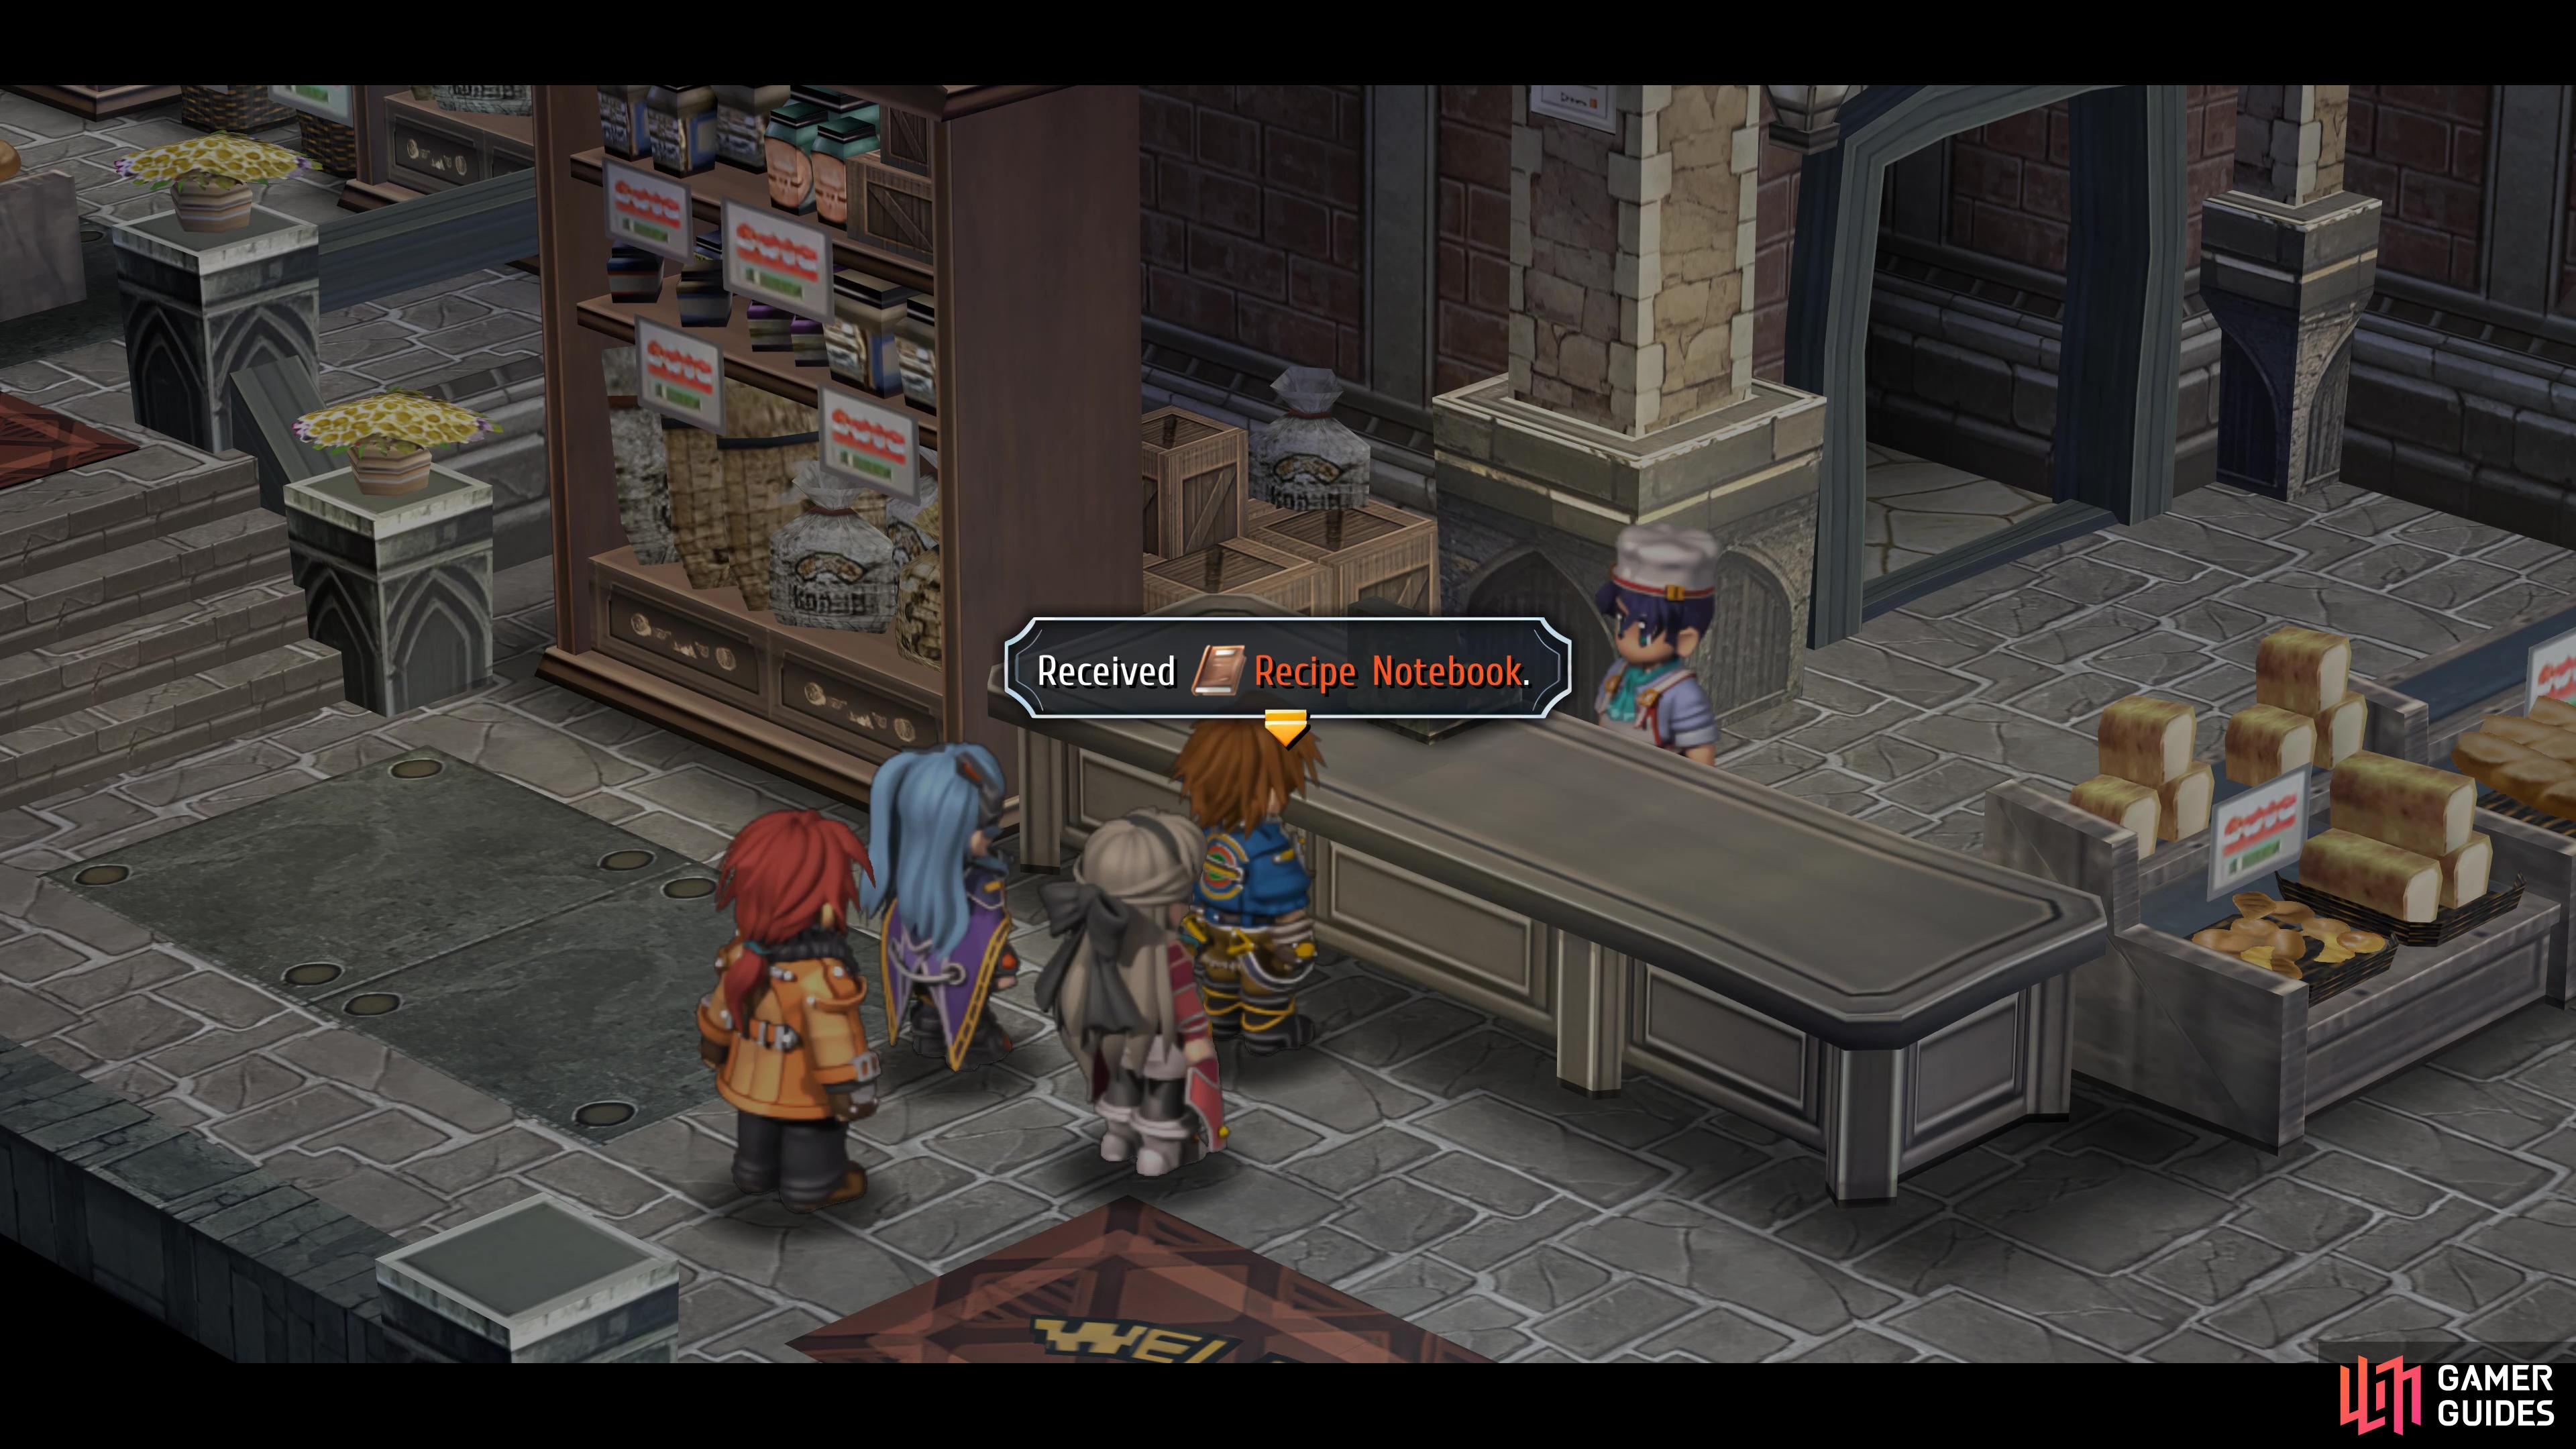
- Morges Bakery: A shop where you can purchase cooked food. Lloyd’s friend works here.
- General Store Tallys: An item shop where you can purchase basic items (along with books such as Crossbell Times).
Your first call here should be to Morges Bakery which will trigger a scene with Lloyd’s friend, Oscar, who will hand over the Recipe Notebook and the Happy Ham Sandwich recipe. This will allow you to begin cooking provided you have the ingredients. There are three variations to each recipe, and you’ll need to make every variation in the game for rewards so be sure to be on the lookout for any recipes.
Head to the west of this street now and enter the Villa-Raisins Apartments. Inside, head to the left and pass behind the stairs to find a hidden door leading back outside where you can pillage a chest containing an Eagle Eye. This Quartz will allow you to see the location of enemies on the mini-map so be sure to have someone equip it. That’s it for West Street, although there’s an optional event at the Belheim Apartments should you wish to view it.
Entertainment District and Back Alley
This is another district that will become important later in the game for story reasons. For now, speak to Sophie at the Ice Cream stand to the north to obtain the Vanilla Au Lait Recipe and head into Arc en Ciel to the north for an optional scene. Make note of the Hotel Millennium, it costs a whopping 800 Mira to rest here but as a result, you’ll restore 200 CP in the process.
If you exit this area to the southeast, you’ll find the Back Alley that connects back to the Central Square. There are two important shops that will open here later so you can feel free to just pass through for now.
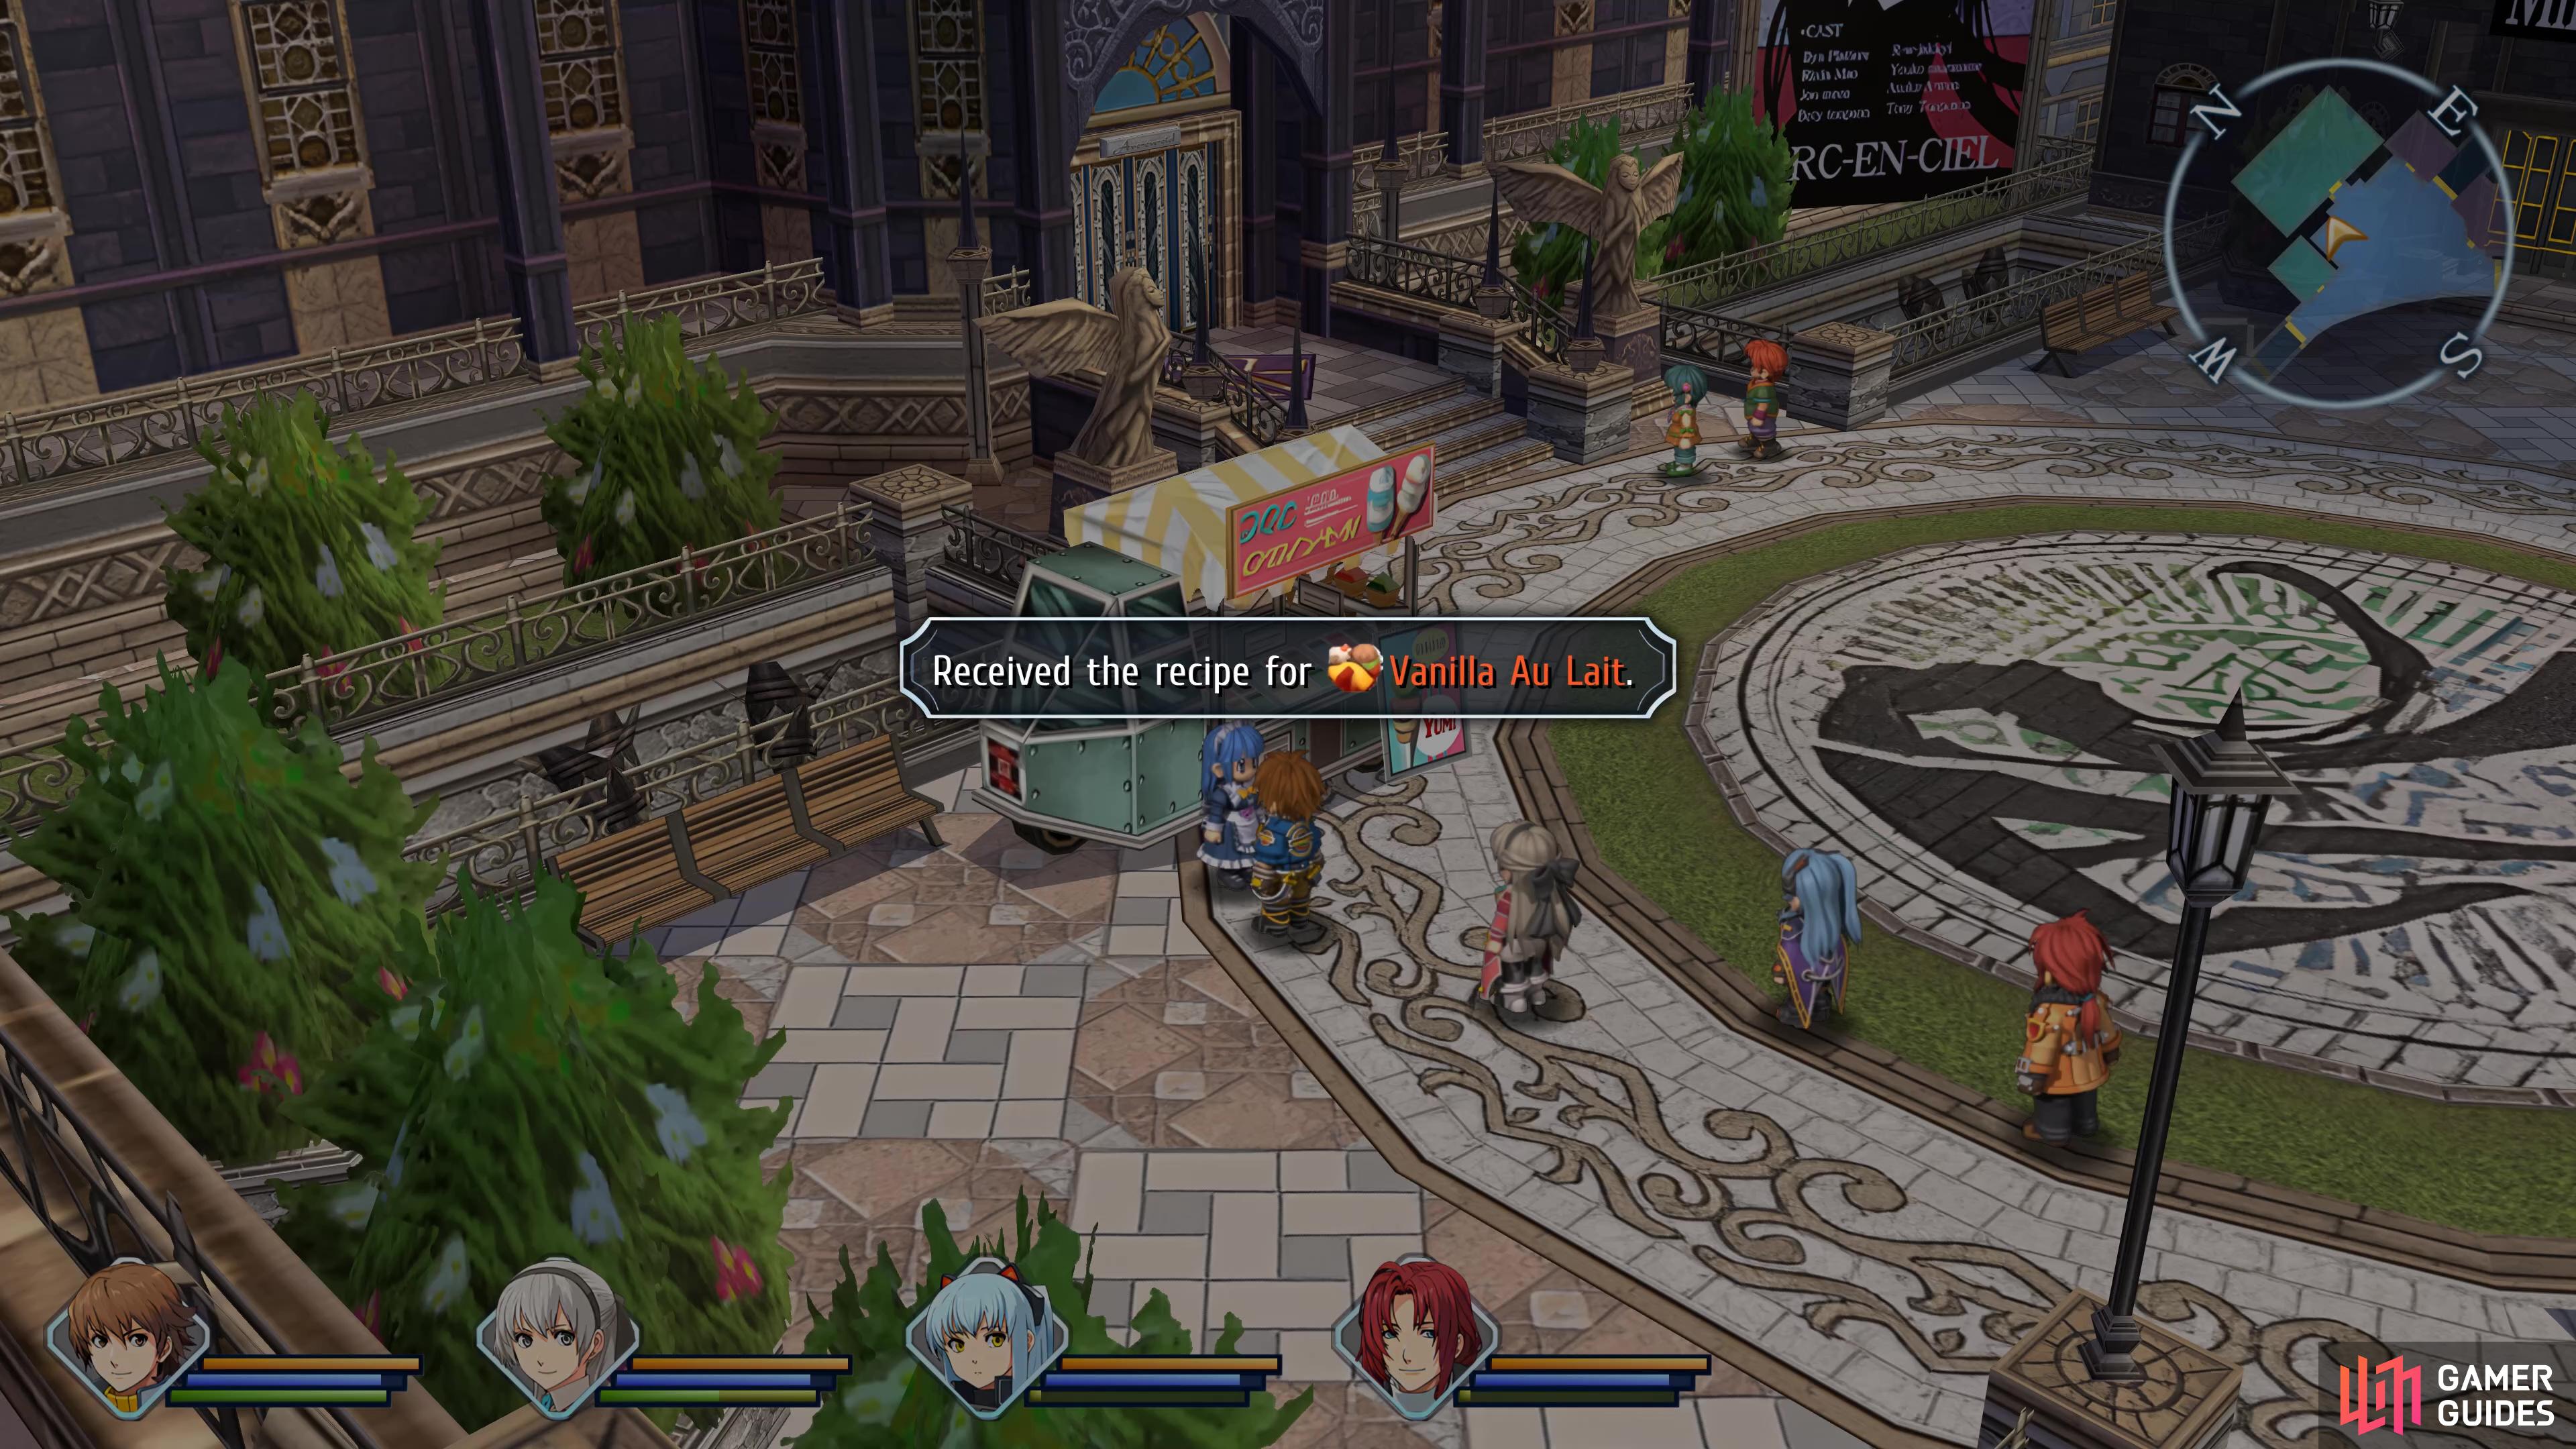
You can get another recipe from the Entertainment District’s Ice Cream stand.
East Street
East Street has a few important places of note that will see you coming back here often to visit.
- Bracer’s Guild: The Crossbell branch of the Bracer’s Guild can be found here, you’ll be coming here often for the story.
- Fisherman’s Guild: Deals with all matters regarding Fishing, an activity you’ll unlock later in the game.
- Jizo Statue: Not so much a building but you’ll find a Jizo statue at the end of the street where you can offer meals later.
There’s an optional scene at the Bracer’s Guild, then head into the Fisherman’s Guild and head upstairs. Search the bookshelf on the right to obtain the Crispy Fry Recipe to add to your growing list of dishes. Once you’re ready to move on, head southeast to the Downtown District.
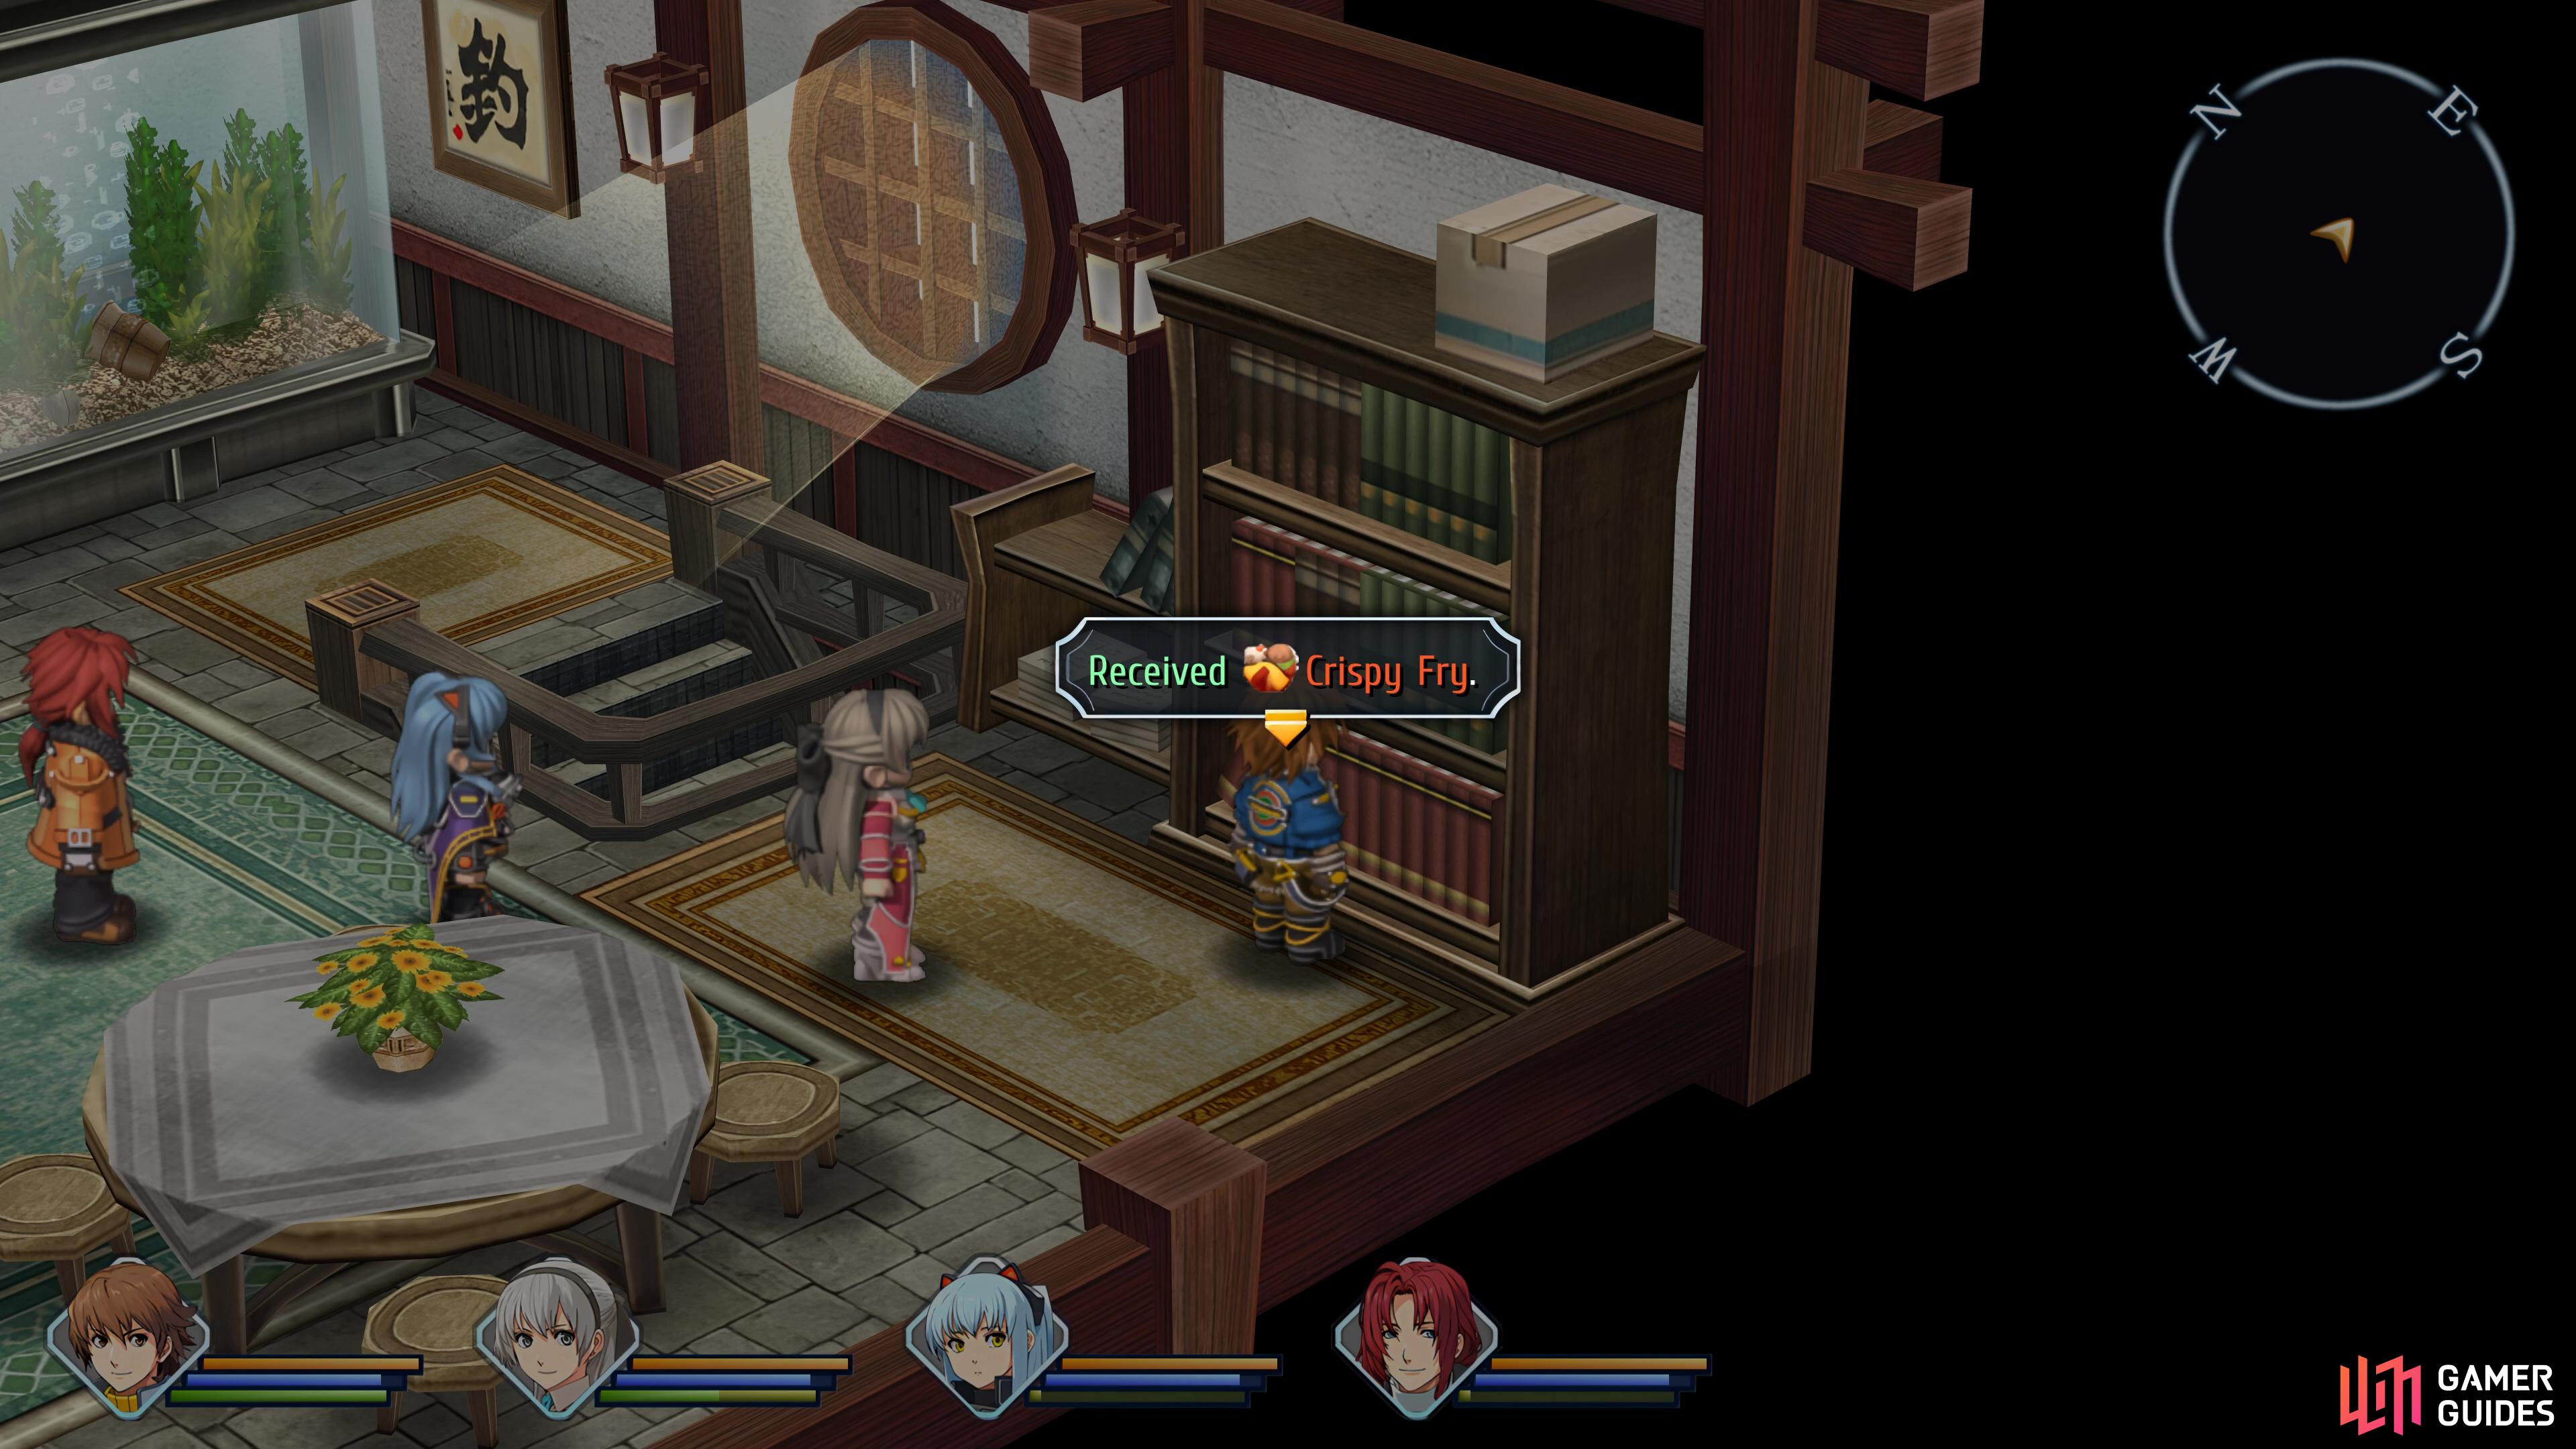
The final recipe for the day can be obtained by searching the bookshelf upstairs in the Fisherman’s Guild.
Downtown and Harbor Districts
Downtown District plays an important role in your duties for the rest of the prologue, but you’ll also find another important shop that will open here later. For now, head to the southwest to find Trinity and then head into the corner (towards the screen) to find some hidden steps that leads to a rooftop and a chest containing some Flower Pumps for Tio or Elie.
Return to East Street and take the northwest exit to the Harbor District where there’s not much for you to do right now. You’ll find the IBC to the north (along with a short scene) and the Crossbell News Service are also located here, all of which will be important to the story.
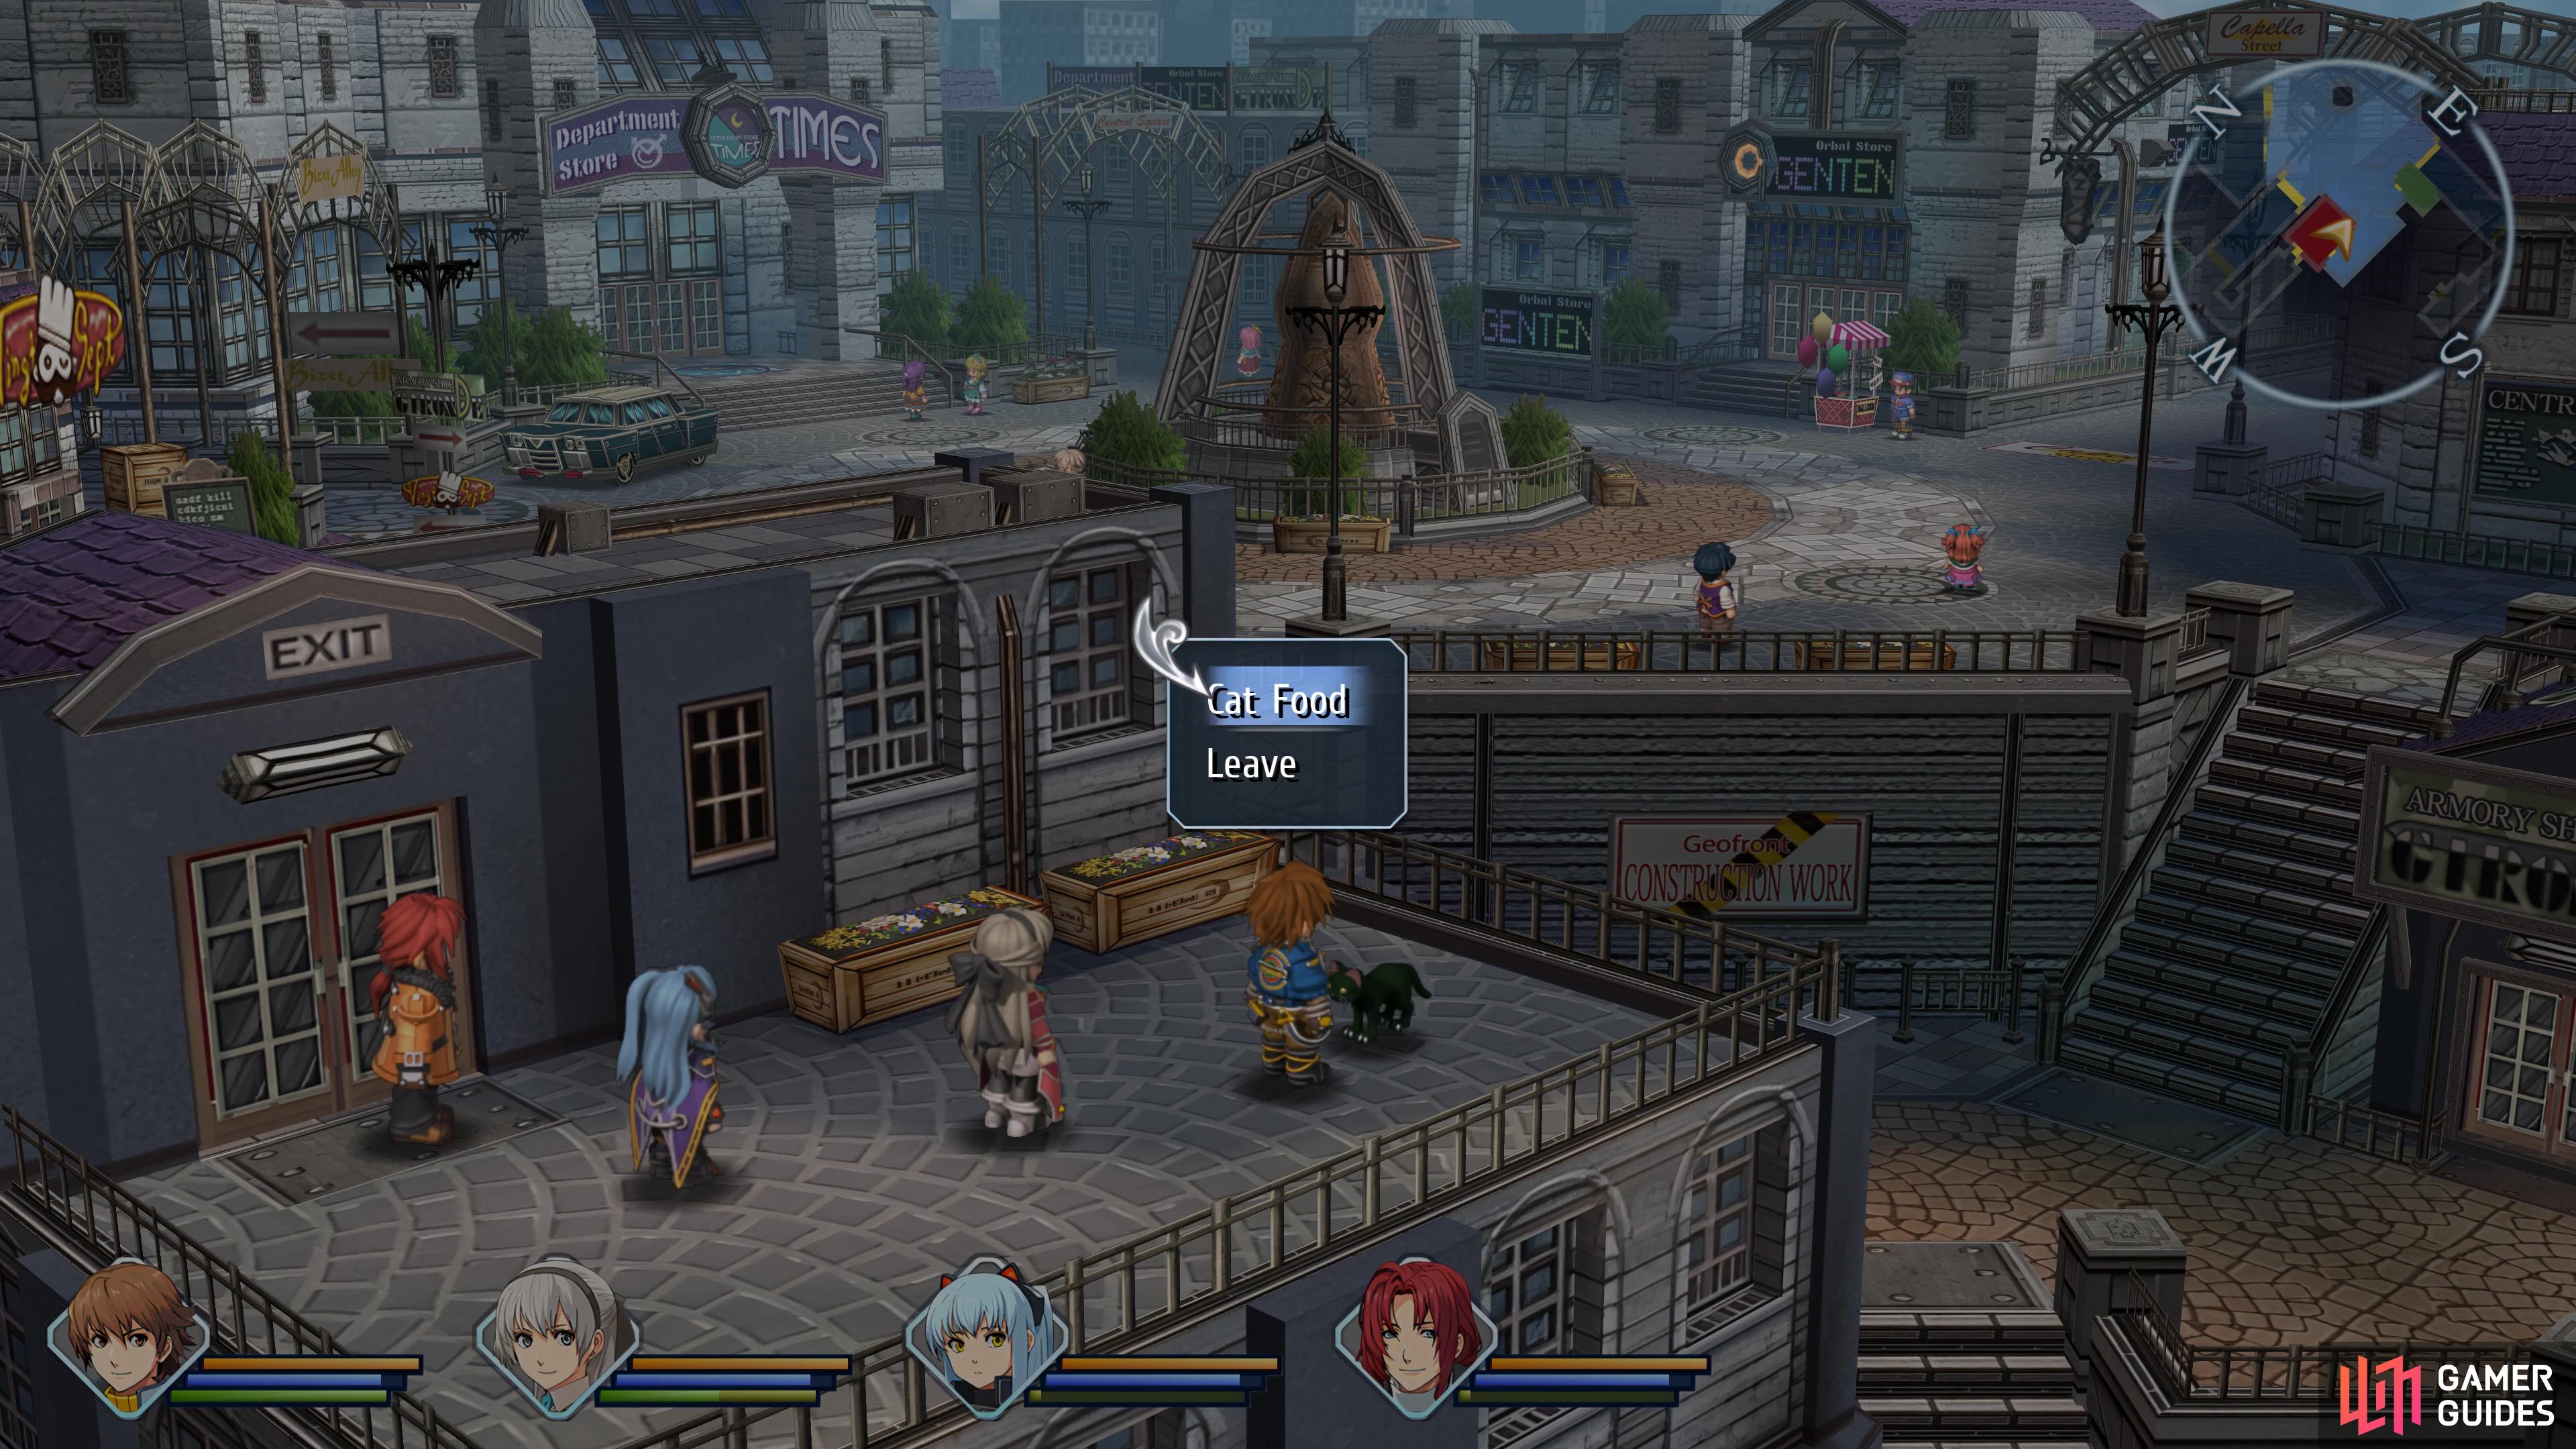
The final district on your tour is where your objective is, but before doing that, there’s an optional missable you’ll want to take care of. Save your game, and then attempt to cook a Crispy Fry with Tio, if you’re fortunate, she’ll fail and instead cook Cat Food. If you don’t get this, reload your save, and try again. Once done, return to the roof of the SSS and hand it over to Coppe, you’ll get a reward for this every chapter and for this particular instance, you’ll receive three Fish Fillets.
Administrative District
With that short detour out of the way, head to the only remaining area to find the Administrative District, this is where you’ll find the CPD, the Library and City Hall, all important places for both the story and Requests. Head into the Library (the building on the right) and speak to “Novas” to obtain Back Alley Doctor Glenn - Ch. 1, this is part of a book series you’ll need to collect to obtain a material for the ultimate weapons in the final chapter.
return to SSS to report the Request after paying the CPD a visit.
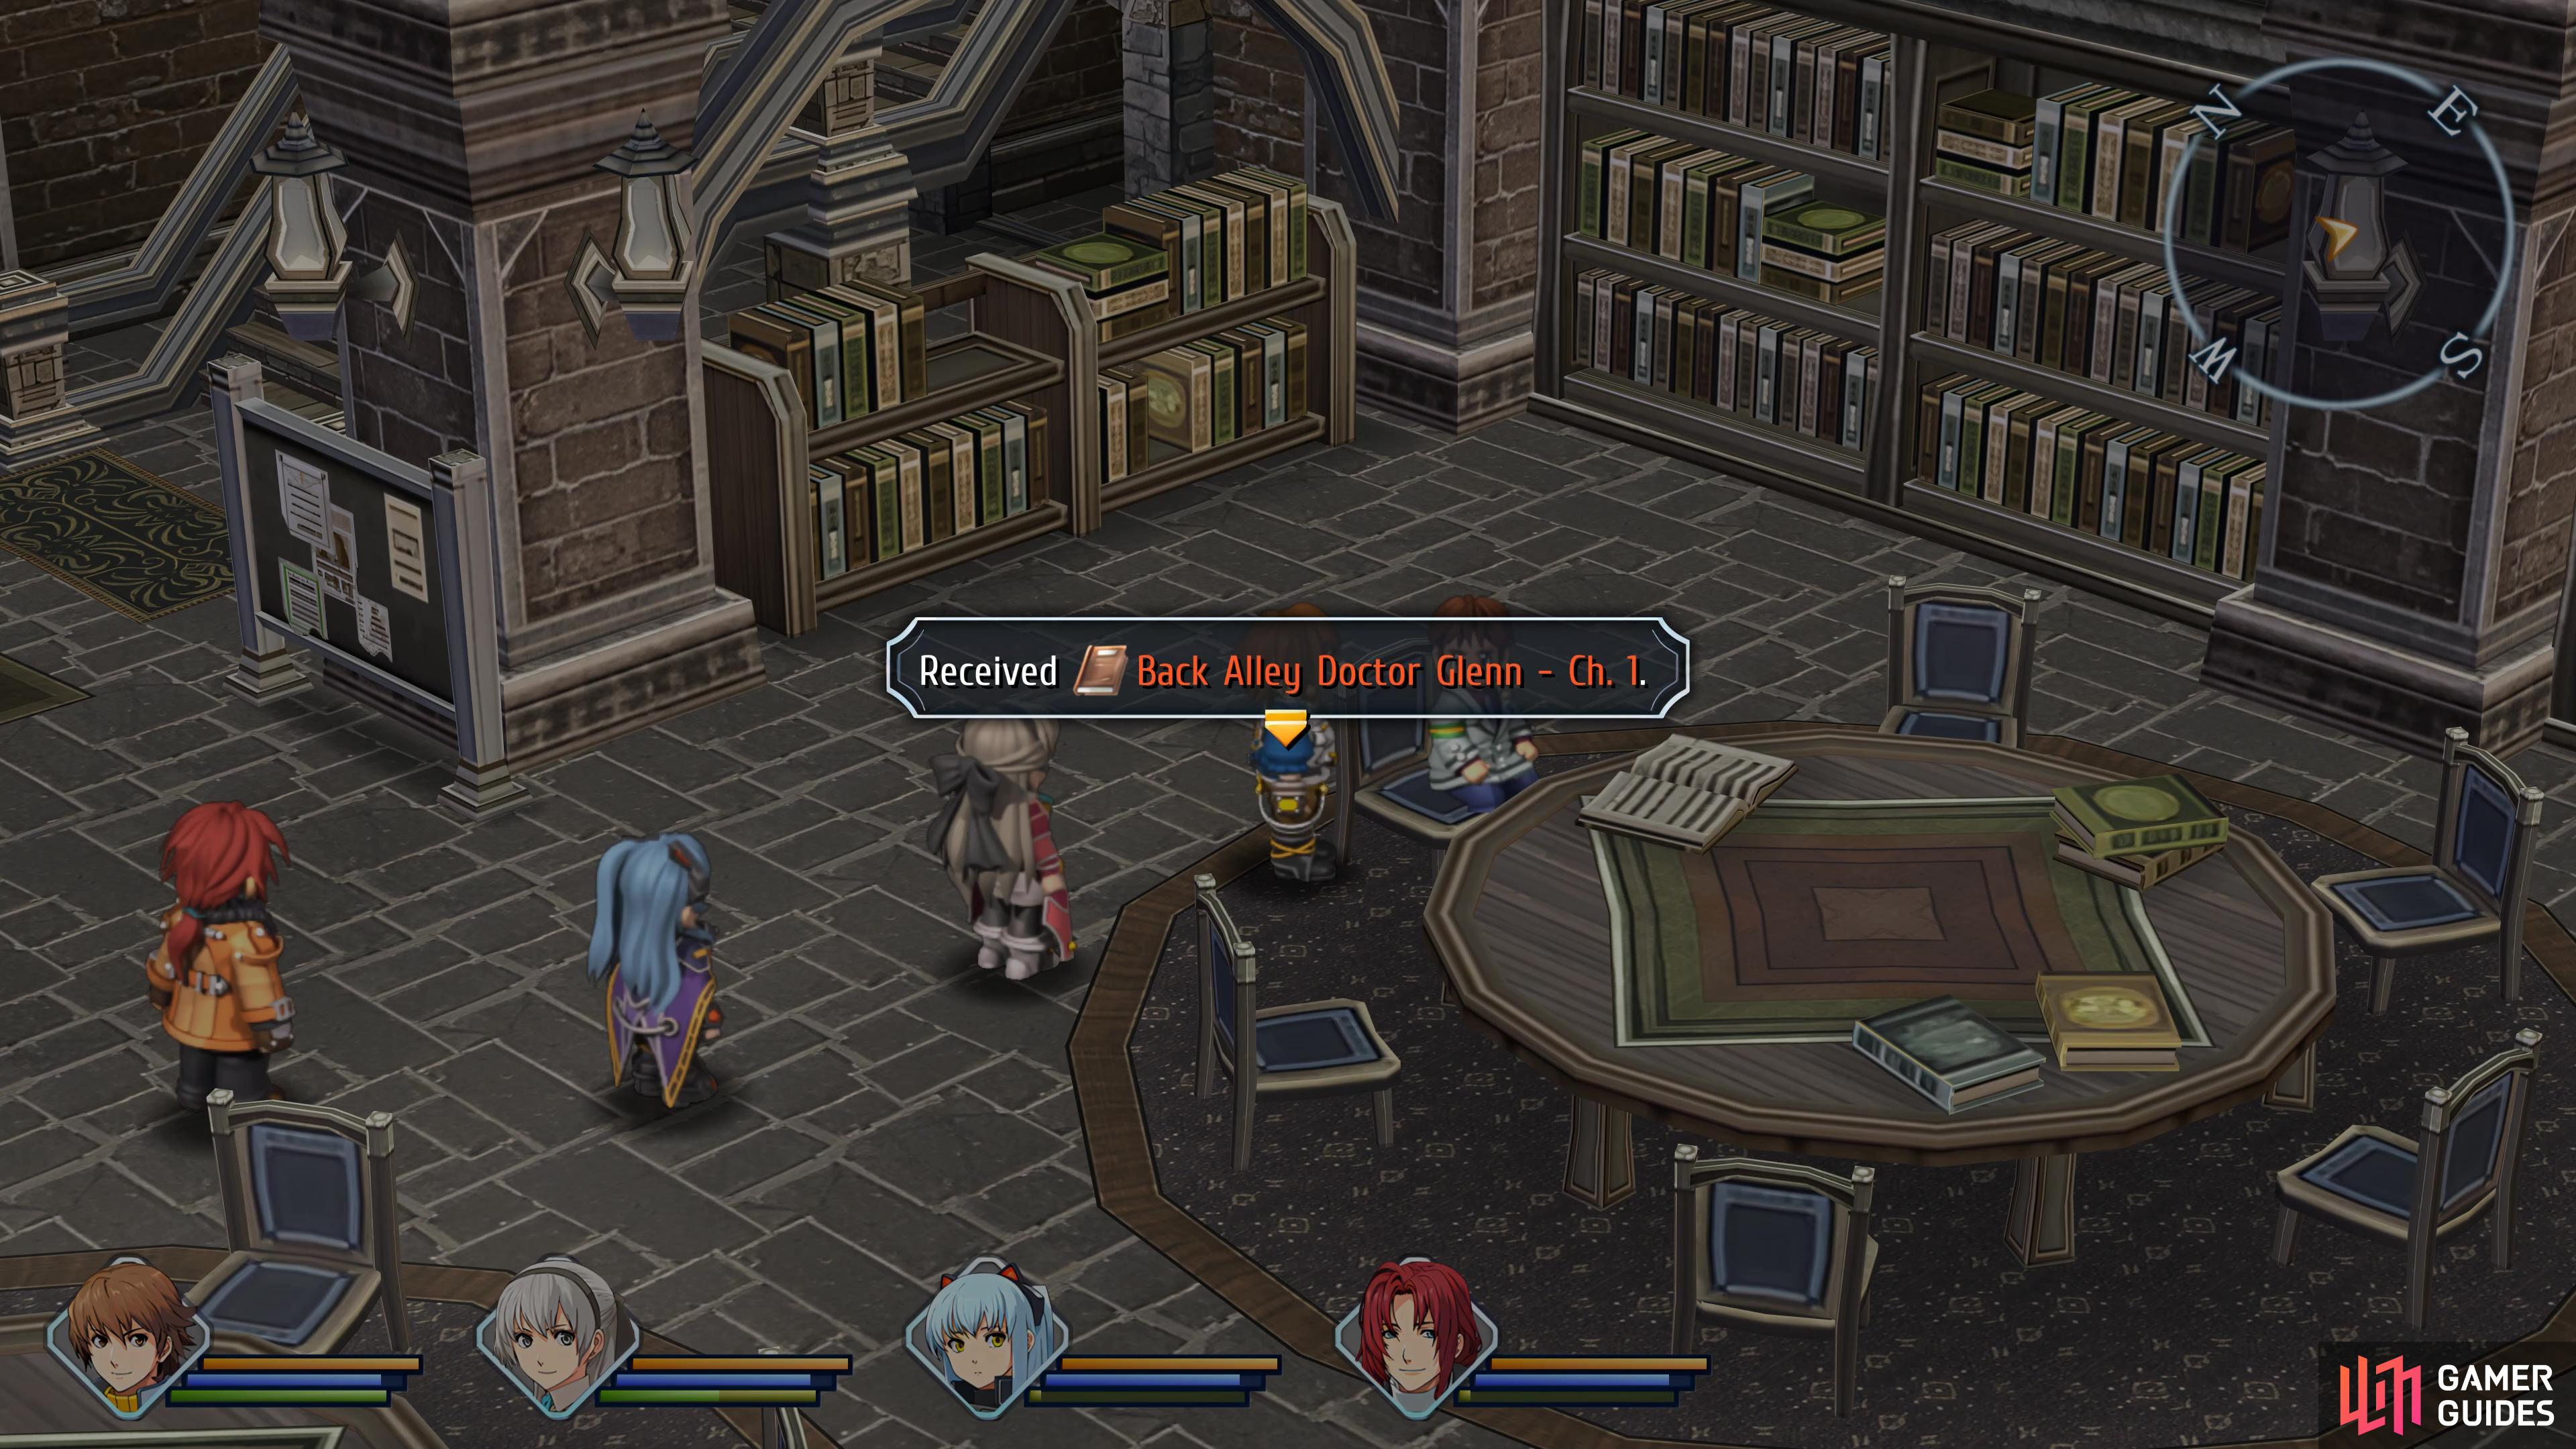
Pick up the first Chapter of Back Alley Doctor Glenn in the Library
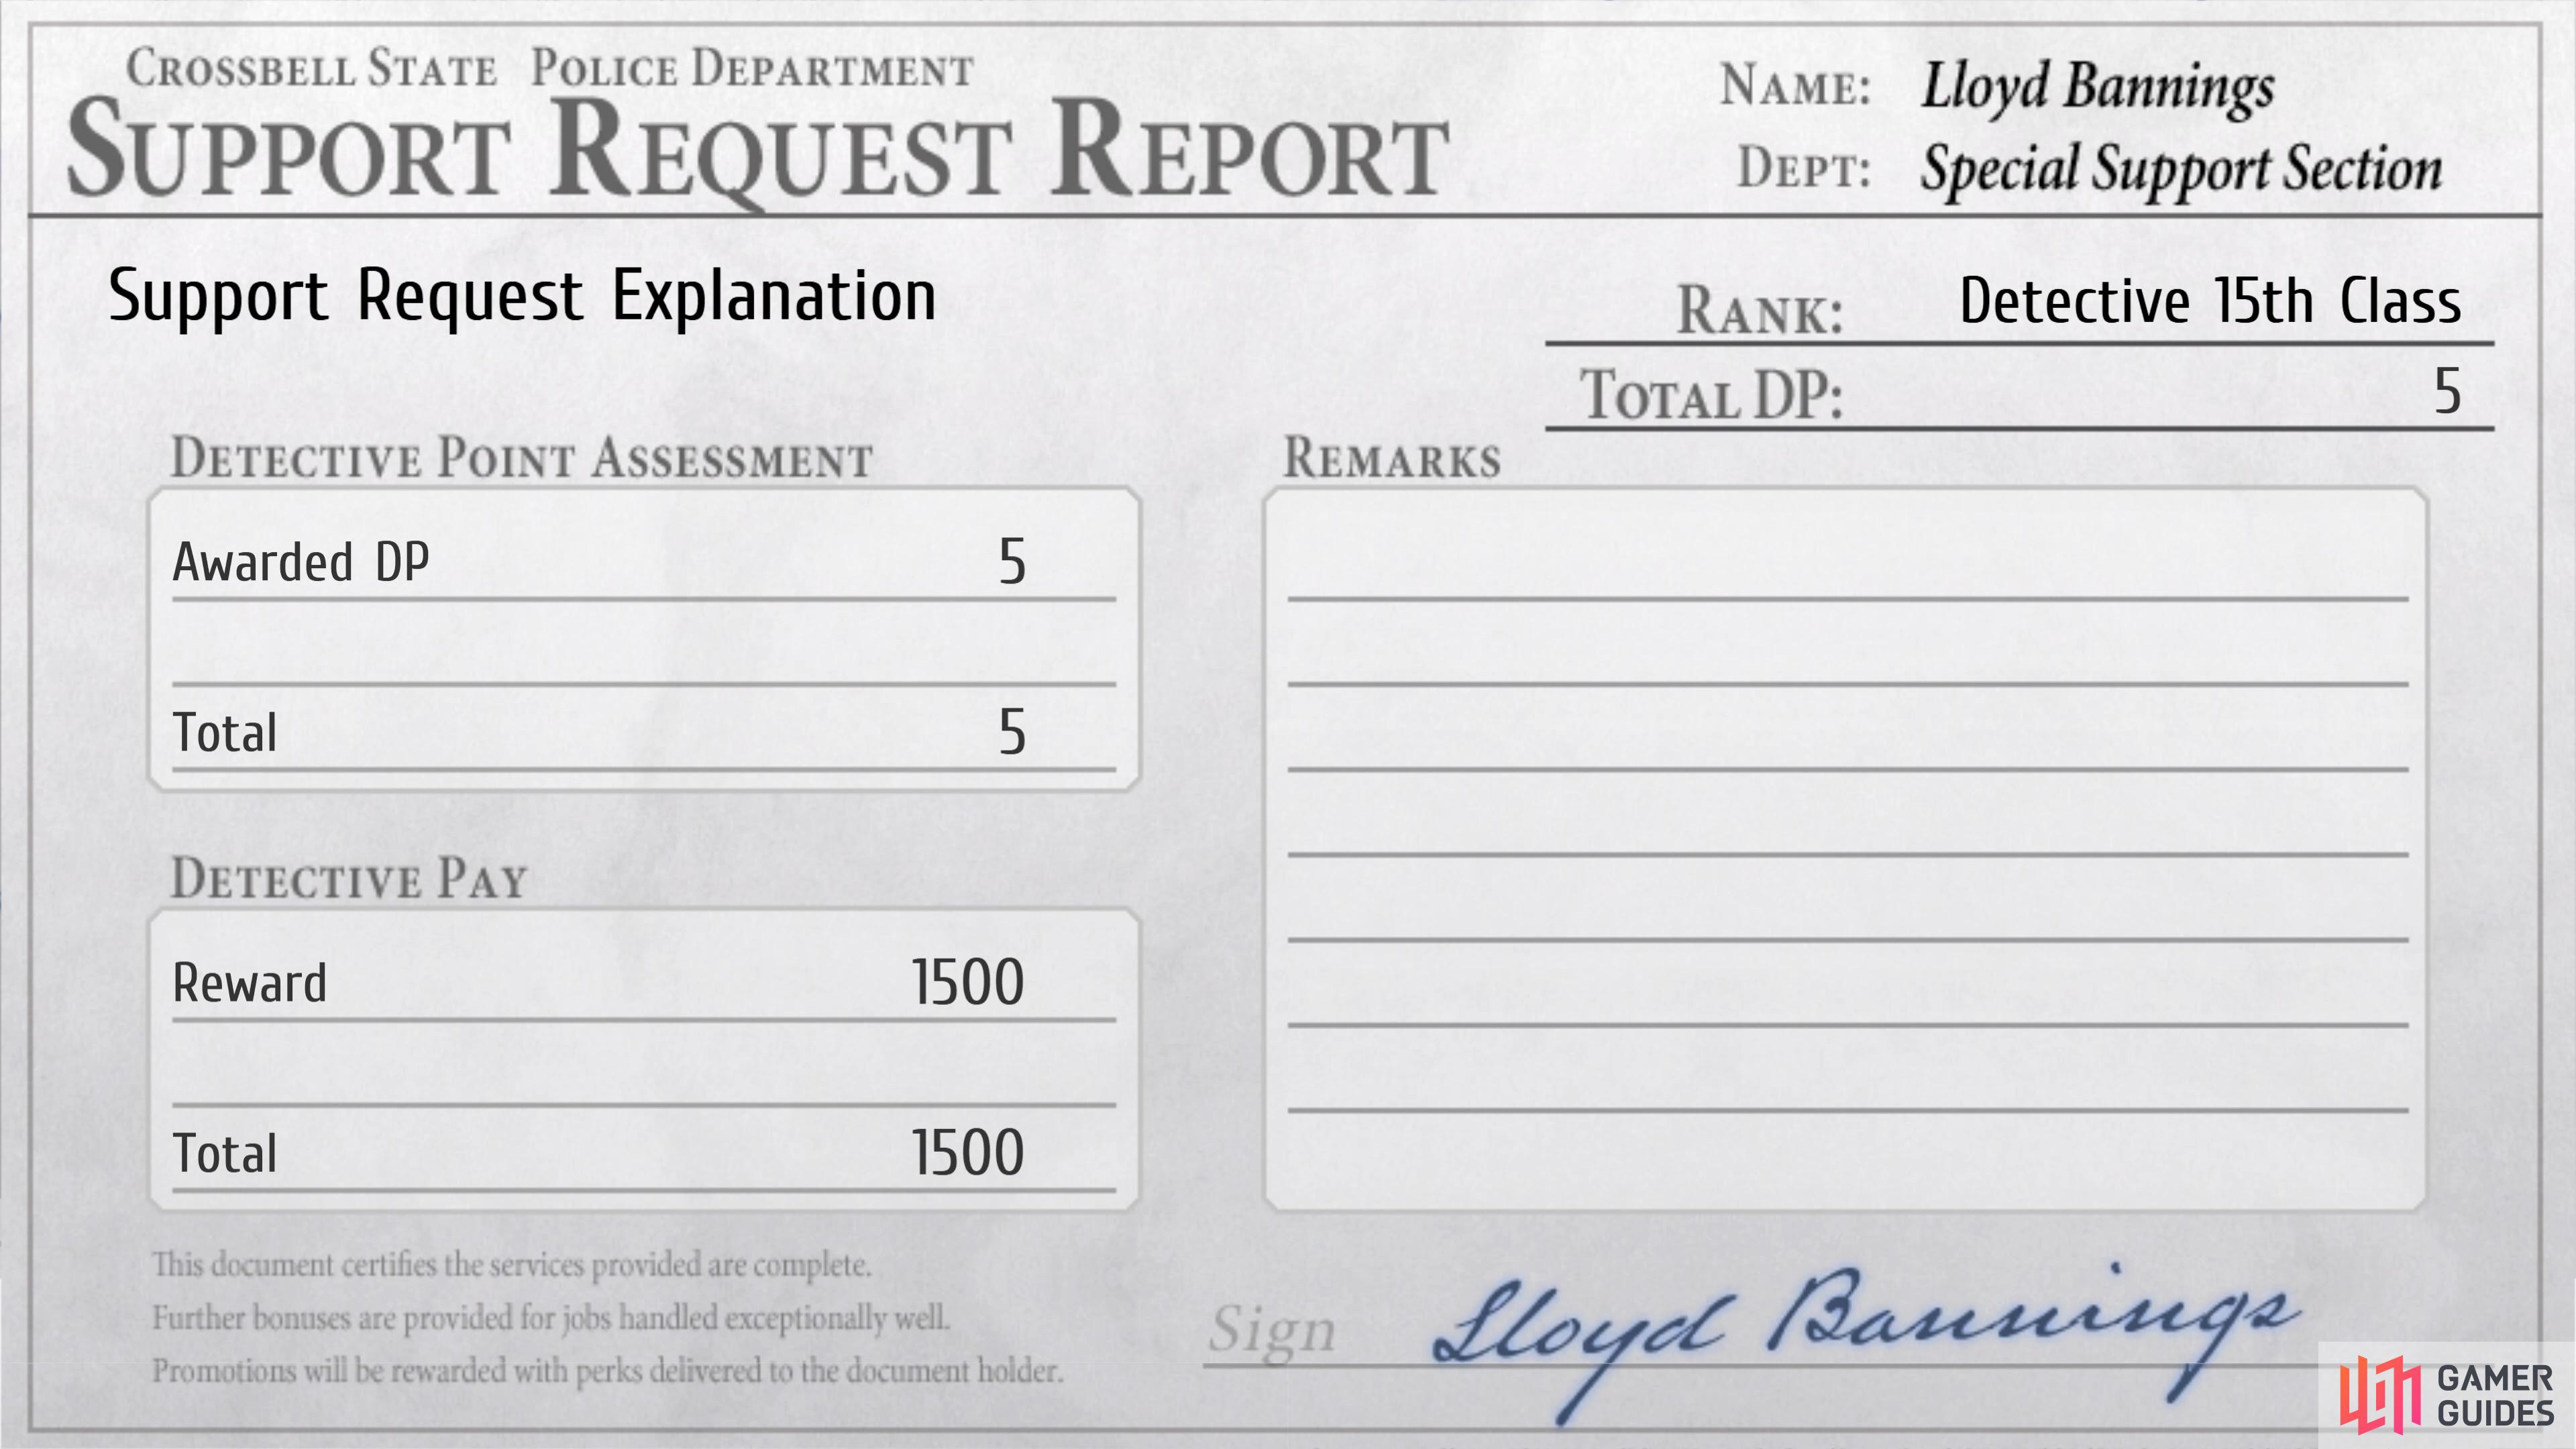
And with that task done, you’re done with your tour of Crossbell City. Head on over to the CPD now and speak with receptionist to learn about how you report the Requests you complete and about DP. Ask every question and then you’ll need to put this into practice so return to the SSS and use the Orbal Computer to report the Request. At this point, you’ll see that more Requests are available to you, including the start of some Support Requests:
| Quest | Availability | DP |
|---|---|---|
| Lost Item Search | After completing Support Request Explanation | 3 |
| Vacancy Verification | After completing Support Request Explanation | 3 |
Geofront A1 Sector Monster Extermination
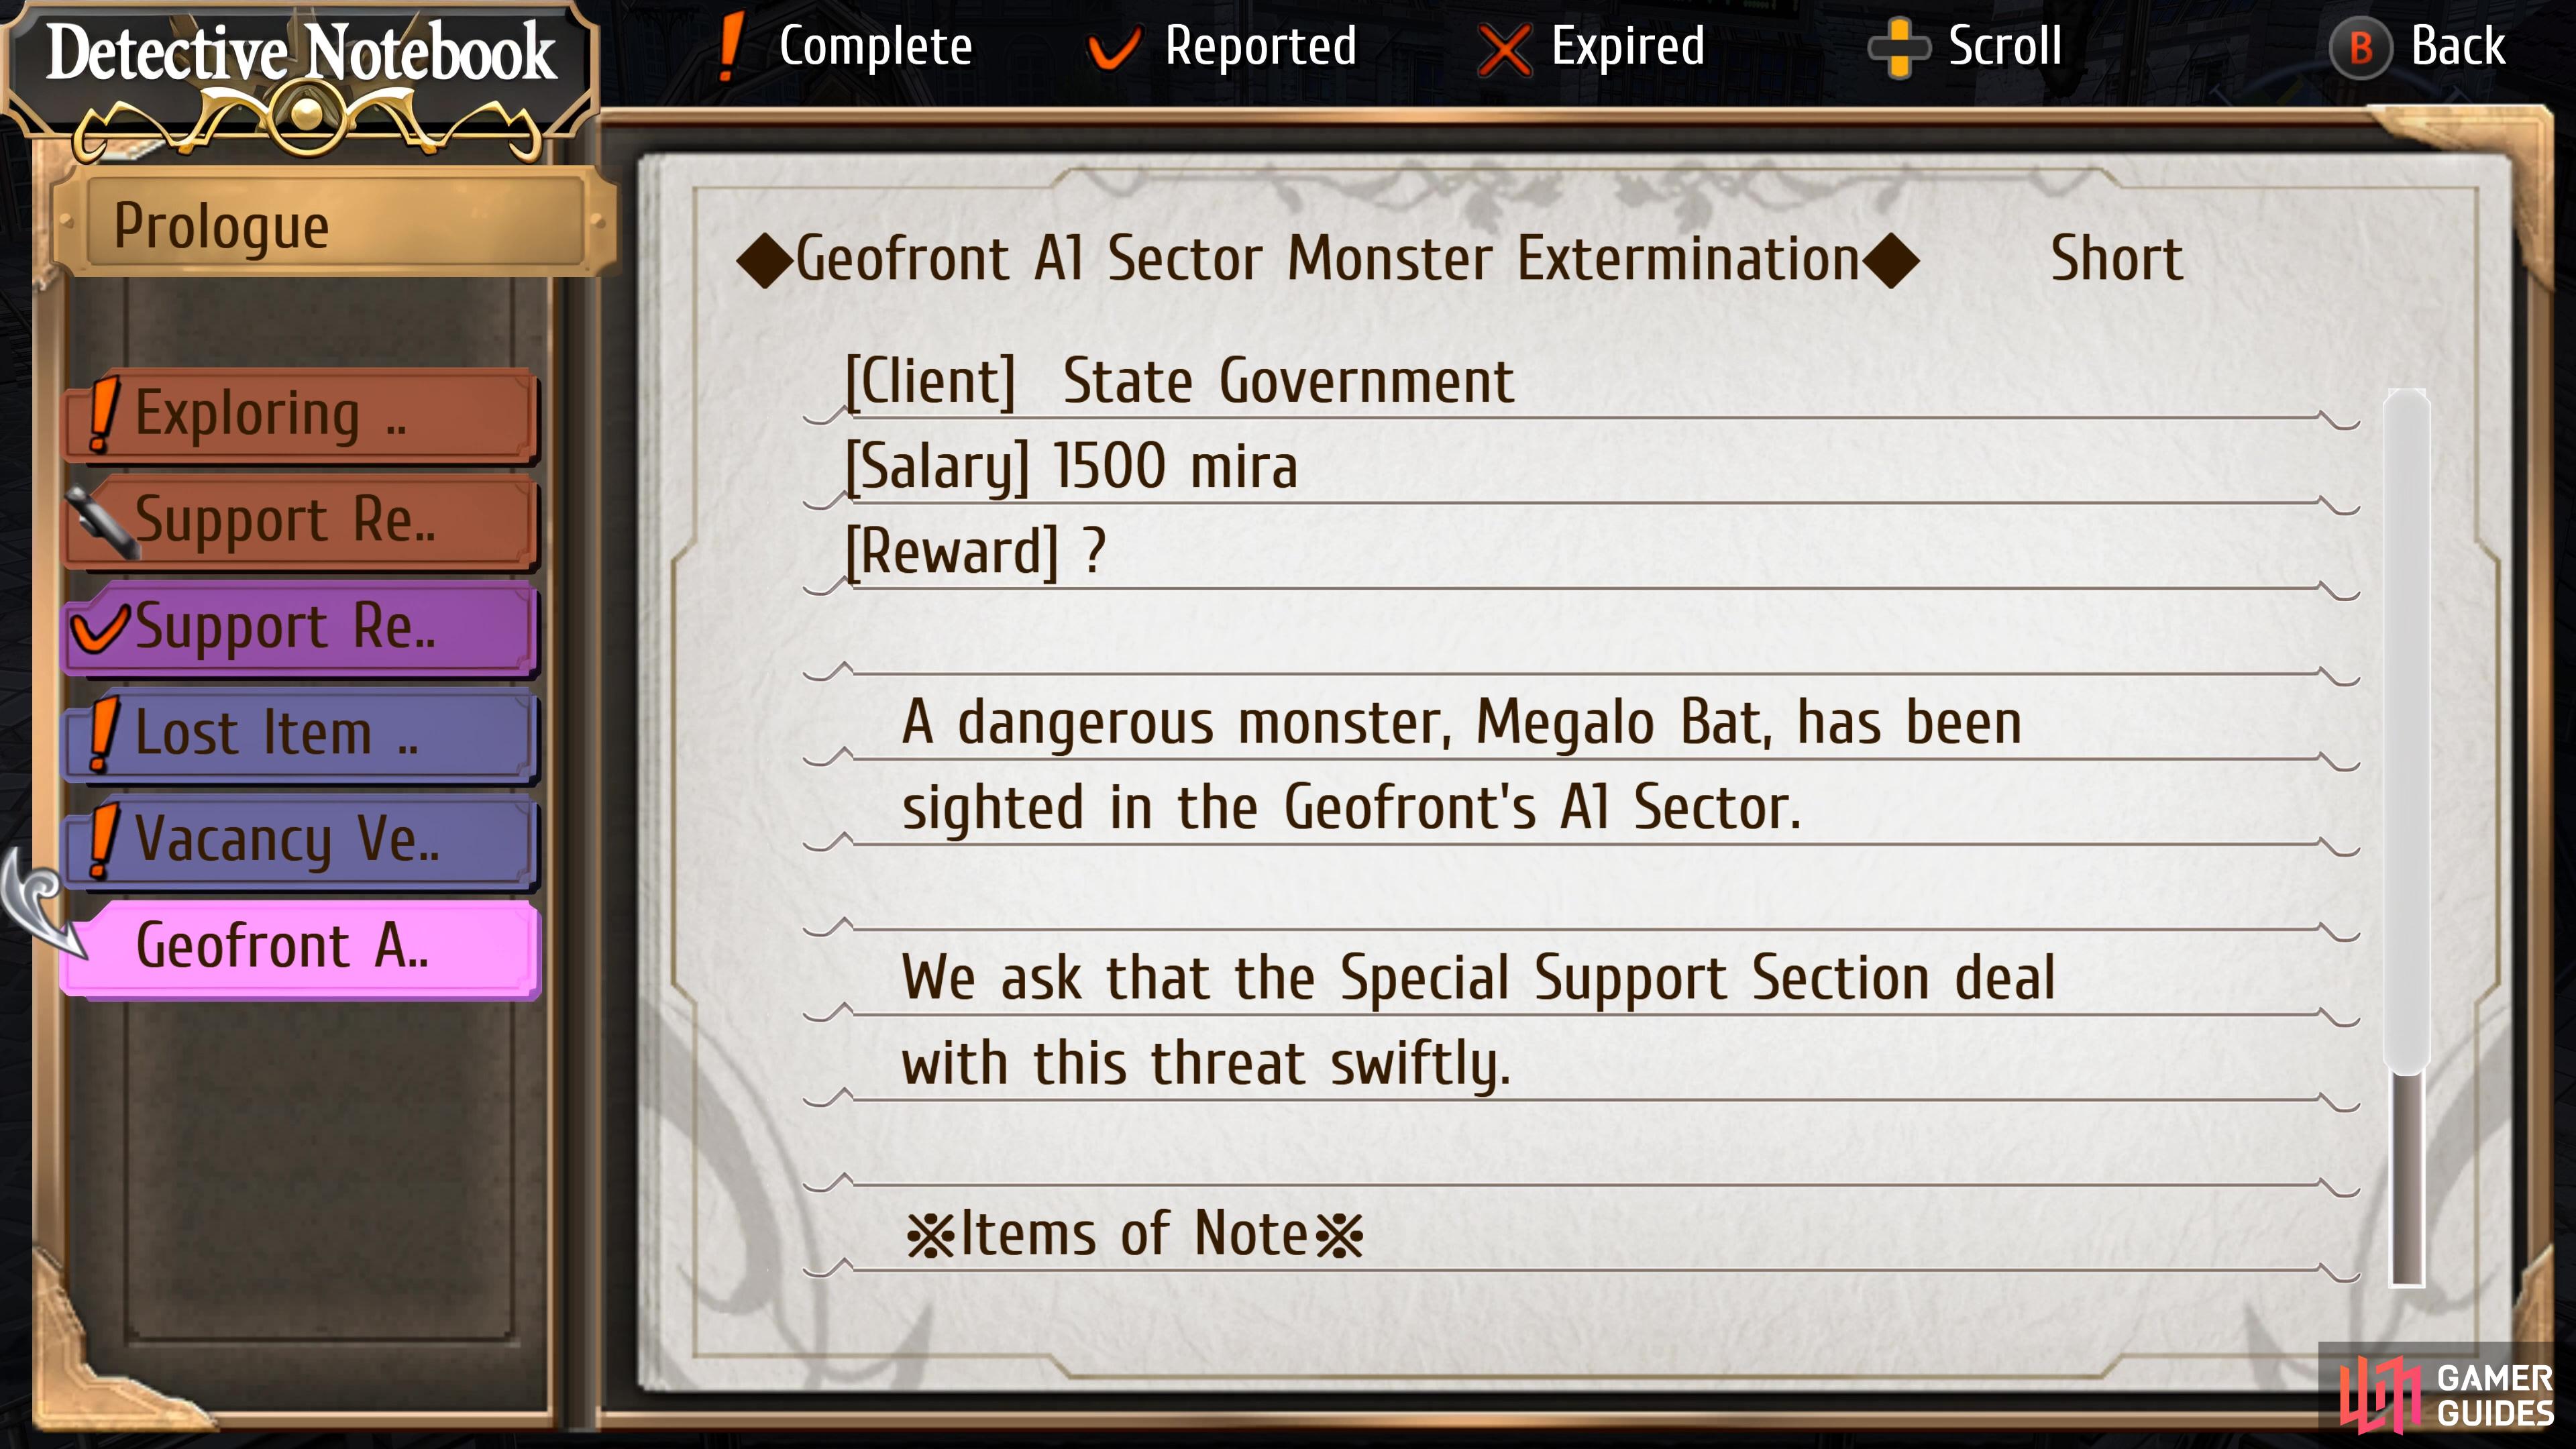
Geofront A1 Sector Monster Extermination.
| Enemy | Lv | Elemental Effectiveness | Drops |
|---|---|---|---|
| Megalo Bat | 4 | Detection | |
| Grave Bat | 3 | Fresh Herb, Sesame Oil |
Be sure to take these on and complete them before you get started on Geofront A1 Sector Monster Extermination, the urgent Request out of this batch that will advance the story after. You should know your way to the location of this monster extermination, you’ll be returning to where you met Arios and protected the boys from the Frost Slimes so return to Station Street to enter Geofront and make your way there.
As you follow the path, look for the ladder you couldn’t use before and head up there to find yourself back in Central Square. There’s a chest here that containing 30 of All Sepith. Return down the ladder and follow the path to the Orbment Charging Station to ensure you’re recovered before heading forward and taking on the Megalo Bat.
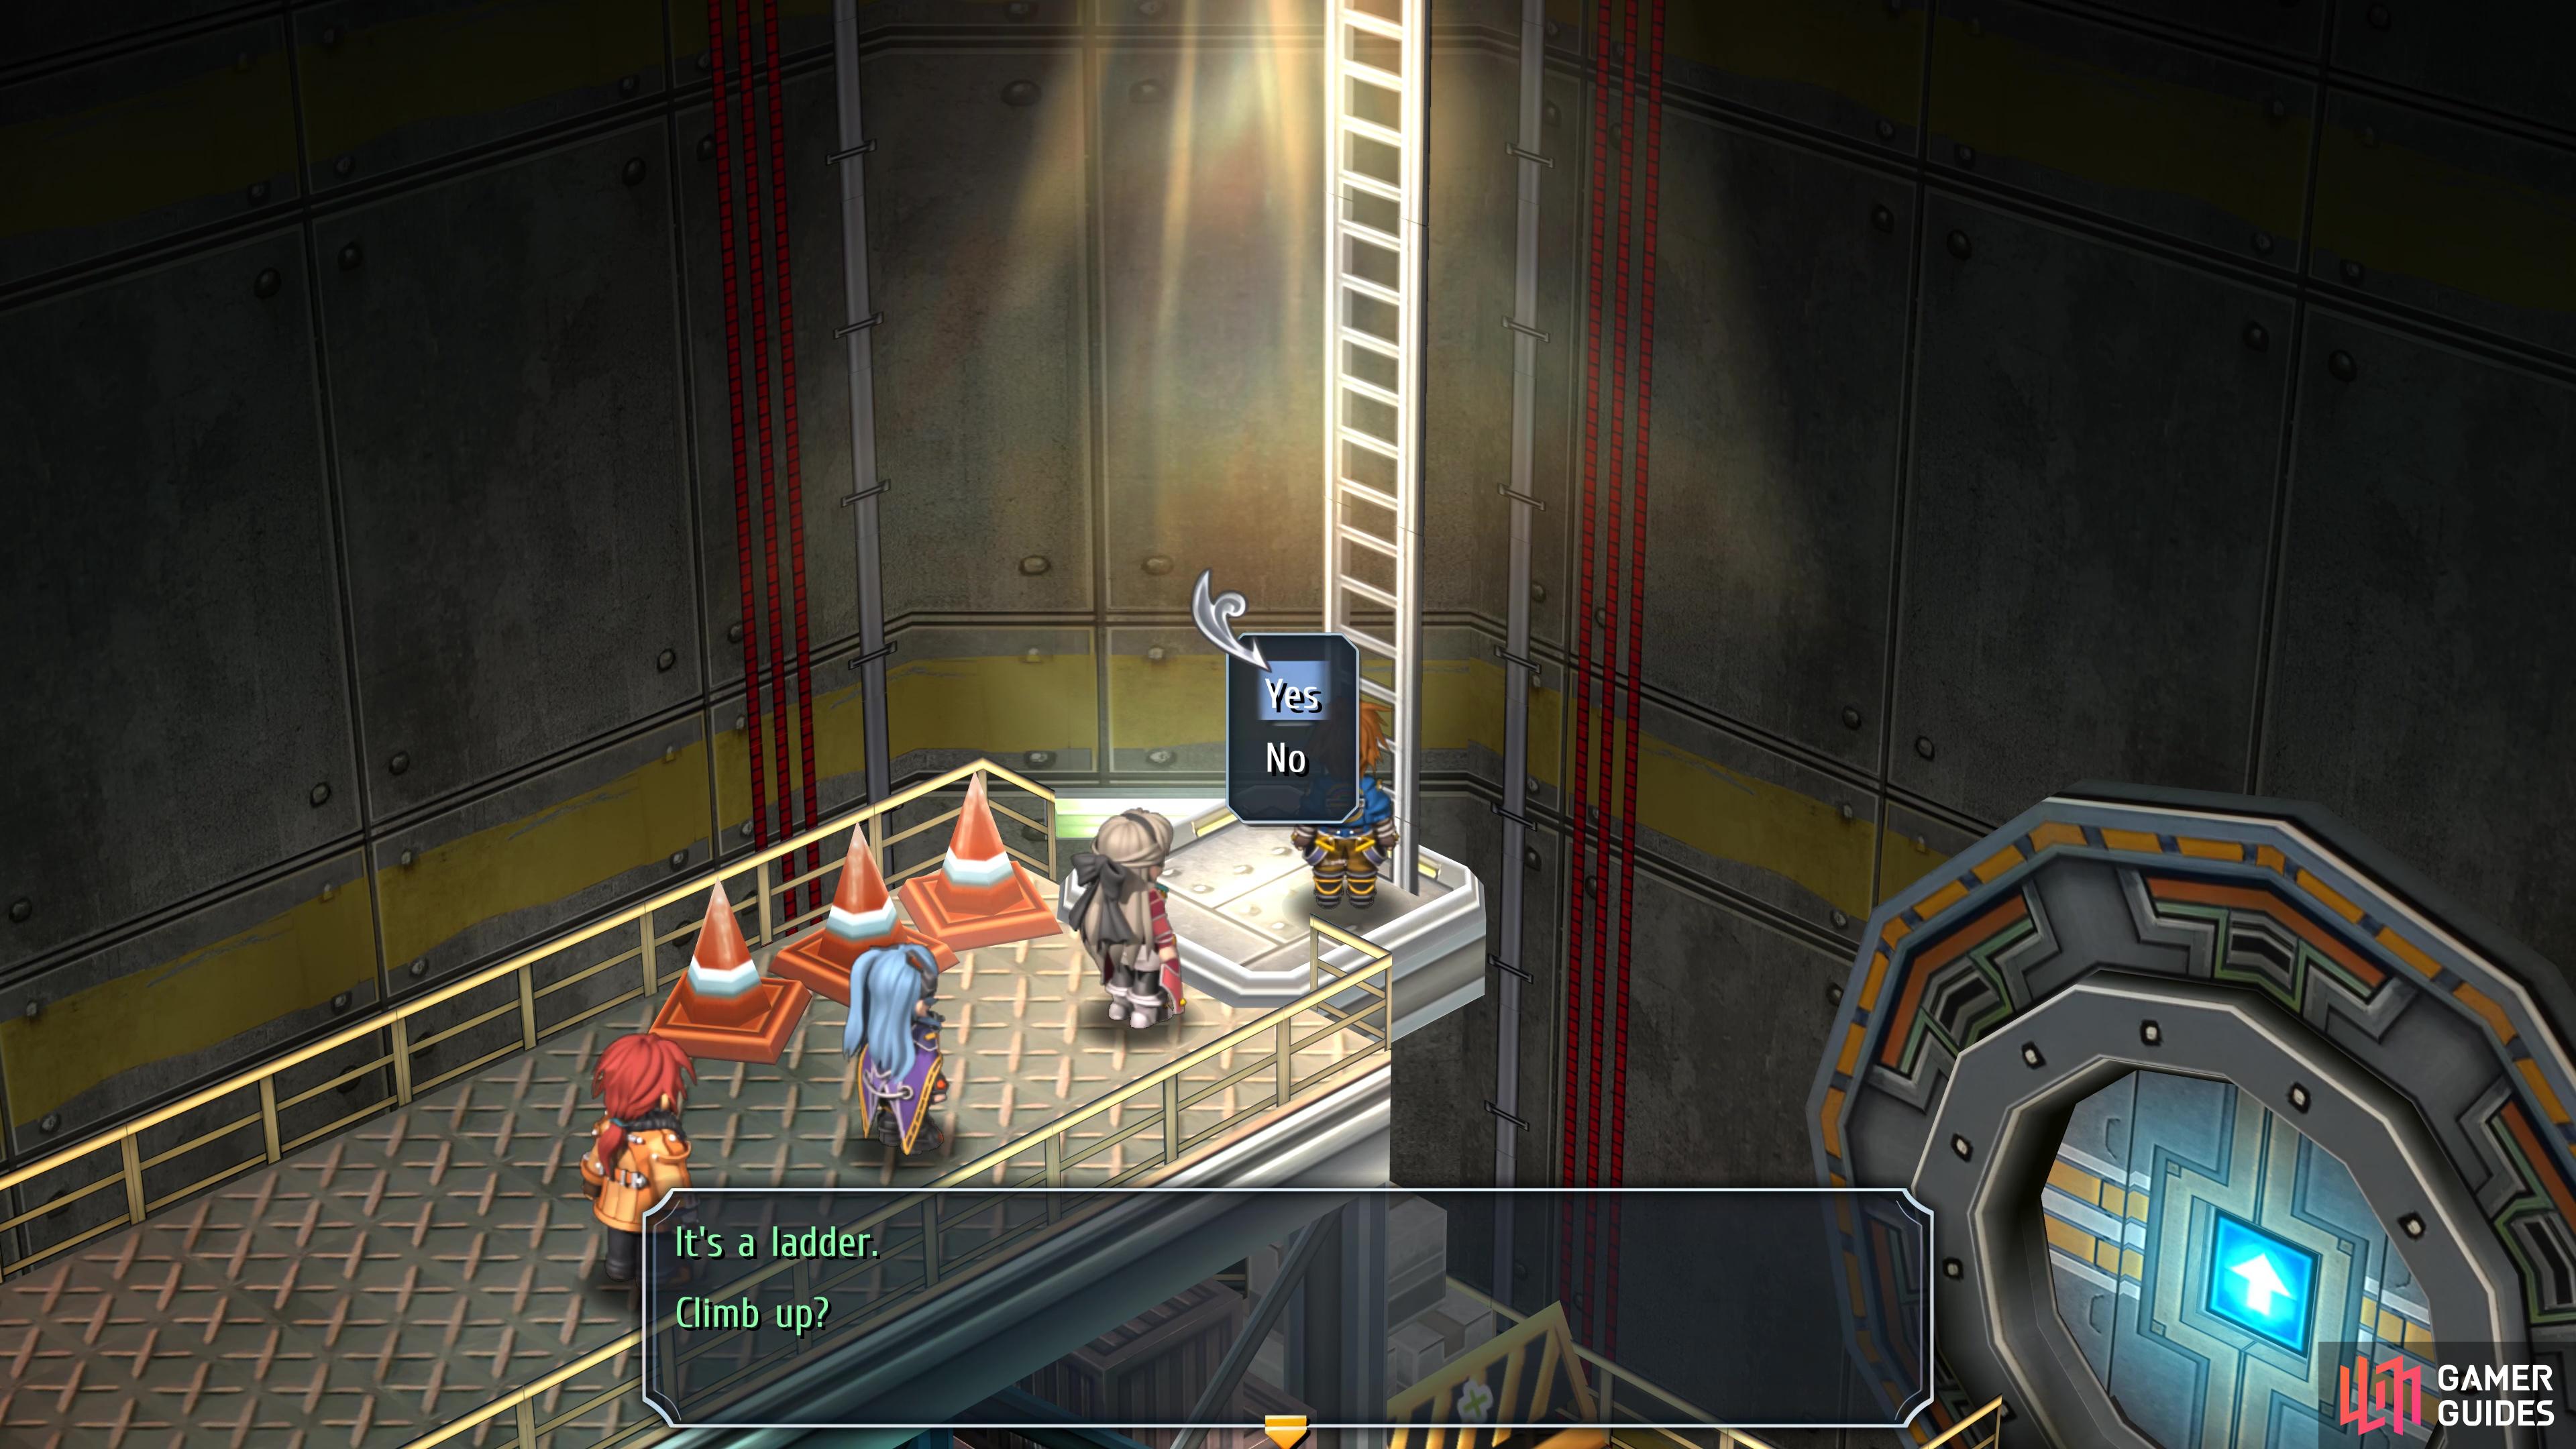
You can now climb the ladder in the Geofront
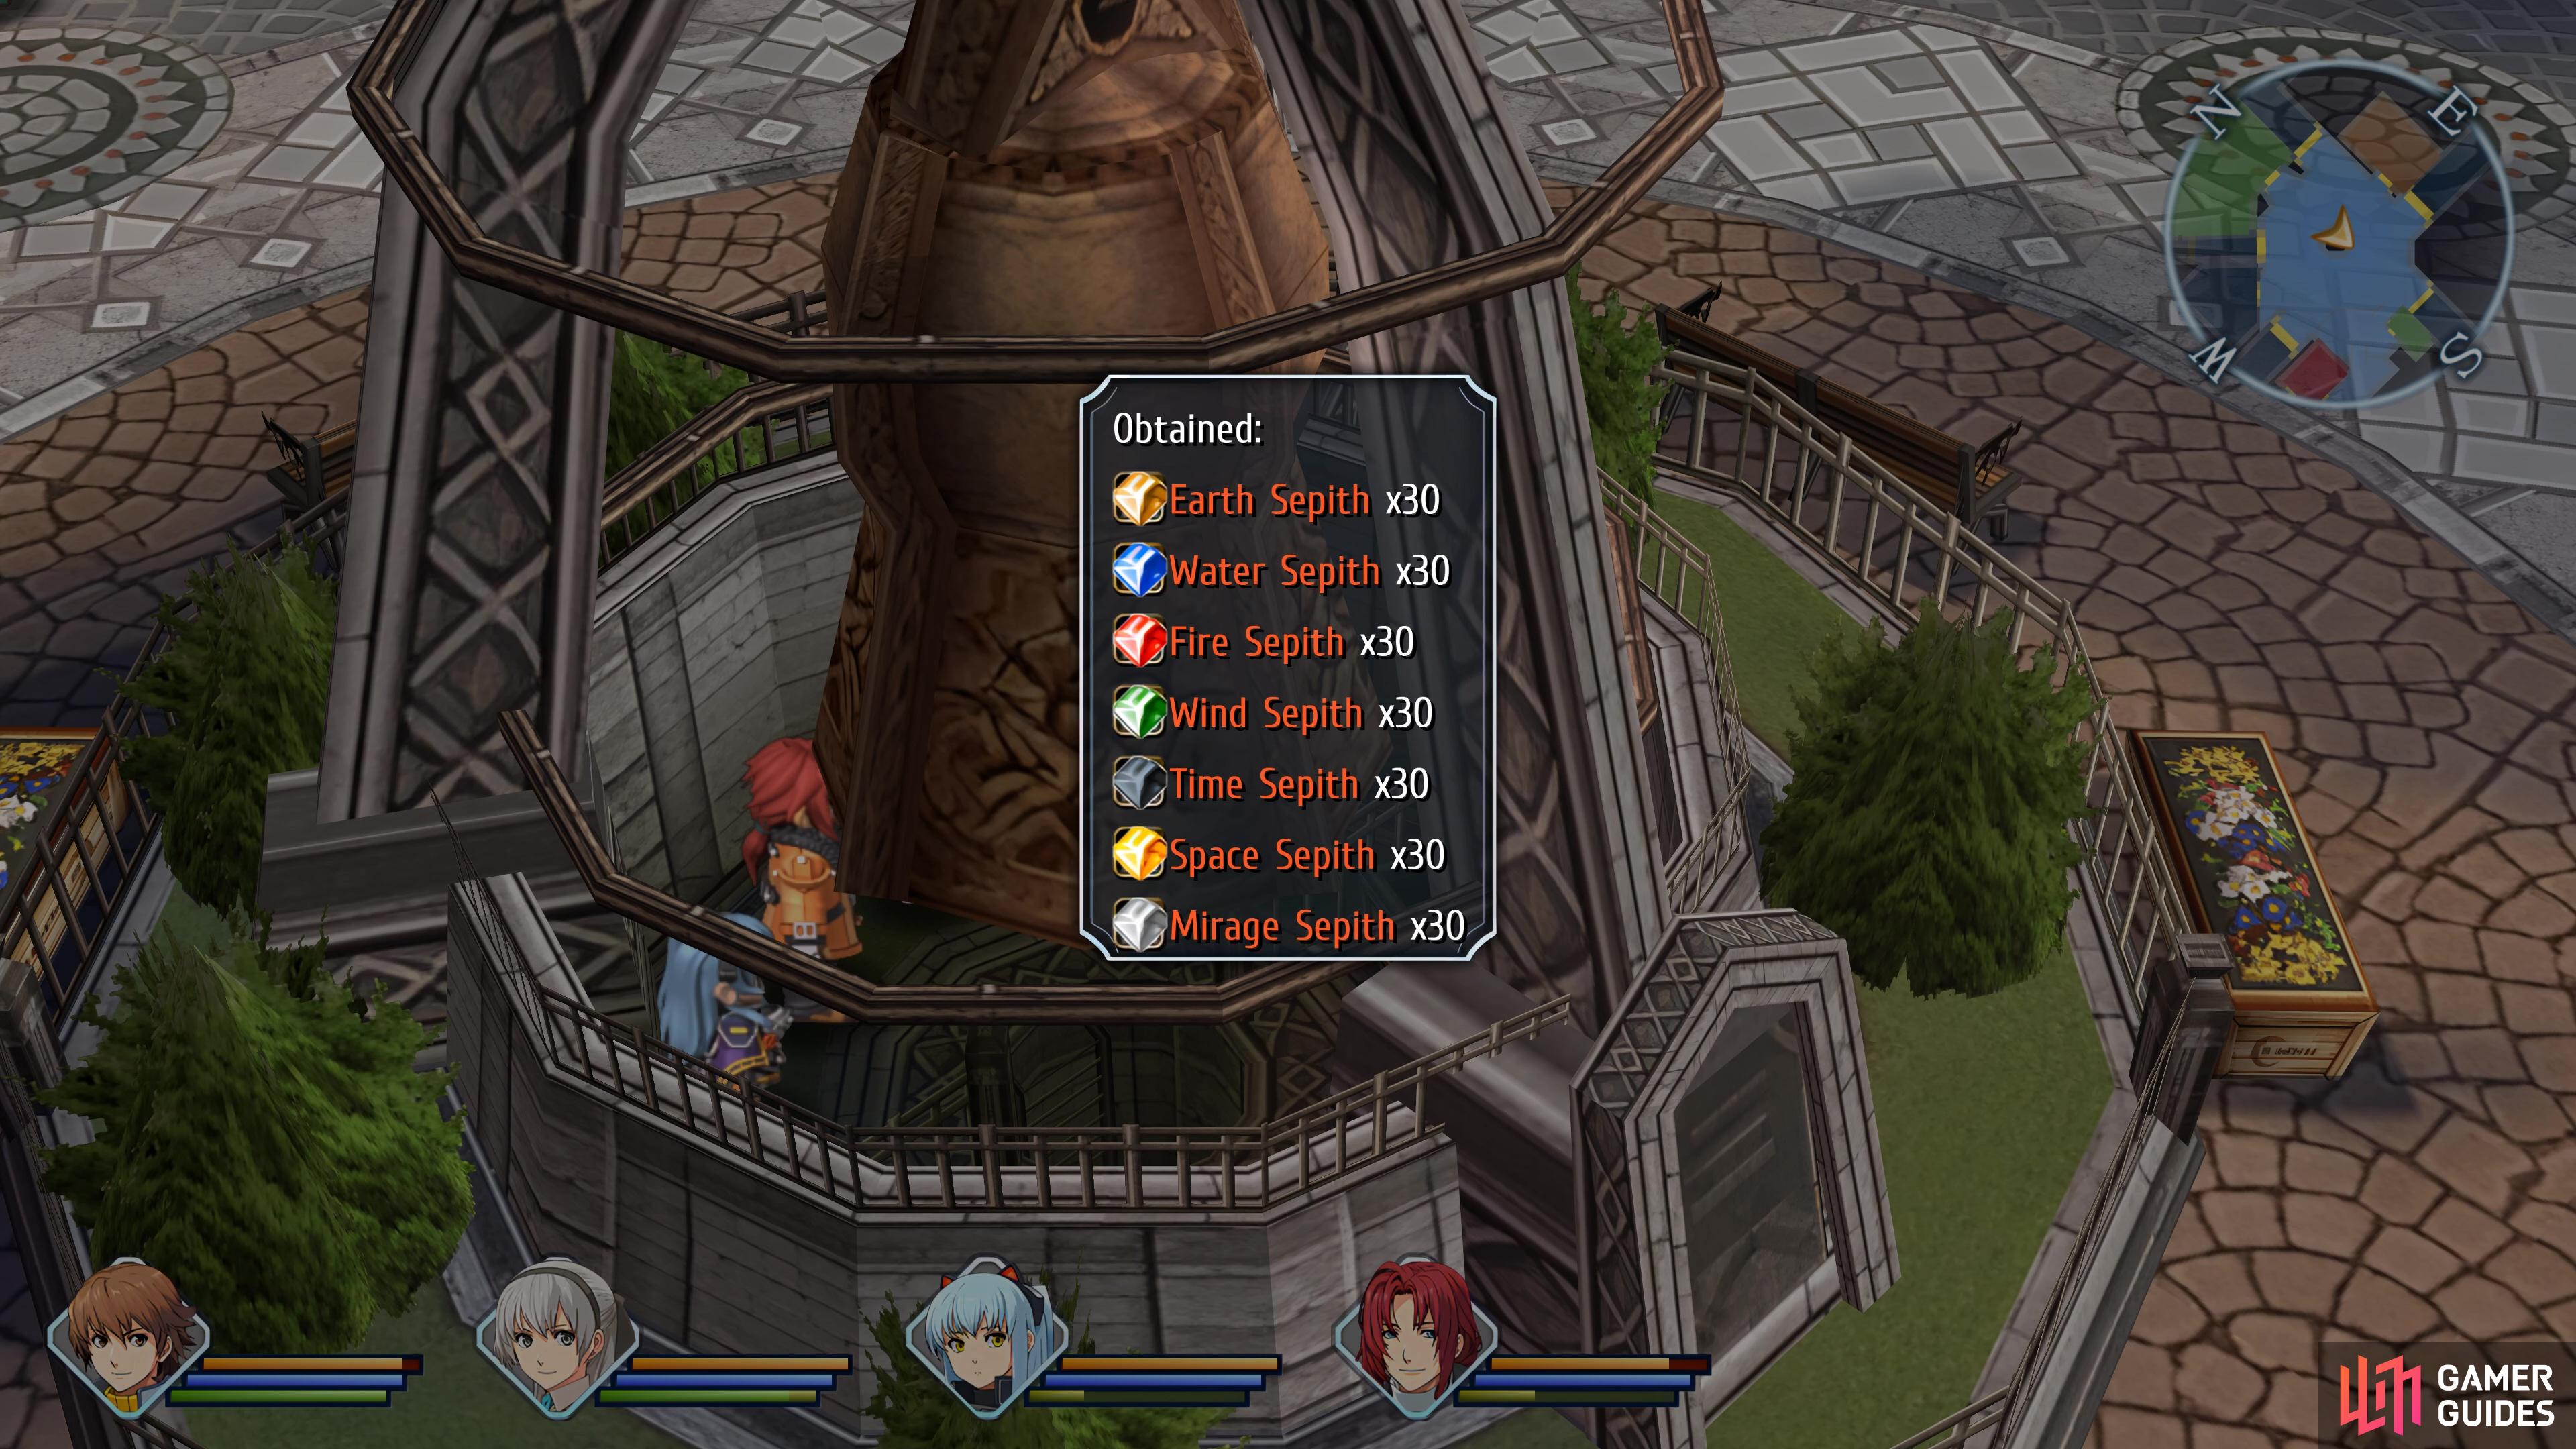
this leads to a chest in Central Square.
If you’ve stored CP ahead of time, then this battle shouldn’t pose too much of a threat. The Megalo Bat is accompanied by four Grave Bats which start in each corner of the battlefield. They’ll only use regular attacks on you, but it can add up if they all target the same character so focus on dispatching them first. If you have Tio’s S-Craft ready to go, you can wait for them to group up and use it to take them out in one fell swoop, otherwise a few regular attacks will take each Grave Bat down.
The Megalo Bat is a much larger threat, however. Chomp will hit a single character for around 176 HP, which is a lot at this stage of the game, especially if that character is targeted by Grave Bats too. As a result, ensure your HP is always above 180 to be safe. It only other skill is Fat Press, this is an AoE that hits anyone close to the impact for around 165~200 HP so try to space your characters out a little.
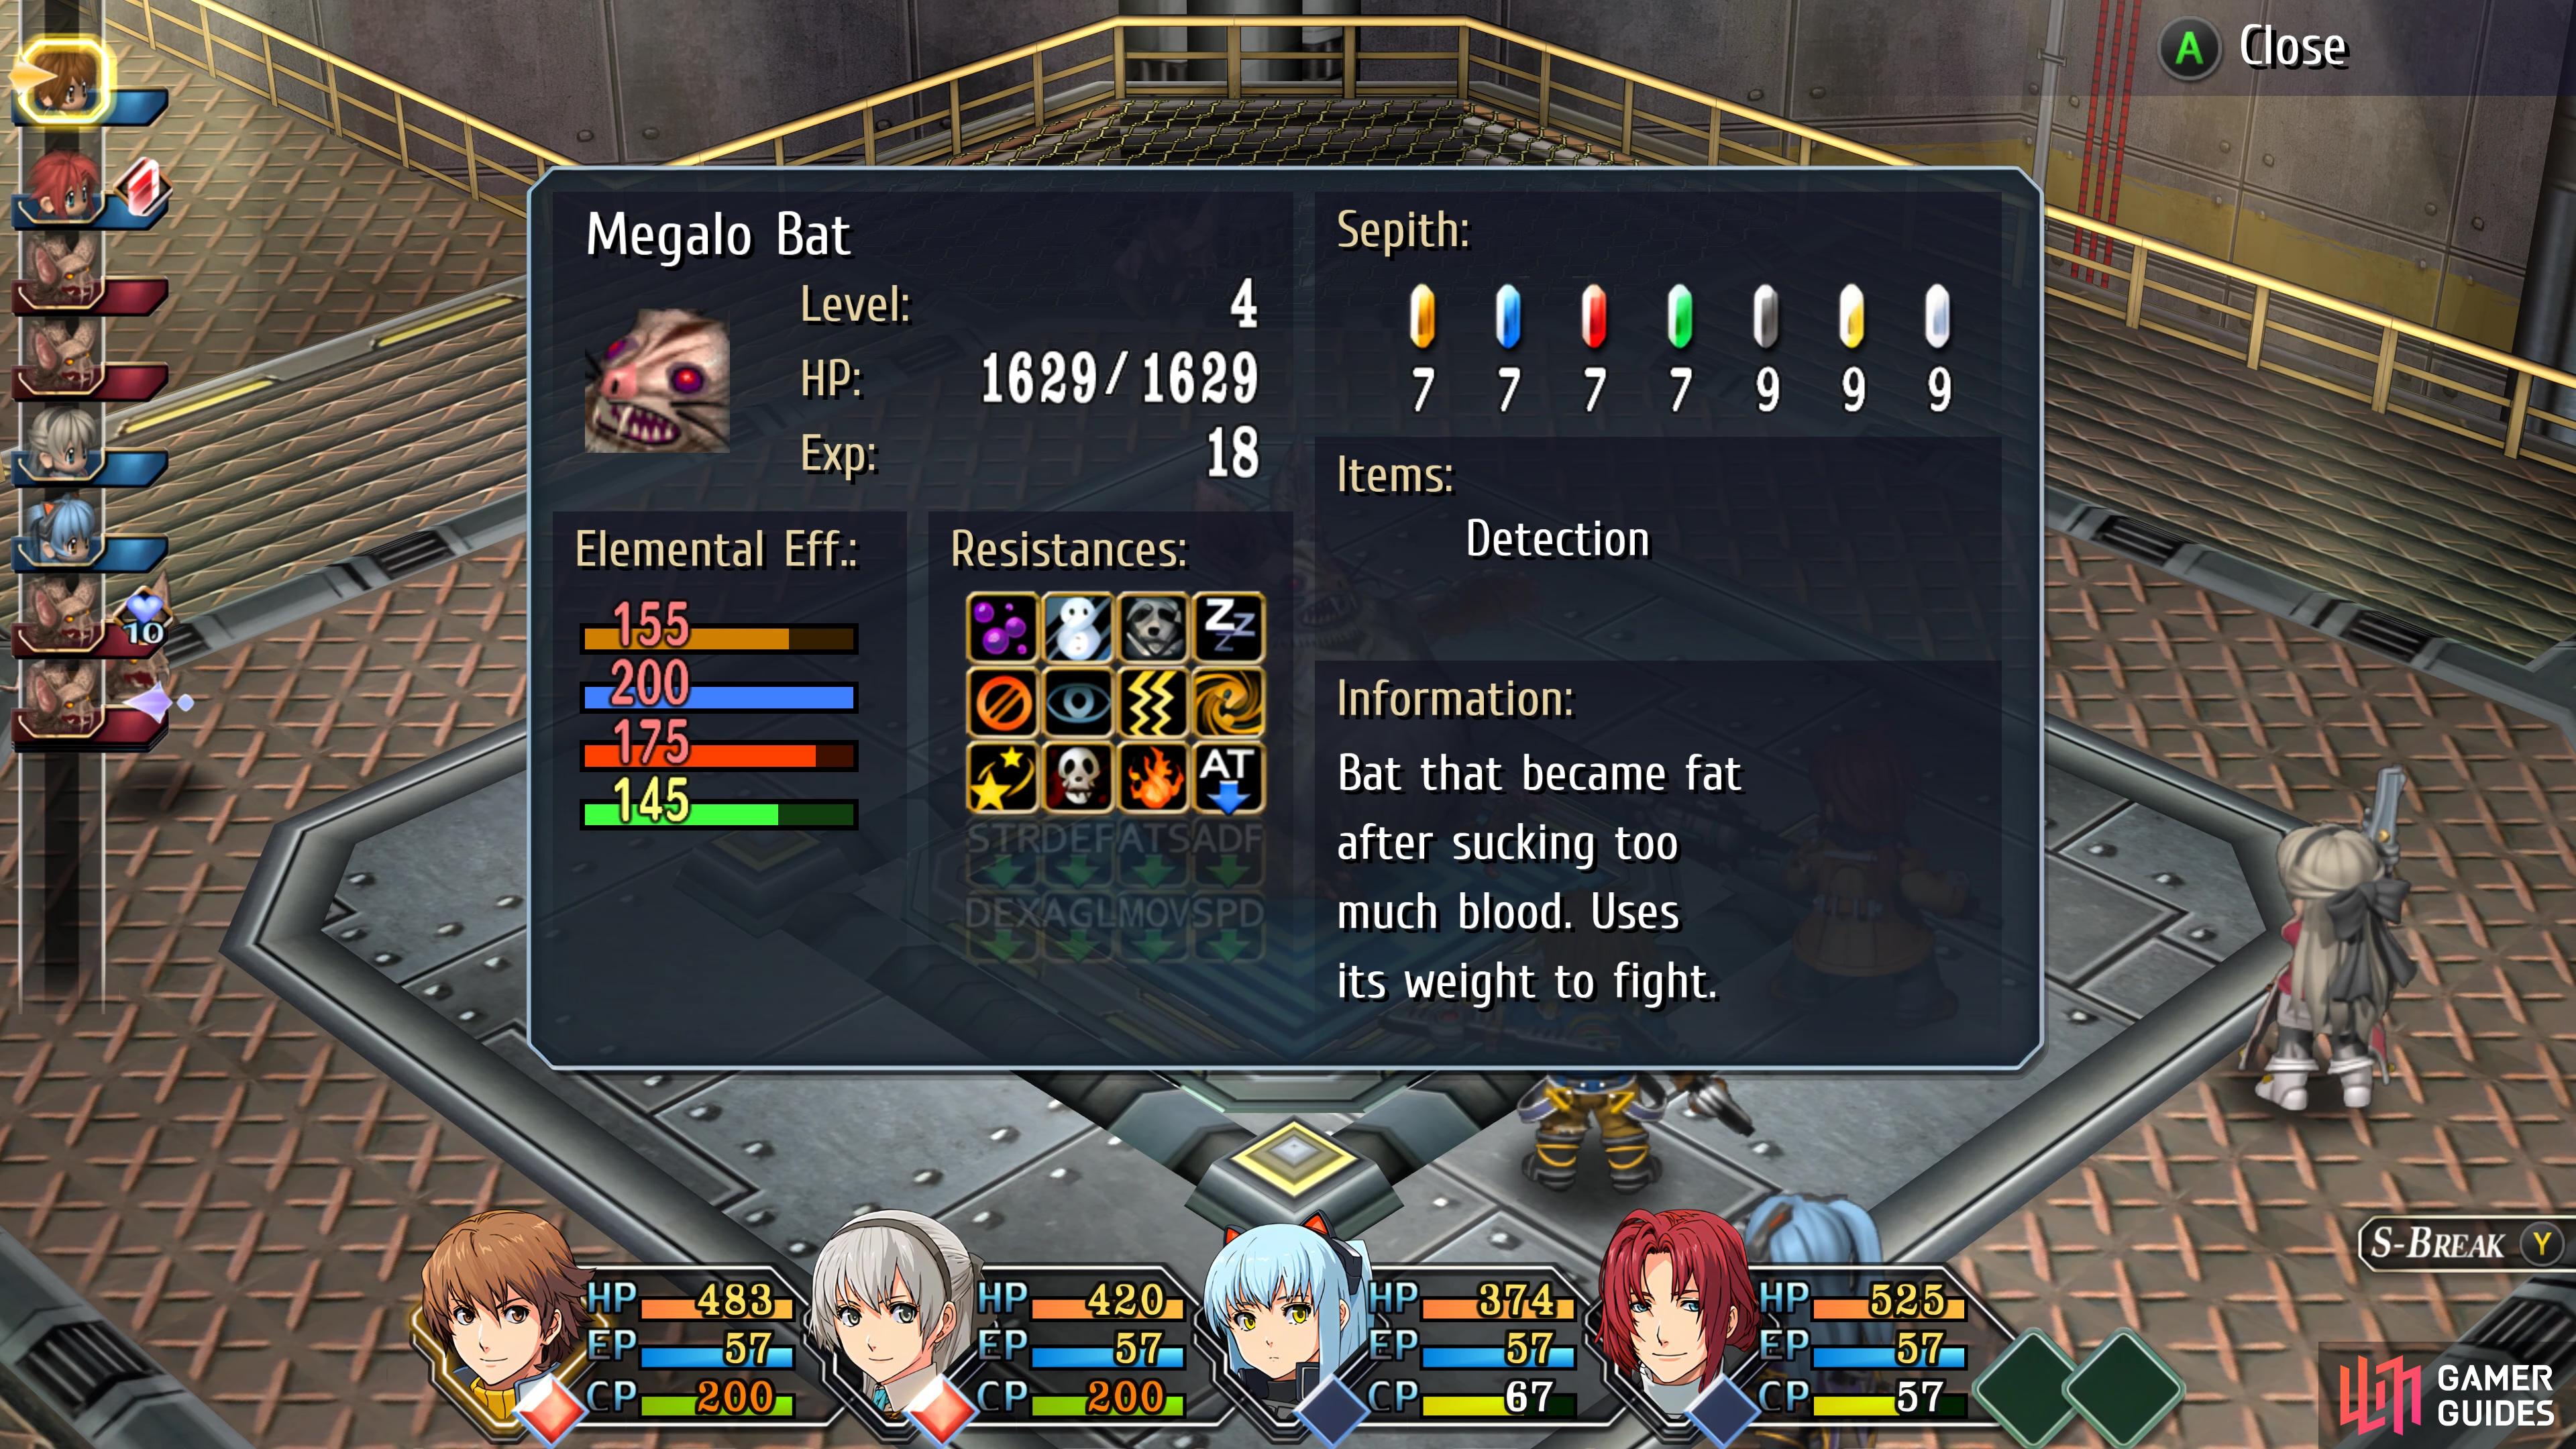
The Megalo Bat is weak to Water, so Icicle Edge is a great Art to use, especially if it’s coming from Tio or Elie. Likewise, use your S-Crafts as they become available, and the Megalo Bat should go down quickly once it’s alone. The Megalo Bat will drop the incredibly useful Detection Quartz, this, when equipped, will show chests on the mini-map so be sure to have someone slot this at all times.
Take the next exit out of the Geofront and when you reach the surface, Chief Sergei will contact you with information on your final main request of the day.
No Comments