
This page covers the Sun Fort - Third Stratum during the Finale of The Legend of Heroes: Trails from Zero. This is the final dungeon in the game, and you’ll find details on all monsters, how to open every chest, and defeat the boss.

The Third Stratum is the largest of the four in the Sun Fort.
Exploring the Third Stratum
| Enemy | Lv | Elemental Effectiveness | Drops |
|---|---|---|---|
| Death Moon | 40 | Chitinous Shell, Antidote | |
| Red Piranha | 40 | Fish Fillet, Monster Egg | |
| Sea Moon | 40 | Chitinous Shell, Sedative | |
| Octobone | 40 | Clear Gelatin, Stimulant | |
| Ebony Scale | 40 | Fish Fillet, Curia Balm |
| Items | Notes |
|---|---|
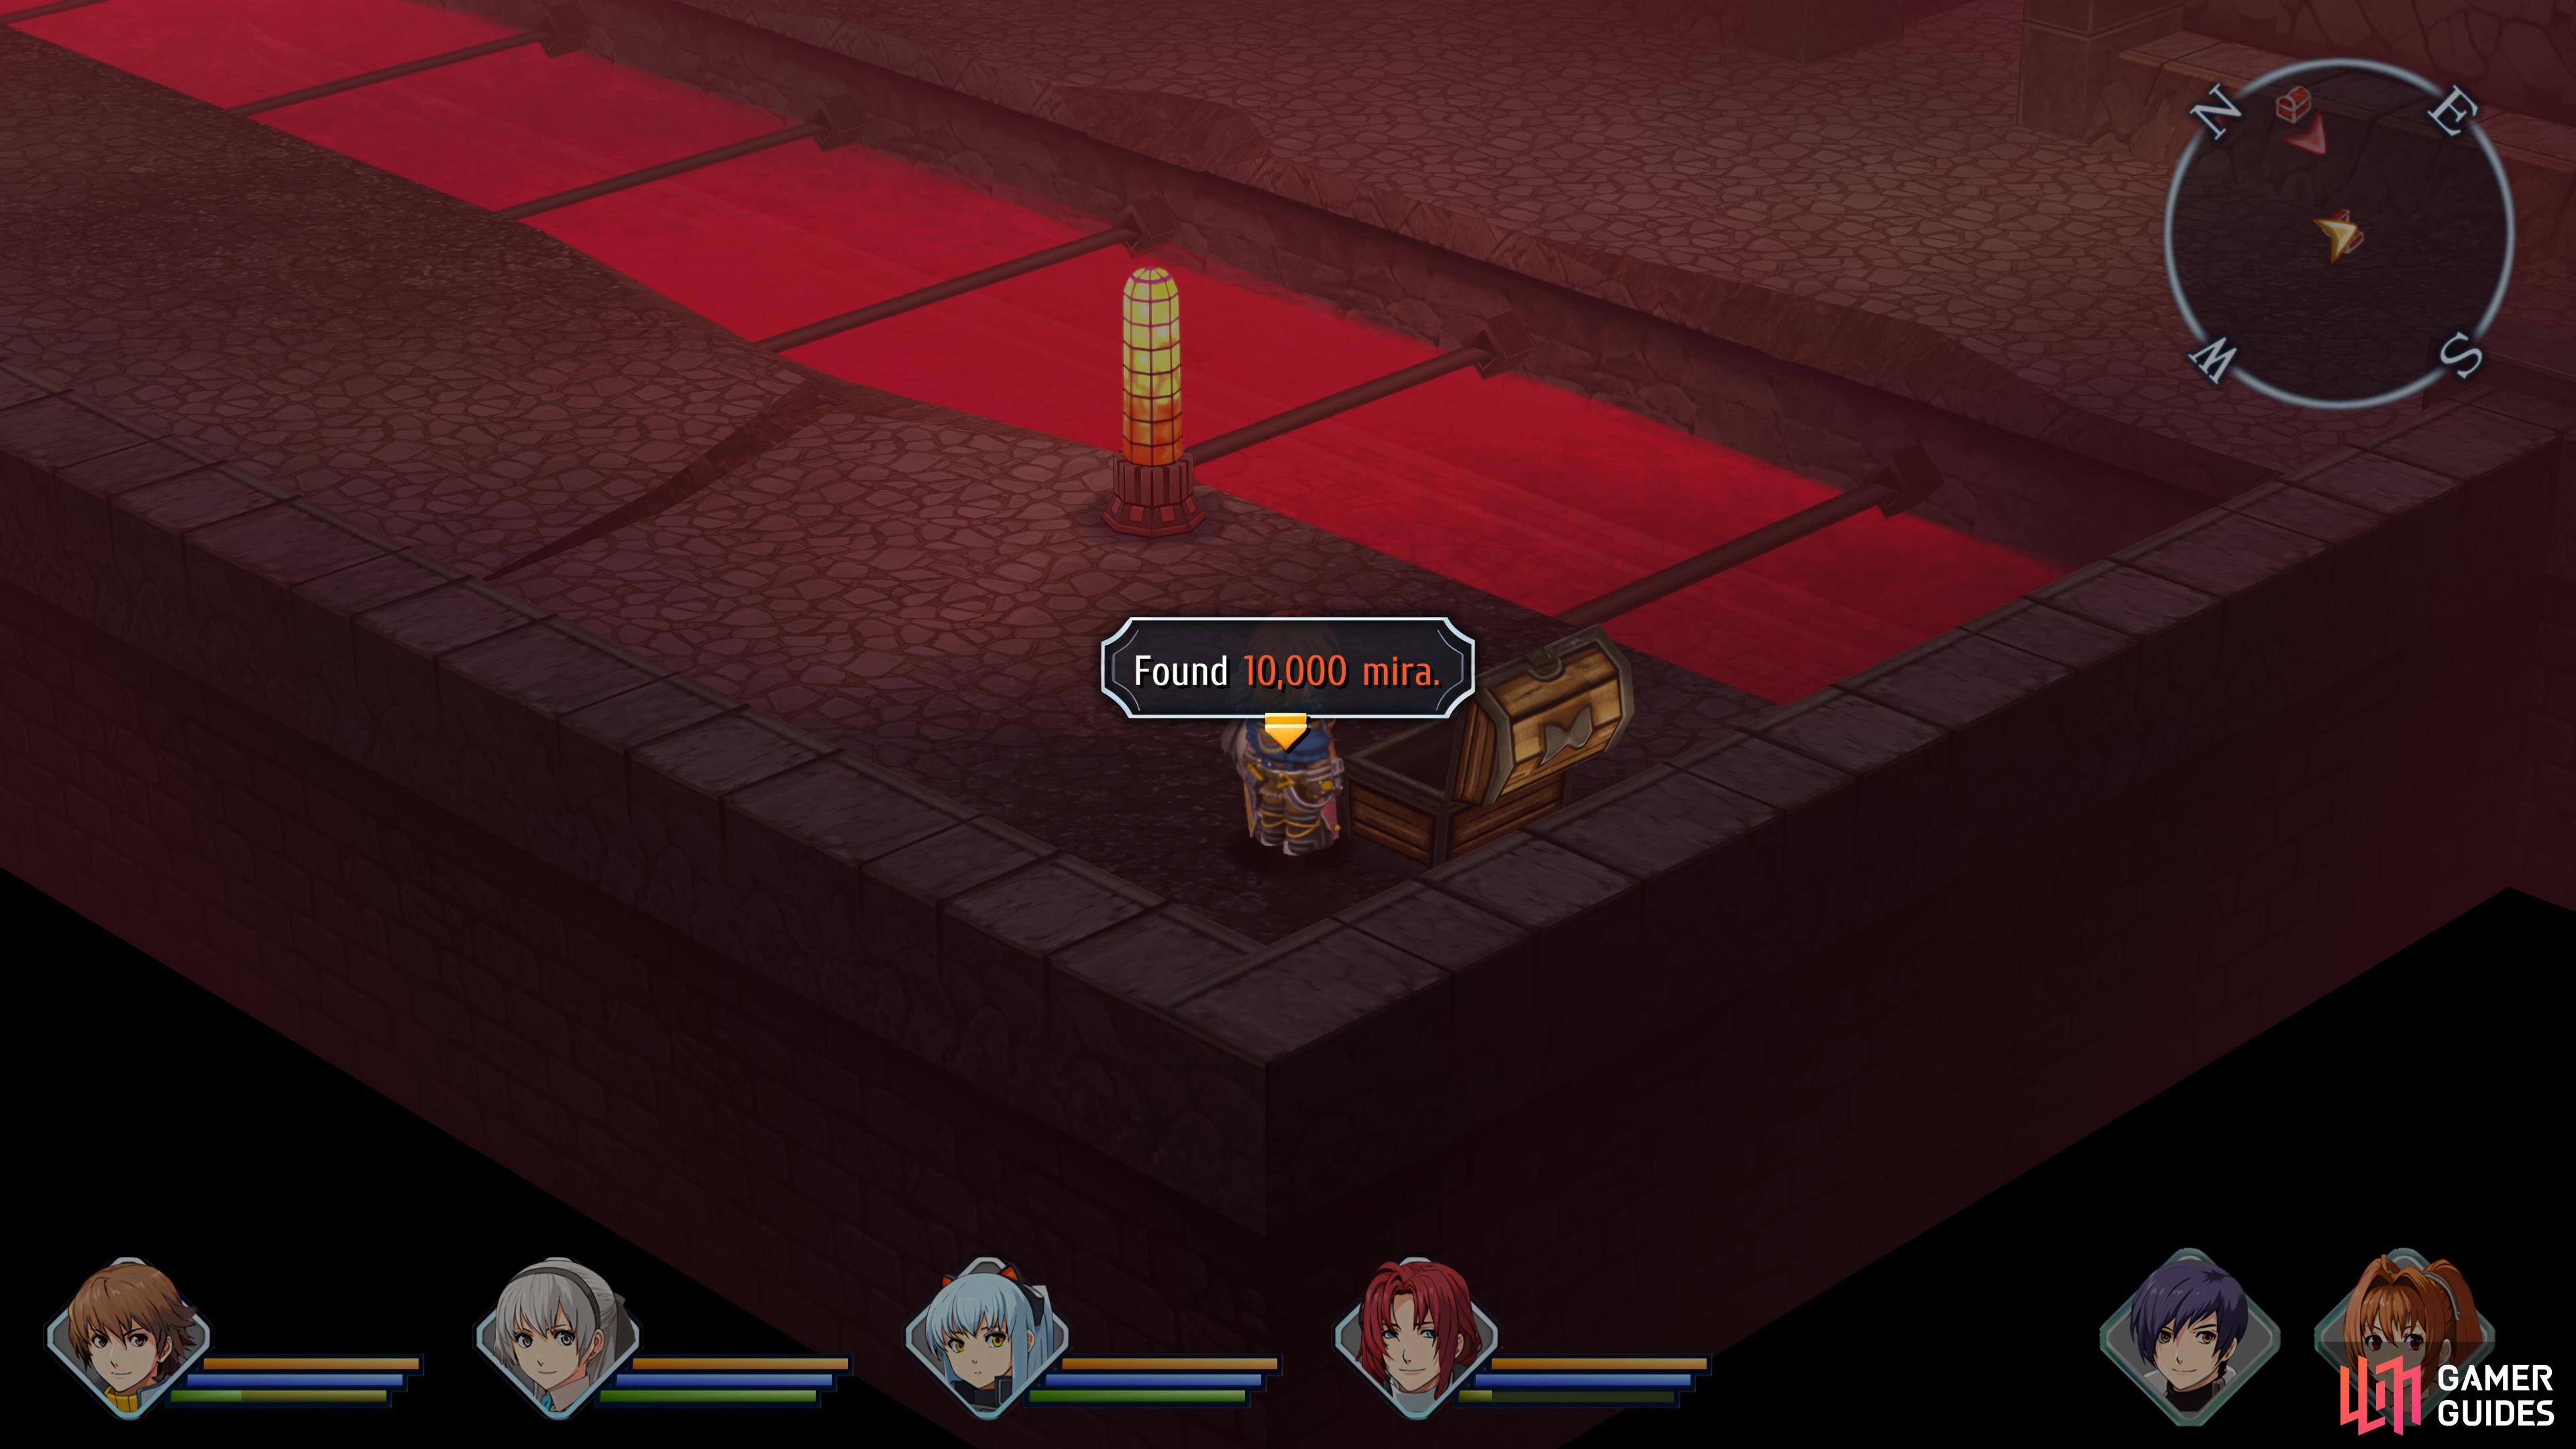
| 10,000 Mira | – |
| Sigma Drive | STR+170 RNG+1 |
| 10,000 Mira | – |
| All Sepith (200) | – |
| Tearal Balm | Restores 5000 HP |
| Florentin | STR+225 RNG+2 |
| Attack 3 | STR+9%/DEF-3% |
| EP Charge II | Restores 300 EP |
| Passionate Rouge | STR+25 SPD+5, Prevents Freeze and Petrify |
| Curia Balm | Cures Ailments |
| Curia Balm | Cures Ailments |
| Celestial Balm | Restores 2000 HP, cures K.O. |
| Still Blue | ATS+25 SPD+5, Prevents Poison, Blind, and Burn |
| Water & Ice | STR+170 |
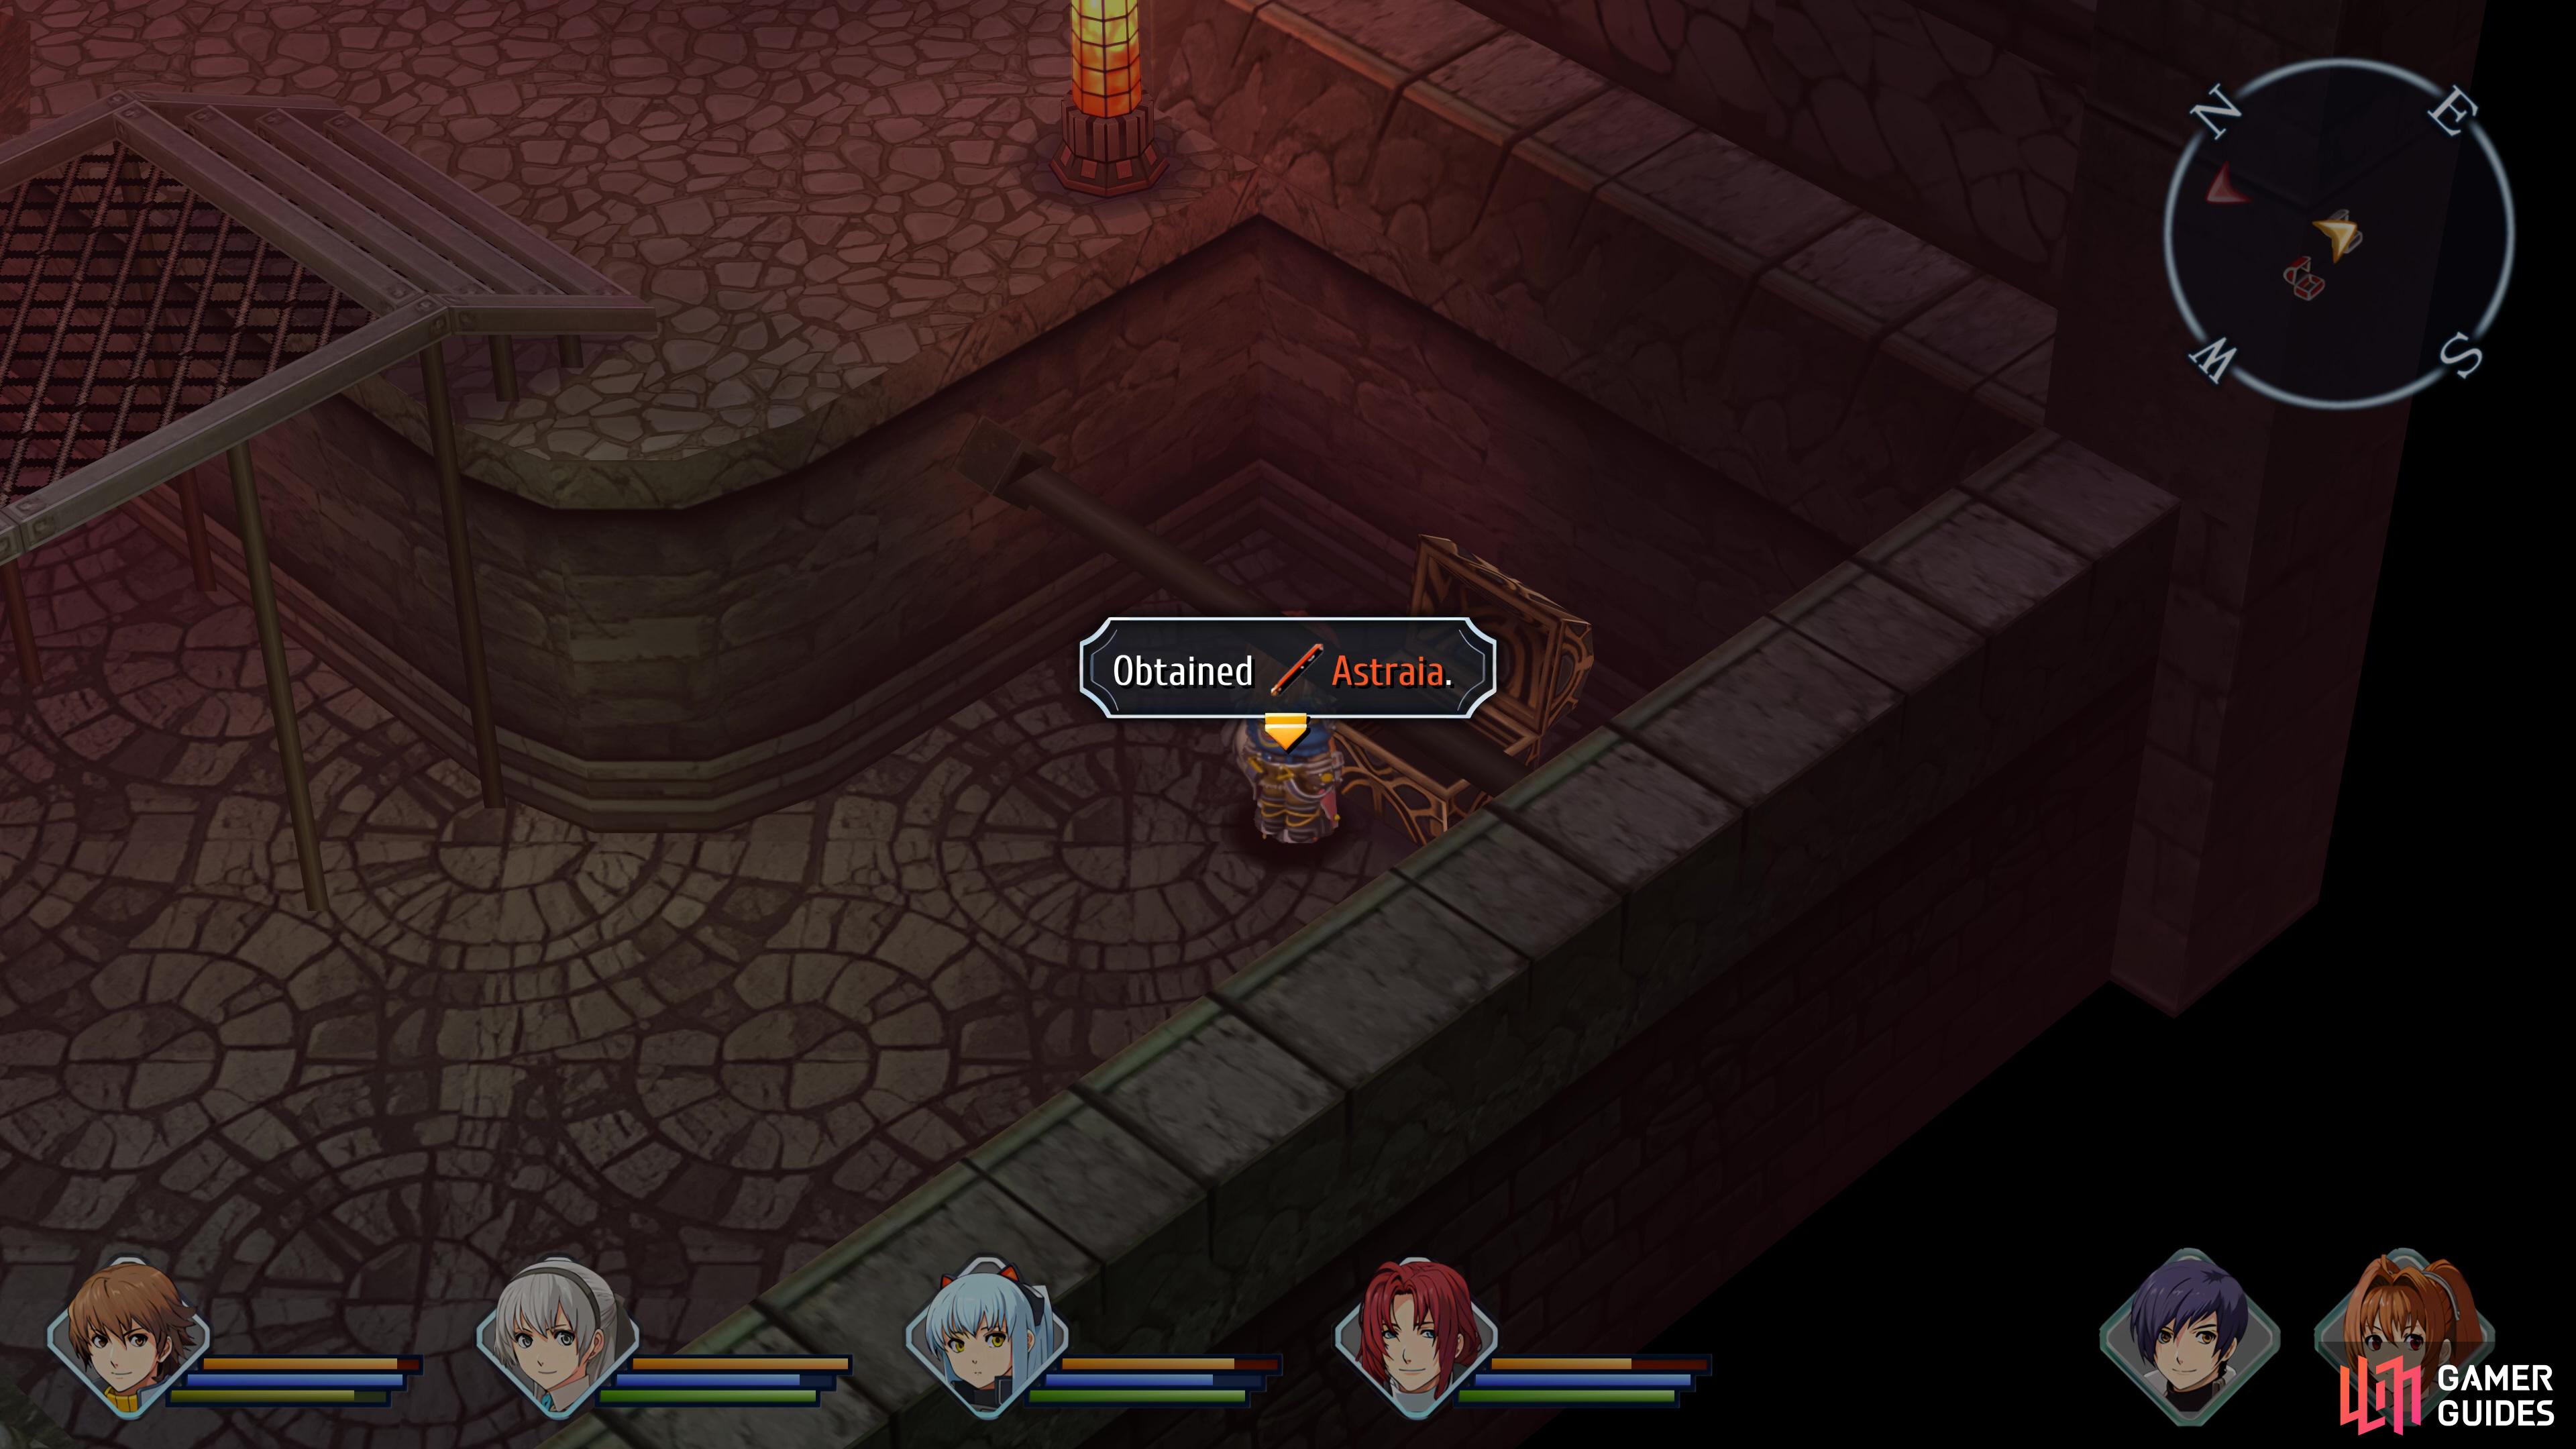
| Astraia | STR+165 RNG+1 |
| Evade 3 | EVA+15% |
| Aurora Dress | DEF+110 ADF+55 (Women Only) |
| All Sepith (200) | – |
| Solar Pendulum | Prevents Freeze and Petrify |
| Meghaduta | Prevents Seal and Mute |
After the shortest stratum, you now have the longest and the one with the most chests to track down. Begin by heading south to find a nearby chest with 10,000 Mira, then follow the path around to the northeastern door. Follow the path until you reach an intersection, then go east and follow the path to the end to find a monster chest with the Sigma Drive, this is Randy’s best weapon if you don’t have his ultimate.
You’ll find Mira and Sepith in this stratum which can be used later
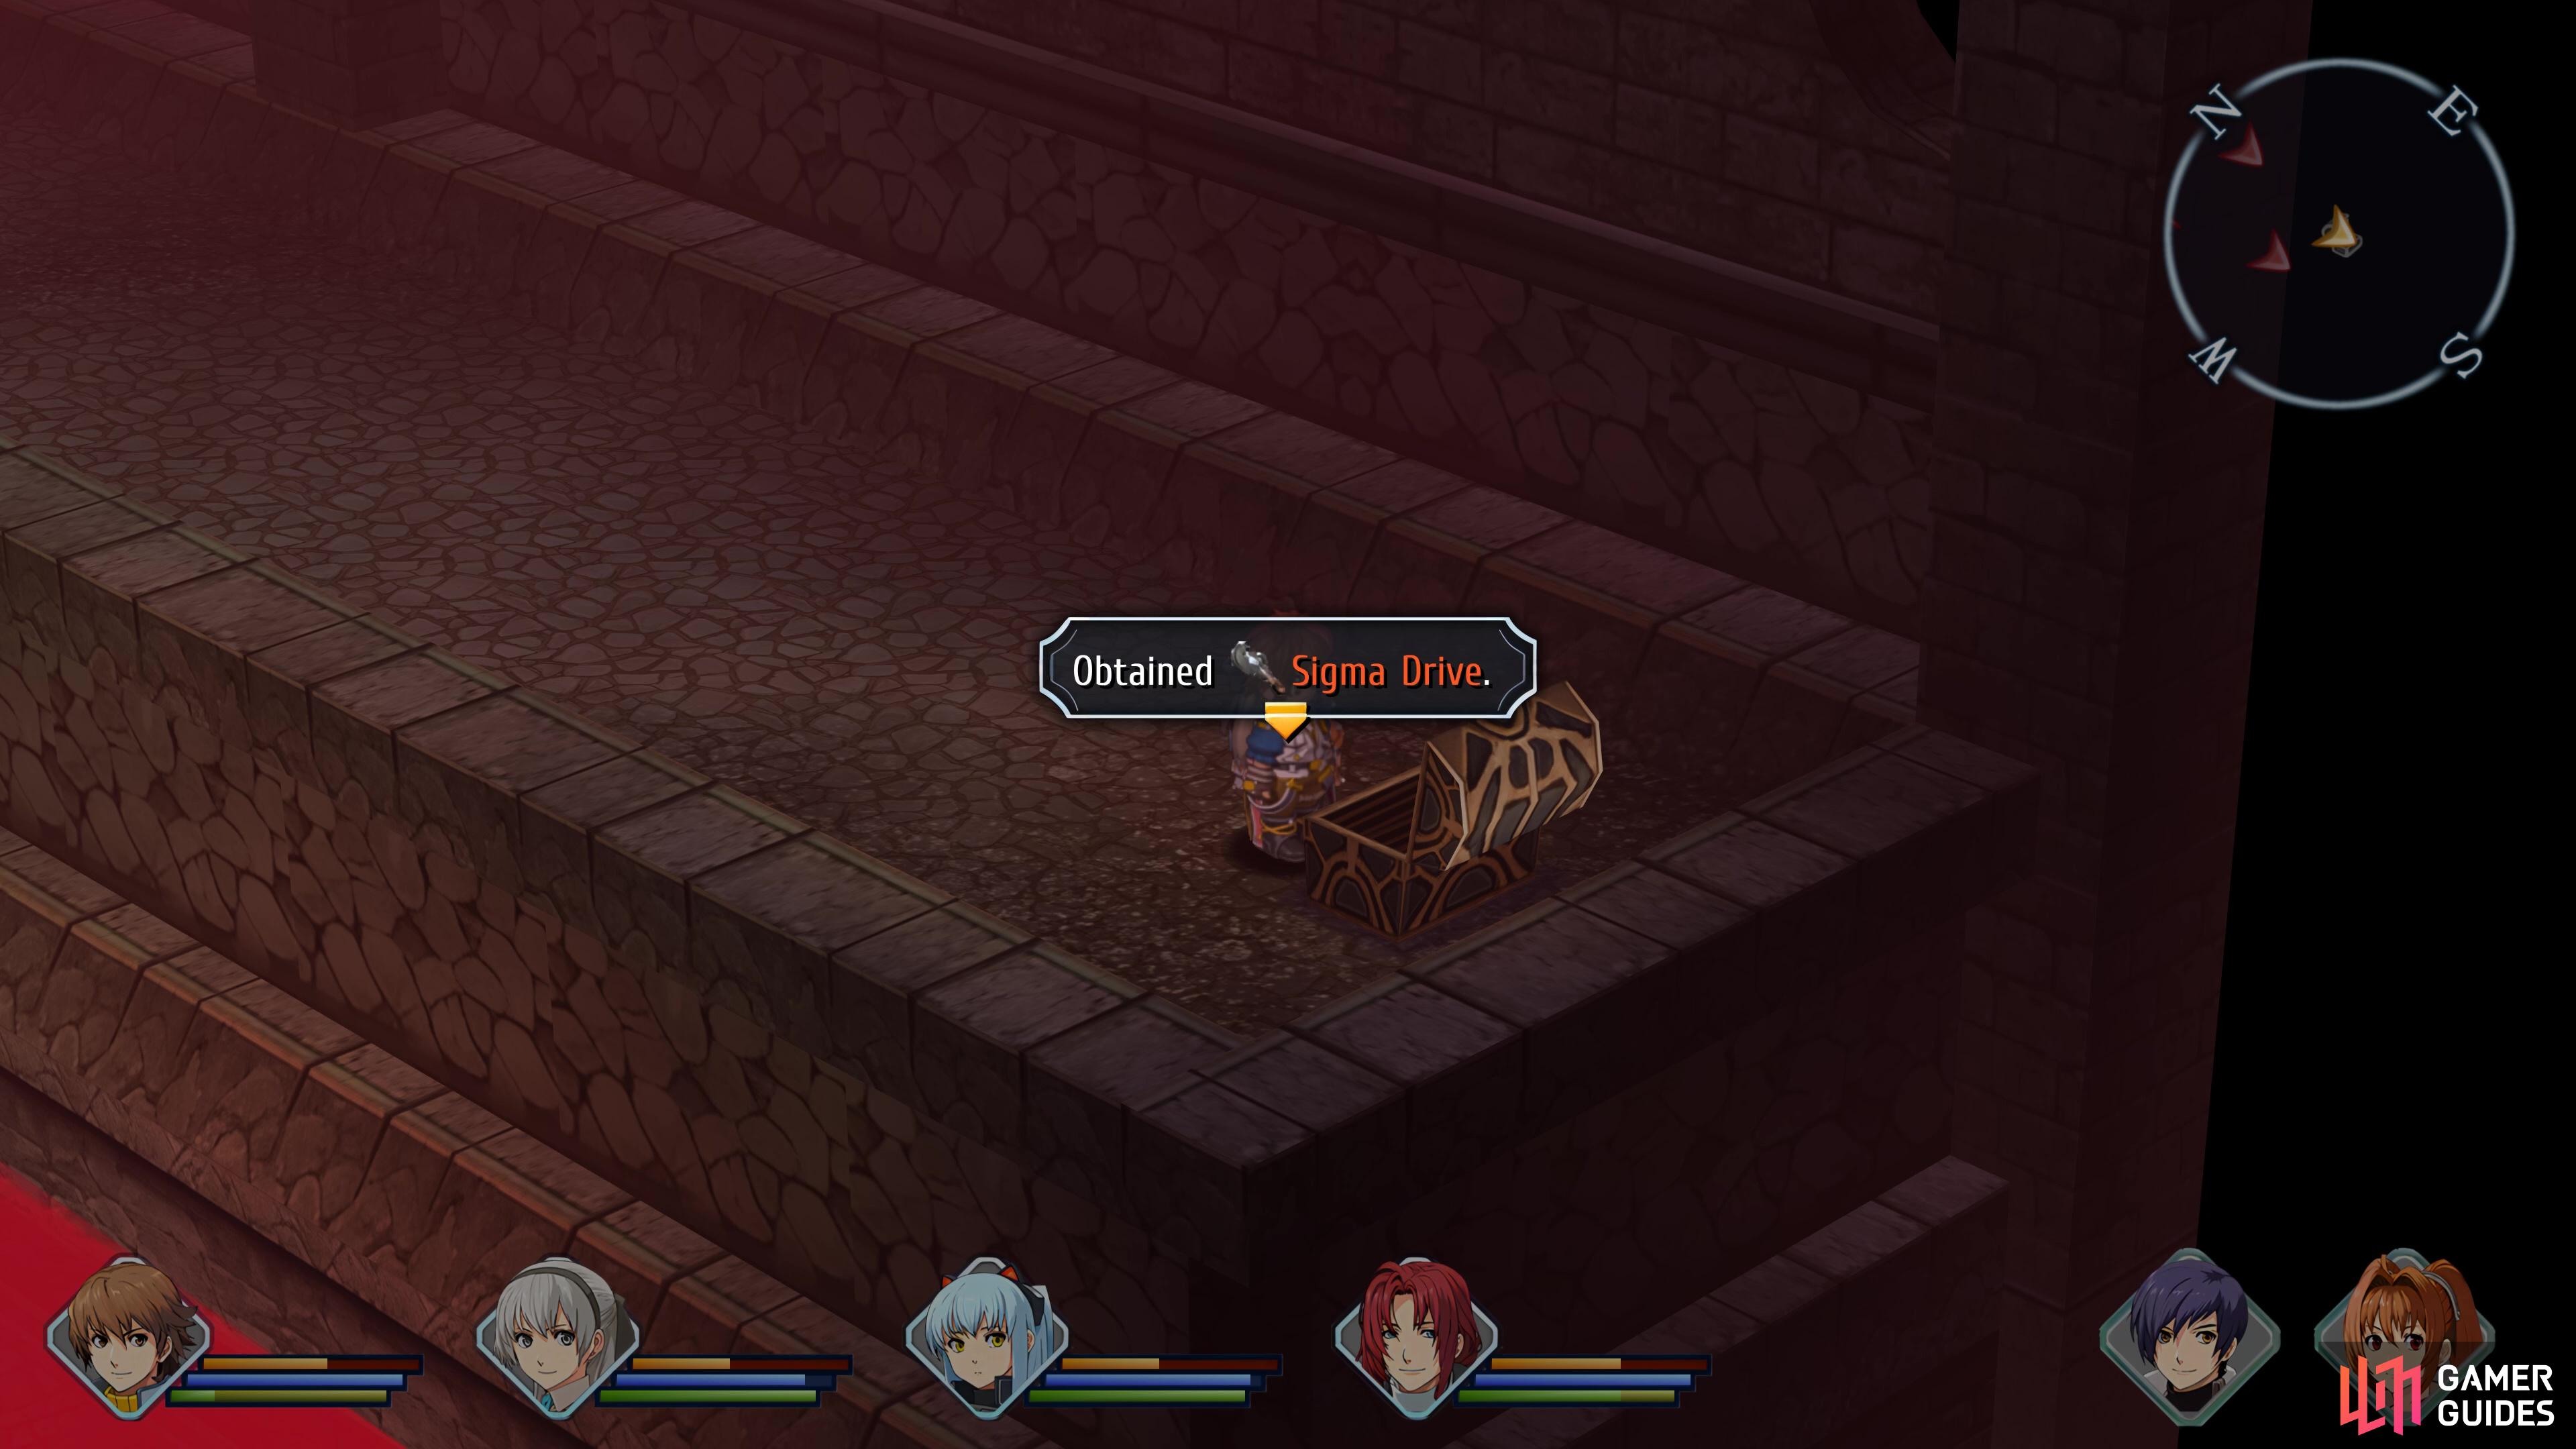
Randy’s second-best weapon, Sigma Drive, can be found in the northeast corner.
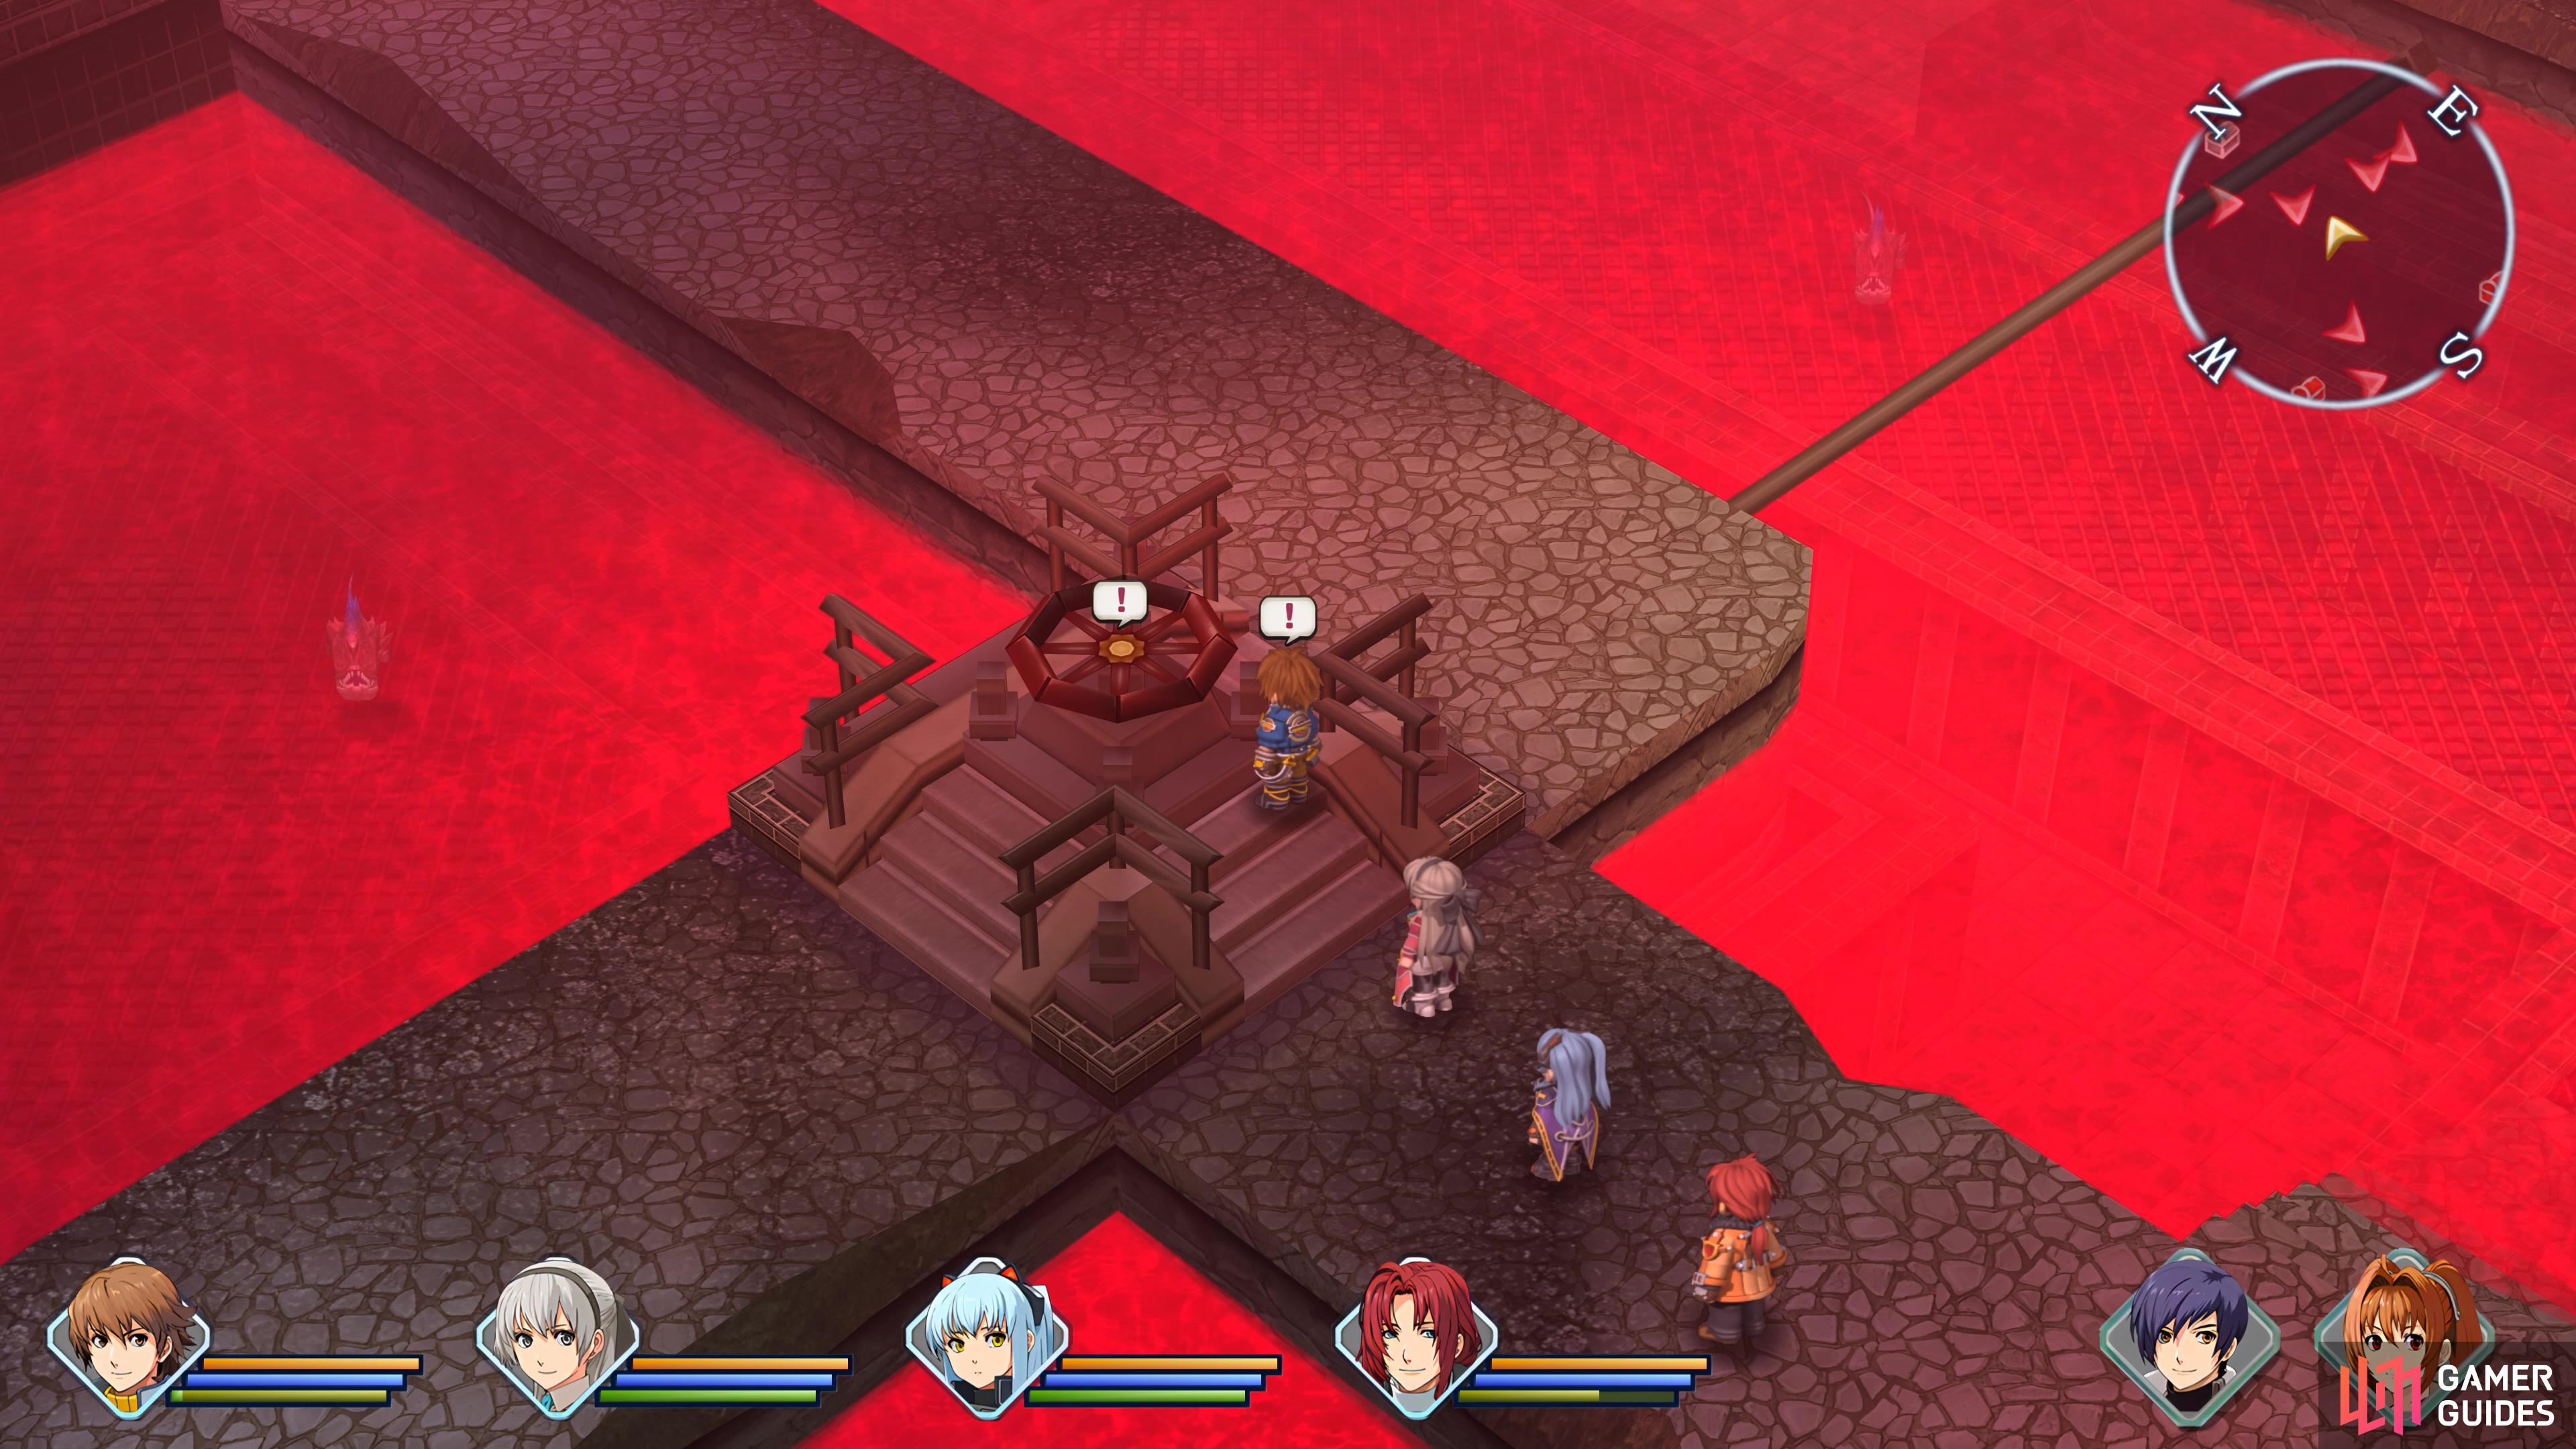
Return to the previous intersection and take the western path to the next area. Go north to claim another chest with 10,000 Mira, then head south to trigger a scene. Activate both switches to open all of the cells and then head into the open cell on your left to find a chest with All Sepith (200). Speaking of all this Sepith and Mira you’ve been earning, in the cells on the right is two shops where you can buy items and modify your Orbments.
Once you’re ready to continue, leave via the eastern exit and follow the path up the stairs to a monster chest containing Florentin, this is Tio’s best weapon if you don’t have her ultimate. Return to the cells and take the western exit this time and you’ll reach a large room with plenty of submerged chests.
Begin by going to the first intersection and you’ll reach a chest with a Tearal Balm. Return to the previous intersection and go west this time to reach a valve. This will lower or raise the red liquid depending on its current level. Go down the nearby stairs now and continue on at the intersection to reach a chest containing an Attack 3 Quartz.
Go back to the nearby intersection and head north until you reach another where you’ll spot a nearby chest to the northeast containing an EP Charge II. Head down the nearby stairs and you’ll find another chest, this one housing the excellent Passionate Rogue Accessory that gives a huge boost to Strength. Return up the stairs and head west beyond the intersections to reach the valve again, but this time from a different direction. Activate it and then go west across the bridge and follow the path to leave via the northern door.
Begin by heading east here to open a chest containing a Curia Balm, then head down to the western exit. Continue along the path in this next area and you’ll spot a chest near the bridge containing a second Curia Balm. Pocket it and then go over the nearby bridge and through the door to the next area.
You’ll find yourself back in the large room. Ignore the bridge for now and head south at the intersection to open a chest containing a Celestial Balm. Return to the intersection and head across the bridge to reach the valve again. Once you’ve lowered the red liquid once more, head down the nearby stairs and go to the southeast to find a chest in the corner containing a Still Blue, an accessory that provides a boost to ATS.
Head back to the northwest and keep going that way beyond the stairs to reach another intersection. Ignore the stairs for now and keep going to reach a monster chest housing Water & Ice, a new weapon for Joshua. Go up the nearby stairs now and follow the path to an exit.
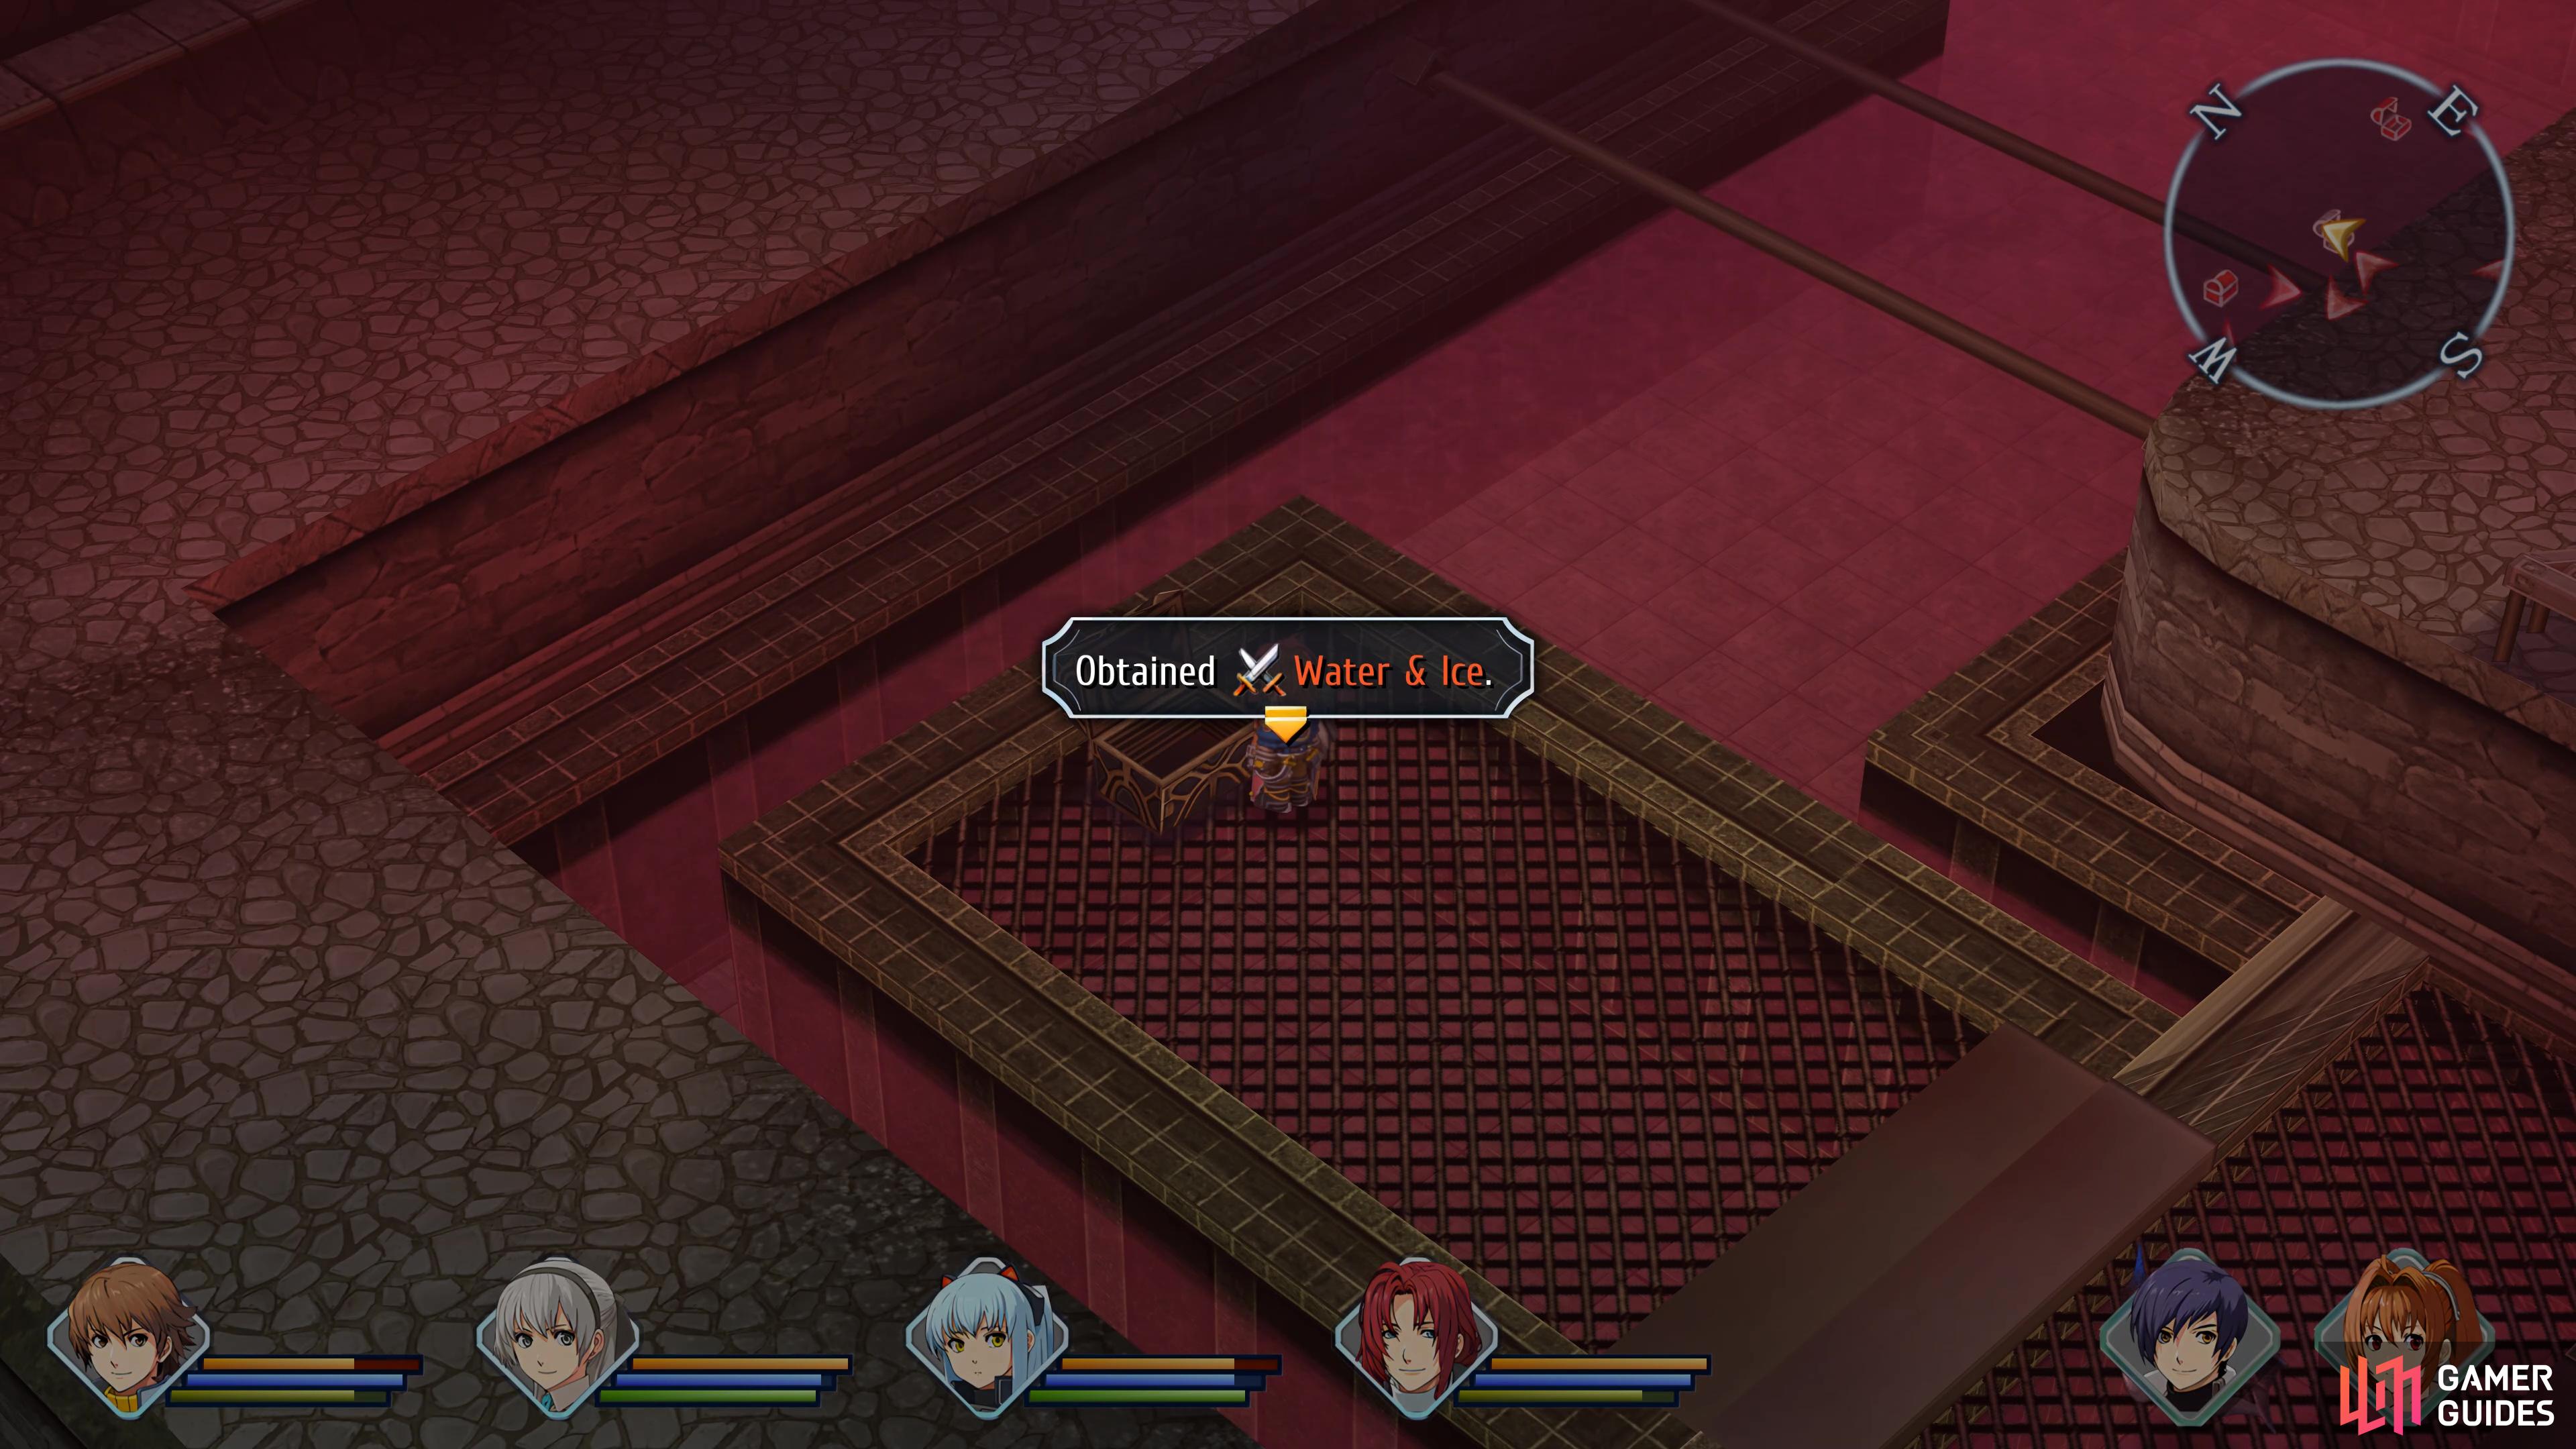
You will find two monster chests in this section that feature weapons for Joshua
along with another for Estelle.
Take the western exit from this next corridor and go down the nearby stairs and to the southern corner to find another monster chest, this one containing the Astraia, a new weapon for Estelle. Take the right stairs up after and back into the large room where you’ll find some stairs to the north (ignore the ones nearby for now) that leads to a chest containing an Evade 3 Quartz.
Go back to those stairs you passed by when you came back into this room and go down them now, following it through to the exit. You’ll find yourself at more cells, only this time the ones for Revache. Lloyd will take matters into his own hand and open the cells and once you regain control, head to the west and you’ll find another monster chest, this one containing an Aurora Dress. Pull the other switch near the Revache goons and pass through the open gate to reach another switch, this will allow you to reach the chest that contains All Sepith (200). Return to where the second switch you flipped and head out to the next area.
Flip the nearby switch in this next corridor and then follow the path to a Recharge Station and an exit. Ensure that you have 200 CP on everyone and that all of your characters have resistance to Burn and Deathblows before stepping through the door.
Boss Battle - Demon Ernest

Demon Ernest is a boss in the third stratum of the Sun Fort.
| Enemy | Lv | Elemental Effectiveness | Drops |
|---|---|---|---|
| Demon Ernest | 41 | – | |
| Org Virage | 41 | Tearal Balm, Celestial Balm |
Demon Ernest is a lot tougher than the other boss you’ve fought here so far, so you’ll want to make sure you’ve prepared sufficiently by equipping Burn accessories and have max CP. You may remember the Org Virages from the Stargazer’s Tower Monster Extermination Request so you’ll know what to expect.
Demon Ernest’s attacks hit hard, his regular attack alone will deal close to 1000 HP and can inflict either Faint or Blind. Double Zanbar is a single target attack that will hit for around 1000 HP and will cause K.O unless you’re protected against it. If you see him focus his energy, get ready, as Burning Finger on the target which will deal around 1800 damage and inflict Burn if you’re not protected against it. Finally, he has access to Dark Divine Song, his S-Craft which will hit for massive damage and absorb some of it.
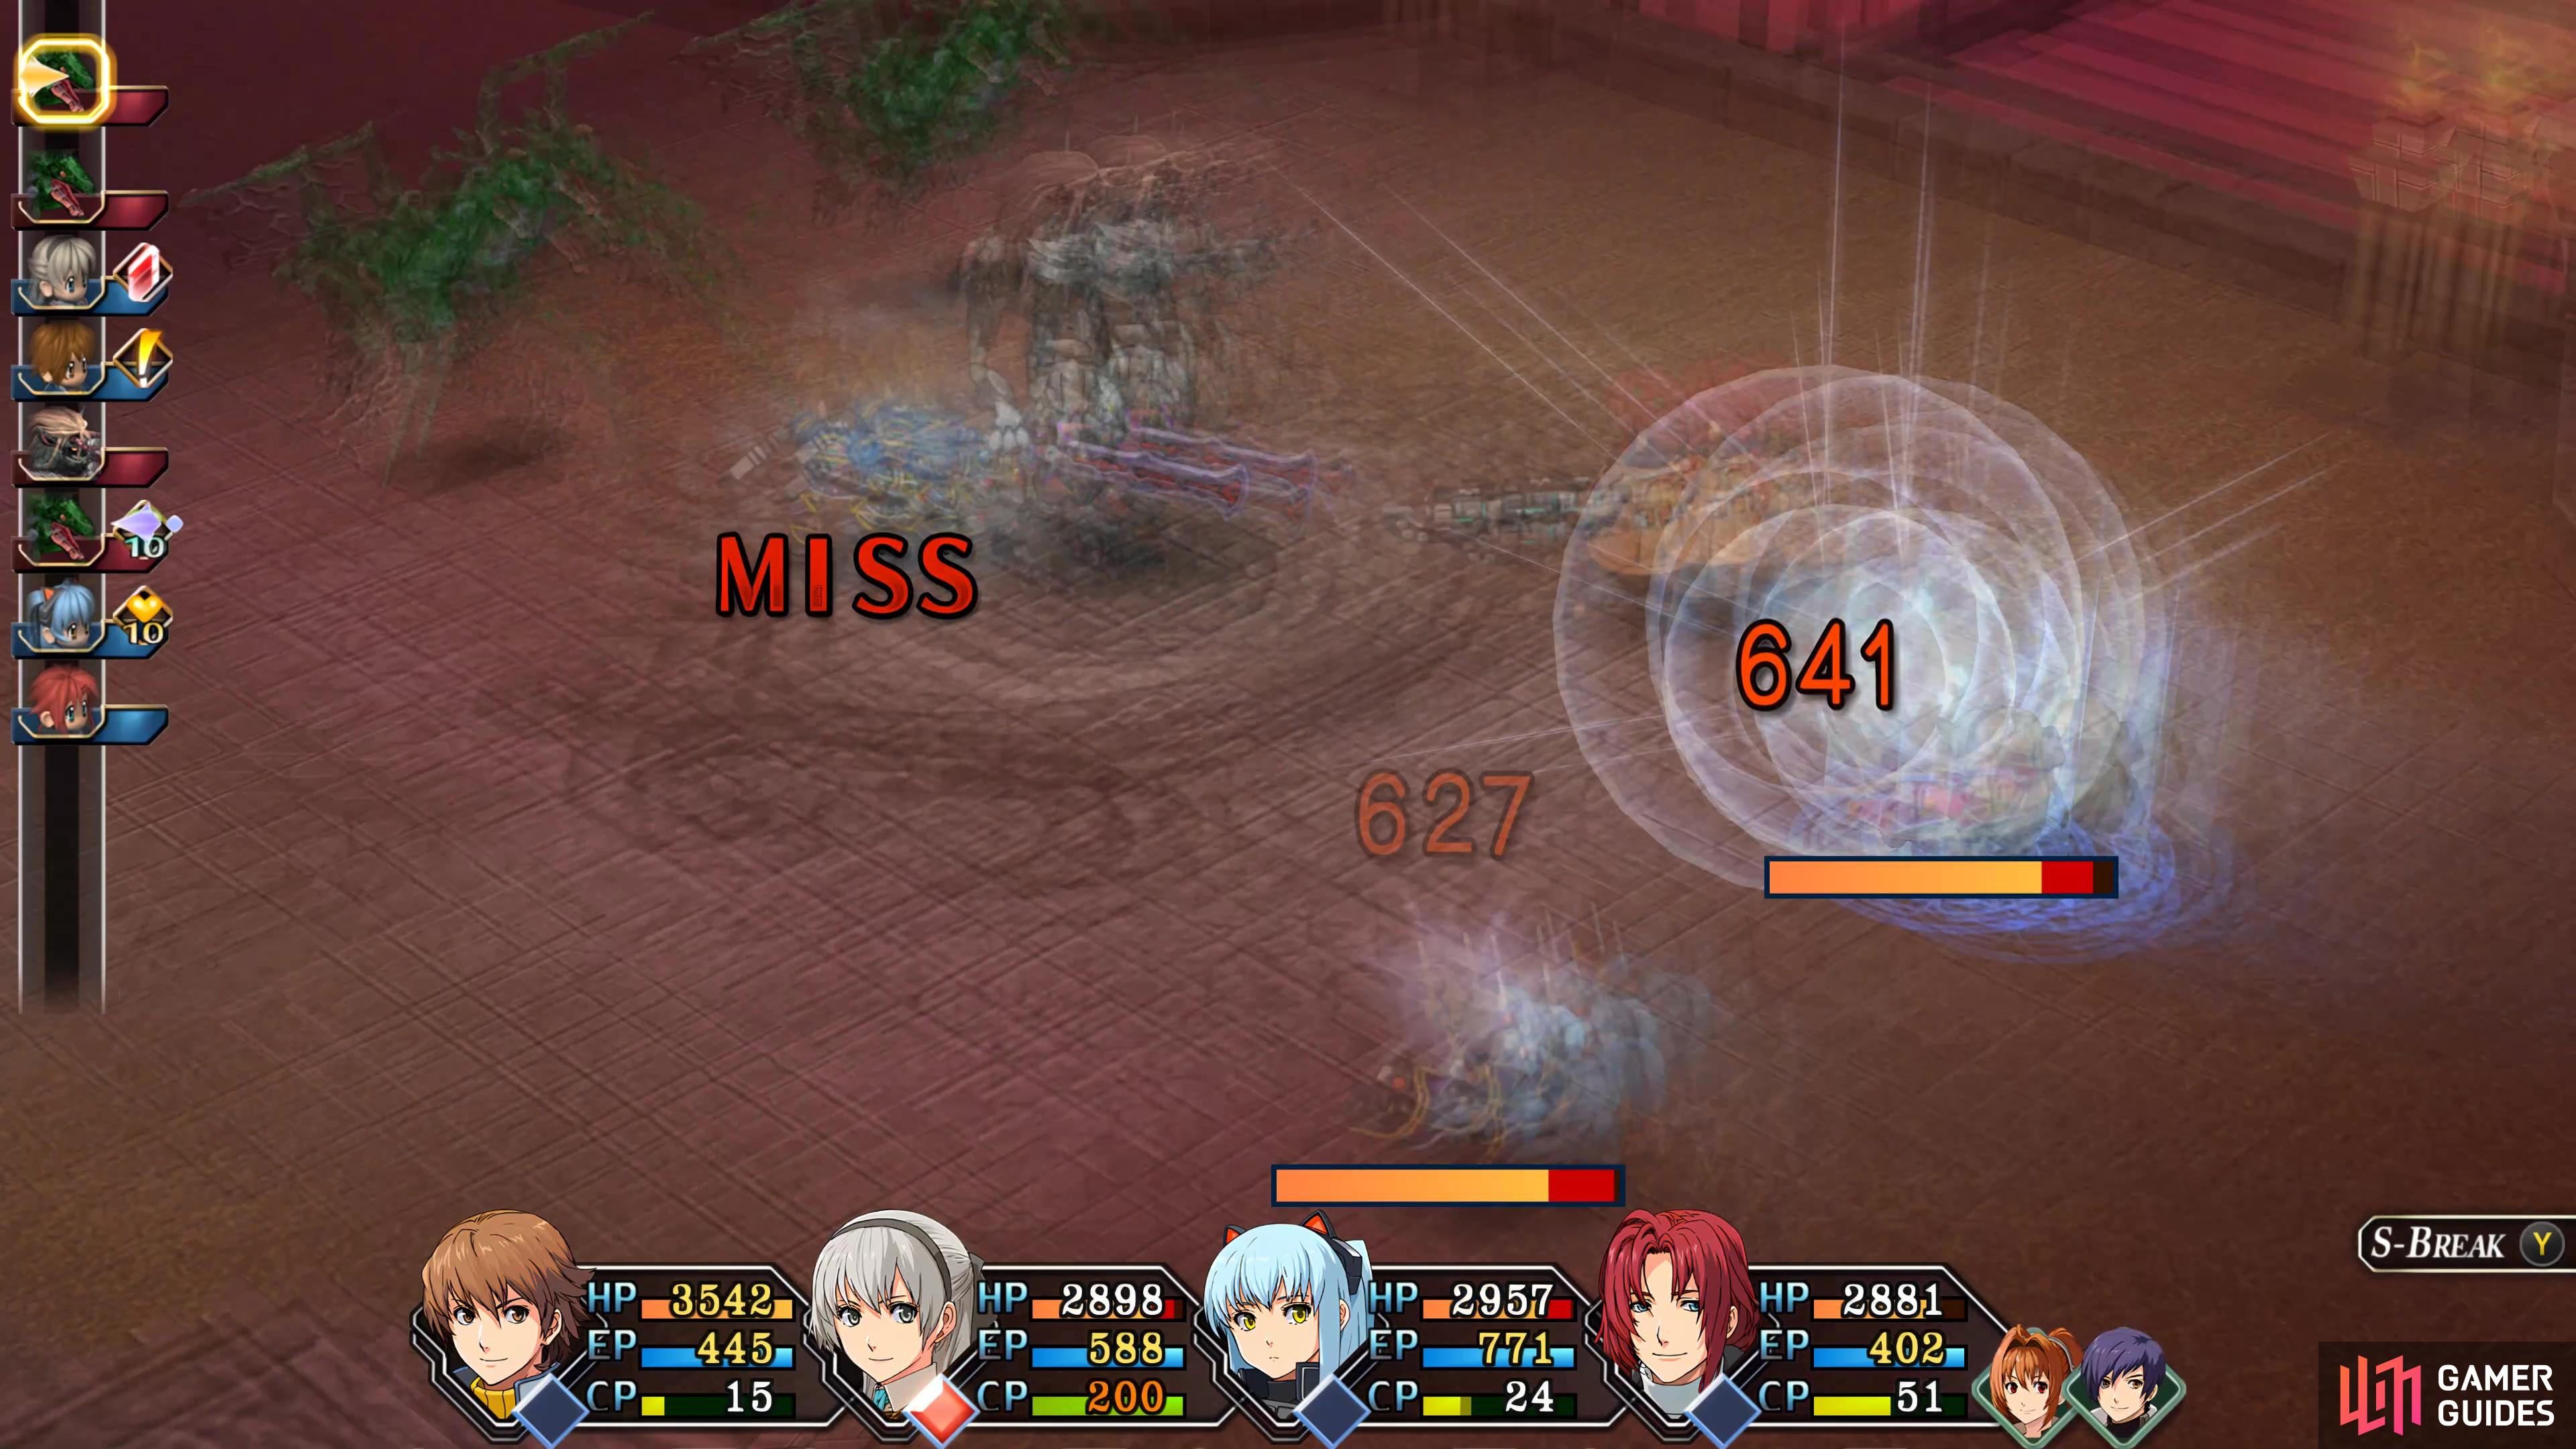
(1 of 5) Be sure that you can finish your cast before the turn of the Org Virages or else they will cancel it
As always, begin the battle with S-Breaks from Lloyd and Randy (on a Critical Bonus if possible), with 200 CP, these should easily be striking around 5000+ HP. If you’re using Arts (and you should be with Tio and Elie), ensure that you can get the cast off before any Org Virage acts or they’ll cancel it. Ernest is weak to Space, so if you have Last Disaster available, it can hit for over 6000+ damage.
Once you regain control following the battle, go back and use the Recharge Station and then as you pass through the boss room, search the western corner for a chest containing a Solar Pendulum. Head down the stairs and go to the far end to find the final chest in this stratum containing a Meghaduta. Return to the door you just passed and go through it to enter the fourth and final stratum.
No Comments