
You can try to make do with your fists in a zombie apocalypse, but if you want to get any serious zombie-slaying done, you’re going to need weapons. Fortunately, they’re lying around in great abundance, if you’re willing to accept pretty much anything made of wood, stone or metal. In terms of gameplay mechanics, all weapons - from improvised weapons like rakes and concrete-encrusted rebar to proper swords and axes - all function the same, and this page will discuss how to equip, sort, drop and throw weapons in Dead Island 2.
You can swap between weapons at any time via your weapon wheel.
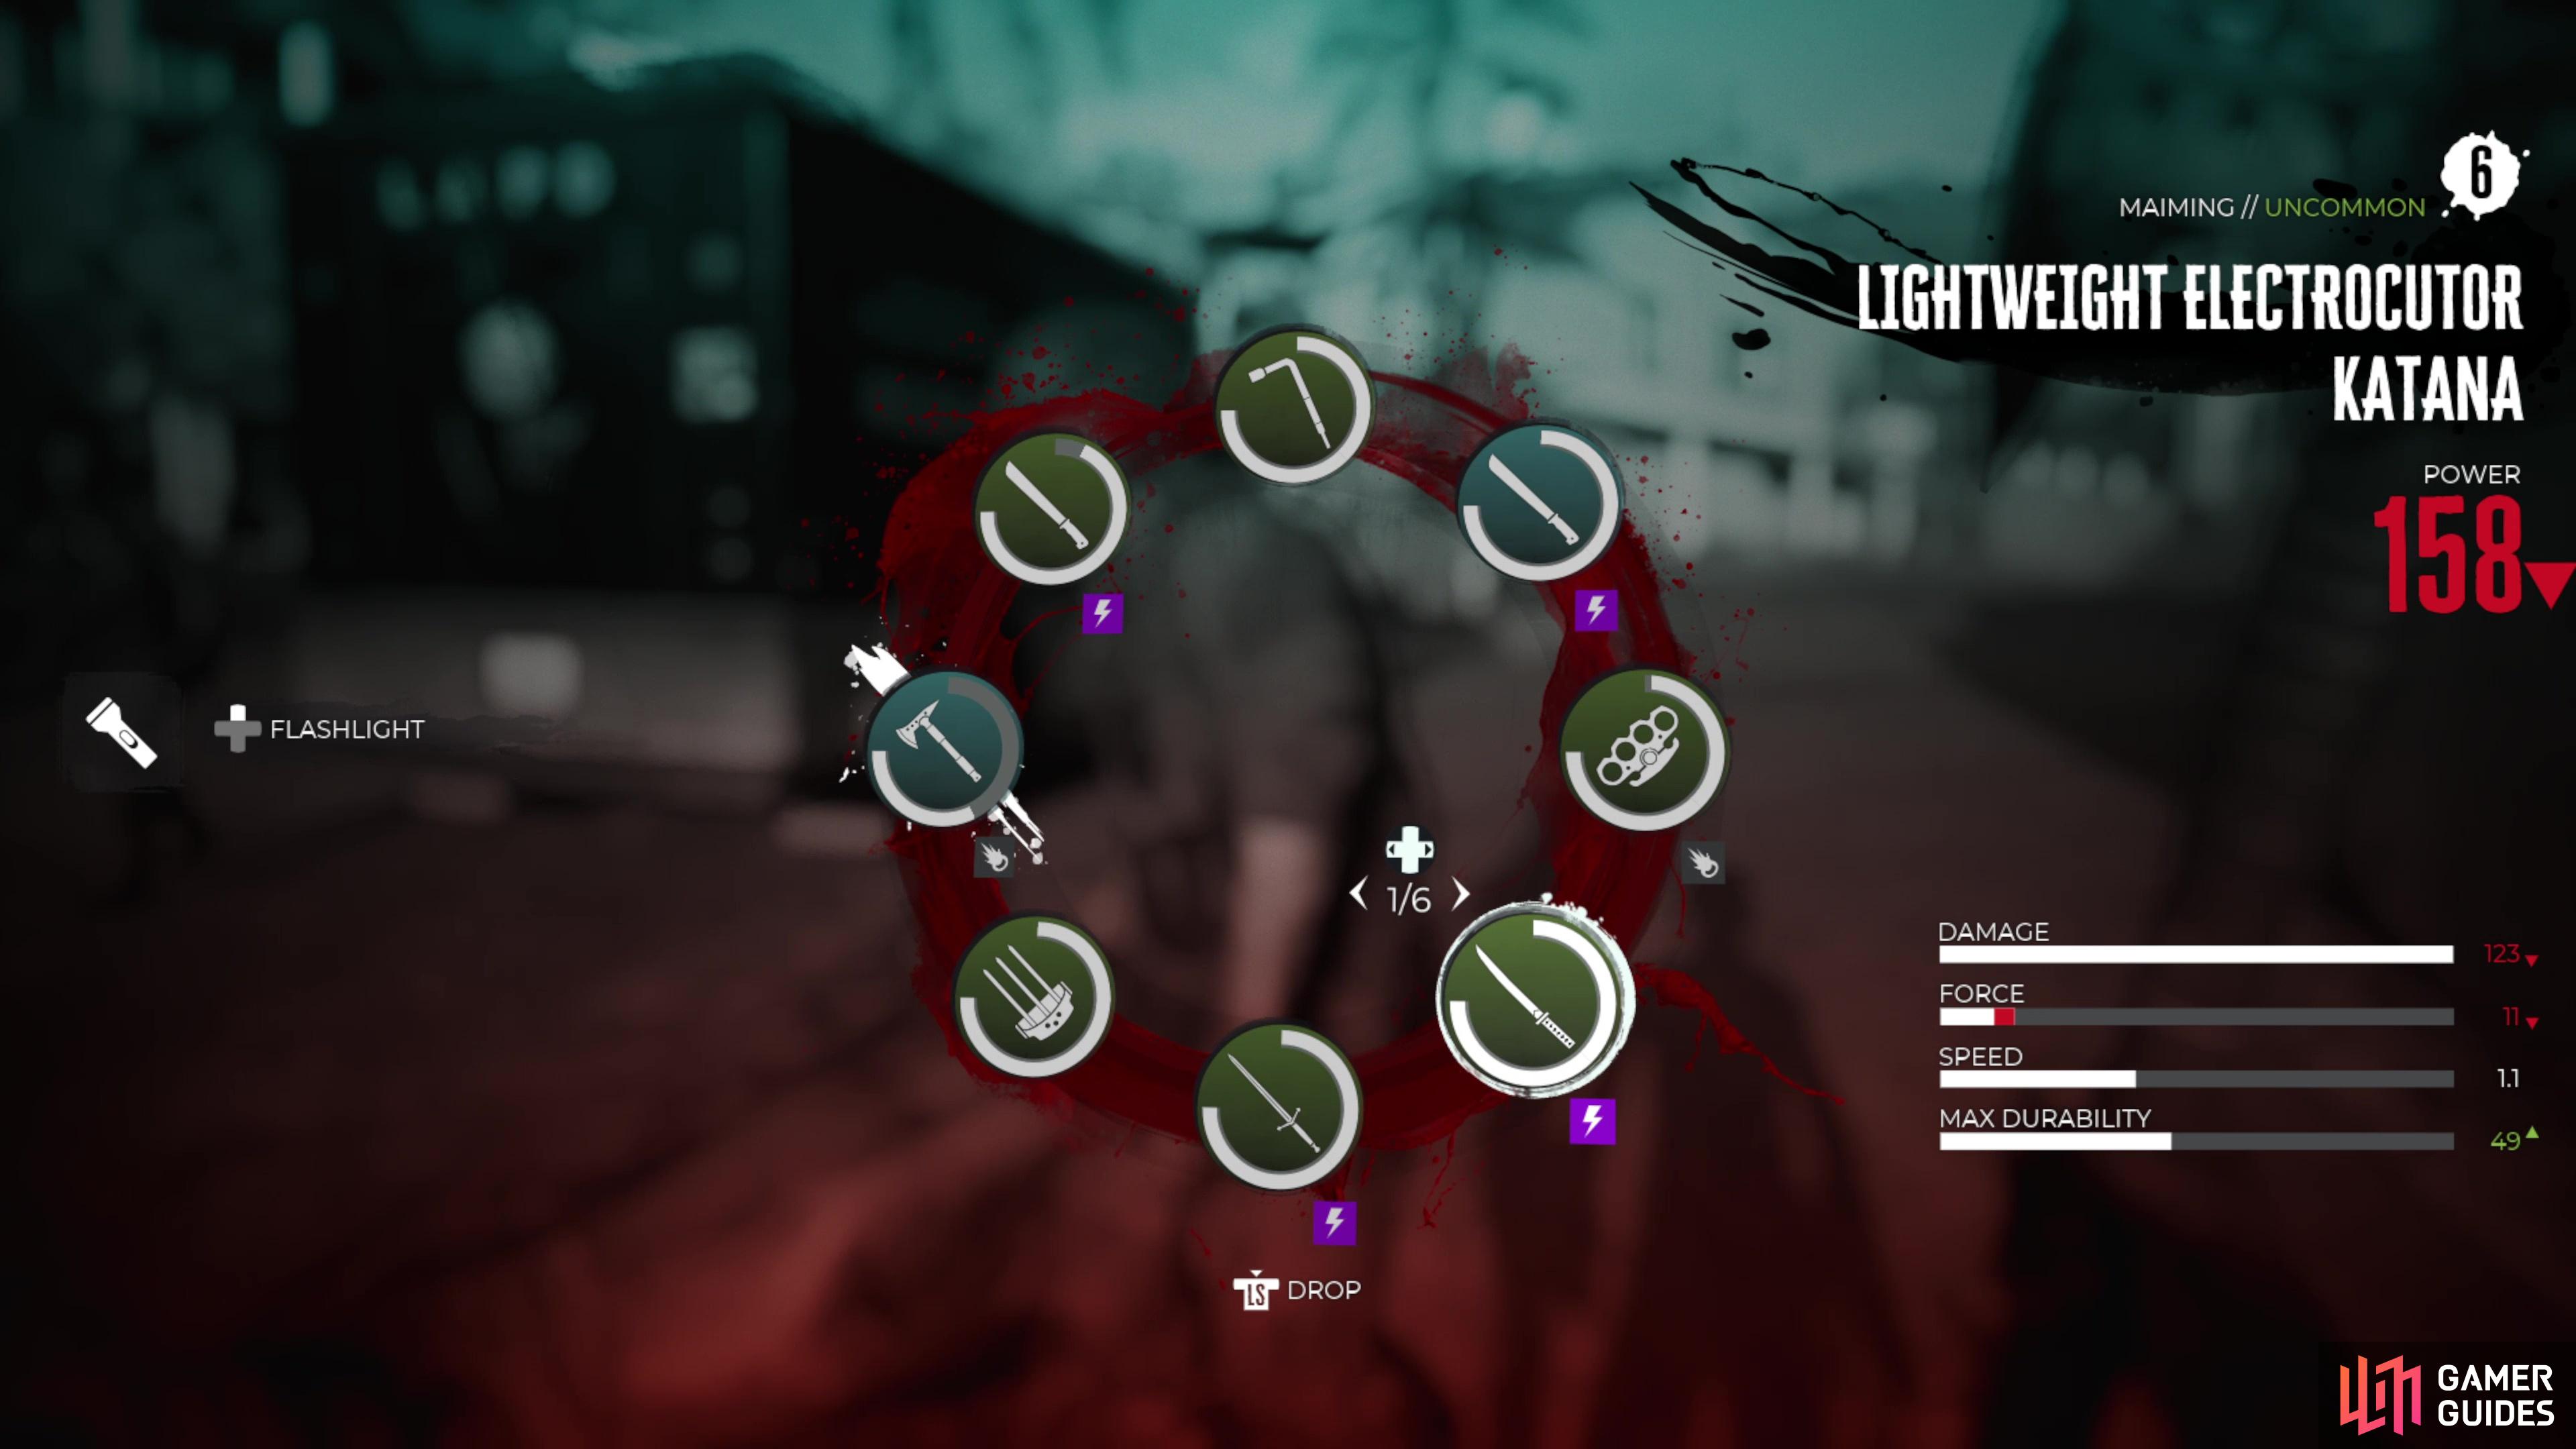
How the Weapon Wheel Works in Dead Island 2
When you pick up a weapon it’ll be added to your inventory. You can carry 16 weapons at a time, and of these 8 can be assigned to your weapon wheel. If your weapon wheel isn’t full, new weapons will be added to it automatically, but weapons in excess of the 8 allowed on your weapon wheel will instead just be added to your inventory, where they’re held in reserve.
Selecting Weapons via the Weapon Wheel
Weapons on your weapon wheel can be equipped and swapped out on the fly by holding the  /
/  button, which will slow down time and give you time to make your decision. The weapons on your weapon wheel are displayed in a radial menu, just use the
  to select what weapon you want and release the / button when you’re done.
You can also add weapons from your inventory to your weapon wheel on the fly. Just bring up the weapon wheel, select the weapon you want to swap out, and press the  /
/  buttons to toggle through weapons in your inventory. The weapon you swap in will be added to your weapon wheel and the weapon you swap out will be moved to your inventory.
Dropping Weapons
Weapons in Dead Island 2 have durability, and at the beginning of the game, you’ll be burning through weapons fairly quickly, as early-game weapons tend to be improvised weapons. Improvised weapons - the junk common (white) weapons you’ll find at the start of the game are notoriously fragile and bereft of additional value once they’ve been used to slaughter the handful of zombies their durability will allow, you’ll find yourself dropping them often. Later on, when you start finding proper weapons of varying rarity, you’ll often want to scrap, sell, or repair these tools rather than discard them. To drop weapons, just select it via the weapon wheel and press the  button.
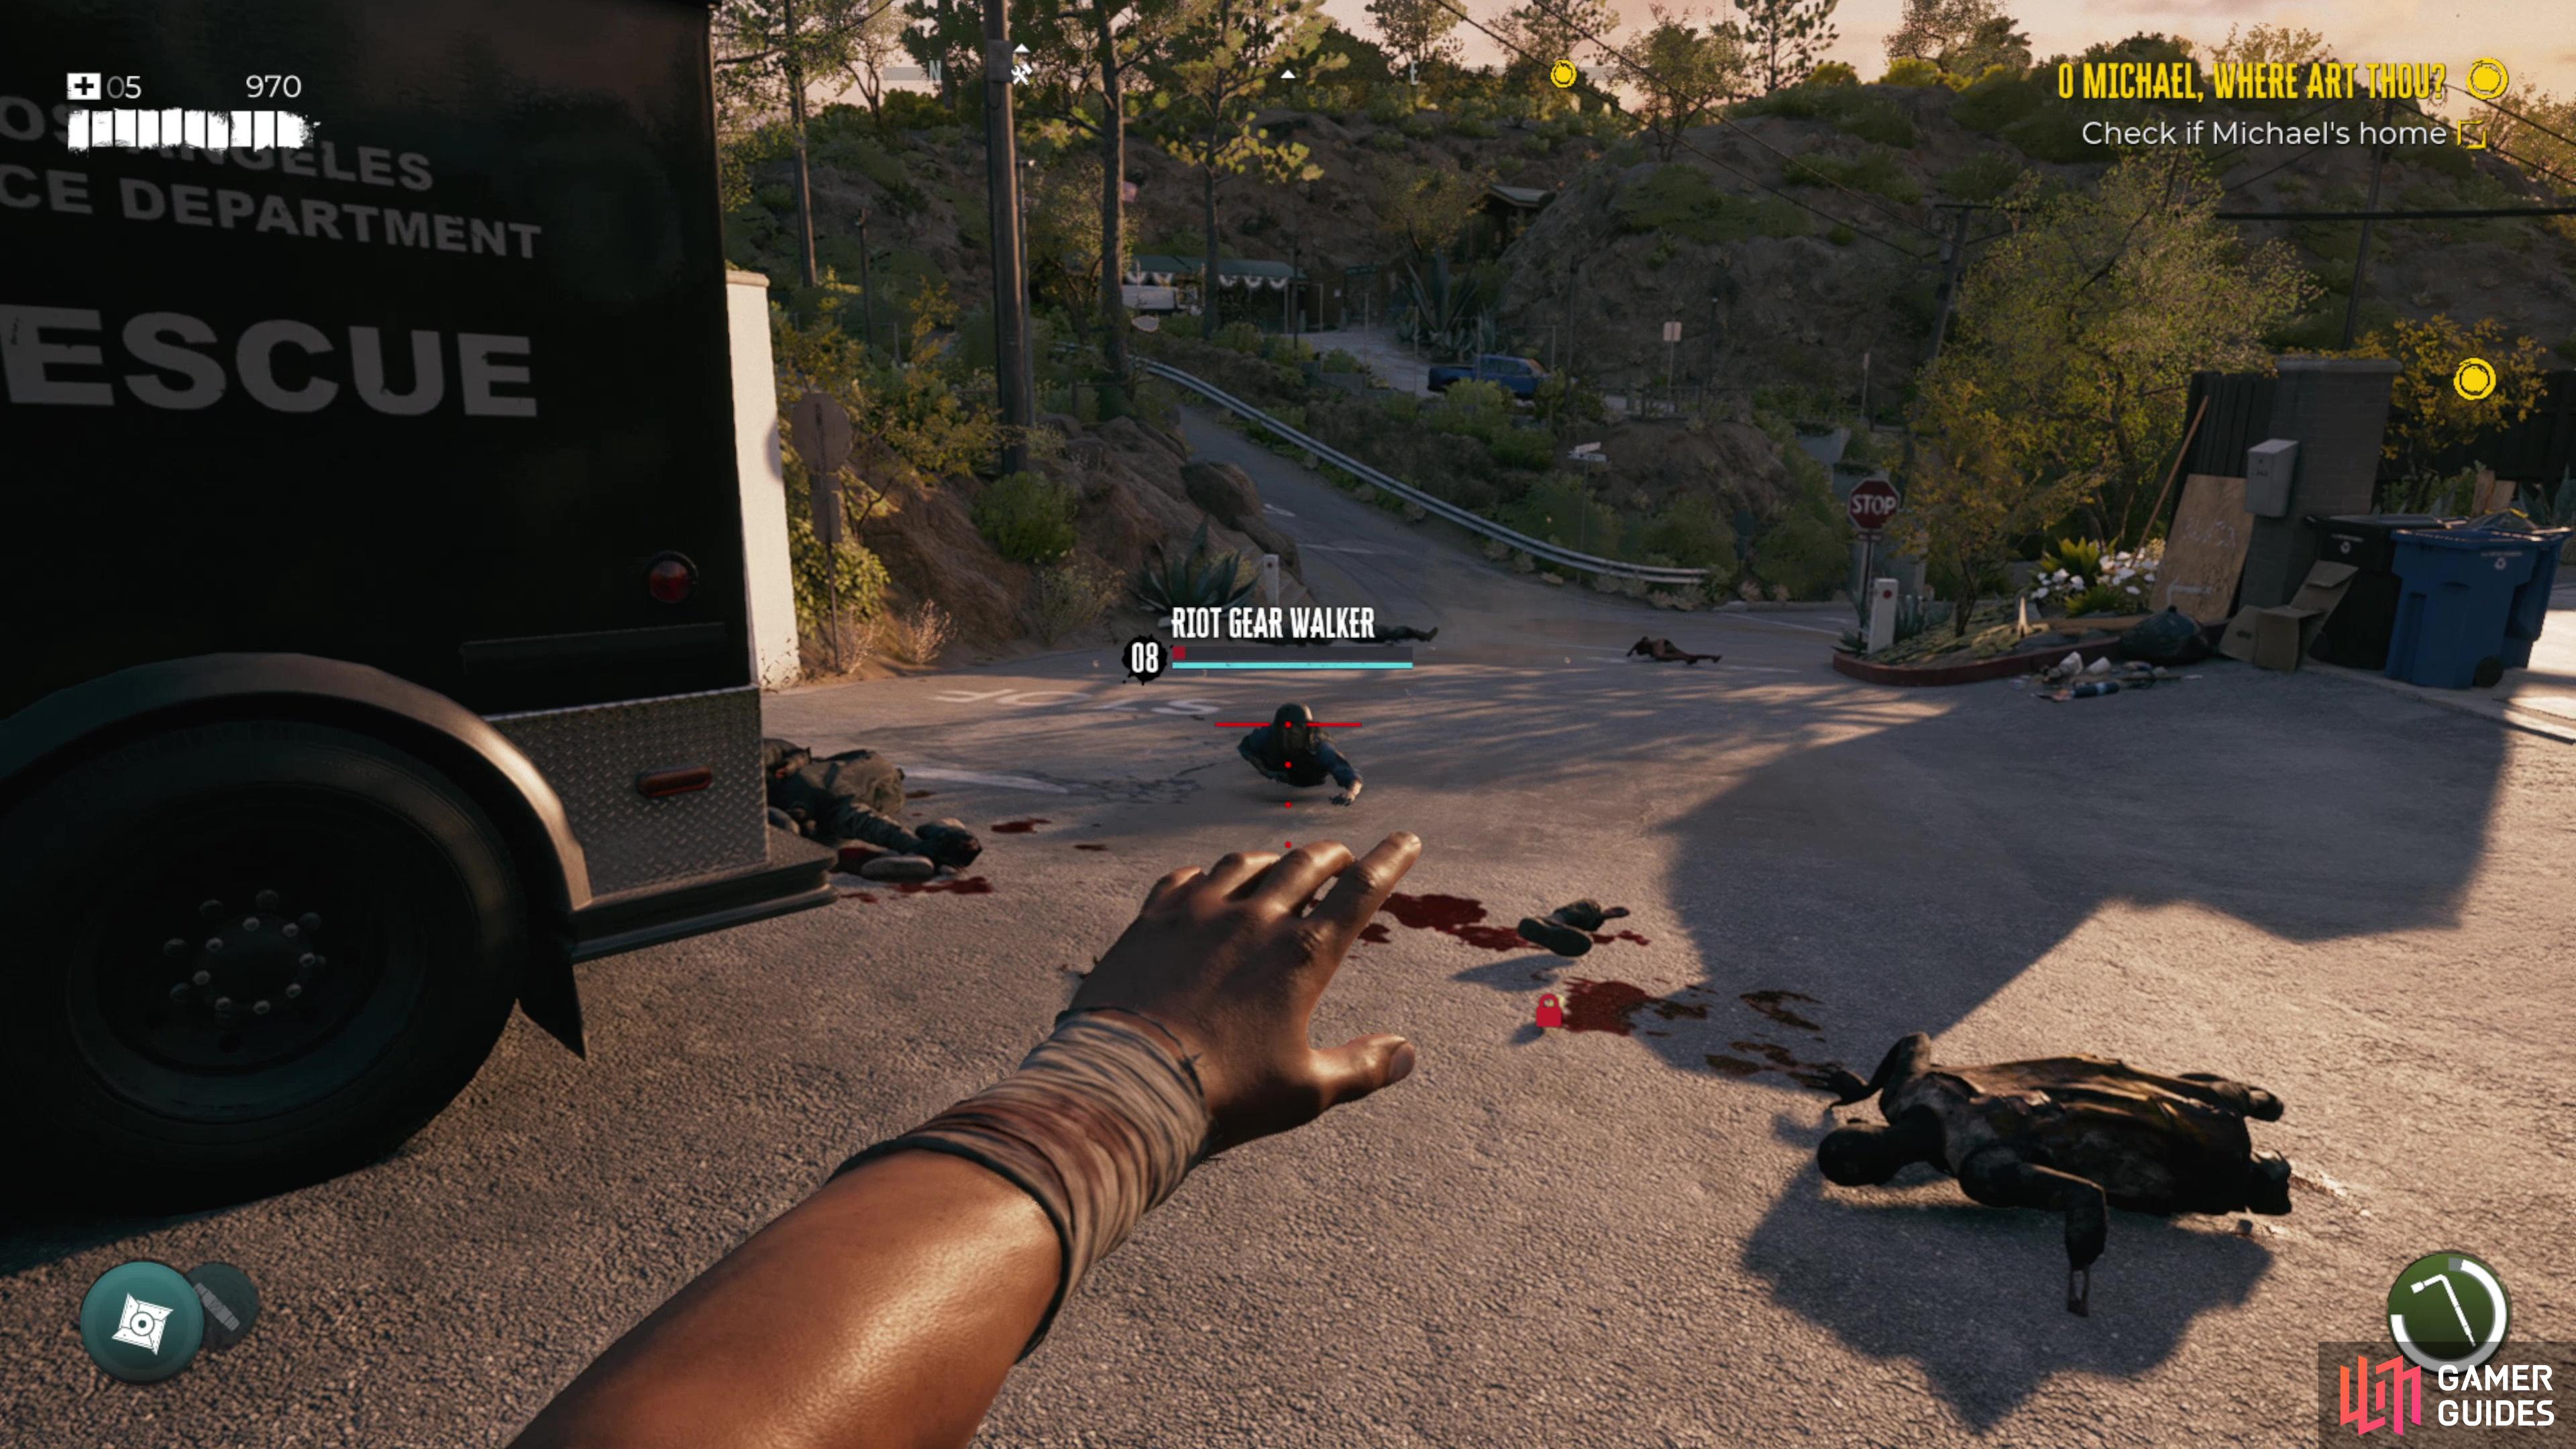
Any equipped weapon can be thrown.
Throwing Weapons
Sometimes whacking an enemy in melee is just not the move you want to make - some enemies are too dangerous to deal with in melee, or are nuisance enemies you wish to prioritize from afar. [Curveballs] are one solution, and arguably the ideal go-to in these situations, but sometimes the tool you need is on cooldown. Fortunately, every weapon in the game can be thrown, albeit with varying results. To throw a weapon, hold the  /
/  button to enter “aim mode”, and when you’re on-target, press
  /
/  to throw the equipped weapon. You can pick up thrown weapons, but they’ll also be added to your [Storage Locker] if you have to abandon them.
No Comments