
The End of the Line mission in Dead Island 2 is one of the longer missions in the game. The mission takes you some very long, a densely populated zombie areas, filled with many variations of Walkers and Zombies, alongside various elemental version of the Apex Zombies. This makes the mission quite long, and one where you’re going to need to strategize your map hazard and weapon choices better. Moreso, there’s plenty of mission puzzle blockers, and other high combat moments that can really test you at times. So, to assist you, here’s a Dead Island 2 The End of the Line walkthrough, letting you know what to do, what you can expect, alongside prompts for collectable skill cards and journals along the way.
Equalize the pressure
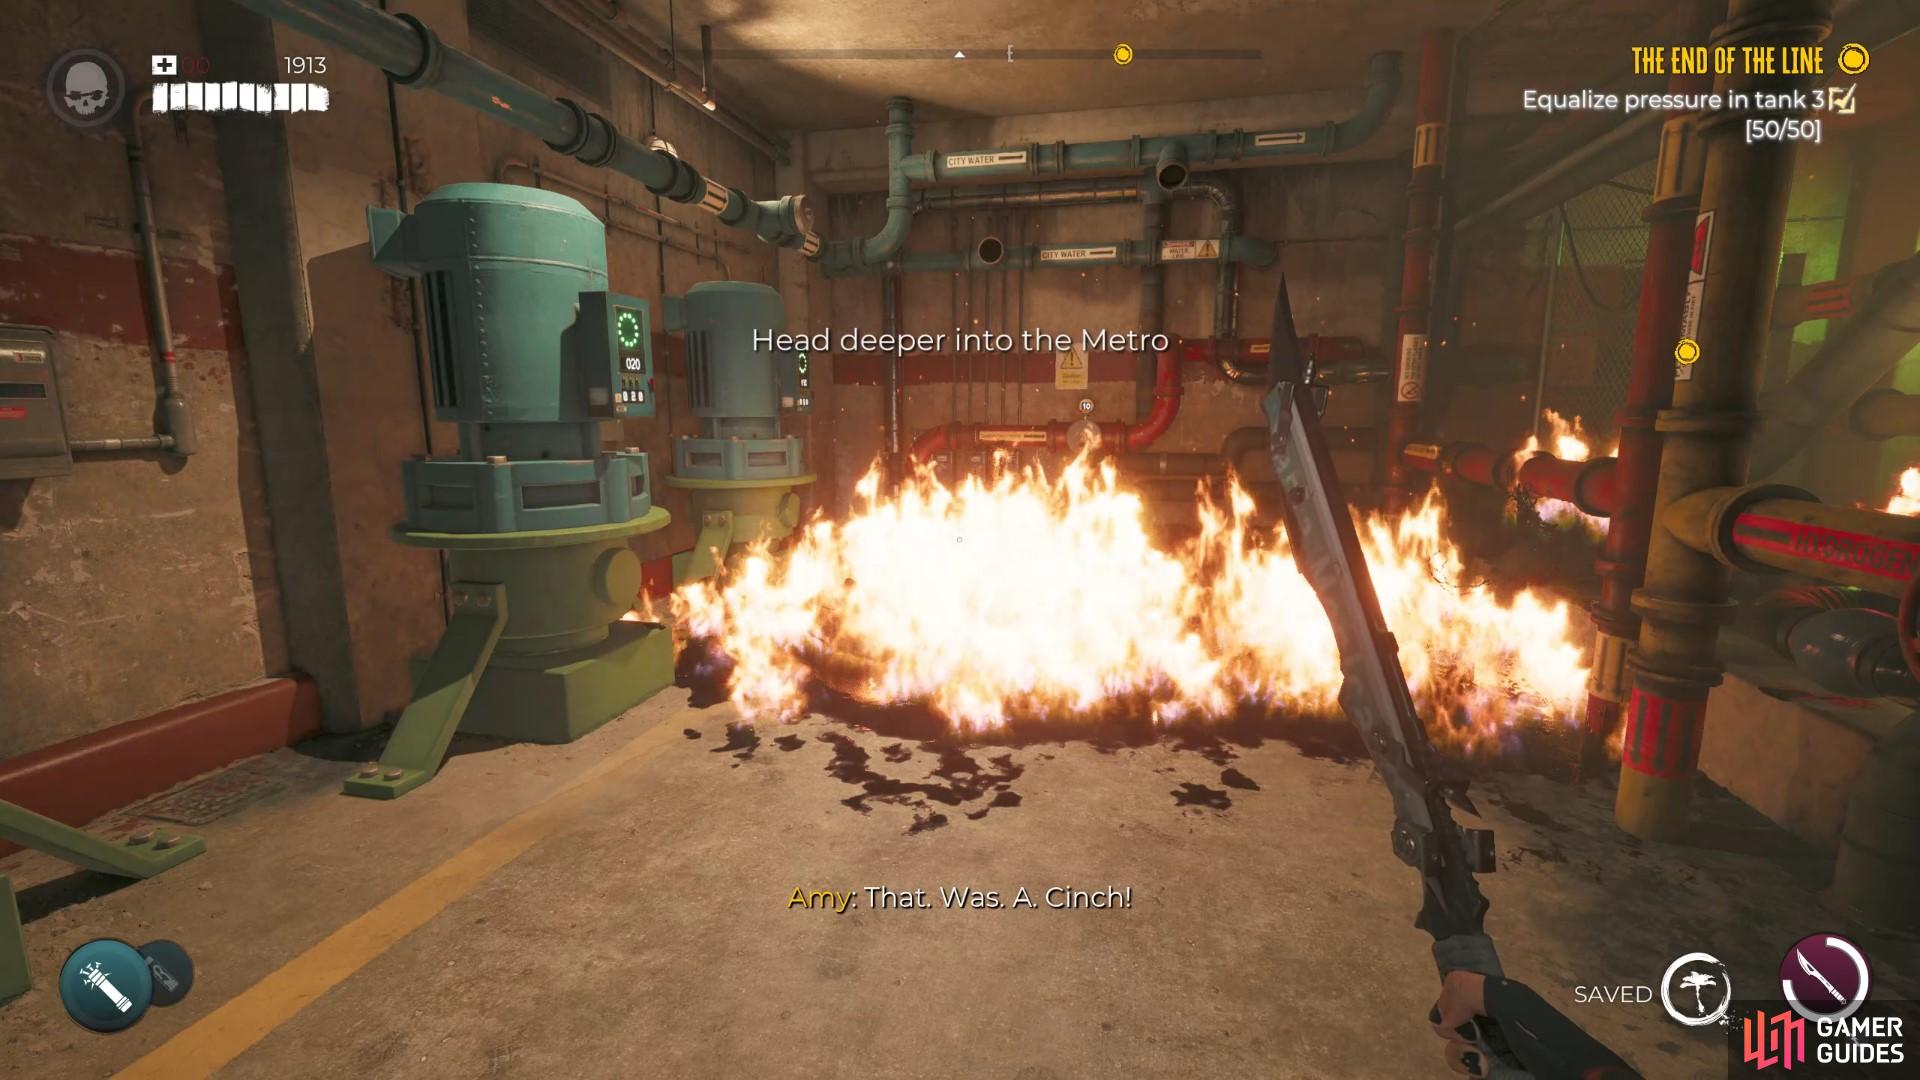
This fire patch is constant, so activate the second gas pipe valve to enable safe crossing over it to complete the first and hardest part of this puzzle.
As you begin the mission, be aware there’s a Hazardous Perk Blueprint you can get from the Workbench. Also, make sure to craft med kits, and repair all weapons, as this is a fight heavy place, with limited workbenches around to keep on top of things if you run into issues. So, do this first. After that, progress down, and watch you get split up from Emma, and need to solve a pressure puzzle to continue further. Below are some quick fire instructions to help you out with the Equalize the Pressure part of the The End of the Line Walkthrough.
- Find the valve handle in the metal fence area on the left as you enter the area.
- Pick up the valve and bring it to the second gas pipe vale on the right with the yellow pipes.
- Spin the newly installed handle to turn one of the fiery gas flows off.
- The fire next to the valve should now be out, allowing you to jump over the fiery floor. Jump over, and use the valve next to the flames for the ten points you need.
- Jump back over to the main part of the room, and interact with the first gas pipe valve for the 20 pints you need.
- Fireproof zombies will spawn now, so fight them off before continuing
- Now head back into the fenced room and use the water pipe for the 50 points you need for the pressure tank puzzle at the End of the Line Walkthrough.
Dead Island 2 The End of the Line Walkthrough
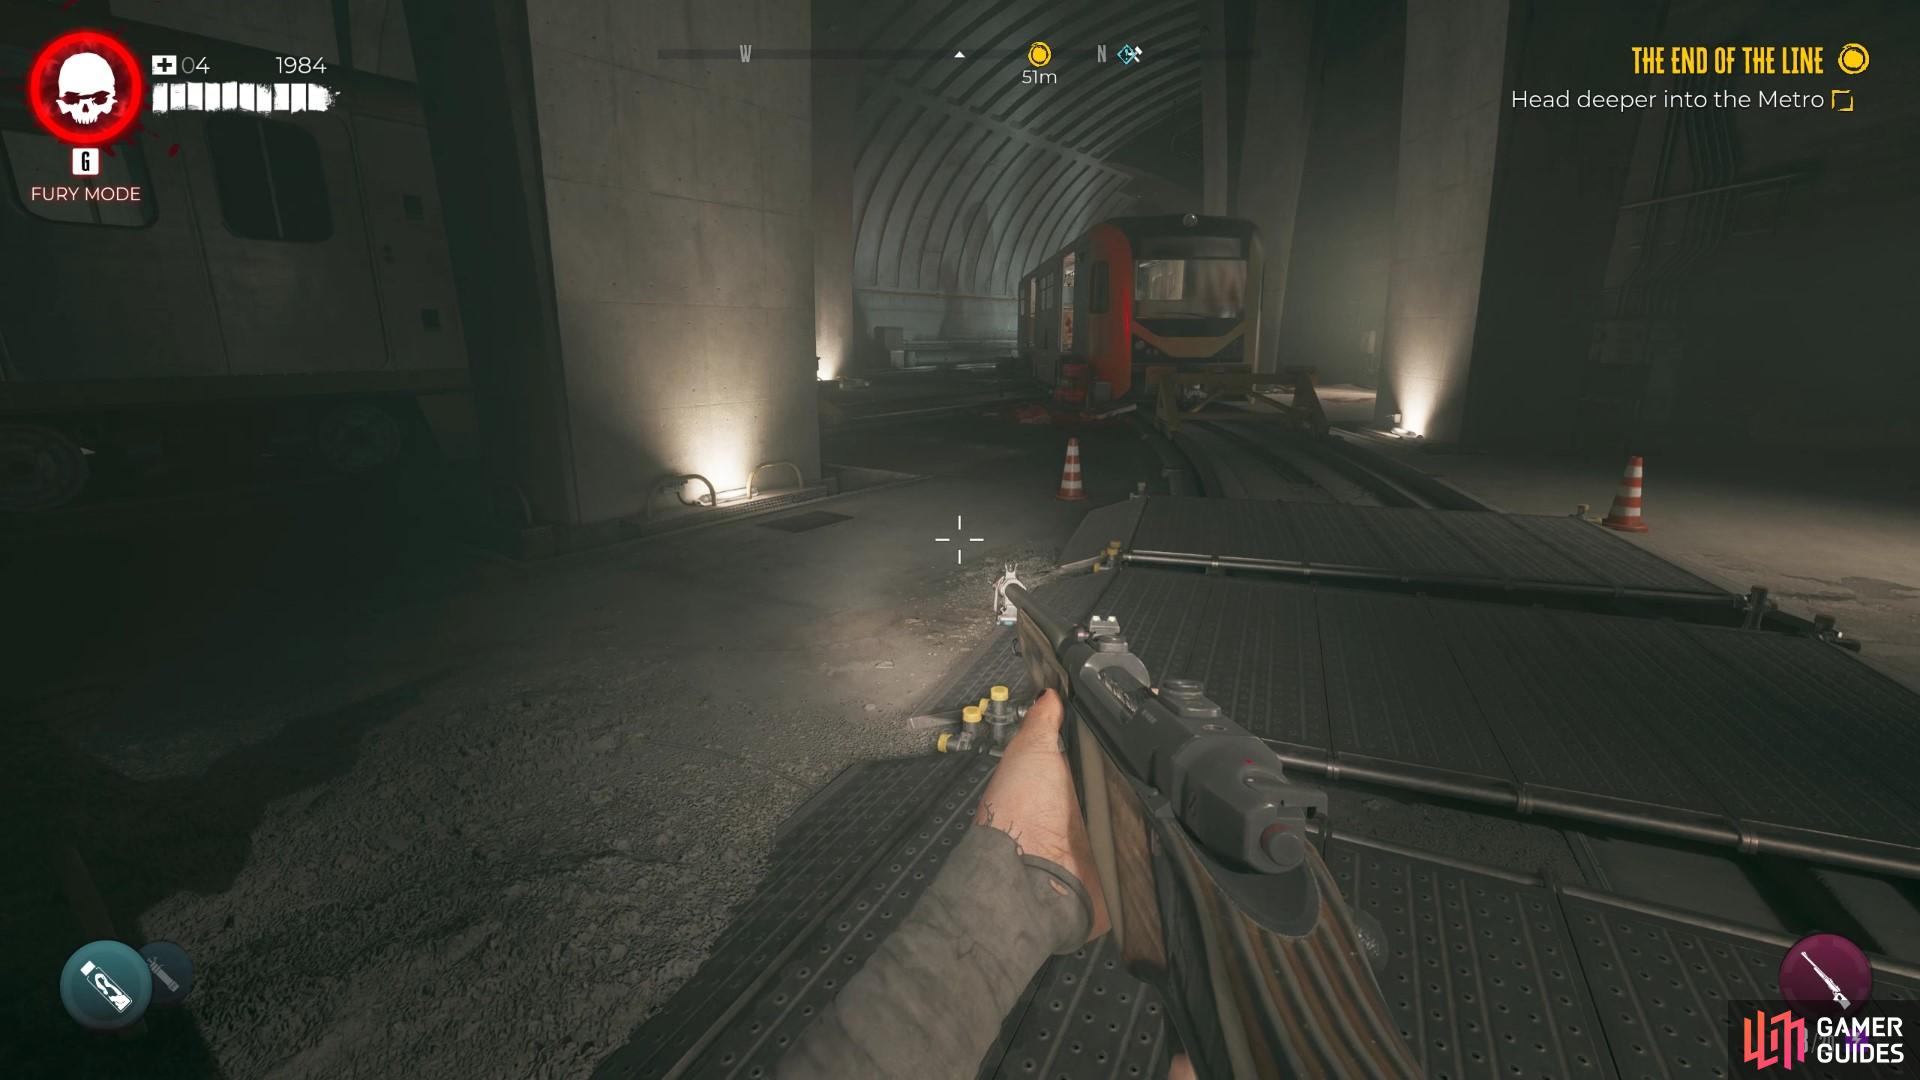
In the next stage of the The End of the Line Walkthrough, you must continue down the tracks. Here you will find several burning zombies, alongside some metro train carriages. Typically, these carriages are rigged, so, if you intend to loot the carriages, do be careful of the traps. If you want to activate them safely, you will find jerry cans or some other throwable to activate them safely.
As you explore further down the metro lines, you will encounter a vent you can travel through. Follow this through, and you can get to the next area. Be warned, though, as the punk rocker-looking Butcher is here too. Be ready to block and dodge, and avoid attacking when he ha his boney arms up, as they make him immune to all frontal attacks. Also, be aware it is a Vicious Butcher, who is immune to bleeding weapons. This is the first Vicious Butcher in the game, so, be warned of it.
Once again, follow the mission marker, and then you can enter a small passageway. Be careful of the Burster at the back of the passageway. Once that’s done, you’ll enter a larger part of the metro area.
Now to deal with the Engineer, Screamers, and a horde of zombies.
In this area, you will need to fight a lot of zombies. When you enter, you will see some zombie shadows on the metro tunnel walls. These include the new apex variant you encountered, alongside a Volatile Screamer, and some more regular zombies in various uniform. We highly recommend you use the Meat Bait Curveball here to distract any zombies that spawn after the Screamer goes fog horn mode, and to distract the regular zombies too. Moreso, we recommend using a ranged weapon against the Volatile, especially one with no electric mods on. Once that’s done, use an explosive of your choice for your second Curveball, such as the Pipebomb, or Nailbomb, as these will likely be the most effective.
Now all of them are dealt with, you need to fight the new Apex zombie, which is a new one called the Metro Engineer. The main thing you need to know is that this enemy does a spin, a ground pound, and a ranged attack from its chest. Feel free to shoot it, using the cover of the nearby pillars and trains as cover against its ranged attack. You can also go Fury mode if you want to and use the specials to inflict high Force to keep it away from you. This is the safest way of beating it. Upon killing it, it will drop the Maintenance Area key, which you need to progress further.
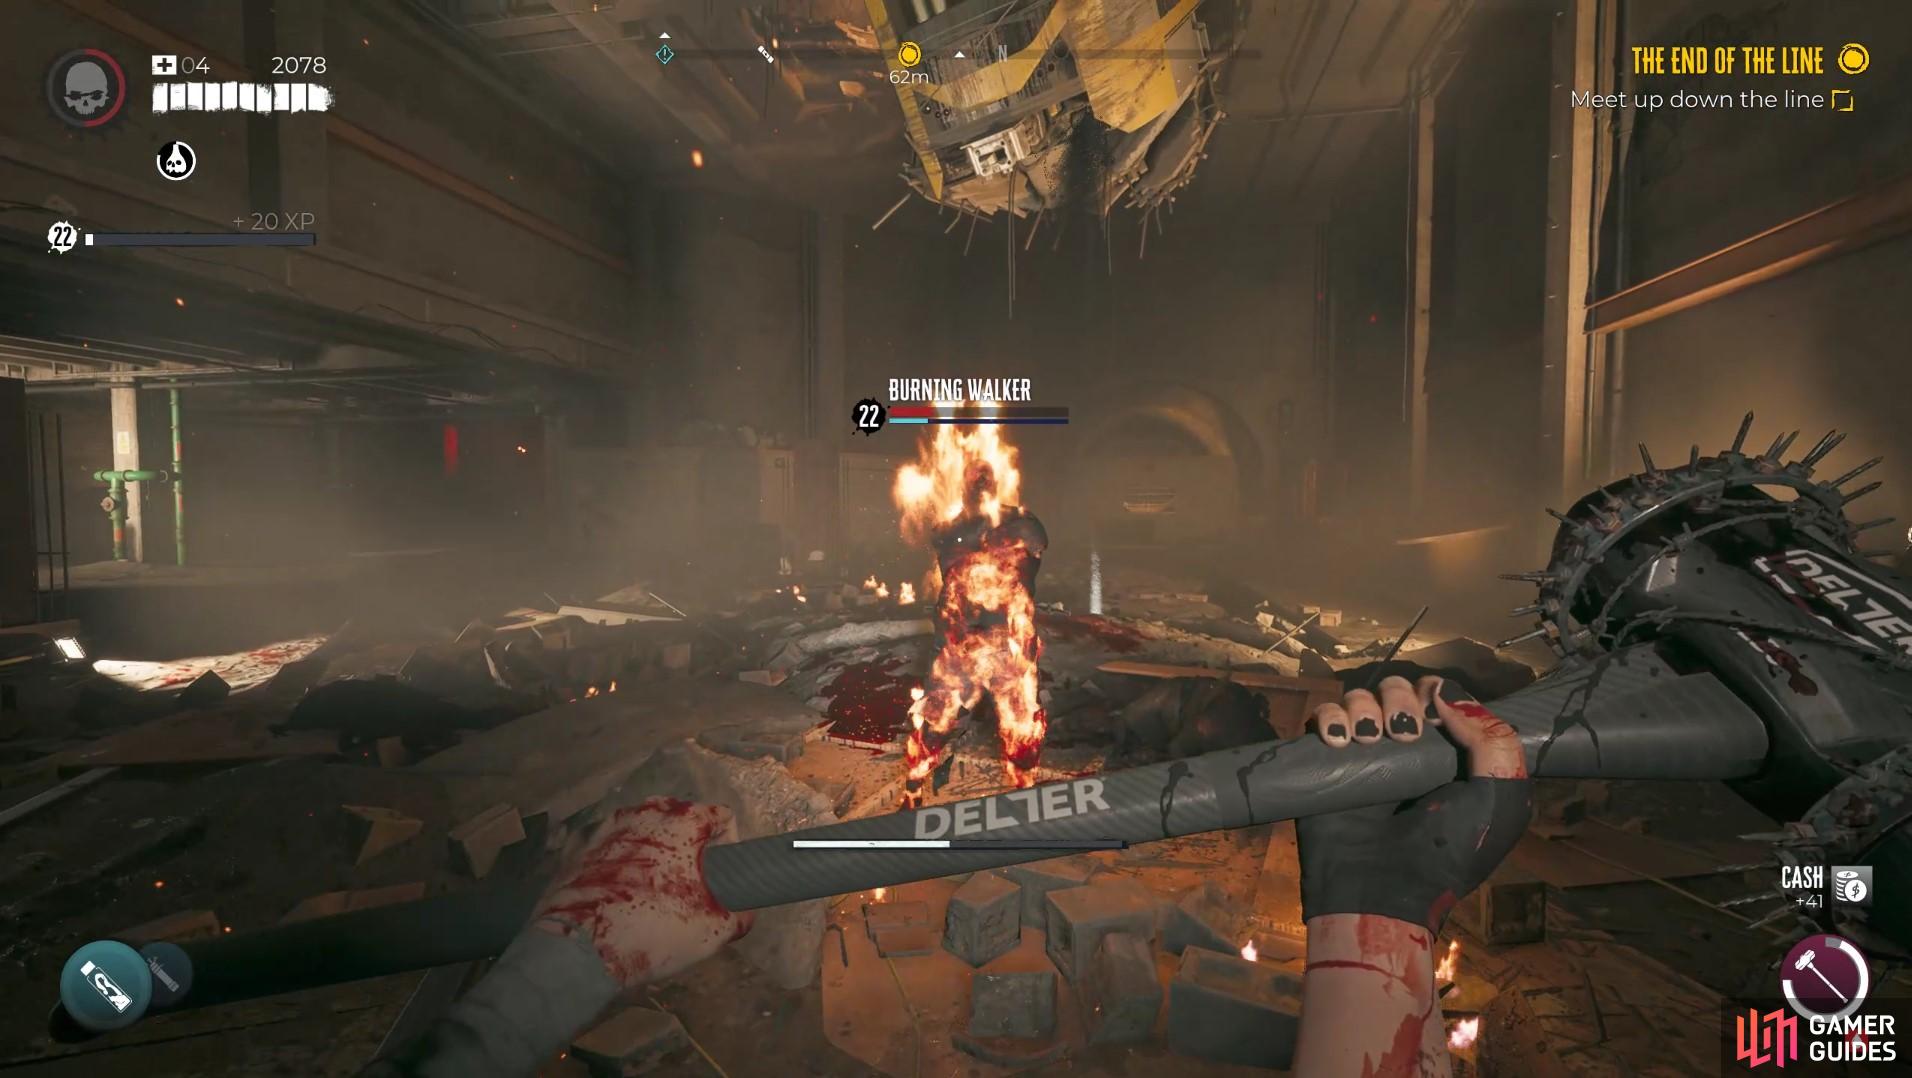
Don’t miss this journal on the floor near these burning zombies!
Now the hard bit is out of the way. Continue down the tracks, and kill of the few zombies, in the area. At one point, you will briefly meet up with Emma, Sam B, and Patton, indicating you are on the right track. Continue down the subway line, and you can enter a new carriage and enter a new larger section. In this section are a few Burning Zombies, alongside a journal called Commuting, right below the yellow metro train dangling from the ceiling. There’s also another Fuse box in this section too, if you have the Fuse spare to open it.
Now for the final hurdle. The palace you need to go is filled with firefighter walkers, and a Burning Crusher. Take care of these the best you can, and then put the fires out using the water bottles nearby to make it to the train cart you need to path through. Partway through this train area, you will get out, and in the corner of the wider area, is a dead Shambler. Next to it is the Seismic Stomp Skill Card.
Restore The Power to the Door: The End of the Line
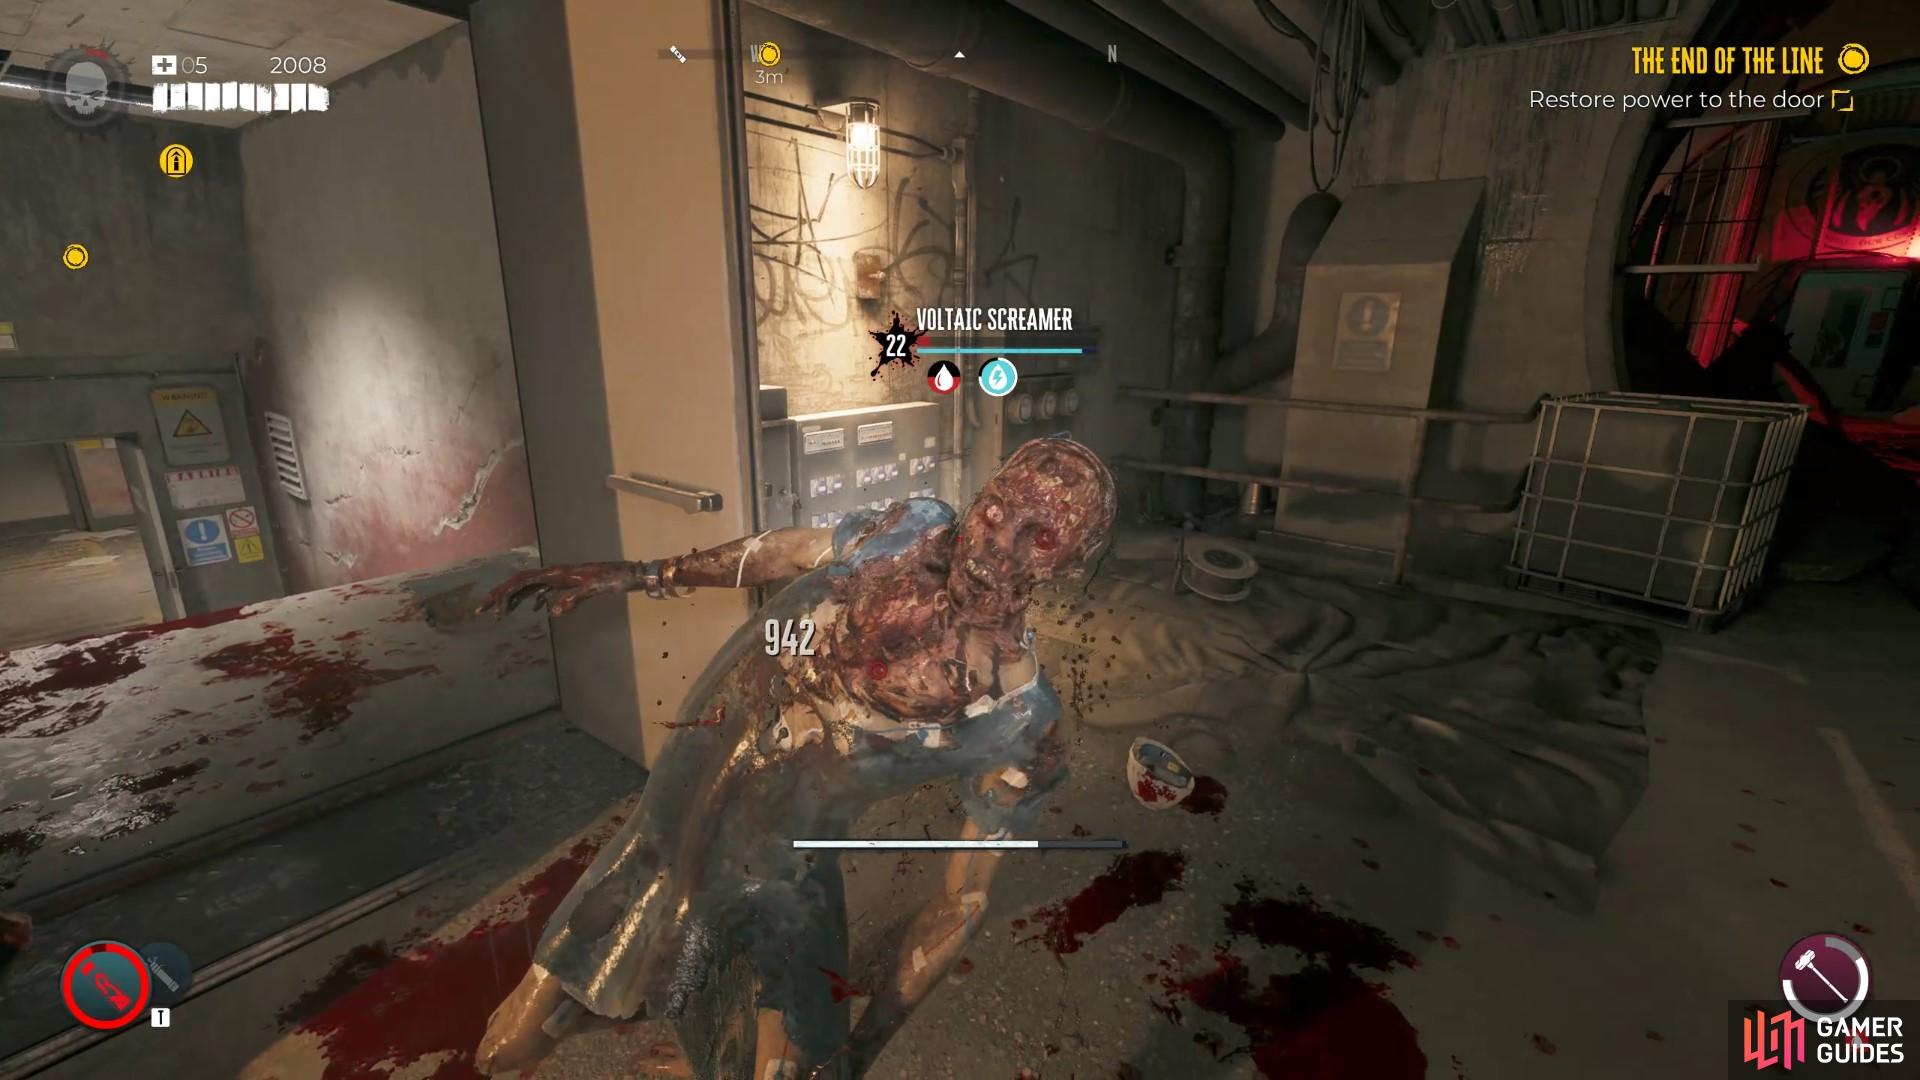
You need to path through a flooded room and activate the power, but you need to deal with a Volatile Screamer who drops a skill card for her unique skill.
After getting through this long section of the level, you need to enable the power to get through the CDC quarantine. Open the metal doors, and you will find a Volatile Screamer again appearing directly next to the door. Feel free to use your charge or dash skill to interrupt it immediately to prevent its scream from going off. Then take out its arms if you can to stop it from flailing its arms around. It will then drop the Voltaic Scream Skill card, which allows your Fury Mode special attack to produce lightning screams, just like this type of zombie.
- Now you’re onto the power section. You can go into a Fusebox room if you want to side-track, presuming you have the spare Fuses.
If you want to go straight on, you must jump up and across the makeshift platforms across the electrified water. Do this, as you will then need to find a Breaker. Once you get there, get the quest update for the breaker, and head back in. Now you’re looking for the bit with the mental fence and the electrified sub-section. Climb the wooden boxes and pop over the fence. Now get the breaker and throw it over the fence and climb back out. Head back over to the power box and plug it in. Now the zombies will come out, feel free to meat bait as close to the fence as possible, and the meat should go over to the others side and pause the zombies in their tracks. You can now head back and deal with them to progress The End of the Line Dead Island 2 mission.
Follow the Metro Tracks to Hollywood Boulevard
Now its time for lots of fighting. Use guns and traps to make this section easier to deal with.
Now you’re on the final stretch of the mission. Follow the remaining parts of the tracks down, and then deal with the remaining zombies. As you get through the remaining track, there is a disaster relief case down one of the side tunnels with an interactable lore part of the Autophage. There are also some other collectables, like the Placenta Lasagna on the back of one of the train carts in the area.
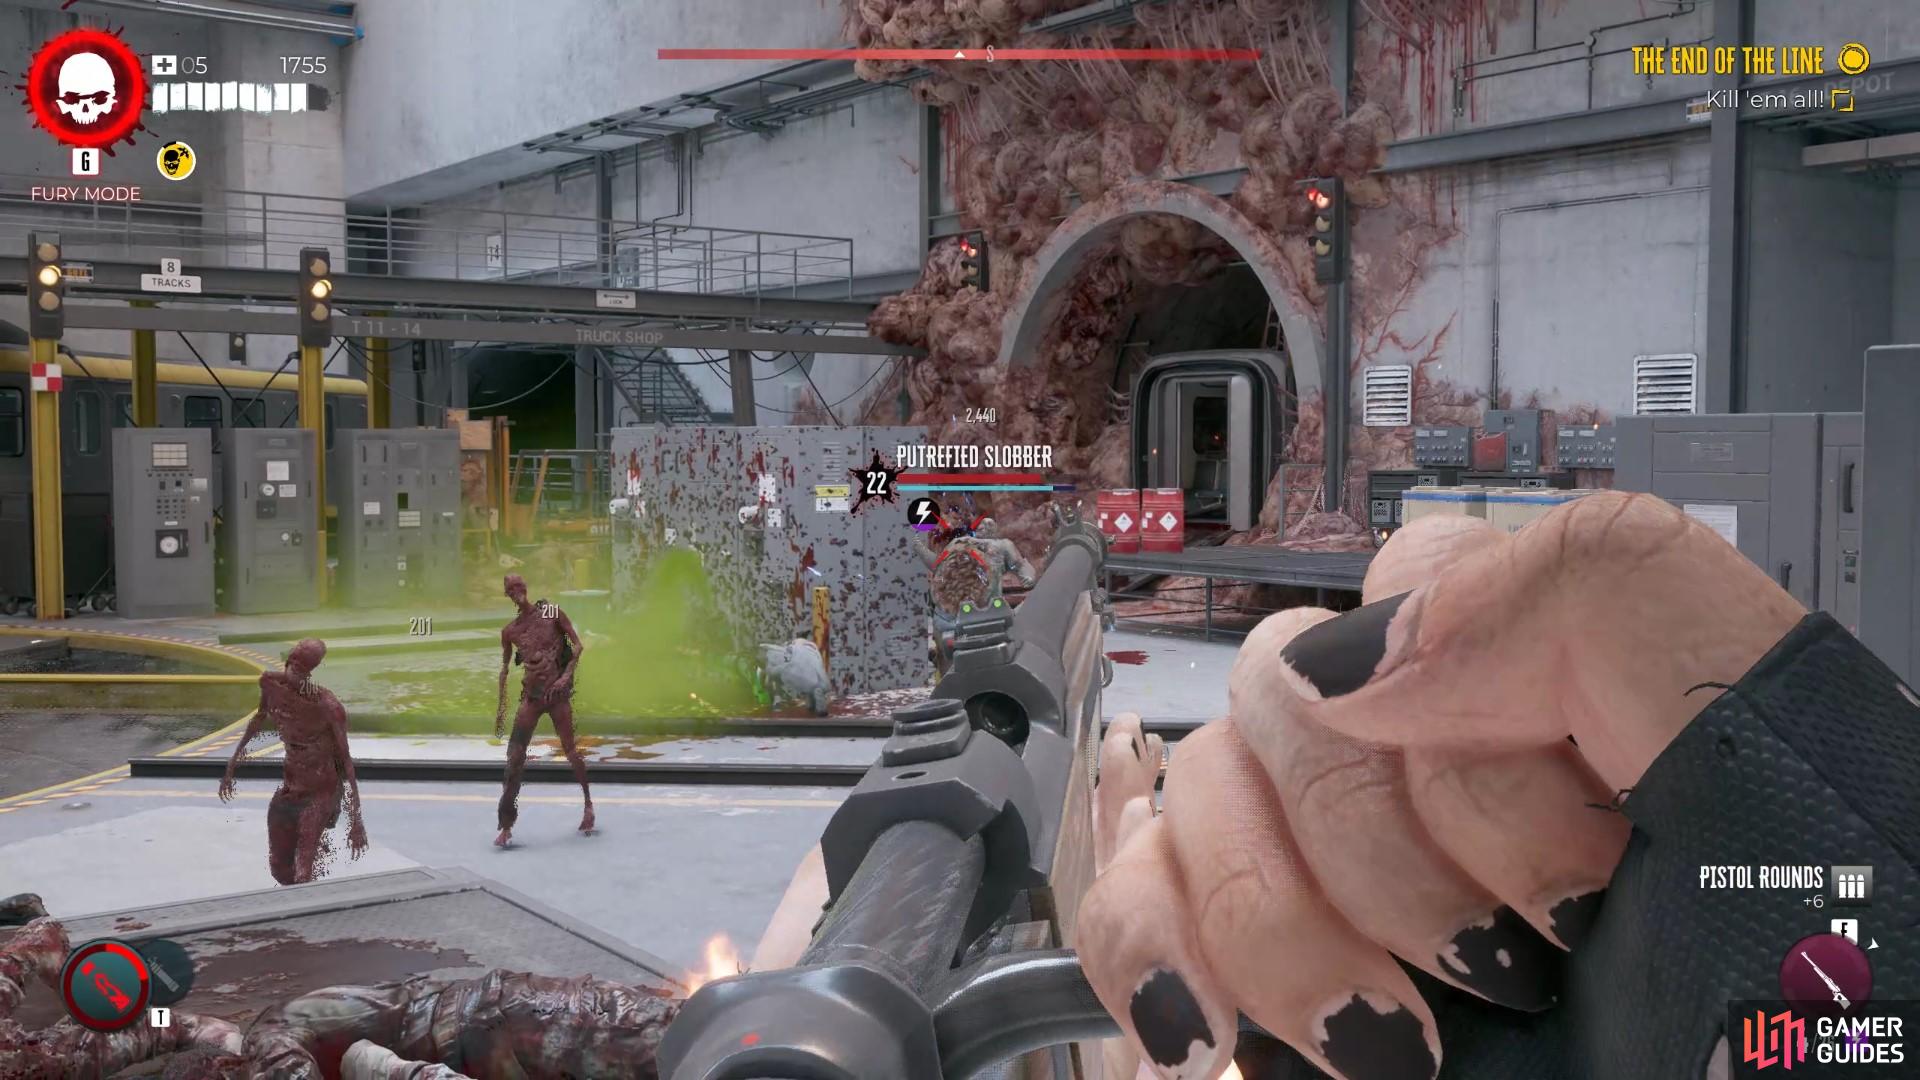
Now you’re at the main junction. You must defend the area while preparing a train to travel to Hollywood Boulevard. This will spawn a variety of Inferno, Caustic, Crushers, Slobbers, Runners, and more. Luckily for you, there are plenty of jerry cans, water cans, caustic barrels and oil barrels. So, if you want to, feel free to meat bait zombies into this area, and then trigger the traps to make the hordes easier. You can then use your ranged weapons to kill the Slobbers, Screamers, or any of the more annoying Apex versions in the area. You will also guarantee to get at least on Fury mode off, so use that to take out the more annoying remnants of the Apex Zombies.
Find The Others
Once you’ve loaded into the Hollywood level, you still have a tiny bit more to go. Now you need to take care of the final few bits. Proceed through the platform, and head to the back. You need to head to the right of the platform, per through the gap, take the boxes out by throwing a ranged curveball or shooting them with a ranged weapon. You can now move through this section.
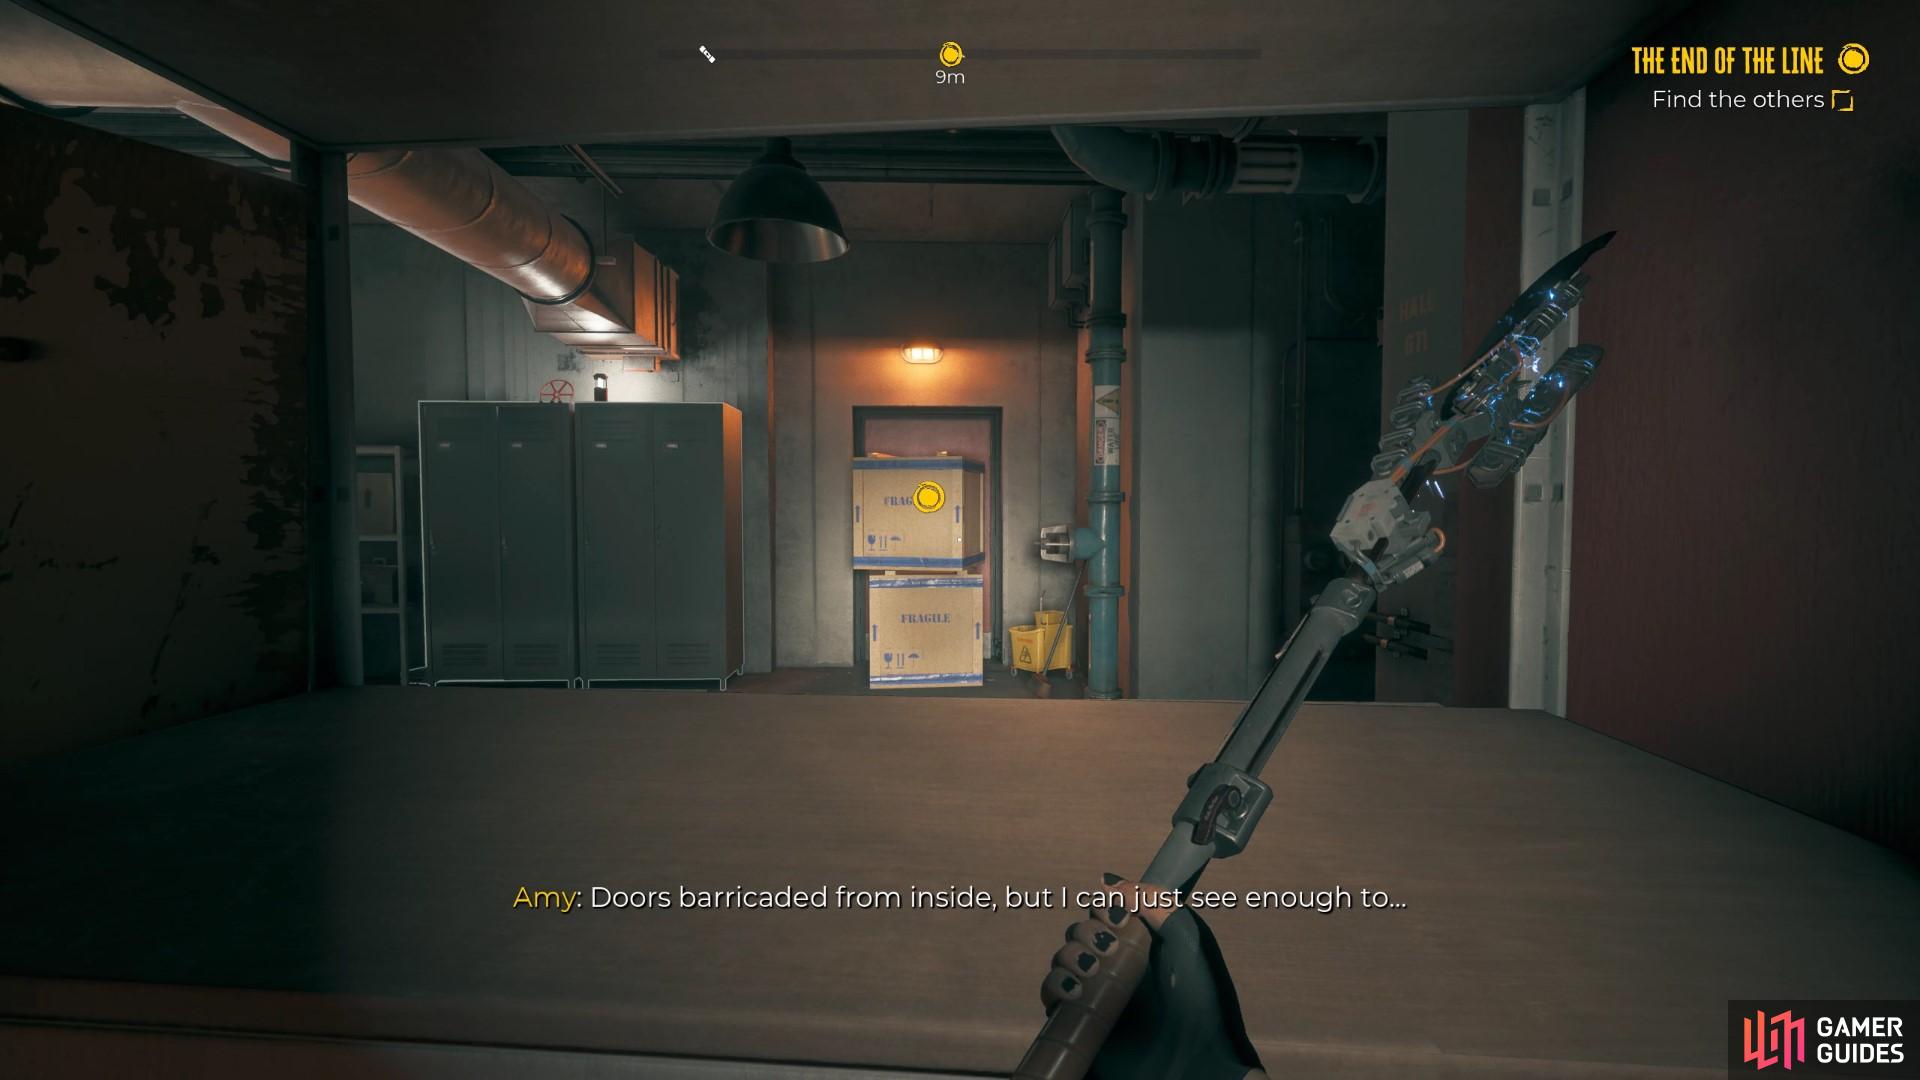
Look through the gap and break these boxes to proceed.
Now, all that is left to do is path through the next area, take care of the Shocking Walkers, and activate the Lever to open the Subway gate, and then deal with the remaining few Walkers, Runners, Hazmats, Caustic X and Slober to end this mission and unite with the crew.
Once that’s done, you’ve finished the Dead Island 2 The End of the Line mission. Congratulations.
No Comments