

This page offers a guide on how to start and complete the side quest It’s Not Your Fault in Dead Island 2/
How to Start It’s Not Your Fault Side Quest
This is a Bel-Air side quest given by Luciana, who can be found in Emma’s house in Bel-Air. In order to unlock this quest, you’ll have to have already completed the main story (the final quest is ![]() Hollywood Ending). She will ask you to head to the sewers to find the missing seismologists who were studying the earthquake.
Hollywood Ending). She will ask you to head to the sewers to find the missing seismologists who were studying the earthquake.
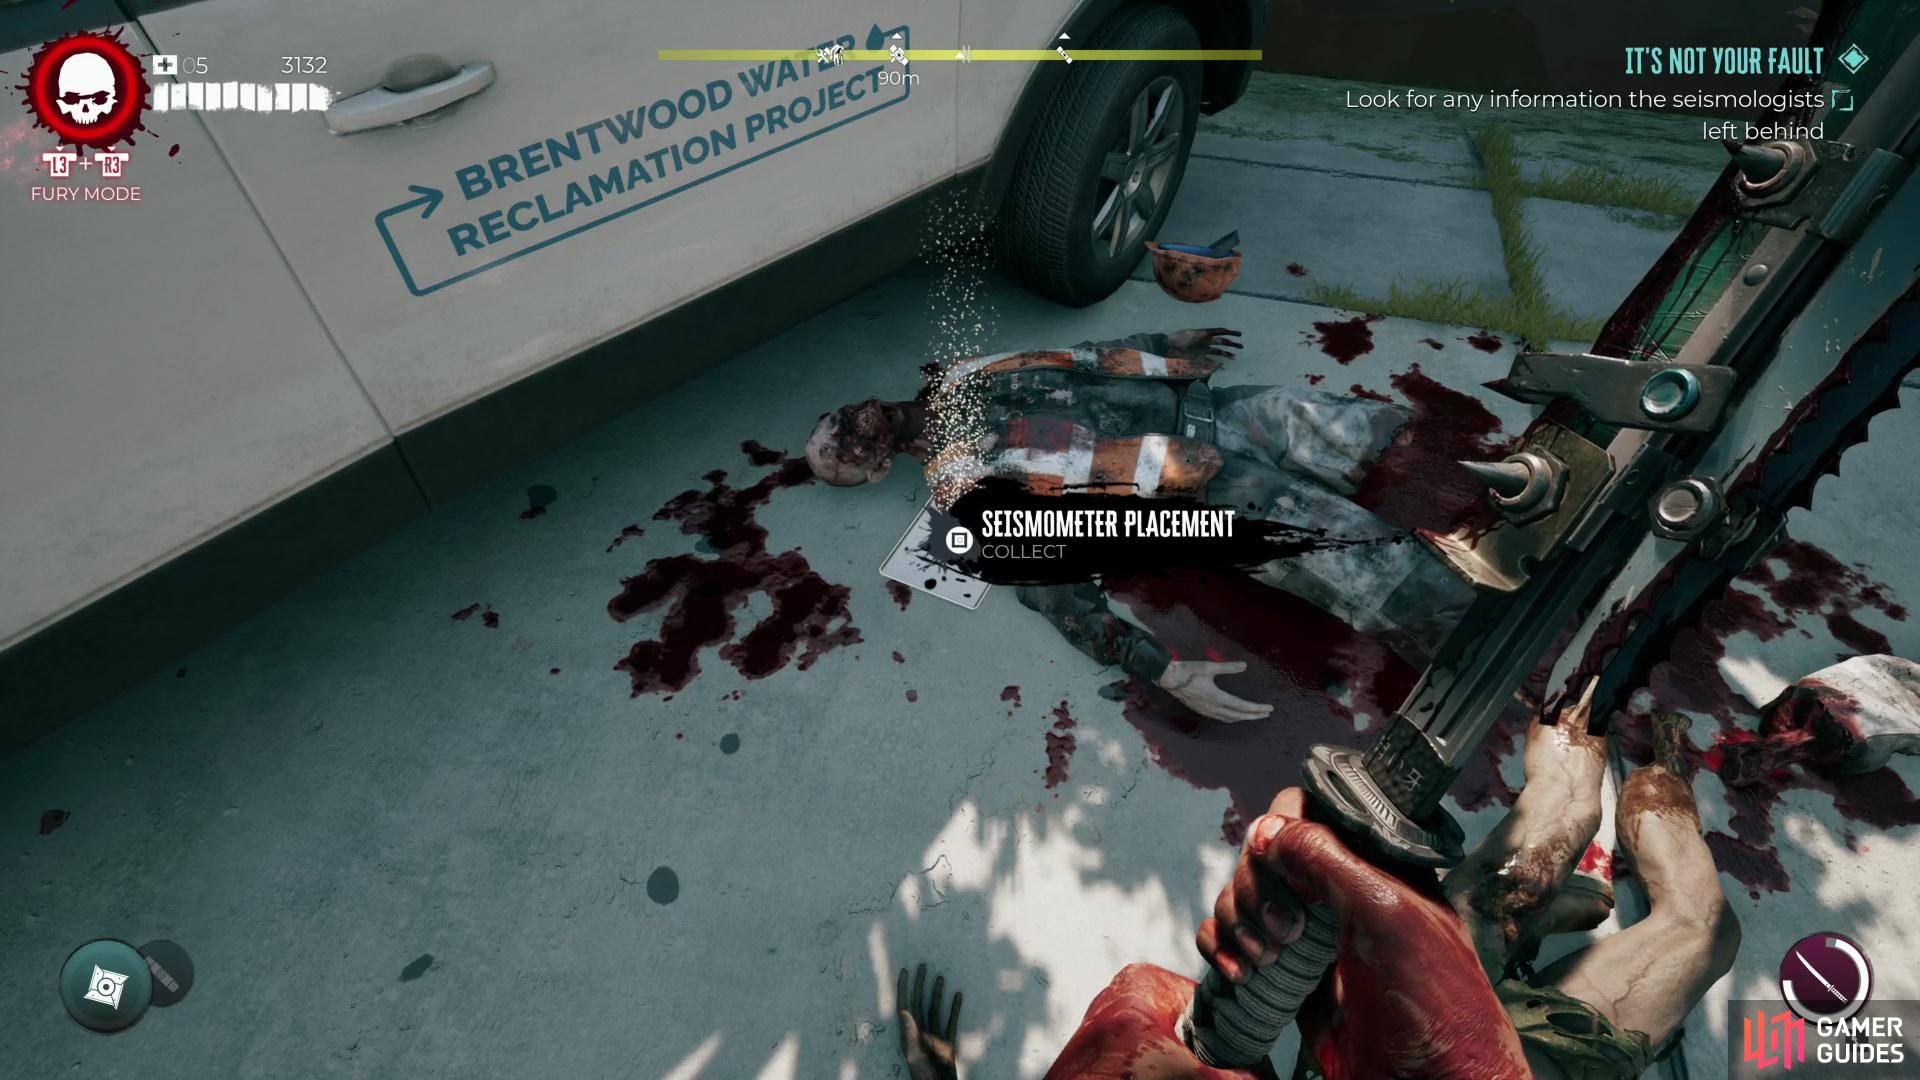
Search near the entrance to the sewers in Bel-Air to find the note Seismometer Placement, which guides you to the rest of the Seismomters you seek.
Head to the Sewers
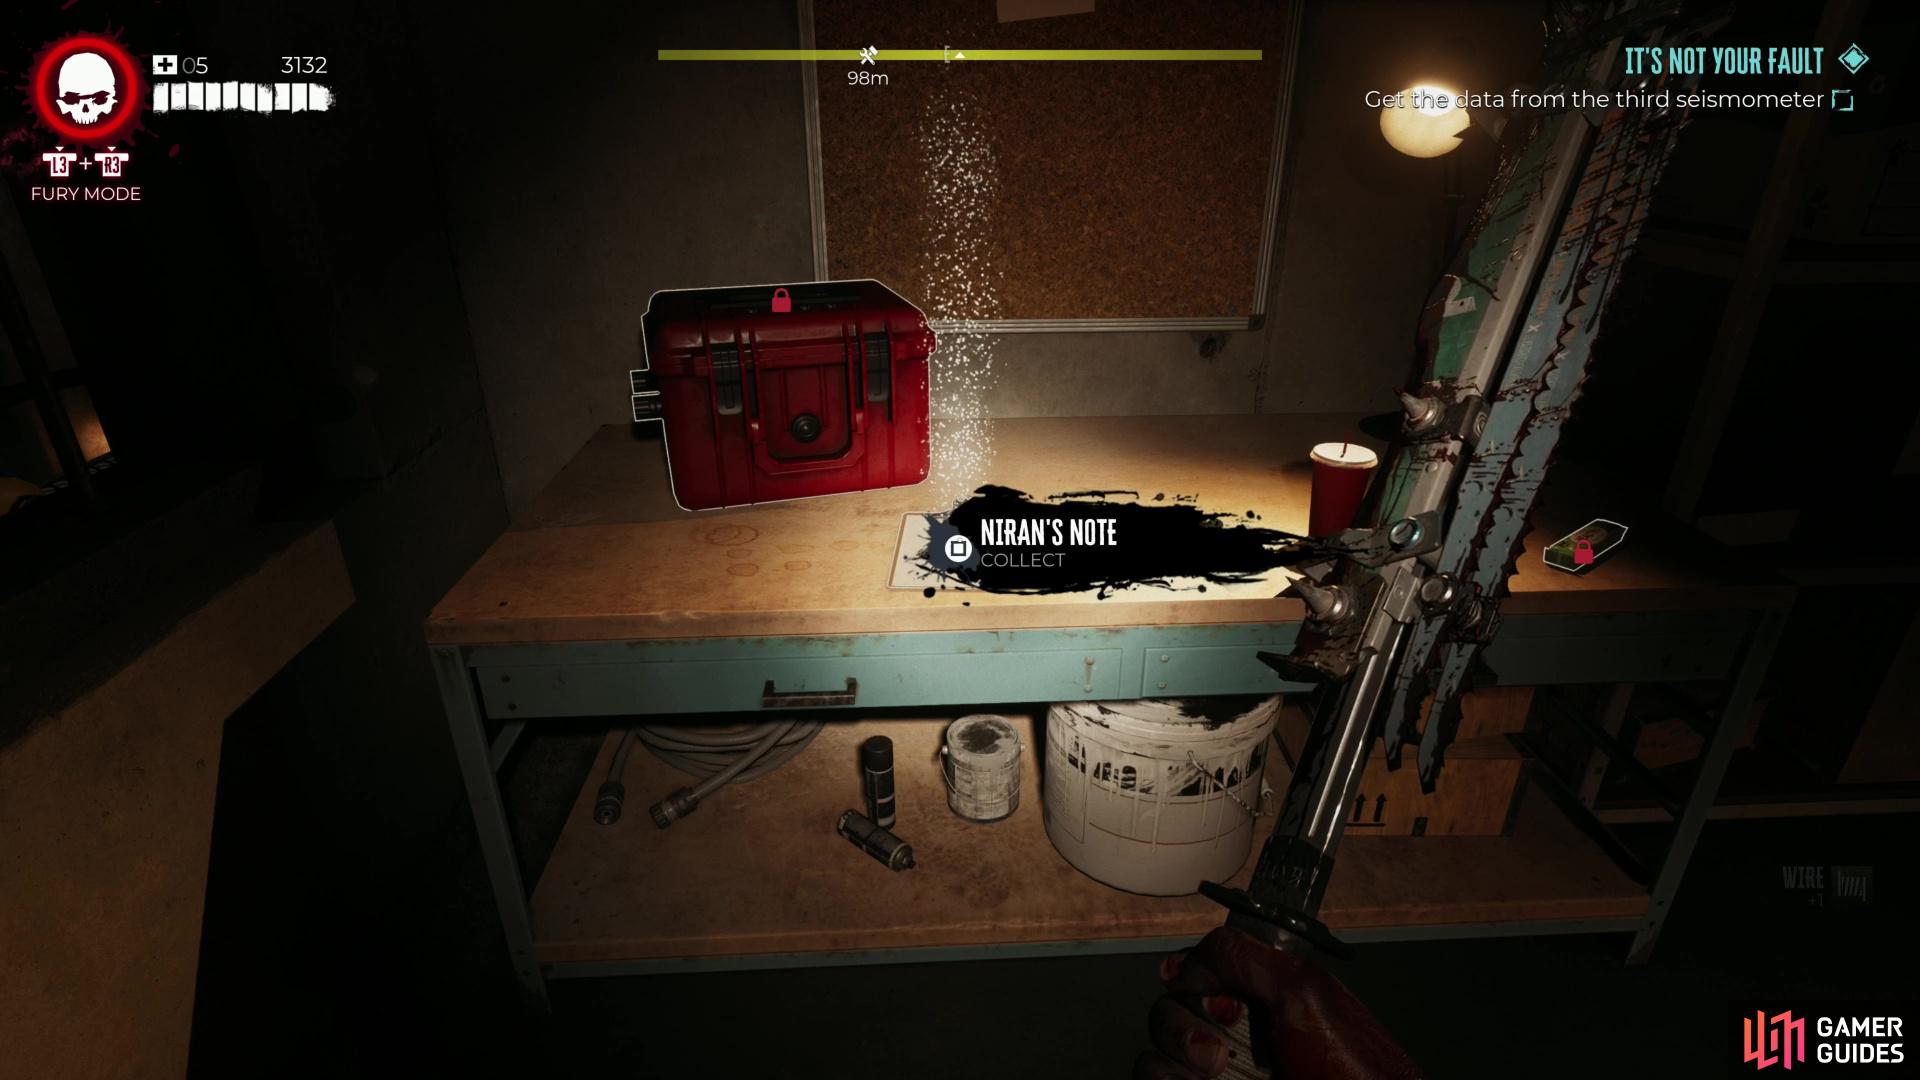
The sewers aren’t too far from Emma’s house. Just head out the side gate and follow the road all the way down to the sewer entrance. When you arrive you’ll find that some of Luciana’s seismologists have been killed. Next to the body by the car you’ll find the note ![]() Seismometer Placement which prompts you to head into the sewers to track down Luciana’s seismometers.
Seismometer Placement which prompts you to head into the sewers to track down Luciana’s seismometers.
Follow the sewers in - and watch out for zombie jumpscares! - and into Patton’s room. You can stock up here on ammo, medkits and repair any weapons at the workbench. You’re in for some tough fights in this quest so it’s definitely recommended that you go into the sewers well stocked up.
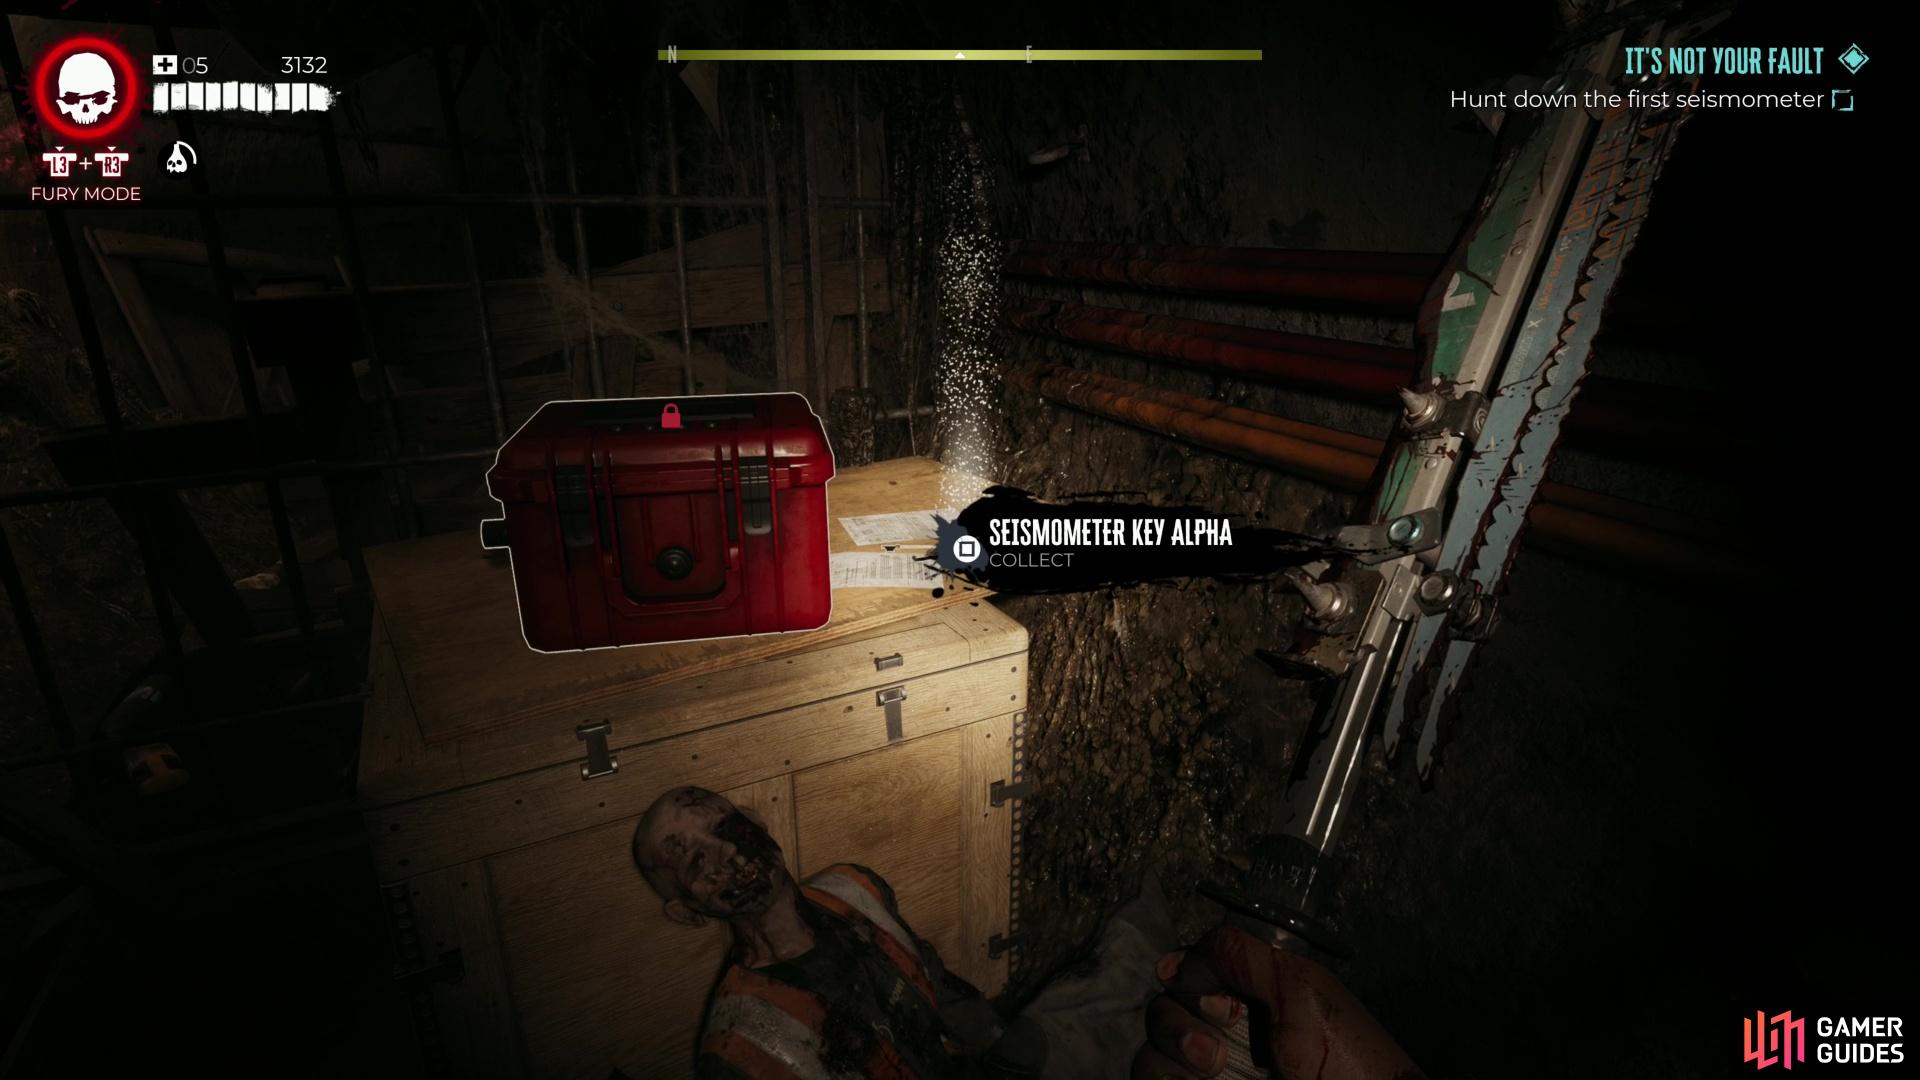
Grab Seismometer Key Alpha,
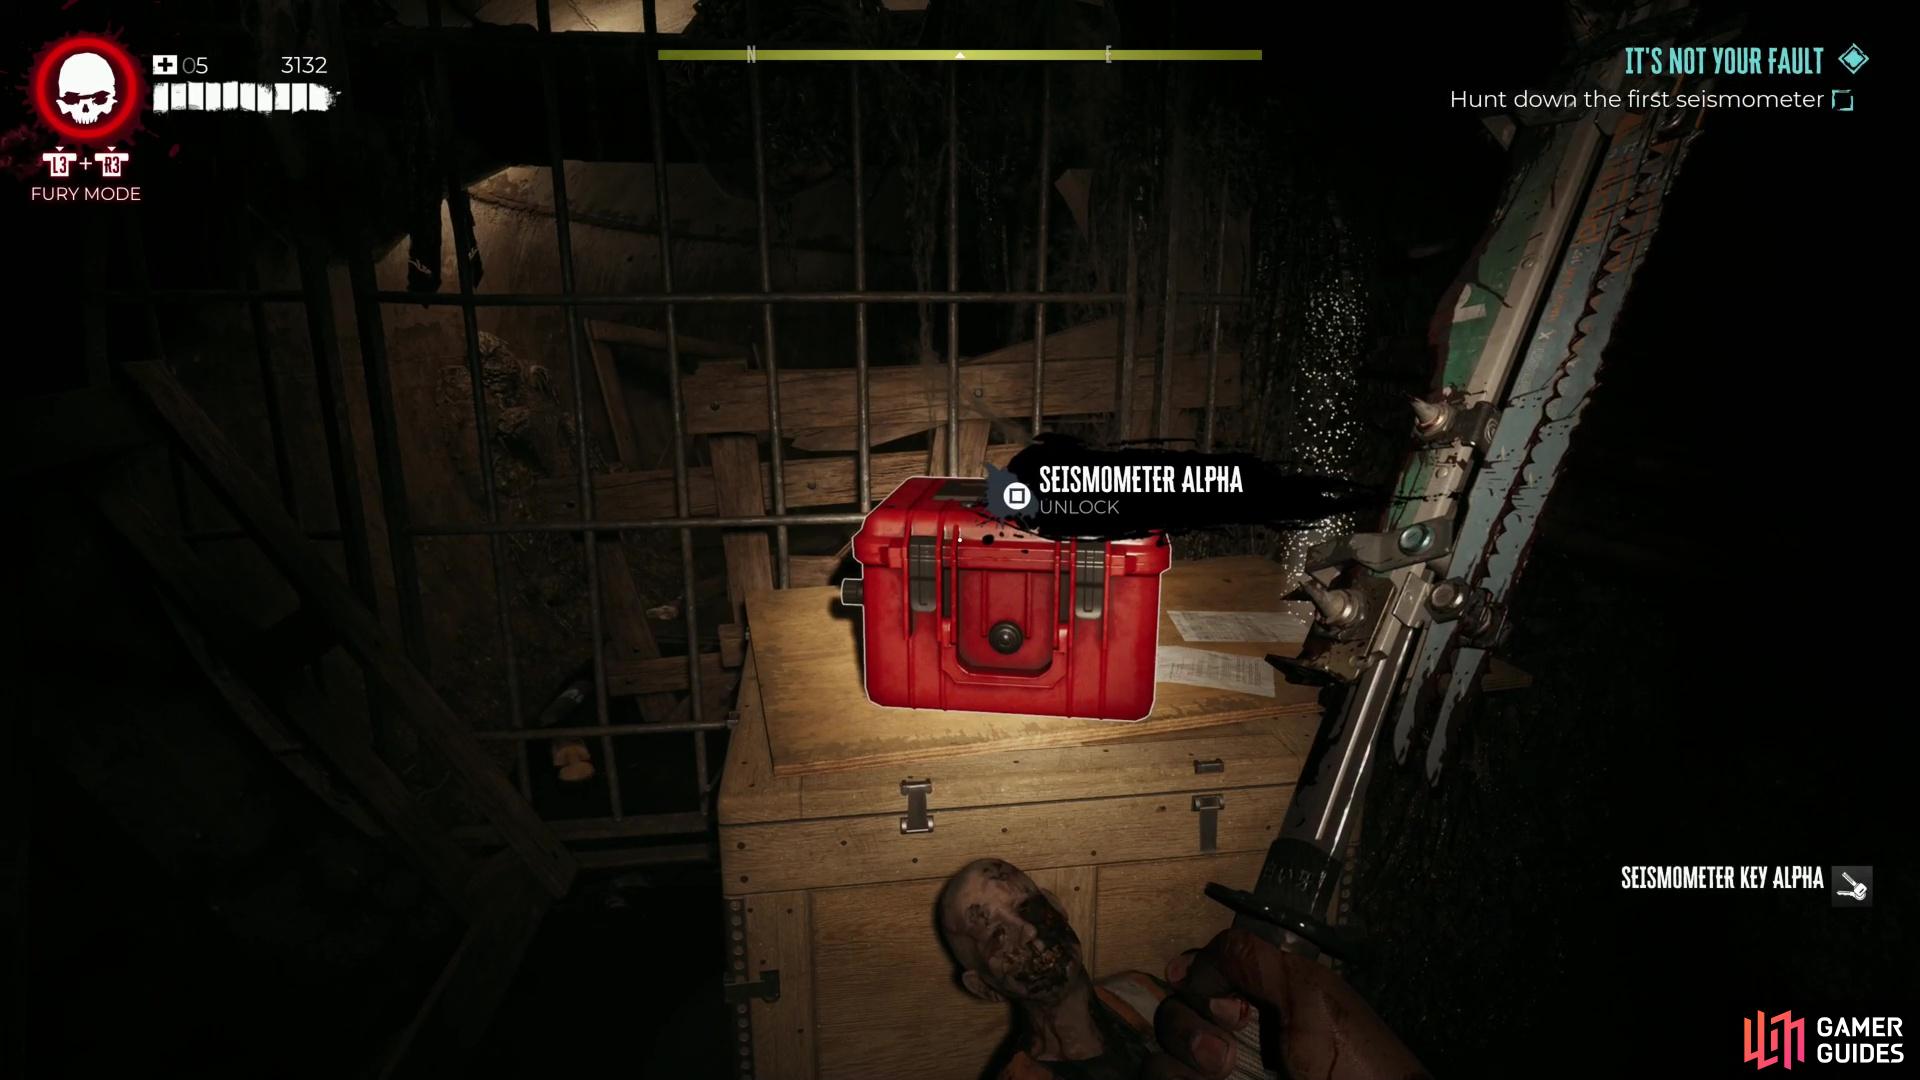
and use it to open the nearby Seismometer Alpha box - the rest of these Seismometers won’t be so easy to obtain.
How to Find Seismometer Alpha
When you’re ready, take the door into Brentwood Sewer to look for the seismometers. The first seismometer is not too far. Head down the tunnel and you’ll find the kit and key on the left in a small alcove. Unfortunately the rest of the seismometers and their keys won’t be so easy to find! Follow the sewers along and slay any zombies that might come at you - it seems the game devs love to put runners in these sewers for maximum spook!
How to Find Seismometer Beta
Continue into the sewer until you reach an open area where you’ll find an Inferno ![]() Slobber and a
Slobber and a ![]() Crusher. Deal with those and then head into the tunnel that’s filled with a green fog. The fog doesn’t hurt you but it will massively impair your vision so tread carefully as there is Caustic-X sewage running through the tunnel. You may also get jumpscared by a couple of zombies emerging from the fog! There are a lot of
Crusher. Deal with those and then head into the tunnel that’s filled with a green fog. The fog doesn’t hurt you but it will massively impair your vision so tread carefully as there is Caustic-X sewage running through the tunnel. You may also get jumpscared by a couple of zombies emerging from the fog! There are a lot of ![]() Bursters in this area so keep your wits about you!
Bursters in this area so keep your wits about you!
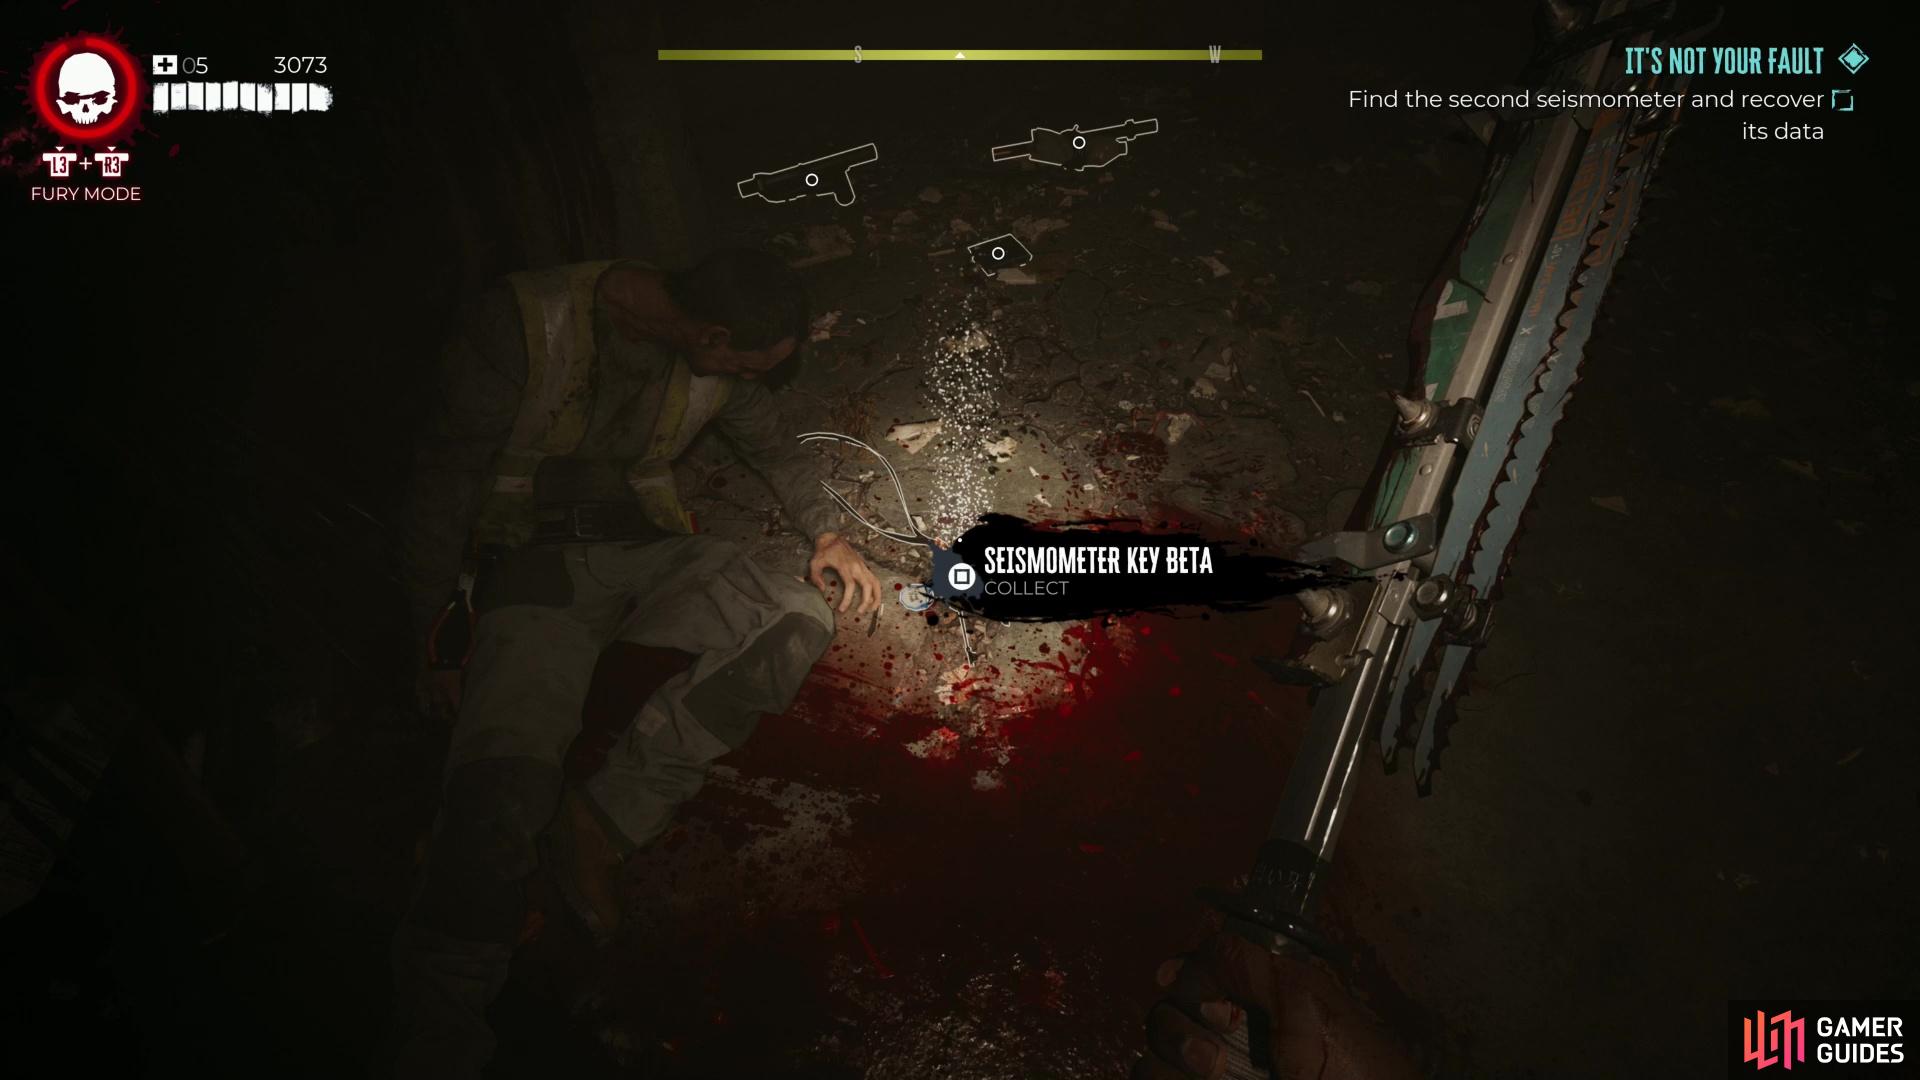
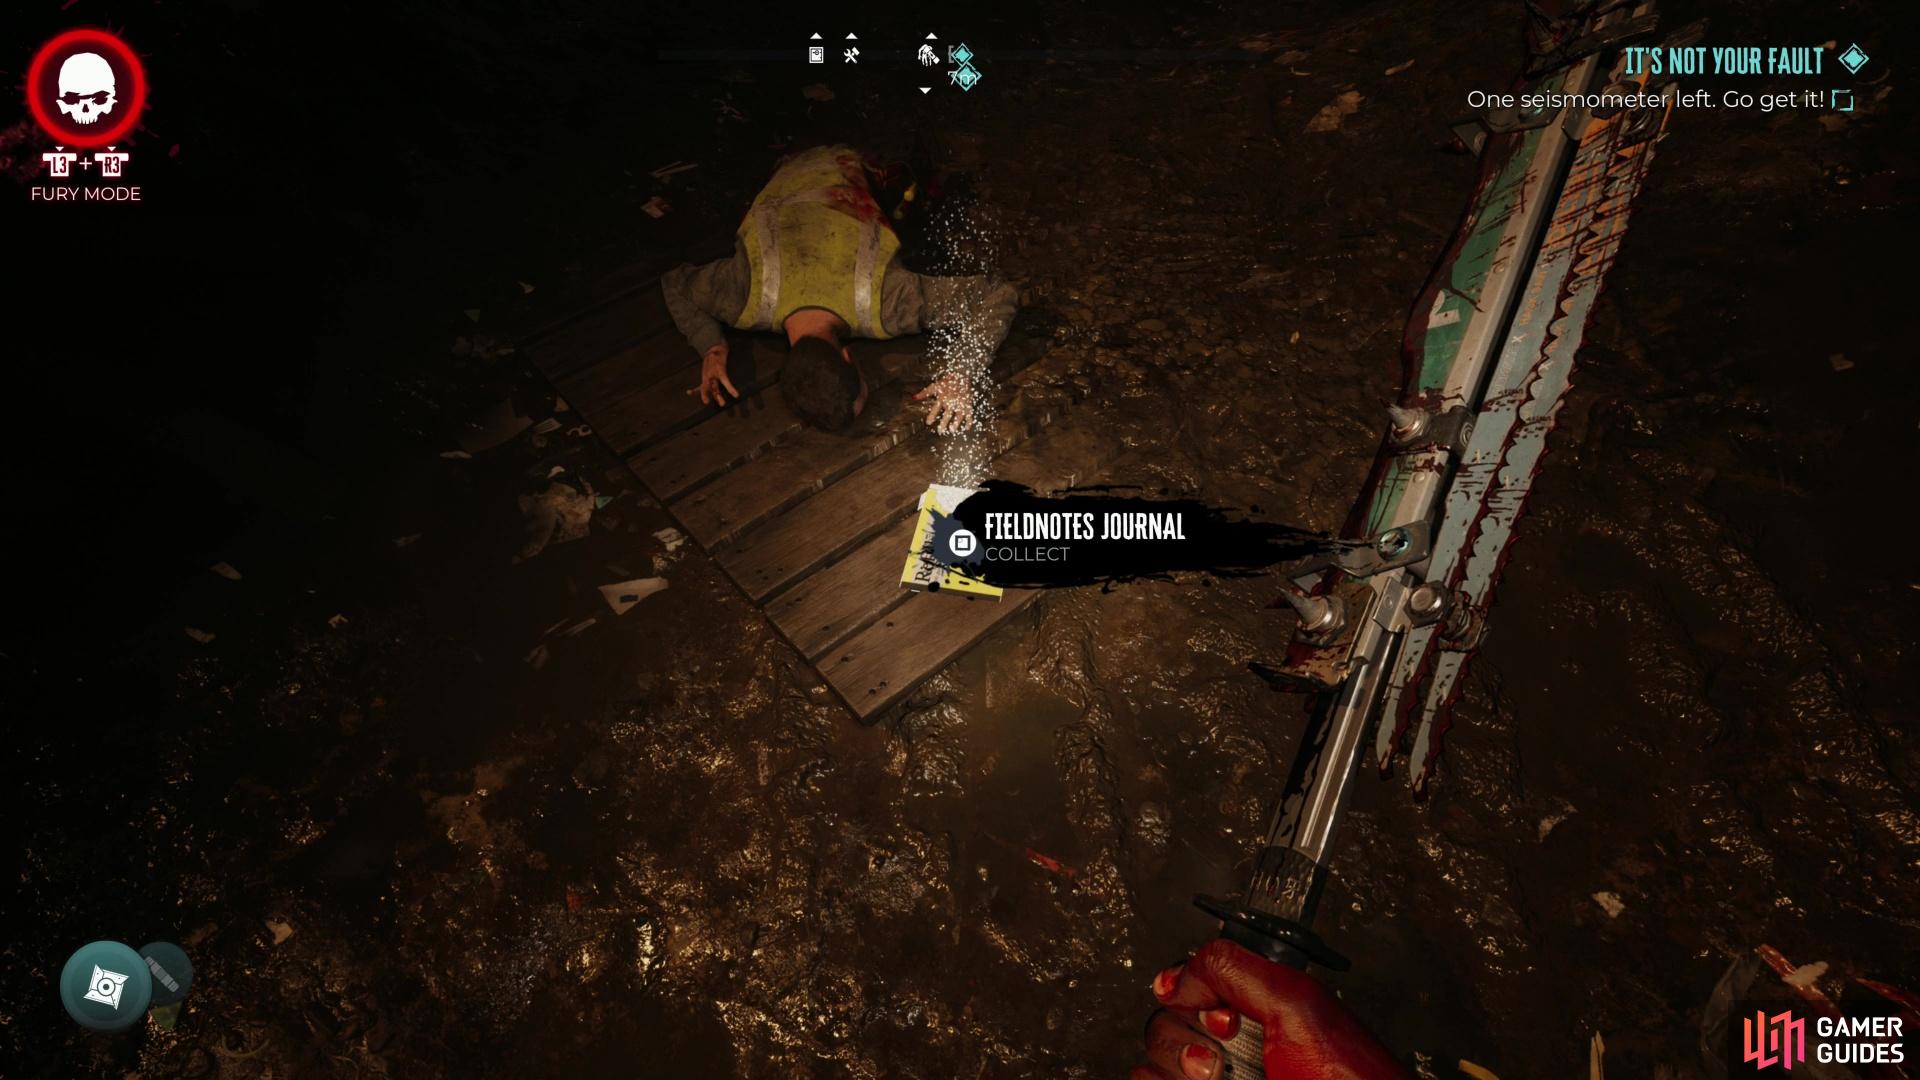
Hug the left wall until you come across the second seismometer. Unfortunately the key is not nearby like last time. You’ll need to head across the fleshy bridge to the otherside of the sewage and make your way back down towards where you came from. Here, you’ll find the key on the floor next to another dead seismologist. Return to the box and use the key to open it up.
How to Find Seismometer Gamma
Next, you’ll need to make your way out of the sewer by continuing through until you reach an opening with a set of stairs. Take the stairs up into an office space overlooking some nasty sewage. The third seismometer is in here but the key is nowhere to be found. Head down the stairs and cross the sludge beneath the walkway to head into the area beneath the office you were just in. You’ll come into a room with live flames blocking your path. Use the gas valve on the left to turn of the gas temporarily so you can pass through. Head into the room on the right and prepare to get jumpscared by a ![]() Screamer that’ll burst through a door in this room.
Screamer that’ll burst through a door in this room.
Deal with the Screamer however you’d like (check out our page on How to Beat Screamers for top tips!) and then you’ll have to search through the sludge for the third seismometer key. The key is found in the sludge next to the grate in the smaller tunnel bit.
Once you’ve obtained the key, return to the office room and open the third seismometer box to retrieve the data. When you return to the room, you’ll need to deal with a ![]() Butcher variant, which can be quite a nightmare to deal with if you don’t have the right weapon! Just remember: don’t let it run away to heal up!
Butcher variant, which can be quite a nightmare to deal with if you don’t have the right weapon! Just remember: don’t let it run away to heal up!
How to Find Seismometer Delta
The last seismometer is the hardest to get (naturally). Make sure you’re all stocked up on ammo and medkits before continuing on. There’s a workbench nearby this office that you can use to repair your weapons too. From the office you can actually drop down to the next area - the super sludgy main septic tank space that you crossed through to reach Venice Beach for the first time.
Before you can enter into the main septic tank, you’ll have to deal with a whole host of enemies barring your entry, including some Caustic-X zombies that’ll emerge from the green goo to your left and right. Once you’ve dealt with those, proceed into the main septic tank. You need to go quite deep into this area to find the key and the box. There are a ton of zombies in here, including Butchers, Slobbers, Bursters and Crushers. It definitely helps to have a powerful long range gun in this area as it can be difficult to maneuver effectively in this tight space.
You need to locate the final Seismologist zombie and kill it to obtain the key. In the same sort of area you’ll also come across a butcher called the Maintenance Worker that’ll drop a key for the Maintenance Toolbox found betwen the Filtration Access and Servicing Area and the Venice Storm Tank.
Once you’ve killed the Seismologist Zombie, pick up the key and head further into the slurry to find the last seismometer box. When you open it, you’ll be collapsed upon by a few lesser zombies, a voltaic screamer and a mutator. And if you didn’t kill the maintenance worker earlier, it is very likely he’ll also join the fight when he hears all the commotion! This is a tight space and can make it difficult to maneuver around. Luckily you can keep good distance from the voltaic screamer by backing yourself against the opposite wall. With this technique though you’ll need to make sure you have plenty of ammo and some strong curveballs because if the zombies close in on you you’re gonna find it hard to disengage. Deal with the voltaic screamer first, then the ![]() Mutator and then clean up the lesser zombies.
Mutator and then clean up the lesser zombies.
After fighting off the zombies, you’ll need to make your way back to Luciana in Emma’s house to complete the quest. For your troubles, you’ll earn 3,500 XP and the legendary gun ![]() Big Shot. If you’re wondering how to get more legendary weapons in Dead Island 2, we have found and detailed how to do just that!
Big Shot. If you’re wondering how to get more legendary weapons in Dead Island 2, we have found and detailed how to do just that!
No Comments