
The Search for Truth in Dead Island 2 is one of the final few missions in the game. This mission has you look around for various things featuring, enemies, and other little puzzles and look for things to complete the mission. So, to assist you, here is a Dead Island 2: The Search for Truth Walkthrough to make these easier.
Dead Island 2: The Search for Truth Walkthrough
Head into the residential area of Ocean Avenue, and look for Tisha on the balcony, then head into the apartment.
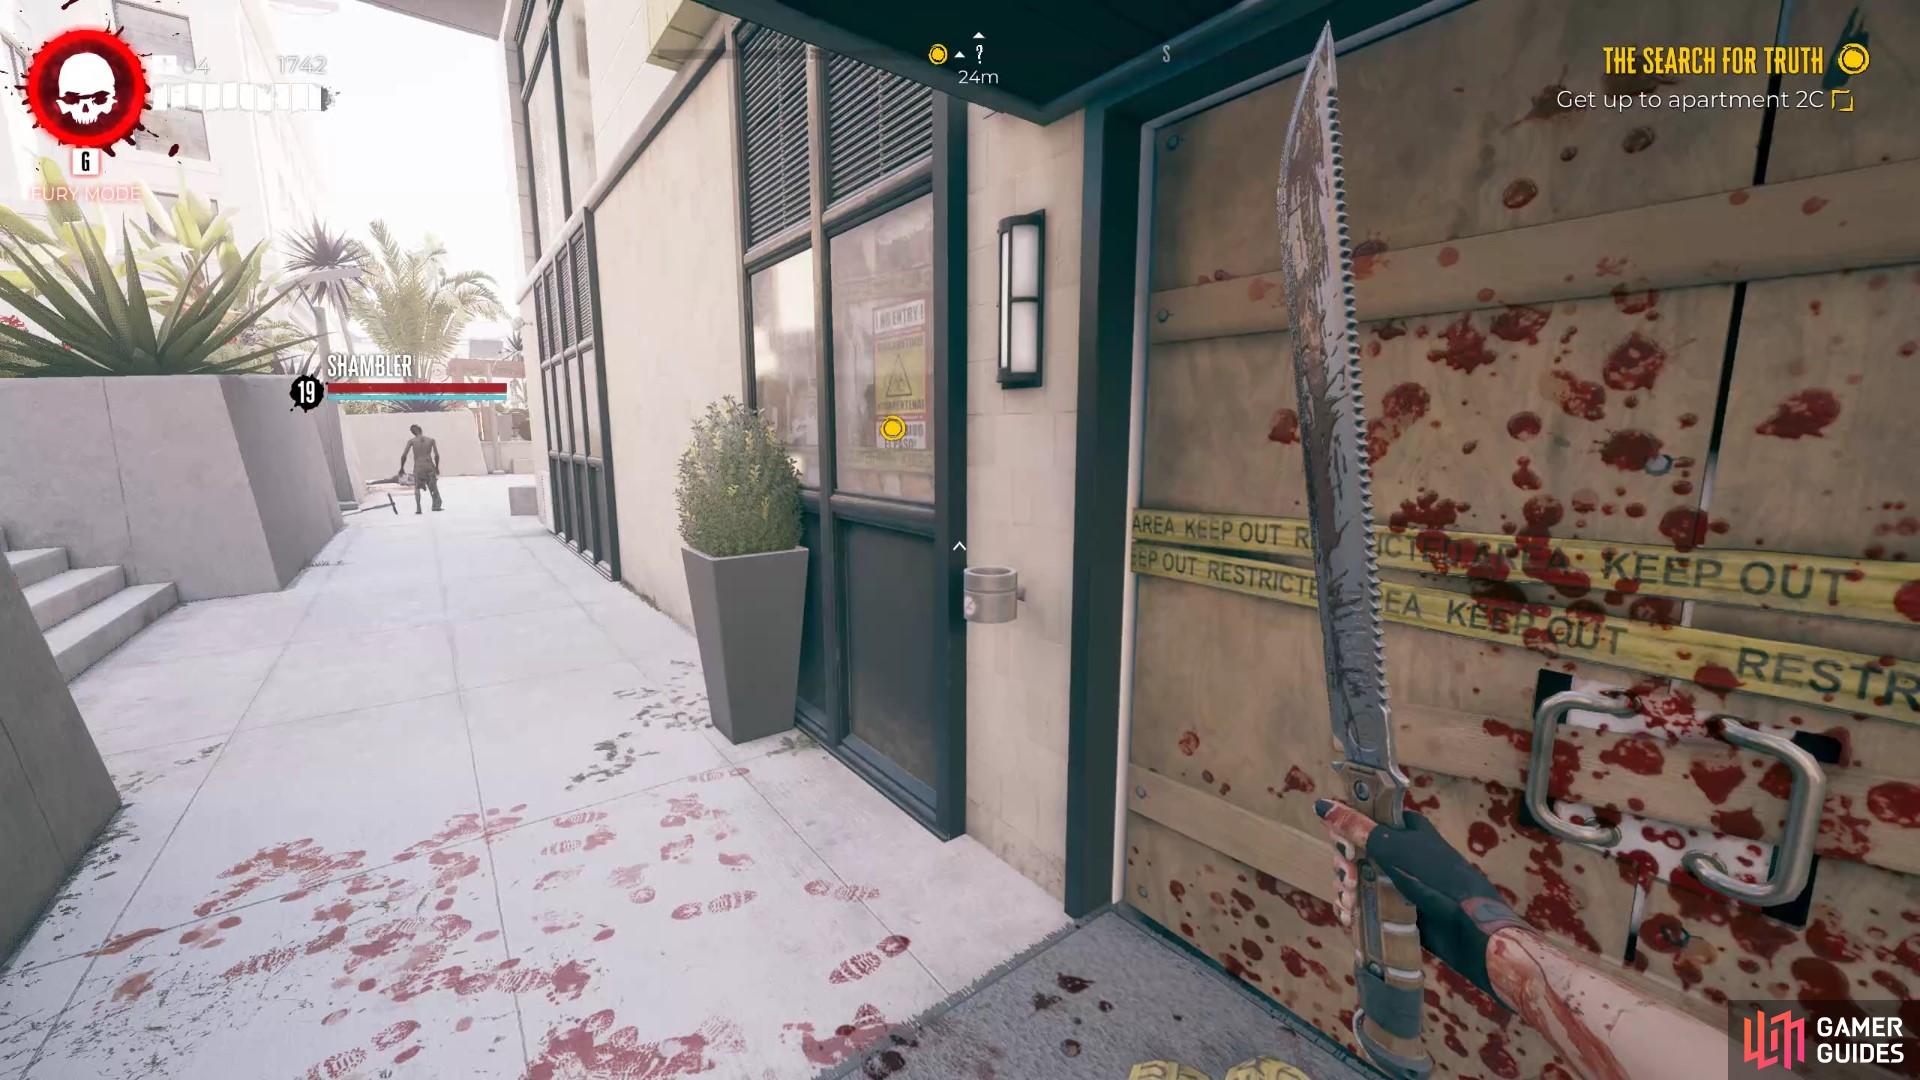
At the start of the level, you need to descend the Stirling Hotel. Do so, and then run across the road to the shopping and residential district to rendezvous with Reed’s Daughter. We recommend opening up the map, and then looking for the coffee shop, and then heading further up from it towards the Burger 66 store. Eventually, you’ll get called back by Tisha, who is on an apartment balcony. Now you can head backwards, and proceed to the mission marker to enter the apartment building.
If you have a spare Fuse, then you can use it to power the apartment elevator. Inside is two walkers, and a few shotgun traps you can use to kill one of the zombies by baiting them. Inside the box is a purple quality heavy Wrench, which is an okay weapon in our eyes.
- Follow the apartment hallway down to the right apartment room and enter. When you get in, be aware there is a journal on the wall near the toolkit lockbox called So Dumb. Once you’ve got it, speak to Tisha and progress.
Now you need to find the OSK store. Open your map, and you should see the Skope building marked on the map via the highlighted area, and the mission objective directing you there. Be aware the area between the apartment and the store is filled with zombies so be ready o fight Crushers, runners and other zombies in the area.
Search for a server room keycard
Now you’re in the building, you need to speak to the OSK device on the store’s wall. Doing so will reveal the servers are offline and need to be restored. To do this, you need to get access to the server room. Head into the back of the store, and check the panel to reveal that you need a keycard. Now you get the admission progress objective.
Head outside via the exit near the server room, and enter the back alley. There are a few Spiky Zombies to be weary of, so kill them as necessary. Once that’s done, you can interact with all the garbage bags near the dumpsters and along the floor to fill the progression bar up. Further down the alleyway is a zombie with a named enemy called Henry. Kill Henry to get the OSK Server Room Keycard.
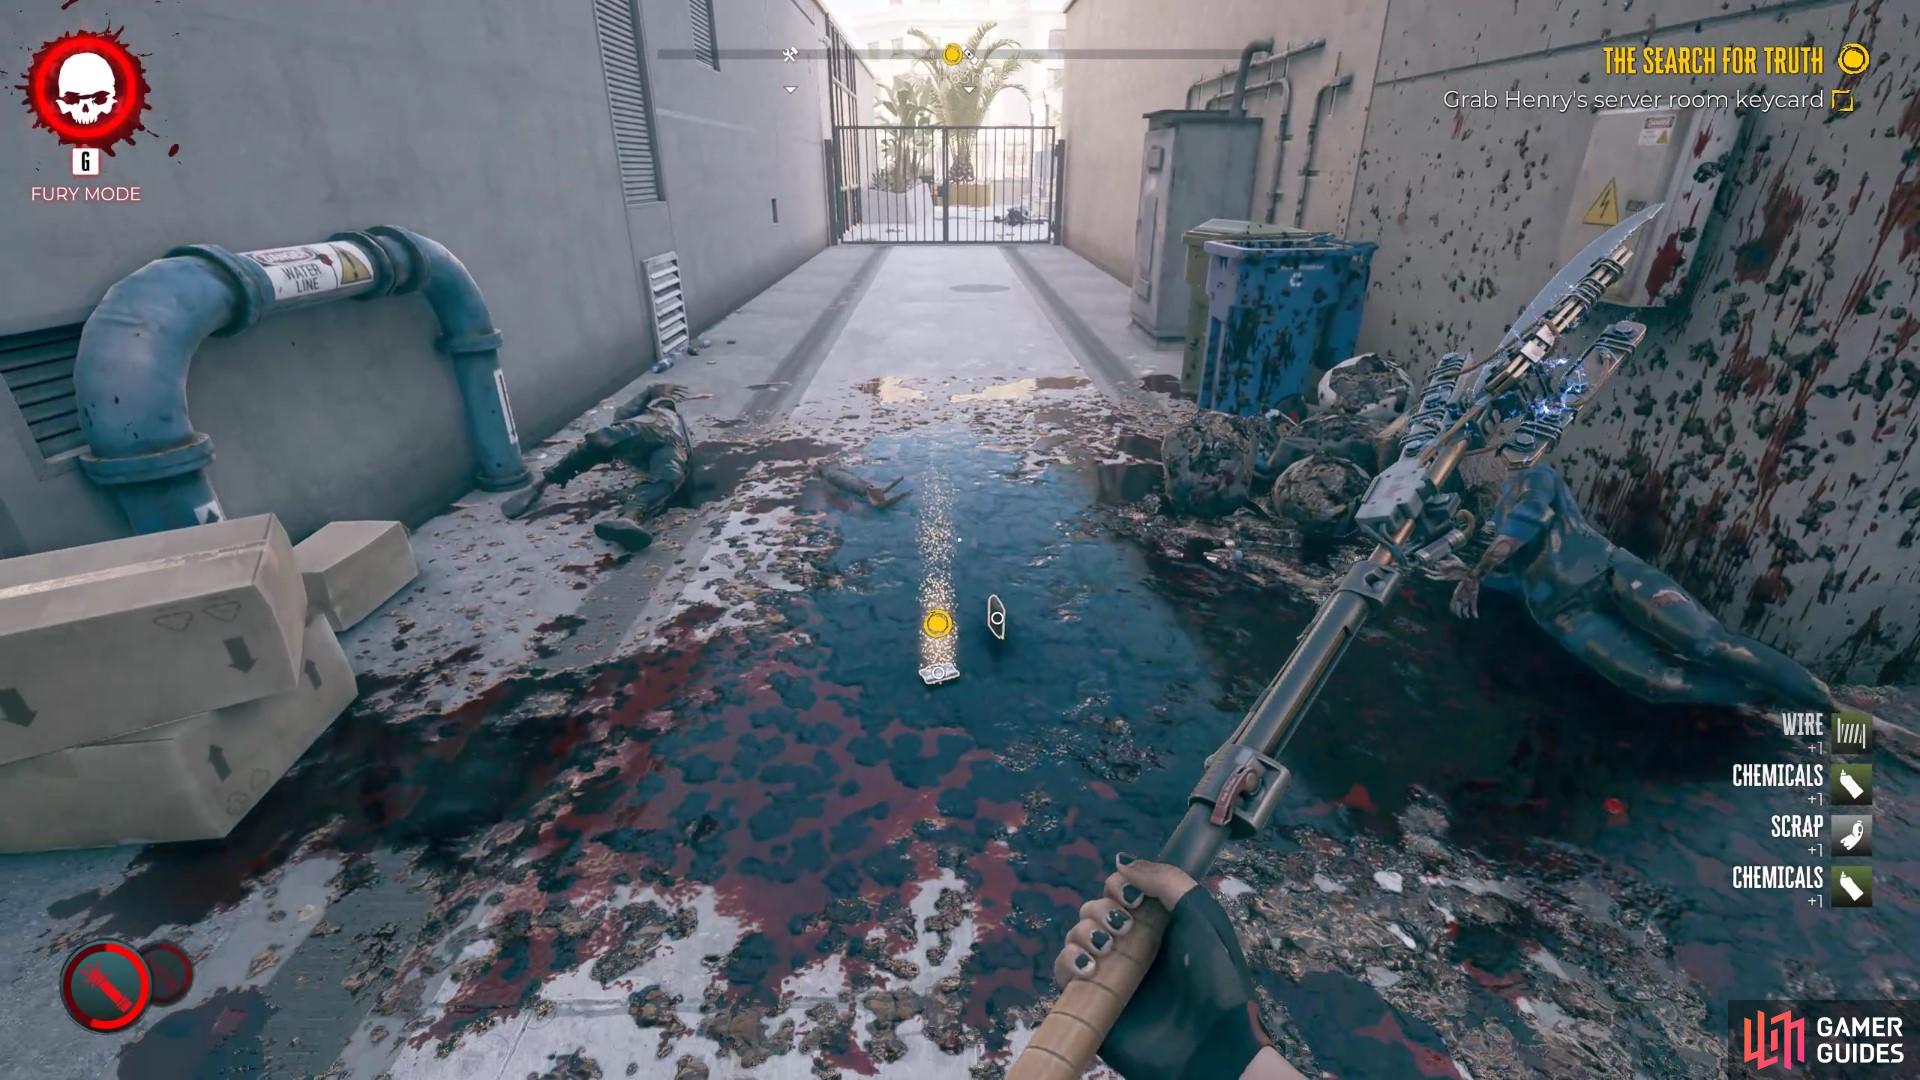
Kill Henry and get the keys from the Alleyway.
Now head back inside and open the server room and reboot the servers. Now you need to look for the lever at the side of the room and turn it on, and then head back inside the main store. As you enter the room, you will get a kill them all update. There will be a Screamer that almost guarantees to scream, so, get your meat bait out and wait for all the zombies to mass up. Use preferred curveball of choice to mop up all the basic zombies there too. As for the screamer, feel free to frenzy mode, shoot it, or kill it in whatever preferred method you like to employ against Screamers. Once that’s done, speak to the device on the wall and complete this stage of the mission.
Now you need to open a text your receive, which is an image journal called OSK Push Notification - Image File. The image file shows you where you need to go next.
The Search For Truth Image File to Tradk Dr. Reed’s Lab
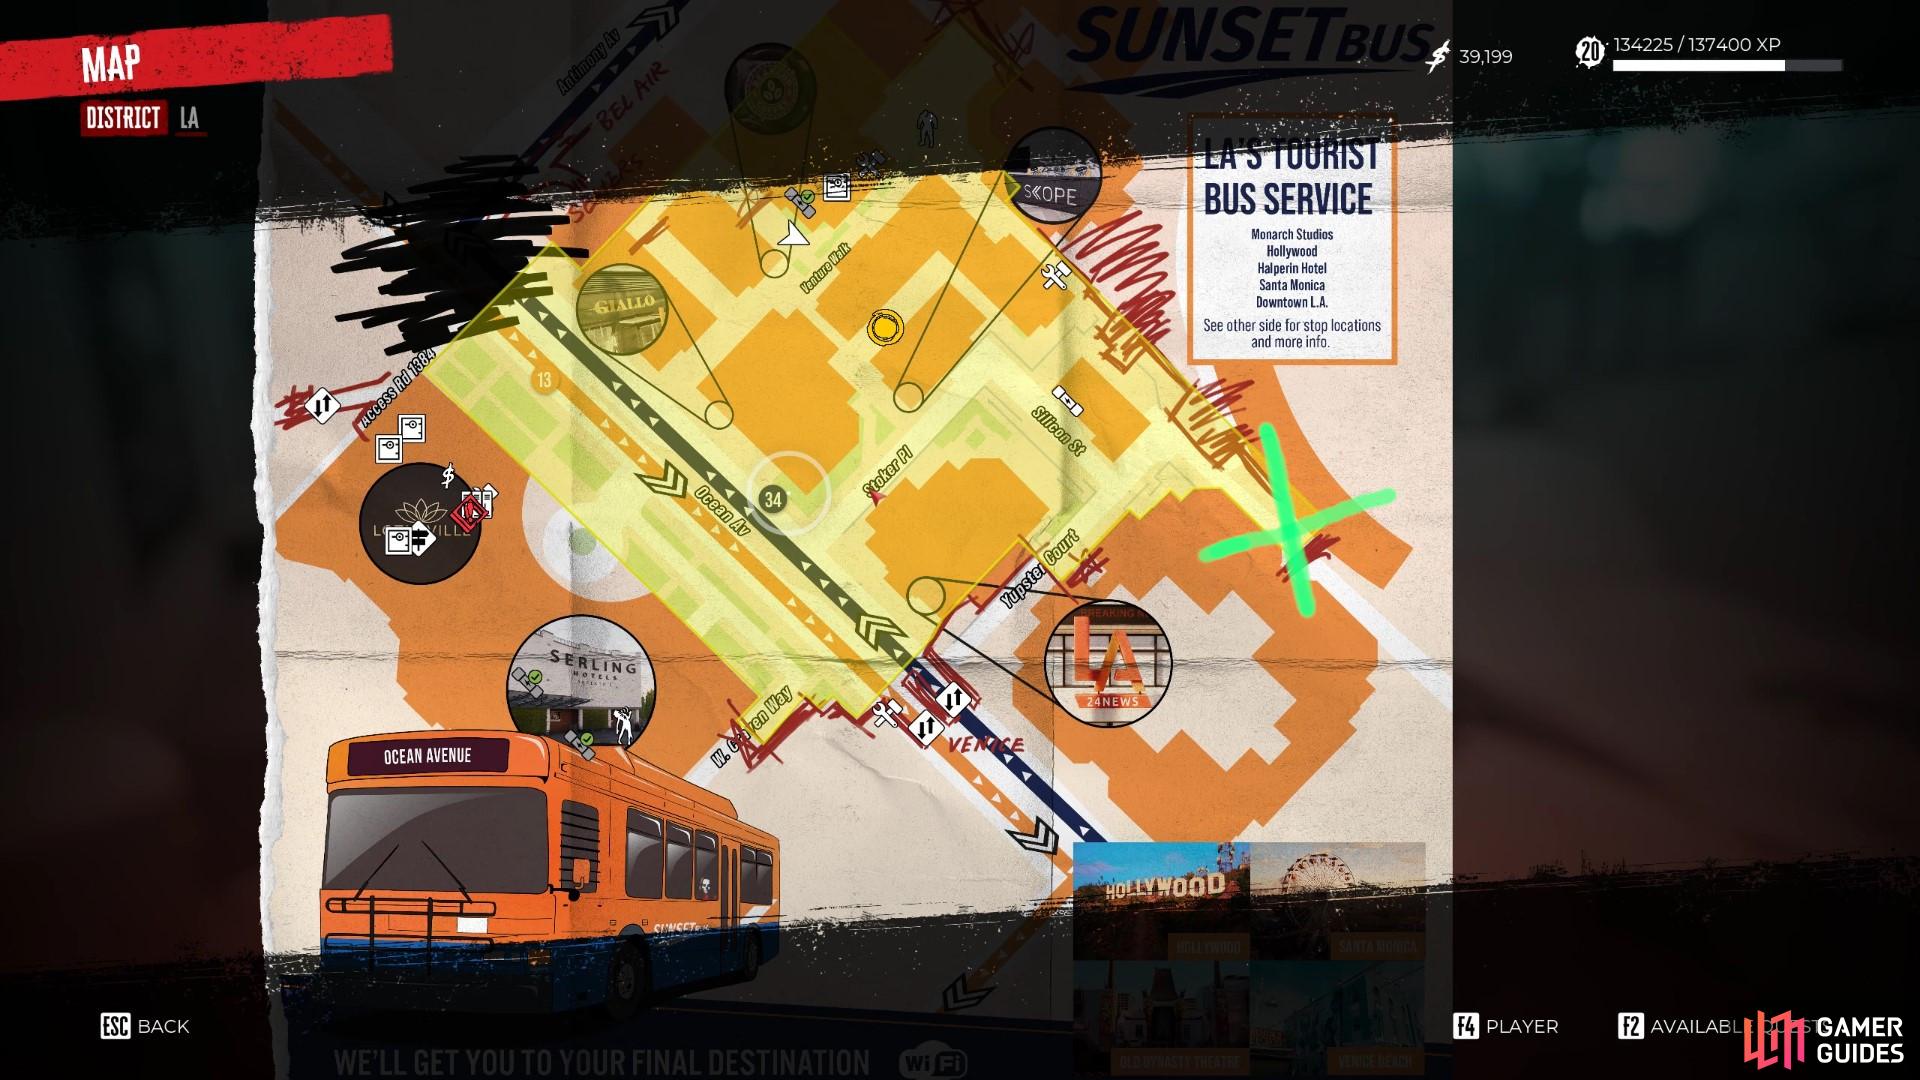
X marks the spot for finding Dr Reed’s Lab in the Search for Truth quest.
Okay, now you need to open your map up, and move towards the back of the LA24 news building. We have attached an image of the map with a green X on where you need to go to track Reed’s Lab.
Along the way, there is a Fuse Box you can open if you want, This awards a Crescent Blade fist weapon with purple quality of around 355 power. So, if you want that frenzy-themed weapon, then its there for you to get.
Once you reach the garage doors at the X on the map, you will get your hacker friends to open the garage door. Inside the room is a Screamer, and some Hazmat Walkers. If you have the charge equipped, you can then dash straight to the screamer and interrupt her before she screams. Pop Fury mode, or throw some curveballs to kill everything in the room.
Find Dr. Reed’s Lab
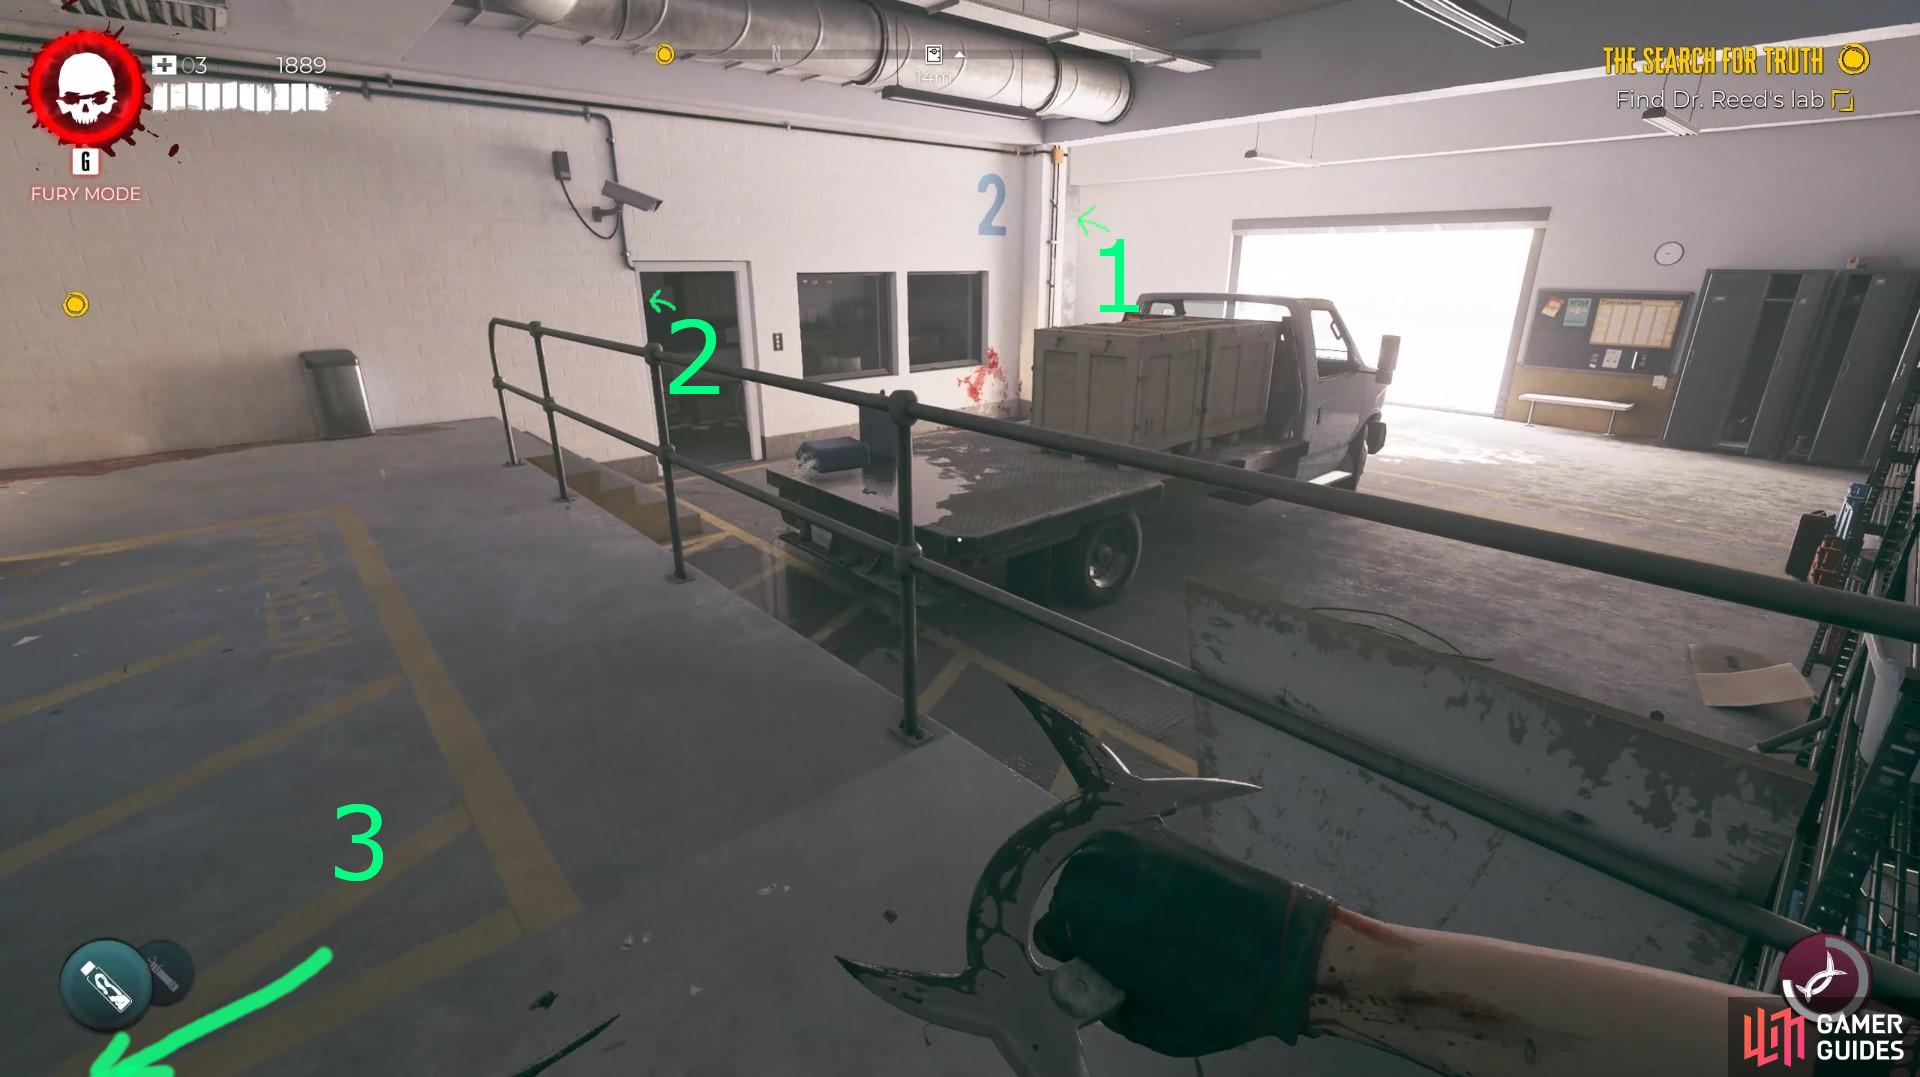
Here are the locations of the mag locks you need to break in the garage.
Now you need to open up the lab, To do so, you need to disable the Mag Lock. There are three places to look.
- One is to the right of the truck in the garage, near the garage door.
- The other is inside the garage office room.
- The final one is behind some wooden boxes you can break at the very back of the garage near the AC units and metal shelves.
There is also a Lightning Strike Skill Card inside the Garage Office Room as well if you want to grab that.
Now you can proceed through the door, and walk into Dr Reed’s Lab.
Investigate Dr Reed’s Lab
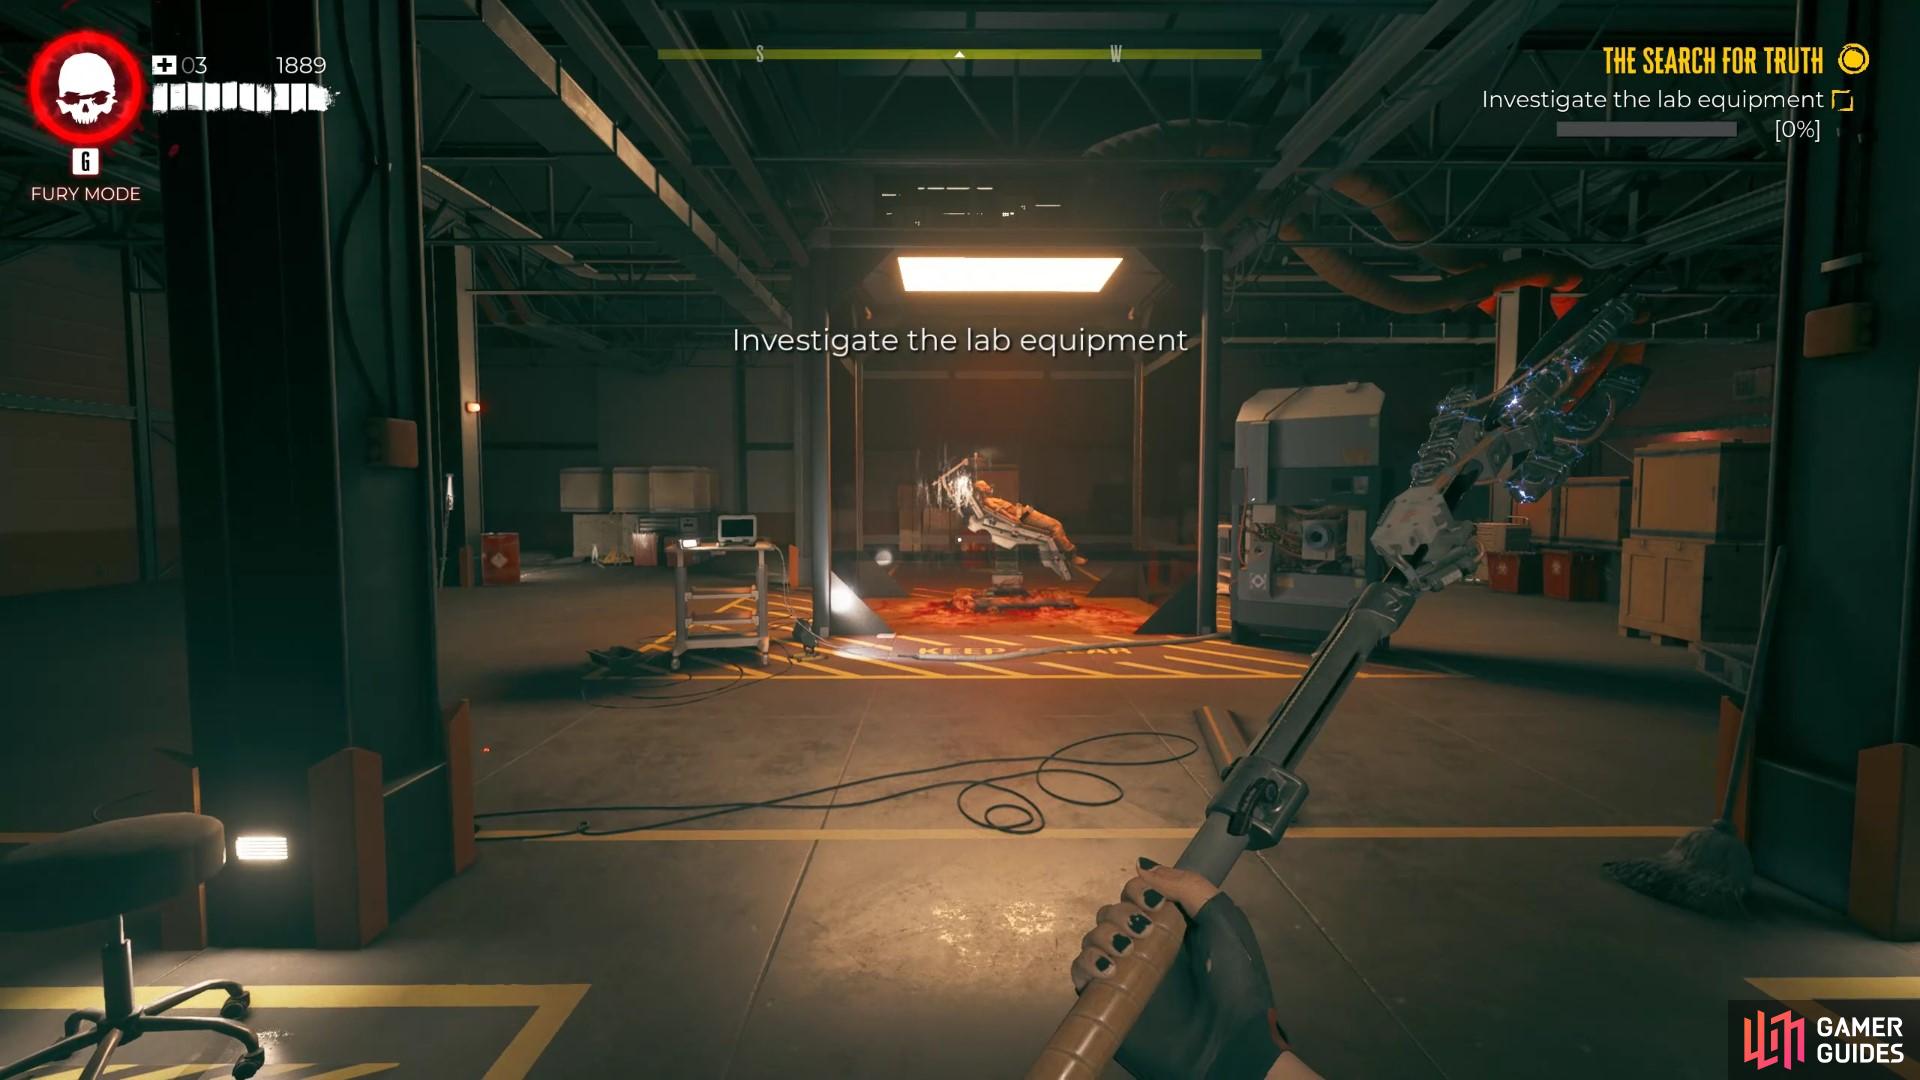
All the items you need to interact with are found beside the main tank.
Now it is time to do another find random items in the room mission objective.
Here are the things you need to look for.
- Walk up to the glass and interact for the Specimen Tank - 25%
- Skope - There is a Skope on the white table to the side of the Specimen Tank - 25%
- Blood Drive - The white laptop next to the Skope on the white desk to the side of the specimen tank. - 25%
- Re-Coder - The Blood collecting machine similar to the one you used during the Santa Monica mission. - 25%
Also, before finishing this, make sure to loot the Biohazard Containers. These contain various autophage parts for the autophage mods. You can get many random quality parts here you help speed up applying those autophagy mods to your purple-quality weapons.
Kill Noah
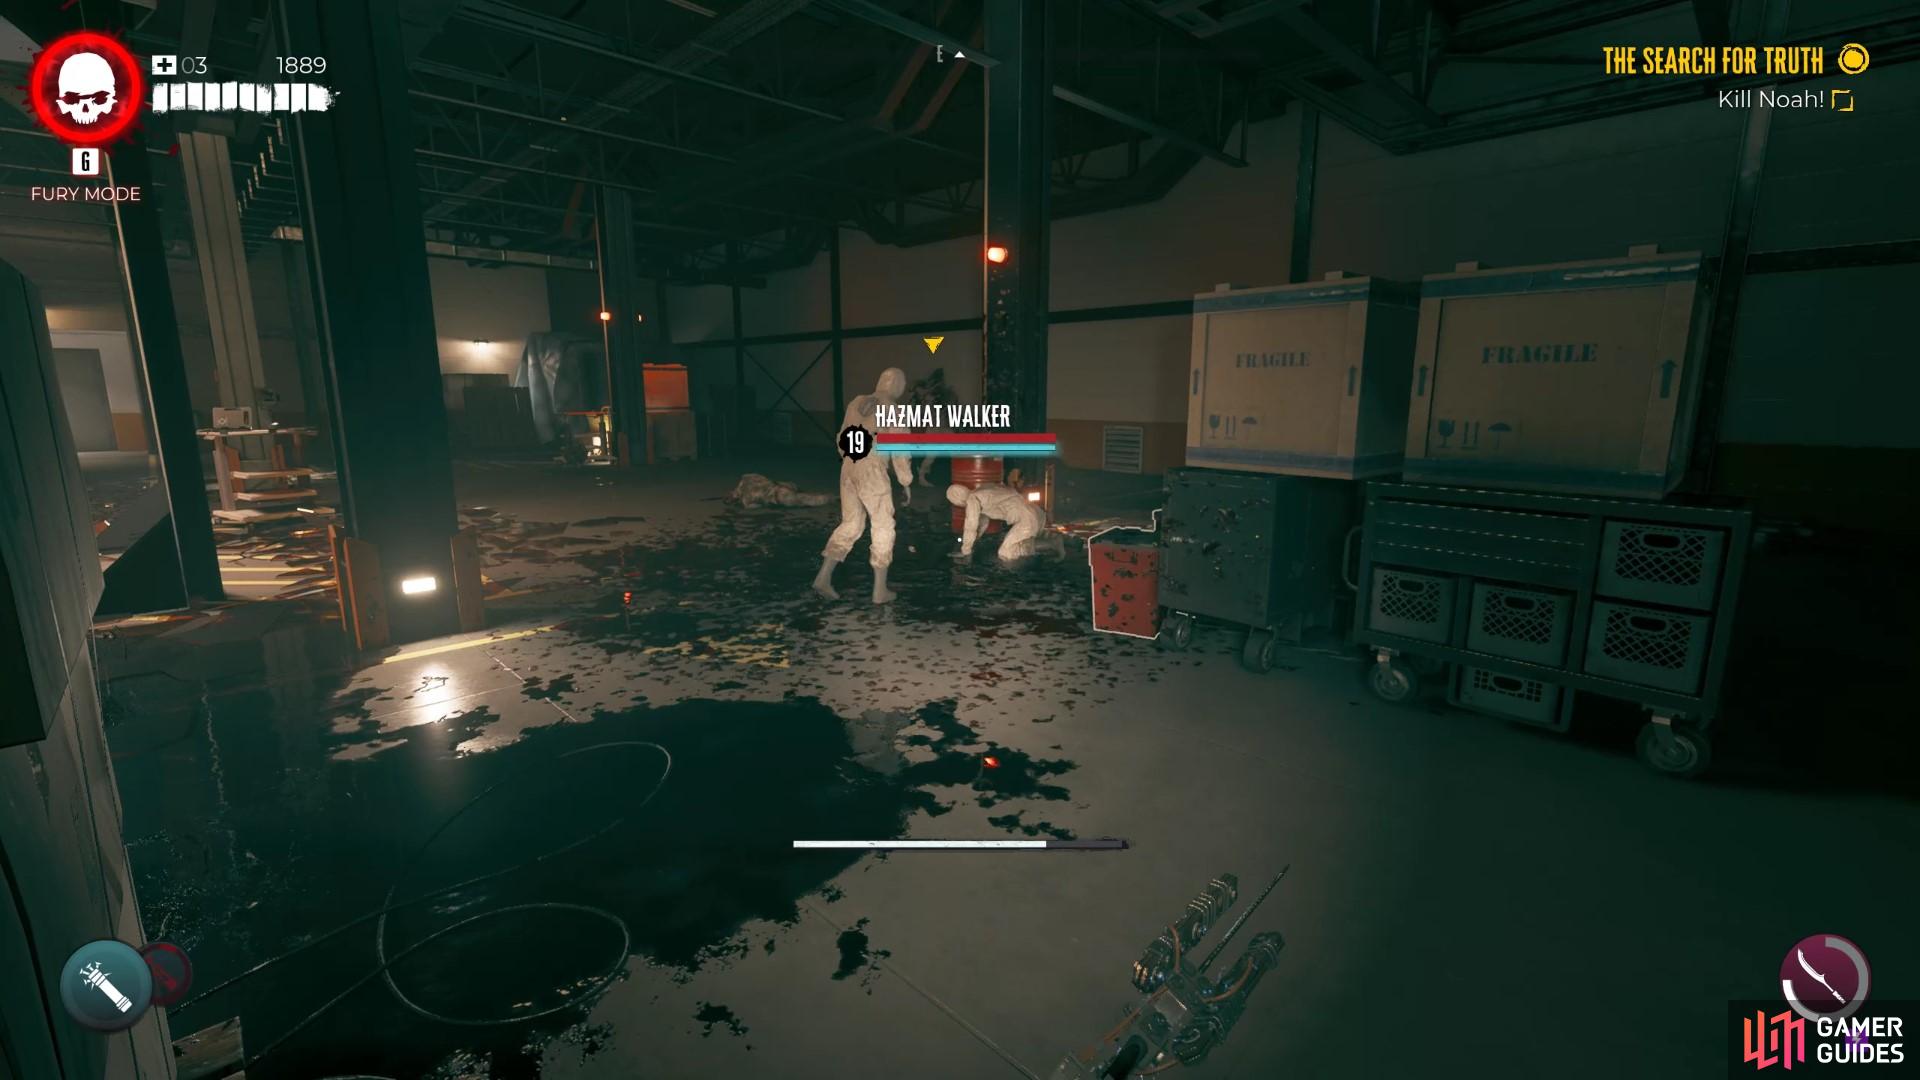
Now its time to fight Noah and the various spawning zombies.
Once you are ready to proceed do so. This will start the boss encounter and fight Specimen Noah, who is the final Apex variant. Be careful of this boss; ranged attacks from it chest, his spin attack, and his arm slams are similar to a Crusher’s slam. To avoid the ranged attack, use the various pillars around the room for solid cover. Also, feel free to spend your gun ammo on this boss too.
We recommend bating him around the room into the oil pits and setting him alight for more damage You can also use these alongside some Meat Beat if you’d like to bring the spawning Hazmat Walkers into the fire pits to make their spawns much easier.
When you get Noah to around 20% HP, your character will automatically enter rage mode, and then you will kill Noah that way. So, make sure to use your rage mode during this fight at some point, as you will lose it anyway. After that, you will be done, get a cutscene and learn more about the Numen project. Along with the boss’ death spot dropping a purple-quality mutilator zombie sword.
This concludes the Dead Island 2: The Search for Truth Walkthrough. Congrats on your new found zombie powers.
No Comments