

The Tower of Agito is easy to spot, as it is the tallest structure in the world of Orience, and you will see it every single time you step out onto the overworld. It is located in the Eibon Region and you will need the Setzer airship in order to enter. However, all of the enemies inside are level 128 (irrespective of difficulty), so you will want to prepare extensively for your trek through the place. The ultimate dungeon in Type-0 awaits those brave enough to seek it out.
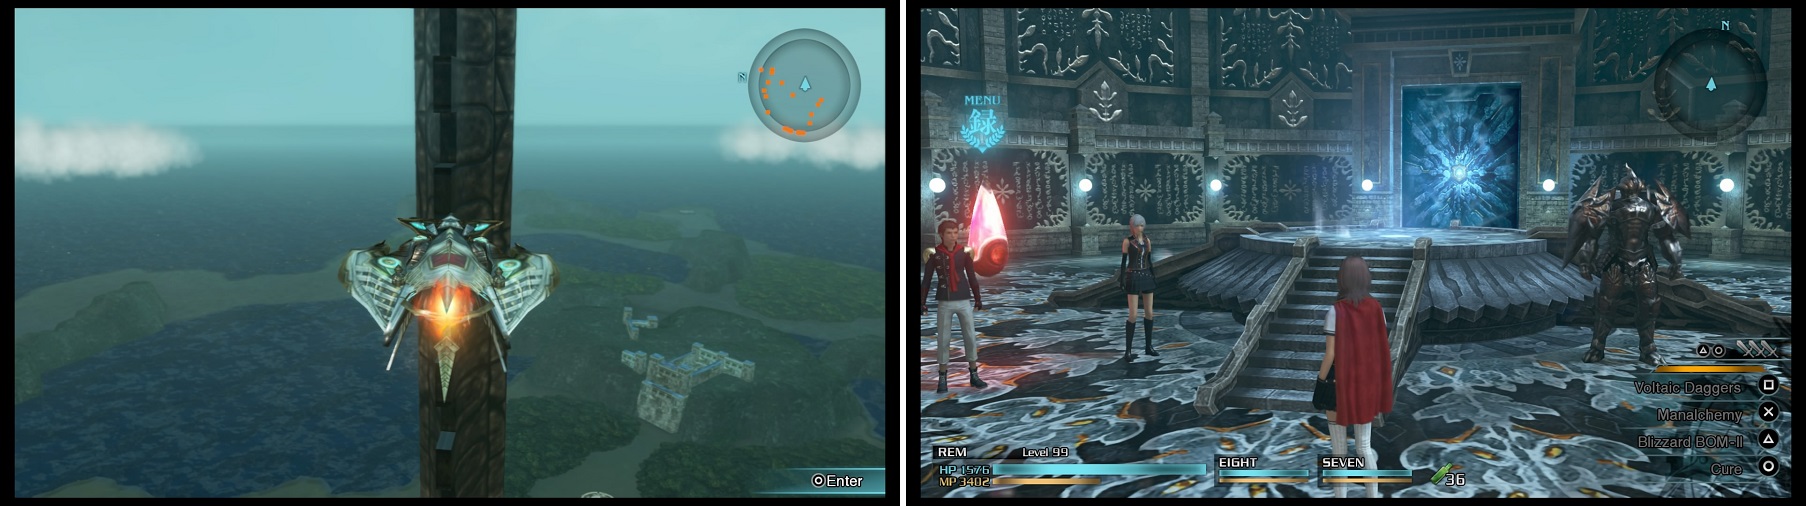
Just fly right into the tower and press the button that appears in the bottom right of your screen to go inside.
Preparing for the Tower
One of the better characters in the game to use here is Rem, due to her high magic and the ability to magic cancel into -aga tier spells after her first physical attack. You will definitely want to have a hefty supply of Anima Lanterns and/or Phoenix Pinions, as Reraise lets you worry about dealing with the enemies, rather than healing.
Of course, having high DEF and ATK are nice, but definitely the latter isn’t necessary. The ideal item is the SP Crystal (need a total of around 110,000 to 120,000 SPP to get it), which gives a lot of great stats (HP/MP +50%, ATK/DEF +100, all magic +70, plus a variety of buffs, with the best being Protect, Trance and Freecast). If you finished one of the Tasks in Chapter 4, then you will have gotten the Akatoki Amethyst , which grants you Auto-Quick, another useful ability, although magic cancelling will negate that.
As for magic, it depends on what you have available. If you have Ultima, that will be great and is likely the only one you need. However, it requires you to get a total of 150,000 SPP, which is close to what you have from getting the SP Crystal, but farming for SPP is rather boring. Other good spells include Blizzard BOM-II and Fire BOM-II, as they both do damage over time and there’s a few enemies you will fight that are weak to the latter.
First Chamber
The Tower of Agito consists of big rooms, where you will fight a total of 100 monsters of a single type on each floor. Luckily, they only come out a few at a time and once you’ve managed to defeat all of them, you will be able to move onto the next floor. In between the floors will be a save point (make sure you save on a different file), as well as a treasure chest.
The First Chamber will contain Tonberries, which you have fought before, if you’ve done the NG+ mission in Chapter 3 (“Mission Under Ceasefire”; you should have since you need Anima Lanterns). They can throw their lanterns, which act similar to grenades, as well as inflict Stop on you; that is something you don’t want of course.
The first thing you want to do is bind your Anima Lanterns/Phoenix Pinions to your item slot, so you can always reach them without having to go into the menu. In fact, you shouldn’t need any other items, since you have a Freecast buff and most attacks will likely one-shot you anyway. Make sure Reraise is on you and as soon as you step into the room, do a normal attack and spam one of the two magic attacks, which should cast the -aga version of that spell.
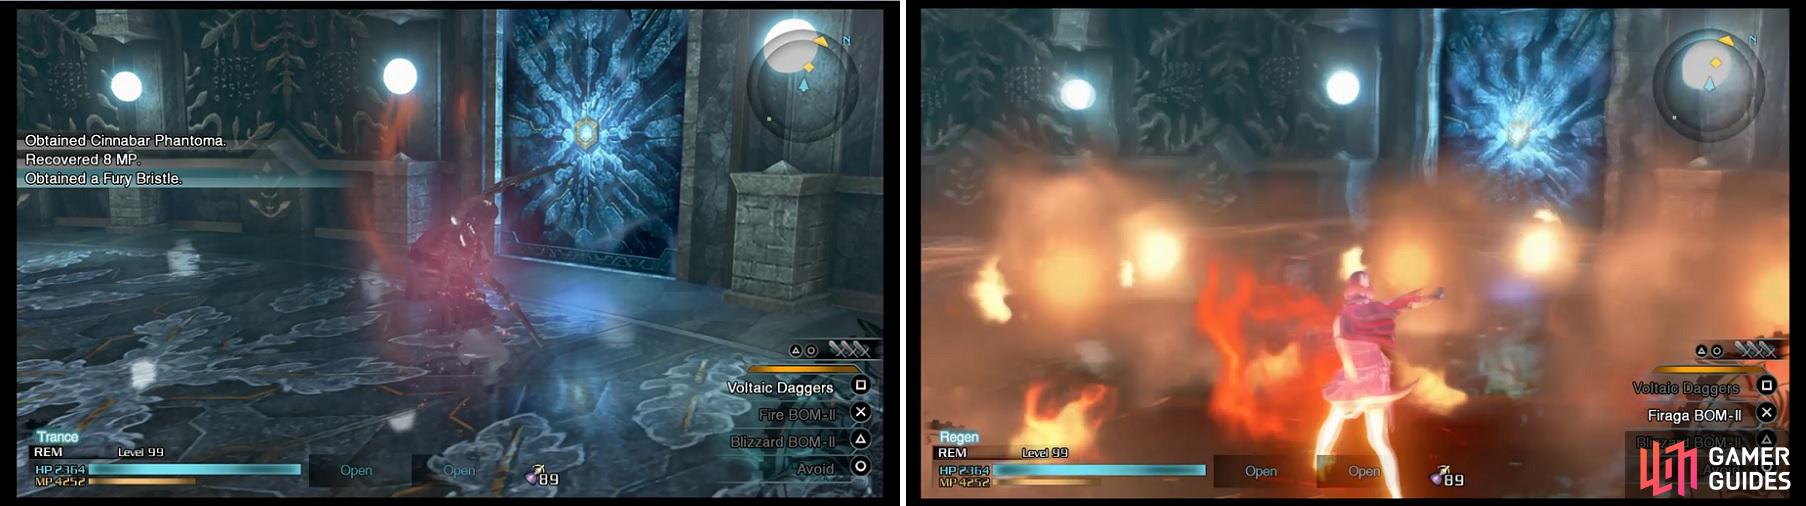
Do Rem’s first normal attack (left) and then spam the button assigned to either magic to instantly cast the -aga spell (right).
Do this whenever you have a chance to and the first round of Tonberries will fall shortly. It’s a good idea to kill them all (and harvest since you can restock Anima Lanterns if needed) so the respawns are on the same timer. Once you do this, you should go to the marked door and spam your spells so that the Tonberries will take damage as soon as they spawn. Keep doing this over and over until you’ve killed all 100 of them.
The chest between the First and Second Chambers can contain one of the following:
- Ignis Divinum
- Glacies Divinum
- Fulgur Divinum
- Aegis Divinum
Second Chamber
The Second Chamber will have you fighting against Coeurls, with these ones not being the same as the Lesser/Militesi Coeurls you’ve seen throughout the game. If you’ve been to the Corsi Cave, then you might’ve seen the one Coeurl in the final northern room, which was able to teleport and behaved differently. Those are the ones you will face here and the first rule is that you don’t want to get too close to them.
Right from the start and after teleporting, they will usually emit a shockwave of sorts from their bodies. The only other move they really have is a ball of energy they can shoot out, which moves very slowly. The good thing about these balls is that you can destroy them and likely will when you’re spamming spells.
The treasure chest in between the Second and Third Chambers will either yield a Regal Crown or an Adamant Armlet .
Third Chamber
This is where things get a little boring and somewhat dangerous too, as you will be facing off against 100 Glasya Labolas, which are the Snow Giant-type enemies. At first, you will only face off against one at a time, but as you get further into the kill count, that will increase to two and even three down the line.
You should know by now that these enemies are quick, despite their size, with a few attacks to watch out for. When they close in, they can do a quick attack where they smack their hands together, so quickly dodge out of the way of this. Another attack is when they raise their fist up in the air and then smack the ground; previous ones would have a chance to freeze you, but the Labolas’ attack has a chance to inflict Stop.
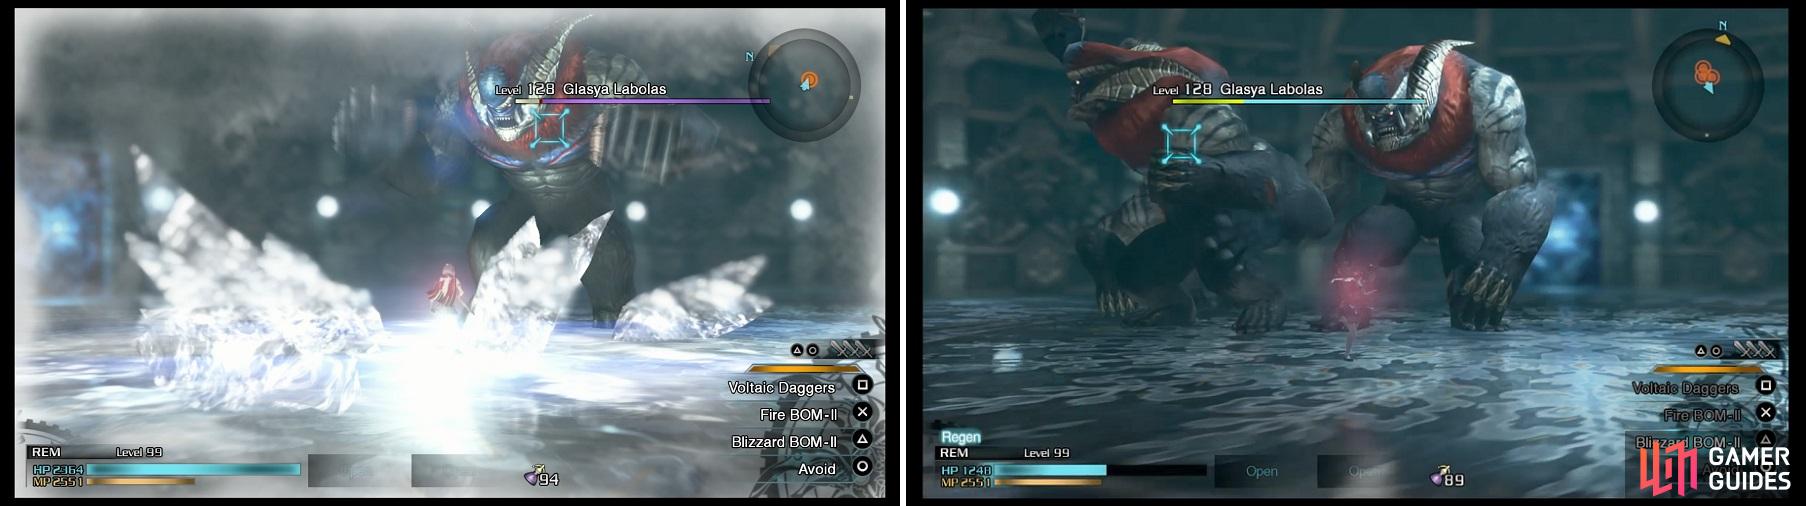
Despite their brethren, the Glasya are weak to ice (left). Things get a little hectic when you’re fighting three at once (right).
The last attack you need to watch out for is when you see the Glasya crouch down, as it will shoot across the floor at a fast speed. Note that if the Glasya goes into Rage mode, there’s a possibility it will spam this attack, but with Avoid equipped, you shouldn’t have any problems dodging it.
At first, a single enemy isn’t too much trouble, but once you reach 30 kills, two will start spawning (turning into three at 70 kills) at one time and pretty much insta-spawn as soon as the previous ones are harvested or disappear. The magic cancelling maneuver you’ve used up to now might not work as well, because getting the timing down is difficulty with two enemies now. So, resort to just charging the magic the old way and if your magic power is high enough, you shouldn’t see any differences in regards to damage, with the only differences between Fire and Firaga (as examples) being how big the radius of the spell is.
In between the Third and Fourth Chambers, you will find an item on the ground ( l’Cie Tagisu’s Crystal ), as well as a chest that contains either a Growth Egg or an Assault Badge .
Fourth Chamber
One of the first things you’ll notice upon entering this room is that it’s smaller than the ones you’ve fought in previously, which can make things a little more difficult when you find out you’re up against Mushussus. These are the giant serpent-like creatures that are similar to Marduks, and the frequency of their spawns is the same as the Glasya Labolas, with one spawning until 30 kills, then two until 70 and three until you clear them all.
What makes them slightly easier, at first, is that they will remain sleeping until you attack them, so if you need to take a short breather, you can whenever new one(s) spawn. There’s almost three stages to the Mushussu, with the first stage shooting two bubbles upon waking them for the first time, then shooting one at a time if at range or swiping you with its tail if close enough.
At a certain point, after falling asleep again, it will shoot more bubbles at you. However, its most dangerous phase happens around its last bar of health, where waking it up will cause it to go crazy. In this state, it will spew out a lot of bubbles while moving around the room, making it quite difficult to dodge. It is possible to kill them before they go into this state, so don’t worry too much.
When there’s only one, you can do magic cancelling into either Fire or Blizzard BOM-II, but you can do one of two tactics upon two spawning at once. As with the Glasya, it’s best to charge spells at this point and you can either go after one at a time (coming from the sides), or go in the middle and hit both at once. Either way, immediately start charging another spell, judging distances to decide if you need to only charge up to the second tier or third one. With three at a time, they will be a lot closer together, so the -ra tier should be enough.
In between the Fourth and Fifth Chambers, you will find a chest that will contain either a Gold Hairpin or an Enchanted Badge .
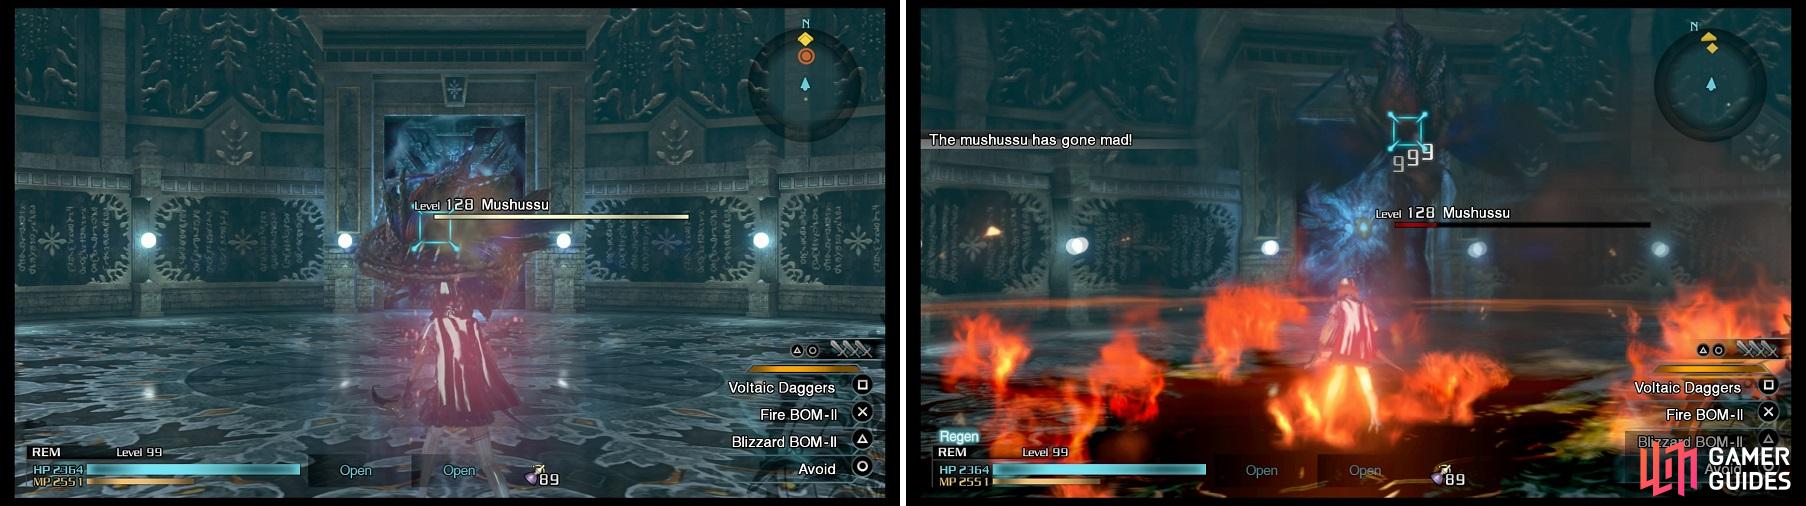
The Mushussu is asleep (left) until you start attacking it. At low health, it will start going crazy whenever you wake it up from its sleep (right).
Fifth Chamber
This is the final floor with multiple enemies, with it being Behemoth Kings this time. They don’t follow a similar pattern in spawning, with you finally encountering two at a time upon reaching 50 kills, which rides through until the end. If you’ve faced a large number of them like we have, thanks to Bethnel Caverns, then you know what to expect. They aren’t as quick as the Glasya, but the annoyance of their Invincible status when doing their one tail spinning attack the can be irritating.
One more to watch out for is their charge, which is a two-hit combo and can actually kill you if you dodge the wrong way, even with Avoid. If you dodge to the sides, then you’ll be fine and not have to worry about the second hit striking you. Also, be careful when you see them swiping with their claws, as you never know if a tail swipe will follow, so if you see a Breaksight, then you can unleash your spells. As before, charge your spells once you are fighting two at a time.
You can find either a Blessed Armlet or a Grand Mage’s Badge in the chest between the Fifth Chamber and the Chamber of Decision.
Chamber of Decision
There’s nothing here, in the way of monsters, but you will have a choice on your hands. Before that, you will find a chest that will yield a Darksoul Swarm , which is used for the “Slayer’s Spoils VII” Task in Free Time 7.2. Once you’ve grabbed it, walk onto the teleport in the center to be given a chance to either proceed to the next floor or leave the tower.
Chamber of Ruin
After everything you’ve been through to reach this point, you’d expect something quite tough for your last boss in the Tower of Agito, right? Well, you won’t get that wish, since there is only one enemy, which is a big, a very big, Cosmic Malboro. As soon as you teleport in, you’ll be face to…tentacle with the massive beast, so get away as soon as possible.
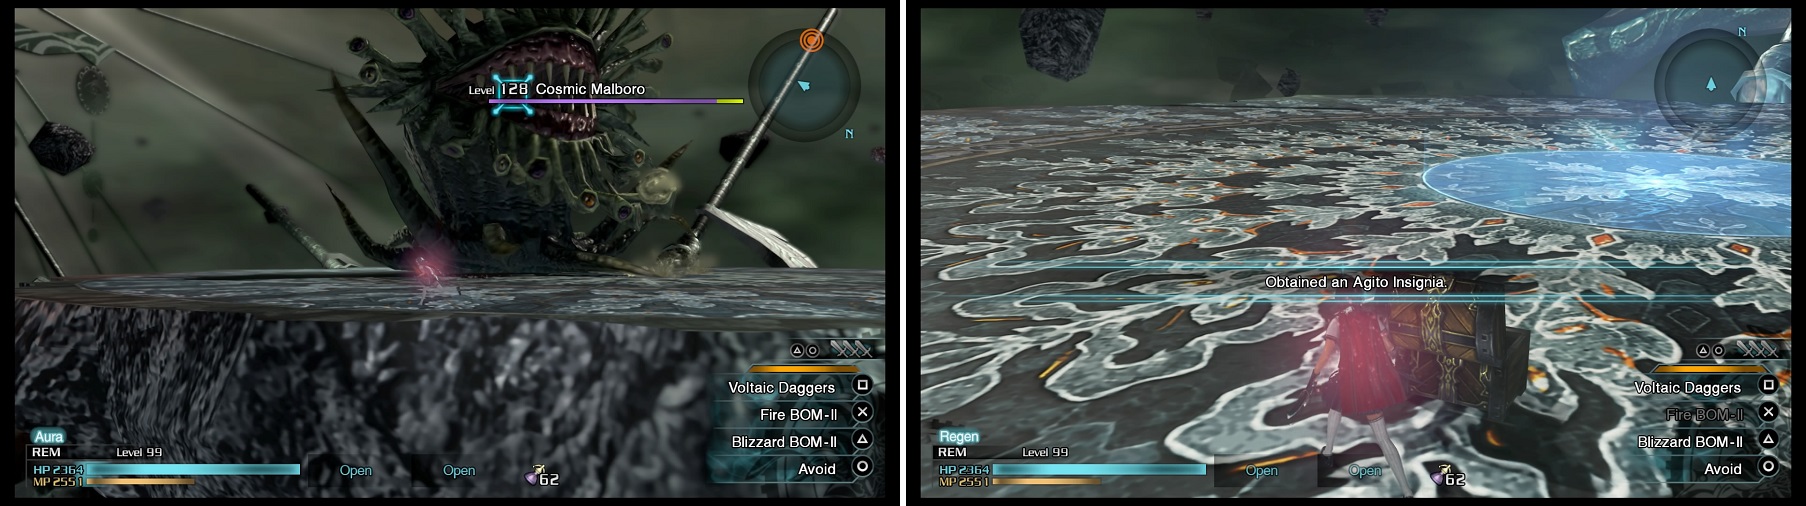
The Cosmic Malboro is huge and looks more threatening than it is (left). Slay it to receive the Agito Insignia, the best accessory in the game (right).
The Malboro, if you’ve fought them before, only has three moves in its arsenal, one of which is to spit bubbles at you, similar to the Mushussu. Besides that, it will also do a constant breath attack while spinning around slowly (the infamous Bad Breath). Get too close to the monstrosity and it can move its tentacles on the ground around, likely smacking you back (these might not kill you).
You have one of two choices in defeating the Malboro, as it is very slow. You can use a ranged character and pick at its health from a distance or you can simply charge up a fire spell (it is weak to fire), get close enough and let it loose. Despite being the last boss of the toughest dungeon in the game, it doesn’t have much more HP than anything else you’ve fought up to this point.
Your reward for clearing the Tower of Agito the first time is the Agito Insignia, which is hands down the best accessory in the game. Not only does it give you a 50% damage reduction, but it also grants 4x EXP, immunity to all ailments and weather effects, as well as Auto-Protect, Regen, Freecast, Trance and Quick. Unfortunately, you can only get one per playthrough, so you’ll have to trek through NG+ to get another. Scaling the tower again on the same playthrough will grant you one of the following instead of the Agito Insignia:
- Grand Bangle
- Mog’s Lucky Charm
- Soul of Thamasa
- Juggernaut Badge
- Ribbon
No Comments