S-Rank Requirements
| Time Limit | Phantoma | Casualties |
|---|---|---|
| 15:00 | 40 | 0 |
1 - Downtown Toguagh
At the beginning of the mission, you will confront two Martinets in the first area with enemies and that’s it. Destroy them both and continue to the next area.
2 - Toguagh Square
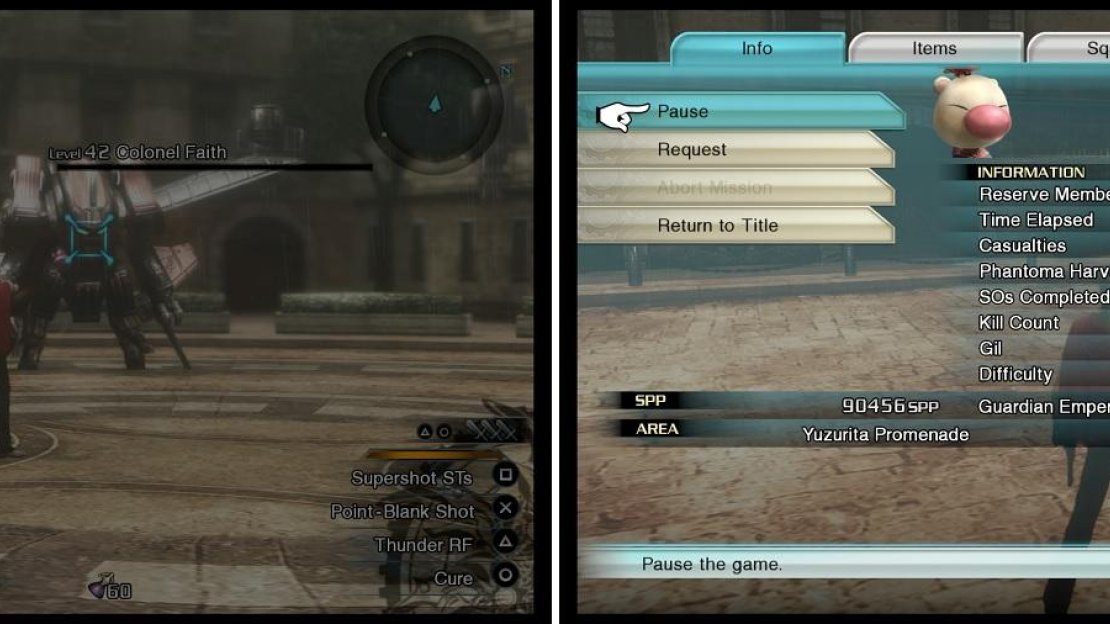
This is where the mission can be short or long, as you will encounter Colonel Faith here in his MA. He is pretty quick, although he does stop to do some of his attacks. This includes machine gun fire and missiles, with Breaksights following or appearing during the attacks.
If you manage to deplete all of his health, then you will trigger the final area, but if not, Faith will take off and you’ll have to chase after him. Choosing to let him go (or if you can’t take all his health away) will prolong the mission.
Look at your map and you will see areas highlighted with a yellow square, which is where Faith is located. Along the way, you’ll encounter Coeurls, Martinets, Nomads and that’s about it. There are a total of four SOs in the mission, which will be detailed below. One is in the final area that appears when you deplete Faith’s health, while the other three are in specific areas, two of which involve Faith himself.
Gillia Bridge
| Objective | Time Limit | Effect | Reward |
|---|---|---|---|
| Ambush Colonel Faith | 10:00 | Invincible 0:30 | Megalixir |
As soon as you first encounter Colonel Faith, bypass him and take the north exit. From here, you want to go east two more areas to arrive at Gillia Bridge, which should trigger the above SO. Defeat the enemies that are there and just wait (it can be a lot of waiting) until Faith comes into the area, which will complete the SO. For the next one, go north one area.
If you deplete Faith’s health to nothing, then you will begin the final area (left). Otherwise, he will move around, with the area being highlighted in yellow on your map (right).
City Square
| Objective | Time Limit | Effect | Reward |
|---|---|---|---|
| Fight through the enemy ambush | 5:00 | Quick 0:30 | Phoenix Pinion |
You will be fighting an enemy commander that’s piloting a Nymurod, as well as respawning Martinets and Nomads. You can simply concentrate on the enemy CO to quickly finish the SO. For the next one, go north one and then east two areas, waiting for Faith once again if he isn’t already there.
Nishikigi Bridge
| Objective | Time Limit | Effect | Reward |
|---|---|---|---|
| Score a Breaksight on Colonel Faith | 1:00 | Freecast 0:45 | U2-Shock Damper |
As mentioned above, Faith moves pretty quick in his MA, but the few moments when he stops, he will be attacking you and leaving himself open for a brief second or two. It’s at this time that a Breaksight usually appears, so stay locked on and hopefully score a quick hit at that moment to finish the SO.
Occupational Headquarters
| Objective | Time Limit | Effect | Reward |
|---|---|---|---|
| Take down 20 imperial stragglers | 3:00 | Trance 1:00 | Diamond Knuckles |
You will have to fight with Imperial soldiers for a total of five minutes. Enemies will include Warriors, Imperial Troopers and even Colossi. There will be a lot of enemies on the screen at once and the biggest threats are probably the Warriors, so it’s important to know where they are at all times.
The SO to defeat 20 enemies should come fairly quickly, unless you’re standing around and doing nothing. It will be a lot easier to concentrate on the Troopers, since they have a lot less HP than the other two types you’re facing. It might be better to use healing items instead of Cure, as items are instant and you might not have enough time to pull off a spell. The mission will be over once the timer runs out.

No Comments