

S-Rank Requirements
| Time | Objectives | Casualties |
|---|---|---|
| 25:00 | 11 | 0 |
This mission is another RTS, so you have the option to join it or skip it, with the only repercussion being that you won’t be able to get any experience or items if you decide to skip it. Luckily, you don’t have to go too far on the overworld, as Eibon is right next to Rubrum. As soon as you set foot in the region, the mission will officially start.
Capturing Toguagh
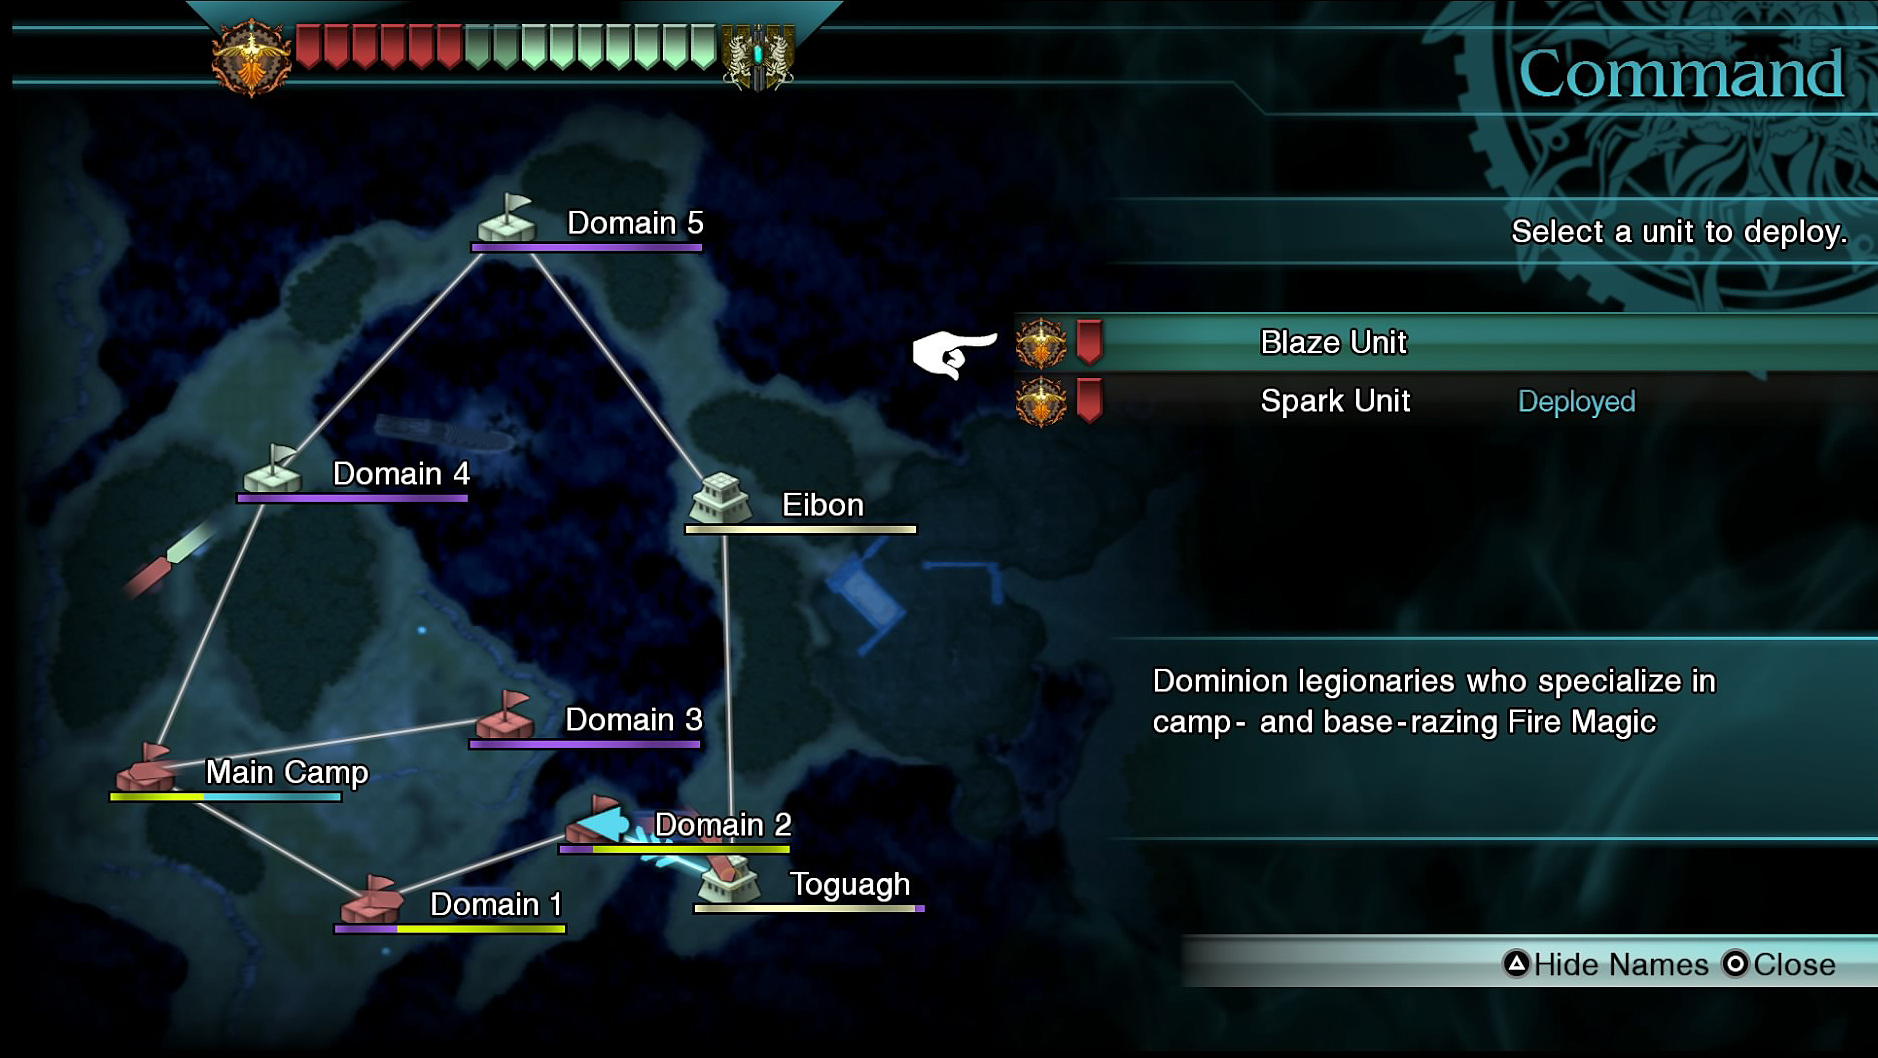
This can be a challenging mission, especially as it drags on, as you will see. Your first order is to capture both Domain 1 and Domain 2, which are to the east and on the way to Toguagh. There’s a slight catch here, as troops from both Domains will be coming towards your main camp’s soldiers, so you have to contend with two sets of enemies versus only one of yours.
Capturing Domain 1 can be a problem due to the two sets of soldiers coming towards you, so you will need to sacrifice yourself to make it so your own troops can reach and capture it.
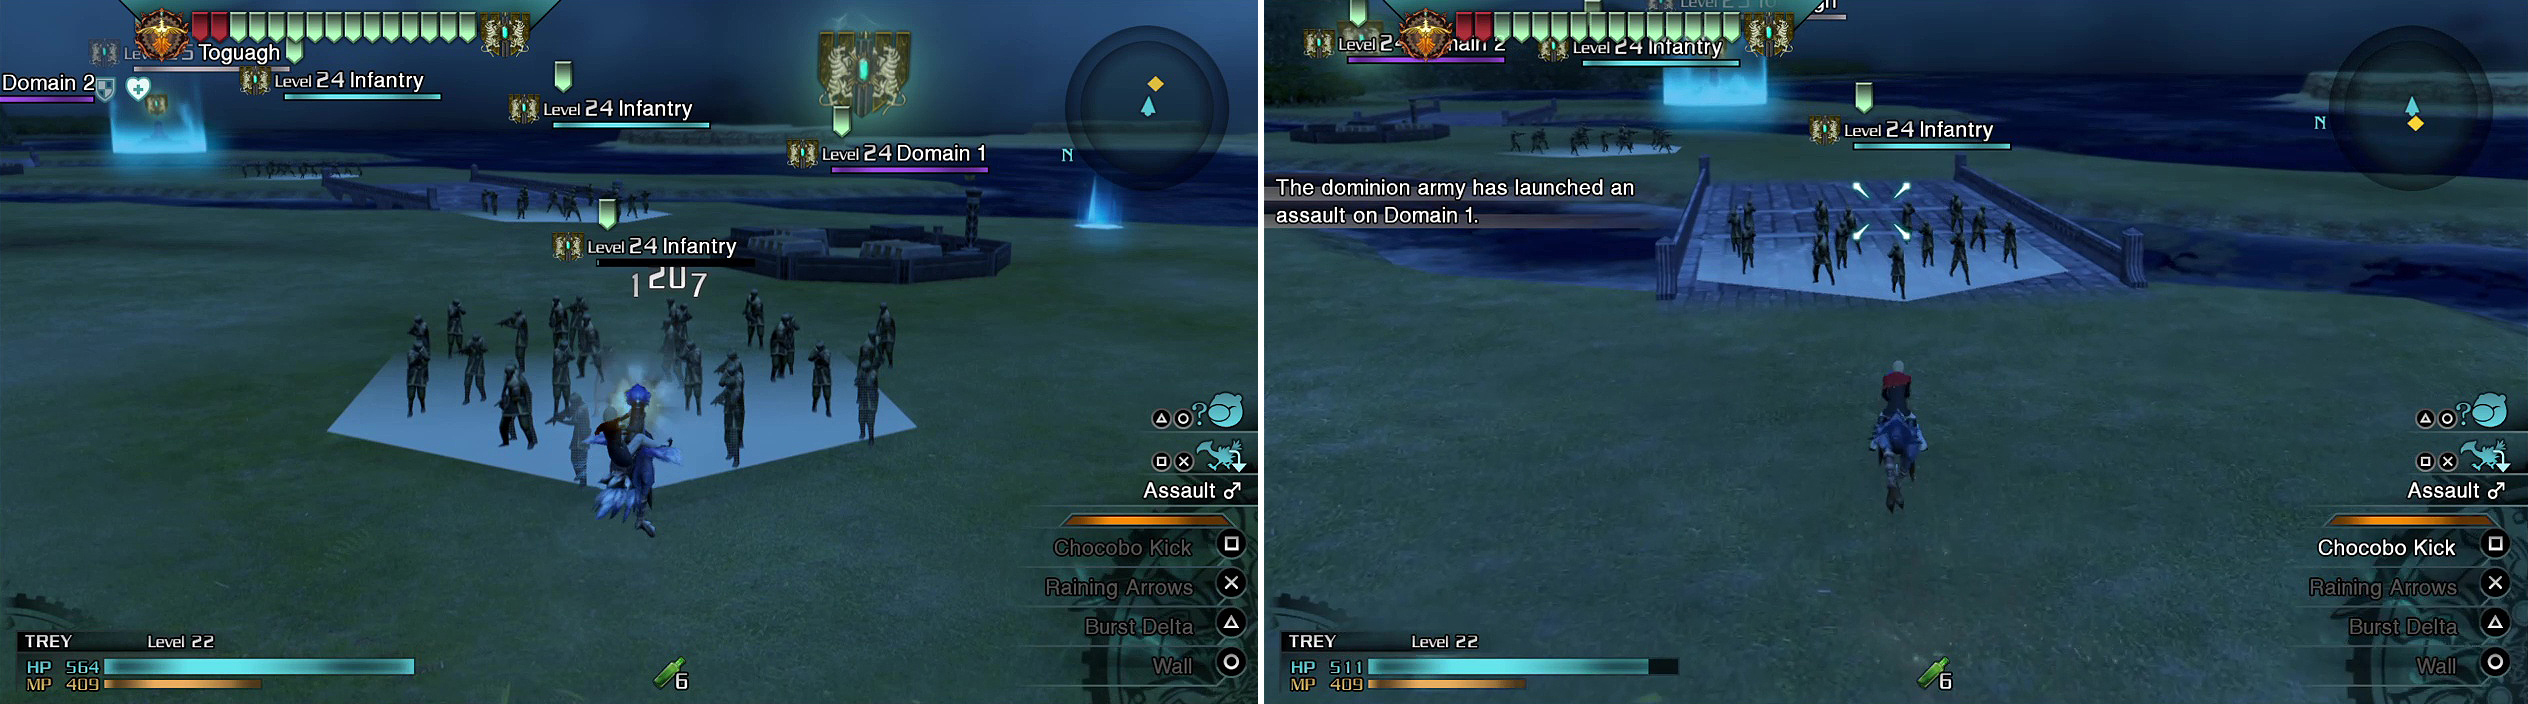
Once you manage to get your troops to Domain 1, concentrate on 2’s troops while they capture the first. From there, it will be easy to capture Domain 2, allowing you to make your way to Toguagh. However, enemies from Domain 4 will start coming towards your main camp once you do capture Domain 2, so you’ll receive a special mission to protect it for a total of 1 minute and 30 seconds.
The problem is that Domain 5 will start sending out enemies as well, which are Colossi units. Successfully completing this will do two things, the first of which will send out a special Enra unit to protect this side from Domains 4 and 5. Also, you will be able to command the main camp, so you can select it and set where the troops go, which will be straight to Toguagh after a little detour.
Send the main camp’s troops to Domain 3, which is isolated and atop the hill, allowing you to have more troops of your own. One thing you want to leave alone for now is Domain 4, as going after/capturing it will make Domain 5 start releasing the Colossi again (they should have stopped after defending your main camp).
If you haven’t been keeping an eye on Toguagh, you probably noticed that your troops haven’t taken down its energy wall yet. That’s because there is an enemy MA guarding the town, who will annihilate all troops you send to it. As you approach Colonel Faith , he will fly off and start attacking your captured cities, so chase after him and start depleting its health (you can dodge the attacks of the MA).
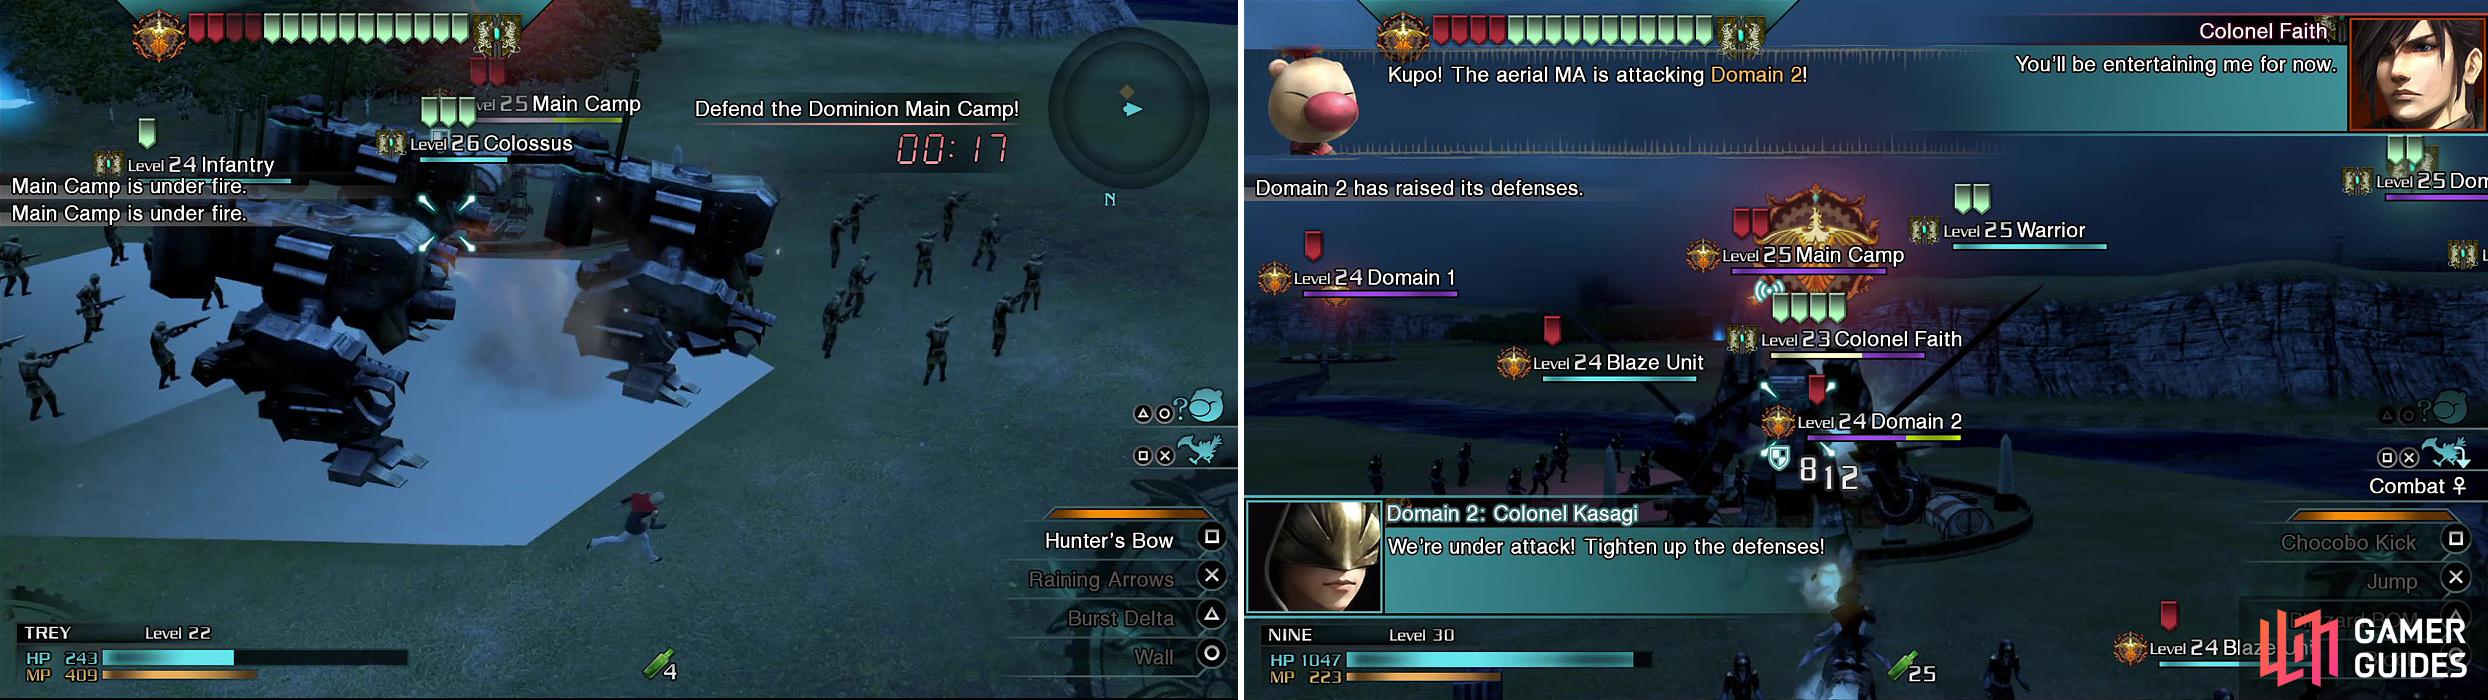
Rush back to the main camp when Moglin tells you (left). Colonel Faith doesn’t like a chocobo kicking his behind (right). He will set upon the domains you’ve captured.
Infiltrating Toguagh
Once you get his health down enough, Faith will leave the battlefield and retreat back to Toguagh, going inside. Clean up any mess it may have caused (domains captured) and go back to neutralizing the energy wall at Toguagh, invading the town once it has been downed. You will need a large supply of troops to eliminate the wall. The enemies in the first area will infinitely respawn, so head to the second, where Colonel Faith will appear.
The fight with him is similar to the one against Qatar, as he is using an MA that is quite fast. He can shoot missiles at you, as well as a machine gun and quick purple spheres of energy. The annoying part about this battle is that there are infinite-spawning regular soldiers, so you need to keep an eye out for them as you fight with Faith.
Luckily, you don’t need to fight him until all of his health is gone, as he will retreat once his health gets low enough. However, there is another emergency situation in the town, as Moglin tells you some allies have been ambushed in a back alley. Head to that location and defeat the enemies there, including some Shock Troopers and the enemy leader. Once you do, you’ll clear the town and be back on the overworld.
Capturing Eibon
You should now be able to command troops from Toguagh, but seeing as they all go through Eibon, just make them go straight there. The problem is that you won’t be able to bring the energy wall at Eibon down with just that, so direct all other troops to go after Domain 4. Once you capture that, do the same with Domain 5 and this will then create a pincer assault on Eibon.
Invading Eibon
When the energy wall is gone, Colonel Faith comes back out in his MA and will retreat again when you deal enough damage. Inside Eibon, you’ll encounter some soldiers and Colonel Faith yet again in the first area. As before, he will retreat when his health gets to a certain point, leaving you to simply clear up some regular soldiers. You will be fighting a large contingent of Warrior units as you progress through the areas, with the final section containing the enemy leader who is simple to kill.
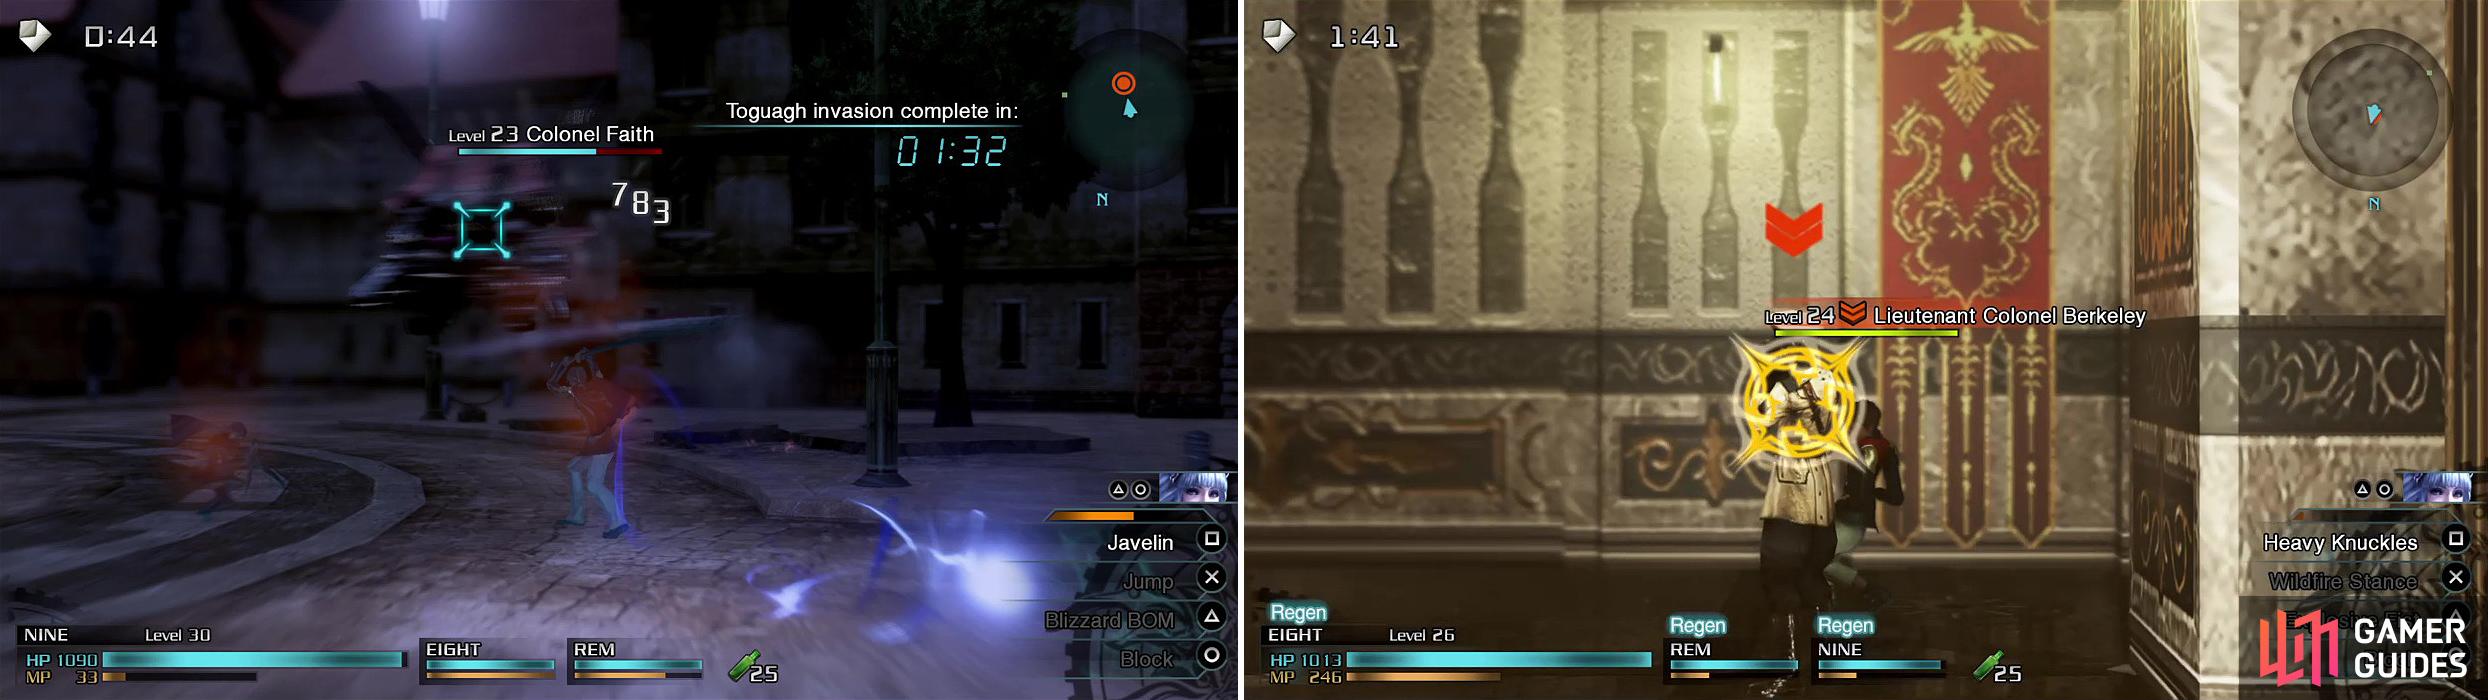
Nine can actually hit the MA with his melee attack which is handy (left). If you rush behind Berkeley, you can get a quick Breaksight on him (right).
No Comments