

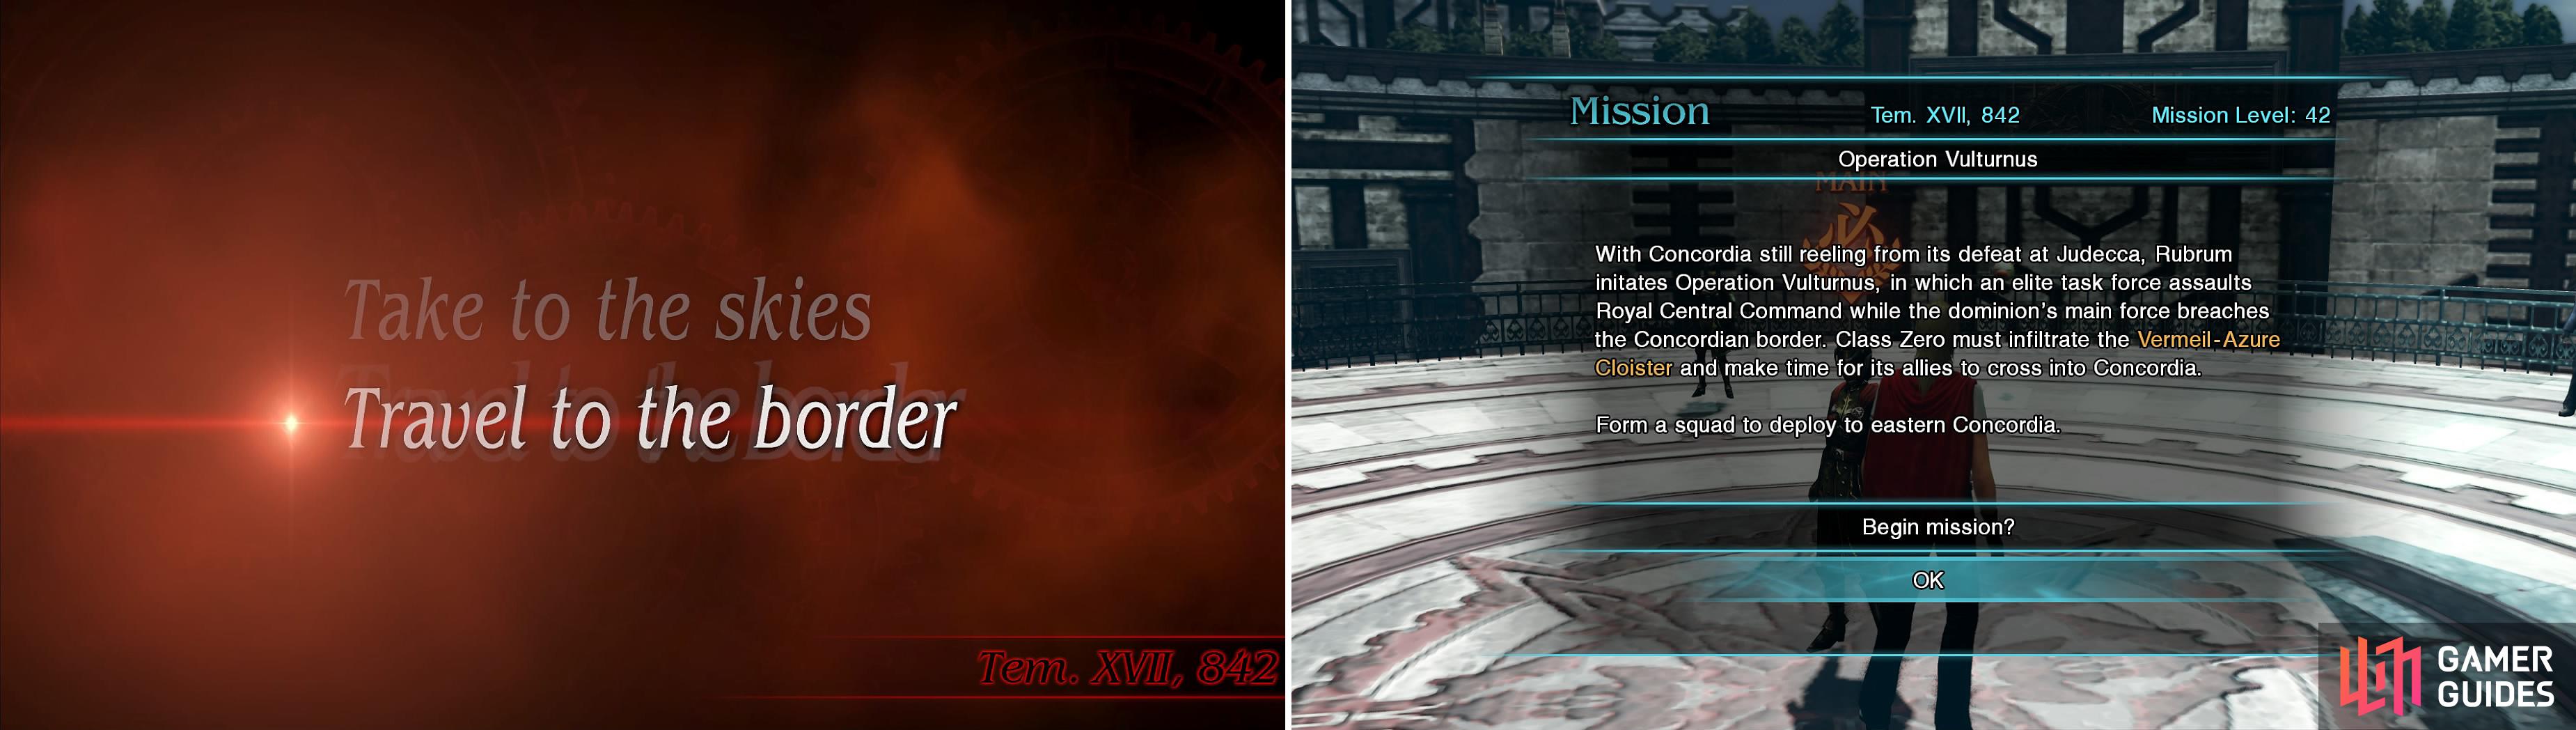
Select “Travel to the Border” to begin this mission.
S-Rank Requirements
| Time Limit | Phantoma | Casualties |
|---|---|---|
| 24:00 | 100 | 0 |
1 - Border Trail (1)
You begin the mission on a trail on what appears to be the side of a mountain cliff. The first group of enemies you will see are some Bombs. They will either shoot some fireballs at you or, when low on health, get close to you and attempt to self-destruct.
2 - Border Trail (2)
More Bombs will be here, as well as some Ankhegs. These little creatures should be familiar to you, as they are similar to the Hundlegs, except they can shoot something at you that will inflict poison.
3 - Border Trail (3)
| Objective | Time Limit | Effect | Reward |
|---|---|---|---|
| Avoid using magic with leader | 1:00 | Protect 1:00 | Arctic Armlet |
This area will contain nothing but Ankhegs. You shouldn’t really need any magic here and if you activate the SO, you have to avoid using it for a minute with your active leader to get the reward.
4 - Border Trail (4)
Yes, you will be fighting more Ankhegs here, but they will be accompanied by a Wingvern. It’s likely that the Wingvern will stay out of melee reach, so hopefully you have some magic or a ranged character to help take it down. If you wait until after it shoots elemental shots at you, a Breaksight will briefly appear.
5 - Border Trail (5)
There will be more Ankhegs and Bombs that will be present here.
6 - Border Trail (6)
This is a safe area, with a recovery point, but there’s no save here, so press forward.
7 - Vermeil-Azure Cloister 1F
It’s time for a little change of scenery and with that comes some different enemies. You will encounter some Dracoknights here, as well as a Petrifeye, which are nothing you haven’t faced countless times before.
8 - Eastern Atrium 2F
Dracoknights and Pyronades will litter the area, so defeat the first wave to bring down an energy wall, then either fight the endless wave of them afterwards or move onto the next area.
9 - Western Atrium 2F
The fight against the Dracoknights will continue here, with a lone Petrifeye also joining the battle.
10 - Eastern Cloister 3F
Some Creme Brulees will be your main foes here, which are essentially Stronger Flame Flans. Either use Blizzard magic on them or wait until they show a Killsight before striking them down. There will also be an endless wave of Dracoknights here.
11 - Vermeil-Azure Cloister 3F
| Objective | Time Limit | Effect | Reward |
|---|---|---|---|
| Deal at least 3500 damage to the Diepvern | 1:00 | Aura 0:45 | Summon: Baalberith |
As you can see from the above SO, you will fighting a Diepvern here, which can be troublesome due to the small space and its two Pyronade friends. Dealing 3500 damage in a single hit can prove to be difficult for some, but King’s Point-Blank Shot is a good candidate, as well as Trey’s fully charged regular attack. You can also use an Eidolon or other squad command.
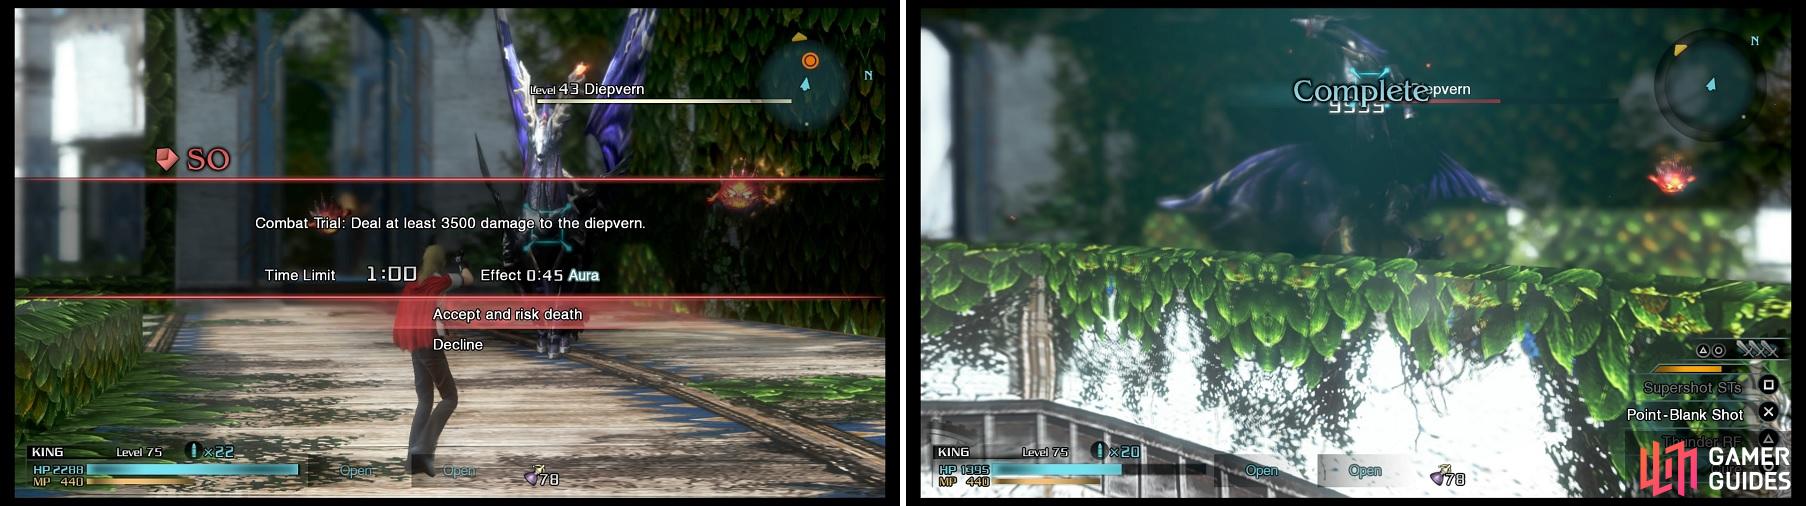
A character, such as King, with his Point-Blank Shot (right), can easily deal 3,500 damage to the Diepvern.
12 - Western Cloister 3F
Another safe area is here, with just the recovery point. There is a Dominion soldier on the ground, dead, so grab the Knowing Tag and move on.
13 - Western Atrium 4F
| Objective | Time Limit | Effect | Reward |
|---|---|---|---|
| Defeat the Wingvern to drop energy wall | 2:00 | Regen 0:30 | Wildfire Whipblade |
You will have more Creme Brûlée flans here, as well as a Wingvern on the other side of the room, beyond a broken bridge. The SO requires you to defeat this Wingvern, so having ranged magic or a ranged character will help a lot. There’s a total of four exits in this room, so take the western one first.
14 - Vermeil-Azure Cloister 4F
This is a dead end, but there’s an item on the ground at the furthest end ( Draco Medica or Aurum Medica ). You will also fight two Demonicorns and a named Dracoknight at first, then some generic Dracoknights afterwards. Return to the previous room and go north this time.
15 - Vermeil-Azure Atrium 3F
Upon entering here, you will be confronted by some Dracoknights and two Wingverns. You will likely need ranged attacks to hit the Wingverns, so hopefully you have a character or some magic to deal with them. Go around to the exit and when you get there, some more Dracoknights appear, including a named one behind you, in an alcove.
16 - Eastern Atrium 4F
If you come here from the southeastern exit in Western Atrium 4F, then you’ll be able to grab an item. However, to continue with the mission, you need to come from the previous room, where you’ll encounter some Dracoknights and a Wingvern (you can probably defeat some of them with a ranged attacker).
17 - Vermeil-Azure Cloister 5F
Some Demonicorns and Dracoknights will be your opponents when you enter this area and when you clear those, more of them will show up.
18 - Western Atrium 6F
Dracoknights, Pyronades and Creme Brûlées will populate this area, so defeat as many as you want (there is a finite amount of them) and take the northeast exit, as it’s the only one you can reach.
19 - Eastern Atrium 6F
Defeat the first set of Pyronades and the Wingvern to dispel the energy wall, then you’ll fight more Pyronades and some Dracoknights, including one that is named. Take the other exit in the area back to Western Atrium 6F, allowing you to reach the exit that lets you continue with the mission.
20 - Western Cloister 7F
You’re nearing the end of the mission, but before you get there, you’ll face off against a few Snowsquatches and Dracoknights in this area. There will be two of the former at first, so concentrate on one of them until it goes down, then get the other. Across the little bridge will be one more Snowsquatch and a few more Dracoknights. Take the north exit this time.
21 - Vermeil-Azure Atrium 6F
| Objective | Time Limit | Effect | Reward |
|---|---|---|---|
| Obtain classified info on royal army | 2:00 | Haste 0:30 | Megalixir |
There will be another Snowsquatch here, as well as some Petrifeyes. For the SO, you are looking for an item on the ground on the upper level, which can be hard to see with the bright light. It is right next to the wooden crates.
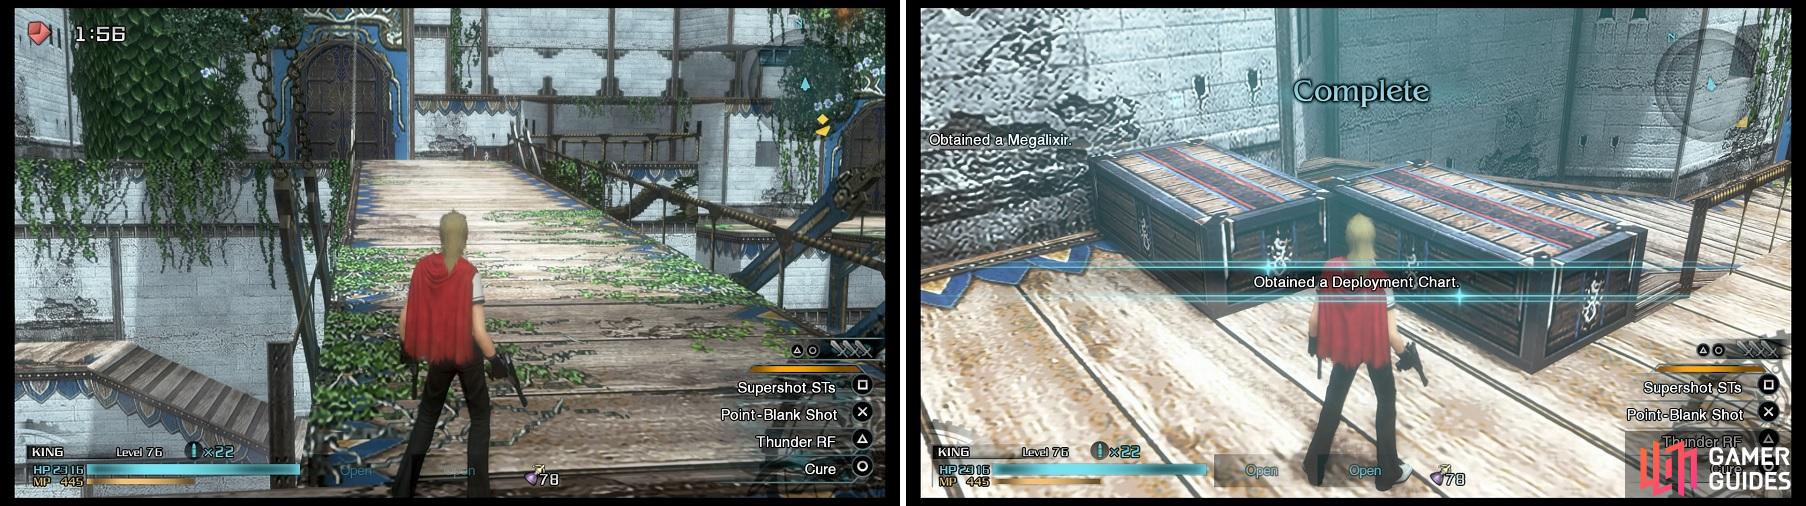
Go up this ramp (left) and you’ll find the classified info on the ground at this spot (right).
22 - Eastern Cloister 7F
There will be a lone Behemash waiting for you upon entering here, and you should have more than enough experience with the enemy type to be able to handle yourself. As soon as you defeat it, another will show up from where you entered, so defeat that one as well and move to the next area.
23 - Eastern Atrium 8F
This is a safe area, with a recovery portal and some Dominion cadets. As soon as you enter, you can find a Knowing Tag on one of the dead bodies here and there’s nothing else you can find or do, so continue.
24 - Vermeil-Azure Bridge
The camera for this area is panned out a bit and there’s no enemies here either, so cross the bridge and into the final area.
25 - Skyview Courtyard
| Objective | Time Limit | Effect | Reward |
|---|---|---|---|
| Eliminate all the pyronades | 1:00 | Regen 0:30 | Elixir |
A short cutscene will occur upon entering here and then the final battle will commence, with you facing off against a Flyvern, with a Dragonier as its rider. It is possible to defeat the pair before the SO even appears, as you have to wait a while for the Pyronades to show up.
If you have someone with quick attacks, wait for the Flyvern to swoop down when it’s flying to hit a Breaksight, allowing you to easily attack Konoha . Alternatively, you can wait until it starts sucking in air for a massive breath attack on the ground, with a Breaksight appearing on Konoha for a brief moment afterwards. Once you defeat either the Flyvern or Konoha, the mission will be over.
No Comments