

S-Rank Requirements
| Time Limit | Phantoma | Casualties |
|---|---|---|
| 30:00 | 110 | 0 |
1 - Downtown Roshana (1)
| Objective | Time Limit | Effect | Reward |
|---|---|---|---|
| Defeat Wingvern to dispel energy walls | 1:00 | Trance 0:45 | Wildfire Mace |
Although it appears this is a safe area and there’s nothing here, as you make your way to the exit, some Wingvern will show up, along with some energy walls that will be erected. The SO will have you defeating the Wingvern to dispel the energy walls, which you need to do anyway. There also seems to be a random Dracoknight that shows up.
2 - Downtown Roshana (2)
There’s nothing but Dracoknights here. Go north to find an optional area with another SO.
3 - Downtown Roshana (3)
| Objective | Time Limit | Effect | Reward |
|---|---|---|---|
| Deal 5000+ damage with your first attack | 1:00 | Aura 0:30 | Ribbon |
You have two Behemash enemies in a relatively tiny space (only because they’re so big), so you need to be a little careful, especially if they decide to spam the 360 degree attack. For the SO, you need to deal more than 5000 damage for your leader’s first attack, and the best candidates for this are probably Trey or King. Charge Trey’s arrow to the max and hope it does more than enough damage to break the barrier; King’s Point-Blank Shot is the one move you want to use, although it might not be necessary to charge it. You can also use an Eidolon if you feel underpowered.
Return to the previous room and go south this time.
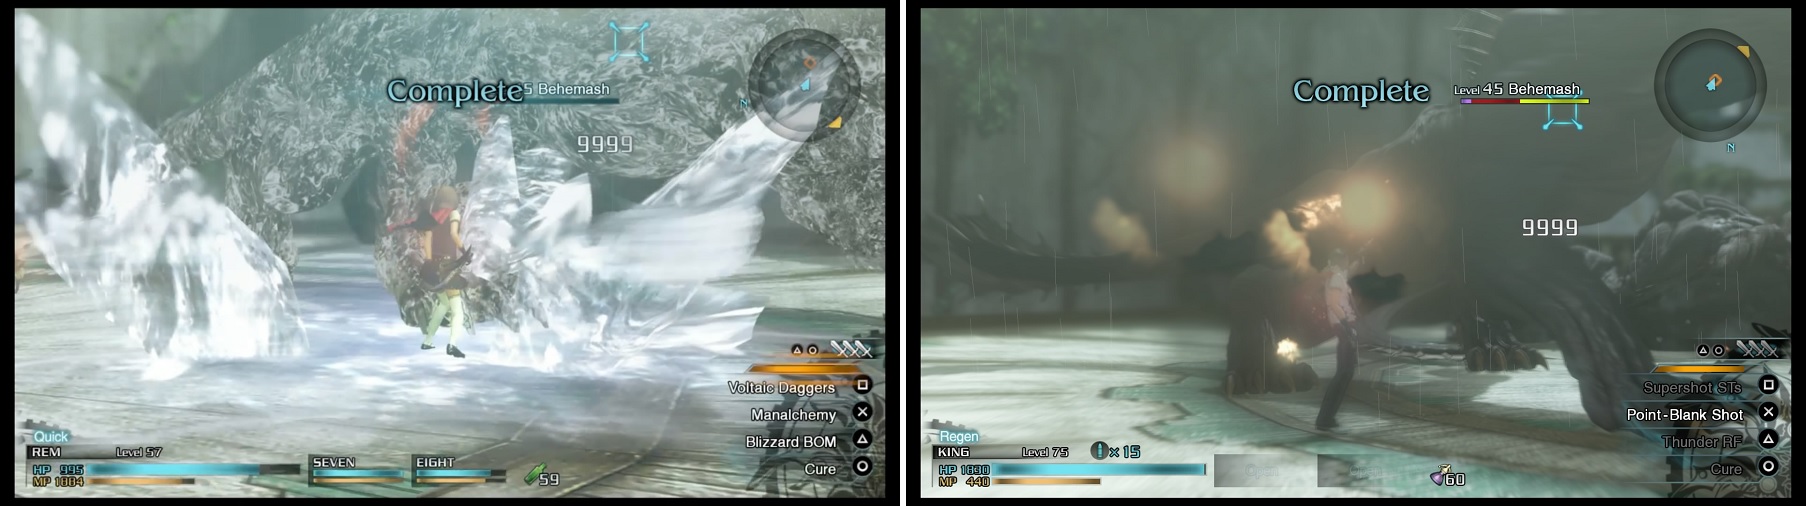
Characters with powerful magic (left) or someone like King with Point-Blank Shot (right) can do more than enough damage to complete the SO.
4 - Downtown Roshana (4)
You will encounter four Wingverns in this area and there will be two exits, one to the southeast and another to the southwest. Take the latter exit first.
5 - Downtown Roshana (5)
There will be two Demonicorns here, as well as two more Wingverns. When you’ve finished them off, go to the next area.
6 - Downtown Roshana (6)
| Objective | Time Limit | Effect | Reward |
|---|---|---|---|
| Defeat 50 enemies | 3:00 | Regen 1:00 | Blessed Armlet |
Upon entering this area, you will see a bunch of Dominion soldiers retreating and then, the game will switch you over to fighting. Enemies will keep coming for a total of three minutes and you will mainly be facing Dracoknights throughout the beginning, but Petrifeyes and Demonicorns will show up later. You should have more than enough time to kill 50 enemies for the SO, as long as you don’t forget to harvest the Phantoma from the dead enemies.
7 - Downtown Roshana (7)
More Dracoknights will be here, as well as some Blancmanges, which are nothing but Ice Flans. There’s also a named Dracoknight (Tokikage), but treat him like a normal one.
8 - Downtown Roshana (8)
The first thing you’ll see here is a Snowsquatch in your face, as well as a Dracoknight, so either try to quickly kill both or maneuver to a bigger spot to dodge the former’s attacks. There’s also another named Dracoknight (Kabuto) here, as well as two more Snowsquatches and Dracoknights.
9 - Central Plaza
| Objective | Time Limit | Effect | Reward |
|---|---|---|---|
| Deal at least 30,000 damage | 3:00 | Haste 1:00 | Celestia Armlet |
You will have a Diepvern to deal with in this area, as well as some Pyronades. Dealing with the former should at least be familiar to you, but remember that its attacks change as its health gets lower (it will also change the weather in accordance). For the SO, this includes damage done to the Pyronades and done by your other party members, so try to use all of your big attacks no matter how much health they have left. Or go on a rampage with an Eidolon as an alternative strategy.
10 - Downtown Roshana (9)
Yet another area with Dracoknights (another named one; Hikari this time) and Wingverns. Take the exit leading southwest (non-objective one).
11 - Downtown Roshana (10)
Go into the open area and inspect the body, only to find out you’re too late. As soon as you do, some Dracoknights and Wingverns show up, so defeat them all and move onto the next area (there’s a Knowing Tag by the body).
12 - Downtown Roshana (11)
| Objective | Time Limit | Effect | Reward |
|---|---|---|---|
| Stall enemy for three minutes | 3:00 | Regen 1:00 | Thundersnow Ring |
This area is similar to the one earlier in the mission, where you have to fend off enemies that keep on coming. It is five minutes this time and the enemies only include Dracoknights at first, with Wingverns joining the battle later on. The SO this time simply says to stall the enemy for three minutes, but this basically means do not let any enemies pass you. Towards the end, you will have three Wingverns and one Dracoknight to deal with, with your team being transported to a new area once you’re finished.
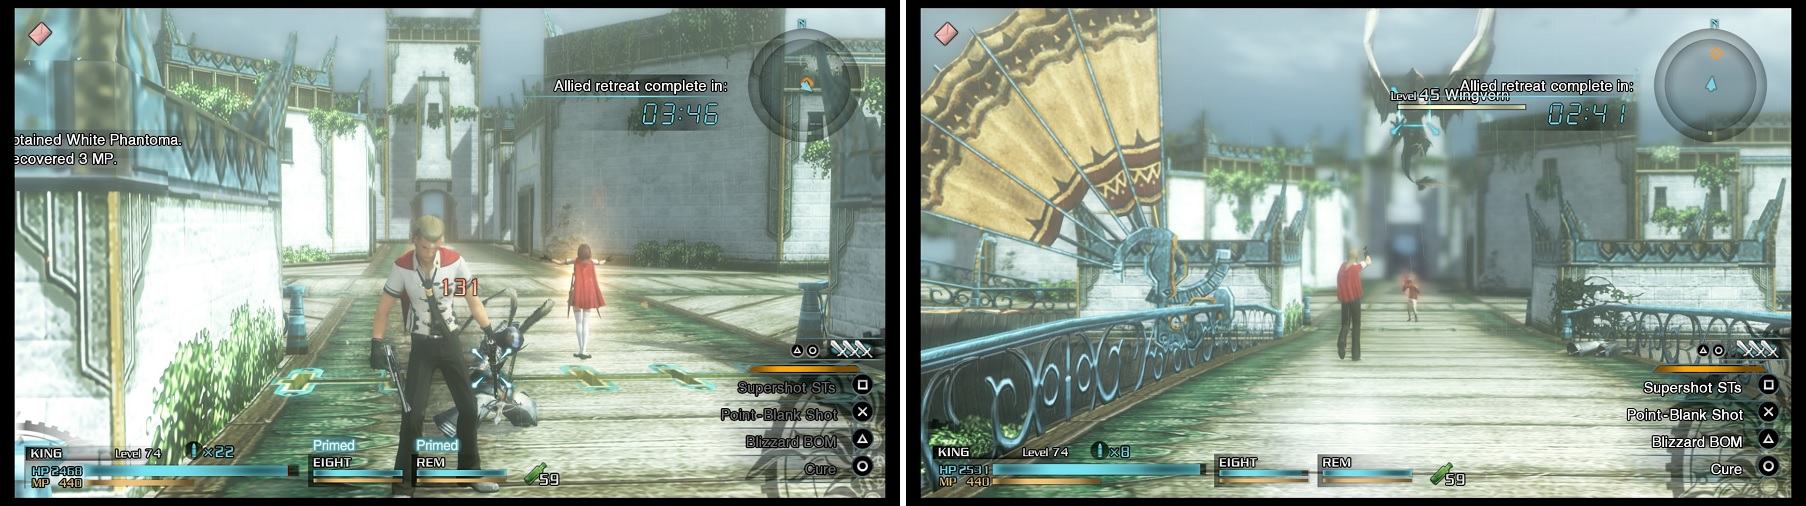
Only Dracoknights will appear at first (left), but Wingverns will join in on the action as the timer counts down (right).
13 - Road to Outskirts (Safe)
Feel free to talk to anyone you want, as well as loot a Knowing Tag from one of the bodies and use the Recovery Portal to heal. Unfortunately, there’s no save point here, so you’ll have to deal with what you have. When you’re ready, go to the next area.
14 - Cursemire of Naraku
| Objective | Time Limit | Effect | Reward |
|---|---|---|---|
| Take down three dragoniers | 5:00 | Protect 0:45 | Regal Armor |
This is quite an annoying section for this mission, as not only do you have to fight off endless amounts of Flyverns, there will also be two Dracobaltians to pester you throughout. The Flyverns have a lot of health, even for high level characters, but you can score a Breaksight on them if you happen to hit them during their swooping attack.
Of course, the easiest way to deal with them is to wait until they land and do their big breath attack, after which, there will be a Breaksight on the rider. Plus, it’s easier to hit them on the ground than in the air, since they’re moving around a lot more when flying. While the SO says to take out three Dragoniers, it doesn’t matter whether you defeat the Flyvern or not, as both count towards it. The mission is over whenever the initial timer expires.
No Comments