

S-Rank Requirements
| Time | Phantoma | Casualties |
|---|---|---|
| 25:00 | 90 | 0 |
Notable Special Orders
| Objective | Time Limit | Effect | Reward |
|---|---|---|---|
| Defeat the imperial leader at the gate using your active leader. (1) | 03:00 | Aura 01:30 | Elixir |
| Defeat the imperial leader at the ramparts using your active leader. (Need a ranged character) (2) | 03:00 | Invincible 0:30 | Ignis Tertius, Vol I |
| Endurance Test: Allow no casualties. (3) | 01:00 | Protect 0:15 | Magic: Fire ROK-II |
| Defeat three Imperial Troopers using your active leader. (Don’t kill the CO till this is completed) (4) | 01:00 | Invincible 0:30 | Feathered Cap |
| Cover Practice: Protect the dominion legionary. (6) | 01:00 | Protect 0:30 | Lustrous Deck (Ace’s Weapon) |
| Take down the Golem using your active leader. (9) | 01:00 | Invincible 01:00 | Mythril Gloves |
| Objective | Time Limit | Effect | Reward |
|---|---|---|---|
| Score Killsight strikes on two Warriors using your active leader. (7) | 01:00 | Protect 0:30 | Megalixir |
| Harvest five Phantoma from Imperial Troopers using your active leader. (Return to Area 1) | 02:00 | Freecast 0:15 | Ballistic Armor |
| Score Killsight strikes on seven retreating troopers using your active leader. (Return to Area 4) | 02:00 | Freecast 0:15 | Megalixir |
| Take down three Warriors using your active leader. (13) | 01:30 | Invincible 0:45 | Firewyrm Armlet |
| Acquisition Challenge: Search surrendered troopers for an item that can be used in battle. (15) | 02:00 | Invincible 0:45 | UI-Shock Damper |
| Take down three enemies using your active leader. (18) | 01:00 | Invincible 0:30 | Metal Gloves |
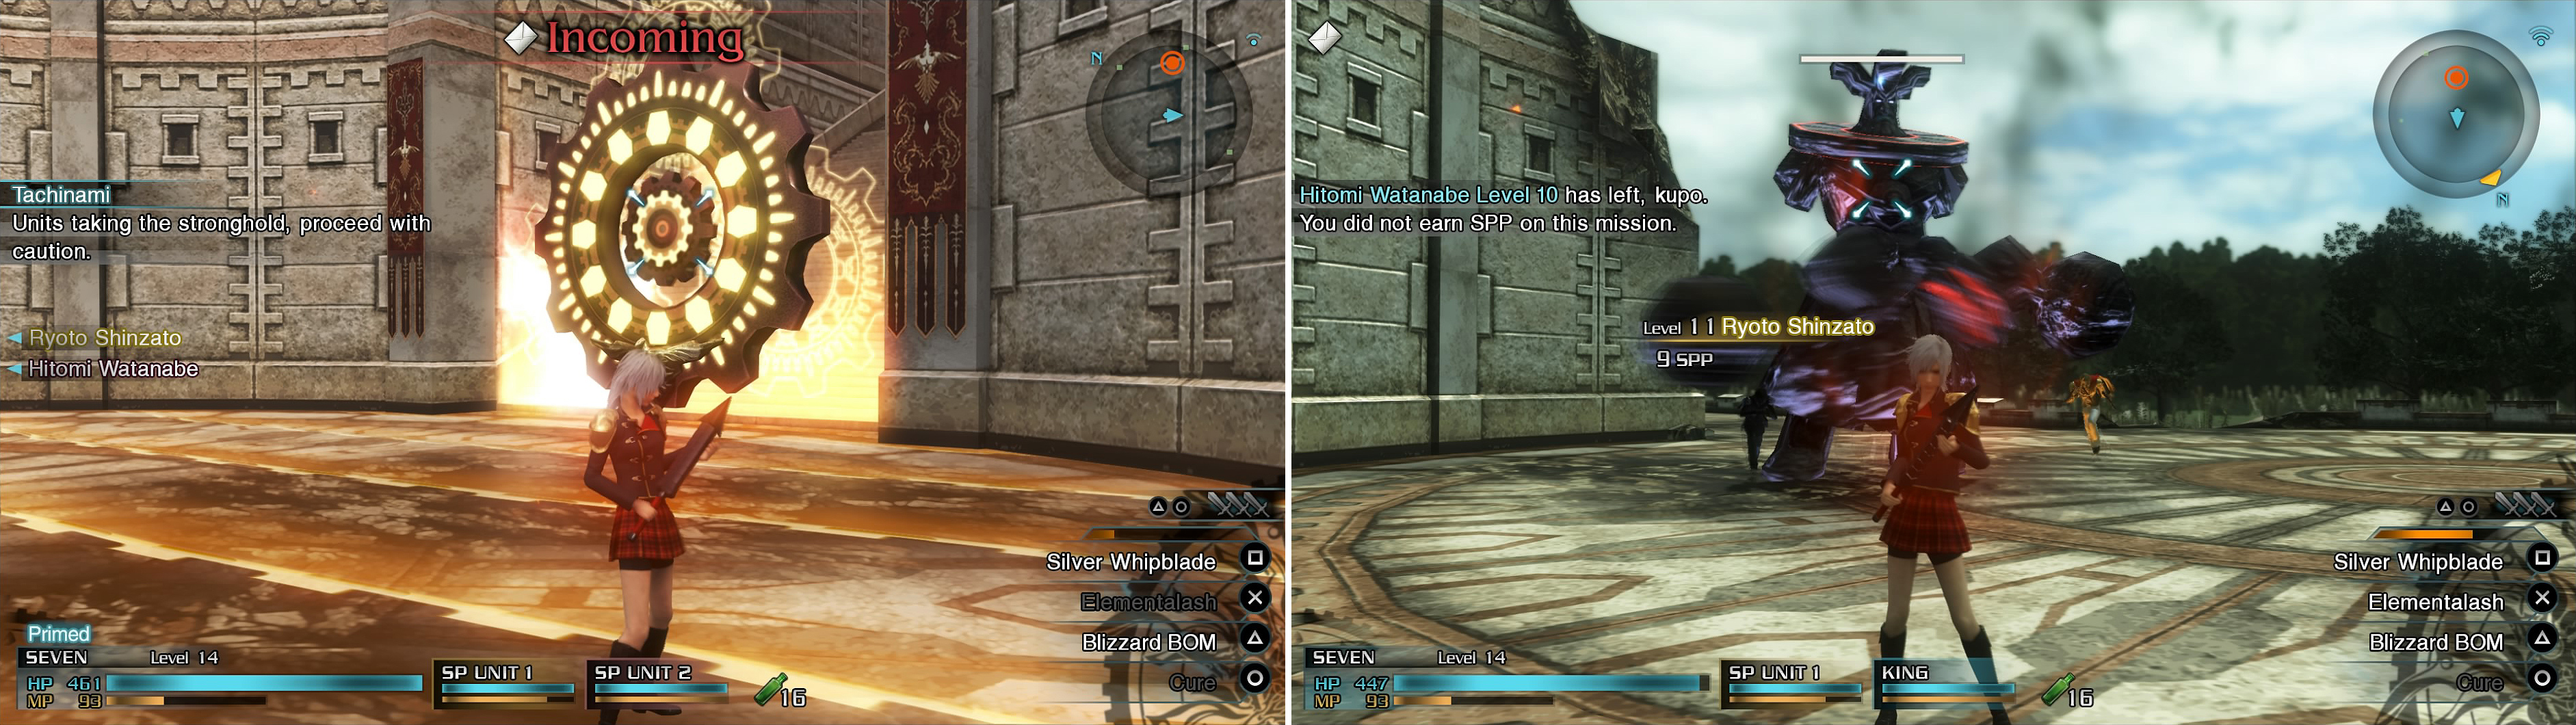
1 - Main Gate
You begin the mission on a path, with some Coeurls headed straight for you and some Troopers behind them. The Coeurls are fairly quick and like to move around a lot, but they shouldn’t be too much trouble once they settle down for a few seconds. Before you reach the end you can find a Potion 50%/Hi-Potion 50% and a Fortified Ration 50%/Combat Ration 50% on either side of the path. At the front gate, you’ll encounter more Coeurls, an enemy CO, as well as two more gunners in the windows on either side. Taking out the CO quickly will avail you of this problem though as well as complete the SO in this area.
2 - Central Stairwell
Inside, there will be more troops and two Nymurods, but the problem here is that there’s three Troopers on top of the wall on each side. Luckily, you don’t have to kill them, so once you take out the Nymurods, continue along to the area marked with the arrow on your map.
If you wish to complete the SO here, you can find the CO walking along the wall on the left side of the gate. You will be invincible for 30 seconds so use that to your advantage by running over to him, and using your strongest ranged attacks to kill him quickly.
3 - West Stairwell
As you approach the open area, you will see the ground change colors and will happen upon a gate. Start attacking it and a Level ??? Golem will come out. Under no circumstance should you try to mess with the Golem on your first playthrough, as it is immensly strong and has a lot of HP. You have two options here: run past or try and destroy the Channelgate which will allow you to skip ahead a few places.
The SO here (once the Golem is on the field) has you survive with no casualties for a minute. You can stick around in the Northern passage just before the exit and the Golem won’t reach you before completion. Note that if the SO you’re looking for doesn’t show up, cancel the ones that do until you get the correct one (it has a red envelope).
If you decide to stick around, concentrate on the Channelgate while keeping a close eye on the Golem. It has high defense, so most of your attacks will do little damage, but it’s slow and you can easily avoid its attacks.
If you don’t feel like doing that, however, and because there’s some goodies to be had, then skip the Golem and take the path that leads to the North Gate, as indicated by the arrow on your mini-map. If you do happen to destroy the Channelgate, then the stairs behind it will bring you properly to the West Stairwell section.
4 - North Gate
Take the path that’s not behind the Channelgate and be careful about the crates, as an enemy CO will charge through them in a Warrior. Clear the enemies here and then go south to the next area.
5 - Second Laboratory (Safe Zone)
This area has no enemies, but it does have some bodies with Knowing Tags and you can also find an Ether 50%/Hi-Potion 50% straight ahead as you enter the room. Save, use the Recovery Portal then exit the room in the southeast.
6 - Matériel Storage
In the next room will be some more troopers, one of which is an enemy CO, as well as a few Coeurls (there’s another Knowing Tag in this room too). If you wish to complete the SO easily, kill the CO before all else.
7 - Inner Corridor
The room after that one sees you in a narrow corridor, with two troopers on the walkways above you, and two in the center of the room. Warriors will show up after the initial set of soldiers. The SO here requires you to kill the two troopers in the middle first, then score Killsights on the Warriors. Use a ranged character to avoid being cornered, wait for them to shoulder charge, then attack.
8 - Sample Depository
When you get to the room with the cage, speak with Koharu to get your Summoning Permit , allowing you to summon Ifrit.
Before you have a chance to check it out, two Demonicorns will break out and attack the team. In order to summon an Eidolon (after choosing the Eidolon option when starting a mission), your party leader must be sacrificed (by completely removing them from battle). The Eidolon will last a few minutes or until death before it disappears.
Hold on using it for now (and avoid using Eidolons all together if you wish to achieve an S-Rank in any mission because sacrificing your leader counts as a casualty) because there is a better use for it in the next room. After defeating the Demonicorns, some Imperial Troopers show up then, once they’re dead, you can continue into the next area, where a familiar face is waiting.
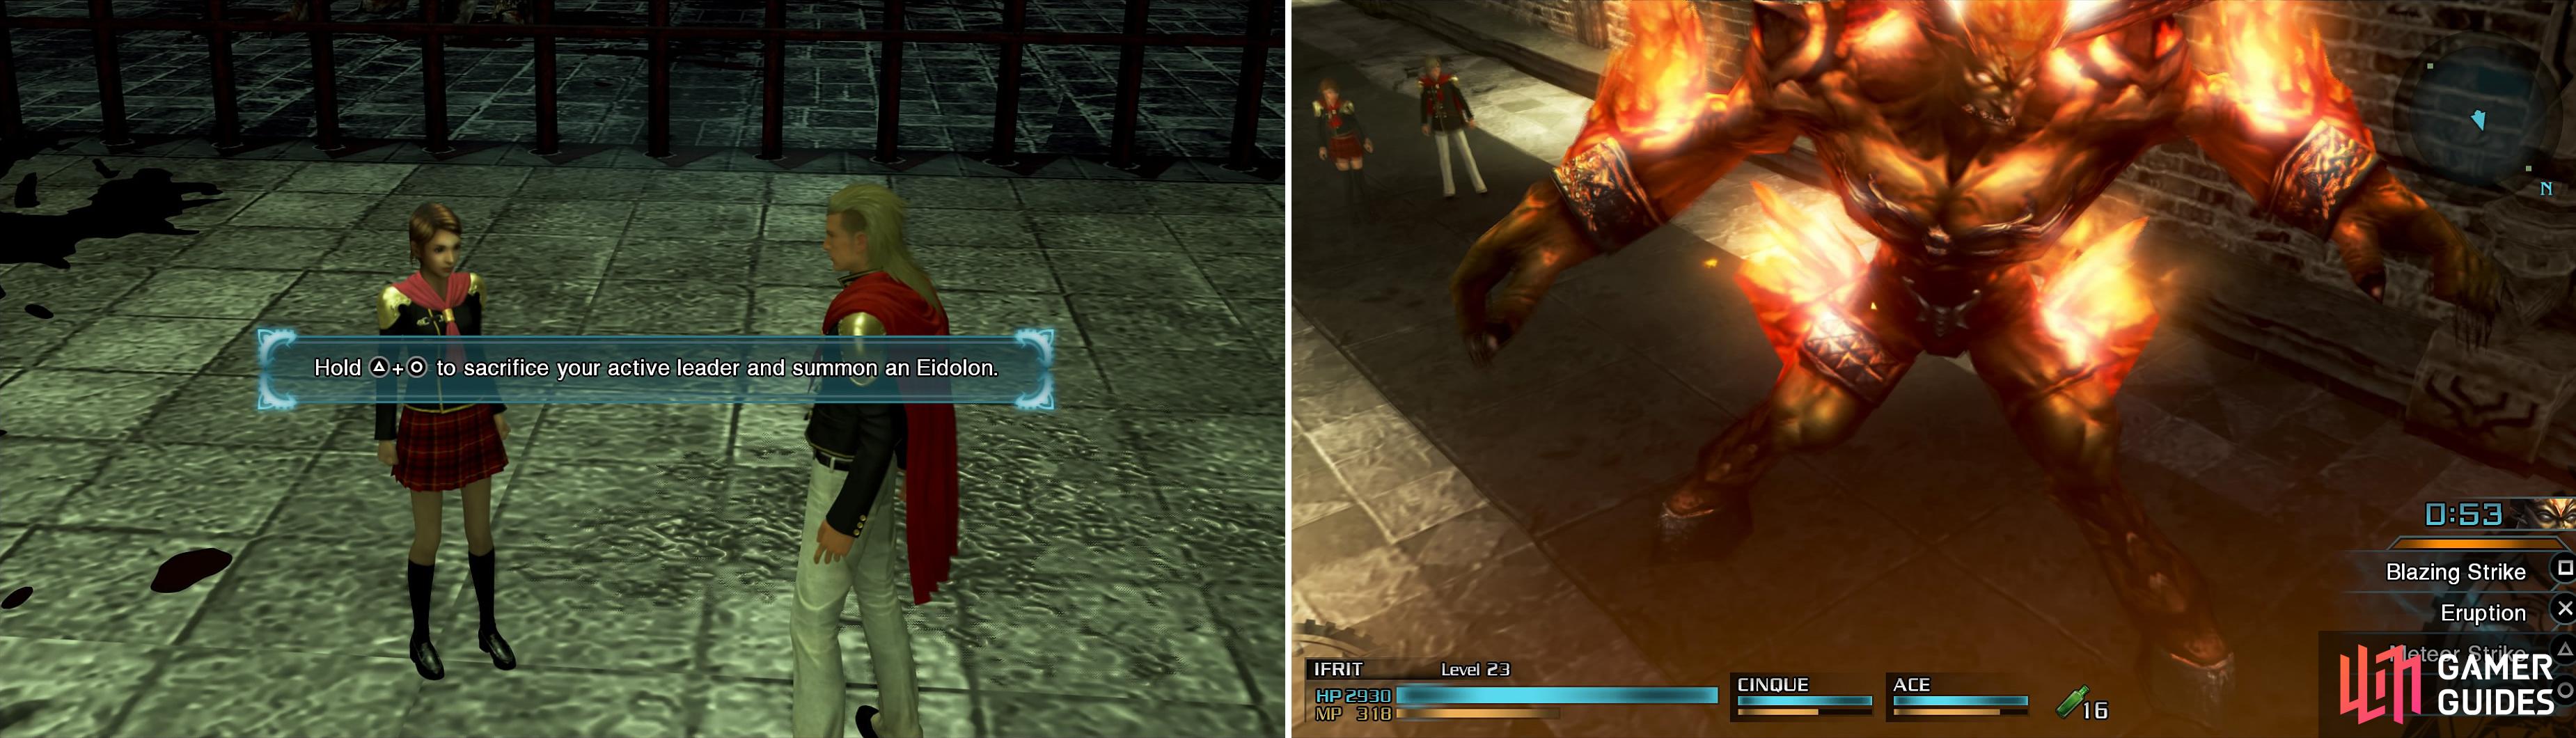
Hold the buttons in the lower right corner (above your commands) to summon Ifrit. Your current acrive leader will be knocked out and cannot be used again until revived.
9 - Dynamo Access
The Golem from before is here, with a Channelgate blocking the exit you need. Despite what the game tells you, summoning an Eidolon here is not necessary, as you can break through the Channelgate with normal attacks. You just need to make sure you dodge the Golem’s attacks, as they can down you in one fell swoop, obliterating your team before you know it. You won’t be able to complete the SO here on the first playthrough so ignore it unless you’re on a second/third playthrough.
10 - Central Dynamo (Safe Zone)
In the Central Dynamo room, just walk up to the spinning gears and interact with them to shut down the place’s defenses, which means the Golems will disappear. Phew! Use the Relic Terminal and Recovery Portal which appear after you have interacted with the gears, then head back the way you came.
11 - Dynamo Access 2
When you return to the room, you will be ambushed by several Couerls and Troopers, as well as a Warrior CO in the southeast corner. As usual, taking out the CO should be priority, as the door won’t open until he’s down.
Before heading to the next area, take some time to visit the First Laboratory to collect a couple of Knowing Tags and use the Recovery Portal. Return to the room before and head south to the Stronghold Core.
12 - Stronghold Core
You will find yourself surrounded by Troopers here, which are all easily dealt with. You can rush past them and take the southern exit if you wish but you will miss out on the Hi-Potion 50%/Strength Serum 50% on the right side and the Combat Ration 50%/Strength Serum 50% on the left side.
13 - West Stairwell Area
You will be facing off against more Imperial Troopers here, with some Warriors showing up after a while. In fact, there’s quite a few Warriors here, totaling around seven or so, with the final set having an enemy CO for good measure. Once you’re finished, move onto the next area, where you’ll find more soldiers (including one in the spot you can’t reach with melee attacks), Coeurls and even a Carrier sitting in the middle of the area.
You will need a powerful ranged attack if you want to bring down the Carrier. Another enemy CO will show up afterwards, so bring him down and continue east to the next area. There is another SO opportunity if you take the northern route, where you must get Killstrikes on retreating troops. They don’t need to be running away for it to count so just kill any troopers you see with a Killstrike to land the Megalixir.
As with the enemies so far, you have more Troopers and Supersoldiers, with an enemy leader (Warrior) showing up towards the end which you must defeat before you can exit to the next area.
14 - South Concourse
Couerls will rush you the moment you enter the area and you have an added bonus of a Carrier floating around on the east side. Another CO (as Supersoldier this time) will enter the fray once you’ve taken out a few Troopers, whom you must take out before you can move on.
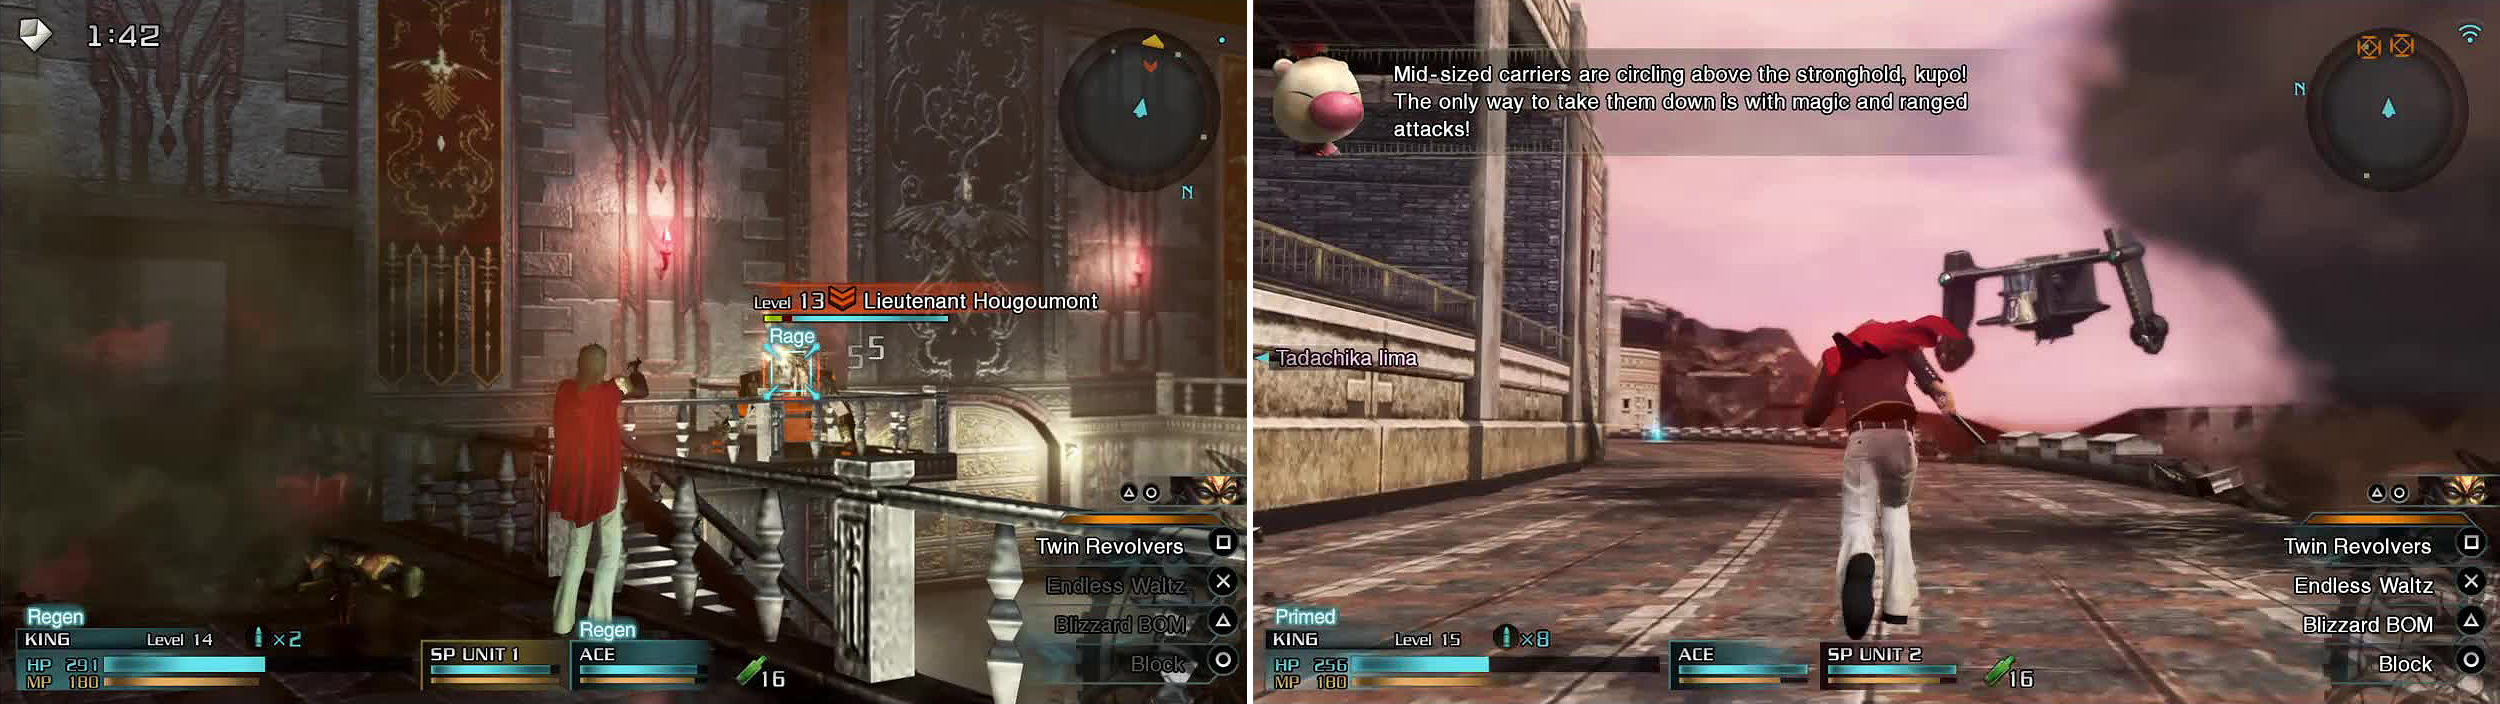
Enemies in Rage (left) are much more powerful than normal. Keep your distance if you can. Carriers (right) are roaming the fortress but you can ignore most of them.
15 - East Stairwell
There is an SO to complete here which you can easily complete if you take out the CO on the other side of the room. Return to all the soldiers who have surrendered to find an item which can be used in battle, providing there were enough soldiers left alive. Move on to the next area once you’re done.
16 - North Stairwell
In the North Stairwell, there will be a few Nymurods, as well as more soldiers at the top of the area. Commander Schmitz will also annoyingly buff troops as long as the Nymurod is in tact but he will flee once it’s been blown to pieces.
17 - Upper Corridor (Safe Zone)
Finally, a breather. Use the time to prepare for the Commander of the base and a rather nasty final boss. King makes an excellent ranged character here as he can hit hard enough, and has high HP to absorb some of the damage from powerful enemies. Equipping lightning magic may also come in handy.
18 - Imperial Command
Fight your way through the soldiers, until you get to the top and face off against Commander Schmitz. Don’t take him lightly, as he is usually in Rage and he can single-handedly kill characters with a few shots from his gun, especially when he starts firing continuously.
Use the wall of the corridor before the main room for cover and pick off the other troops in the room before focusing on the Commander. You can then used your ranged character to take pot shots at him, then duck into cover when he rounds on you. Melee characters should be wary of comboing him too much and should stick to hitting him a couple of times then dodging. If you can score a strike on him, he will fall fairly fast.
BOSS - General Qator
After defeating him, wait until a few cutscenes start, then you’ll be thrown into a boss battle with Qator. This boss moves incredibly fast, so make sure you have a lock on him at all times so you know his location. As for attacks, he shoots purple energy spheres at everyone, which home in slightly, so dodge at the last minute.
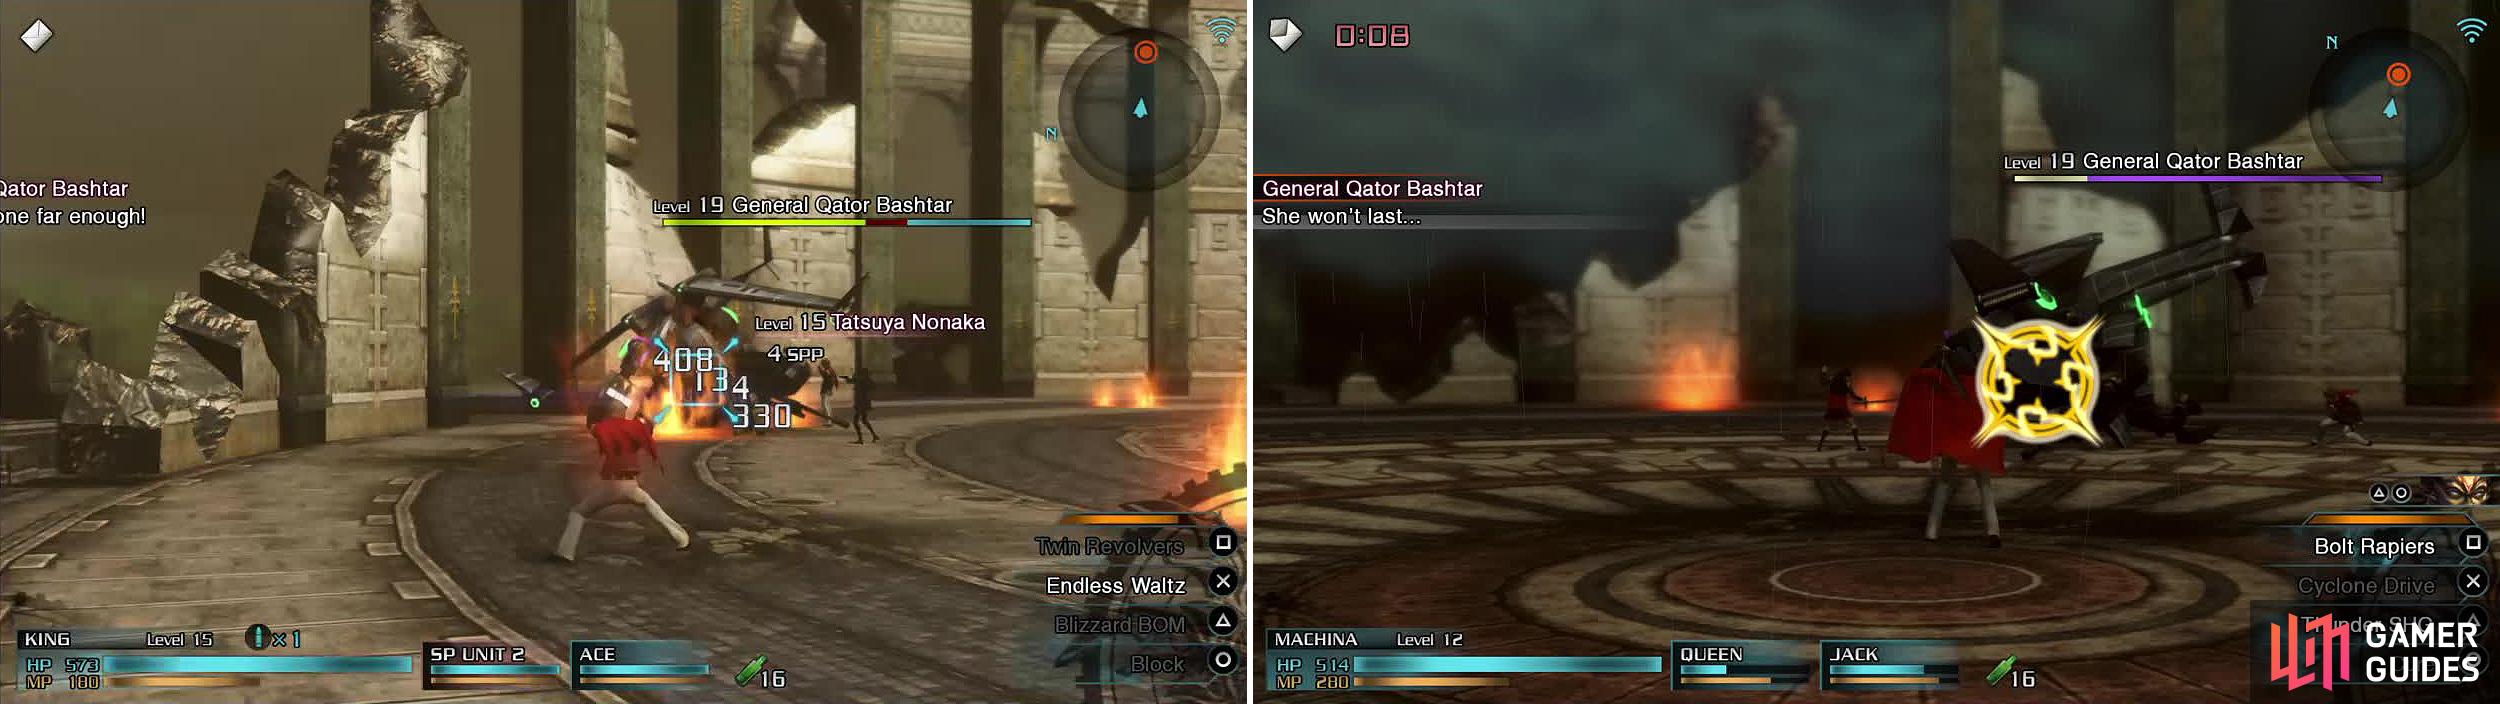
Hit Breaksights (left) to damage Bashtar when he’s on the ground. Once it’s raining, you can make use of his weakness to Thunder magic. Machina is an excellent choice here (right).
Qator will also do a few melee attacks, such as a divekick-type maneuver and another where he quickly dashes across the screen. As with most of the mechs you’ve been fighting up to this point, he also has access to a machine gun and some rockets, which aren’t hard too difficult to dodge. Thus, concentrate solely on the melee moves, as well as the purple spheres.
The hardest thing with this fight is actually hitting Qator, as he is constantly moving. If you stay locked on, you will see Breaksight opportunities after some of his attacks, but the biggest chance to do some damage comes when he breaks down and is on the ground for a short while. Spend your time dodging his attacks and running round the battlefield while waiting for him to land. You can use the Recovery Portal in the room should you take too much damage.
It seems to be random as to when he drops, so keep an eye out for it and hurriedly attack him when he does. King can do massive damage with his Endless Waltz skill during this period. Ifrit is also an option if you wish to forego trying to land Breaksights.
There is also an opportunity to finish him with magic once the rain starts to pour. Fire will weaken but Lightning will gain a boost so you may opt to switch to a powerful magic user here and take the opportunity to blast him.
The mission, and chapter, will be over upon defeating Qator.


No Comments