

S-Rank Requirements
| Time | Phantoma | Casualties |
|---|---|---|
| 30:00 | 50 | 1 |
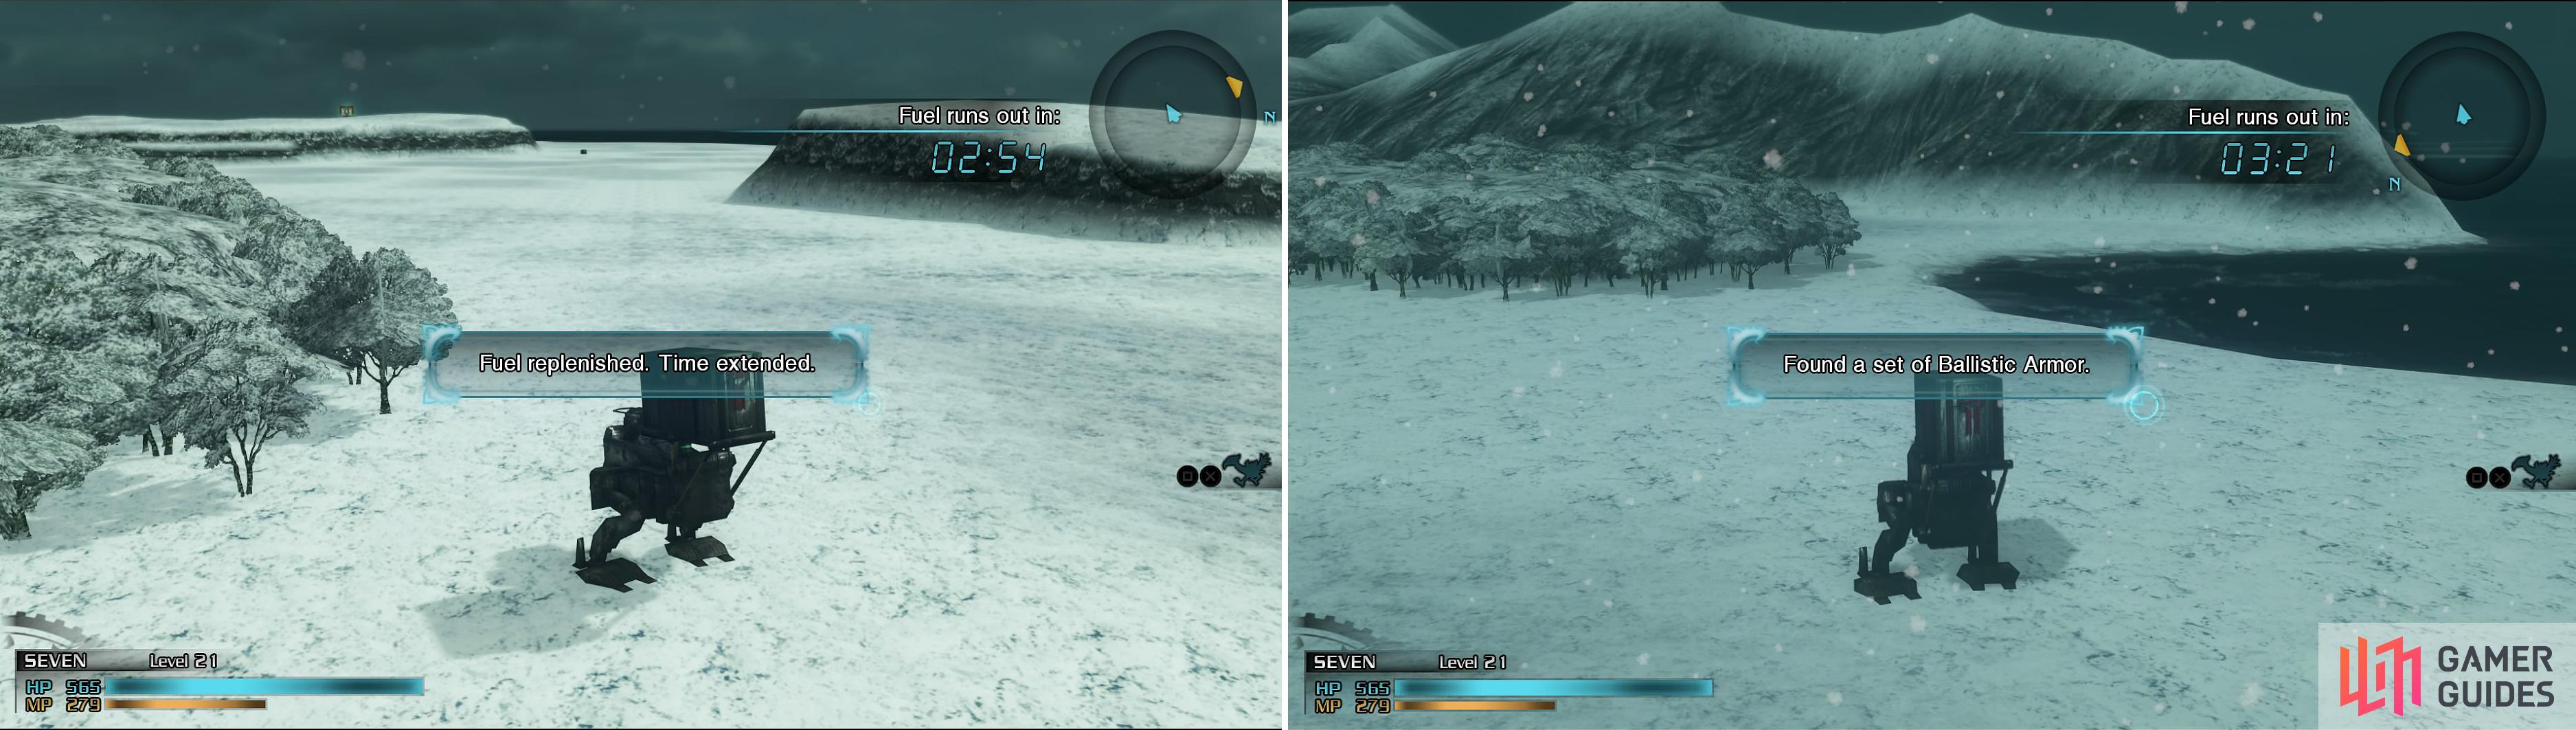
You must collect fuel which can be found on the ground (left) to keep the MA going. You can also find a few items around the map (right).
MA Roaming
You’ll now be controlling that very same MA on the overworld, but it suffers from a fuel problem, so pay attention to the prompts that appear on the screen. Basically, there are fuel tanks you can pick up on the map that extends the timer in the upper right, but there’s also a few chests scattered around which you can grab that will net you some items. Go and start the invasion of the factory when you have finished.
1 - Materiél Depot
The beginning of this mission can be done in one of two ways: by stealth or by force. Your objective is to get to three specific rooms to obtain data on the Brionac, the new MA model. However, to get there, you’ll have to pass by a bunch of security; robots in this case. There’s two kinds: a flying Nomad that patrols a set path and a Panjandrum that sits still and has a circular scan field around it which will trigger an alarm when you enter it. You can destroy the Nomads quickly even if they spot you and the alarm won’t trigger but if you wait too long, the whole room will be on alert.

There are two types of robots which you must sneak by: the first is a Panjandrum with a red radius (left) and the second is a flying Nomad (green).
| Special Order | Time Limit | Effect | Reward |
|---|---|---|---|
| Sneak into the R&D facility undetected using your active leader. | 10:00 | Haste 00:30 | Blizzard ROK |
As you make your way through the first room, you’ll enter a big hallway then the wall will be broken down by the prototype you’re searching for. Since that path is blocked, you’ll have to find another way inside. Head back a little bit and a ladder will be revealed, letting you go into the underground waterway.
2 - Waterway Sector UG-1
| Special Order | Time Limit | Effect | Reward |
|---|---|---|---|
| Take down the Marduk using your active leader. | 40:00 | Protect 00:45 | Diamond Bangle |
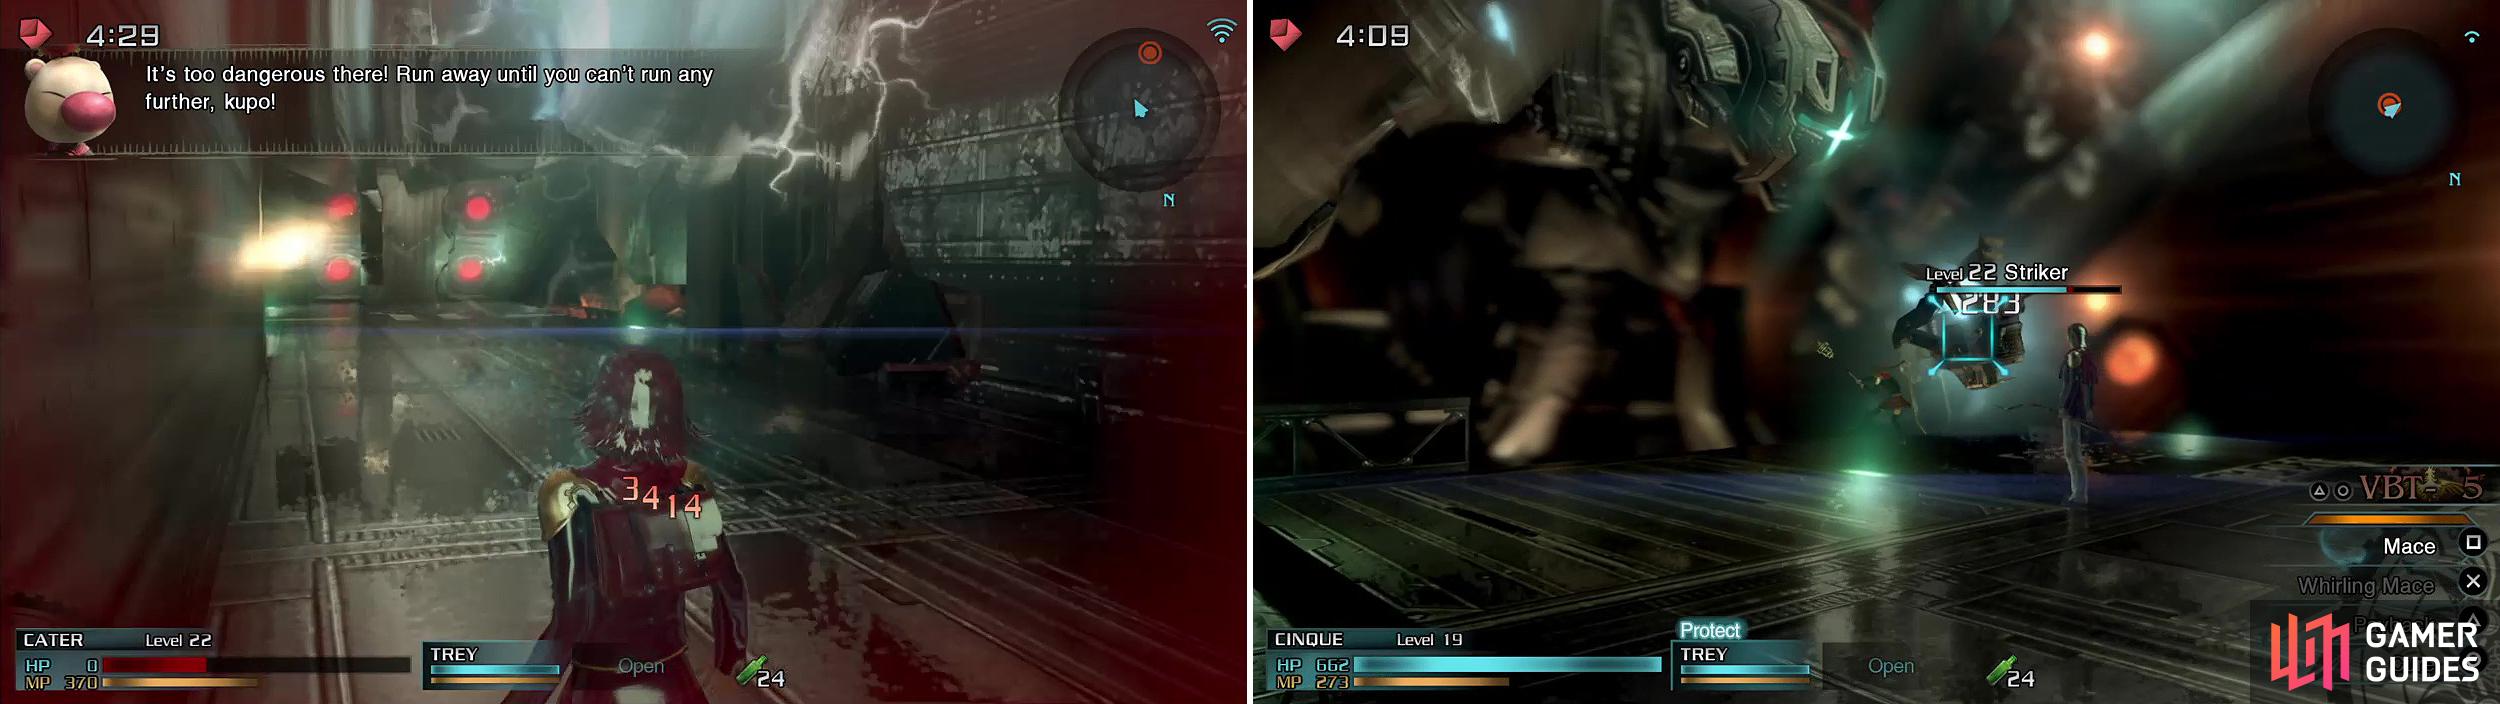
First and foremost, the enemies down here will continually respawn, so unless you want to spend an eternity fighting Evil Eyes, Flame Flans and Hundlegs, it’s best to just ignore them. Second, as you follow the designated path, you’ll run into a massive sleeping monster. This is a Marduk and it is level 79, so we wouldn’t recommend waking it if you are on your first playthrough. It can be easily caught in the crossfire as you happily slaughter the surrounding enemies and the other members of the party will keep on trying to kill it, so be careful of your team wiping if you wake the dragon. It can also be found in other rooms down here too so be on the look out.
Head through the northeast exit into area 3.
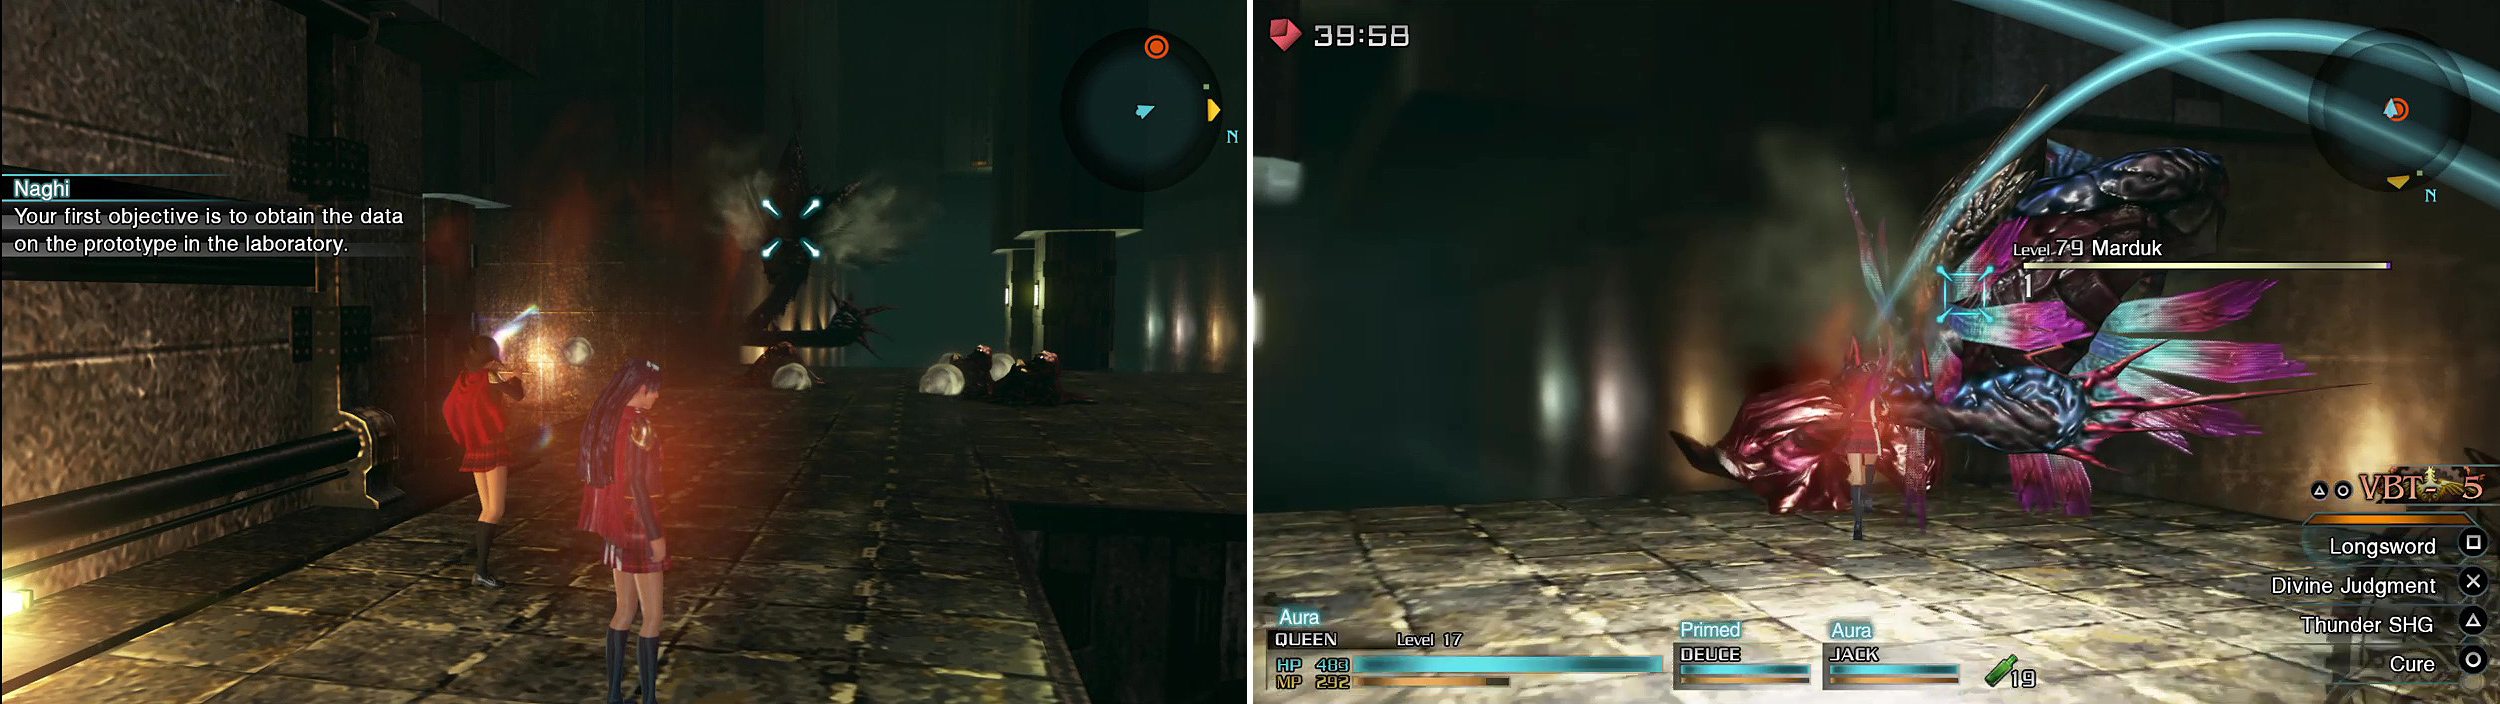
Unless you’re playing through for the second or third time, don’t antagonise the Marduk or you will die. Repeatedly. It can be hard to see though so look out for the soldiers getting pummelled (left).
3 - Waterway Sector UG-3
Rush through to the northeast passage to reach a new area.
If you wish to collect some treasure here, head south right to the bottom for Insect Fluid (50%)/Flan Ooze (39.1%)/Hard Scales (6.3%)/Elixir (4.6%). Return to the previous area then go north.
6 - Waterway Sector UG-6
Beware the Marduk again and, unless you wish to brave the depths for some items, run west. If you want some items, go through the eastern passage then head southeast. At the bottom of this little area is Insect Fluid (50%)/Flan Ooze (39.1%)/Hard Scales (6.3%)/Support Serum (4.6%).
8 - Waterway Sector UG-5
Proceed northwest into the Control Room safe zone and take a little breather. Go north once you’ve saved and recovered.
10 - Warehouse RD-1
| Special Order | Time Limit | Effect | Reward |
|---|---|---|---|
| Reach the Sensor Calibration Lab undetected using your active leader. | 05:00 | Freecast 00:30 | Phoenix Down |
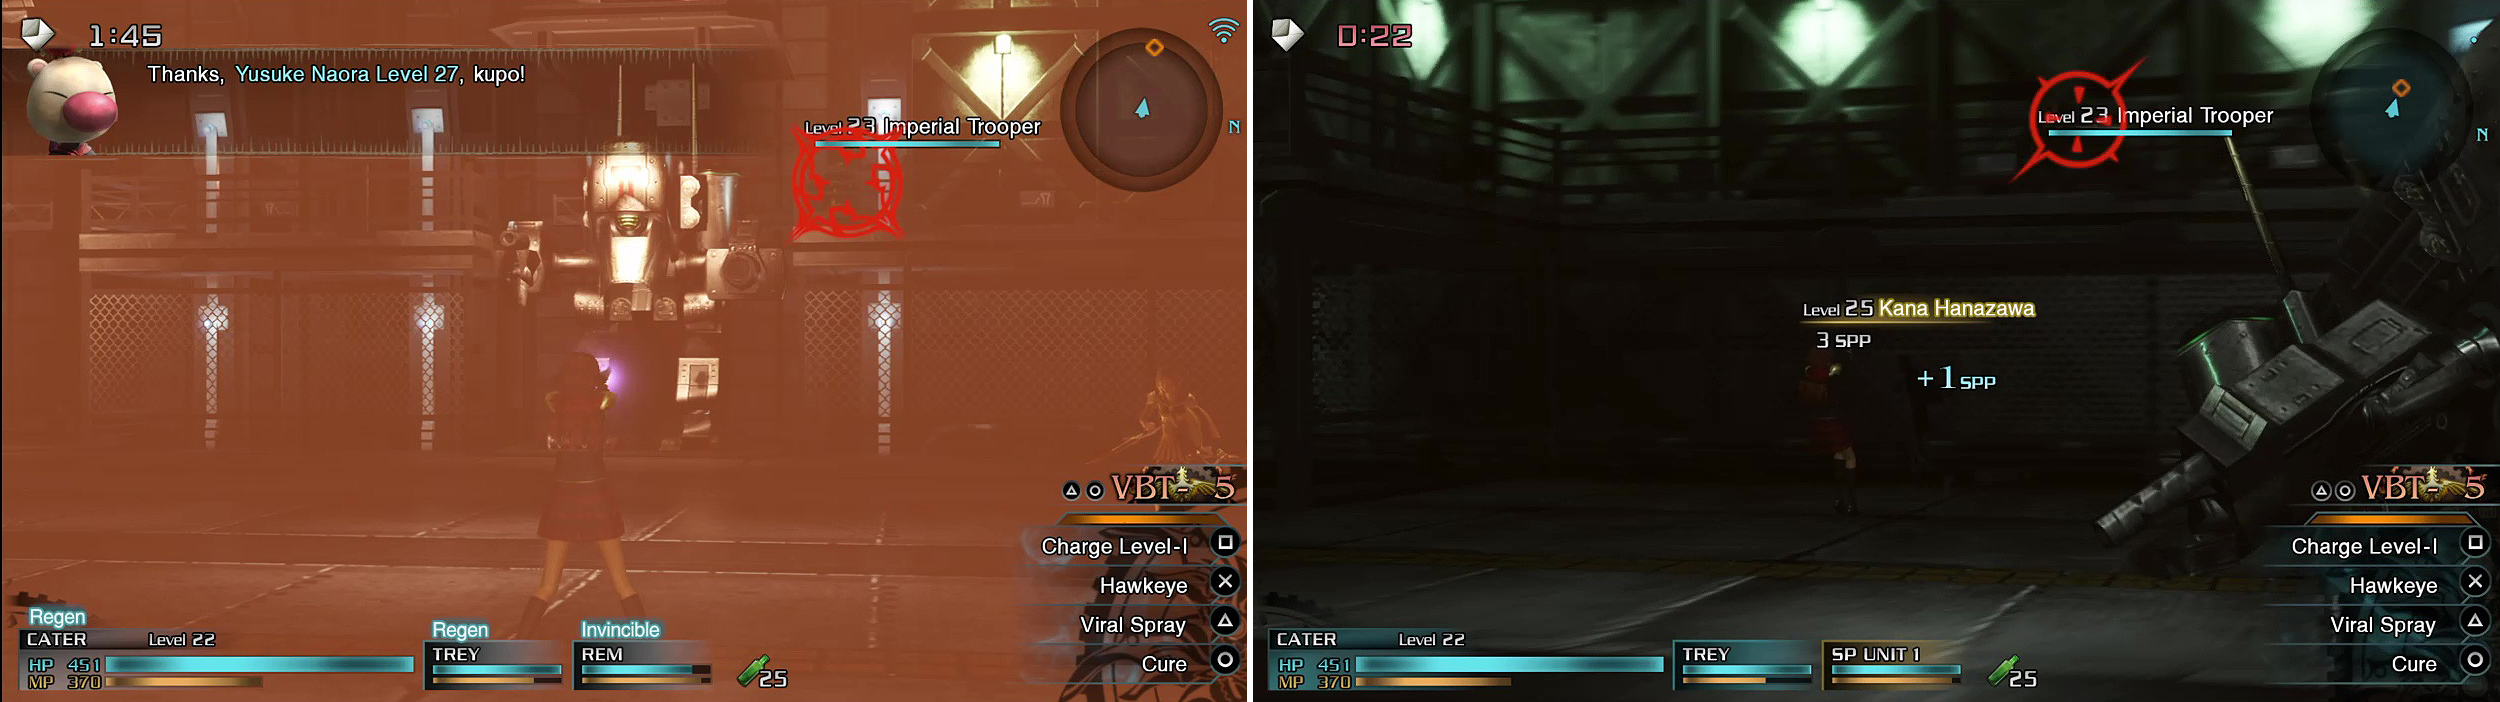
Here, there will be more of the security weapons from earlier, which means you should stealthily avoid them if you can. You’ll be looking for bronze-colored doors, as they will lead to the rooms with data on the Brionac. However, these rooms have researchers in them and they will head straight for the alarm once they notice you.
If you manage to kill them all (or destroy the alarm box) before they reach the alarm box, then you don’t have to worry, but Imperial Troopers will show up if they set the alarm off. There are SOs in each room which task you to kill the Researchers before they sound off the alarm. Your objective is to interact with the computers in each of these rooms after getting an ID Card from one of the researchers, letting you get data on Brionac.
11 - Sensor Calibration Lab
| Special Order | Time Limit | Effect | Reward |
|---|---|---|---|
| Secure the lab before the researchers can sound the alarm, using your active leader. | 3:00 | Invisible 00:45 | Sleipnir Tail (Seven’s Weapon) |
Switch to a ranged character as soon as you enter the room. Quietly creep into the room and then proceed to take out the researchers as fast as you can. There is only a few seconds before they raise the alarm so you need to be swift. You can also shoot the alarm box which looks like a small box with a red light on the top or stand in front of the alarm so the researchers can’t get past to the alarm.
One of the researchers holds an ID Card needed to access the computer there. Use it and then leave the room once you’re done.
Head for Warehouse RD-2 which can be accessed from the lower side of RD-1 in the north.
12 - Warehouse RD-2
| Special Order | Time Limit | Effect | Reward |
|---|---|---|---|
| Reach the Armor Development Lab undetected using your active leader. | 5:00 | Regen 00:45 | Elixir |
There is a Support Serum (50%)/Strength Serum (50%) in the top left corner along with a Combat Ration (50%)/Fortified Ration (50%) in the same area. To get to the Armor Development Lab, you just need to head through the south passage which is a little way to the east of where you entered the room.
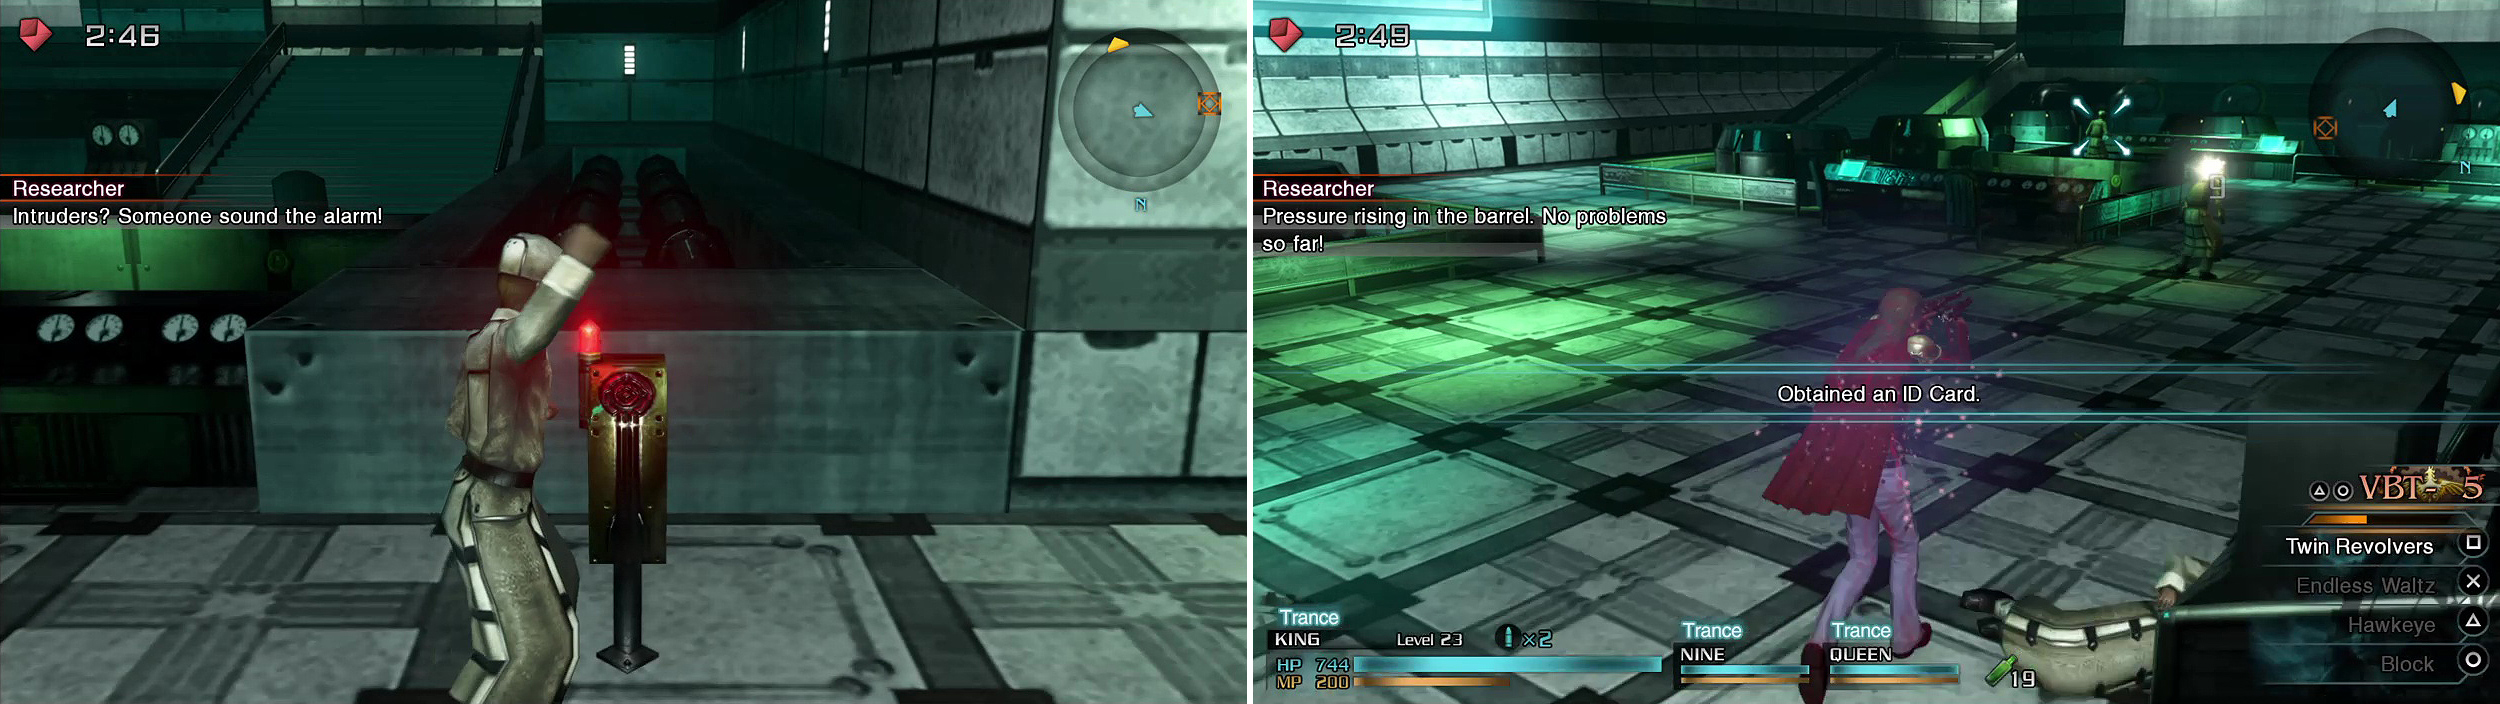
You should look for this alarm box (left) when you enter. You can blow it up. Or you can just use King (right) to kill them all before they get a chance to move.
13 - Armor Development Lab
| Special Order | Time Limit | Effect | Reward |
|---|---|---|---|
| Secure the lab before the researchers can sound the alarm, using your active leader. | 3:00 | Trance 00:45 | Phoenix Down |
The alarm box in this room is on the upper level, just below the windows. You can head through the passage on the left and then run right to reach is quickly, or you can just shoot everyone before they get a chance to react. Get the ID Card again and do what you did before.
Head through the southwest passage this time, just next to where you entered RD-2 the first time.
14 - Warehouse RD-3
| Special Order | Time Limit | Effect | Reward |
|---|---|---|---|
| Reach the Parameter Stabilization Lab undetected while using your active leader. | 5:00 | Protect 00:45 | Elixir |
Head to the northeast corner to find the lab. In the top left corner here, you can find Combat Ration (50%)/Power Core (50%) and White Tiger Ale (50%)/Combat Ration (50%) as well.
15 - Parameter Stabilization Lab
| Special Order | Time Limit | Effect | Reward |
|---|---|---|---|
| Secure the lab before the researchers can sound the alarm, using your active leader. | 3:00 | Aura 1:30 | Phoenix Pinion |
The alarm can be found in front of the computer just on the far side. Getting there before the researchers will be a tough ask here, given the layout of the room so your best option is just to blast them all first. King is especially good for this as he can fire very fast and accurately. Do what you did before with the ID Card then head for the next area marked by the yellow diamond on the map.
17 - Corridor
| Special Order | Time Limit | Effect | Reward |
|---|---|---|---|
| Score a Killsight strike on the enemy leader using your active leader. | 5:00 | Trance 00:45 | Thorn Bow (Trey’s Weapon) |
As soon as you pass through the safe zone into this area, an alarm will be set off. There is nothing you can do and you will be assaulted from numerous enemies from now on.
18 - Transport Route MA-1
| Special Order | Time Limit | Effect | Reward |
|---|---|---|---|
| Break through the Imperial defenses without taking damage using your active leader. | 5:00 | Freecast 00:45 | Silver Gloves |
A barricade blocks the way forward and you cannot get past it just yet. Hide in a corner until a passage in the west opens up. Don’t accept the SO until you’ve cleared out all the enemies and are about to kill the SO in the area. Follow Naghi, who has opened the passage, then defeat the CO at the end of the bridge. Right before you kill him, accept the SO and it will complete upon dealing the killing blow.

You stand here to avoid the fire (left). After the door is opened, whittle down Steiner’s (recognise the name?) HP then accept the SO (right).
19 - Arsenal 61
| Special Order | Time Limit | Effect | Reward |
|---|---|---|---|
| Score a Killsight strike on one Shock Trooper using your active leader. | 5:00 | Protect 00:30 | Elixir |
This area will be blocked off until you kill all the troops here. Go north when you can.
20 - Arsenal 68
| Special Order | Time Limit | Effect | Reward |
|---|---|---|---|
| Take down seven enemies with your active leader. | 5:00 | Aura 00:30 | Fulgur Secundus, Vol. II |
You will find the way blocked numerous times as you proceed through the areas. This one will be blocked by a gate until you’ve dropped the enemies here. There is a safe zone in the next area thankfully so head there, heal up and go south to the next Transport Route.
22 - Transport Route MA-2
| Special Order | Time Limit | Effect | Reward |
|---|---|---|---|
| Harvest three Phantoma with your active leader. | 5:00 | Quick 00:30 | Glacies Secunda, Vol. II |
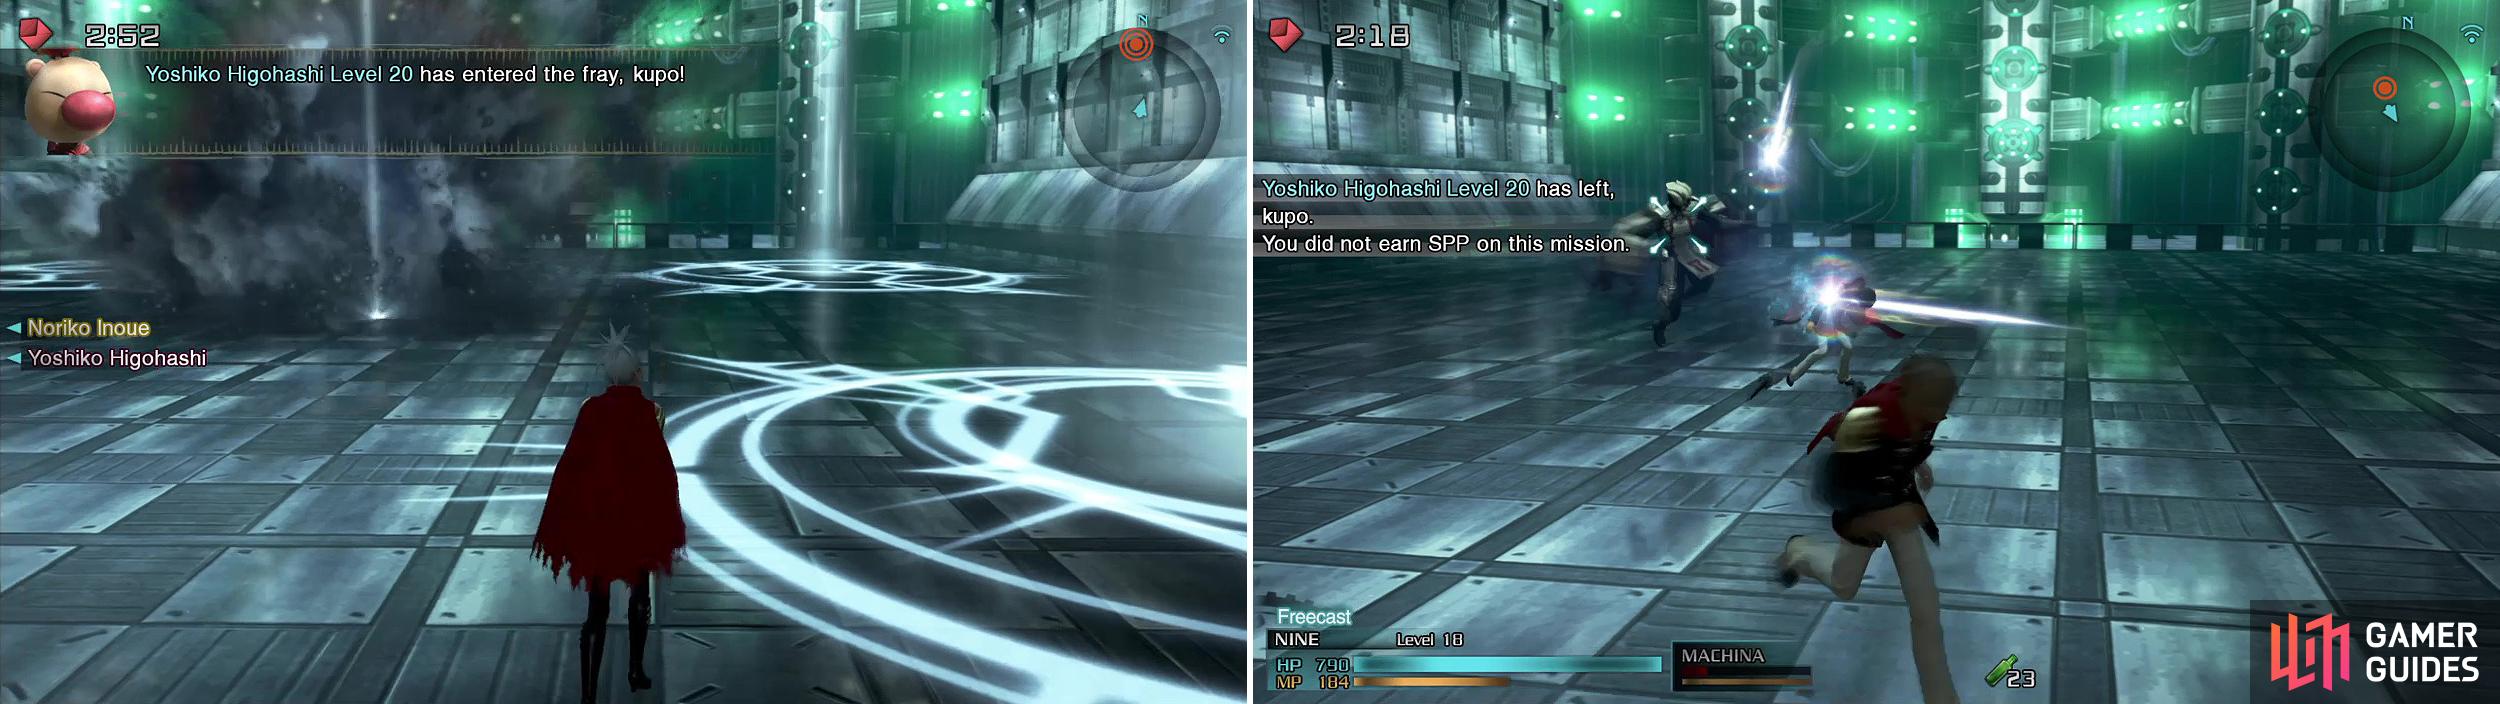
If you have a Phoenix Pinion, now is a good time to use it. The White Tiger l’Cie will appear before you and kill off your leader, then disappear before you can even react. If this is a character you favor, this act will be infuriating unless you have a way to revive them. Follow the linear path to the next area.
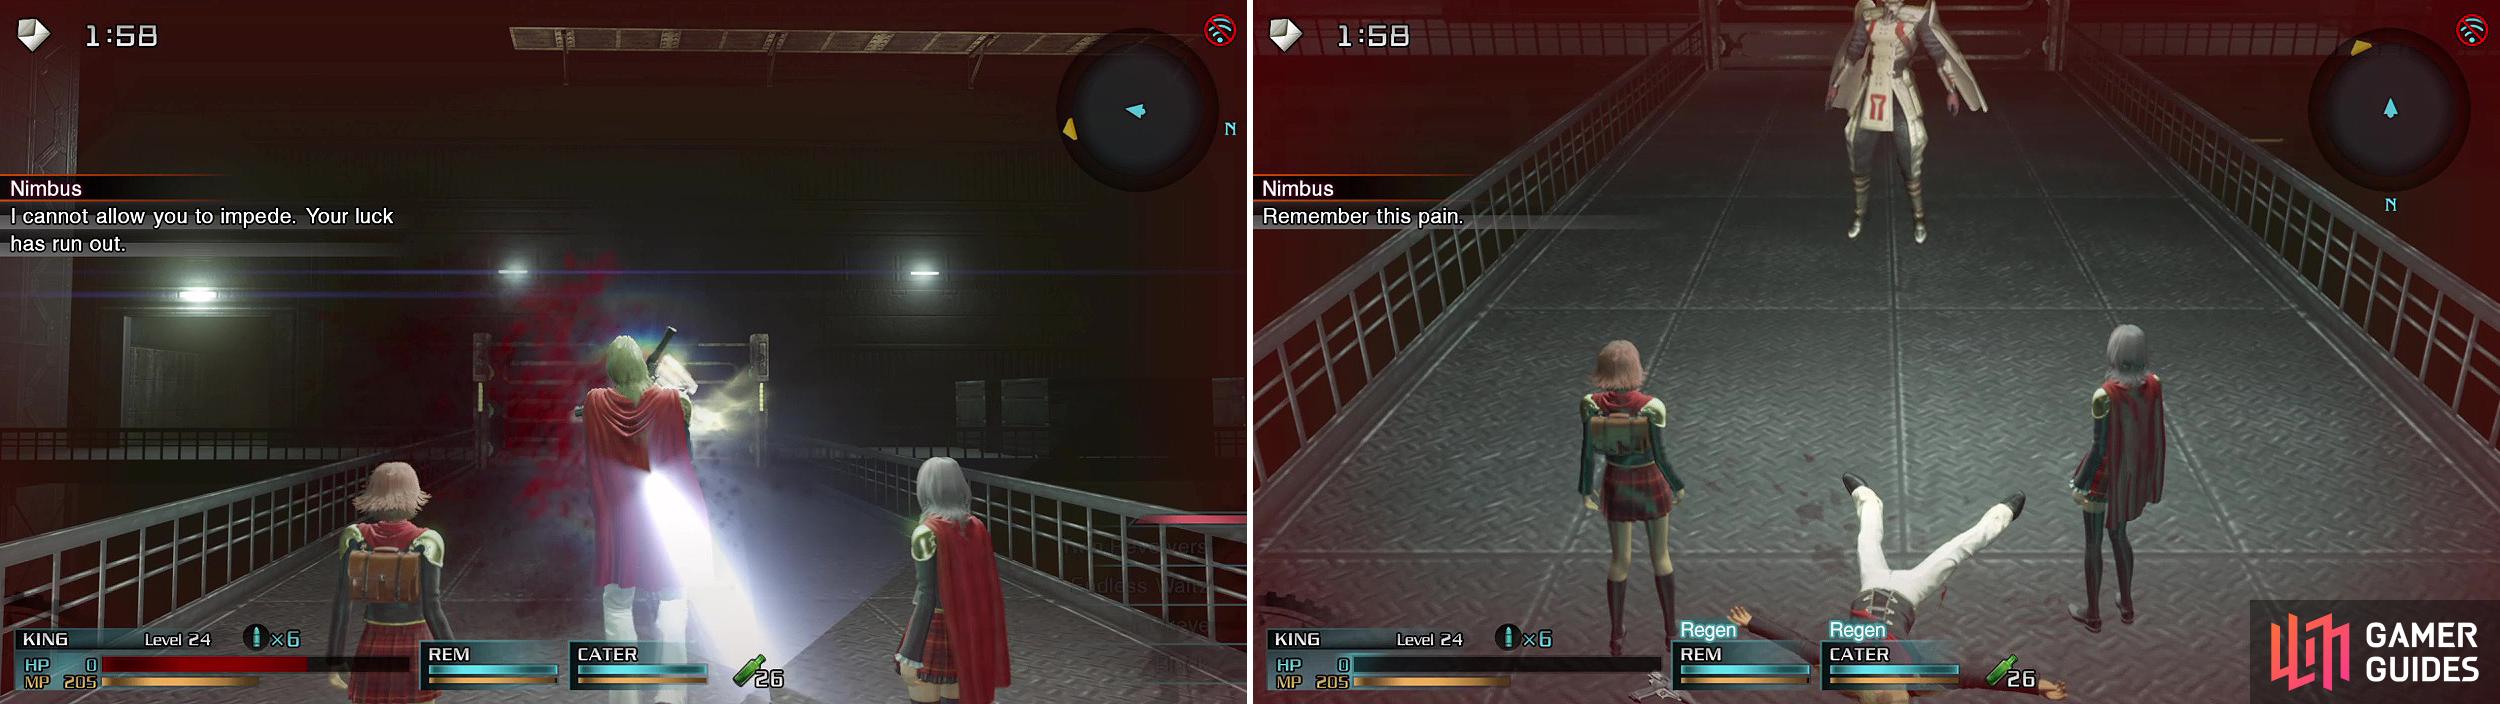
Nimbus will appear out of nowhere and kill your active leader (left). If this is a character you like, make sure you have a way to revive them.
23 - Arsenal 71
| Special Order | Time Limit | Effect | Reward |
|---|---|---|---|
| Take down four Shock Troopers using your active leader. | 5:00 | Endure 00:30 | Ignis Secundus, Vol. II |
Near the CO is a Fortified Ration (50%)/Combat Ration (25%)/Strength Serum (25%) in the northeast corner. You don’t actually have to kill him if you don’t want to so move on if you wish.
24 - Arsenal 105
| Special Order | Time Limit | Effect | Reward |
|---|---|---|---|
| Take down three Martinets using your active leader. | 5:00 | Regen 00:45 | Auric Ring |
A ranged character is useful here to deal with the onslaught of Martinets in this room. You can also find a Power Core along the central path on the left side. Go southwest into a safe zone and make ready for a boss fight.
25 - Sentinel Hangar (Safe Zone)
Preparation is key here so make sure to save! A ranged character is a must, though not Trey, as he struggles to hit moving targets. King or Cater are excellent choices for the upcoming SO.
26 - Sentinel Hangar 2
| Special Order | Time Limit | Effect | Reward |
|---|---|---|---|
| Suppress the Colossus sortie. | 5:00 | Invisible 00:45 | Magnati (King’s weapon) |
| Score Killsight strikes on three enemies using your active leader. | 5:00 | Haste 00:30 | Medical Kit |
As soon as you walk in, a Colossus will activate so be on your guard and set about dismantling it. Look to the right of the room as soon as it’s destroyed because a soldier will be heading for another Colossus. Shoot him before he gets there to complete the SO!
The next pilot will arrive from the southwest corner and finally, Lieutenant Enriquez will enter from the southeast corner. Cater can come in very handy with her enemy-seeking bullets here, though King can be made use of with Endless Waltz. If the CO reaches the Colossus, just destroy it so you can move ahead.
A handy Relic Terminal and Recovery Portal will appear once you have eliminated the enemies. Before the next area, remove all squad members and activate a ranged character. If the Brionac gets a hit in, you will be defeated immediately and sadly, your teammates can’t dodge like you can. Do not use a melee character because you will need to keep your distance.
The Troopers come from a variety of directions so keep your eyes peeled.
BOSS - Brionac
| Special Order | Time Limit | Effect | Reward |
|---|---|---|---|
| Destroy the Brionac as quickly as possible using your active leader. | 5:00 | Protect 00:30 | The Eidolon Rubicante |
As soon as you step into the next room, a soldier will appear inside a Brionac and your new orders are to destroy it. First and foremost, Brionac doesn’t have a lot of health, but it does have high defenses and melee characters can’t hit it when it’s functioning. That means that you will need to wait for opportunities when a Breaksight appears.
For attacks, Brionac is strong and has a possibility to one-shot your characters. Brionac hits the area in front of it with its arms and will also execute a sweeping attack with one arm. In addition to that, Brionac will start spinning its arms around, generating electricity, which will spawn some Strikers that go straight towards you and explode.
Look out for Moglin’s orders or you will pay a heavy price (left). When the Strikers appear (right) hit them back at Brionac to do some damage.
The good thing is that if you lock onto these, you can send them back at the boss with a well-timed strike (or just repel them). For a majority of the fight, you will want to stay in the hallway to avoid the attacks from the boss itself, although there is one that can still reach you there. It will place one of its arms into the hallway and spin it around, similar to when it is ready to send Strikers after you.
As already mentioned, Brionac doesn’t take much damage outside of Breaksights. There are a few opportunities for one after a few of its attacks, so keep dodging when needed and when you see it, strike Brionac to make it kneel down. This will allow you to attack it multiple times, all of which will be Breaksights, until it gets up again. Repeat this until you defeat Brionac.
BOSS - Nimbus
| Special Order | Time Limit | Effect | Reward |
|---|---|---|---|
| Land thirty hits on Nimbus using your active leader. | 3:00 | Freecast 01:00 | Tiz’s Prayer |
After the fight with Brionac, you will be cast into another fight with Nimbus (who is level 142). Unsurprisingly, this fight is one of those you can’t win at all, even on later playthroughs. First, the l’Cie only appears for a few moments after its beam attack, with the places it hits being shown by light arrays on the ground. The mission will end when all your characters die (including reserves) or when he gets bored and leaves.
After the battle, you will receive the Fire ROK spell. You will also remain in Imperial territory away from Akademeia so this next chapter is very different to before.
Roll around the white spheres of light (left) or you will die immediately. Nimbus can appear right next to you (right) and deal heavy damage. You can never win this fight.


No Comments