

| Important Items in this Area |
|---|
| Restore Materia |
The Bombing Mission
A train pulls to a stop at a station, and some blocky ne’er-do-wells leap off the train and dispatch some guards, followed by a dark-skinned man with a gun-arm and a spiky-haired blonde. The former refers to the latter as a “newcomer” and runs off, leaving you to your own devices. Loot the nearby guard for a Potion , then head towards the other guard further away. Along the way you’ll be attacked by two MPs, giving you an introduction to combat in Final Fantasy VII.
Right now your options are limited and your foes are tissue-paper strong. You have access to three options: “Attack”, “Magic” and “Item”. At the present, all foes you’ll encounter can be easily dispatched with standard physical attacks. Defeat the two MPs with the “Attack” option, then proceed to loot the second guard to score another Potion , then head up some stairs to the left of the guard.
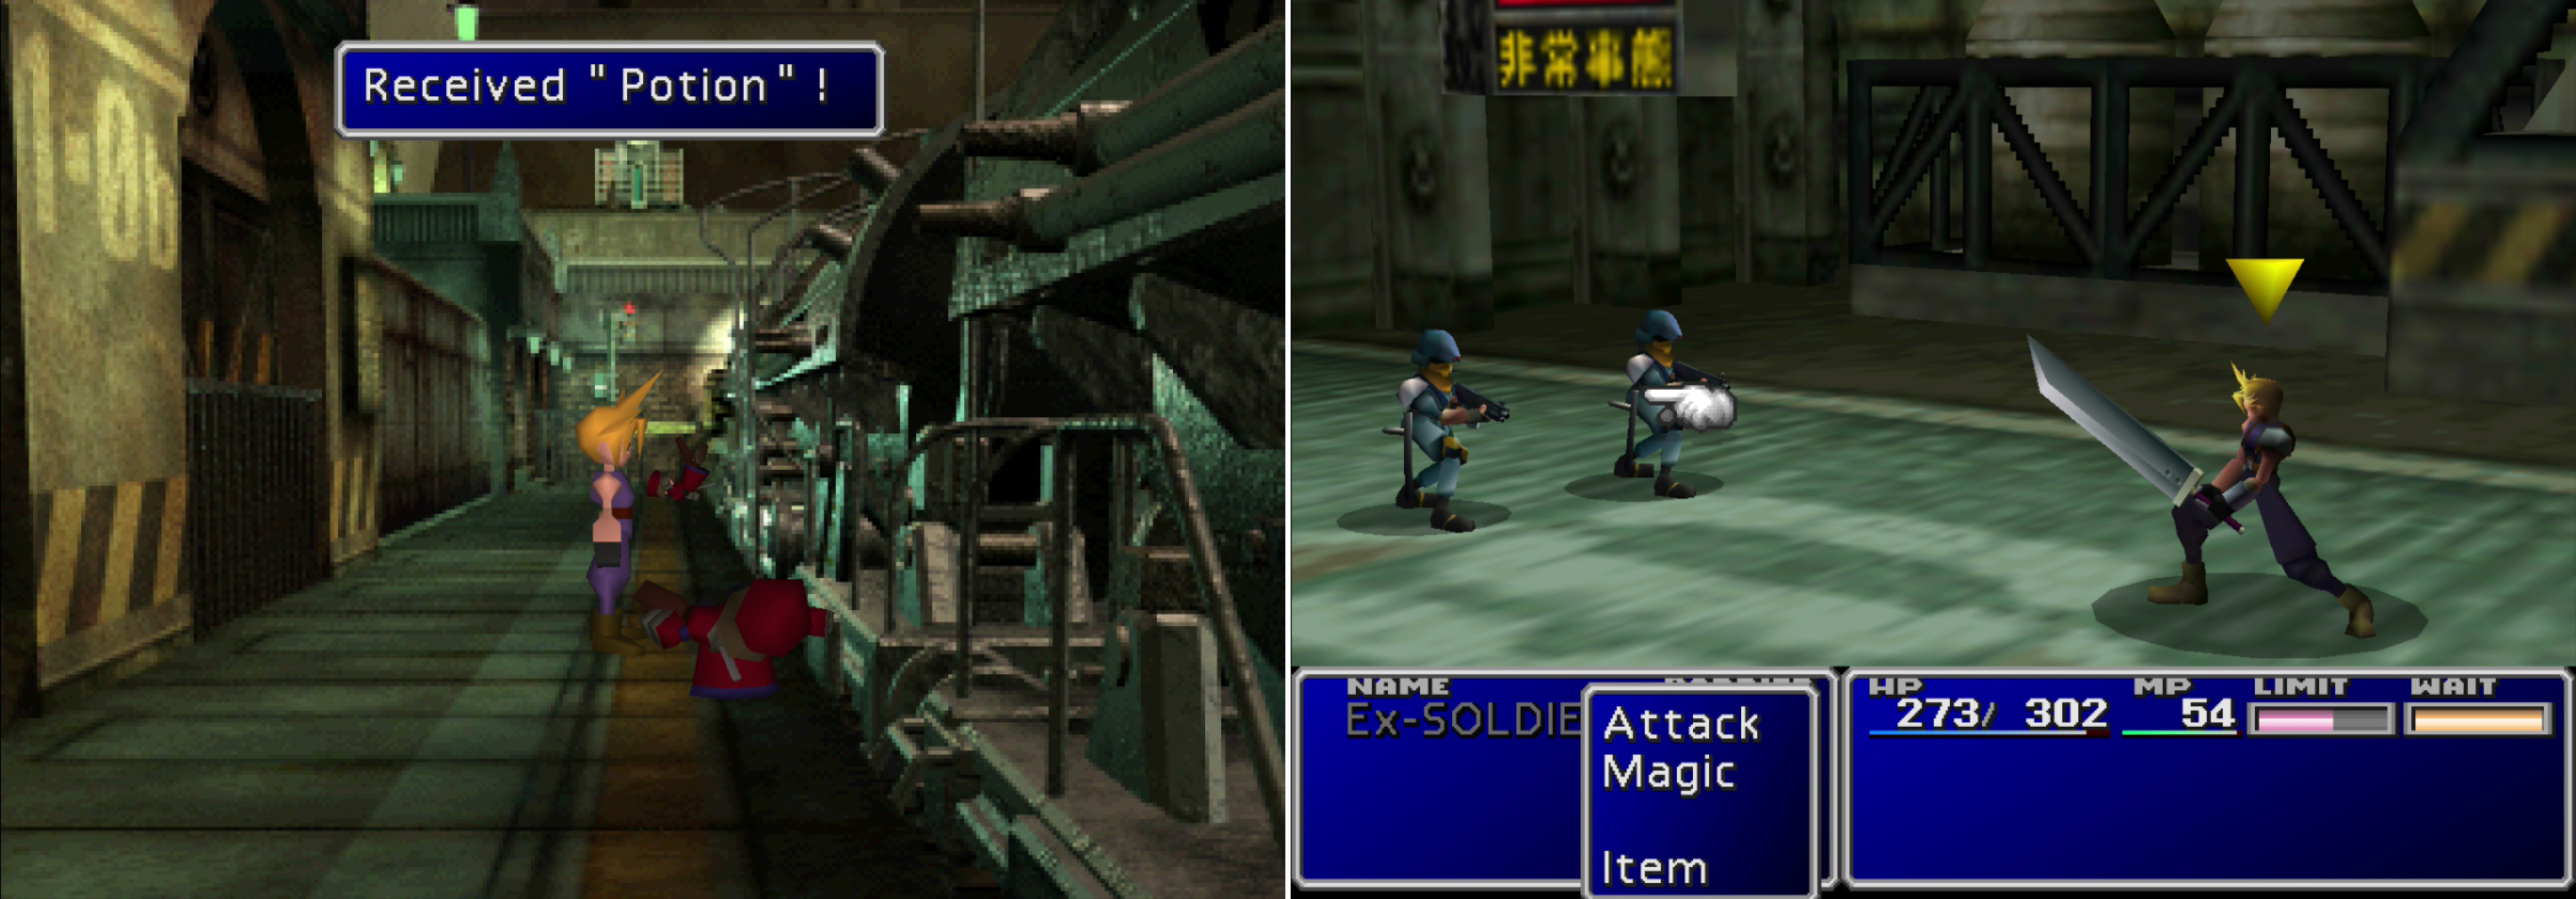
Loot the fallen guards for some Potions (left) and dispatch some reinforcements (right).


Head up to where your allies are gathered and engage in some banter - apparently you are - or were - a member of SOLDIER, an elite military unit. For whatever reason, however, you’re now working with “the enemy”, a group called AVALANCHE. After Biggs, Wedge, and Jessie are done talking to you, you’ll get a chance to name your character. The protagonist will be referred to by the default name, Cloud, throughout the guide.
Cloud will give Biggs some sass to let everybody know just how much of a lone-wolf mercenary he really is, then the man with the gun-arm will show up and give out some orders. After he vents his reservations about Cloud, you’ll get a chance to name him, too. He’ll be referred to by his default name, Barret.
Follow the brick road under a flashing warning sign, then through a checkpoint and through a doorway to reach a reactor. Once inside, run along a ramp and take a right and follow another ramp to find the glowing doorway to the interior of the reactor. Head up some stairs and reunite with Barret, Biggs, and Jessie, the first of which will chat with you a bit, give you a rather untimely lecture, and ultimately decide to accompany you when he decides he doesn’t like your attitude.
Combat Tip: Rows
Now that you have a party, there are some more combat tips that should be discussed. First, you can switch to another character by pressing [Triangle]. That was simple enough… now to discuss rows and long-ranged weapons. Barret has a long-range weapon equipped, meaning he can hit enemies in the back row without suffering a damage decrease, and he can stand in the back row and receive less damage from melee attacks. Cloud, however, does not have a long-range weapon, and will deal less damage to enemies who are further away (and cannot attack some, rare, foes at all.)
You can switch rows yourself by selecting “Order” in the menu and selecting the portrait of the character you want to move, which will move closer to their stats in the menu screen to show that they are in the back row. Spells count as long-ranged weapons and will deal full damage to foes regardless of what row the caster or the target is in. With all that said though, you never really need to mess with rows in this game. Taking less damage might seem like a good thing - and it is - but it also means you’ll charge your limit bar slower, and hence learn new limits slower; but that’s a combat tip for later.
Into the Reactor
Talk to Biggs and he’ll open a doorway for you, then talk to Jessie and she’ll open the next one. Jessie will run ahead to another door control panel, but before you follow her, head down to another room in the bottom-right corner of the screen to find a chest containing a Phoenix Down . Once done, return to Jessie and talk to her, then follow her into an elevator and press the button she directs you to press. Endure another lecture from Barret, then exit the elevator when it stops.
Now you’re in the business-end of the reactor. Head down some steel stairs to reach the ground floor, then go through a door along a wall directly across from where the stairs end. Jump over a gap and talk to Jessie, who will give you a tutorial on climbing ladders, then put her advice to use. Follow the metal scaffolding and bypass another ladder (which you don’t actually have to climb - it functions like a ramp) and claim a Potion . Once done, descend the ladder/ramp and climb another, proper ladder and follow a pipe to the next screen.
Make your way across some more pipes and descend another ladder to reach a walkway in the bowels of the reactor. Nearby is a spinning question mark, which just so happens to be a save point. Take advantage of it and save your game, then proceed along the ramp to the next screen, which houses the reactor core. Investigate a glowing green sphere on the ground to obtain a piece of Restore Materia . Unfortunately, you cannot equip it yet.
Continue on to the reactor core and Barret will give you further instructions, after which Cloud will receive an ominous warning. Once the chatter is over, Cloud will set the bomb. This tampering, however, draws the attention of the “Guard Scorpion”, a robo-guard, and the game’s first boss.
Boss Battle: Guard Scorpion
This boss isn’t difficult, which is fitting considering your limited options. Its routine is simple: it’ll use a “Search Scope” to identify targets, after which it’ll use a “Rifle” attack on its target or hit them with its tail, dealing moderate damage either way. Have Barret attack normally (what other option does he have?) and cast Bolt with Cloud. After two rounds of attacks, the Guard Scorpion will raise its tail into the air and, as you’re informed, if you attack during this time, the Guard Scorpion will counter with its tail laser, dealing massive damage to both party members. Just wait it out, and when it lowers its tail, continue attacking until it dies, perhaps using the odd Limit Break if you get one during the fight.
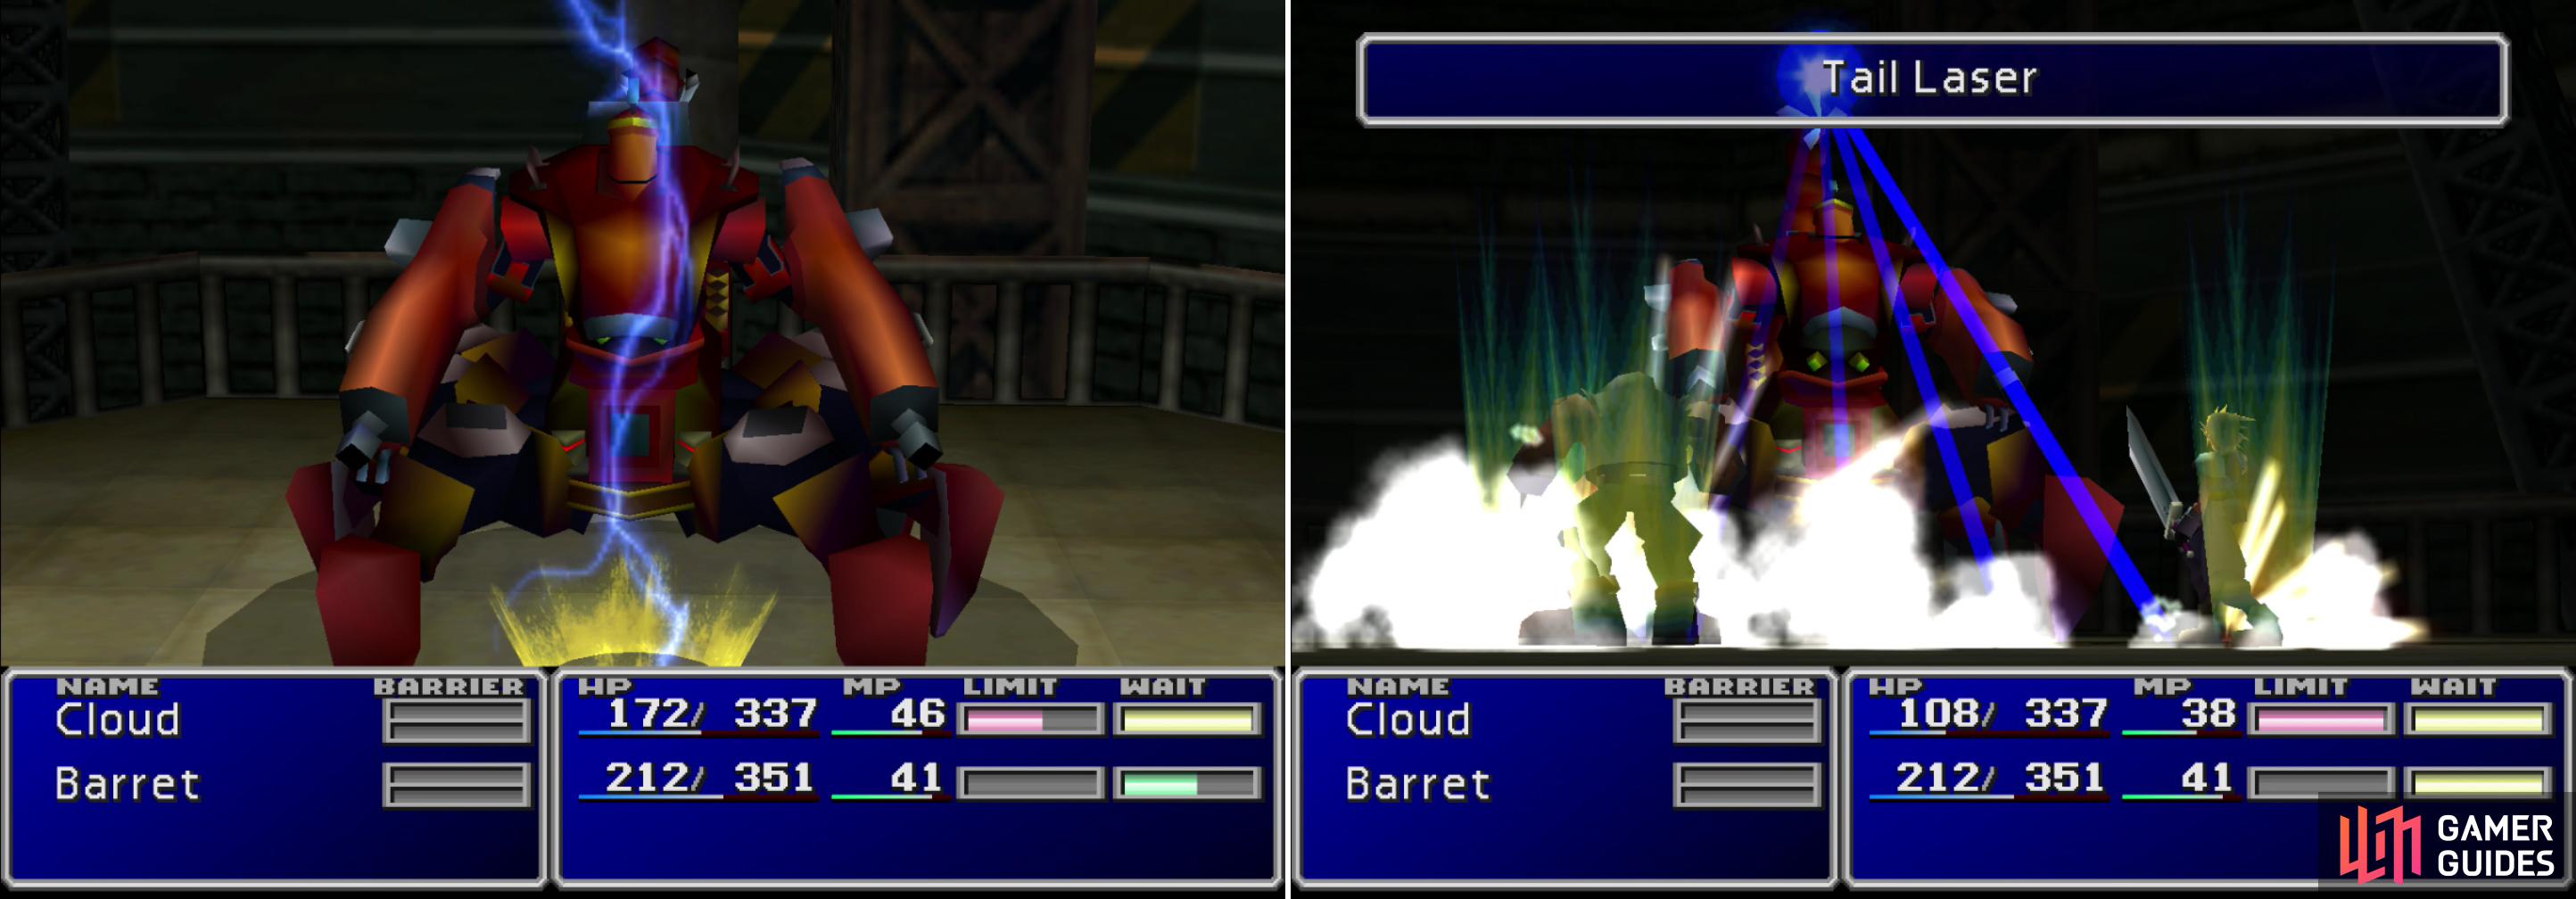
The “Bolt” spell will do heavy damage to the Guard Scorpion (left). Just avoid attacking while its tail is up to avoid its “Tail Laser” counterattack (right).
| Guard Scorpion | Stats |
|---|---|
| HP: | 800 |
| MP: | 0 |
| Weaknesses: | Lightning |
| Resistances: | Gravity (negates), Poison (negates) |
| XP: | 100 |
| AP: | 10 |
| Steal: | n/a |
| Drop: | Assault Gun |
| Gil | 100 |

After the battle the bomb will be armed - you have 10:00 to escape the reactor before it explodes - and the clock is ticking in battle, in menus and pretty much all the time. Quickly enter the menu and equip Barret with the Assault Gun you got from the Guard Scorpion, which will make his attack power more or less equal to Cloud’s. The way back out is simple: just backtrack the way you came in, with one thing to make a note of; talk to Jessie, who is still in the room where she gave you the ladder tutorial. She apparently got her leg stuck while you were busy (how did she manage to accomplish this? Klutz.) Talking to her is sufficient to prompt her to free herself. Ride the elevator up, then talk to Jessie and Biggs to get the doors back open, then flee outside.
AVALANCHE will cover their tracks, then after some chatter you’ll be left to your own devices. Follow Barret up some stairs and make your way to the next screen, where you’ll see a girl selling flowers get caught up in the post-bombing hysteria. She’ll talk to you and try to peddle her wares. Everybody loves flowers, so be sure to pick one up here; you’ll be able to make a traveling companion happy with it shortly. Once done, continue down the street to reach a debris-littered plaza with a fountain along its northern end. Grab a Potion south-west of the fountain, then exit the screen by continuing south.
Rendezvous
Walk south to reach a brick road running over some train tracks. As you go, some Soldiers will bother you, and you have the choice to either pick a fight, or run away… or wait around, which gets you into a fight. You’re fully healed from your earlier escapade, so killing these weak soldiers is risk-free if you want the extra experience and Gil. Fight off a group of two MPs, then fight-or-flight another two groups of three MPs - the last of which will catch you in a pincer maneuver. You’ll take more damage from foes who attack you from behind, so eliminate the isolated MP first. After you fight - or flee from - all the groups, Cloud will make good his escape.
Witness some discussion about Cloud’s tardiness, after which Barret will be suspected of causing some commotion he was innocent of, and Cloud will get a free face-cleaning. Yay. Once you’re back in control, walk towards the camera to move into more comfortable parts of the train. After AVALANCHE makes themselves at home, talk to Jessie, who will force you to look at some boring technical information while compounding the tedium with some history. After the security checkpoint, talk to Jessie again and you’ll get a choice to say either “Thanks anyway” or “Looking forward to it”, which will impact an event later on. Pick the former option to increase the disposition of a character you’ll meet shortly, or the latter to lower it (-3 Tifa).
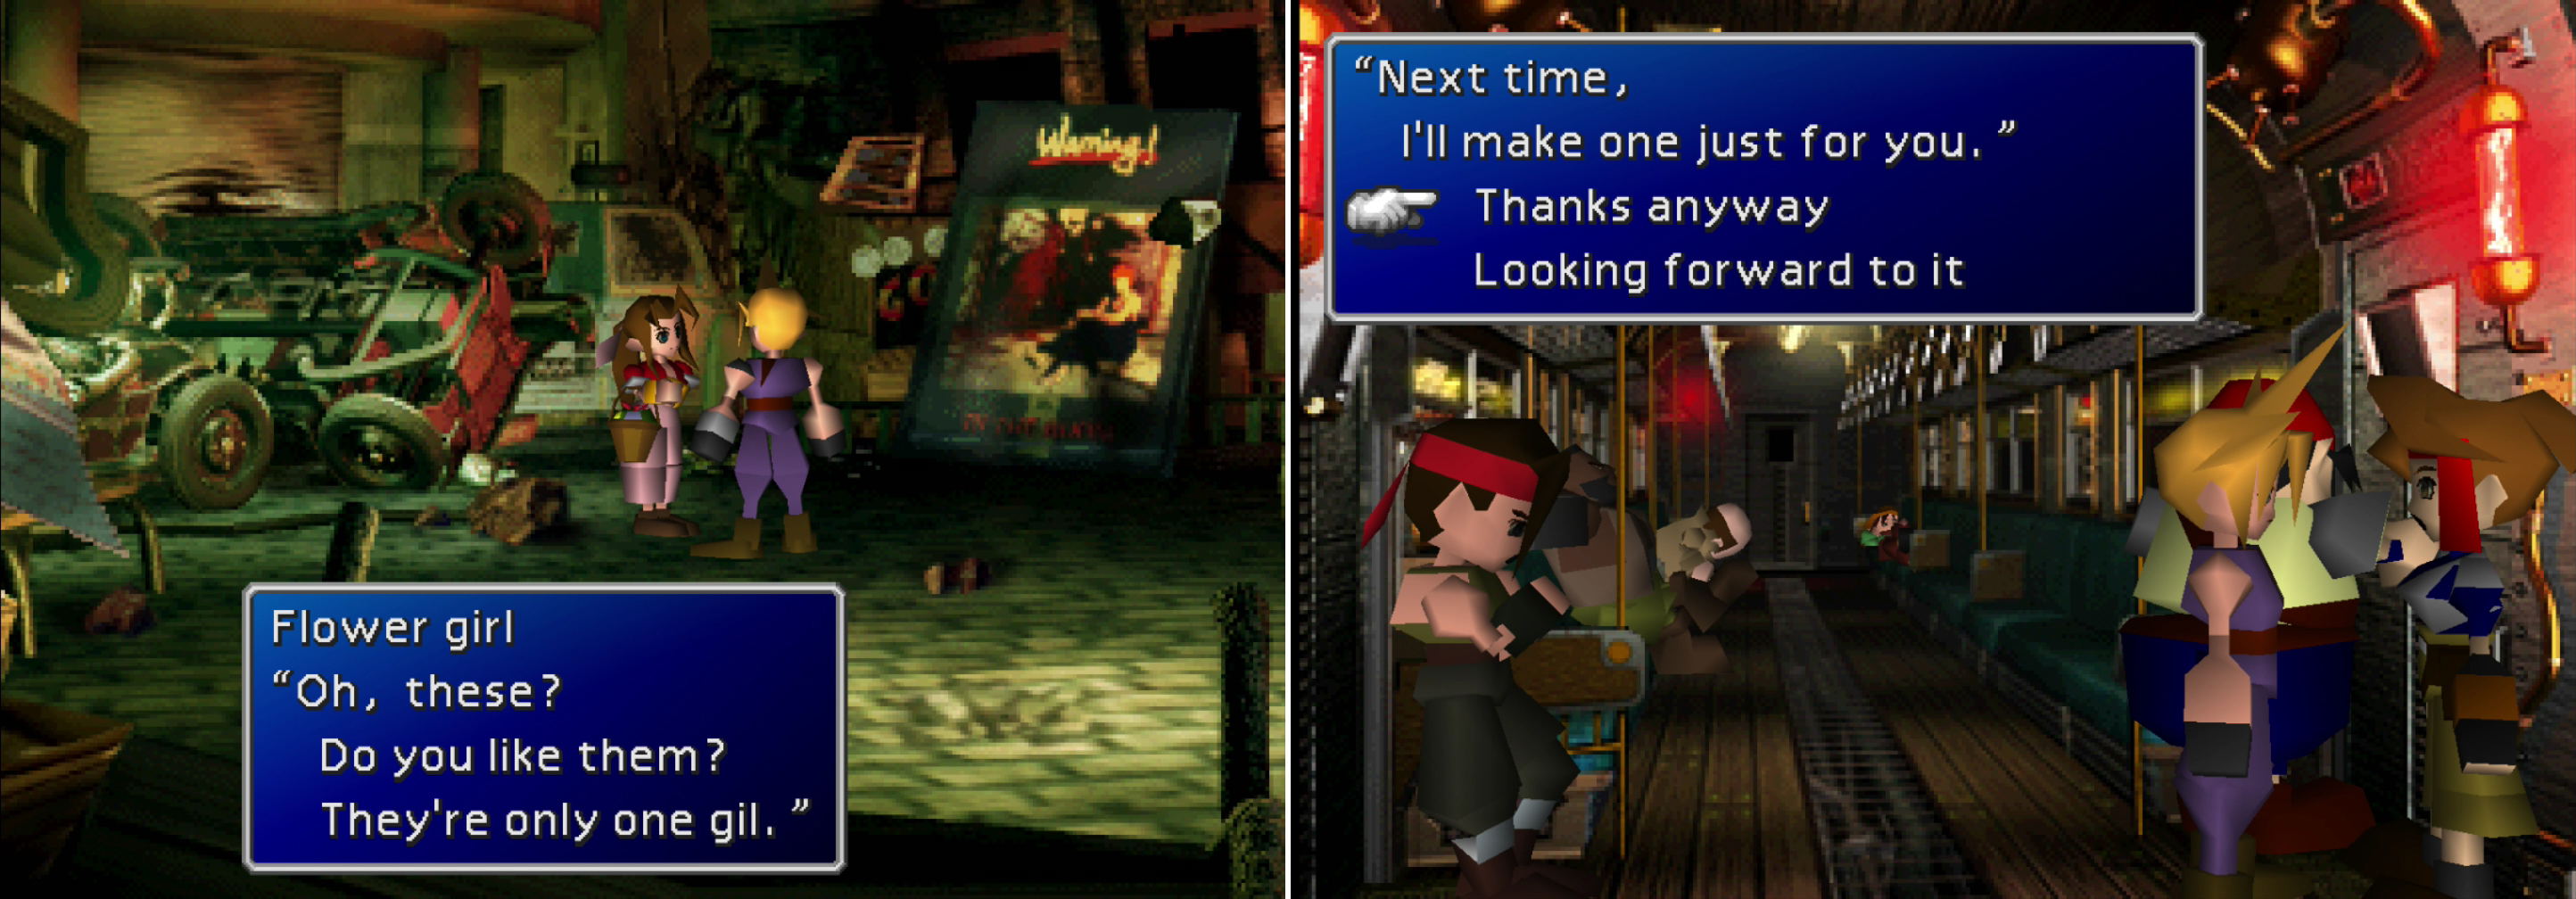
After the bombing, you’ll run into a flower girl (left). When you make it onto the train, Jessie will bore you with some technical details about Midgar’s public transportation system (right).
Approach Barret and he’ll start lecturing Cloud again, only to be interrupted by an unexpectedly sentimental comment from Cloud which prompts more moralizing babble. Cloud ends up making a fatalistic statement about trains, after which you’ll disembark. Head over to Barret for some more chatter, then head west to another screen.
On the new screen, if you head south you can find two guards - a grizzled veteran full of bluster and his adoring accomplice. More interestingly, if you go north you’ll find a suspicious character doing… something… between a pipe and a fence. Talk to him if you want to gawk at a nearby pillar. “If this pillar should come down, everyone in the slums is dust.” How pessimistic. Anyway, save your game at the nearby save point. The first mission is over, time to rest, and plan for the next attack…
No Comments