
Return to the “Bottom of North Cave” and save your game at the Save Point you should have created with the Save Crystal. Make sure your primary party has their ultimate weapons and Ribbons equipped and their Materia is in order. Double Cut will work wonders on the fights ahead (or failing that, Mega All), and Knights of the Round will win most of them outright. Enemy Skill Materia should be a given, and old staples like Mime, HP Plus and MP Plus will come in handy as well. Also, make sure every character in your party without a long range weapon has Long Range Materia, if you can. Ultimately, if you’re been following this guide chronologically and defeated the Weapons earlier, these next fights will be laughably easy. You should hopefully be doing several thousand damage per hit with your strongest characters; being able to deal over 3,000 damage with a physical attack and having 8,000+ HP is ideal.
Make your way to where you party is gathered and head to the lower level, past Yuffie and Vincent. Cloud will give an unacceptably weak order before shortly being pressured to rectify it. Sadly, any dreams of launching a full team assault on Sephiroth is shattered when the critters of the North Cave start to converge upon your location. Conveniently most of the group stays behind to fight them off, leaving Cloud and two other chosen characters to continue on as the planet’s vanguard.
There are two screens of platforms you’ll have to leap across, and on each platform there’s a chance you’ll have to deal with a random encounter, fighting either a Allemagne, an Iron Man or a Zombie Dragon, all of which shouldn’t be terribly threatening anymore. Fight whatever encounters you must as you make your way down to a large, cube-floored island at the bottom of the pit, where a familiar foe awaits you…
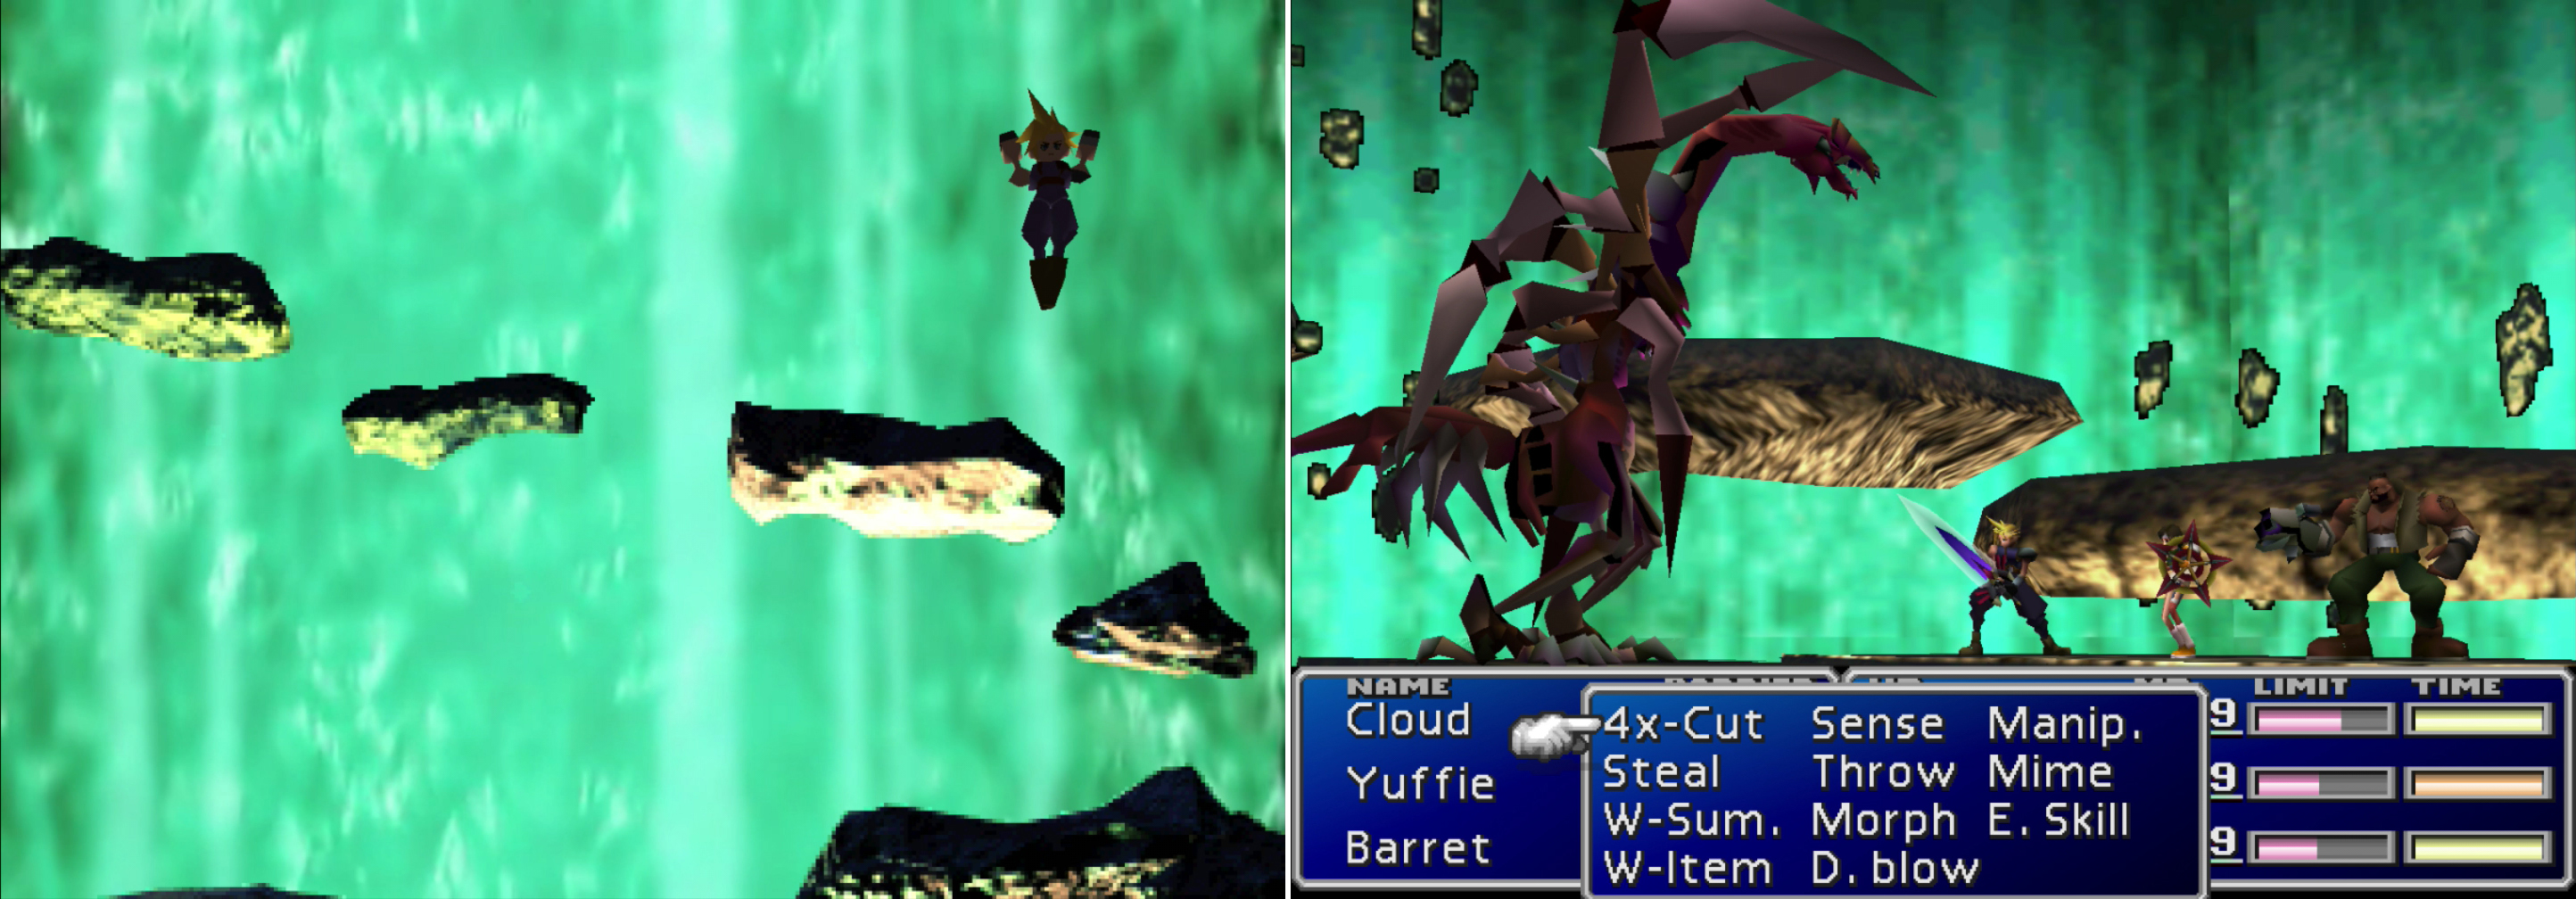
Descend to the heart of the planet’s wound by leaping down conveniently-placed platforms (left). On each platform you have a chance to fight a powerful foe (right).
Boss Battle: Jenova-SYNTHESIS
Jenova-SYNTHESIS is not a whole lot more dangerous than her previous form was, with one minor exception; she can cast “Ultima”, although her version is marshmallows compared to Ruby Weapon’s, and the fight ends when she casts it. It deals significantly less damage and requires Jenova-SYNTHESIS to complete a lengthy countdown to cast. Otherwise, she can smack you with her tentacles (1500` damage), cast Bio 2, heal herself with Cure 3, perform an “Absorb” attack (800~ damage, inflicts Sadness) and cast Stop. A Ribbon will block Bio 2 and if you hit her with a few “Magic Hammers” she’ll be reduced to “Absorb” and her normal tentacle attack. Not much of a end-game boss, really.
Honestly, how this fight influences the next two battles is more interesting than the fight itself. If you want the next battle to be simpler, wait around for Jenova to take thirteen or more actions, as it’s a trigger that suggests to the game that you might be under-powered. On the other hand, if you take too long and she does actually cast “Ultima” you won’t get any XP or AP for this fight, which shouldn’t really matter anyways. Also, avoid casting Knights of the Round on her. Not only is it a waste of MP considering how weak she is, but casting Knights of the Round during this fight will cause the boss of the next two fights to have considerably more HP.
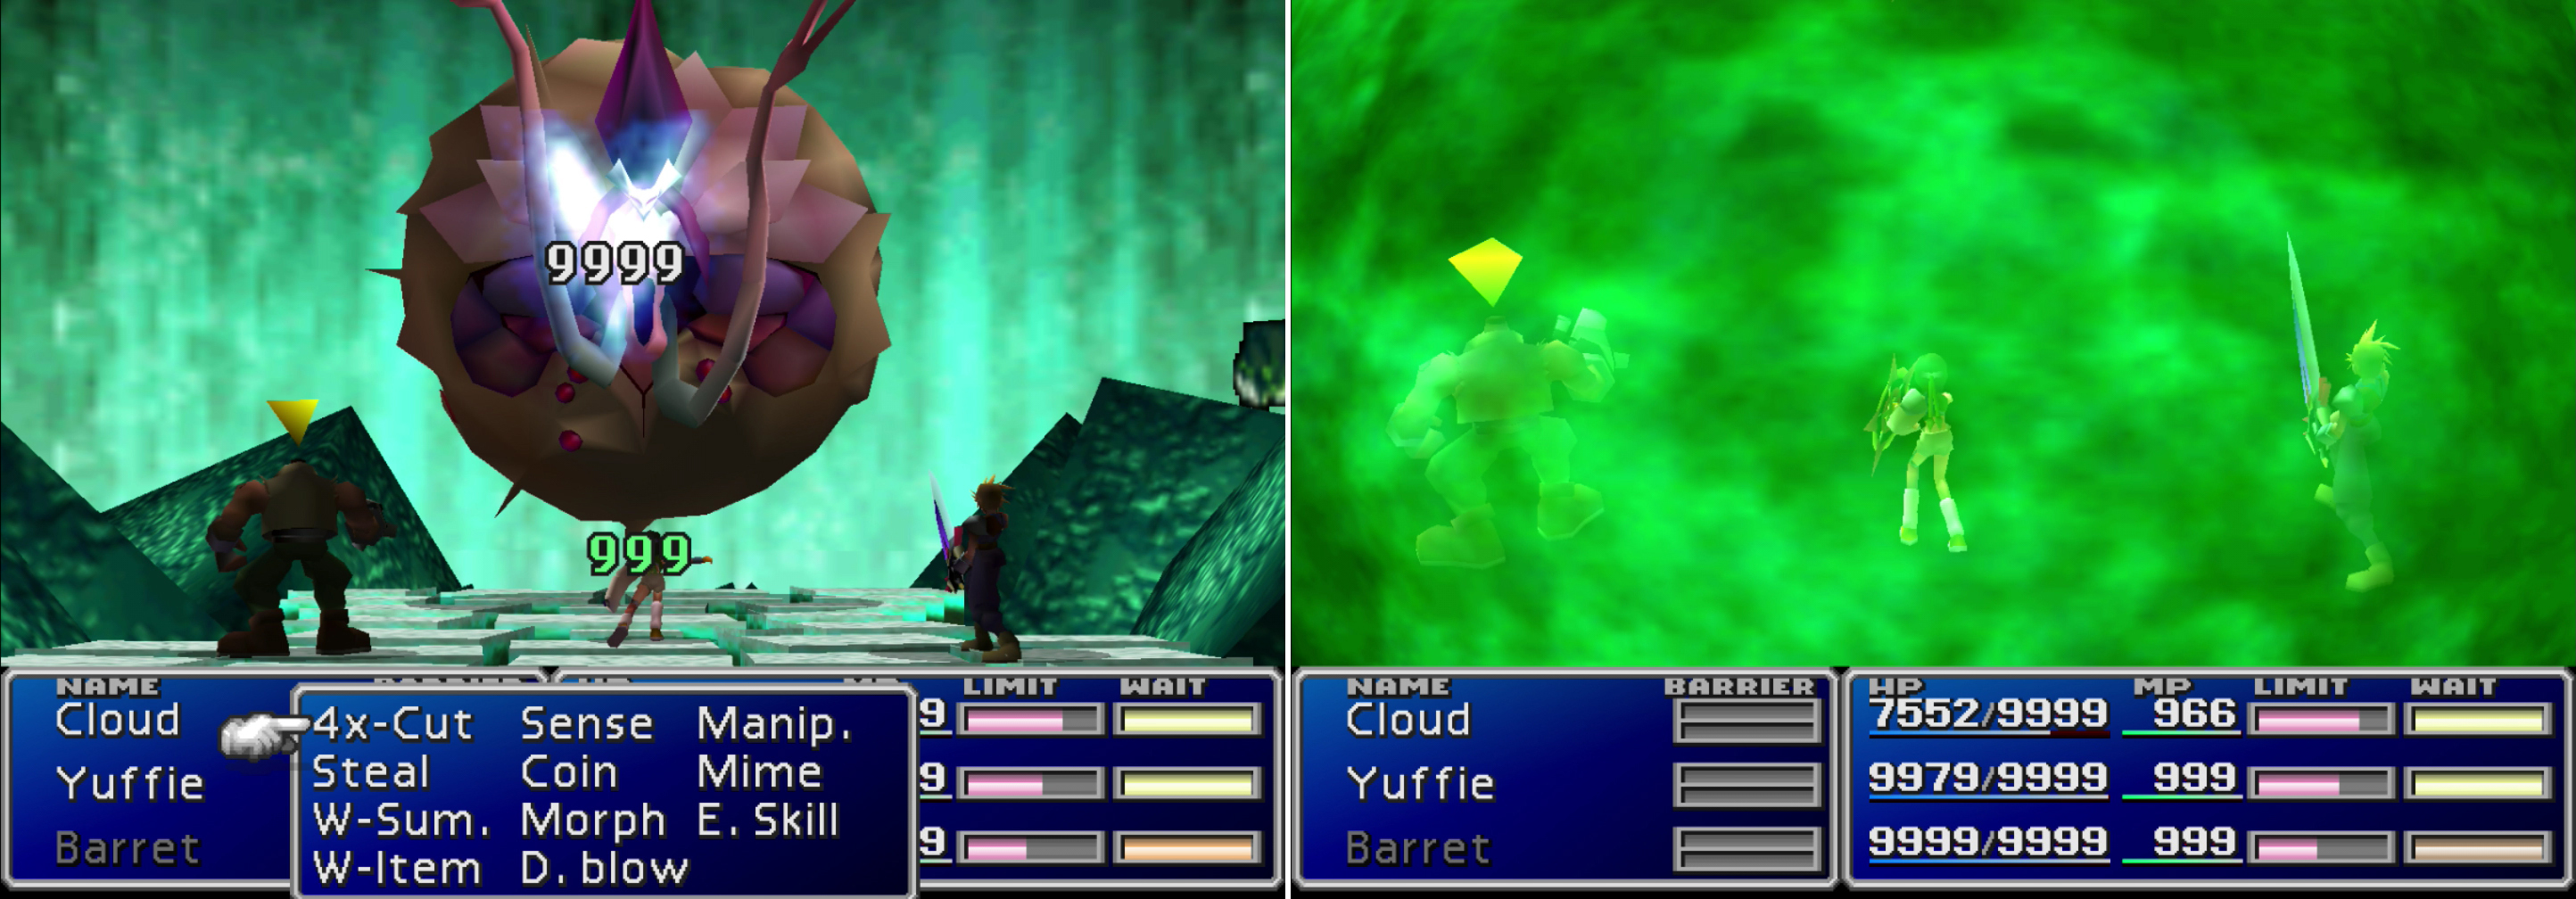
By now, Jenova-SYNTHESIS shouldn’t be much of a threat to any party that’s done some grinding and perhaps killed the superbosses (left). If she somehow survives long enough, she’ll end the fight with “Ultima” (right). This will deprive you of any XP or AP you’d otherwise have recieved, but it will make the next fight easier.
| Jenova-SYNTHESIS | Stats |
|---|---|
| HP: | 60000 |
| MP: | 600 |
| Weaknesses: | N/A |
| Resistances: | Earth (negates), Gravity (negates), Poison (absorbs) |
| XP: | 60000 |
| AP: | 1500 |
| Steal: | N/A |
| Drop: | N/A |
| Gil | N/A |
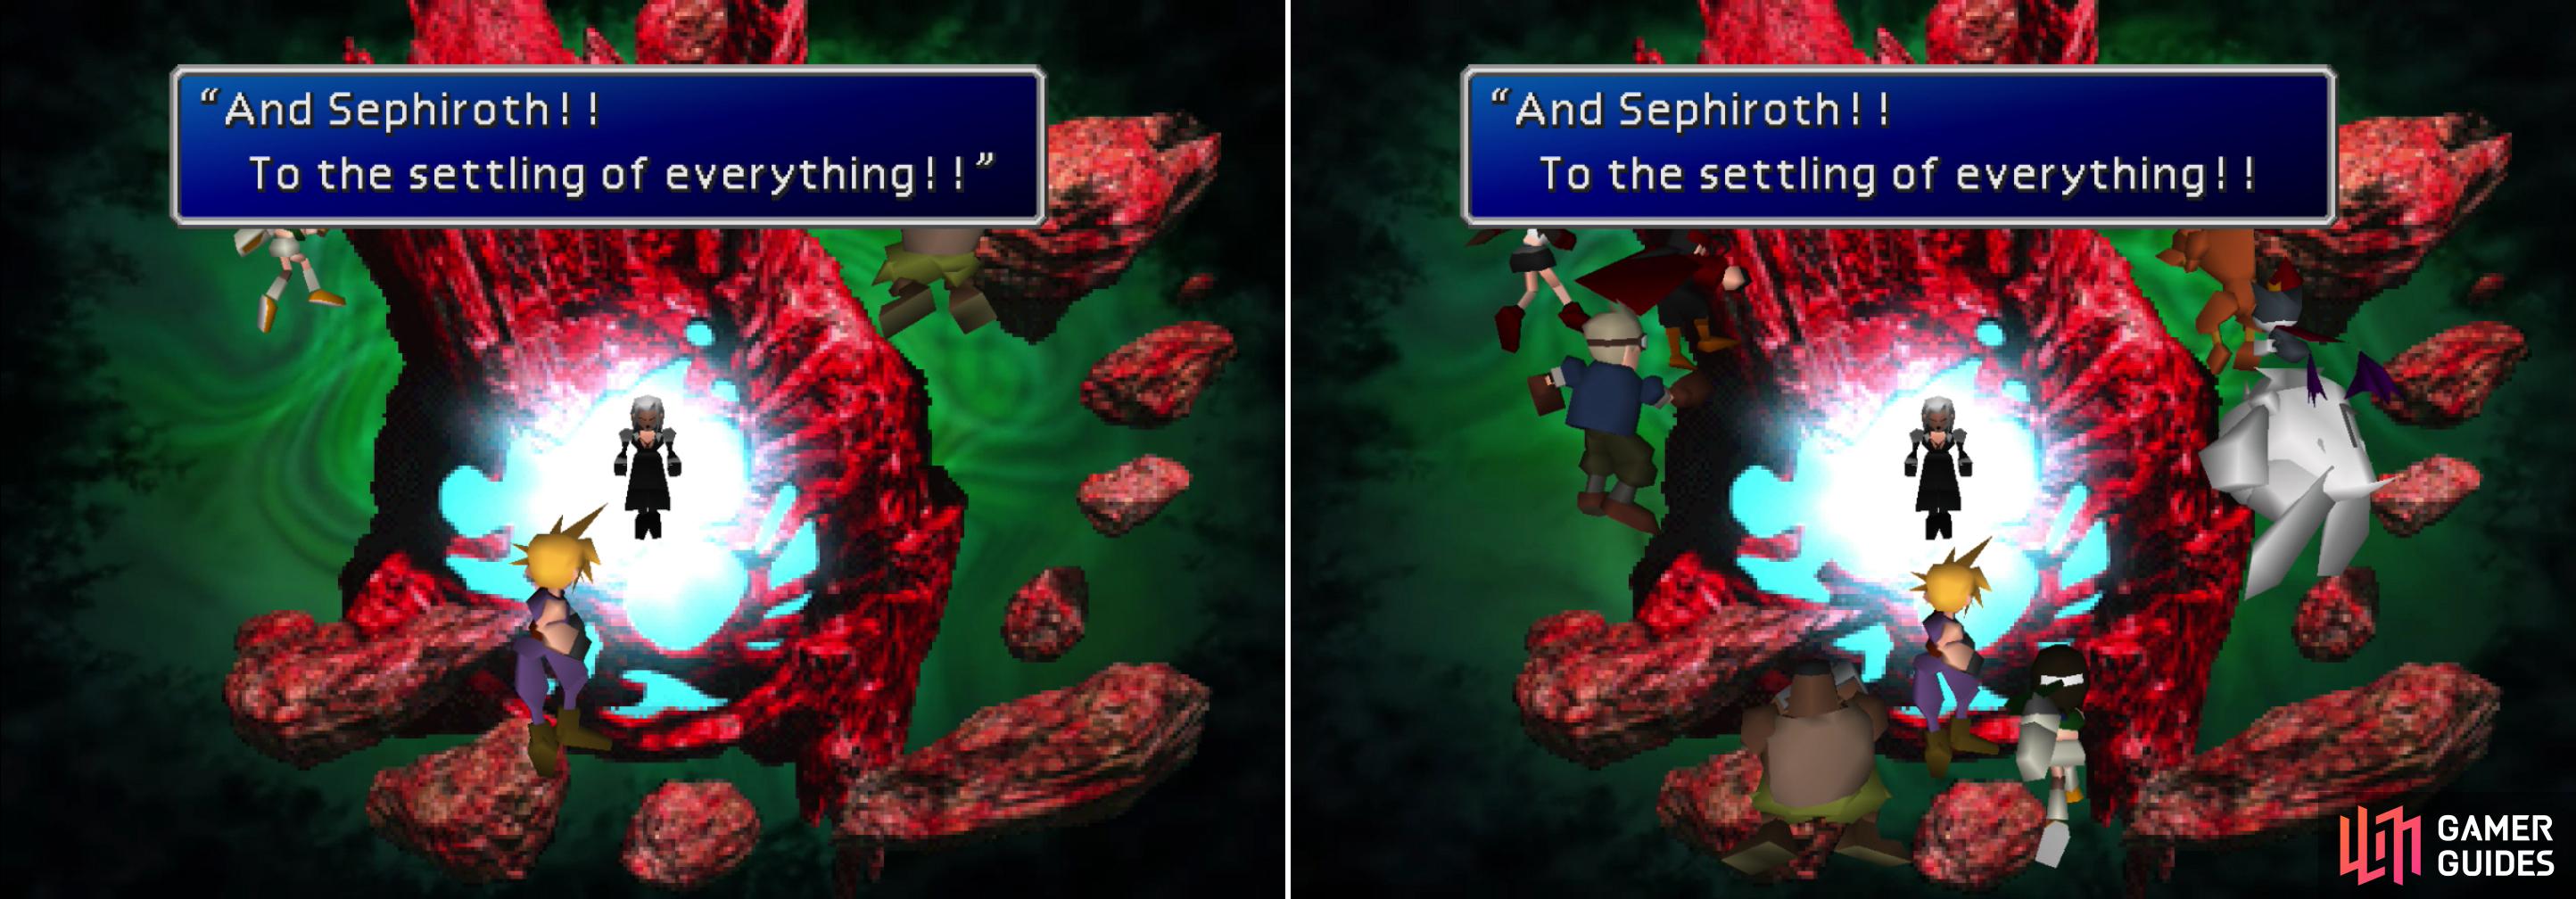
After Jenova is defeated, the island you fought her on will collapse, and the party will confront Sephiroth in front of Holy, which he has kept confined. The party will appear and Sephiroth will harass you with bursts of energy, after which you’ll get to select your part(ies) of choice, reassign weapons and Materia, and use items. How generous of Sephiroth to let you prepare so thoroughly. After you’re done confirm your intention by selecting the option “Let’s go, every one!” and Sephiroth will hit the party with another blast of energy, possibly ejecting several characters depending on a number of factors including your level, how long you took to fight Jenova-SYNTHESIS and whether you even have Yuffie or Vincent.
Depending on a number of factors, Sephiroth might expel all but three characters from the next fight (left), making it a simpler encounter. A stronger party will retain more characters, which must be split into three groups (right).
Boss Battle: Bizarro Sephiroth
This fight can be fairly complicated if you have multiple parties and aren’t powerful enough to simply overwhelm Bizarro Sephiroth through brute force. First, the HP of the boss can vary wildly depending on how many characters you have at level 99, and whether you cast Knights of the Round on Jenova-SYNTHESIS. The body (Bizzaro Sephiroth A) can have between 40,000 and 140,000 HP, and is the only part you need to kill to win the fight. If you’re well-leveled, each character can easily be doing thousands of damage per hit (perhaps tens of thousands with Double Cut!), and one casting of Knights in the Round should kill Bizzaro Sephiroth outright, two at the most (that’s what Mime is for, right?) For for the sake of argument, let’s pretend that this creature is impressive and run down the strategy you’re supposed to employ to win this fight.
Every round the core (Bizzaro Sephiroth C) will use “Bizzaro Energy” to heal the body for around 6000 HP which, if you’re only doing several thousand damage per hit probably seems like quite an impediment. The two “magics” (arms) cast a variety of high-level elemental spells, including Bolt 3, Fire 3, Ice 3 (all of which deal 3000~ damage) and Quake 3 (3500~ damage). The left arm (Bizzaro Sephiroth E) absorbs earth and fire damage, while the right (Bizzaro Sephiroth D) absorbs ice and lightning, so “Beta” and “Trine” are out as attacks. This still leaves you with “Aqualung” and “Pandora’s Box” as powerful magics that will harm all of Bizzaro Sephiroth’s parts.
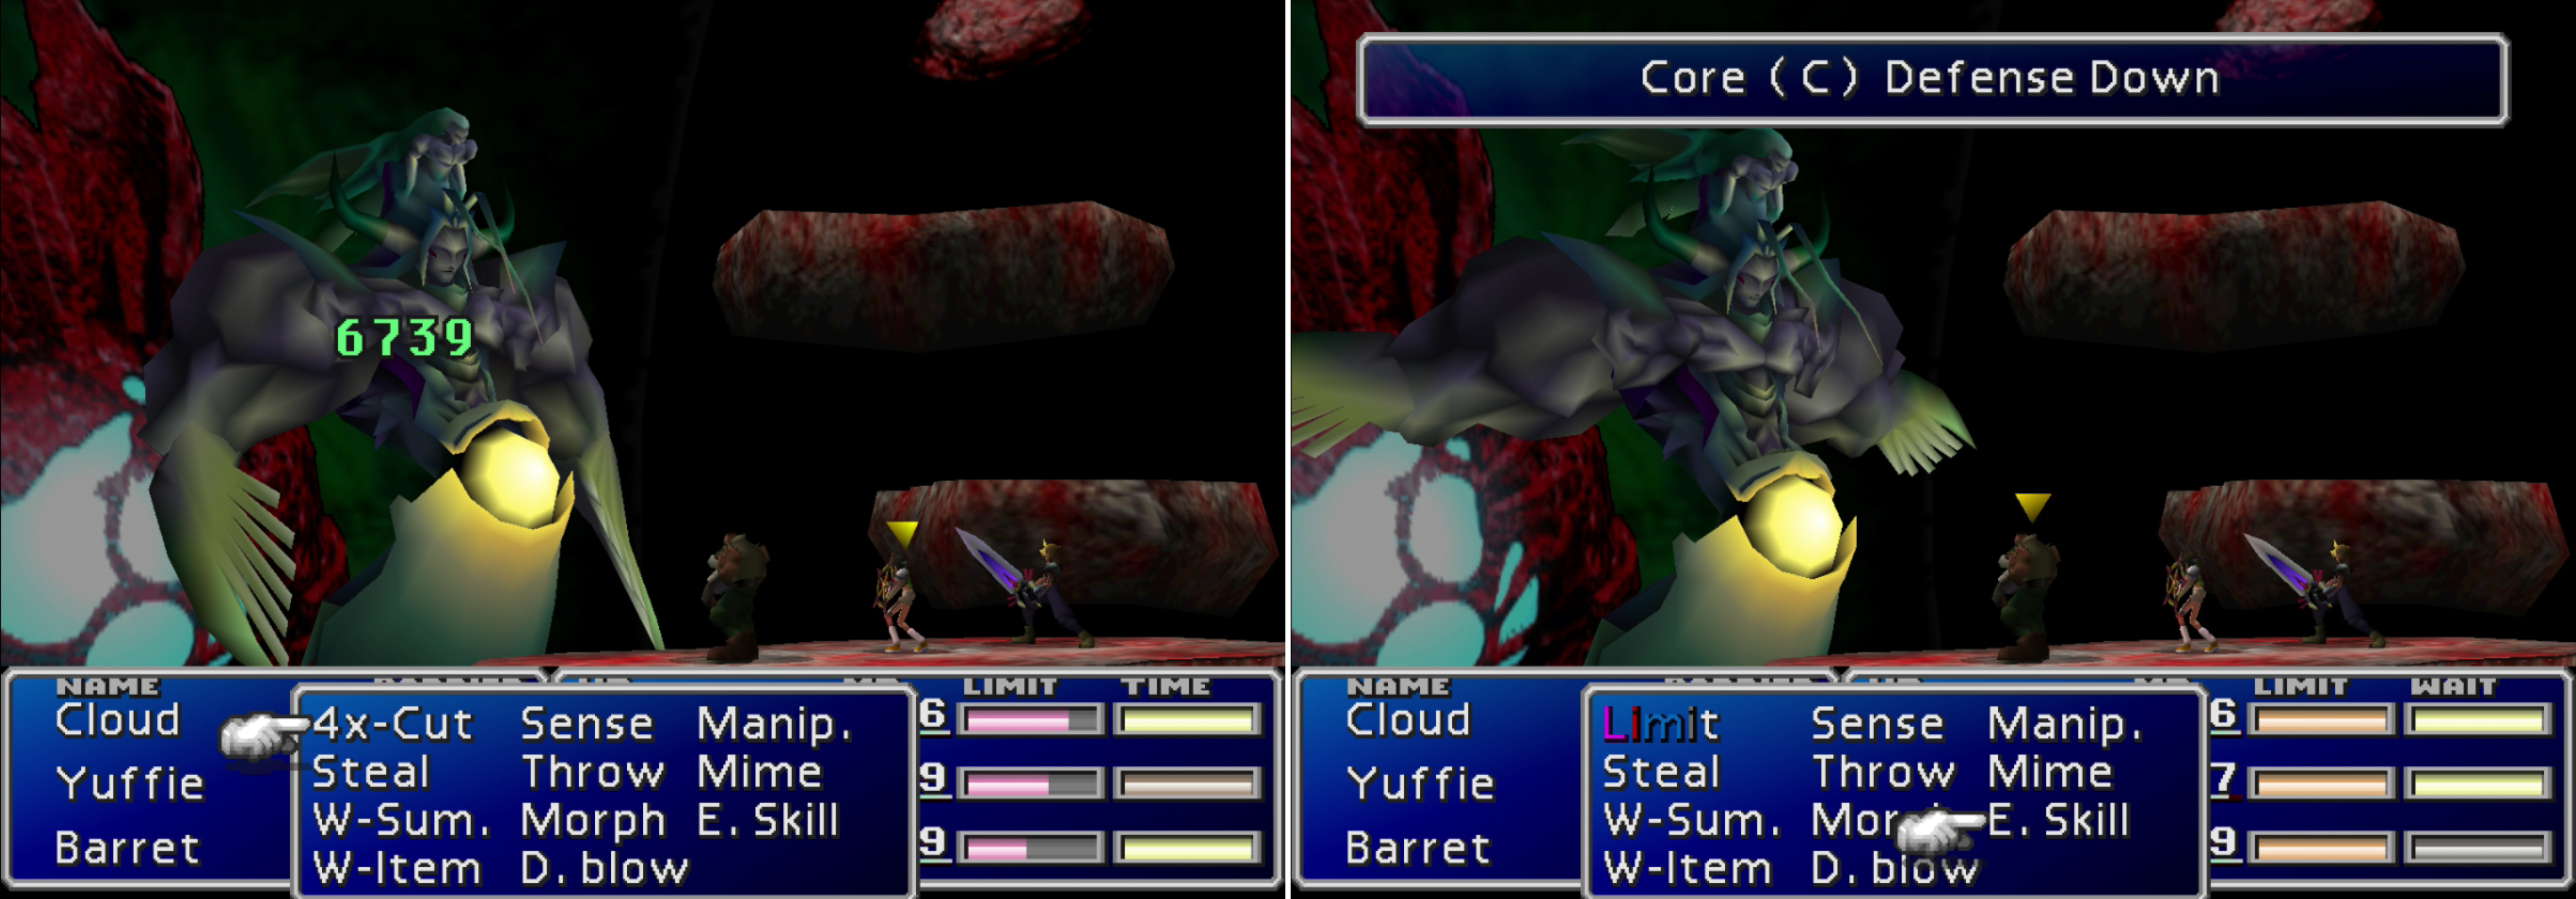
Bizarro Sephiroth will regularly heal itself with “Bizarro Energy” (left) unless you can take out its core. To leave the core vulnerable you have to destroy one of its arms (left) which will cast offensive spells while alive.
Once the arms die, the core becomes vulnerable, and once the core is dead, the body won’t be getting healed anymore. All parts of Bizzaro Sephiroth save the core will regenerate given time, but once the core is gone, the body can be attacked with impunity. In addition to the aforementioned attack, Bizzaro Sephiroth can perform a physical attack (1500~ damage), cast “Aurora Fence”, which revives and slightly heals all party members, but removes all status effects, cast Demi 3 (reduces the target to 1/4 of their HP and worst of all, it can use “Heartless Angel”, which attempts to reduce the HP of the entire party to one. Killing the head (Bizarro Sephiroth B) will stop some of these attacks, but since it regenerates so quickly, it’s not really worth the time.
So, even if you’re to weak to go right after the body from the outset, you’ve got options. Kill the arms, then the core, then whack at the body. If you were forced to pick multiple parties after the Jenova-SYNTHESIS fight you’ll get the option to switch over to the next party each time you kill a body party. To do so, pick the option “Yeah, a little” when the game asks “Worried about the other members?” If you don’t want to switch to the next party, select “Not really” instead. Why bother with this at all? Well, if you’ve properly followed this guide and are the least bit prepared for this fight, you won’t need to, as you can damage the body faster than it can be healed.
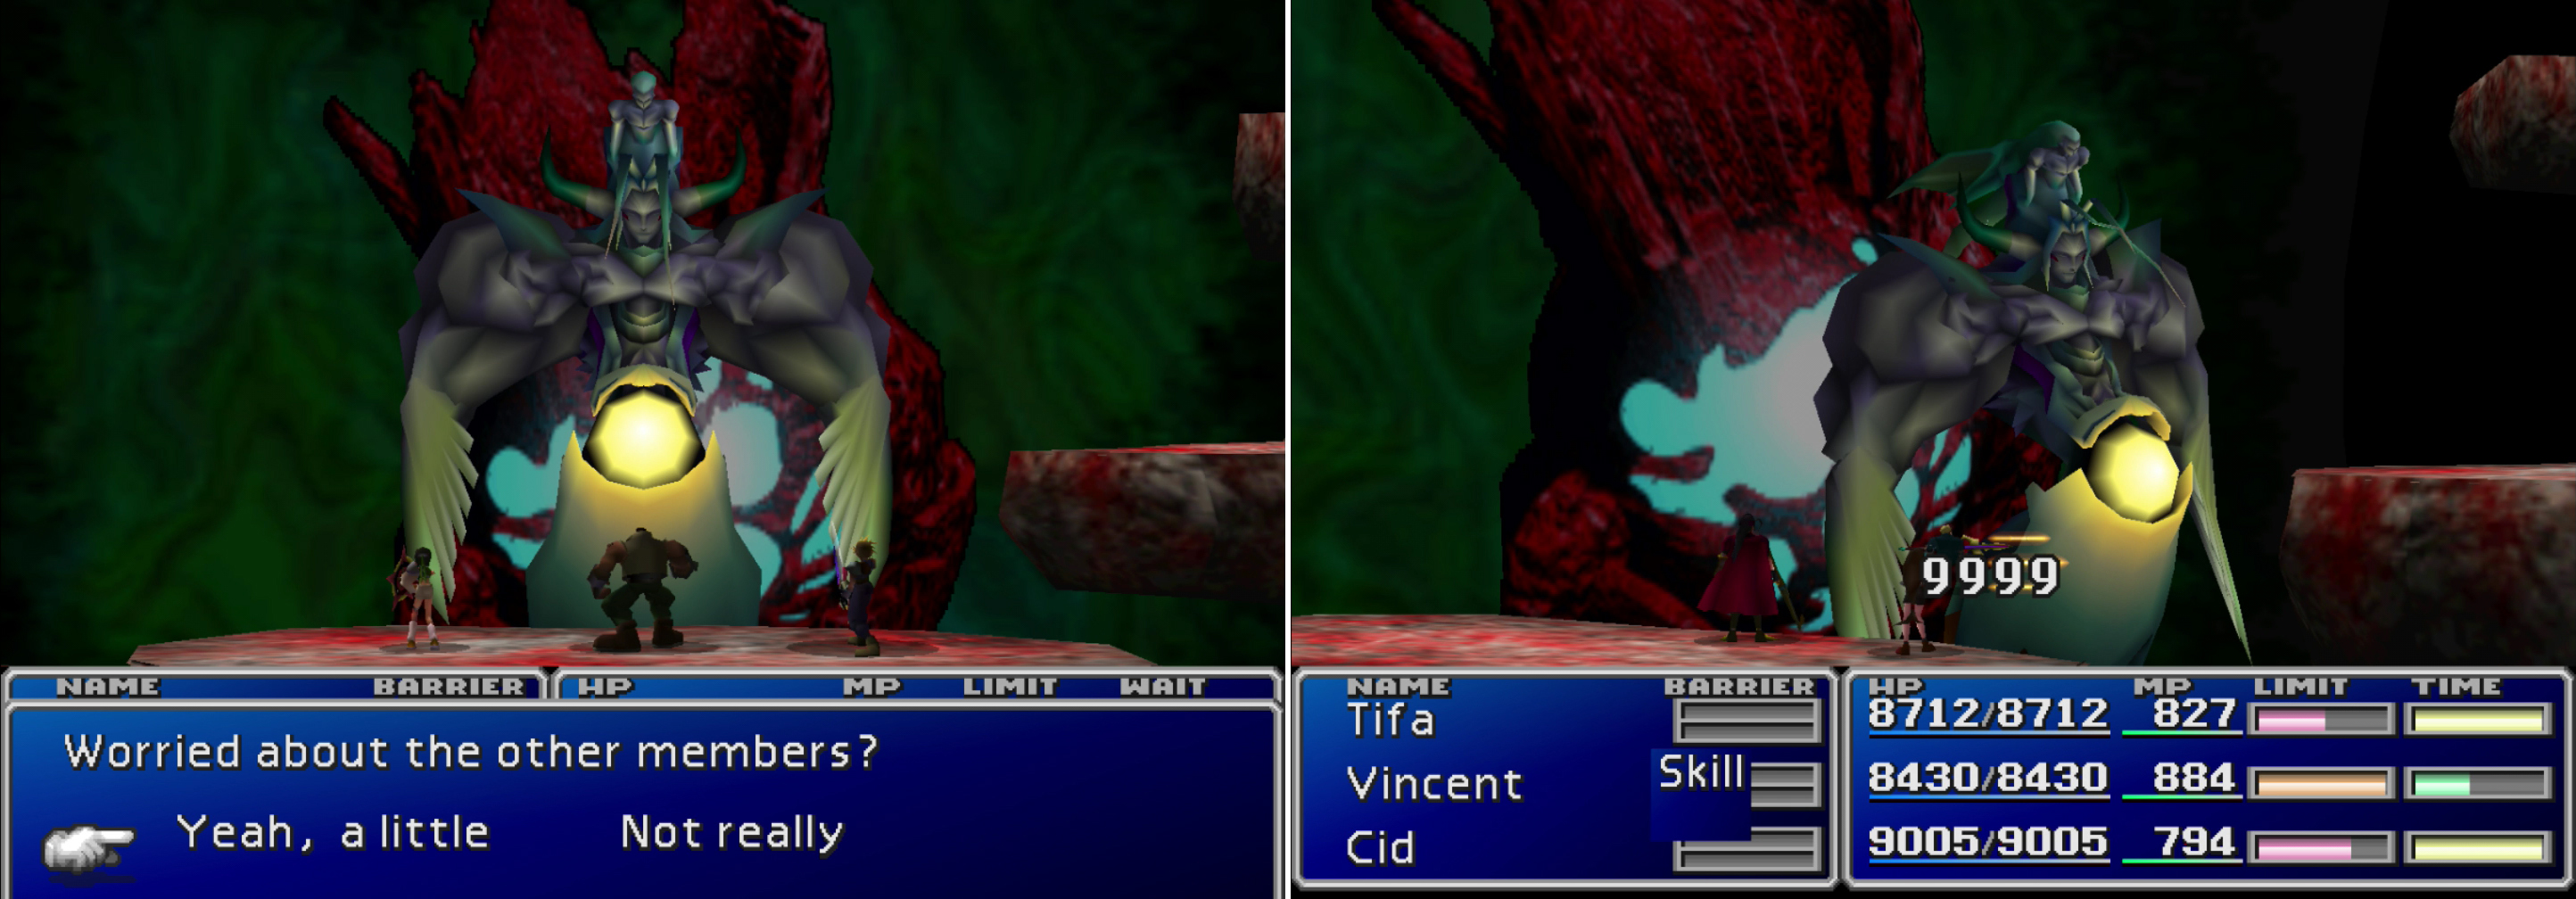
After you destroy a body part, you’ll be prompted to switch to another party (left). If you have multiple parties you’ll need to kill the arm and core with each group to prevent the body from being healed (right).
On the other hand, if you were forced to pick multiple parties earlier and are having trouble damaging the body, killing the arms will not be sufficient to make the main core vulnerable. You’ll have to kill the arms with the main party, then kill one of the arms with each other party or parties (which are flanking Bizarro Sephiroth, and hence can only access one arm) after which their core (either right or left) will become vulnerable. Kill the arm the side party or parties have access to, then kill their respective cores. Once the side team’s cores are dead (you’ll need to kill both if you have three teams, only one if you have two) switch back to the main team, kill their core, then proceed to kill the body, which can no longer be healed.
Obviously this can get tricky if you’ve neglected some characters; there’s not enough Materia to go around. Still, if you have everybody’s ultimate weapon and a stock of items, everybody (save possibly Vincent and Tifa, due to how their ultimate weapons charge) should be able to do decent damage, and an X-Potion of Megalixir will keep you alive long enough to deal the few thousand damage you need to kill each team’s arm and core. Distributing Enemy Skill Materia to each party before the fight is also a good idea; you could well have four Enemy Skill Materia, and “White Wind” and “Big Guard” are still as effective as ever.
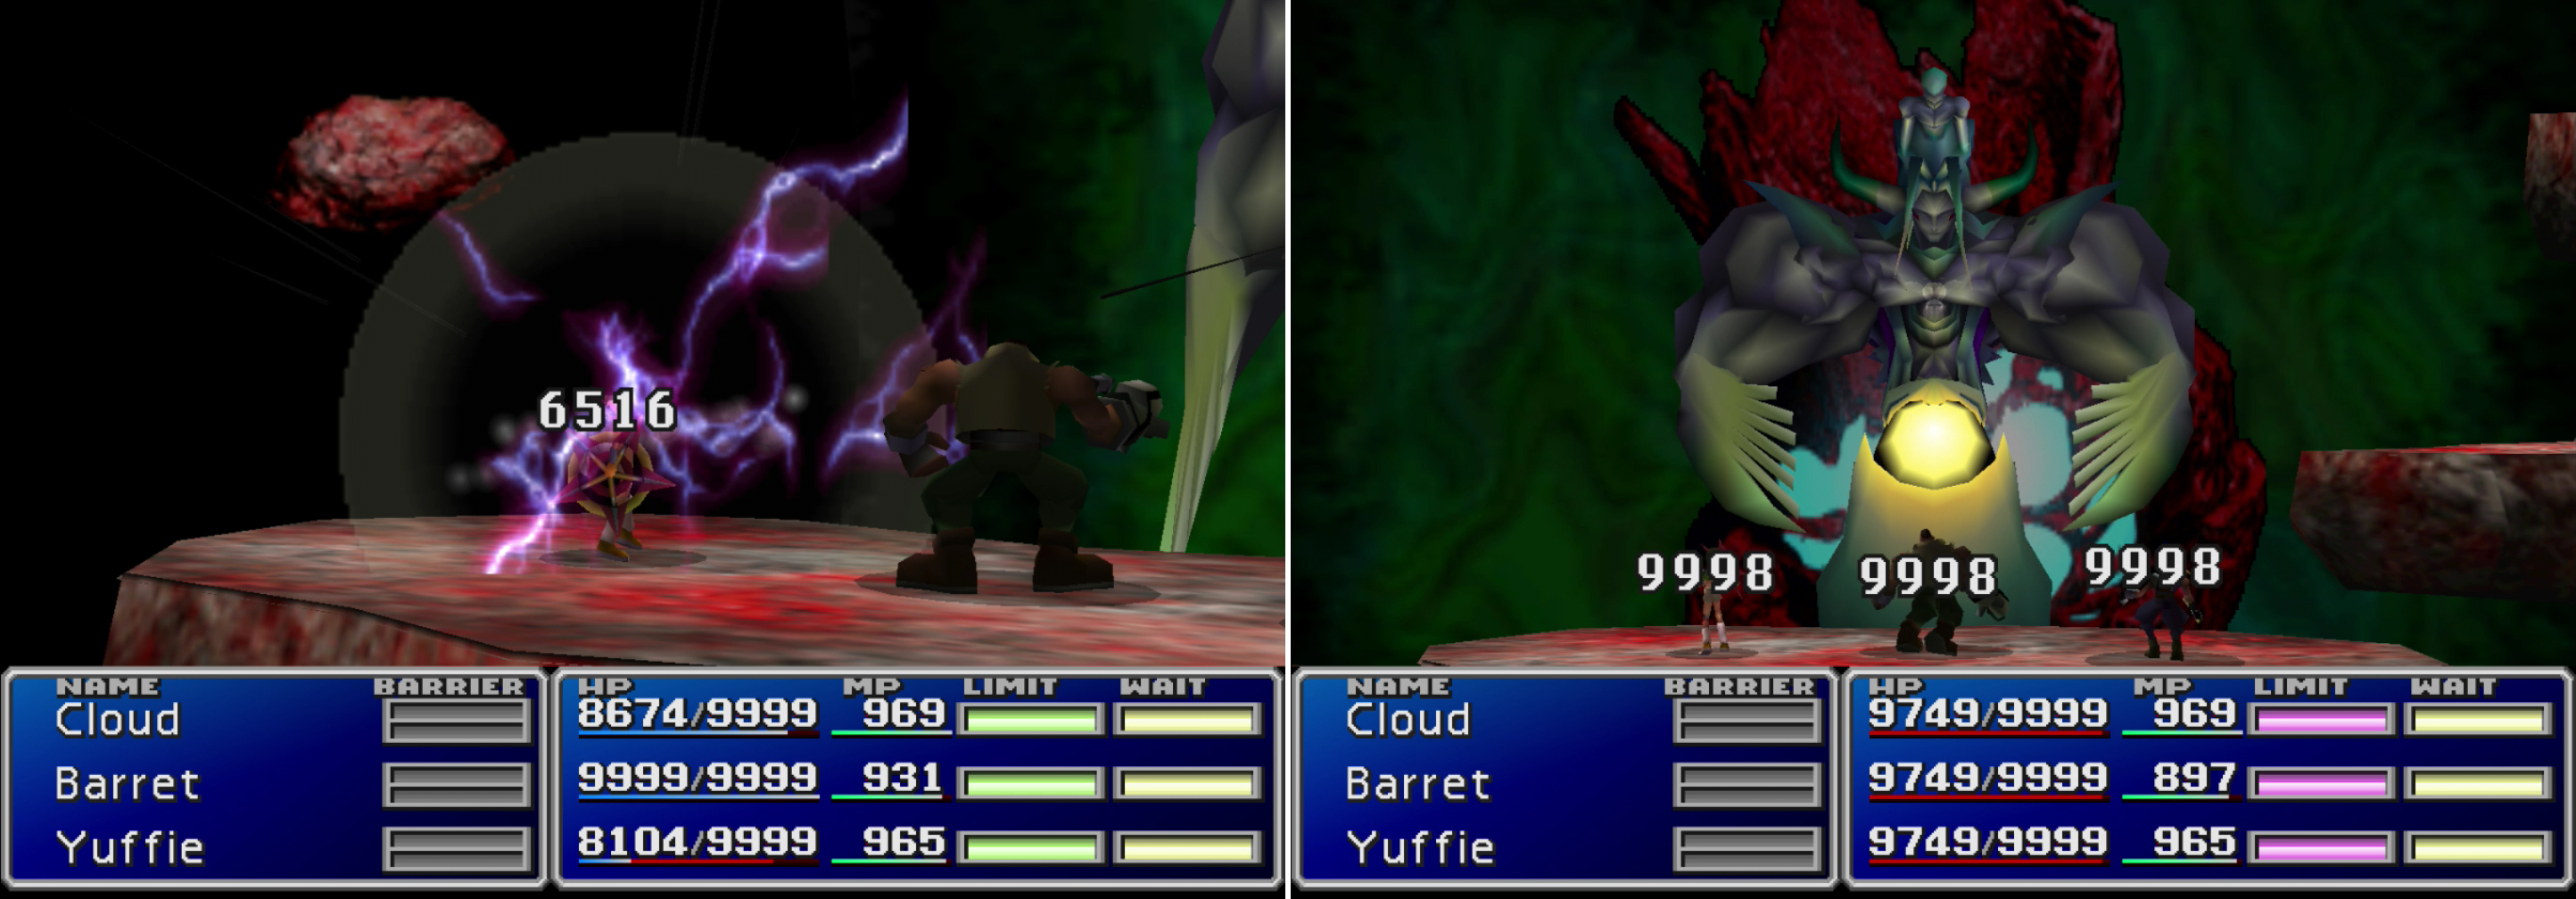
Bizarros Sephiroth isn’t going ot stand idly by while you chip away at him, however. Both arms can cast vicious spells (left) and its “Heartless Angel” attack can reduce an entire party to one HP (right).
However you manage it - either by using brute strength, ignoring the complexity of the battle and just cutting down the body, or by killing the arms and cores with your secondary party (or parties), then focusing on the body - once the body falls this fight is over.
| Bizarro Sephiroth | Stats |
|---|---|
| HP: | 40,000 - 140,000 (body), 2000 - 4000 (head), 10,000 - 20,000 (core), 4000 - 16,000 (arms) |
| MP: | N/A |
| Weaknesses: | N/A |
| Resistances: | Earth (absorbs, left arm only), Fire (absorbs, left arm only), Ice (absorbs, right arm only), Lightning (absorbs, right army only), Gravity (negates, all parts) |
| XP: | N/A |
| AP: | N/A |
| Steal: | N/A |
| Drop: | N/A |
| Gil | N/A |
Boss Battle: Safer Sephiroth
After defeating Bizarro Sephiroth, your main party (whomever is with Cloud) will end up fighting Sephiroth in the sky. Safer Sephiroth is far more powerful than Bizarro Sephiroth, and will be even stronger depending on how many characters you have at level 99. Like Bizarro Sephiroth, this form also has more HP if you cast Knights of the Round on Jenova-SYNTHESIS. Since his power varies, the damage numbers listed in the descriptive text below will be the highest possible. If you’re not fighting Safer Sephiroth with eight level 99 characters, you won’t take as much damage as is listed below. On the plus side, there’s no party switching or invulnerable pieces; just a straightforward fight between the man-who-would-be-a-god and the mere mortals charged with stopping him.
Safer Sephiroth will start out the fight by casting “Wall” on himself. He also likes to float above the party, out of reach of anybody without a long range weapon or Long Range Materia. His attacks include a swipe with his demonic wing (7000~ damage, can inflict Darkness and Paralysis), an attack called “Deen” (1500~ damage to all characters), “Pale Horse” (2000~ damage, can inflict Frog, Sadness and Small) and Despell. He can also cast “Shadow Flare” which will hit a target for around 7000 damage, “Break” (6000~ damage, can cause Petrification) and “Heartless Angel” returns, which will reduce all characters to 1 HP if it hits. His most impressive attack, however, is “Super Nova”, which might just be the most absurd boss attack in gaming. This attack will - after destroying half the solar system - reduce each character to 1/16 (about 6%) of their current HP and possibly inflict Confusion, Silence and Slow.
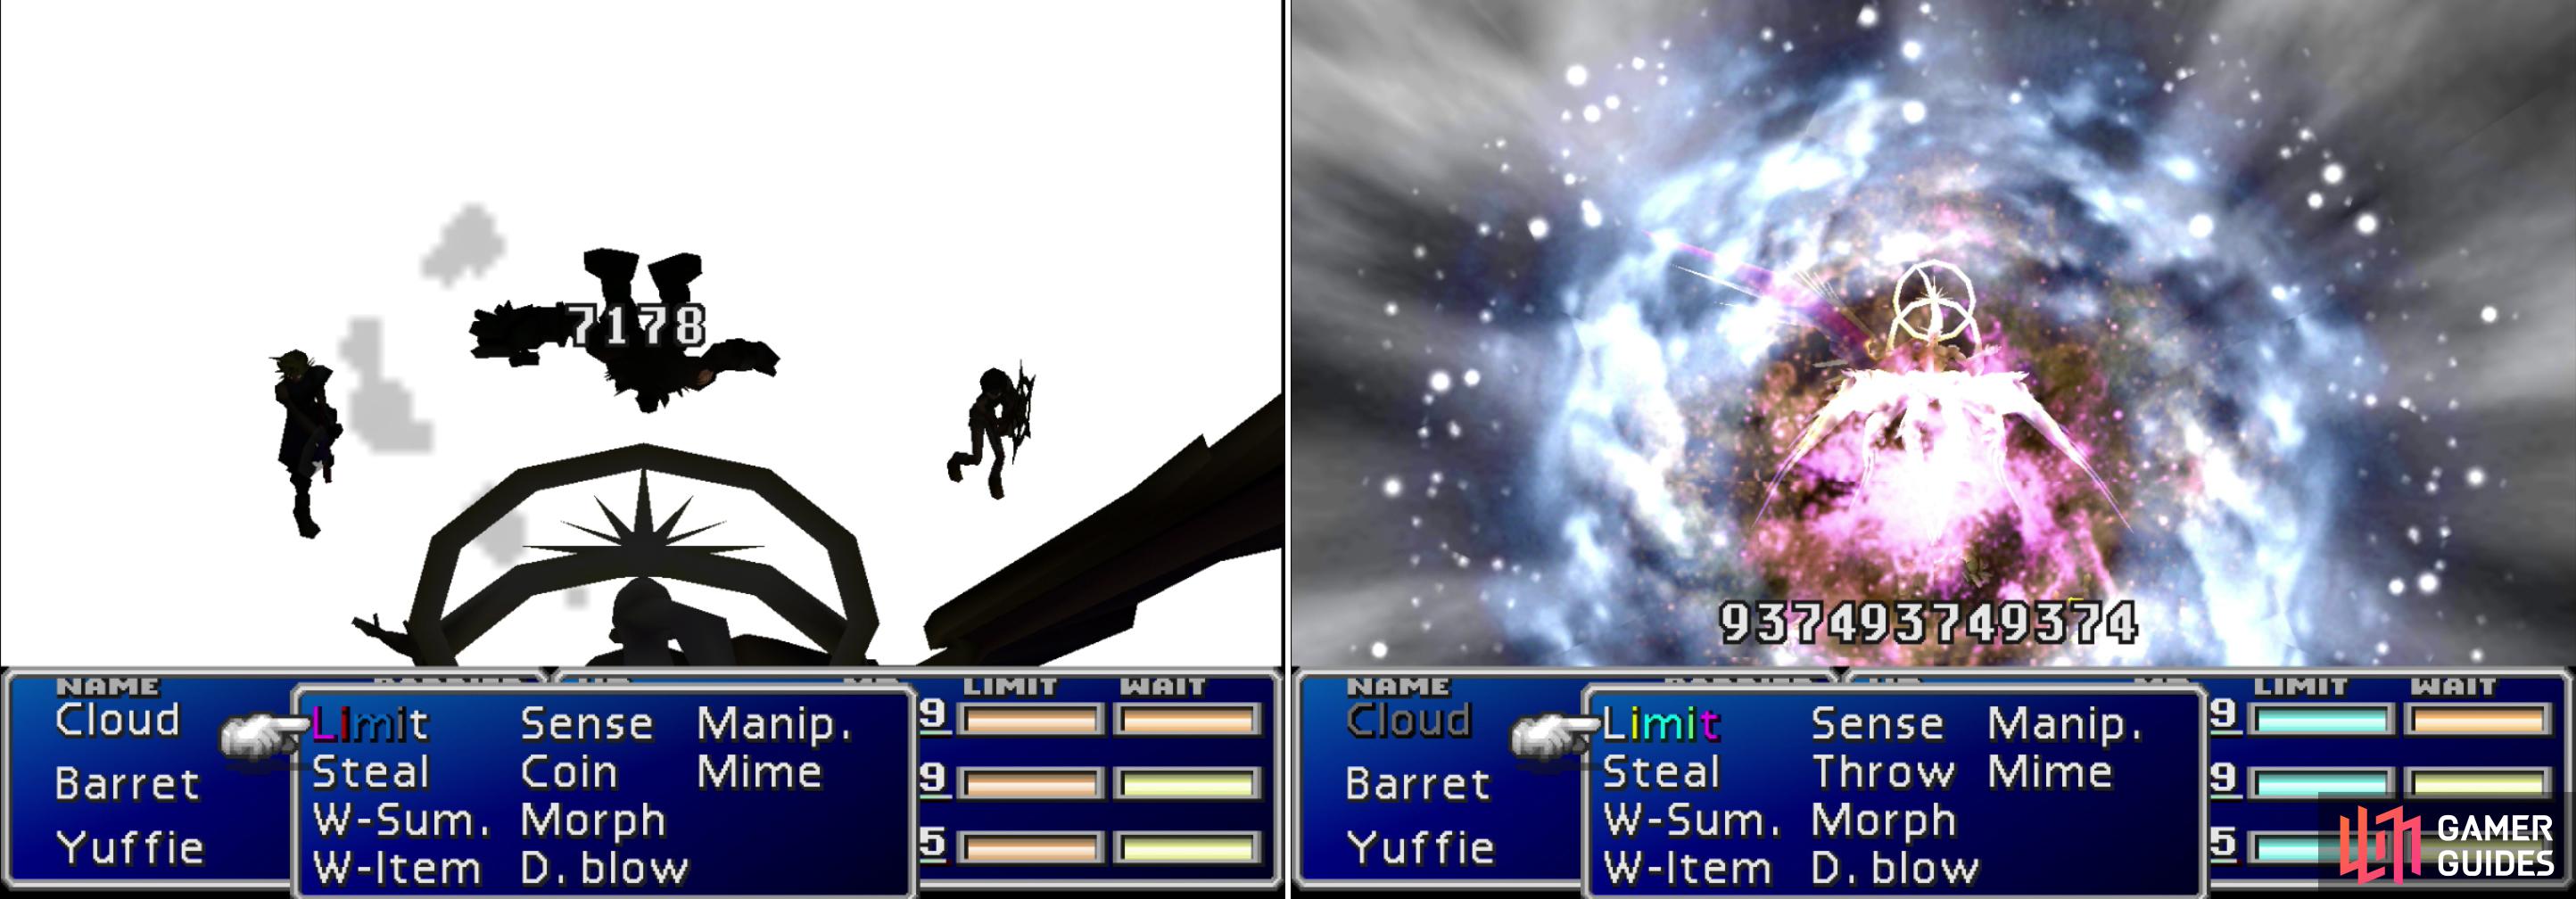
Safer Sephiroth’s “Shadow Flare” attack can deal massive damage to one character (left). But his most danger - and absurdly elaborate - attack is “Super Nova”, which inflicts a number of status effects and reduces all party members to 1/16th of their current HP (right).
| Safer Sephiroth | Stats |
|---|---|
| HP: | 80,000 - 400,000 |
| MP: | 680 |
| Weaknesses: | N/A |
| Resistances: | Earth (negates), Gravity (negates) |
| XP: | N/A |
| AP: | N/A |
| Steal: | N/A |
| Drop: | N/A |
| Gil | N/A |
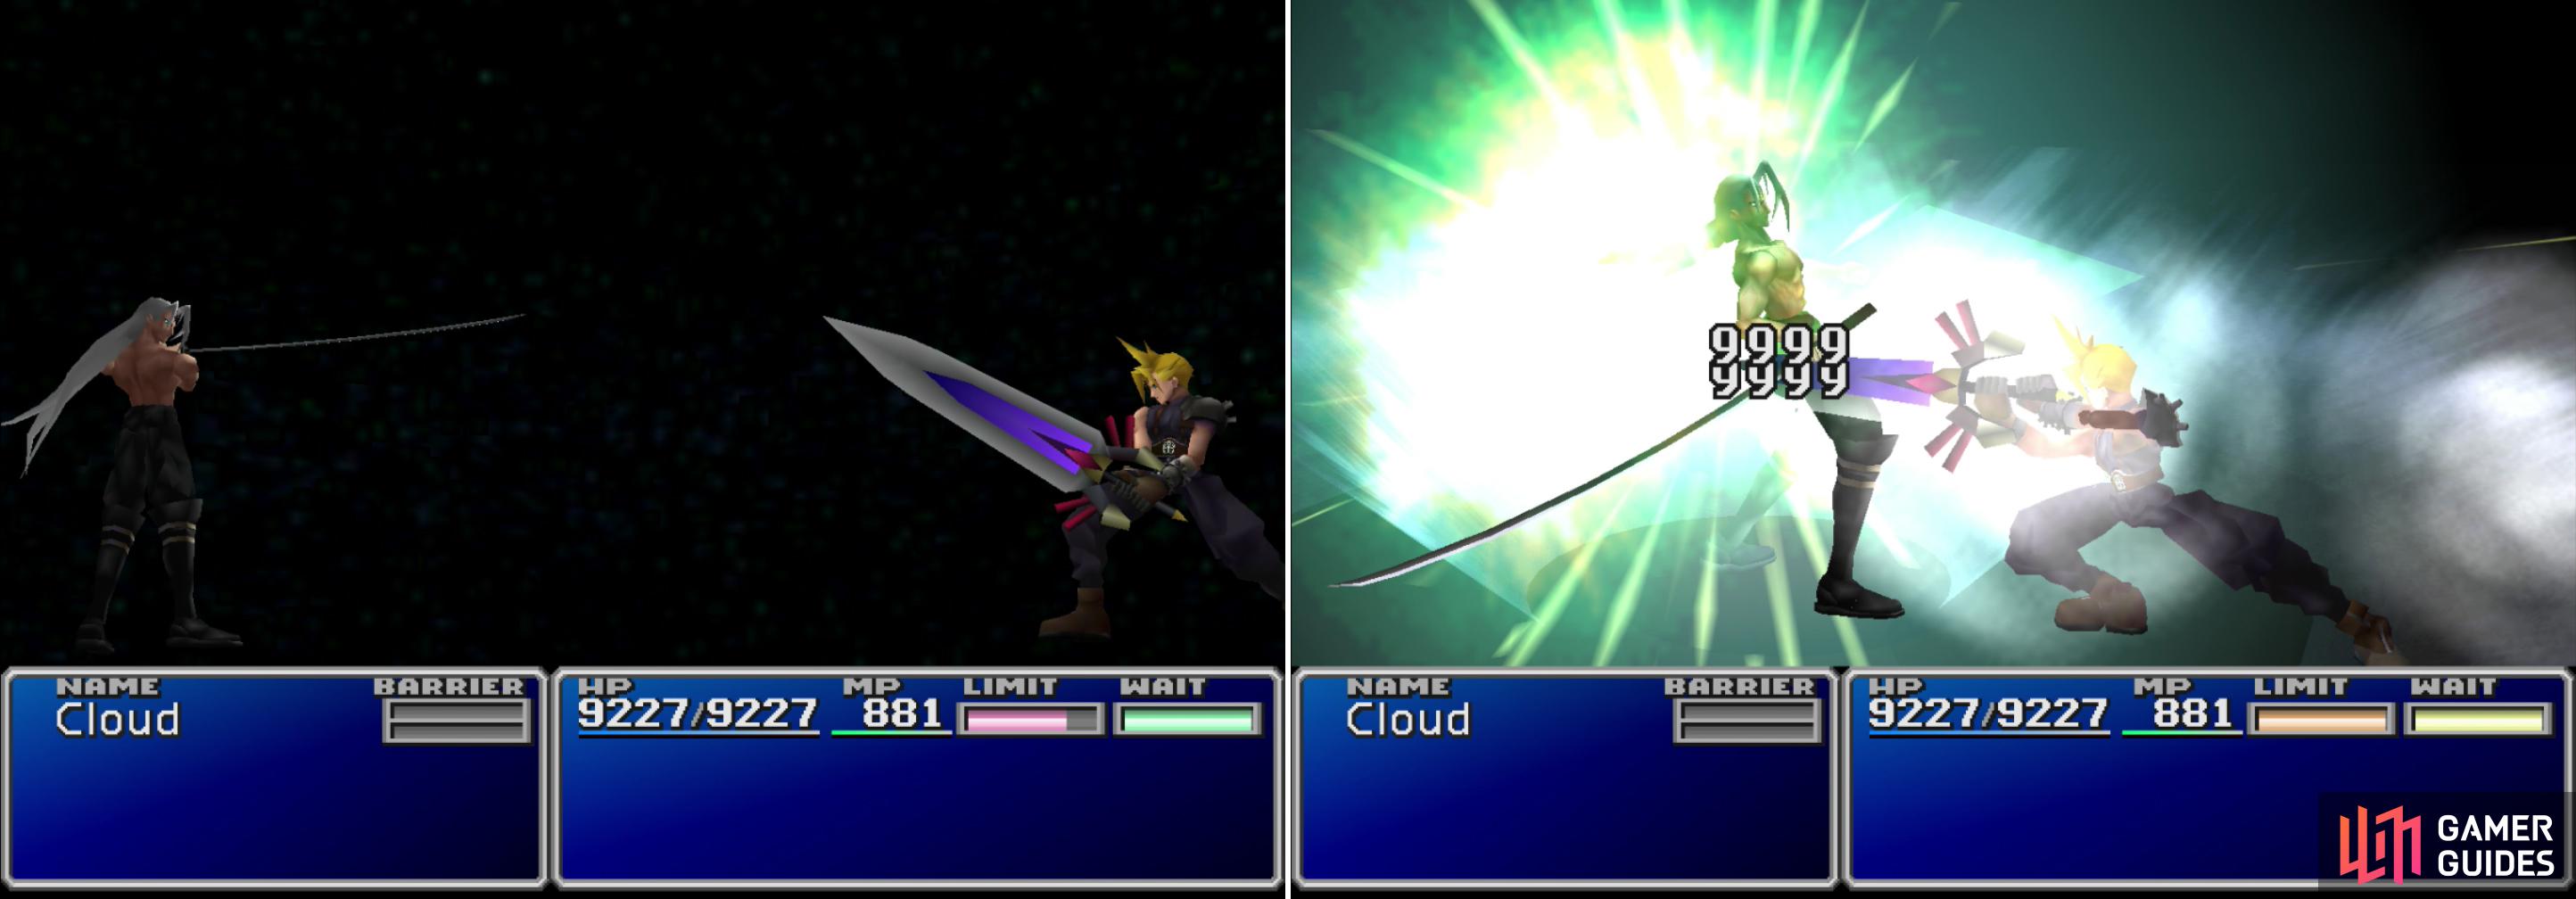
Cloud and Sephiroth will face off one final time (left). After his Limit Meter charges, unleash Cloud’s devastating “Omnislash” Limit Break to finally settle the score (right). This one’s for you, Aeris.
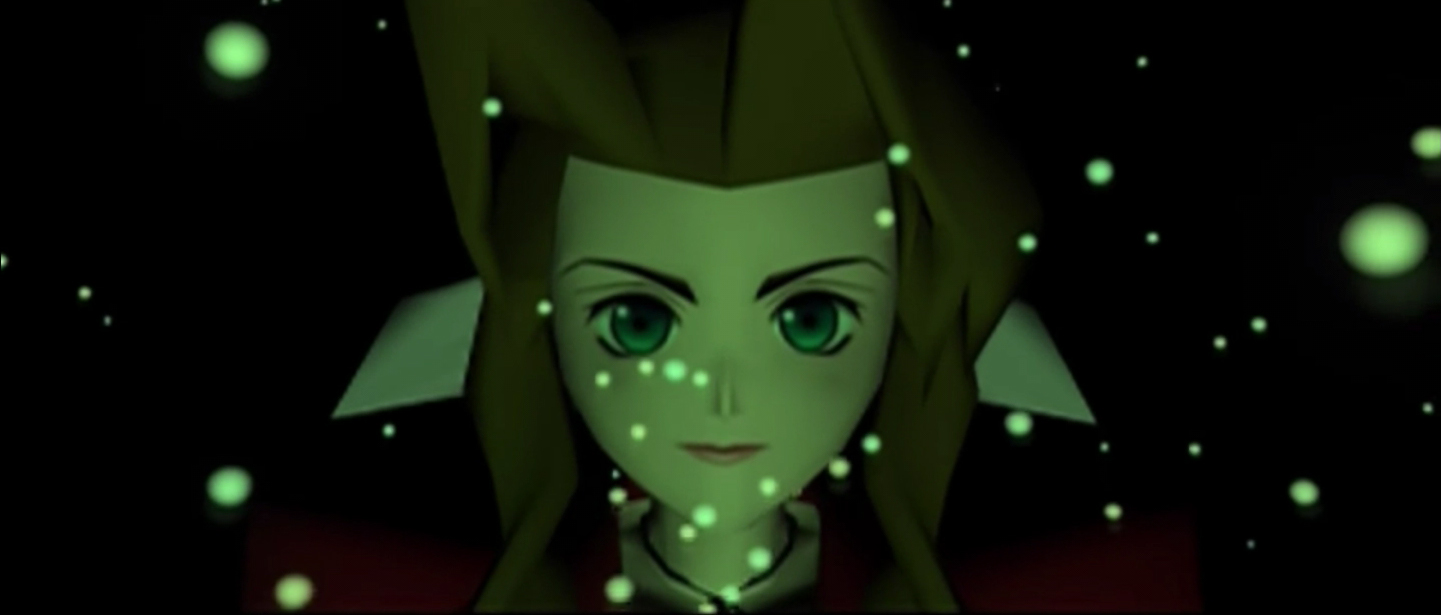
After Sephiroth - the son of the calamity from the sky - is defeated, Cloud will have a final one-on-one fight with Sephiroth. All you have to do here is use Omnislash when prompted to finish the fight with Sephiroth once and for all. Afterwards, Sephiroth’s consciousness will be dispersed into the Lifestream and Cloud will have an encounter with a dear, deceased friend. Holy begins to move, the party makes a narrow escape, and all they can do is look on as powers beyond their control decide the fate of the planet and of humanity.


No Comments