
| Important Items in this Area | Enemy Skills in this Area* |
|---|---|
| Enhanced Sword | Bad Breath |
| Fire Armlet | Magic Breath |
| Javelin | Trine |
| Ribbon |
Gaeas Cliff (Part 1)
Once you’re done in the Great Glacier, make your way north from Holzoff’s Cabin to reach Gaea’s Cliff. As Holzoff promised, it’s cold up here! Cloud, in his sleeveless outfit, must be miserable, but not as miserable as Tifa and Yuffie probably are. Anyways, climb the slope to reach the first ledge and immediately start warming yourself up. If your body temperature falls to 26 degrees (Must be Celsius. Weirdos.) you’ll pass out and wake up back at Holzoff’s, and nobody wants to backtrack. Fortunately, despite the laws of physics and common sense, in the world of Final Fantasy VII, a little motion is all that’s required to replenish lost body heat. When you’re good to go, climb the wall near the flag to reach another ledge, then repeat the process until you make your way into a cave.
Inside of Gaeas Cliff (Part 1)
Head north under an ice bridge and enter an oddly artificial looking archway to reach the next screen. Go up some stairs to the west and exit the screen by running into an alcove in the south-western corner of the chamber to return to the first area, albeit higher ground than where you originally entered. Make your way across the ice bridge to the east and run through the eastern wall, which actually leads to a small chamber with a chest containing a Ribbon . Mega score. Leave the chamber and head north along a ledge on the eastern end of the screen, cross another bridge and loot a chest containing a Javelin (62 Attack, five Materia sockets, including two pairs of joined sockets, Double AP Growth. It’s a pretty awesome weapon for Cid), then exit to the next area.
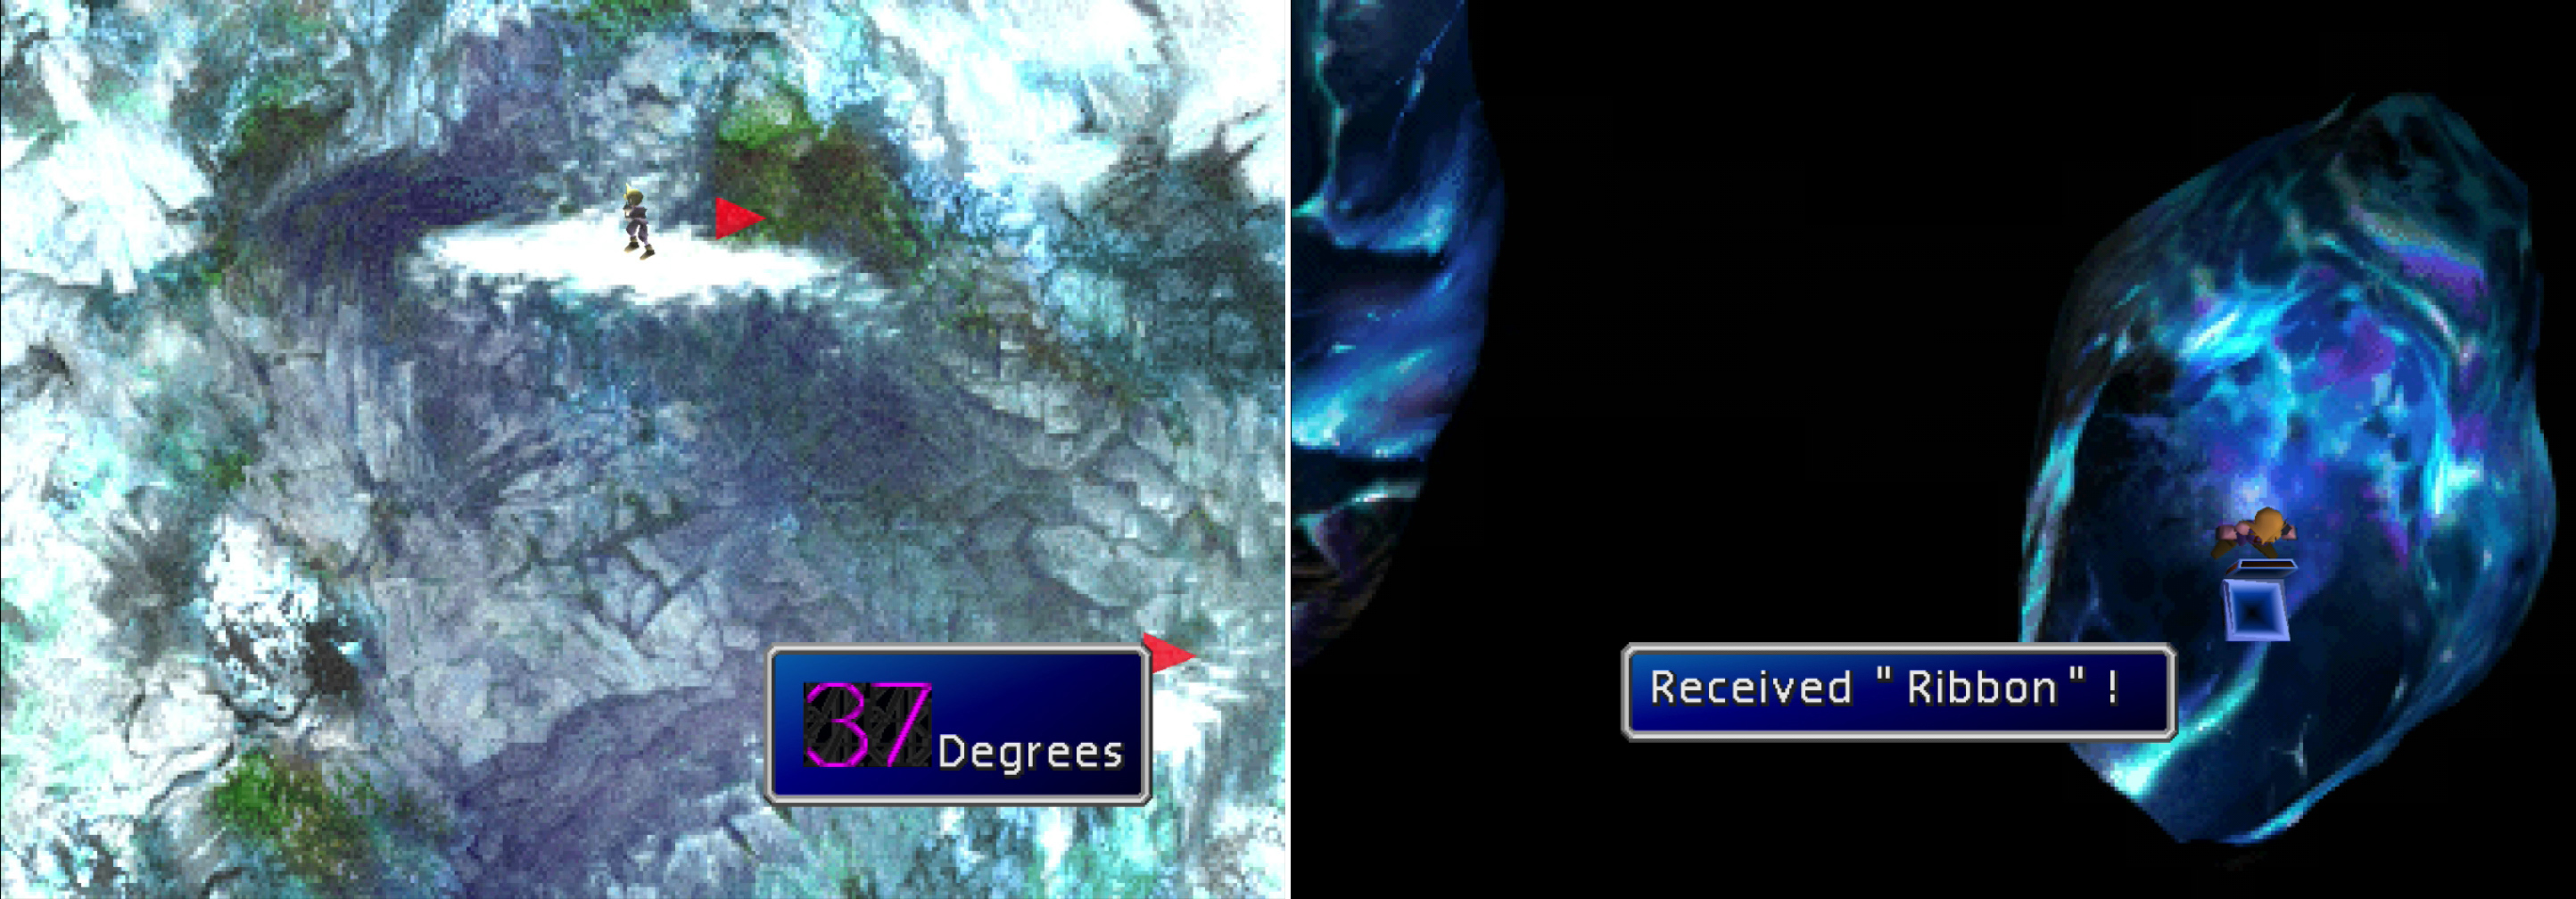
While scaling the outside of Gaea’s Cliff, warm up on ledges to prevent yourself from passing out (left). Be sure to grab the hidden Ribbon in the first of the caves in Gaea’s Cliff (right).
Cross a bridge to the north-west then head through some caverns, during which time you’ll be obscured by the foreground. You’ll surface on higher ground to the north-west, where a boulder sits, just waiting for somebody to push it. Do so, and it’ll clear the ice blocking your path below. Backtrack to the previous screen, then make your way down around the side of this chamber to ultimately return to the south-western corner of the screen you just left. Continue north, then north-east past where the ice was, enter a cavern where you’ll have to loop around to the west while being obscured by the foreground, after which just follow the path north-east to reach another screen. Proceed east to exit these caverns and return to the cliffs.
Gaeas Cliff (Part 2)
Same thing as before, climb ledges and keep your body temperature up, this time with the added complication of dead-ends. Head west to find your first scalable cliff face and, when you get the option to pick a direction, keep going up, as the path to the right is a dead-end. Climb up to the next ledge without incident, then head east to find another scalable section of the cliff face. On the ledge about this one, climb the western section of wall (helpfully marked with a flag), then, on the next (and last) ledge in this area, climb to the east to reach another cave.
Inside of Gaeas Cliff (Part 2)
Enter a large chamber with several large holes in the ice, which are just decorative. Along the south-eastern end of the cavern you’ll find a chest containing an Elixir , and in the north-western corner is a much-appreciated Save Point near some ledges. To the east of the Save Point is a pit with a few ice platforms that don’t quite reach a large cave entrance to the north. To the west is an obstinate chest taunting you with its height advantage. Oh, your day is coming, smug chest… For now go through a hole in the wall to the north-east to reach the next area, which just so happens to take you a snowy ledge outside. You don’t have to worry about body heat here, but another hazards lurk outside…
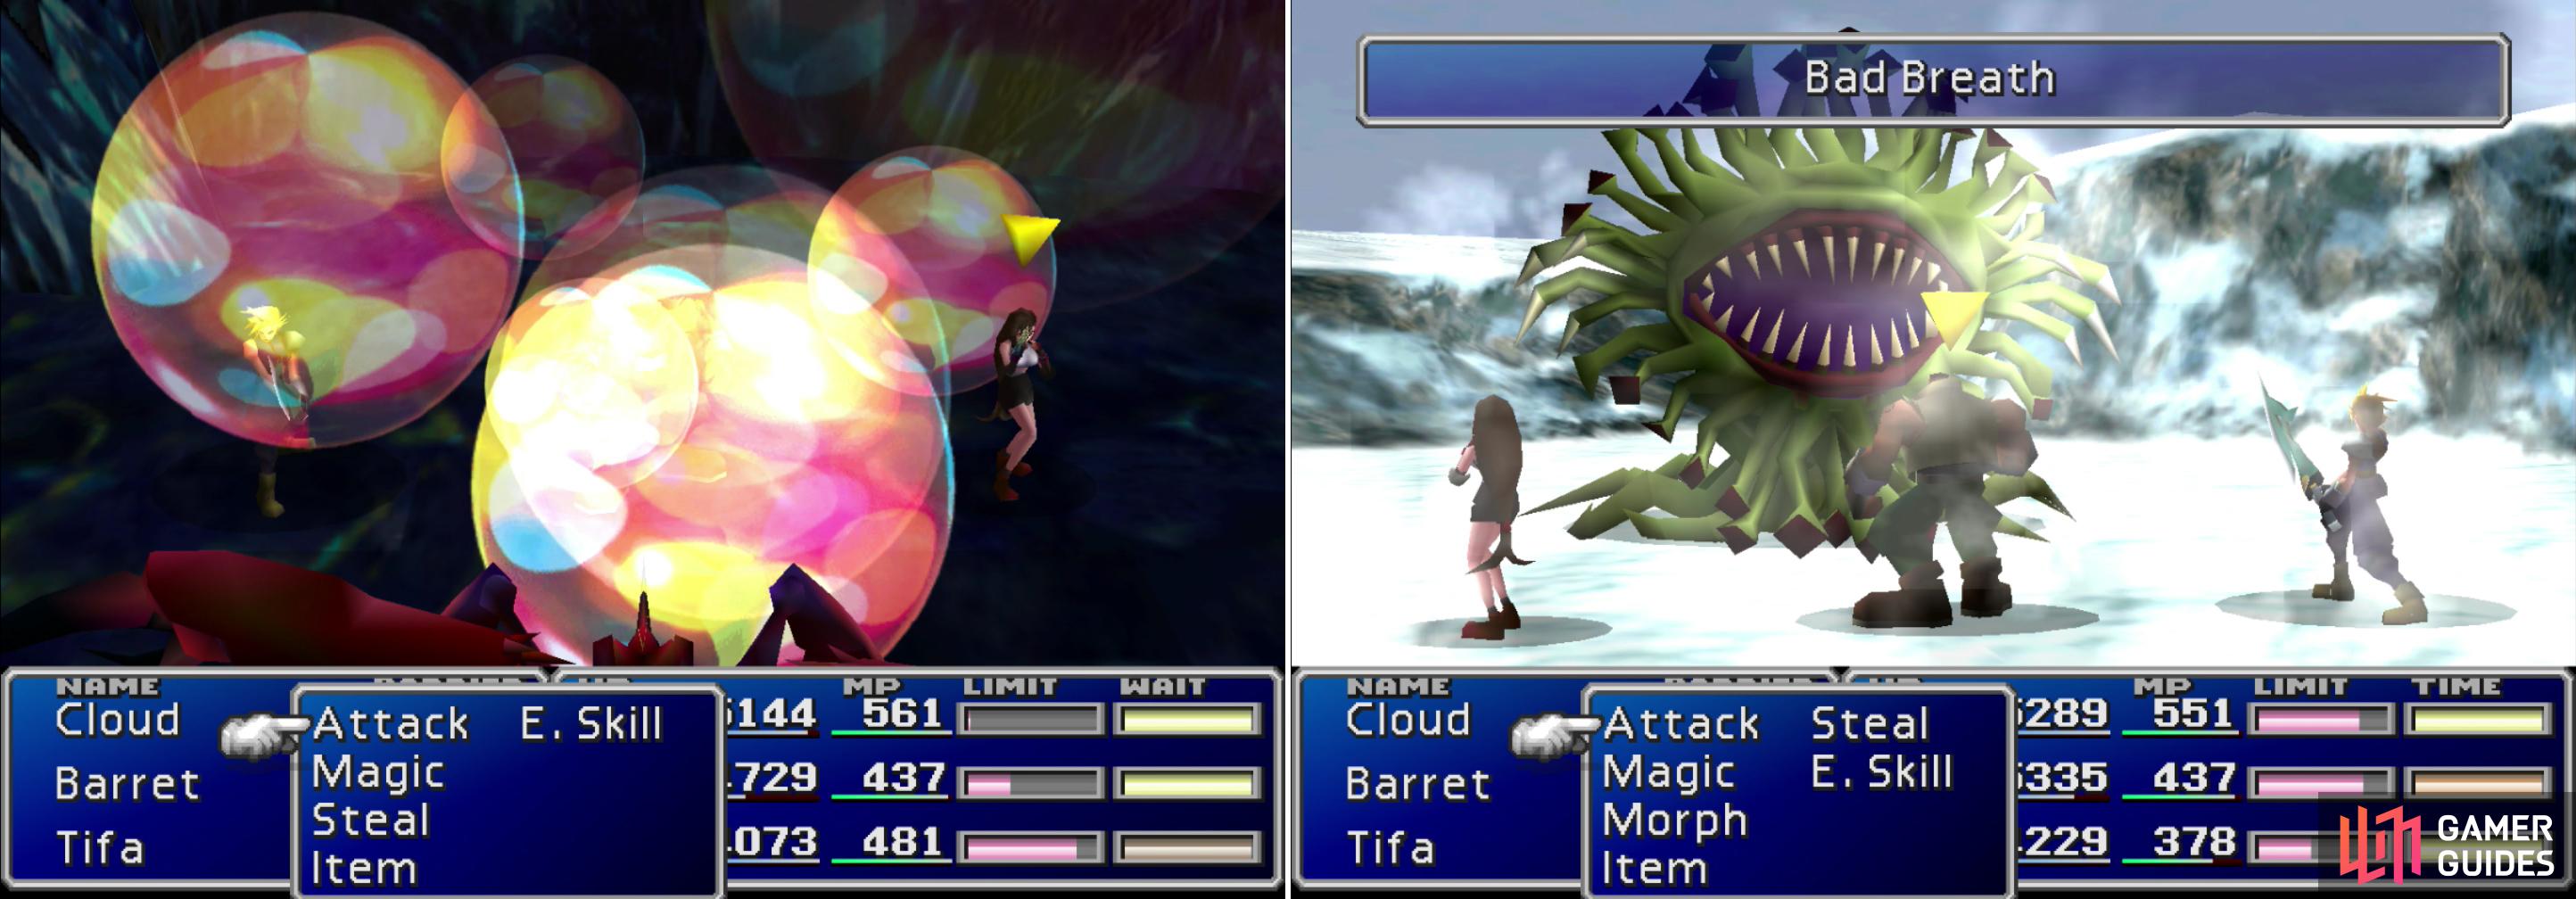
The Stilva knows the “Magic Breath” Enemy Skill, as well as Trine (left). The Malboro, a series staple, will use its signature “Bad Breath” Enemy Skill on you (right).
Follow the snowy path to the next screen; it’s winding, but linear, so you shouldn’t be able to get lost, even though you do have to go behind the foreground for a bit. You’ll enter into a room with four large icicles hanging from the roof. Does this technically make them stalactites, or do they have to be deposited by mineral accretion? Oh well, whatever. Run under them and you’ll get into a fight with the Evilheads (bats) that make their homes nearby. The Icicles will counter attack with “Icicle Drop”, but it’s pathetically weak by this point in the game while the Evilheads have an “Ultrasound” attack that inflicts Silence, but with a pair of Ribbons, it’s not going to make much of an impact. A single casting of “Beta” should clear out all the bats and break the icicle, ending the battle and sending the spear of ice hurtling to the floor below. Dislodge all four icicles, declining the option to jump down each time, then loot the two chests on the ledge, the eastern one contains a Fire Armlet (four Materia sockets, two pairs of joined sockets, drains fire attacks) while the western one contains a Megalixir . Once the chests are looted, make your way back outside and return to the large cavern below.
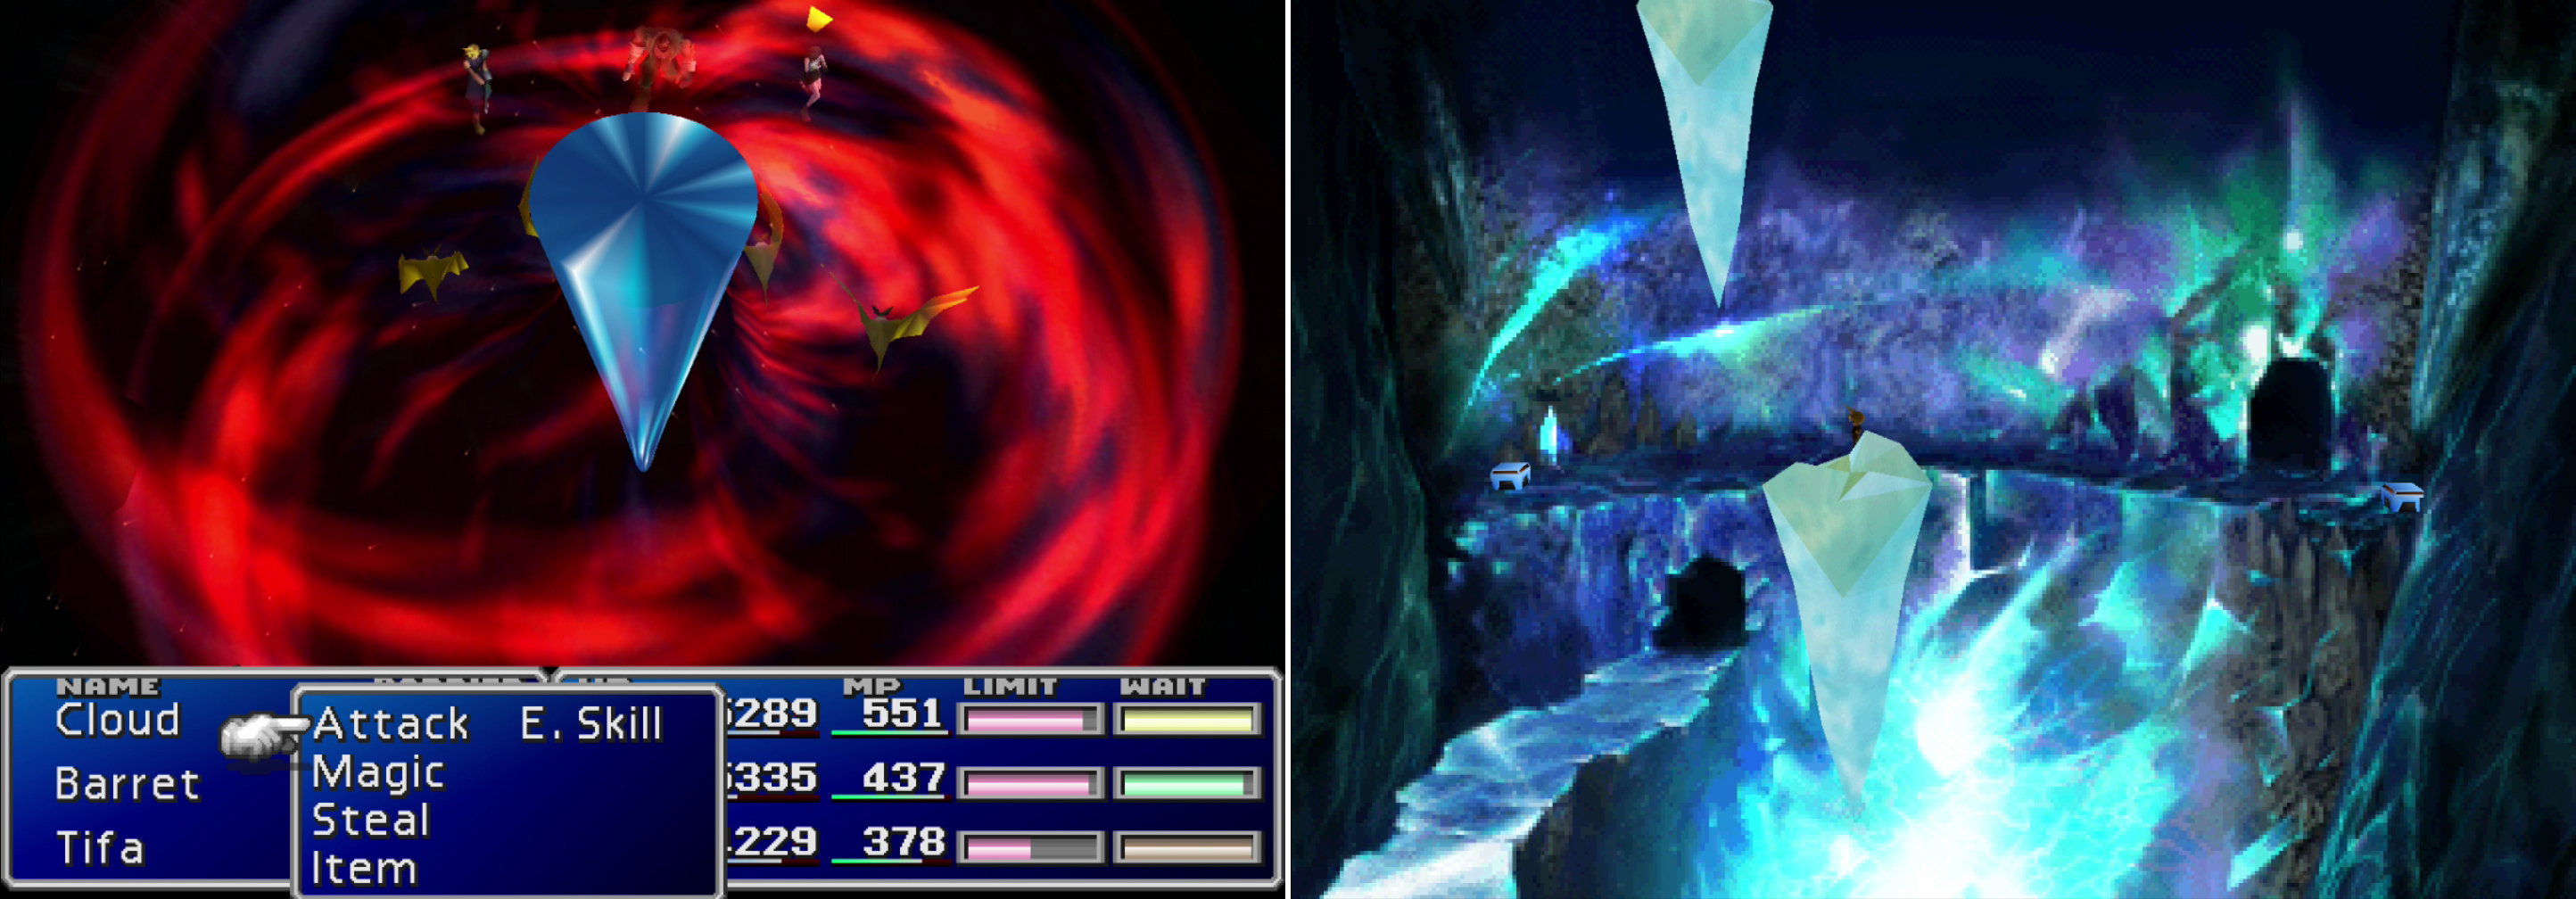
A single casting of “Beta” will wipe out Icicles and their attendant Evilheads (left). Destroy an Icicle and it’ll fall to the level below and create platforms for you to leap on (right).
Here you’ll find the results of your meddling; the icicles have struck the floor below, magically landing in the holes in the ice. What aim! One of the icicles now forms a platform necessary to reach the chest to the north-west. Wipe that smug smirk off its face by looting it for a Speed Source , then cross the ice platforms to the east of the Save Point, which allows you exit the screen to the north. After your jumping exercise, loot a chest on an snowy walkway outside to score an Enhance Sword (43 Attack, but it has eight Materia sockets, four pairs of joined sockets), then follow the linear path to the next screen, which itself is just a short transitional area in the icicle room.
Inside of Gaeas Cliff (Part 3)
Back outside again! You know the drill, climb the wall to the east and go either right or up when prompted (either way will get you to where you want to go, but going up is shorter and gives you an extra ledge to rest on). If you went up, warm up, then climb up, and continue up when prompted. If you went right, warm up, then climb up, and continue up when prompted. Huh. Climb up to the next ledge, then climb again to reach another cave.
Save your game at the Save Point, then continue east to the next screen, which is a linear tunnel. A black cloaked man will get mauled by some beastie, which leaves only one option, naturally; run towards the scene (and the camera) and confront the monster yourself.
Boss Battle: Schizo
Two monsters for the price of one! This dragon is two minds about everything. Both heads have their own separate HP and MP, and attack independently. The right head is a fire elemental, dealing fire damage and absorbing it, while the left head is an ice elemental. Both have a breath weapon of the appropriate element which deals over 800 damage to one foe. They can also combine this for double damage against one foe. If you harass them too much, they’ll perform a counter attack similar to an “Earth” spell that deals 500 damage to the entire party, and when each head dies, it’ll perform a lightning attack that’ll hit the entire party for about 1000 damage. These silly things just can’t decide what element to use!
As you can tell, their damage output isn’t terribly impressive by boss standards, despite being able to take two actions. Worse still, all their attacks consume MP, so you can just “Magic Hammer” both heads into impotence. This will take about four “Magic Hammers”, perhaps less depending on how much offense they get out. Once done, just pummel them until they die, absorb their final attack… and steal a Protect Ring from Schizo (Right).
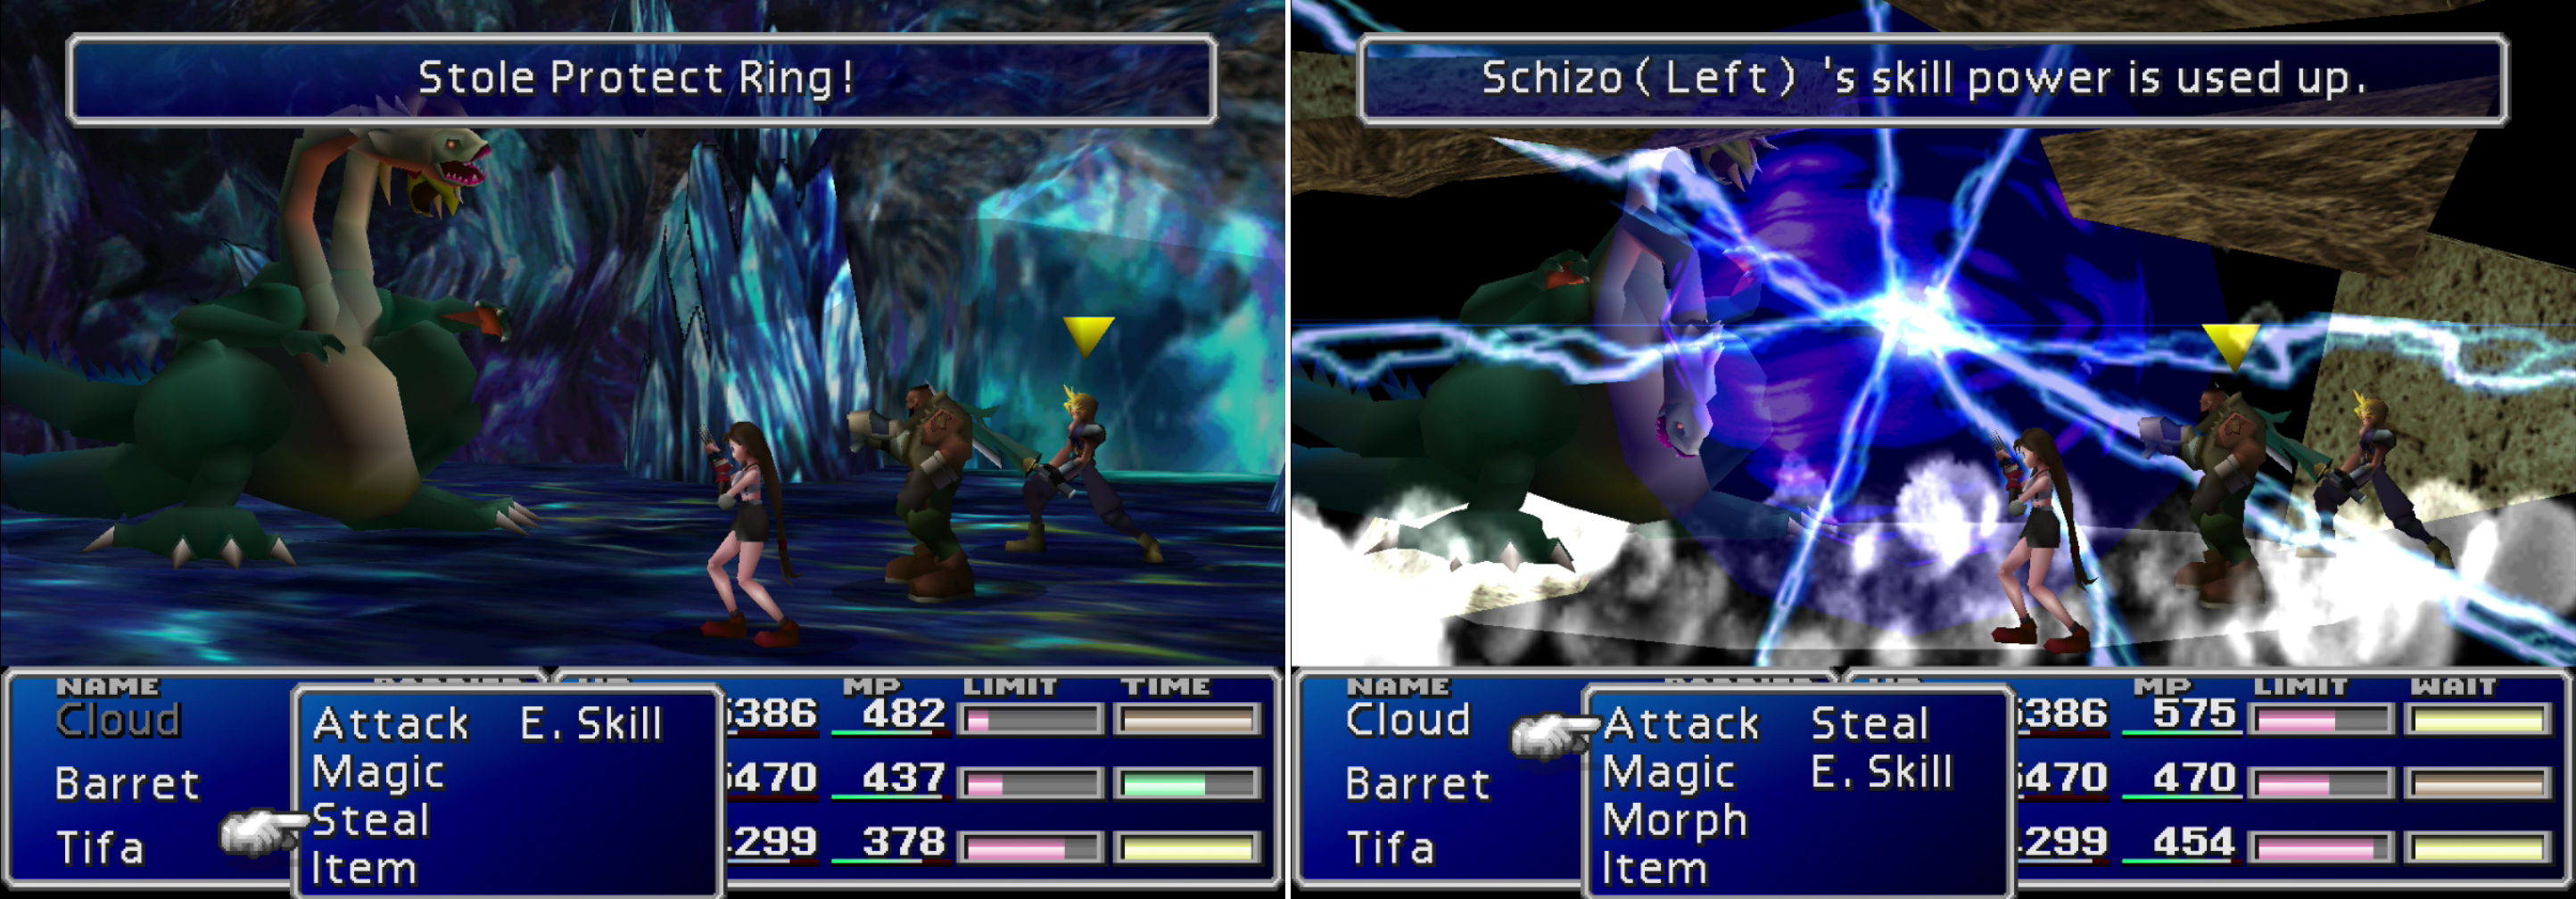
Steal a Protect Ring from Schizo’s right head (left). When you destroy each head, they’ll counter with a final attack (right).
| Schizo (Right) | Stats | Schizo (Left) | Stats |
|---|---|---|---|
| HP: | 18000 | HP: | 18000 |
| MP: | 350 | MP: | 350 |
| Weaknesses: | N/A | Weaknesses: | N/A |
| Resistances: | Ice (absorbs) | Resistances: | Fire (absorbs) |
| XP: | 2200 | XP: | 2200 |
| AP: | 120 | AP: | 120 |
| Steal: | Protect Ring | Steal: | N/A |
| Drop: | N/A | Drop: | Dragon Fang |
| Gil | 1500 | Gil: | 1500 |
No Comments