
| Important Items in this Area | Enemy Skills in this Area* |
|---|---|
| Added Effect Materia | Death Sentence |
| Black M-Phone | |
| Fairy Ring | |
| Gravity Materia | |
| Seraph Comb |
Exploring Cosmo Canyon
Well, that was kind of depressing. The next place you visit will probably be more cheery, however. Pack into the buggy and drive it west to find some jungle following a river, which can eventually be crossed by the buggy. Drive north to reach some rocky badlands; listed in your menu screen as the “Cosmo Area”. There’s a Fort Condor battle coming up, and the game wants to do everything in your power to make it impossible for you to reach it. Normally, if you drive through the badlands, your buggy will break down (thanks for the hunk of junk, Dio!), forcing you to head to the nearby town of Cosmo Canyon for repairs. If this happens, however, a Fort Condor event that occurs during the Cosmo Canyon story can’t be reached. So park your buggy and just walk to Cosmo Canyon to prevent the stupid vehicle from breaking down.
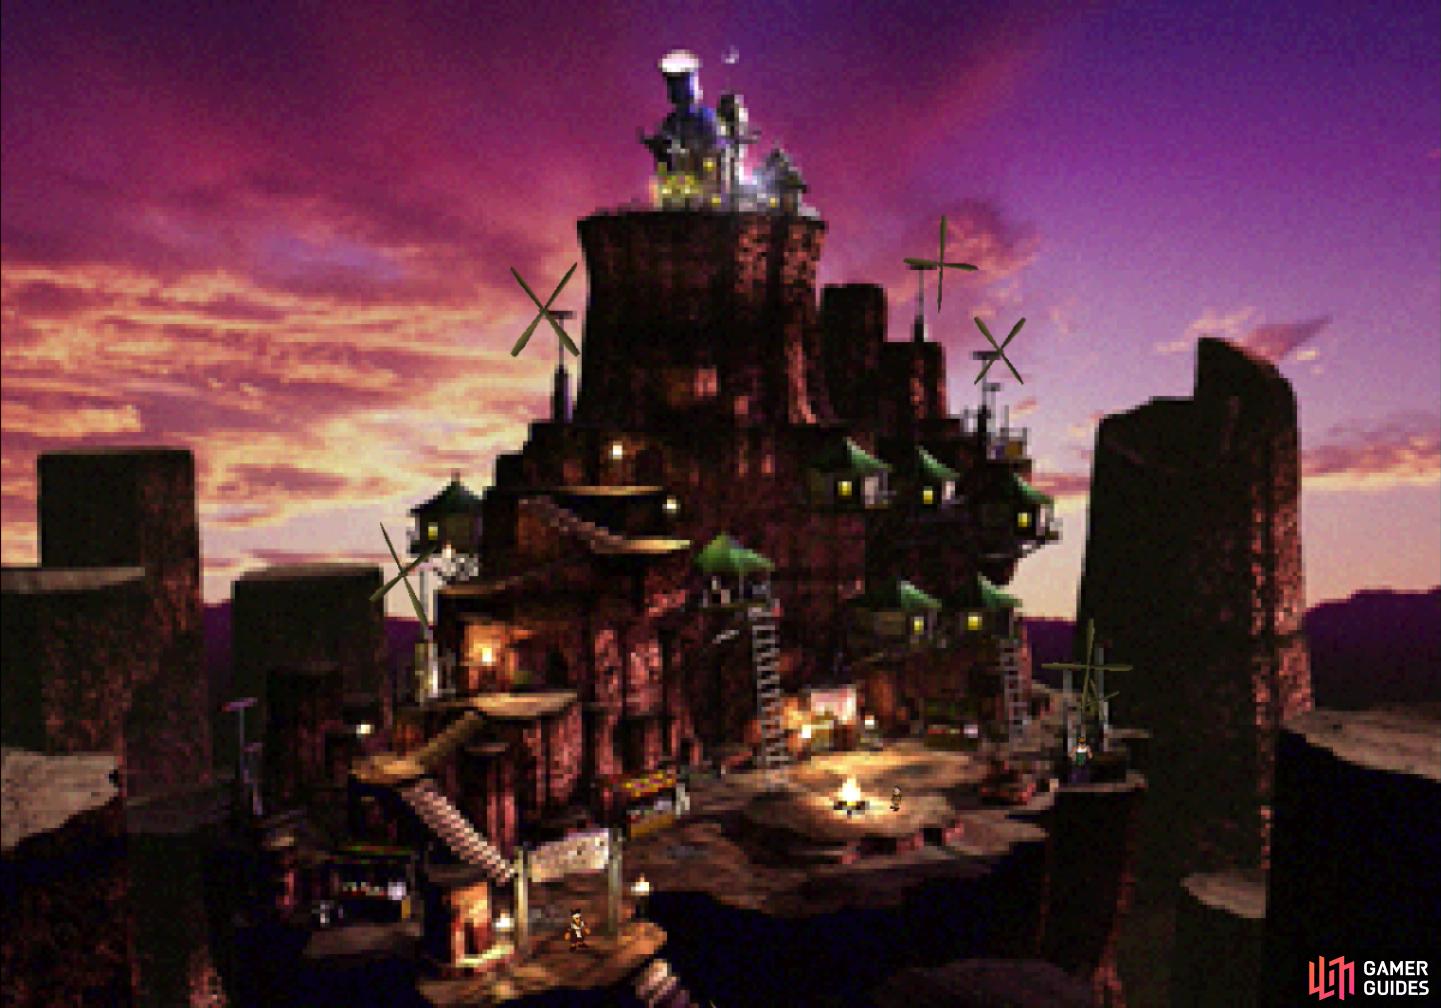
However you reach it, enter Cosmo Canyon, which on the map appear to be little more than an observatory on a rock formation, and some huts built into the cliff face. The reality of the place is… pretty much the same. Approach a guard at the gate and he’ll recognize Red XIII, who calls himself Nanaki. Looks like the pooch finally made it home. Talk to the guard and he’ll give you some bad news, but a good word from Red XIII clears things up. Nepotism at play again, folks.
Pass the guard and turn north-east to spot the “Cosmo Candle”, an over-glorified bonfire, burning away on its raised platform. North of it are two ladders and a door on ground level. The first, western-most ladder leads nowhere interesting, so just ignore it and head through the door nearby to find a bar, above which is the Shildra Inn. You can rest for 100 Gil, but more importantly, just west of the counter for the inn you’ll find the “Turtle’s Paradise No. 5” poster on the wall. Head into the nearby room and search just south of the fridge to find a sneakily hidden Elixir . Tricky… Leave the inn and continue east to the next ladder, which leads to a well-stocked item shop. There’s also a back room here, but… that pesky rope proves to be an insurmountable barrier, which foils our attempts to pass. Let’s just hope that Sephiroth, when you find him, doesn’t employ anything quite so devastating.
Item Shop
| Item | Gil |
|---|---|
| Potion | 50 |
| Hi-Potion | 300 |
| Phoenix Down | 300 |
| Ether | 1500 |
| Tent | 500 |
| Maiden’s Kiss | 150 |
| Cornucopia | 150 |
| Soft | 100 |
| Hyper | 100 |
| Tranquilizer | 100 |
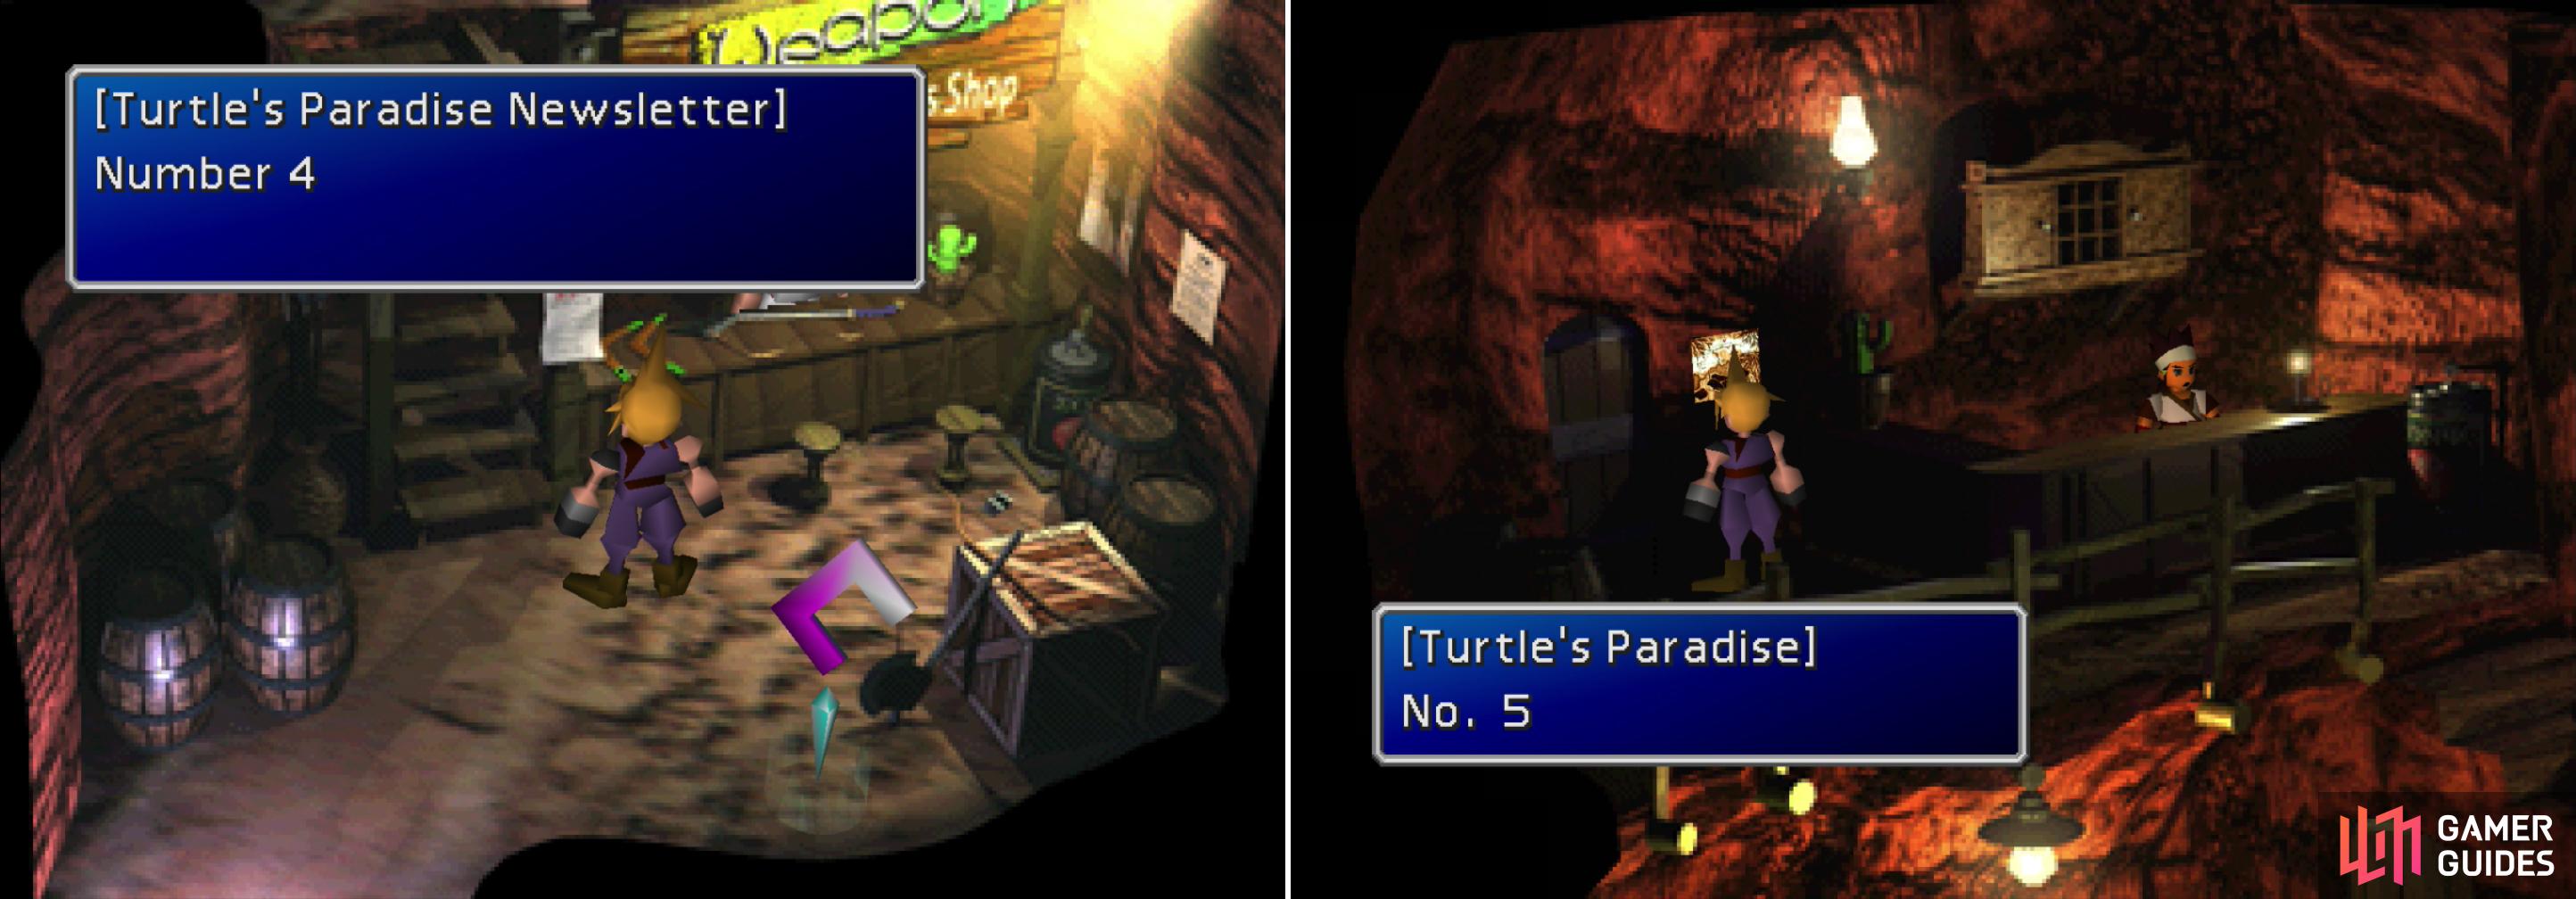
Find a Turtle’s Paradise Newsletter outside the weapon shop (left) and the inn (right).
Return to the entrance of Cosmo Canyon and ascend a flight of stairs, then talk to Red XIII and endure his hippy talk before he eventually runs off. Your party will follow suit and bolt, leaving you on your own. Go up another flight of stairs and head into a building where, on a beam between the stairs and the “Tigerlily Arms Shop” you’ll find the “Turtle’s Paradise No. 4” poster. Why was the Turtle’s Paradise advertising so hard here? Ah well, ours is not to reason why, ours is but to read and sigh. When you’re done reading, turn your attention to the weapon shop, which sells an upgrade for pretty much every character (higher attack, four sockets; two pairs of joined sockets, Normal AP Growth), as well as the new Silver Bangle (higher Defense, four sockets). Hope you’ve got Gil to spare.
Weapon Shop
| Item | Gil |
|---|---|
| Butterfly Edge | 2800 |
| Tiger Fang | 2500 |
| Heavy Vulcan | 2700 |
| Prism Staff | 2600 |
| Silver Barrette | 2500 |
| Pinwheel | 2600 |
| Green M-Phone | 2400 |
| Silver Armlet | 1300 |
When you’re broke, head upstairs and go into the door on the upper level and ignore the passage to the left for now… Here it is, the final bit of disposition you can gain with Barret in the game. And it just so happens to have an infinite dialogue loop that allows you to get as much as you want! (see warning below!) If you had Barret in your party when you entered Cosmo Canyon, he’ll be in this back room near the weapon shop. Talk to him and you should get the option to respond by saying “Go on” (+3 Barret) or “Not really” (no effect). Later on in the conversation you can say “And then?” (+3 Barret) or “Yeah, whatever…” (no effect). That’s a hefty six-points for Barret right there!
Once you’re done manipulating Barret leave the room he’s in and take a left to return outside, where you’ll get the pleasure of… climbing more stairs! Do so and enter a higher complex cut into the cliff face, where you’ll find all sorts of paths to explore. First, if you go up the stairs to the north-west you’ll just reach a scenic overlook of Cosmo Canyon. Yay… Through the first door to the east you’ll find a Materia shop with a sleepy proprietor who takes a few talkings-to to wake up. He sells two new-ish Materia; MP Plus and HP Plus. Both are passive Materia that increases your MP or HP by 10% per level. Very nice. At 8000 Gil each, though, they’re not cheap. Focus on HP Plus Materia, if you’ve got the Gil. Three should be plenty. If you already have one (you could have won it at Rufus’s send-off display)… well, then you should only worry about getting two. No rush, though, just remember to come back whenever you can afford another one. MP Plus Materia is handy, but not quite so much as HP Plus Materia, especially since you’ll soon have a way to replenish your MP at an enemy’s expense. Still, three of them are worth picking up later if you have the spare Gil and an empty Materia socket for it to go into.
Materia Shop
| Item | Gil |
|---|---|
| HP Plus Materia | 8000 |
| MP Plus Materia | 8000 |
| Mystify Materia | 6000 |
| Transform Materia | 6000 |
Bugenhagens Observatory
Head back to the previous screen. The next room to the east is just a kitchen, and there’s nothing you can do with the large, sealed door to the east until you get Bugenhagen to remove his super glue, so head up the ladder instead. Here you’ll find Bugenhagen’s abode/observatory, inside of which Red XIII and his grandpa await you. Talk to Red XIII and Bugenhagen will, in his own less-than-serious way, tell you about your furry friend. Like all environmentalists (and certain people of other persuasions…) he also likes to predict imminent doom. Listen to his lecture, after which you’ll have to pick two allies to join you in Bugenhagen’s observatory. Seems like the kind of thing Barret would enjoy, being a radical environmentalist who is all about “saving the planet”, but pick whoever you want… just find any one of them hanging out in Cosmo Canyon (Cait Sith is in the kitchen, Yuffie is the Materia shop, Barret is in a storage room up the stairs from the weapon shop, and Tifa and Aeris are in the lower level of the Shildra Inn) talk to them, and change your party.
Once done, return to Bugenhagen’s observatory and go through the door to reach the room containing his machine, where you’ll finally be given a breakdown of… well, how the planet, mako energy, Materia, even life itself is all inter-connected, which just makes Shinra look even more ghoulish. Destroying the planet out of greed? Seems like there’s a lesson here… It’s even less subtle when you consider that the solar system in the Final Fantasy VII universe is exactly the same as ours. Ah, 1997… back when Pluto was still a planet.
When the lecture is over, return to the bottom of the canyon, where your party has gathered around the Cosmo Candle. Talk to everybody, especially Aeris, Tifa, and Barret, whom Cloud will sit down and chat with. They’re a morose bunch, and Tifa’s questioning is particularly troublesome. Finally, talk to Red XIII, who will continue to air his daddy issues. Before long, however, Bugenhagen interrupts him and decides it’s time to show him something. Pick one other character to accompany Cloud and Red XIII, then head back up the canyon, past the weapon shop, to the chamber outside of the kitchen and Materia shop, where Bugenhagen will unseal the door to the east after you talk to him.
Cave of the Gi
Climb down a series of ladders and ropes to pass through a weirdly contorting cave until you reach the ground floor, then head east to reach the Cave of the Gi. Continue east, then south-east when you must and enter a cave with a “strange-looking rock” in it. Break it open and you’ll get into a fight with some Gi Spectors. This is unnecessary, but the foes here are, while somewhat dangerous, generally worth a good bit of XP and Gil. Leave the cave and head east to find another cave, where you can repeat the encounter earlier by breaking another “strange-looking rock”. To the north is a third cave, but this time, if you break the rock open, a passage to the next area will open to the north-east. You can go through the door you just opened, or indulge in another frivolous encounter by breaking a fourth rock in a cave to the south-east.
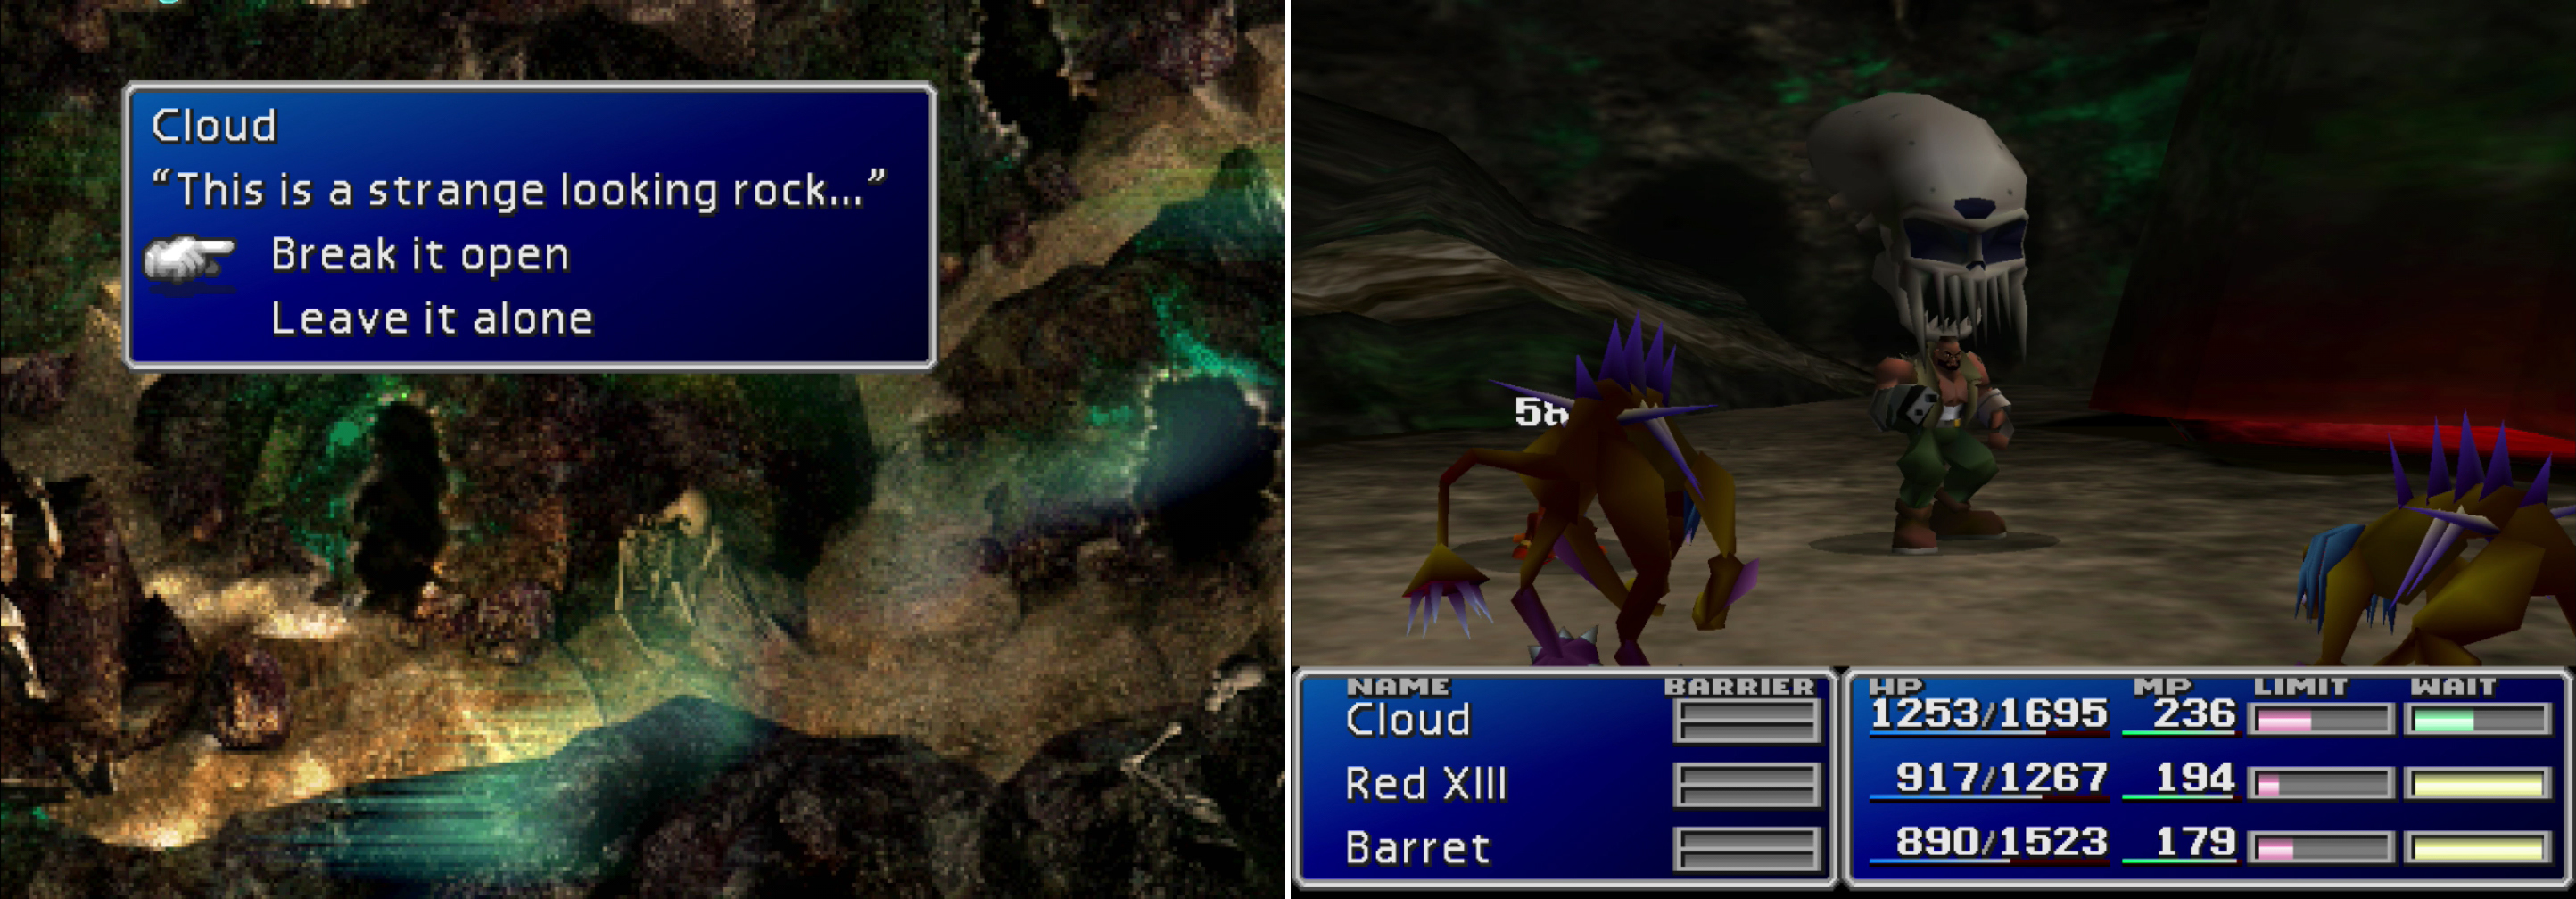
Break open the rocks in hte caves to open the way to the next area (left). A number of nasty creatures in the Cave of the Gi will be only too happy to teach you the “Death Sentence” spell (right).
When you get bored of messing around, head through the door you opened to the north, where Bugenhagen will stop you and teach you some history. Continue north and turn west at a fork. When you reach an oil slick on the ground, stop running and walk across it, otherwise you’ll slide into some conveniently placed spikes. When you reach another fork, go south and return to the previous screen, albeit to a ledge that was previously inaccessible. Go west and grab a piece of Added Effect Materia .
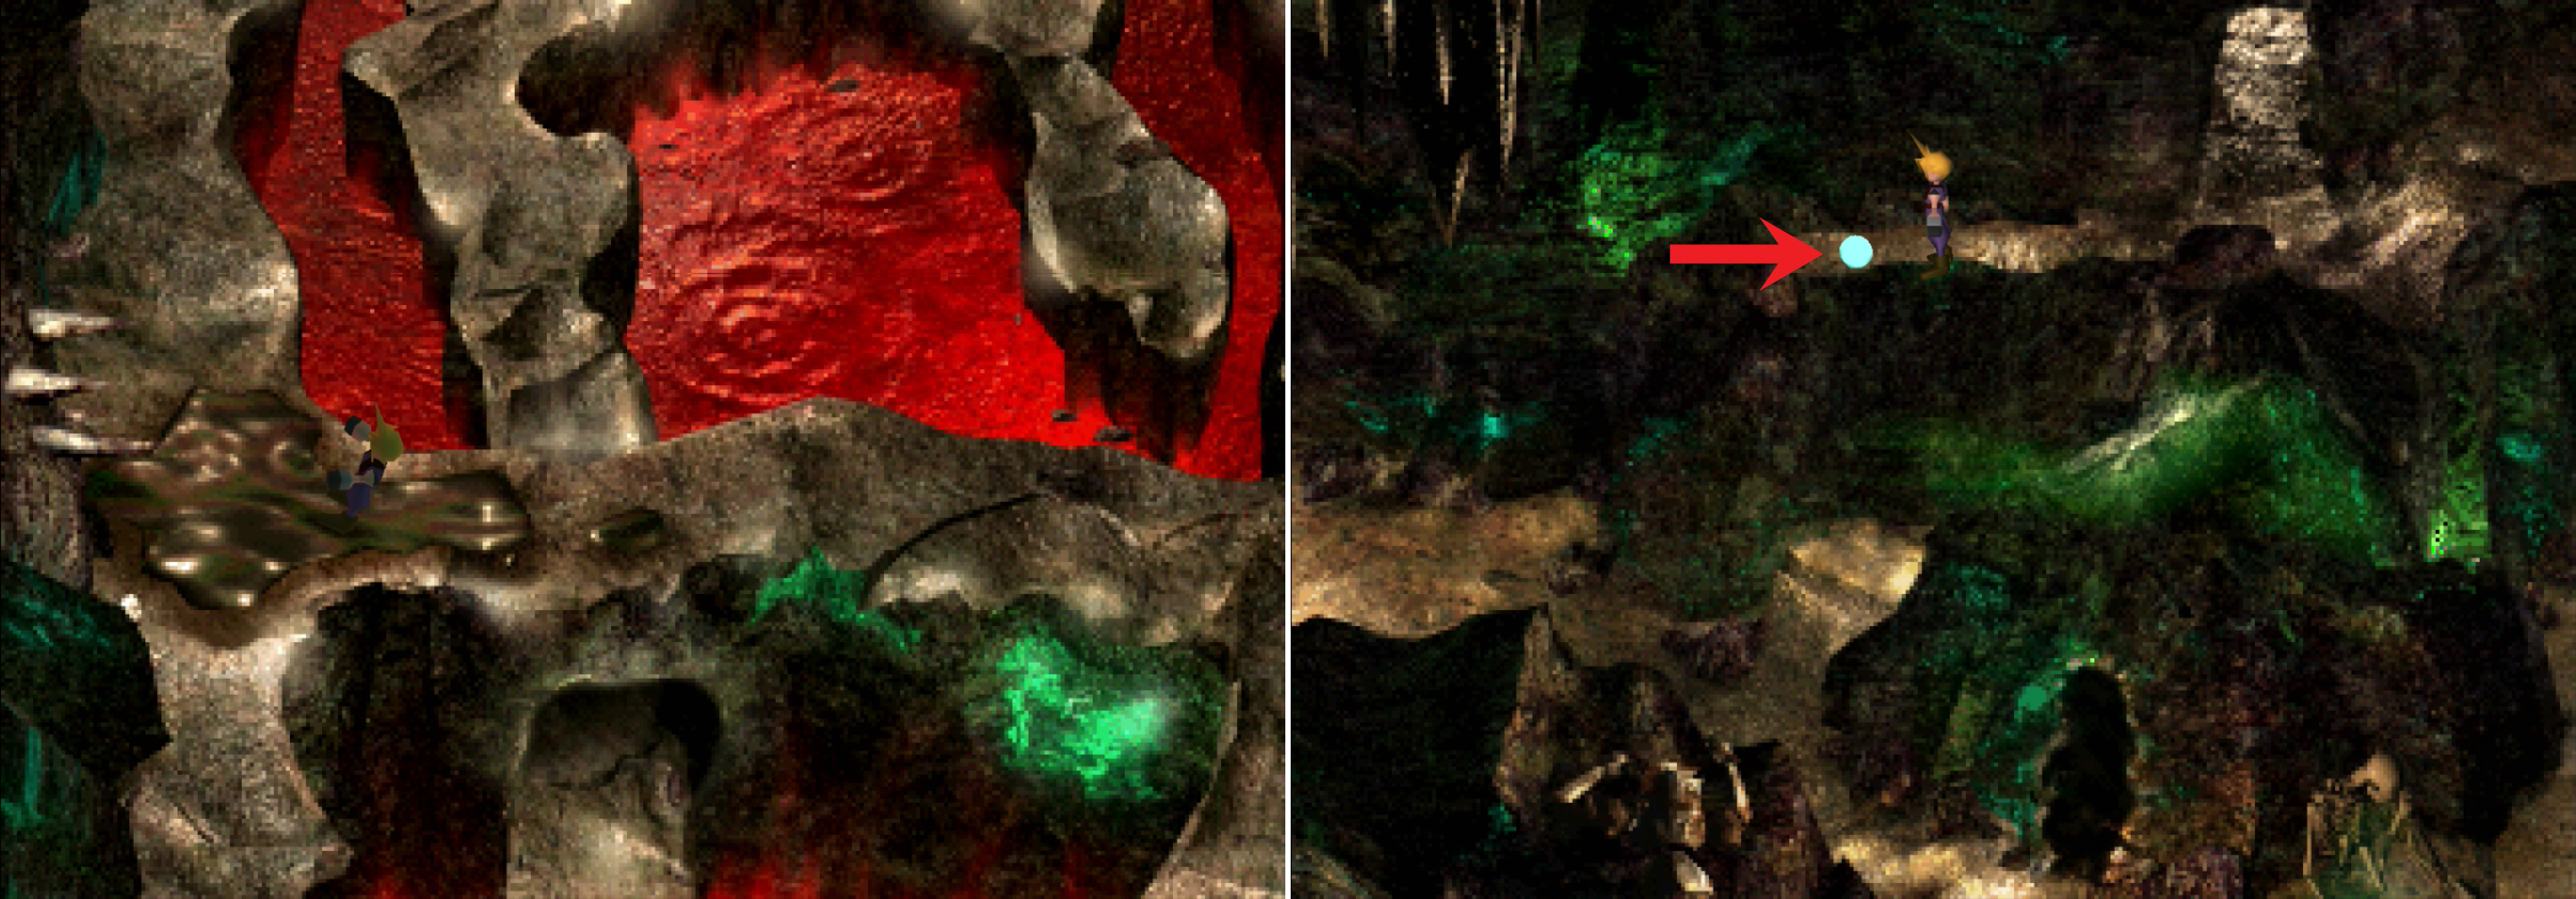
Avoid running on the slick patch on the ground, else you’ll find yourself in close contact wtih some spike (left). Be sure to pick up the Added Effect Materia in the Cave of the Gi (right).
Backtrack to the northern screen, make your way back across the oil slick and return east. At the first fork, head north, then turn west at the next fork. Head down some stairs and explore a path to the south to find a chest containing a Black M-Phone , which has four unjoined sockets with Double AP Growth and 31 Attack. Return north to (but not up) the stairs and turn east, then go north when you run out of east to find a chest containing an Ether . Head back up the stairs and follow a path opposite the stairs to the north to reach yet another part of the caves, before which Bugenhagen will talk some more.
Third screen of the caves, almost at the end now! Go north until you find five caves, Three of them lead nowhere - the two on either end connect, and the central cave is a dead end. This leaves two tunnels left to explore, one east-of-center and one west-of-center. Go through the one to the east first and, as you cross under a web you’ll have to fight a Stinger - a giant spider that can be pretty nasty to fight. Normally it’ll attack with normal physical attack dealing a bit over 100 damage, but after it’s taken some abuse, it’ll start using a “Sting Bomb” attack, which is a gravity attack that’ll reduce the target to about 15% of their maximum life, no matter how healthy they were before the attack. Ouch. Defeating it conventionally isn’t too rough, but there are two tricks you can use to defeat it more safely. First, if you cast “Death Sentence” on it and just wait for it to die without attacking it, it will never use “Sting Bomb”. Or… you could just cast “Frog Song”, which will render it helpless. However you defeat it, continue north to find a chest with an X-Potion in it, then backtrack to the five caves.
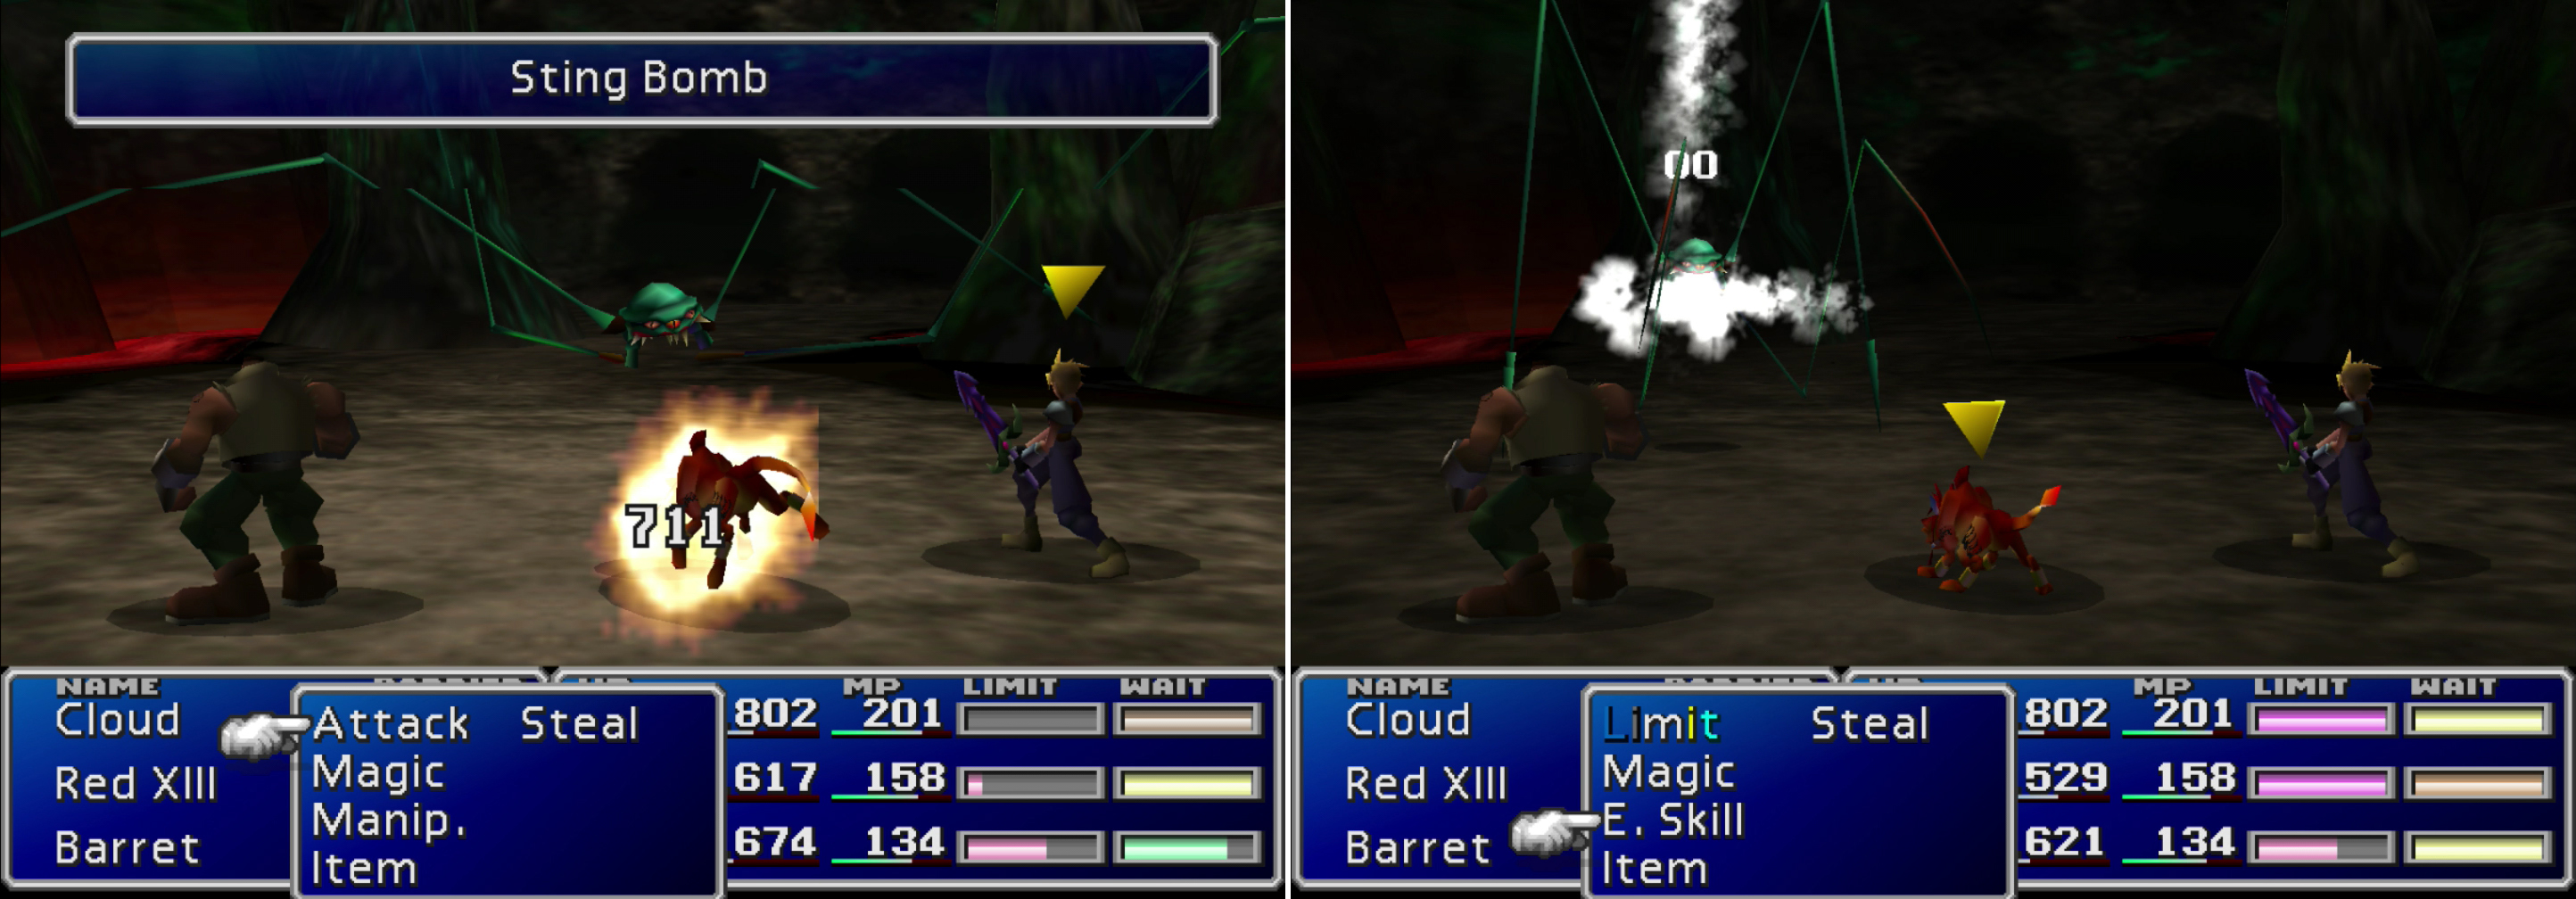
If you disturb their nests, you’ll have to defeat Stinger enemies. They’ll employ their “Sting Bomb” attack to deal heavy damage to a character (left) but can be easily pacified with “Death Sentence” or “Frog Song” (right).
Now head up the western cave and cross under another web. Defeat a second Stinger and continue north until you reach a fork, at which head west, then south. You’ll be obscured by the foreground as you head south, but hang east to reach a ledge with a chest containing a Fairy Ring . Otherwise, if you go south you’ll reach a less lucrative ledge. Return north and, at the four-way split, head north-east to find a third and final Stinger web. Continue north and head behind a rock to the west to reach a ledge with a chest, inside of which is a Turbo Ether . Once it’s yours, it’s time to prepare for the next fight. The next boss uses fire attacks regularly, so equip Fire + Elemental Materia and the Fire Ring. When you’re ready head north to reach the fourth and final area, where Bugenhagen will comment on the restless Gi spirits…
Boss Battle: Gi Nattak
The main boss is Gi Nattak, who is joined by two Soul Fires. The latter have only two attacks, “Fire2”, which the Soul Fires can use to harm you or heal themselves for over 200 damage per cast. They’ll also use a “Takeover” attack to possess a character, from which they’ll continue to cast “Fire2” safe from harm. Gi Nattak is the main foe, however, and if you kill him, you’ll win the fight. He’ll drain around 100 HP from you with “Drain” and absorb around 30 MP with “Aspil”. In addition, his normal attack can deal over 450 damage.
Not too rough, but what about your offense? Well, since the Soul Fires absorb fire, “Beta” is counter-productive. Physical attacks, Limit Breaks and “Aqualung” all work fine. A better option, however, is to just use healing magic on Gi Nattak. Healing spells will harm Gi Nattak for the amount it would normally heal. Cast “White Wind” with a high HP character and watch the damage rack up! An X-Potion will kill Gi Nattak outright, as will a Phoenix Down, although the latter might take a few tries.
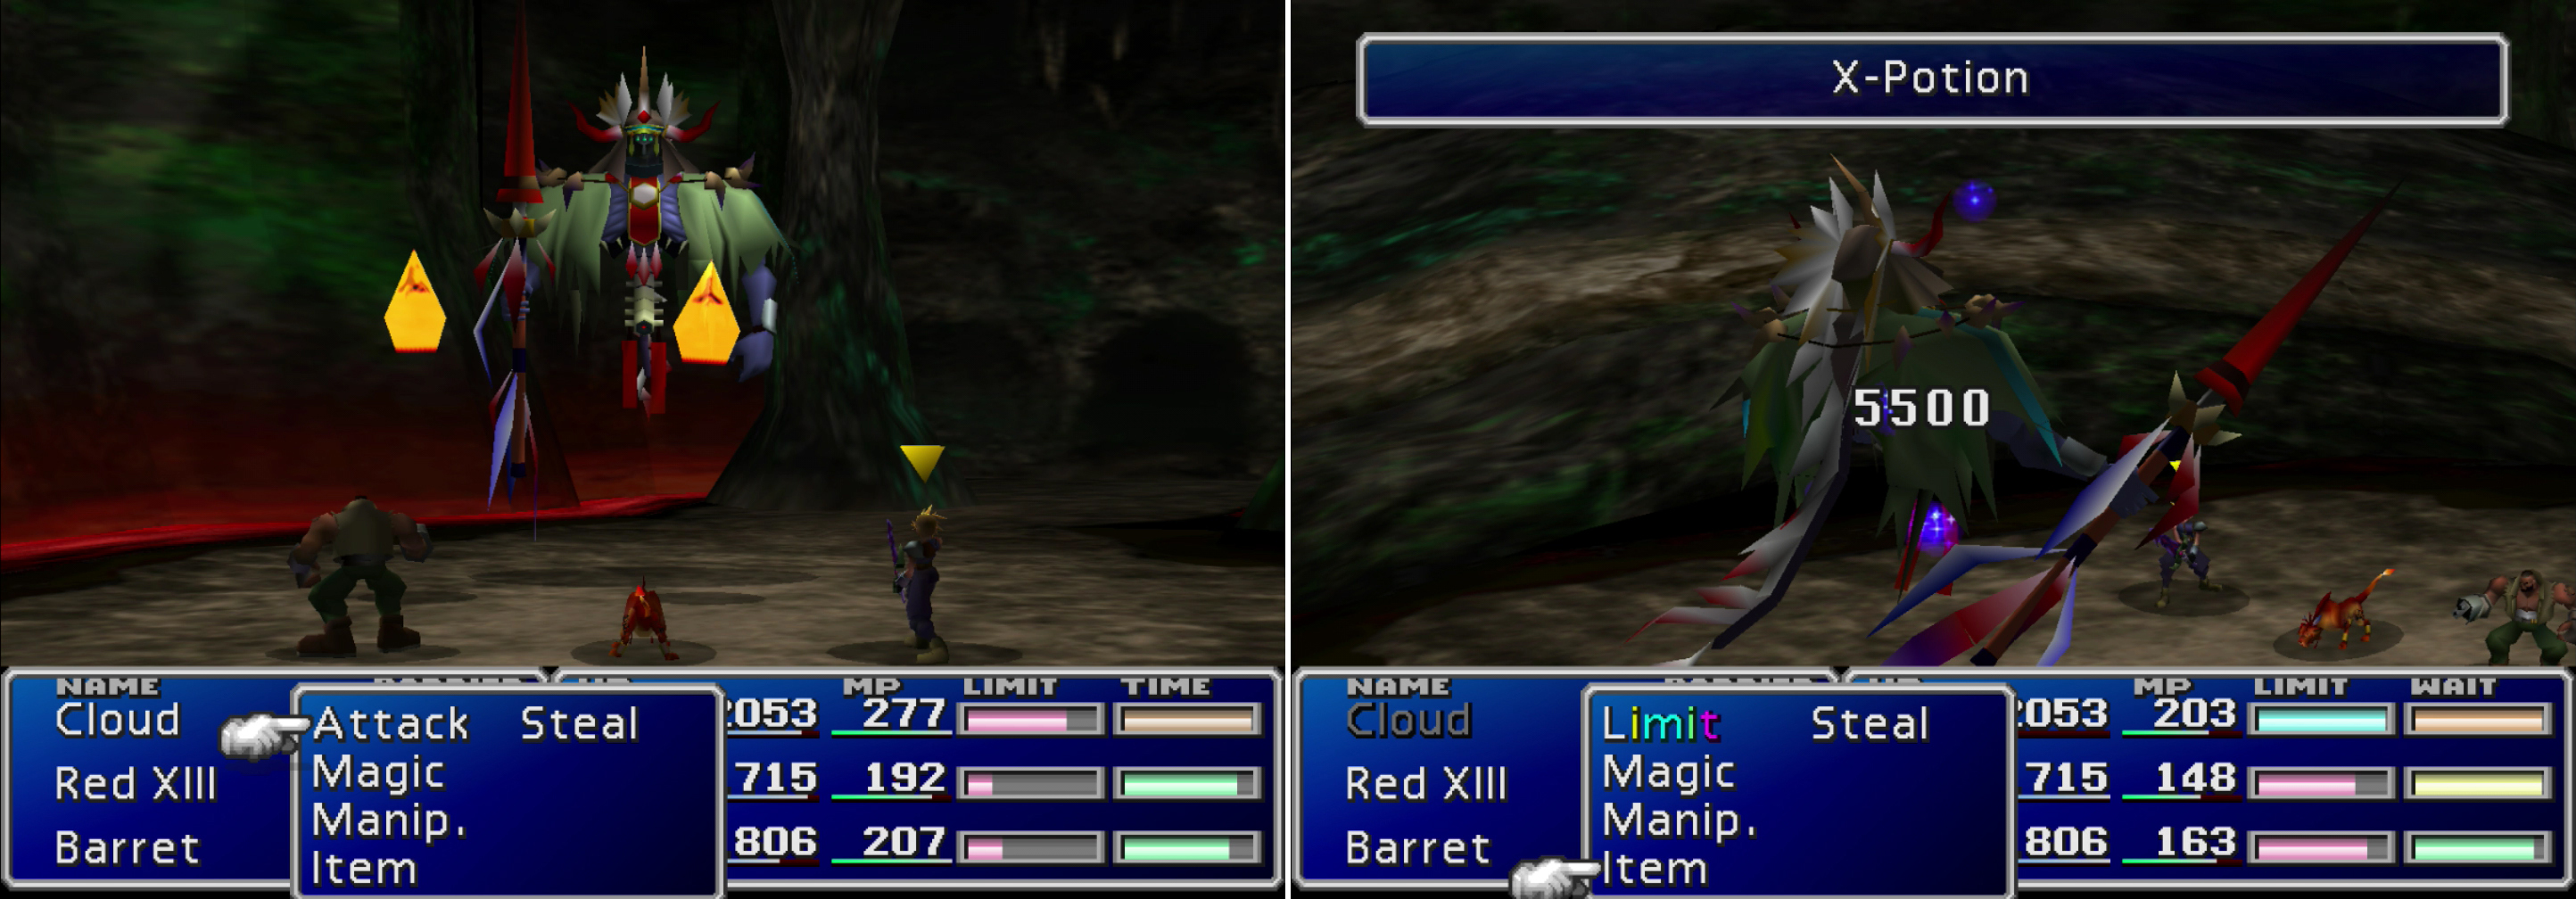
Gi Nattack is joined by two Soul Fire minion, who are only too happy to inflict fire damage on the party (left). If you’ve willing to spare an X-Potion, Gi Nattack can be killed in a single move (right). It doesn’t pay to be undead in a Final Fantasy game.
| Gi Nattak | Stats | Soul Fire | Stats |
|---|---|---|---|
| HP: | 5500 | HP: | 1300 |
| MP: | 200 | MP: | 220 |
| Weaknesses: | Holy | Weaknesses: | Holy, Wind |
| Resistances: | Earth (negates), Gravity (negates), Water (negates) | Resistances: | Earth (negates), Fire (absorbs), Gravity (negates), Poison (negates), Water (negates) |
| XP: | 1400 | XP: | 200 |
| AP: | 150 | AP: | 10 |
| Steal: | N/A | Steal: | N/A |
| Drop: | Wizer Staff | Drop: | Phoenix Down |
| Gil | 3000 | Gil: | 100 |
After the battle, head north and grab the Gravity Materia on the floor. Continue to the next screen, where Red XIII will learn a secret about his family that was hidden from him all his life… Anyways, reform your party and leave Cosmo Canyon. Hmm… Cosmo Canyon wasn’t any cheerier than Gongaga or Corel was. Maybe our next stop will be better?
No Comments