
Mastering Materia
Big battles lie ahead, the two remaining Weapons - Emerald and Ruby - aren’t too tough, but a bit of grinding is in order if you want to have an easy time taking them out. Grinding AP is simple; head to the mako-lake areas in the “Left/Up Path” of the North Cave and kill Magic Pots and Movers for massive amounts of AP. You’ll need to use the W-Item dupe trick to harvest Magic Pots, but even without that, the odd Mover battle is well worth the effort. The easiest way to defeat the Weapons is to use W-Summon/Knights of the Round/Mime, although to do this you technically only need two Mime Materia, which is very, very little grinding if you put Mime Materia in Cloud’s Apocalypse.
On the other hand, more redundancy is always better, and having a few levels on W-Summon and Knights of the Round will allow you to re-cast it if something goes wrong during the fight. Also be sure to level up Hades Materia, Phoenix Materia and Final Attack Materia, which will come in handy during these fights. It also can’t hurt to grind some Mega All Materia so the whole party can have one; it won’t be very helpful against the Weapons, but it’ll make another type of grinding go faster.
If you wish to really spend some time on this and crank out some awesome Materia, master one of each type of Magic Materia, Summon Materia and Command Materia (green, red and yellow Materia). If you do this, you can redeem all the mastered Materia by bringing them to Bugenhagen’s observatory at Cosmo Canyon and exposing them to the Huge Materia. Your reward, of course, will be a piece of Master Materia of the same type as the Materia you redeemed. This is above and beyond what’s necessary to do anything in the game, but it sure is neat. The following Materia is required to make each type of Master Materia:
| Master Command | Master Summon | Master Magic |
|---|---|---|
| Deathblow | Alexander | Barrier |
| Manipulate | Bahamut | Comet |
| Mime | Bahamut ZERO | Contain |
| Morph | Choco/Mog | Destruct |
| Sense | Hades | Earth |
| Steal | Ifrit | Exit |
| Throw | Knights of the Round | Fire |
| Kujata | Full Cure | |
| Leviathan | Gravity | |
| Neo Bahamut | Heal | |
| Odin | Ice | |
| Phoenix | Lightning | |
| Ramuh | Mystify | |
| Shiva | Poison | |
| Titan | Revive | |
| Typhon | Seal | |
| Shield | ||
| Time | ||
| Transform | ||
| Ultima |


You have to take Cloud with you, but fortunately he’s got his Apocalypse sword, which is great for grinding AP (especially those AP-hungry ones like Knights of the Round). Cid also makes a good choice with either his Javelin or Scimitar, the former being the most productive (five double AP growth sockets). The third character should be the damage-dealer, either Yuffie with her Conformer, Barret with the Missing Score loaded with AP-saturated Materia, or Vincent, if you powered up his Death Penalty. Hunt for Movers and Magic Pots, killing the rest of the trash mobs, except perhaps the odd Master Tonberry, which is quicker and safer to just flee from.
How much you grind is up to you, but it will be assumed for the sake of simplicity that you’ll leave the North Cave with at least one mastered Knights of the Round Materia, W-Summon Materia. Phoenix Materia, Hades Materia, Final Attack Materia, MP Turbo Materia and Mega All Materia, as well as three Mime Materia. This is above the minimum necessary Materia needed to proceed, but it will make life easier.
Mighty Morphin!
Now that you have a few choice pieces of Materia from the North Cave you can finally get to Morphing like a pro. Yuffie and her Conformer is the best Morphing weapon in the game, and her ability to Morph foes becomes even better with Mega All Materia, which of course affects Morph as well. None of this grinding is necessary, but it can make your characters much, much stronger. Below is a list of choice items to grind, the creatures (and their locations) that will give them to you, and the reasons why you might want to consider grinding them:
Guard Source:
While extraneous even by grinding standards, Guard Sources are, at least, easy to get. You can obtained them by Morphing Bagnadranas (green quadrupeds near the Corel Reactor), Sprals (armored pill-bug creatures near Mideel) or Unknown 2’s. Of the choices, the Spirals are probably the easiest to grind, as they appear quite frequently. It doesn’t hurt that they’re not much of a threat anymore but are still worth decent XP, AP and Gil, either.
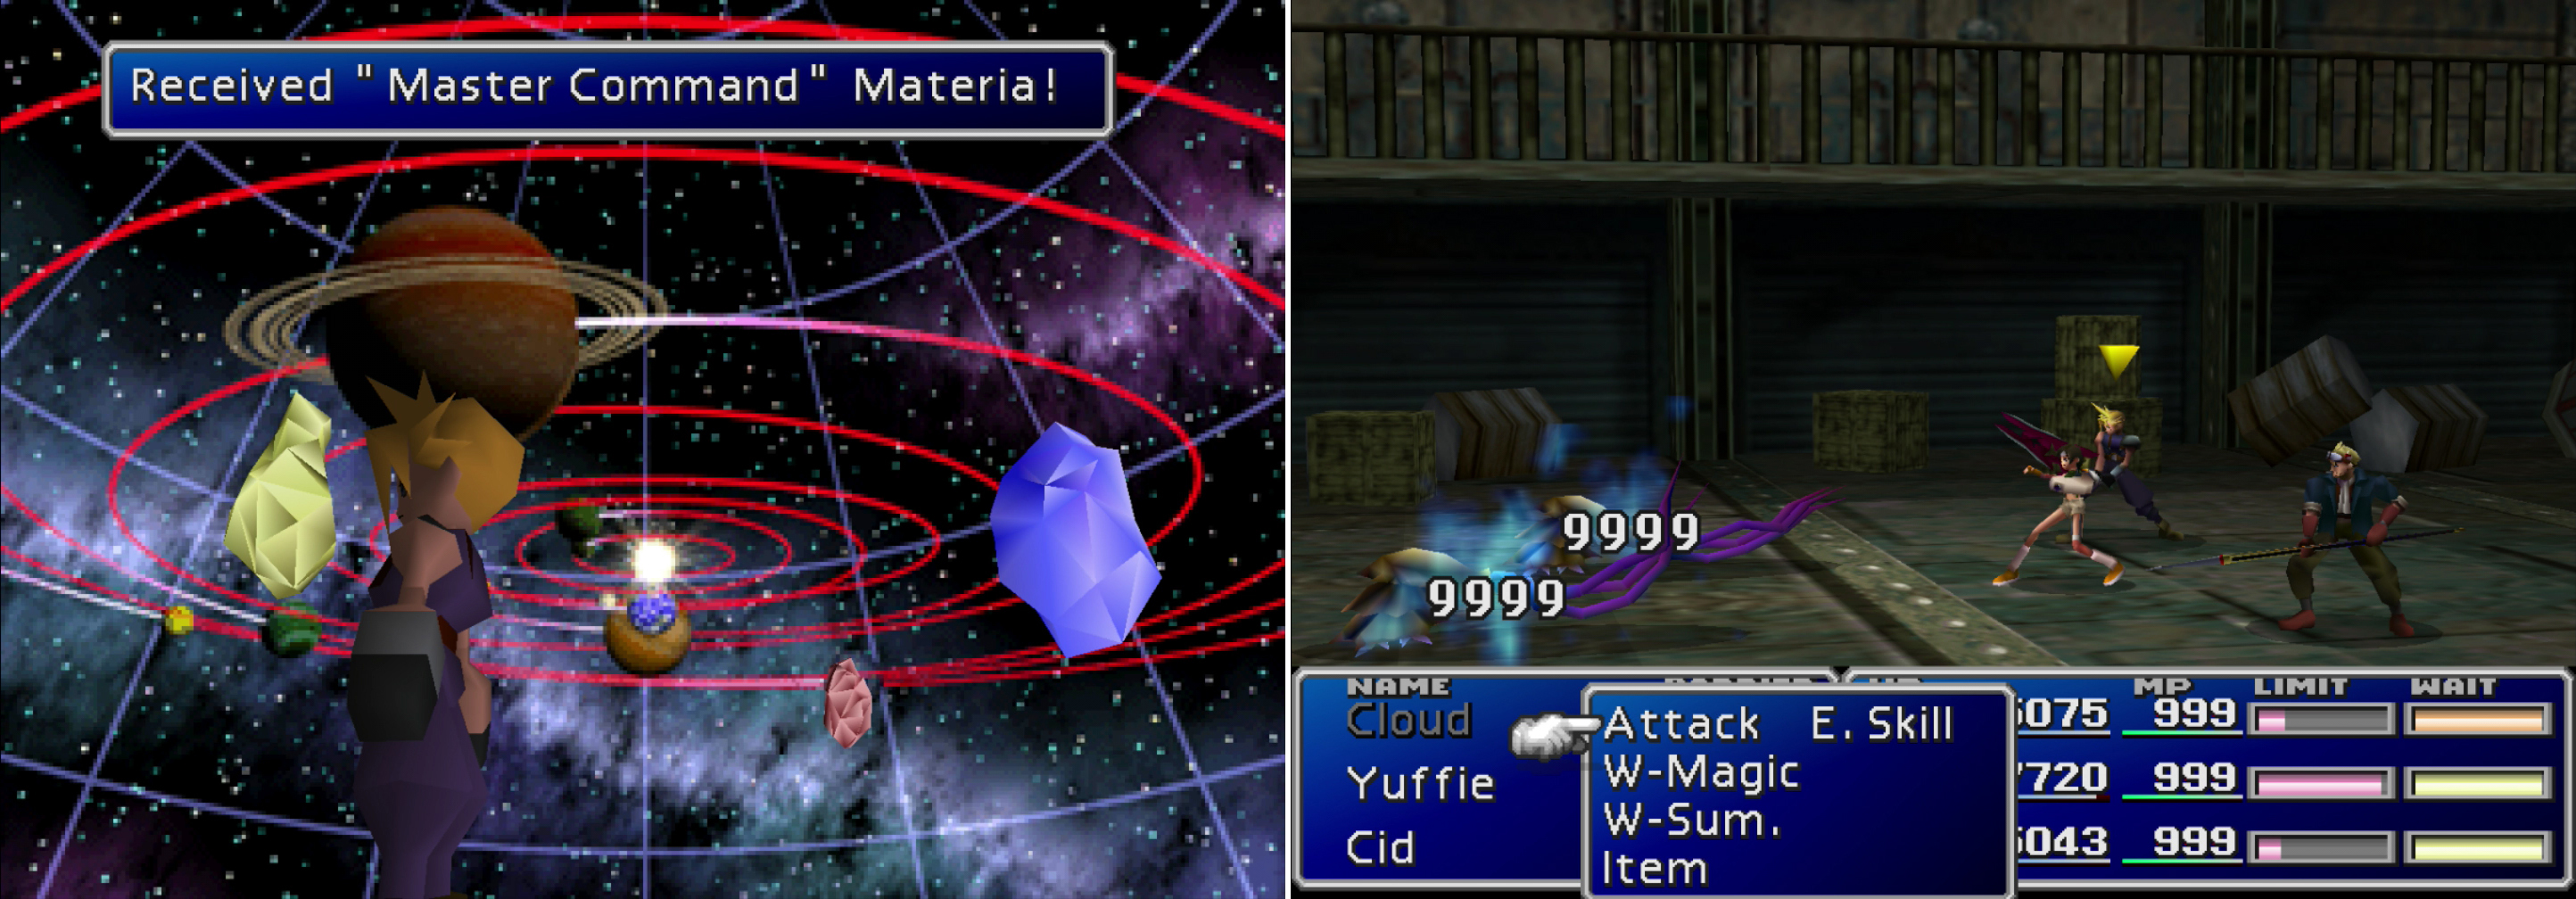
Master one of every type of command, summon or magic materia and you can obtain a piece of Master Materia from the Huge Materia you rescued (left). Yuffie - with her ultimate weapon - the Conformer is in league of her own when it comes to Morphing foes (right).
Luck Source:
Bad Raps can be found in the Gelnika - Hallway area, and look like… well, floating green alien creatures. They can be Morphed into Luck Sources, which will raise a character’s Luck when consumed. Character with a high Luck attribute score critical hits more often, which is pretty awesome, especially when Morphing.
Magic Source:
Morph Unknown 3’s to get Magic Sources, which will raise your Magic attribute. In turn, this increases the amount of damage you’ll do with spells. Sounds good enough, but it’s nothing that can’t be achieved with MP Turbo, and considering how long it’ll take you to grind a significant number of these, you might just want to pass and spend your time more productively.
Mind Source:
Serpents (found in the Cargo and Research Rooms on the Gelnika) can be Morphed into Mind Sources, which increases Spirit, hence decreasing the damage that character takes from magic attacks. A nice enough perk, and Serpents aren’t terribly dangerous, but the other critters in the areas they frequent can be. At the end of the day, it’s probably not worth the time necessary to grind these creatures.
Power Source:
You can harvest Power Sources from a few creatures; but the Heavy Tanks near Gongaga’s reactor being the easiest target. Power Sources increase Strength, which in turn increases physical damage.

The Heavy Tank (left) outside of the Gongaga Reactor can be Morphed into Power Sources (right). Weak foes that yield great rewards.
Speed Source:
Poodlers, shelled and tentacled critters in the Gelnika - Hallway area can be Morphed into Speed Sources, which increase Dexterity. Dexterity influences the rate at which the character’s ATB meter fills, and taking more actions than the enemy in combat is a sure-fire way to win.
Tetra Elemental:
Along the southern edge of the world map (south and slightly west of Cosmo Canyon) you’ll find Cactus Island. It boasts a thin strip of grassland you can use to land the Highwind, the rest of the island is desert. In this desert you can encounter Cactuers (not to be confused with Cactuars, of course) which you can Morph into Tetra Elementals. While not entirely unique, these accessories drain cold, fire, earth and lightning attacks. If you find that useful… well, they’re easy enough to grind.
Start out by Morphing the Heavy Tanks near Gongaga’s ruined reactor into Power Sources. Even a mid-level Yuffie with her Conformer can Morph a Heavy Tank in one blow, making the Heavy Tank a far easier target than the Unknowns that haunt the Gelnika’s Cargo Room and Research Room. To speed things up further, equip Yuffie with Sprint Shoes here will speed things up, as she’s your dedicated Morpher, and Enemy Lure Materia will reduce the amount of down-time between encounters. As with all attributes, the maximum value for Strength (which a Power Source increases) is 255, but the functionality of Strength is to boost Attack, which in turn is boosted by a character’s weapon. Considering all ultimate weapons have over 90 Attack, this cuts down on the amount of Strength any character will need; 150 Strength will get a character very near the 255 Attack cap. Even a modest bit of grinding for your favorite characters (20 Power Sources or so) will result in a noticeable and welcome damage increase.
Once you’ve obtained as many Power Sources as you desire, head to the Gelnika - Hallway, where you can Morph Poodlers and Bad Raps into Speed Sources and Luck Sources, respectively. Again Yuffie and her Conformer are the go-to Morphing options here, and Yuffie can (perhaps boosted by a few Power Sources) Morph these creatures in one or two attacks. Buffing Yuffie will make further grinding go faster, as Speed Sources boost Dexterity, which determines how fast the ATB meter fills, and Luck Sources raise… well, Luck, of course, which determine the frequency of critical hits. A fast, high-Attack, high-Luck Yuffie can decimate almost anything in the game, and considering you can get several Sources per fight, a little bit of time spent grinding here pays good dividends.
As for Guard Sources, Magic Sources and Mind Sources, the Unknown 2, Unknown 3 and Serpent can be Morphed into these, but they’re far stronger foes, and the time-to-Source ratio is much, much worse. Guard Sources can also be obtained from Spirals near Mideel, and if you’re going to bother with them at all, that’s the place to get them. Vitality and Spirit will increase your survivability and Magic will make your spells and summons more powerful, but a character with elevated Strength, Dexterity and Luck will just roll over weaker enemies, anyways, and event grinding Guard Sources won’t go as quickly as Luck and Speed Sources went. All in all, it’s rather difficult to recommend grinding these stats unless you have tons of time on your hands, or are an obsessive perfectionist.
Grind as much (or as little) as you wish. As was stated earlier, none of this is necessary, and honestly, Morphing foes into Sources is more helpful with speeding up grinding than it is helpful with the Weapon fights… which isn’t to say you won’t notice a difference in the potency of a character who has 255 Attack, Dexterity and Luck versus one who doesn’t.


No Comments