
| Important Items in this Area |
|---|
| Kaiser Knuckle |
| MP Turbo Materia |
| Neo Bahamut Materia |
| Poison Ring |
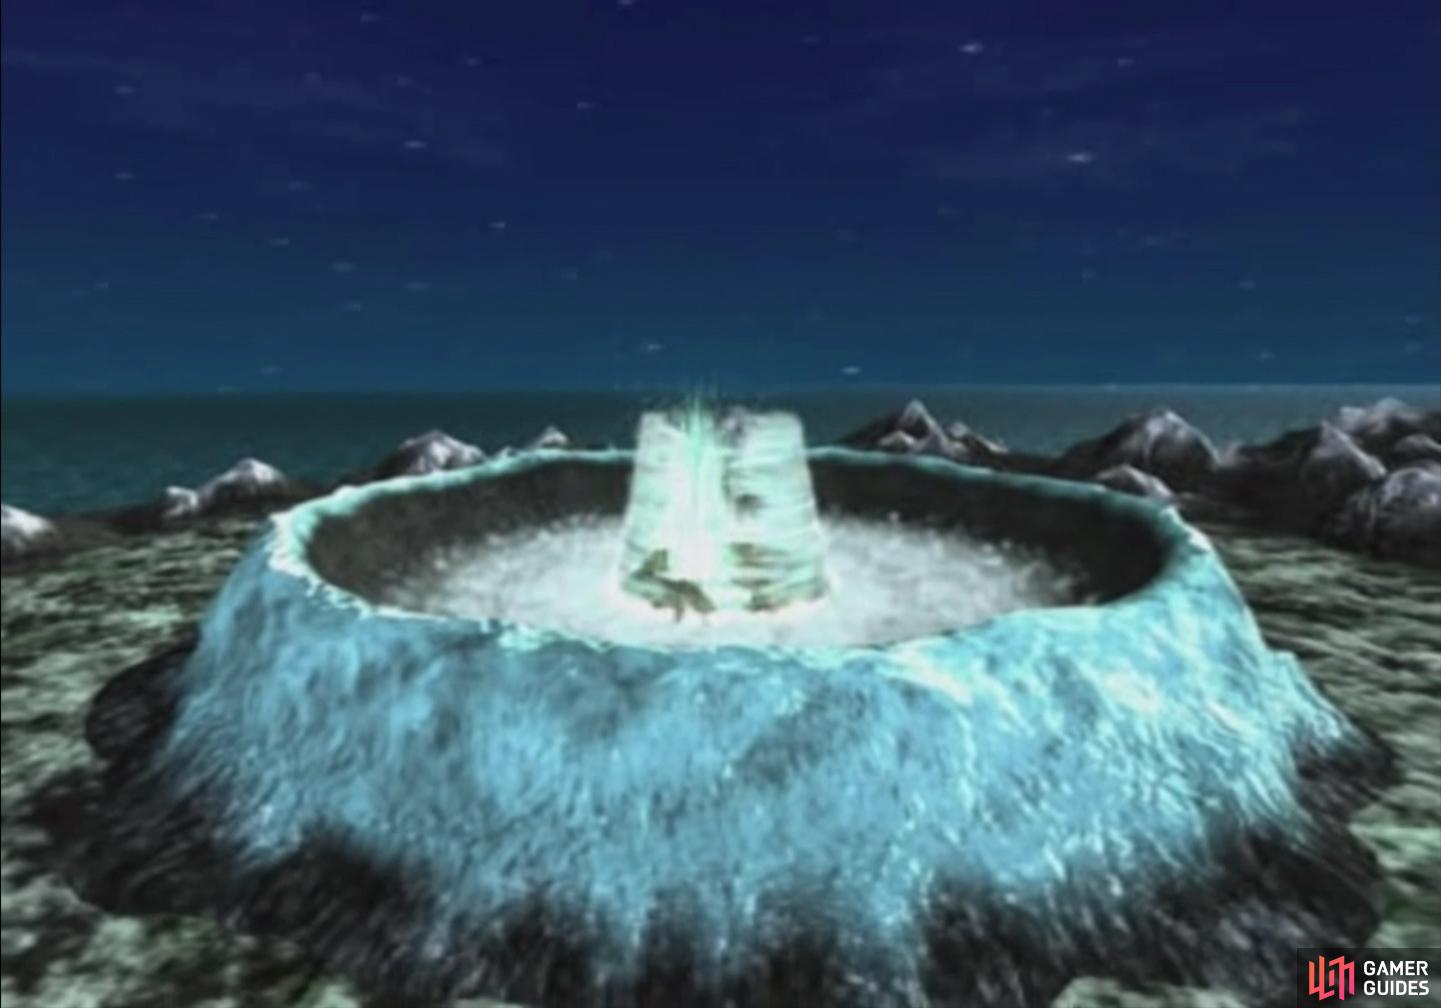
The Planets Scar
Exit the cave and climb the cliff wall to the east to finally crest the precipice of Gaea’s Cliff, the remains of an old impact. As Cloud ominously suggests, if Sephiroth manages to use the Black Materia, the wound will be more severe next time. Run down the face of the crater, encountering another Black Caped figure just before making it to the next screen. Here you’ll find stone spikes jutting out of the ground, with a clear path through the misty ground leading west.
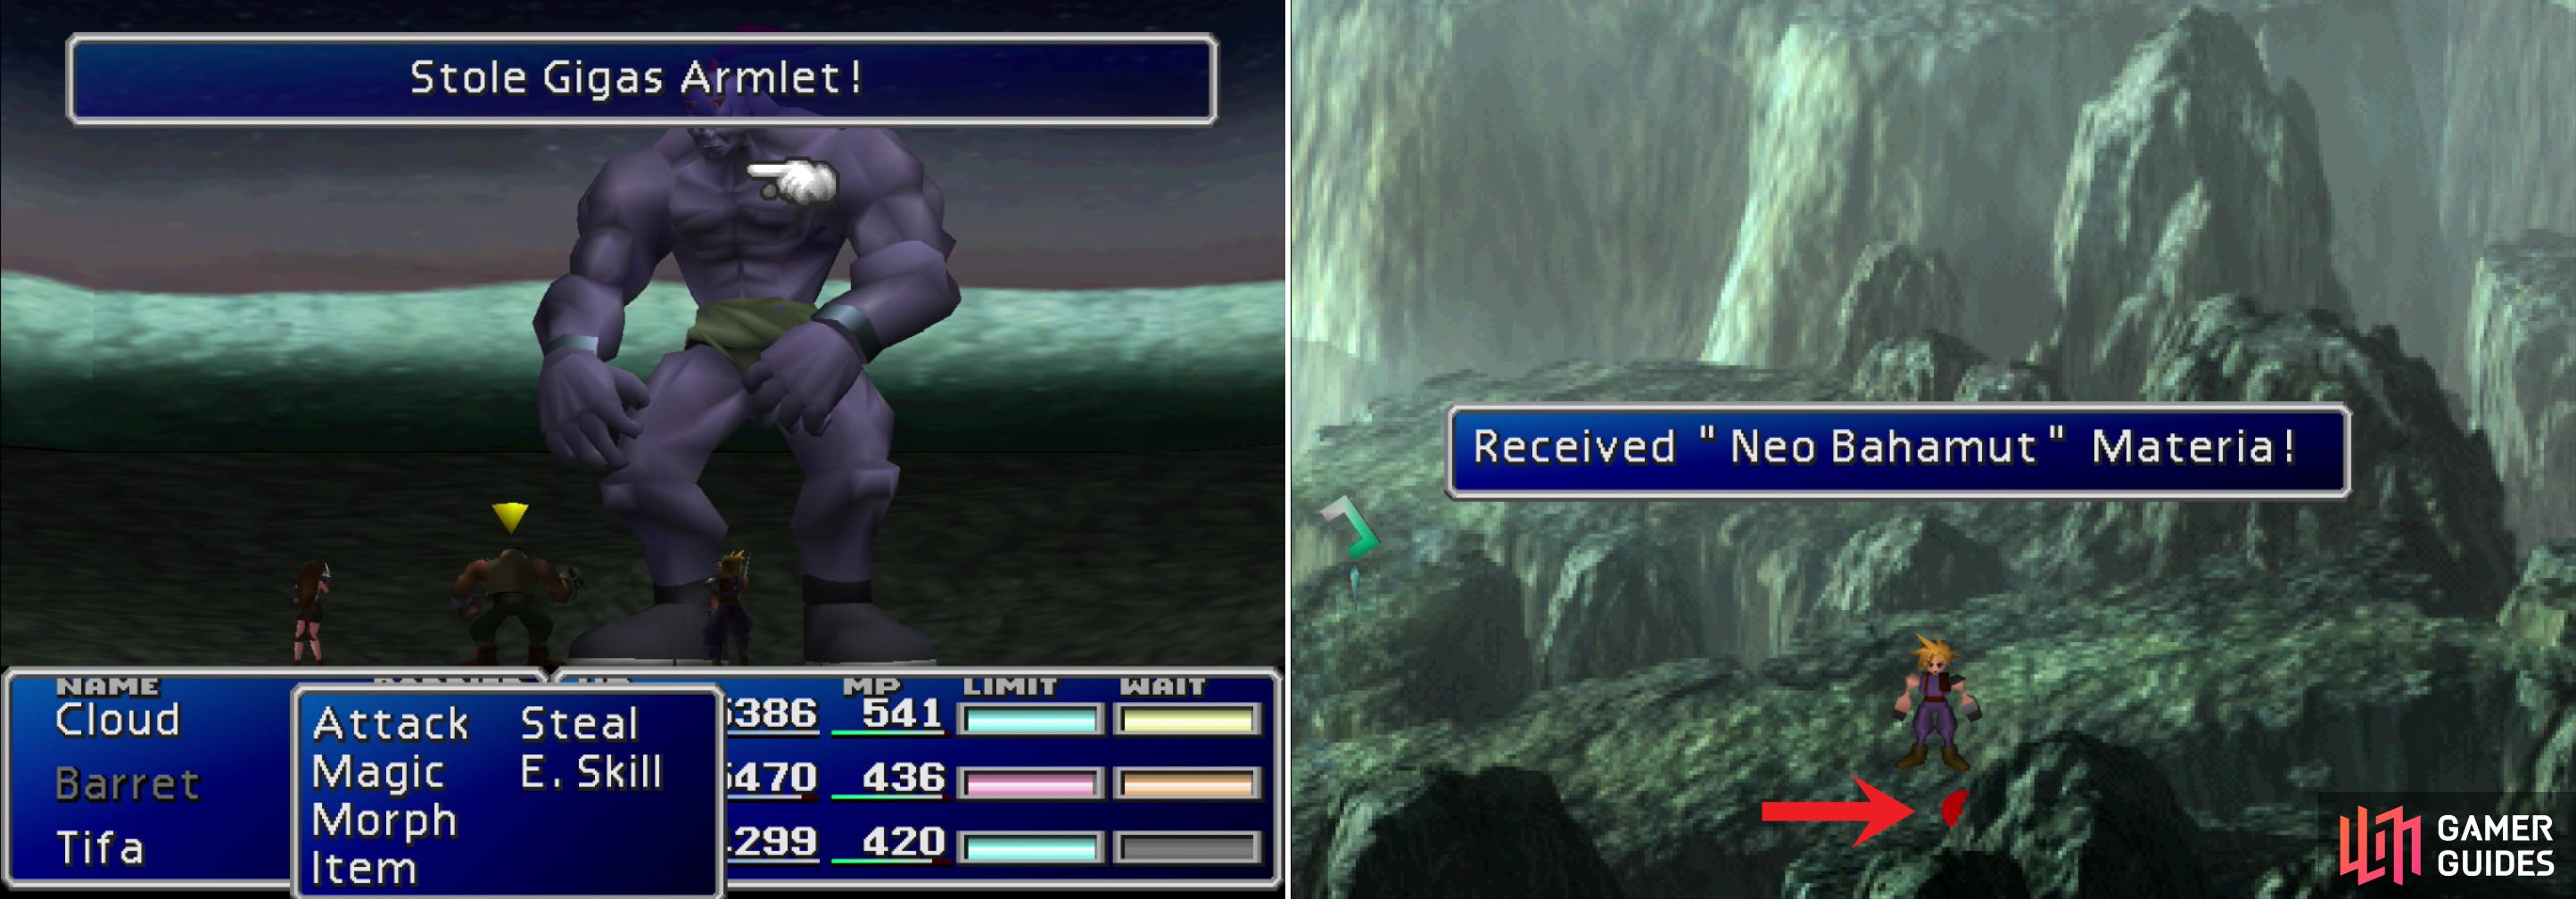
You can steal Gigas Armlets from aptly named Gigas foes (left). Be sure to grab the Bahamut Materia lying on the ground in the Whirlwind Maze (right).
In the next area (the start of the Whirlwind Maze), the mist has cleared, and you’ll see black cloaked figures dying in their attempt to reunite with Sephiroth. Continue west and keep your eyes on the southern edge of the screen to spot a red glowing ball of goodness, which happens to be Neo Bahamut Materia . You know, like Bahamut, but more… Matrix-y? Jump to a ledge to the north and save your game at a Save Point, then jump north again and continue west to witness the arrival of Shinra. They took an easier, more scenic route to reach the Promised Land. If only you had an airship… sure would make getting around easier…
Continue west to reach a stone bridge running through a windy chasm. So windy, in fact, that you’ll need to time your crossing to avoid trouble. Talk to the two black-cloaked figures who weren’t fortunate enough to make it across to obtain a Hi-Potion and an Ether , then wait for the wind to die down and cross. Should you fail you’ll be knocked back and will have to fight a Wind Wing critter. When you make it across continue north the next screen.
If you cross at the wrong time, you’ll be rebuffed by the elements (left) and forced to fight some Wind Wings, which can cast “Aero 3” (right).
On the winding path ahead, the last of the tattooed, black-clad figures will be meandering. Many will not make it further than this. Follow the trail and grab the chest at the second elbow to obtain the Kaiser Knuckle (44 Attack, eight Materia sockets, including one joined pair and six independent sockets). Continue following the winding trail and, if you want to ensure an upcoming fight is as easy as possible, equip your party with the Fire Armlet, Fire Ring, and Fire + Elemental Materia until you’re immune to fire. The next area is another wind-swept bridge you’ll have to cross at the right time or fight a Wind Wing, this time the task is complicated a bit by the addition of a wave of wind that cycles constantly, and independently of the main gale.
Once you make the crossing, you’ll witness the black-cloaked figures get a reward from their master, after which Sephiroth will vanish and give you some instruction. After his ambush fails to fully incapacitate you, he’ll drop another chunk of Jenova for you to play with.
Boss Battle: Jenova-DEATH
What an ominous boss name. Anywho, if you’ve prepared ahead of time with fire resistance gear (Fire Armlet, Fire Ring, Fire Materia + Elemental Materia), Jenova-DEATH can’t touch you, as all her attacks are fire elemental. Bummer for her. Otherwise… well, you should know what to expect by now. She’ll spam her “Red Light” basic attack, dealing around 600 damage to one target, mixing it occasionally with “Tropic Wind” (looks like “Aqualung”, but red) which deals a bit less damage than “Red Light” to one target. Other than that, the only other action she’ll perform is to cast Silence, but with two Ribbons, there’s not much she can do to you.
Unlike Jenova-LIFE she can’t block the “Magic Hammer” spam. She’s got a good deal of MP, but a few rounds of “Magic Hammer” and she’ll be utterly helpless… if she wasn’t already due to fire resistances.
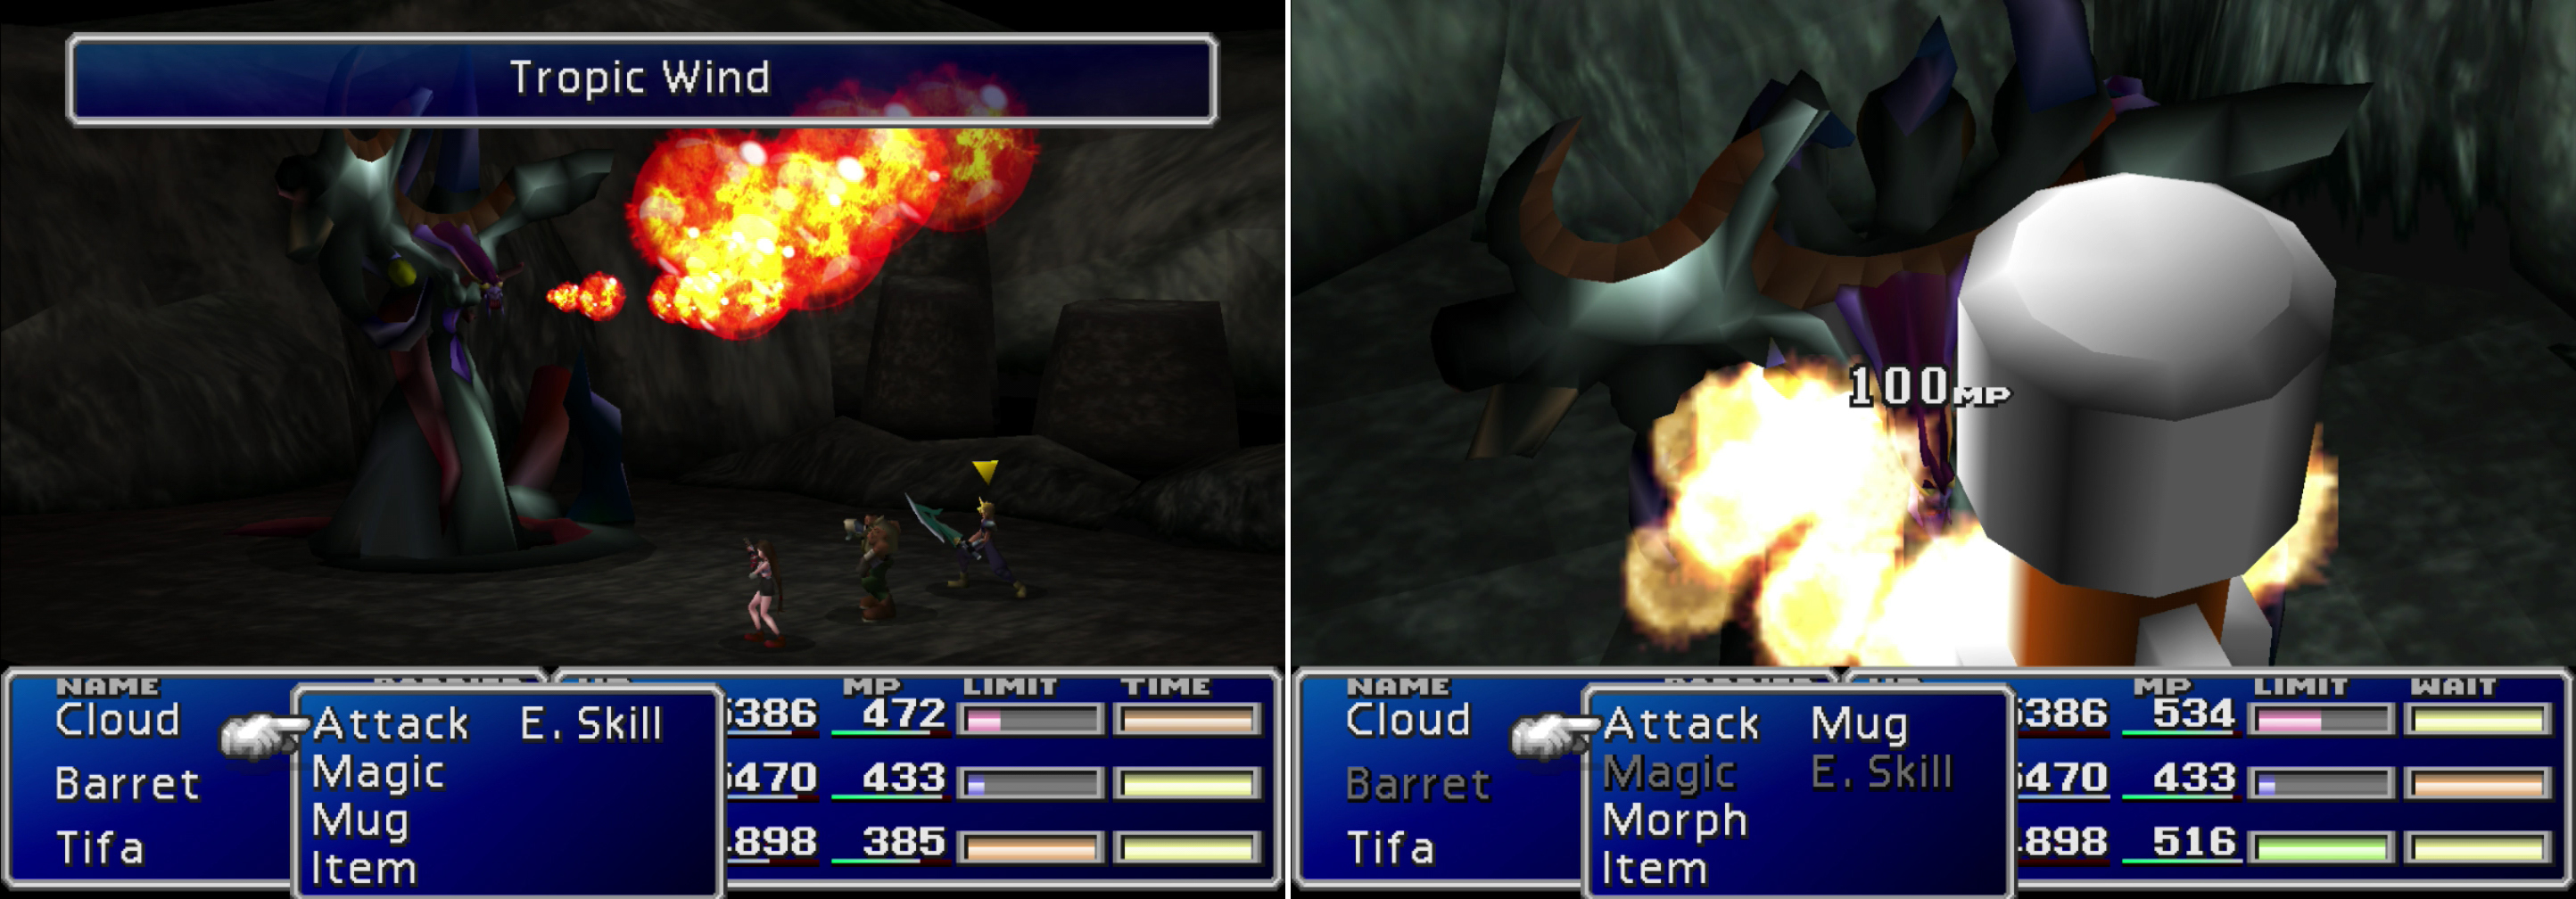
Jenova-DEATH’s attacks aren’t terribly powerful (left), and these weak attacks can be prevented entirely by draining all of Jenova-DEATH’s with “Magic Hammer” (right).
| Jenova-DEATH | Stats |
|---|---|
| HP: | 25000 |
| MP: | 800 |
| Weaknesses: | N?A |
| Resistances: | Gravity (negates) |
| XP: | 6000 |
| AP: | 400 |
| Steal: | N/A |
| Drop: | Reflect Ring |
| Gil | 500 |
After you pummel that pathetic excuse for a boss, the party will gather, and Cloud will claim the Black Materia. Wisely, however, he decides to leave it with somebody else; either Barret or Red XIII, depending on which one (if either) you have either in your party. Tifa is mandatory from this point on. After you hand the Black Materia off talk to Tifa. It seems the Sephiroth you’ve been chasing is just a clone… or an image? Jenova apparently has the power to assume other forms, as you learned back at the Icicle Inn. The real Sephiroth is still behind all this madness, and he awaits us up ahead.
Regroup and grab a piece of MP Turbo Materia to the north, then continue in that direction to reach a Save Point and a chest, which contains a Poison Ring . Head north to reach a third wind-swept bridge area, where in addition to the normal wind and the gust wave, there’s now lightning striking intermittently. One can only wonder what a fourth such screen would have looked like; probably sharks would have been flying around in the wind. Sadly, there is no fourth screen. Ahead lies a great deal of story with very little gameplay that needs little description. To summarize succinctly, however…
…Sephiroth will play some mind games with Cloud, the Reunion will culminate, an unlikely rescue will occur, and the end of the world will begin.
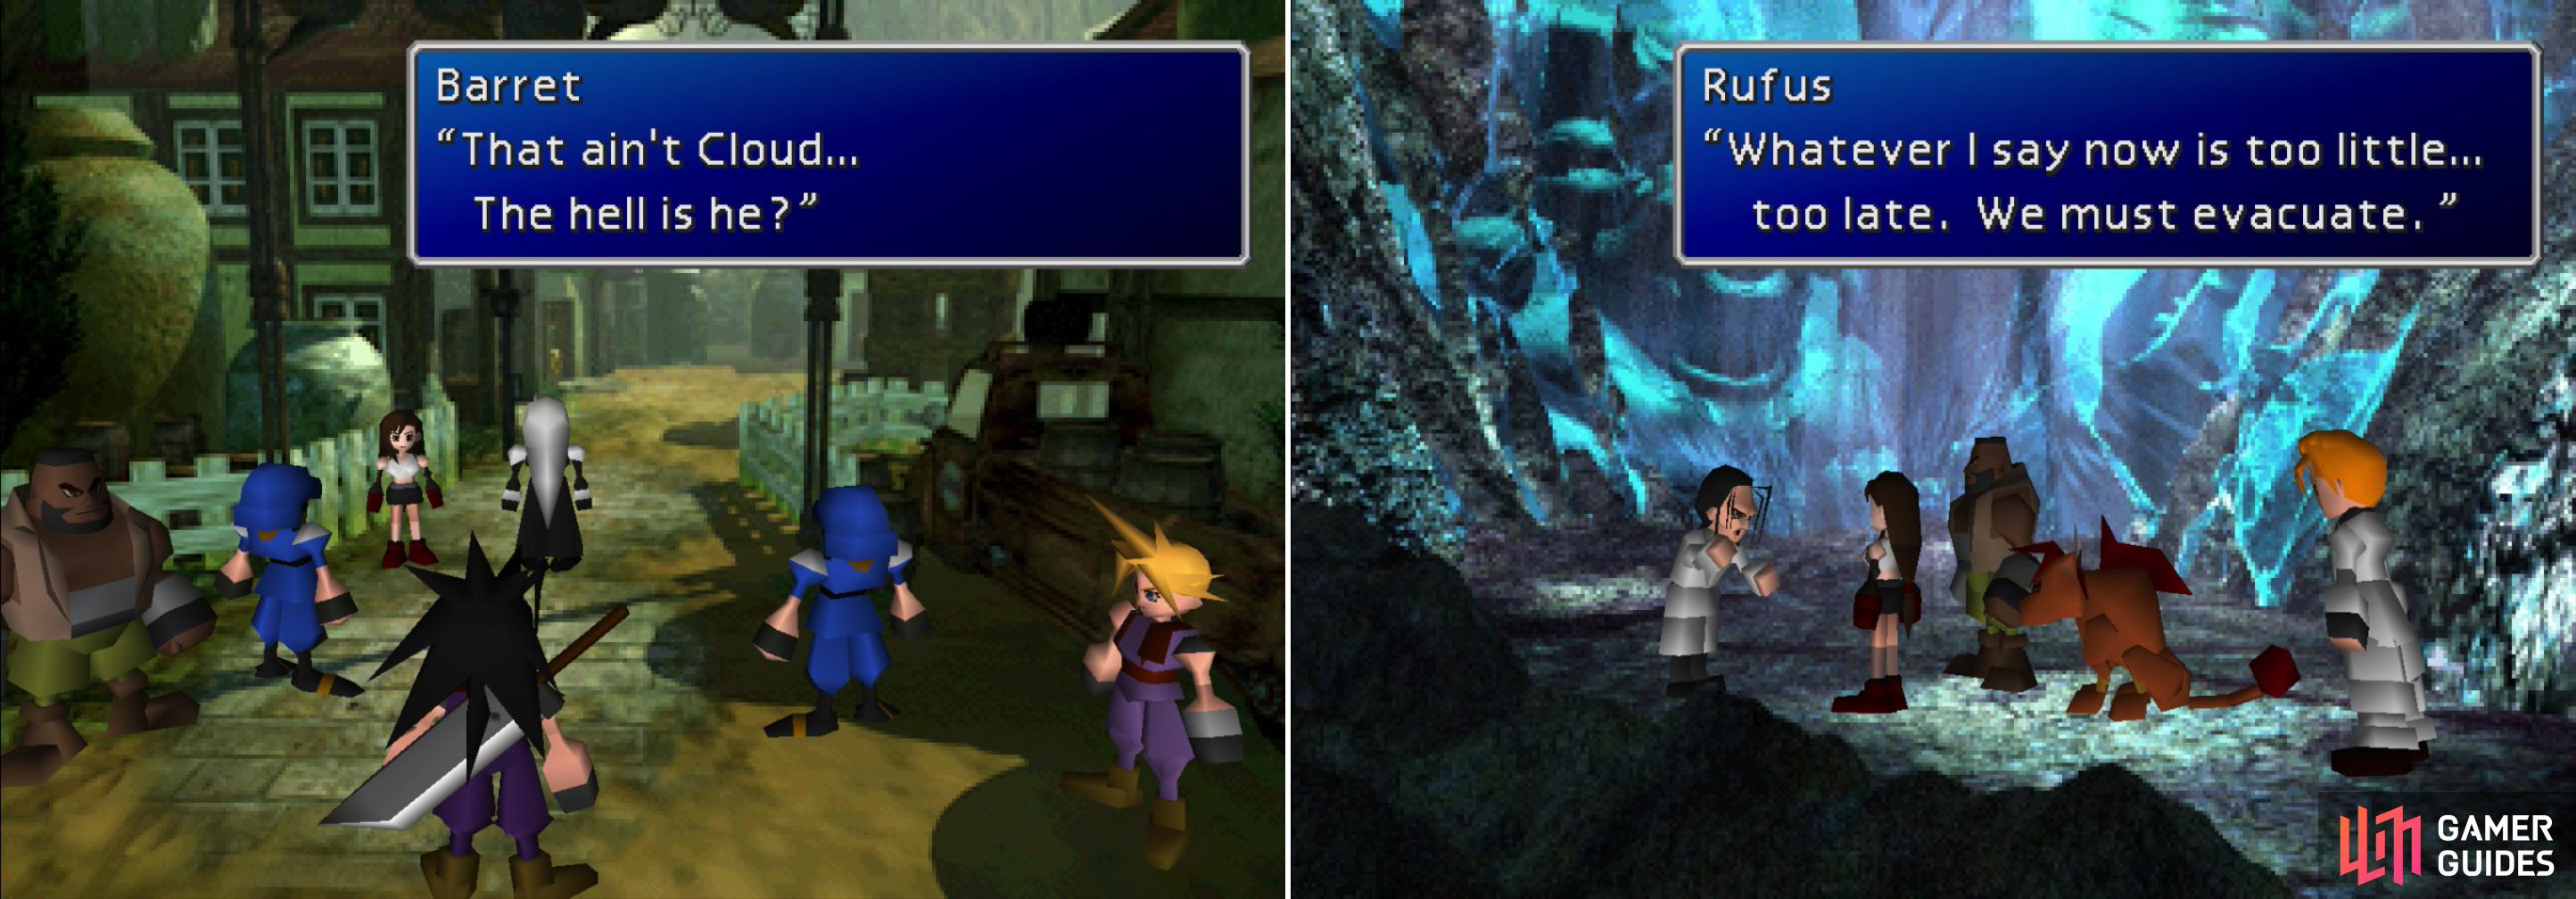
As Cloud closes in on the Promised Land, Sephiroth plays mind tricks with him by showing him illusions that call his past into question (left). After Cloud’s encounter with Sephiroth, the party and Shinra make odd bed-fellows (right).
No Comments