
To begin this DLC, speak with Sir Radzig. You will find him in Rattay, most likely wandering around Pirkstein castle. After voicing your concern about bandits roaming the land, Radzig will inform you that he has instructed a band of mercenaries to deal with the problem. He wants you to report to their leader, Kuno.
Select ‘About the danger on the roads…’ to begin the quest line.
Go to Kuno’s encampment in the fields between Ledetchko and Rattay, as shown on the map below.
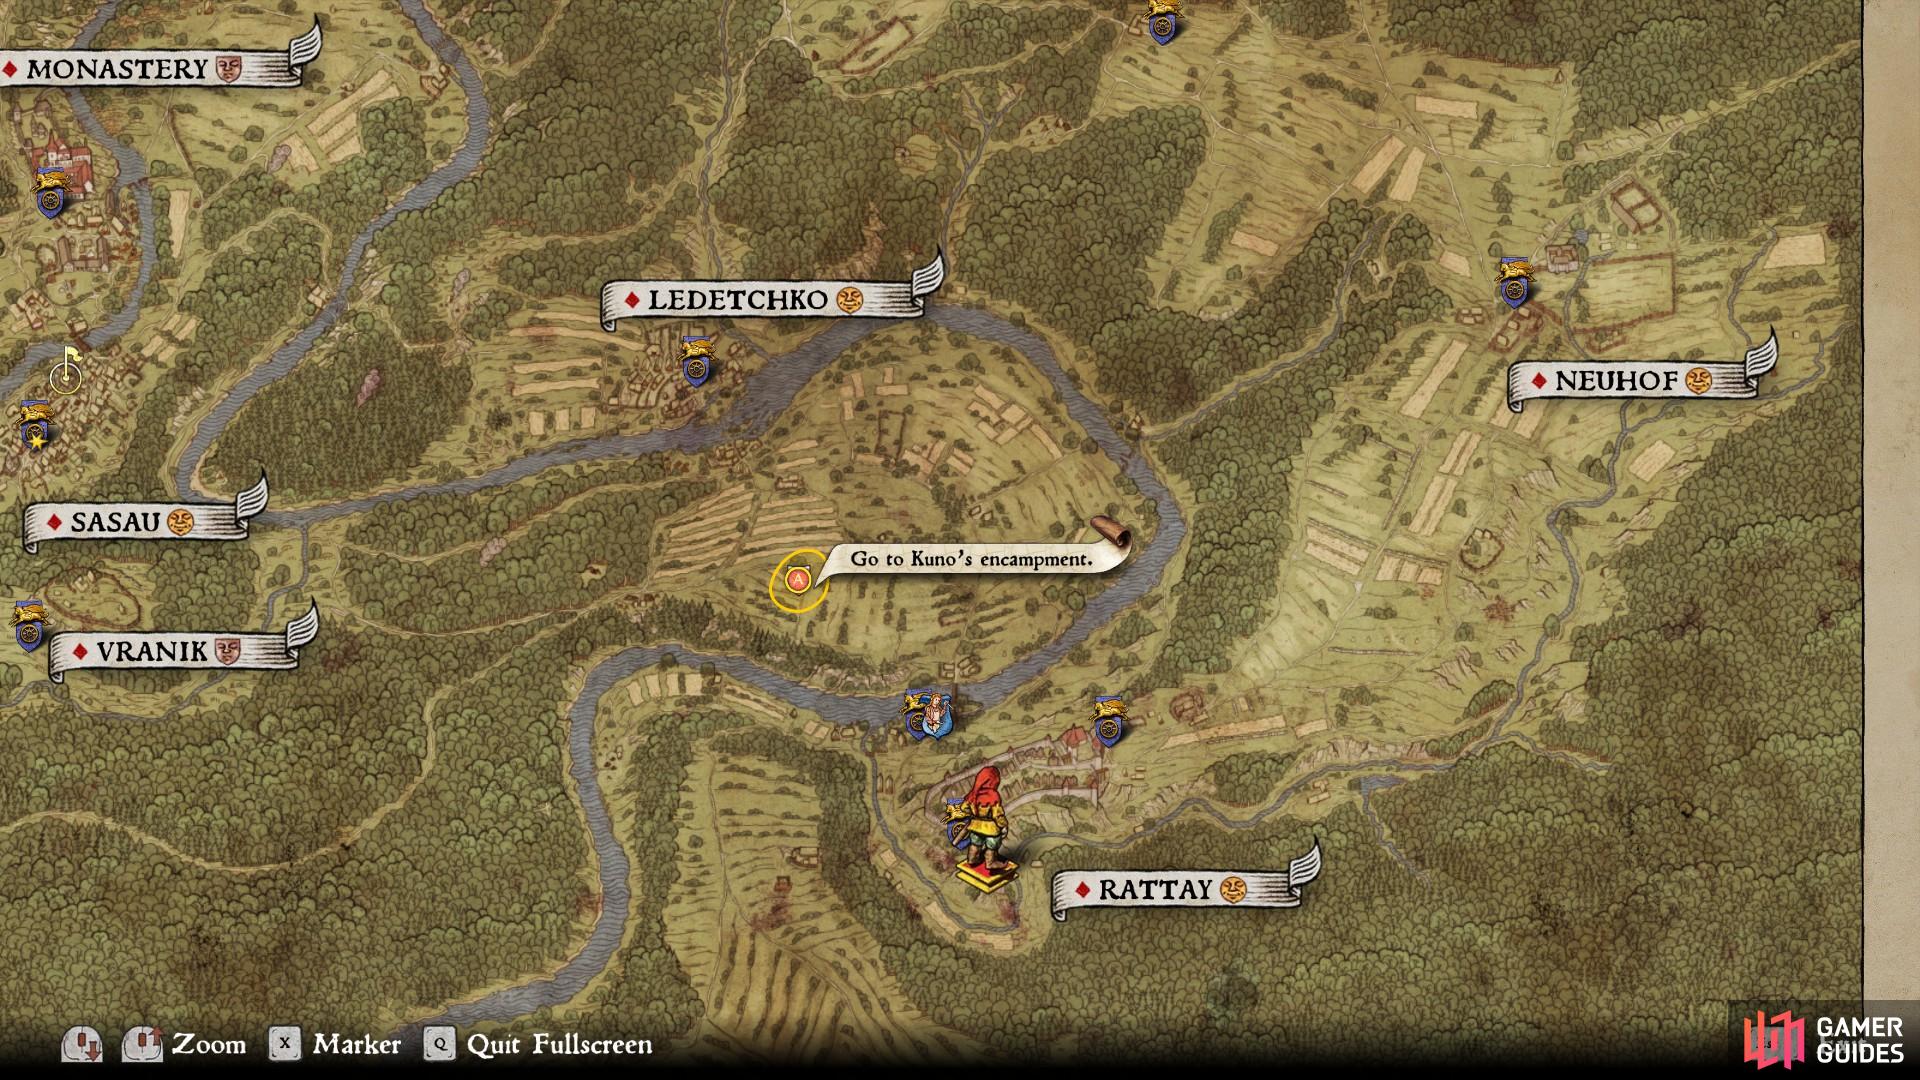
The location of Kuno’s encampment.
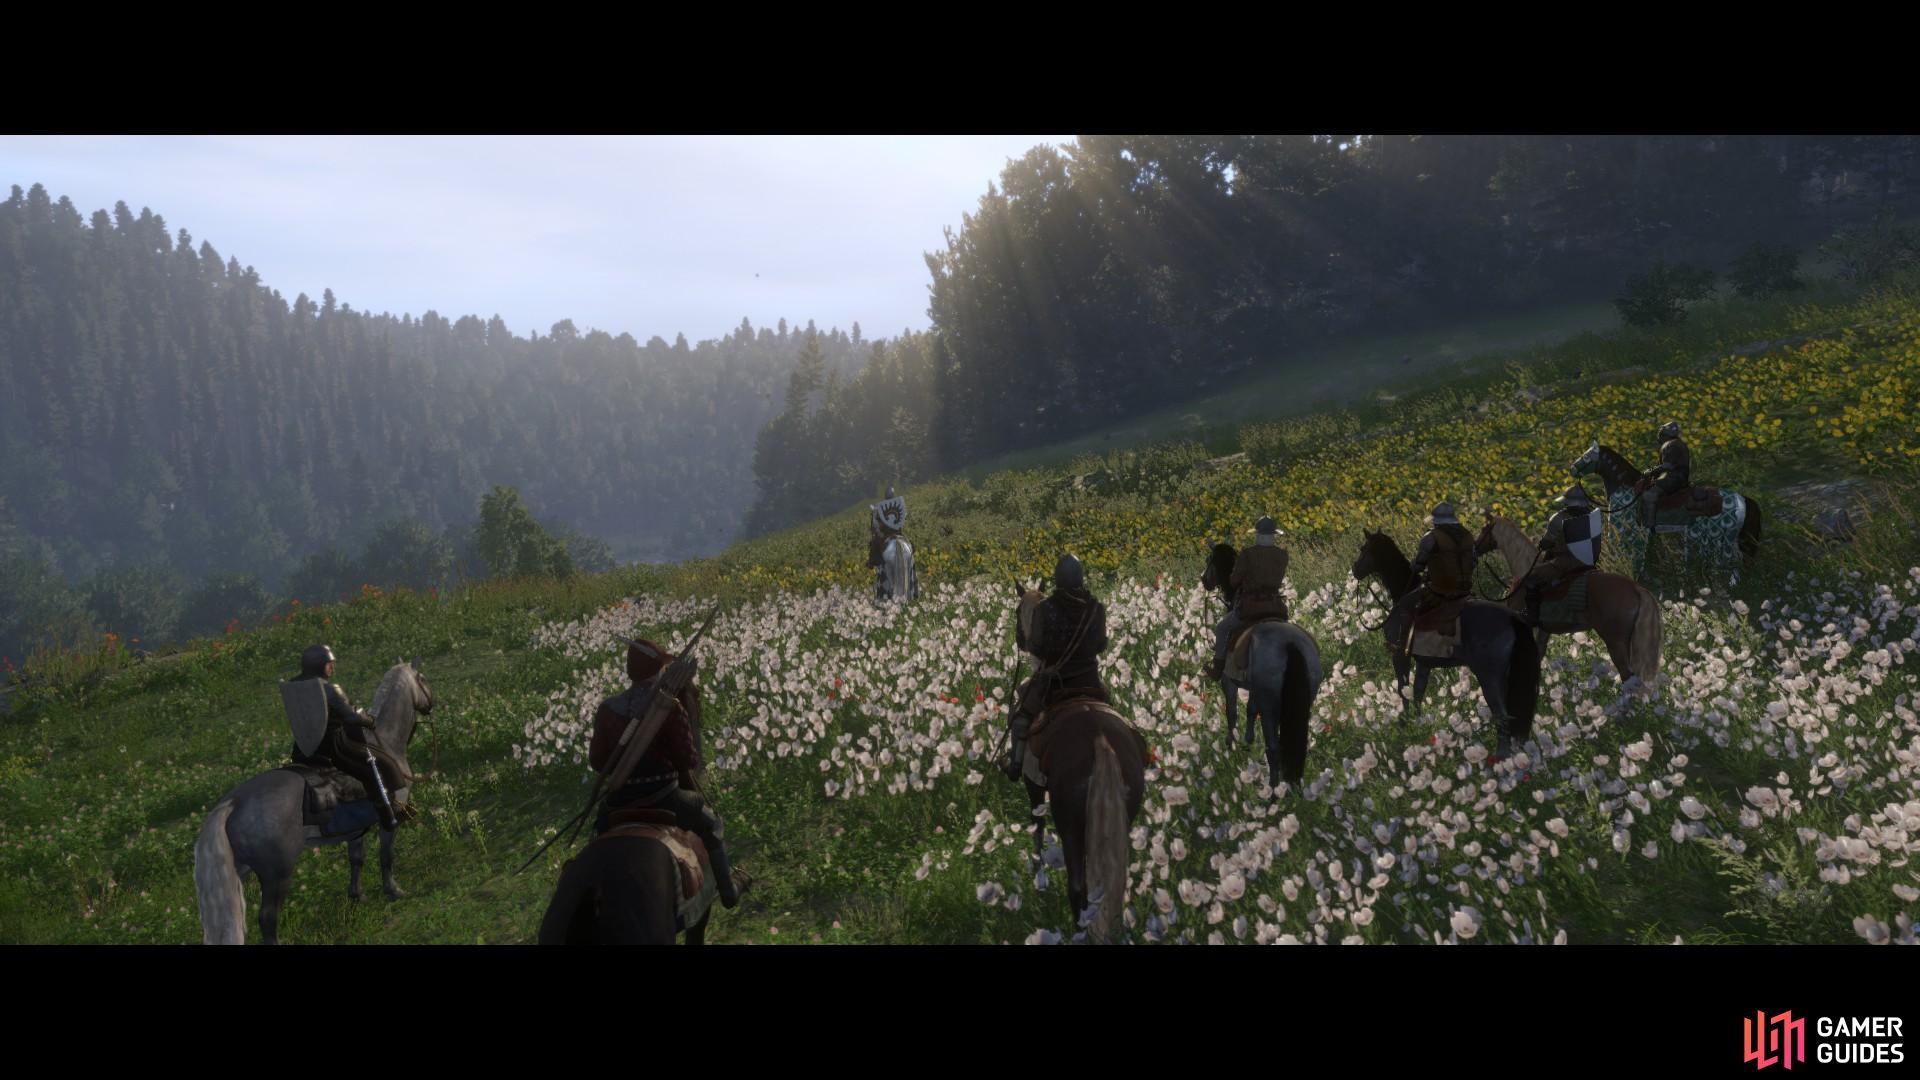
When you approach the camp a cutscene will initiate, during which you will be introduced to some of the members of the mercenary group. After some time you will be taken to Kuno, who will ask for you to prove your worth in combat by fighting one of the men, Dangler.
When you’ve defeated Dangler you will be accepted into the group. Take a few minutes to speak with Kuno to learn about his past, and something about each of the other men. When you’re ready, speak with Kuno to ride north.
Bad Blood
After a bit of travelling you and the others will find yourselves just south of Merhojed. Ride slowly along the path and listen to the banter of the men. Eventually you will come upon a burnt out farm. You now need to search the farm and find traces of the attackers. The evidence you are looking for can be found in the house directly in front of the entrance to the farmyard. Go inside and enter the first door on your right. On the wall you will find a dagger, a shield of House Zoul and a note to Sir Radzig. Take the items to Kuno and speak with him.
Once you have discussed the evidence with Kuno he will ask you to report back to Sir Radzig. You can either choose to do that immediately or volunteer to look for the raiders. If you choose to seek the raiders you should head east of the farm until you approach a small outhouse. Nearby you will find the corpse of a horse. Inspect it to initiate the next phase of the hunt.
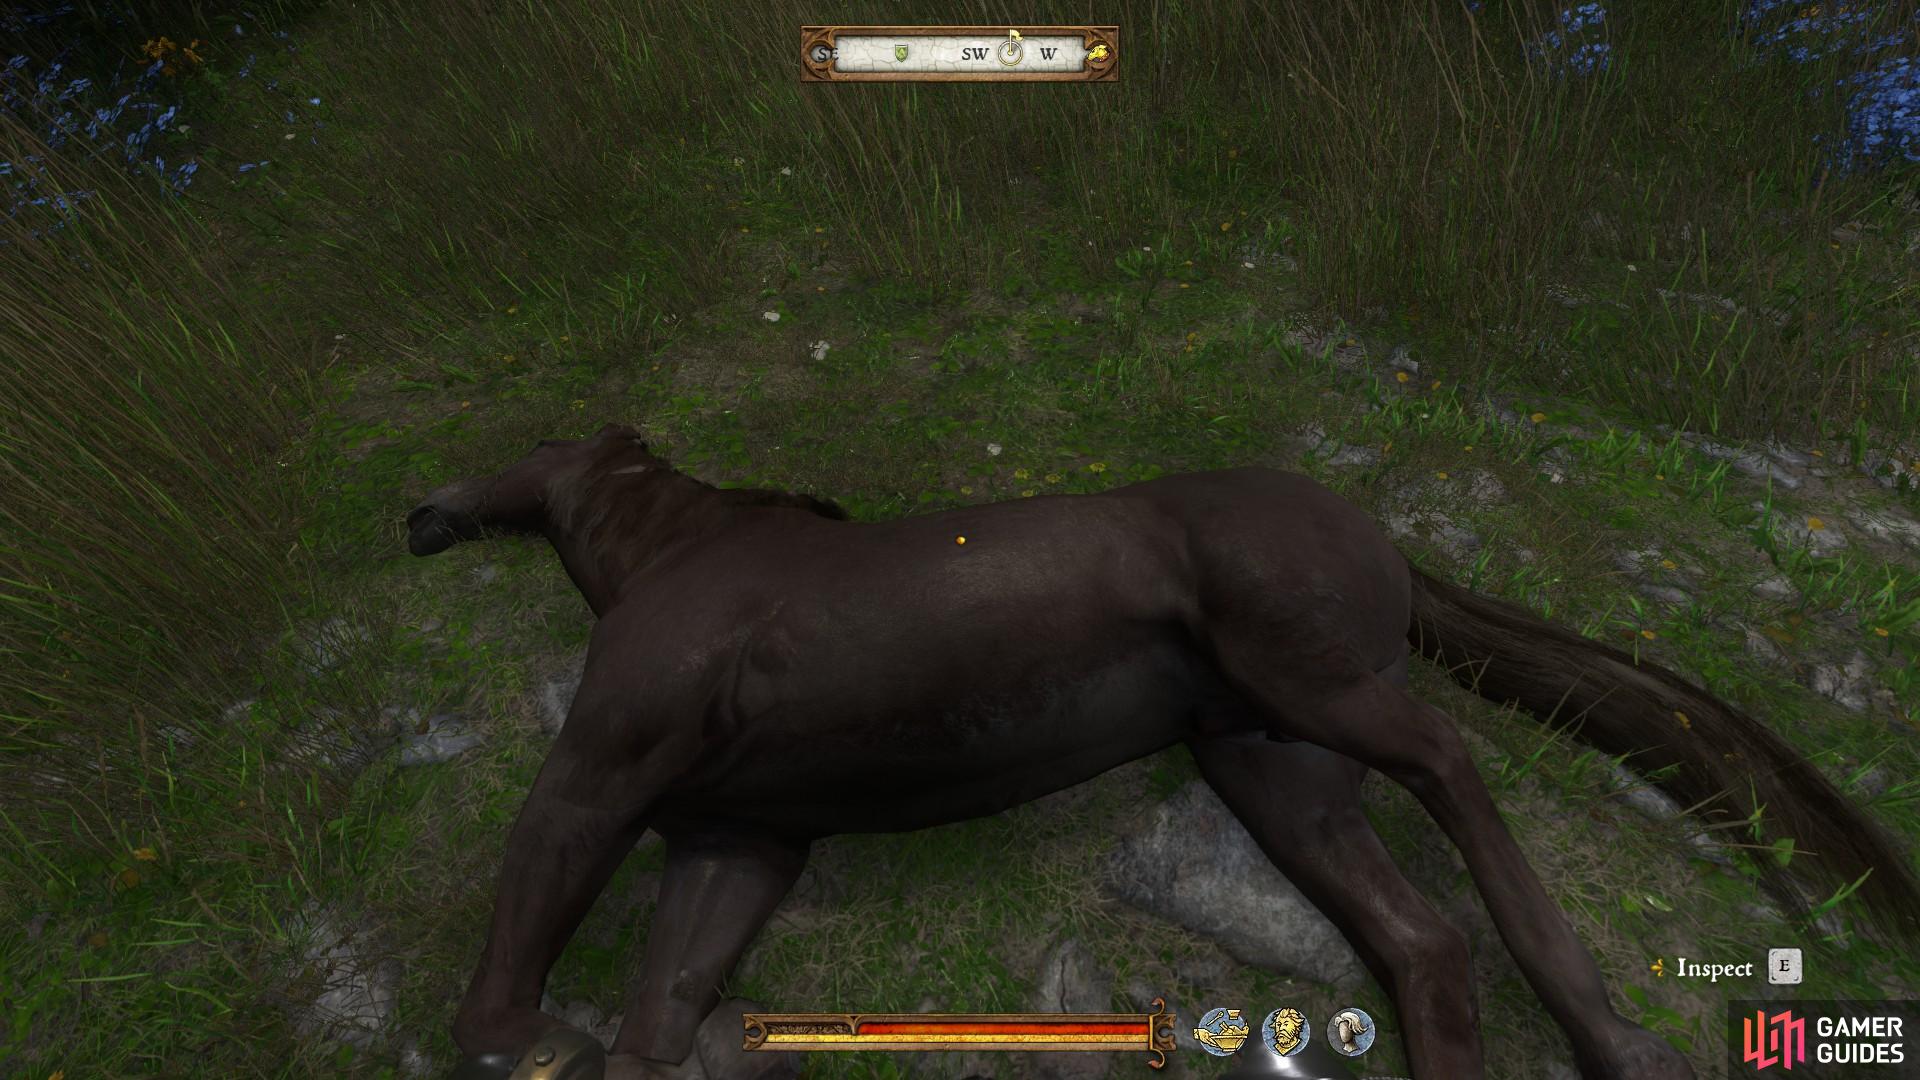
The dead horse should be easy to spot in the grass once you’re standing beside the outhouse.
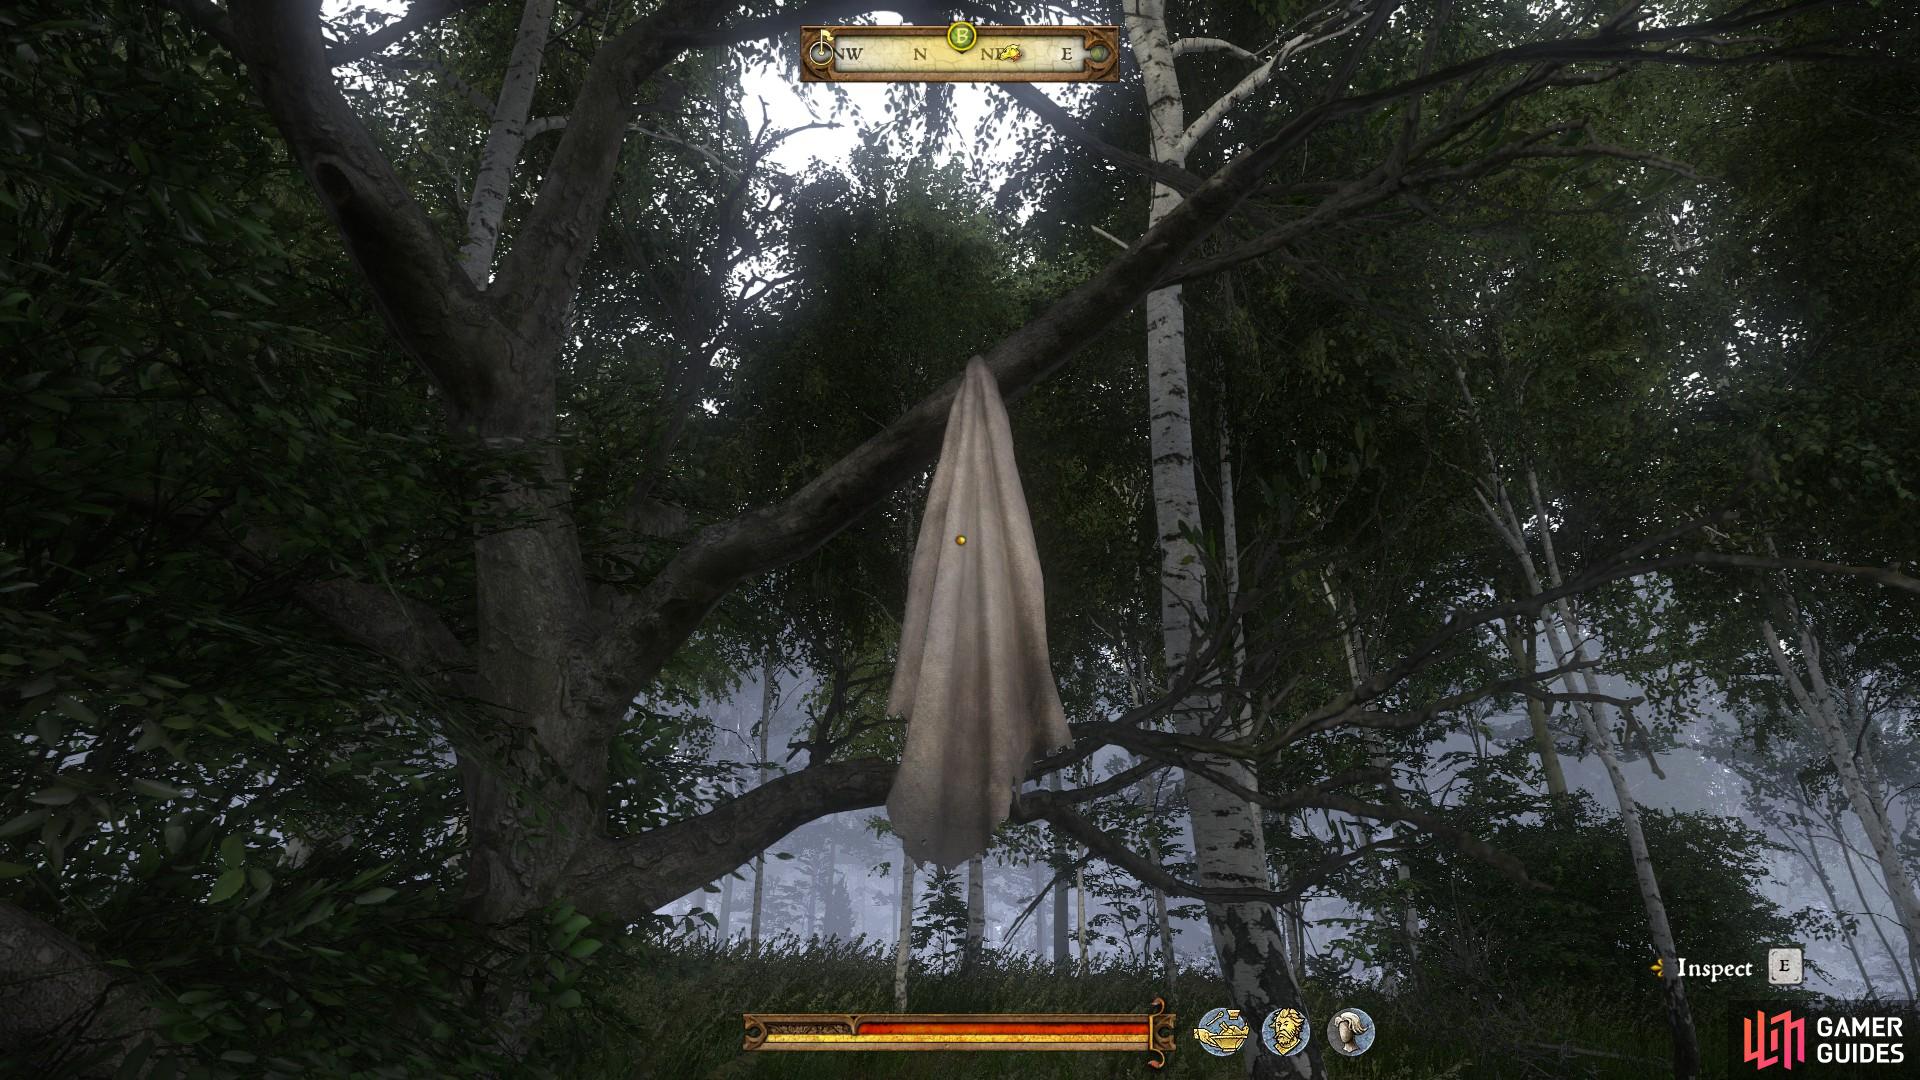
The clothing item can be found hanging from a tree near to where you found the horse.
Now make your way into the woods a little further to the east. You will find an open sack of apples within a clearing of grass. Inspect it. Walk toward the path to your left until you come across a tree, upon which you will find a piece of clothing. Inspect the clothing and then continue along the path. You will find more clothing on the edge of the road. Inspect it and cross over to the other side of the road, following the traces of blood until you approach a wooden keg. Inspect it and head further into the woods, following the traces of blood.
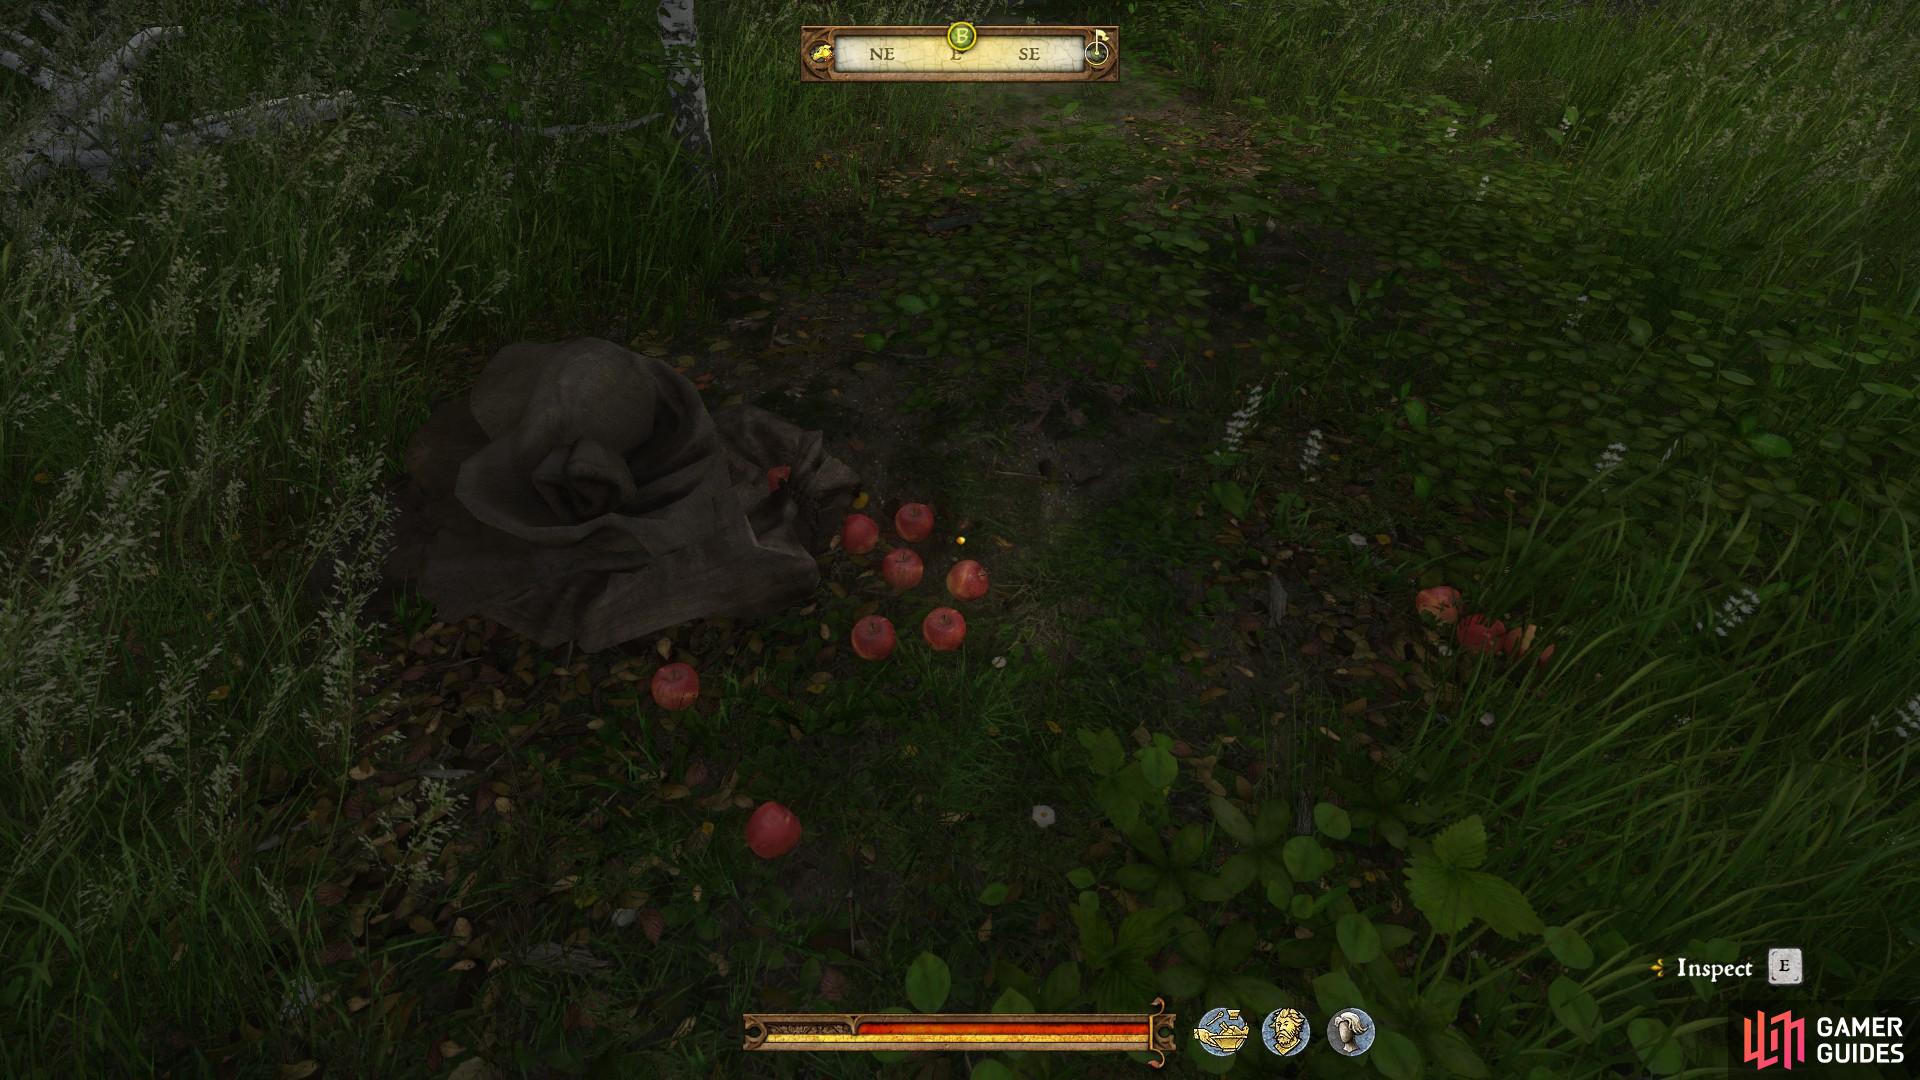
The apples are easy to spot among the foliage so long as you keep looking at the ground as you walk.
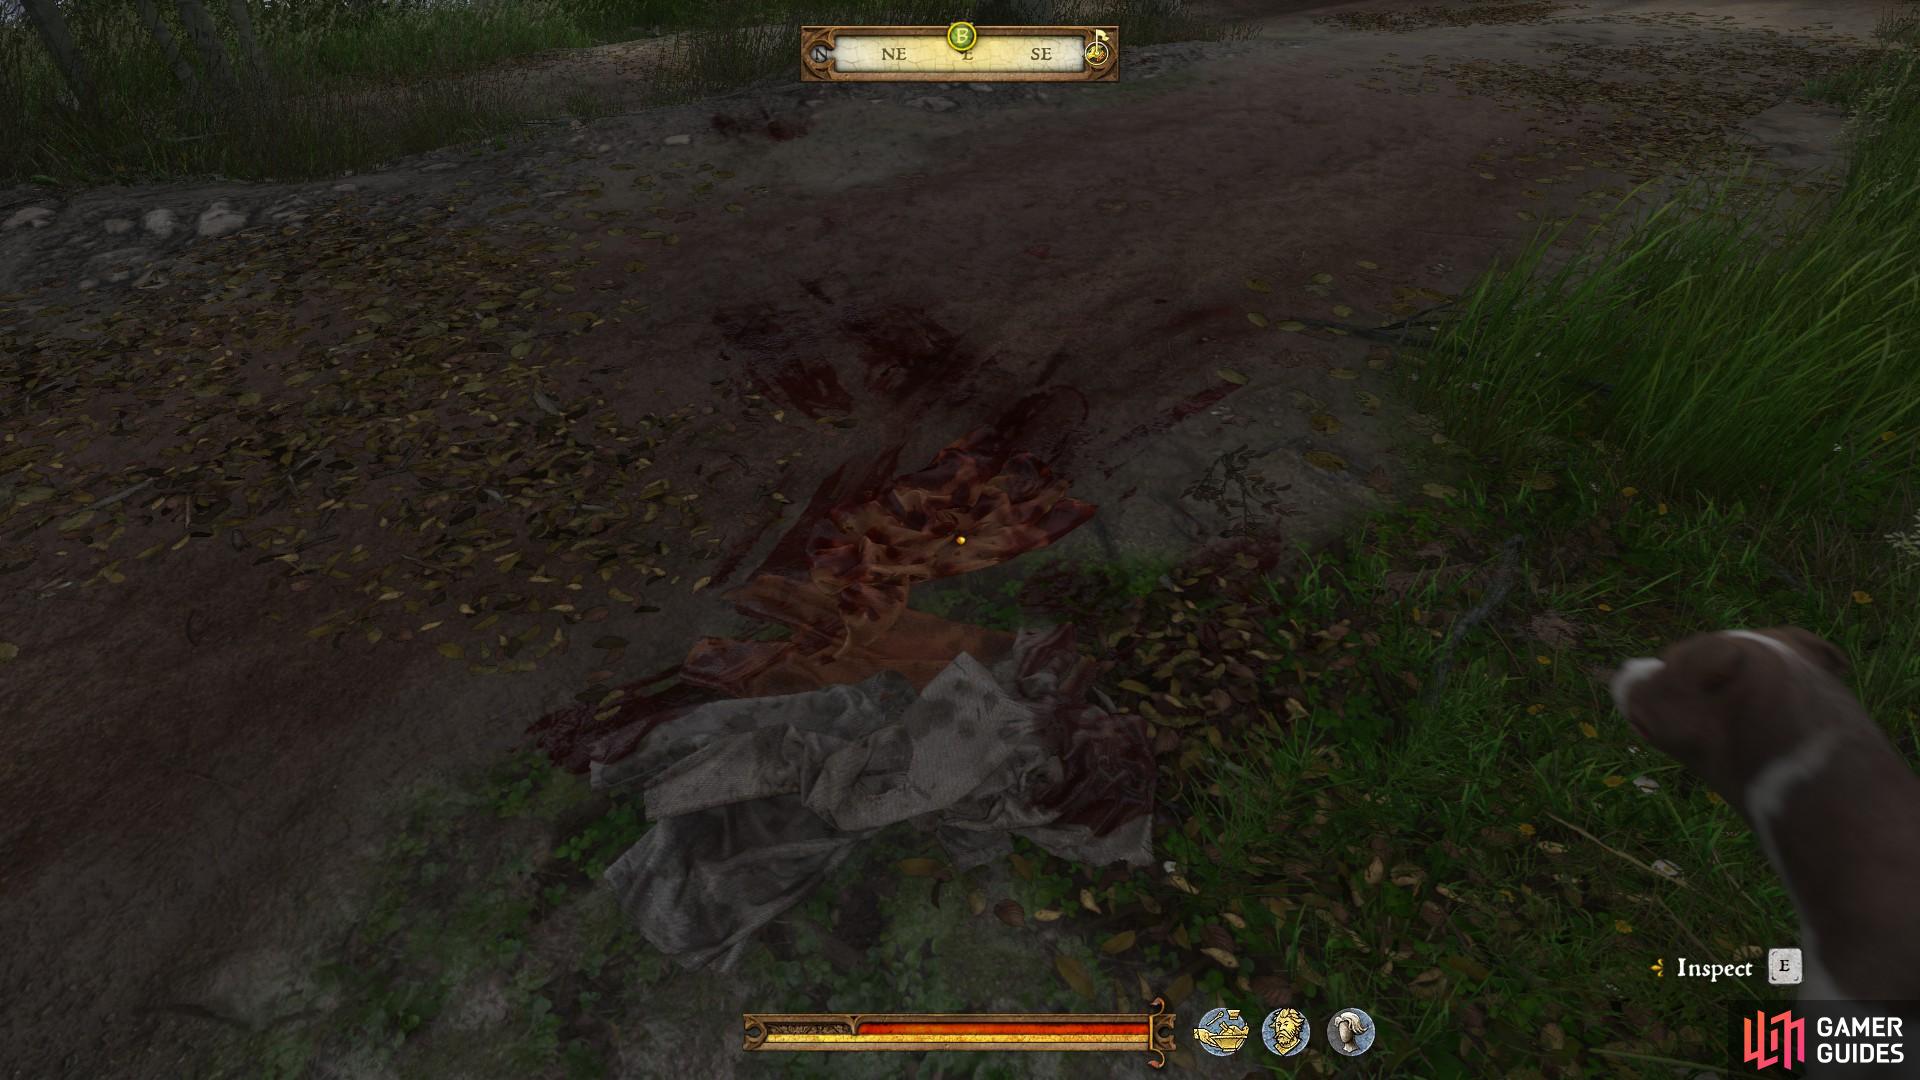
The clothes are located at the edge of the road. If you’re struggling to spot them, just head to the rode and walk along it to the north east.
Look for a birch tree with a patch of blood on its bark. From there continue on into the woods until you begin to hear voices in the distance. Eventually you will walk into a clearing of the trees. From here you will be able to spot the camp on the other side of the clearing.
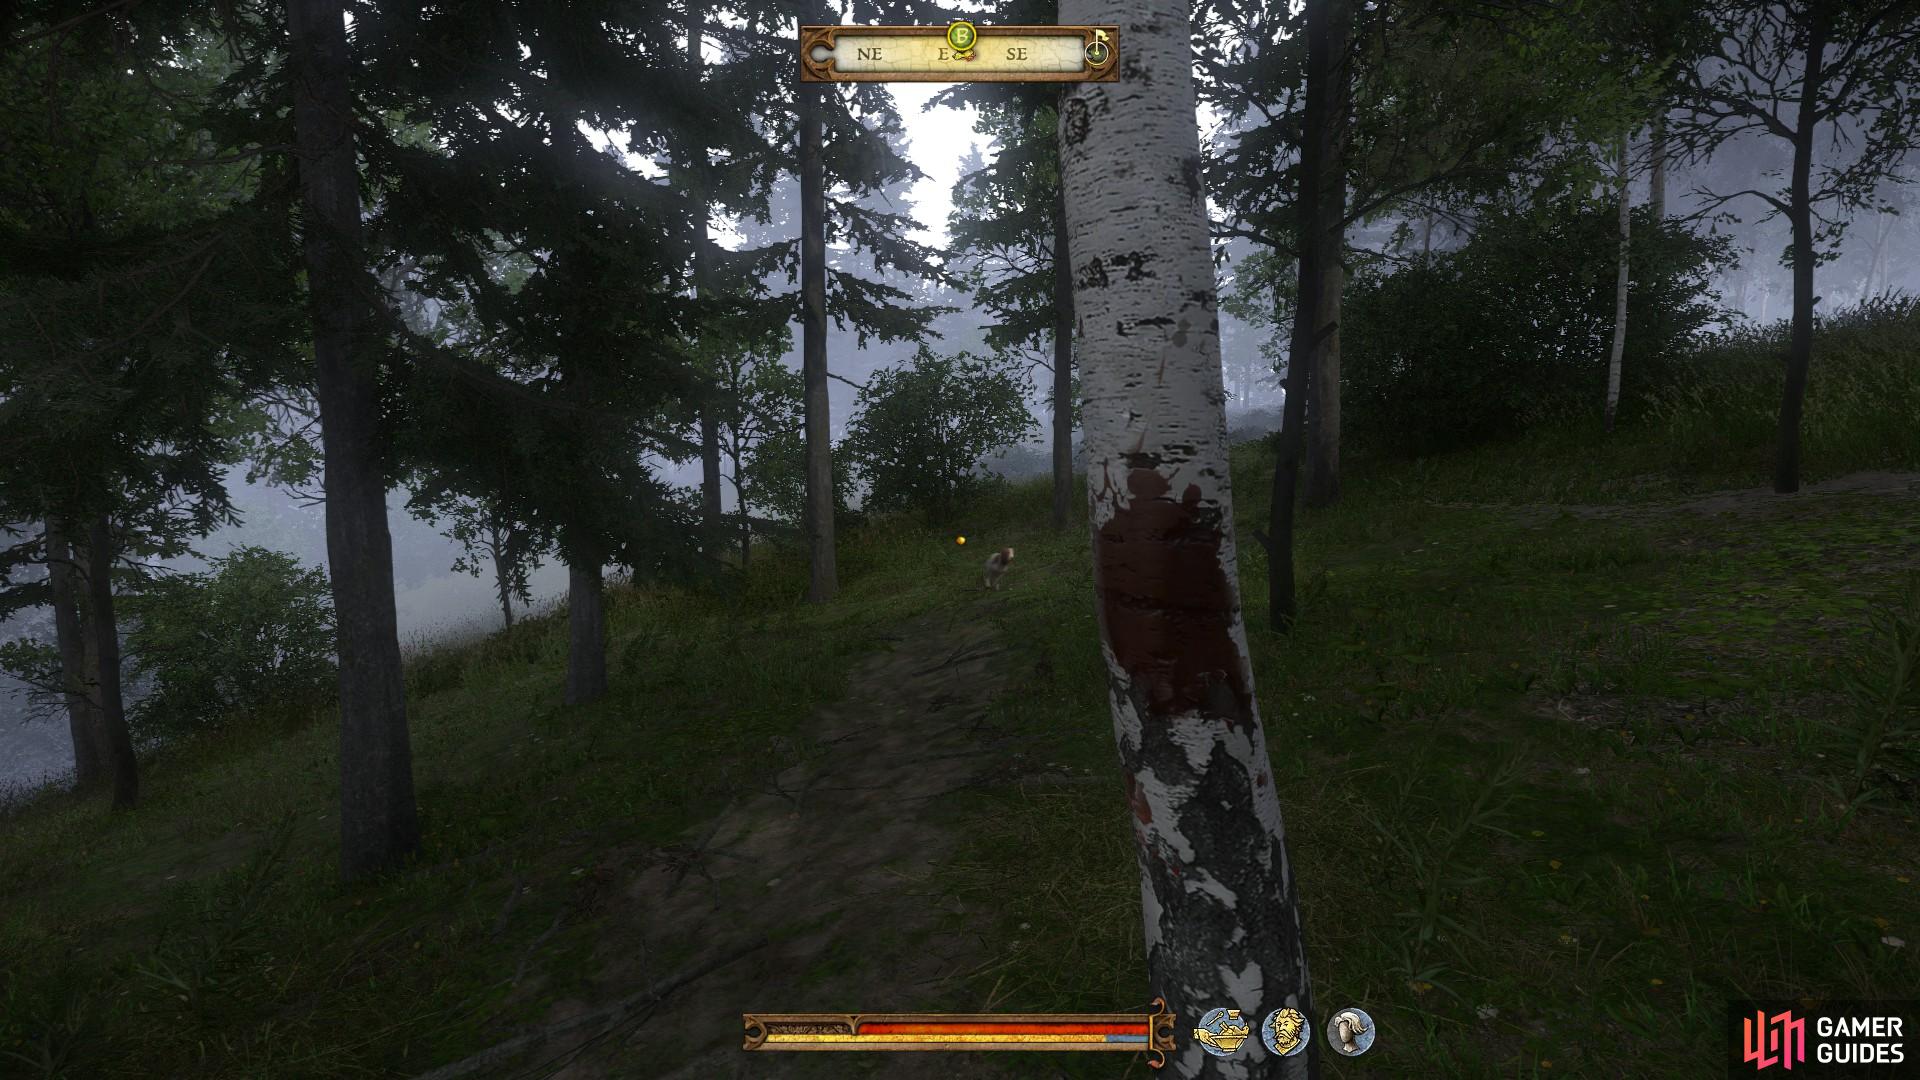
The birch tree is one of few in the region, so it should stand out amongst the darker trees.
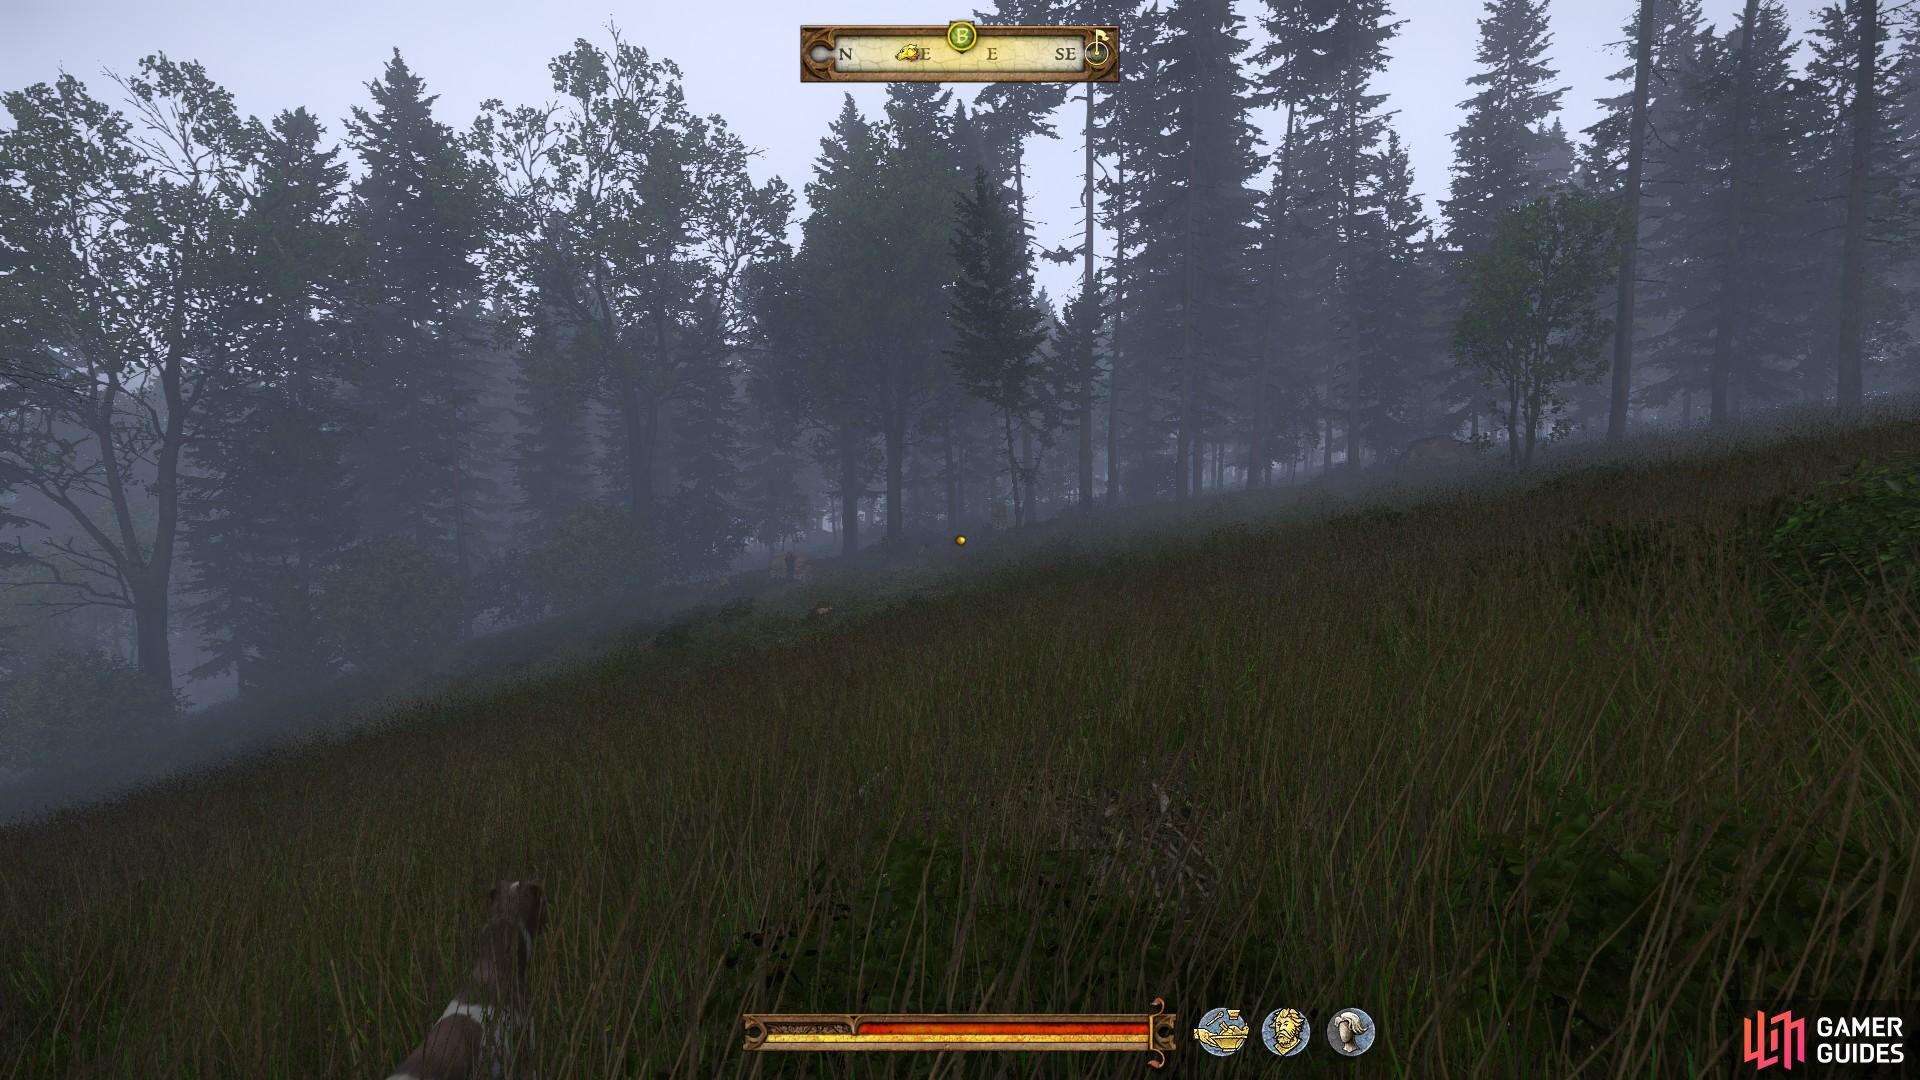
The camp can be seen at the edge of the woods once you’ve descended down the hill.
You should now approach the camp and attack the raiders. However, before doing so it would be wise to equip the shield you have just found as evidence; it will serve you well against multiple opponents. Rather than charge in initially, use your bow to take out as many as possible from the trees before they rush toward you. When they are dead you can report to Sir Radzig to finish the quest.
Uninvited Guests
After speaking with Kuno about the message for Sir Radzig, you will ride north with the gang until you reach the forest north west of Uzhitz. Here you will encounter a small mill which is being menaced by the raiders. Kuno will have his own ideas about how to approach the situation; suggesting that the group should wait until the raiders are intoxicated before attacking. You can either agree with him and attack later that night, or persuade him to attack now to prevent any innocents from being harmed.
The group travel to investigate the lands surrounding Sasau.
When ready, follow Kuno and his men to the village under cover of darkness. Be sure to keep your eye on the crest of Kuno’s shield; it will be difficult to find the men again if you lose them in the dark.
Once you have defeated the raiders, the gang will walk toward the mill and sit around some tables outside. You can now take the opportunity to speak with a few of them. When you’re ready, sit down on the table where Kuno is drinking. He will invite you to tell some stories about yourself. Indulge him until the dialogue options end or choose not to and drink the night away. You will wake up with a slight headache and your next objective will be to speak with Kuno at his encampment.
A Tight Spot
After speaking with Kuno about where to go next, a cut scene will initiate during which the gang will travel toward Sasau. The gang is ambushed at a ford in the river running north west of the monastery. You now need to fight your way back to the bank of the river to find cover.
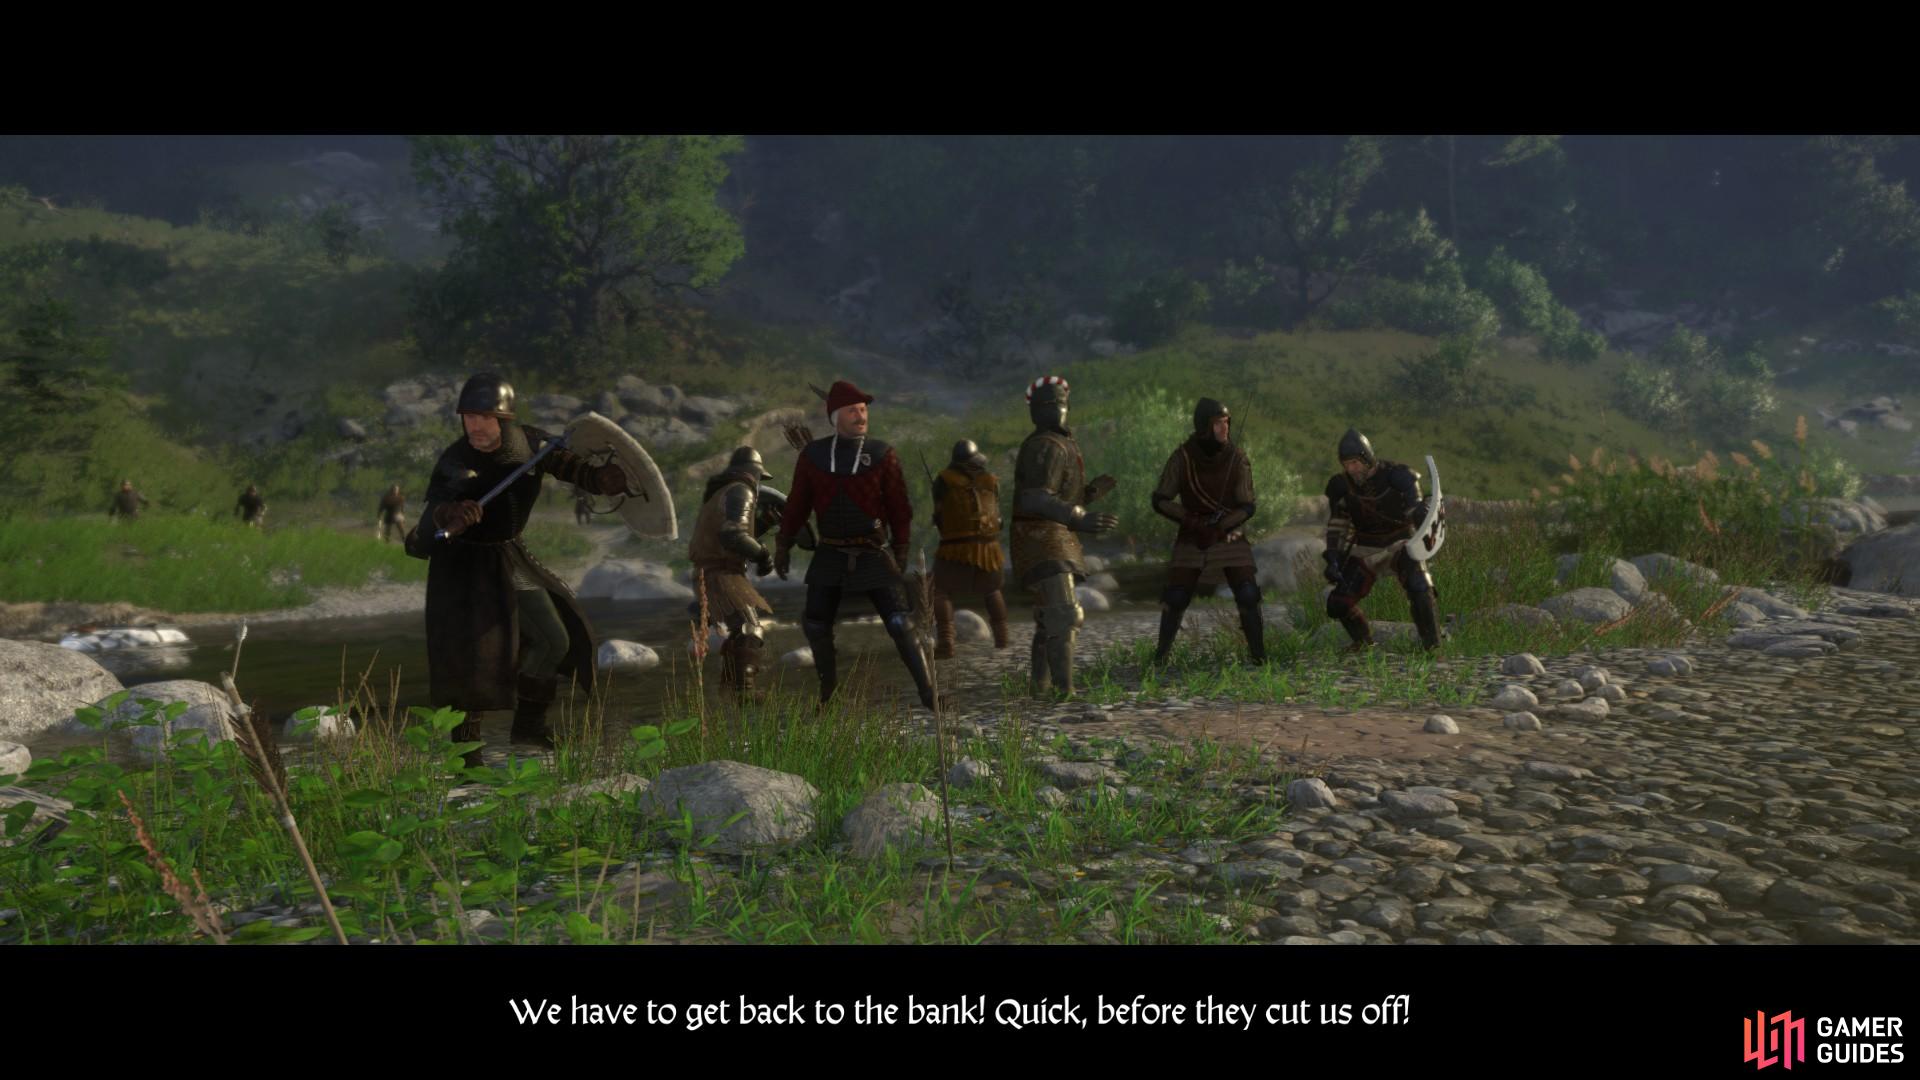
When the cut scene ends, run to the bank of the river as quickly as possible to find cover.
Once you have spoken with Kuno you will have the option to volunteer to find Jakey. It does not matter which option you choose; Kuno will insist that each man leaves the area on their own.
Thirty Pieces
Kuno has discovered the location of Jakey. He is drinking at the Inn in the Glade. You should make your way there to accost Jakey and question him. When you arrive at the inn speak with the owner, Andrew.
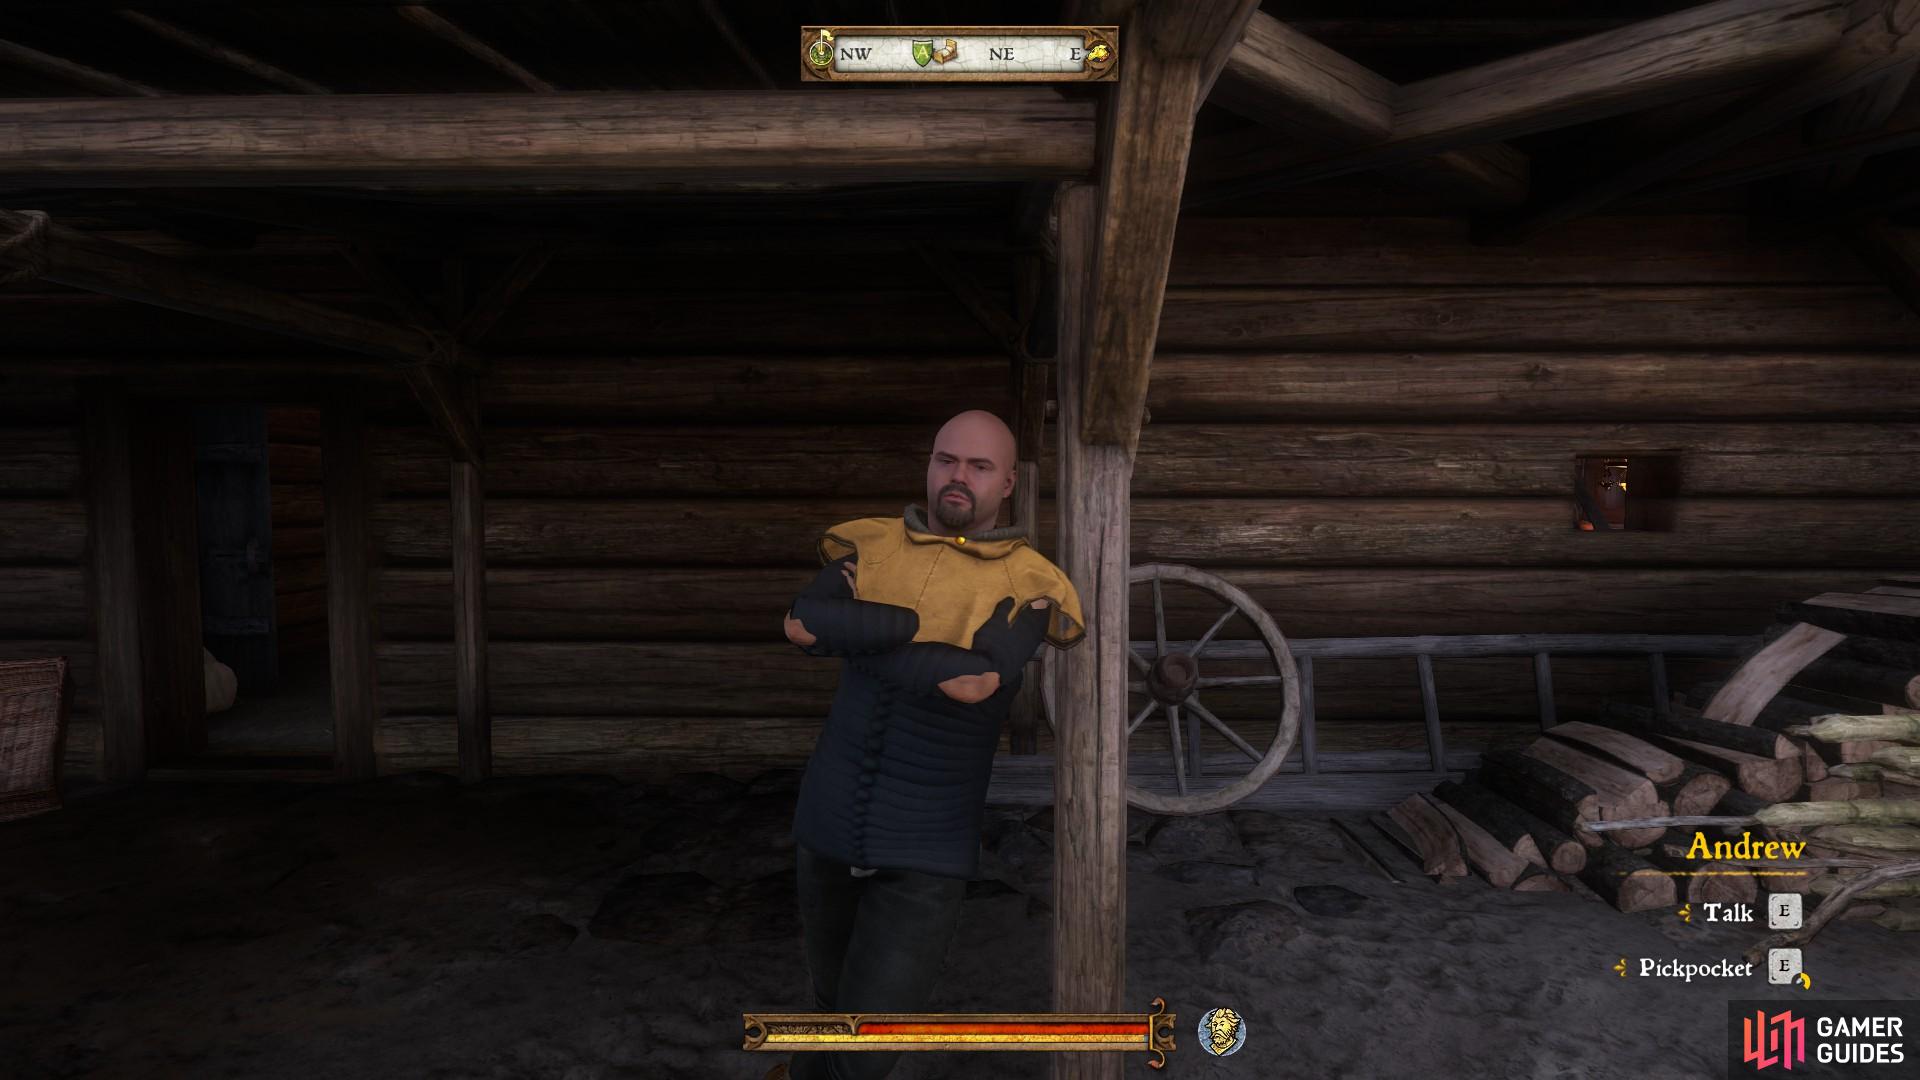
Andrew can usually be found outside the entrance to the tavern.
If you have good relations with Andrew due to previous quest experience, he will tell you where Jakey was last seen without any trouble. If you have scorned Andrew in the past, he will need to be persuaded. Use the persuasion skill which is strongest in your arsenal, as indicated during dialogue. He will eventually yield the information by intimidation if necessary.
From this point you should head south and track down Jakey from the northern edge of the woods, as indicated on the map. As you wander through the highlighted region you should stumble across some trousers on the forest floor. From this point you will be able to hear a voice in the distance. Follow the voice until you find Jakey tied to a tree.

Locate the trousers beside a sand bank in the woods.
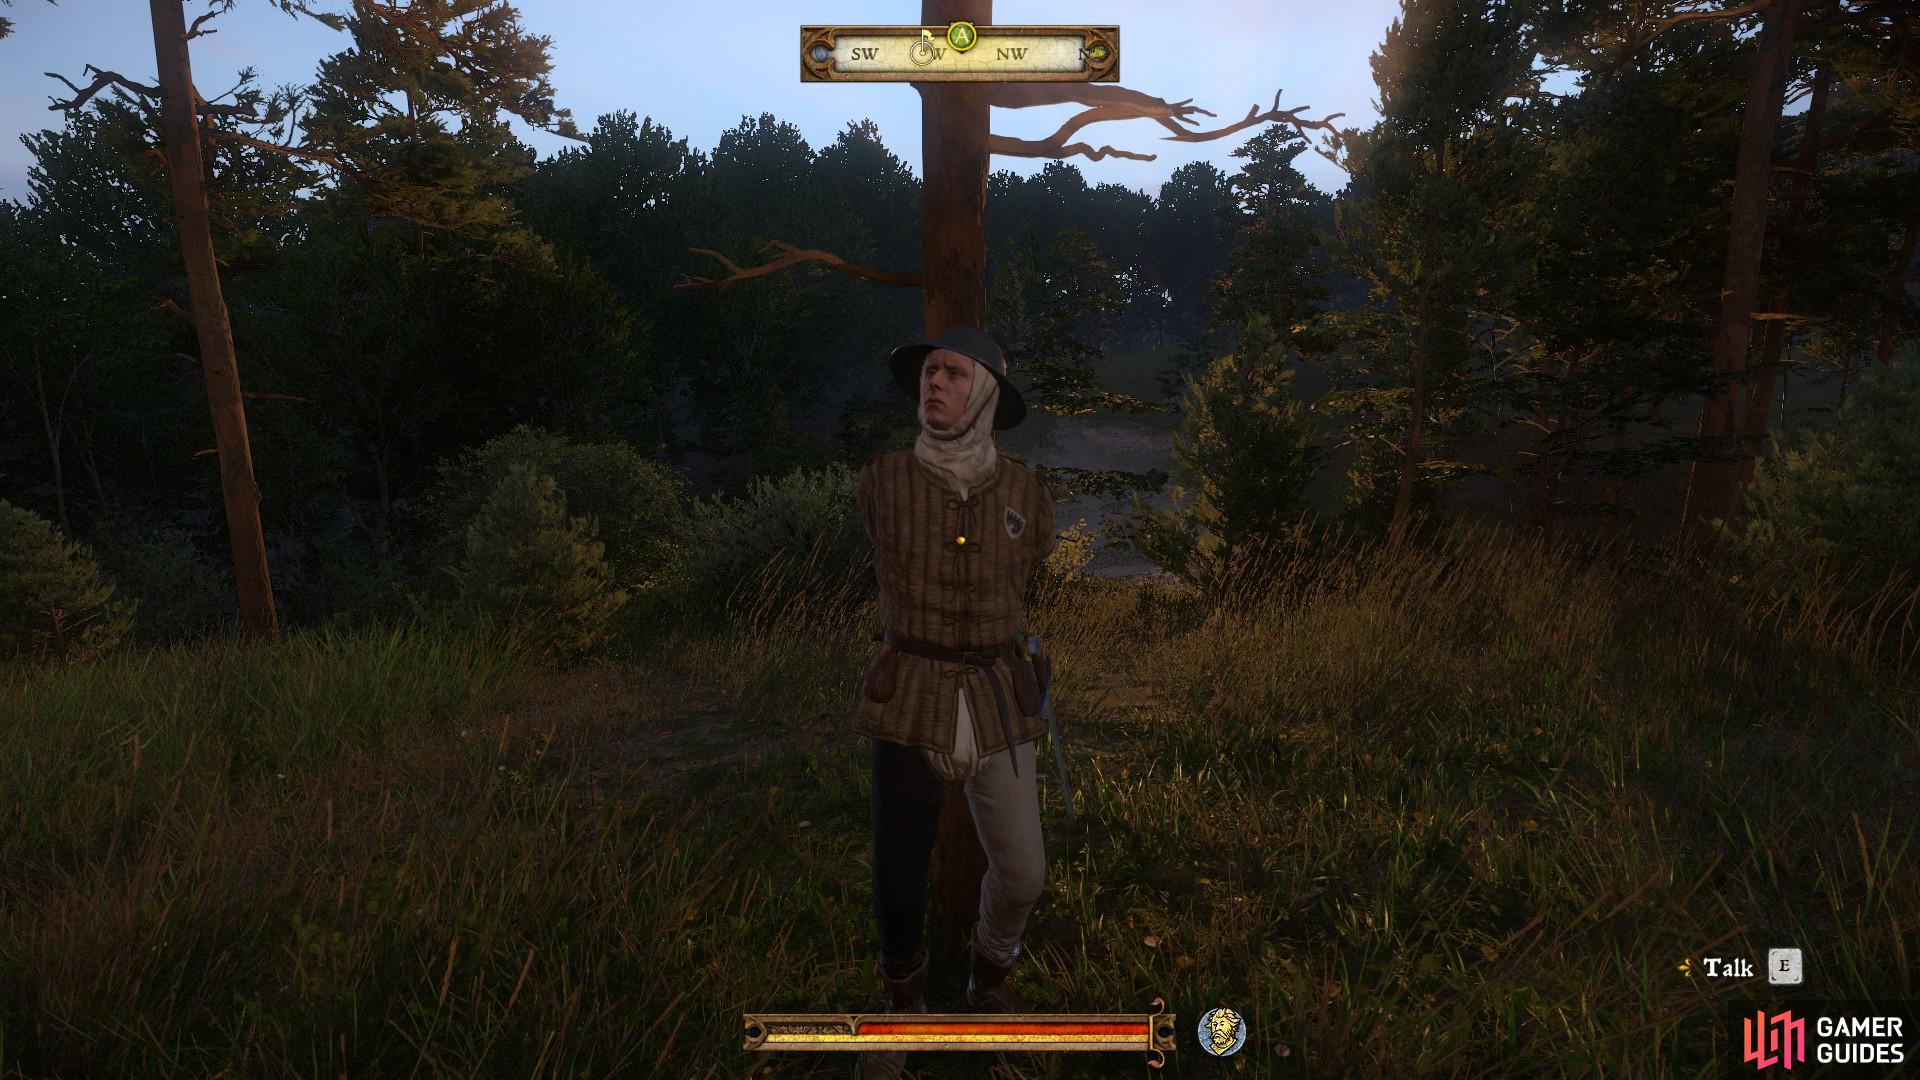
You will find Jakey by following the voice which can be heard from the location of the clothing.
After speaking with Jakey for a while you will have the option to leave him there, foregoing any information that he might provide. Alternatively you can untie him, or persuade him that you’re on his side. Whatever you choose, you will need to extract the information about Hagen from him before you leave.
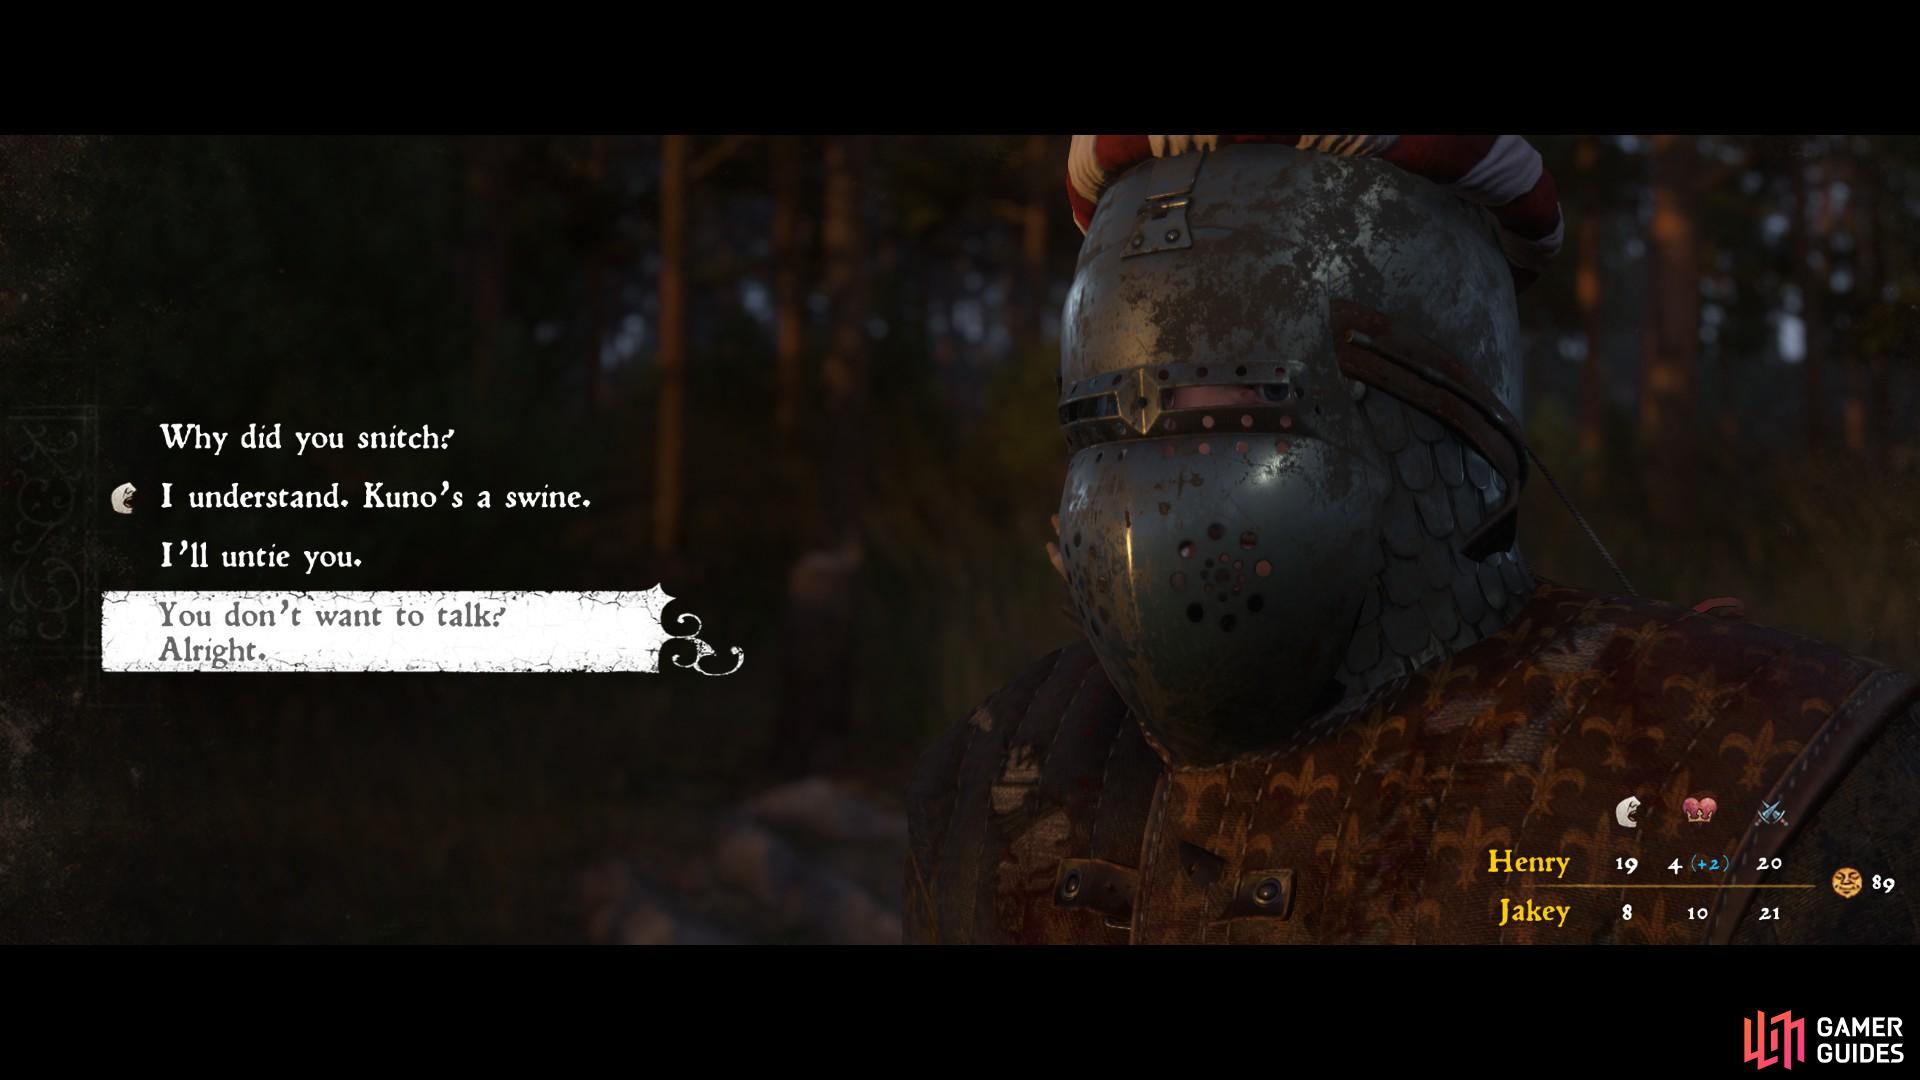
Use your strengths in persuasion to extract information from Jakey.
Once Jakey has told you all he knows, you can choose to untie him and let him go, leave him tied to the tree, or take him to jail. The choice doesn’t matter much for the significance to the story to come. You will however find yourself in Rattay if you choose to take Jakey to jail. When he has been dealt with, go back to the encampment to speak with Kuno.
What Price Honour?
The final quest in this short story involves meeting with Hagen and his men. Hagen will attempt to persuade Kuno to abandon Radzig for coin. It is your task to ensure he does not do that. You can attempt to persuade Kuno either by offering him more coin than Hagen, or by questioning his honour.
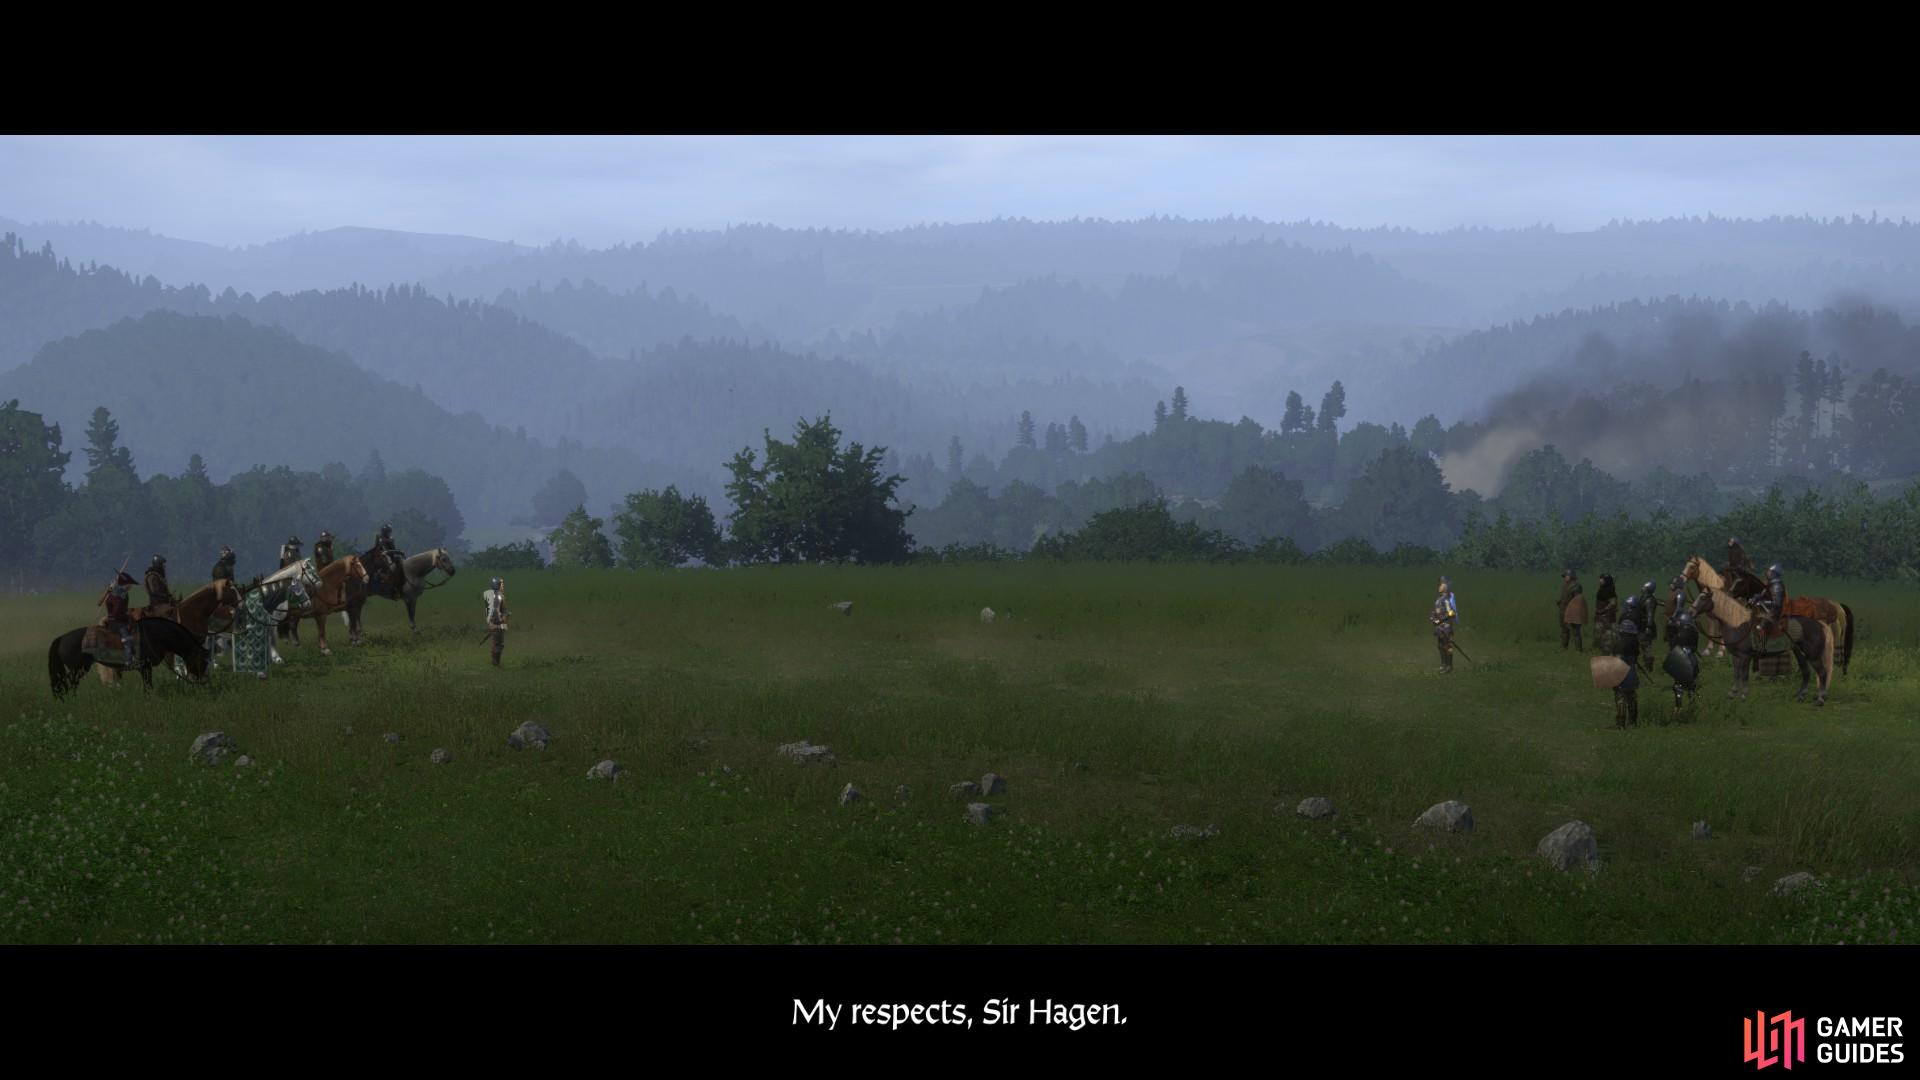
Persuade Kuno not to side with Hagen by using your strengths in dialogue.
If you are successful in persuading Kuno, he and his men will fight by your side against Hagen. If you choose to name Kuno a traitor, he will accept the coin and be on his way. You will now challenge Hagen to a duel.
Whatever you choose, when Hagen is defeated you should go back to Sir Radzig and inform him of the events that have transpired. You will receive your reward and the quest line will end.
No Comments