
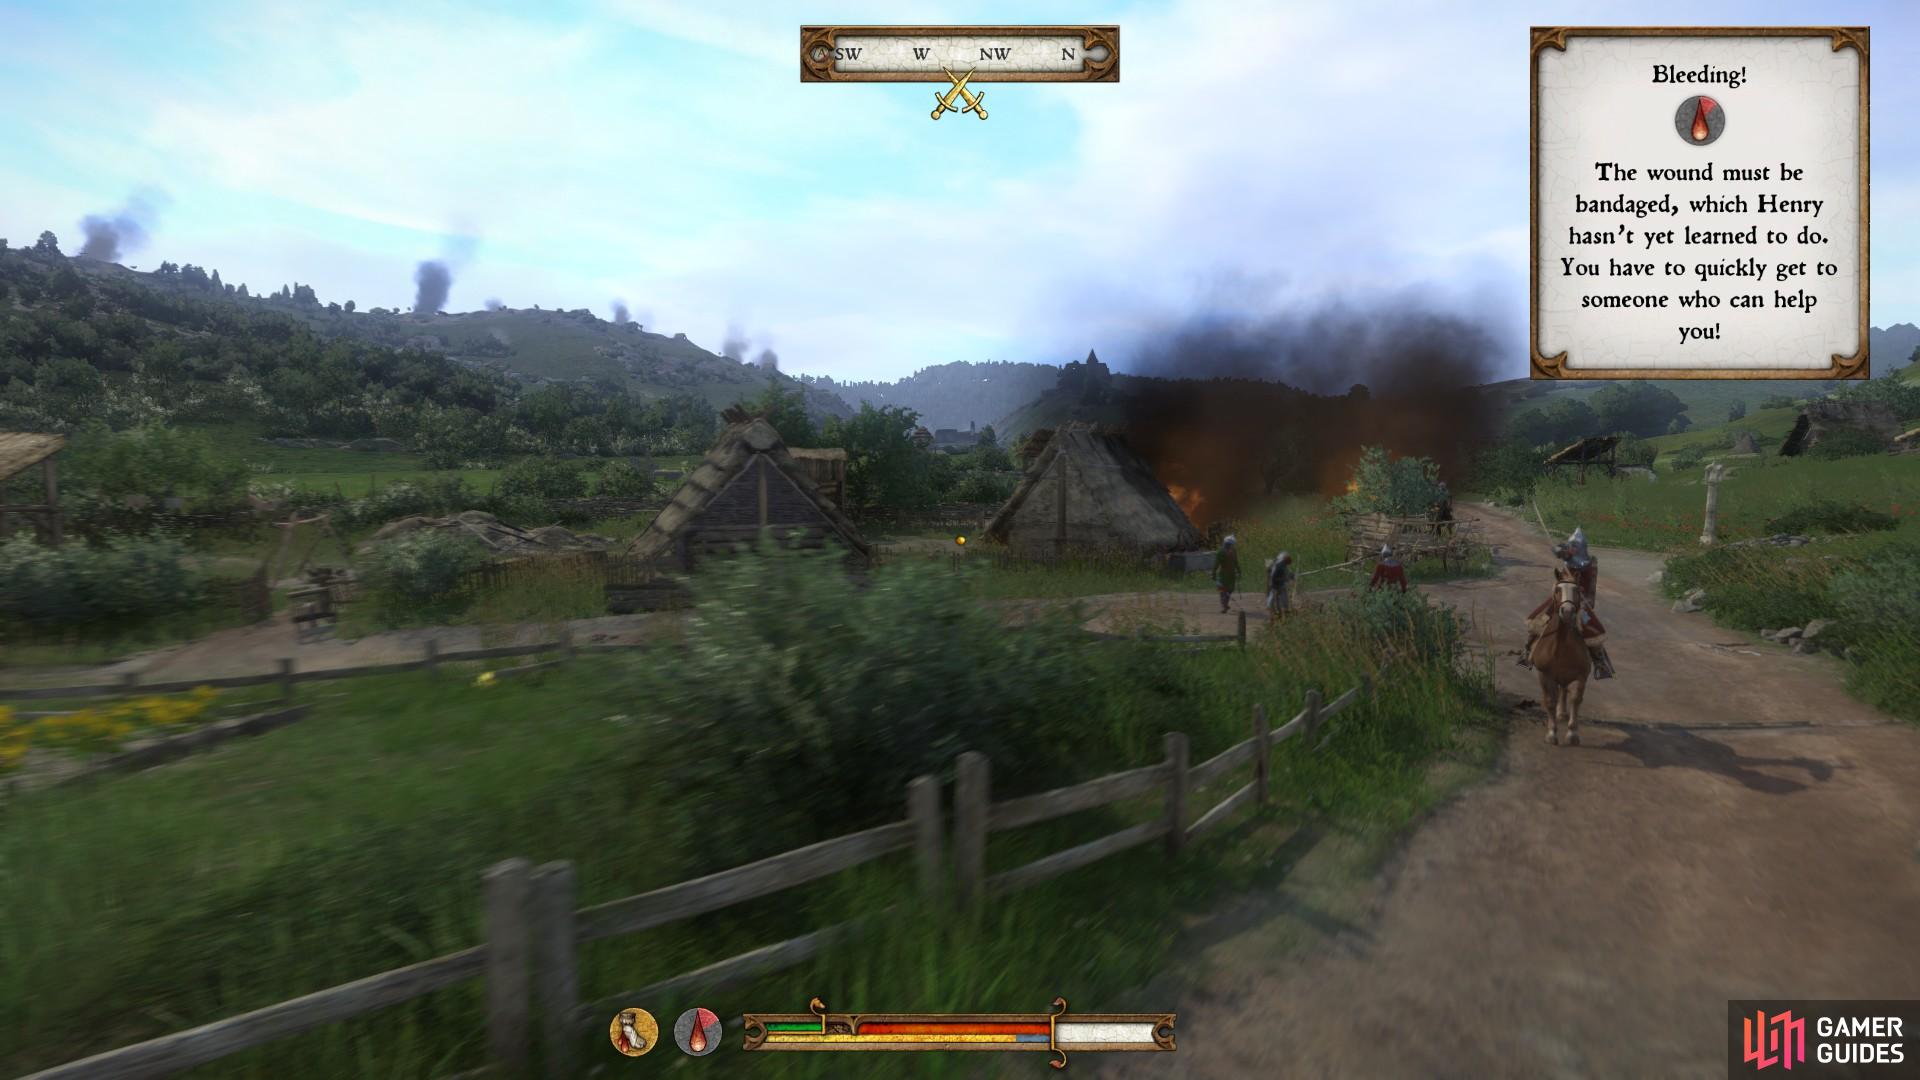
The second chapter begins with Henry fleeing from the attack on Skalitz. The first objective is to find a horse and make your way to Talmberg. There is no time to dawdle around the castle walls. If you want to survive, do as the objective says and keep running down the winding path, turning left where it splits. Continue down the path south-east, aiming for the house by the side of the road in the distance. It is a good idea to sprint as much as possible to ensure that the pursuing Cumans do not catch up. If you see the silver swords icon in the top centre of the screen, it means they are nearby and you need to pick up the pace.
(1 of 2) Turn left where the winding path splits and head south-east.
Turn left where the winding path splits and head south-east. (left), Run toward the horses by the house, not directly to the Cumans. (right)
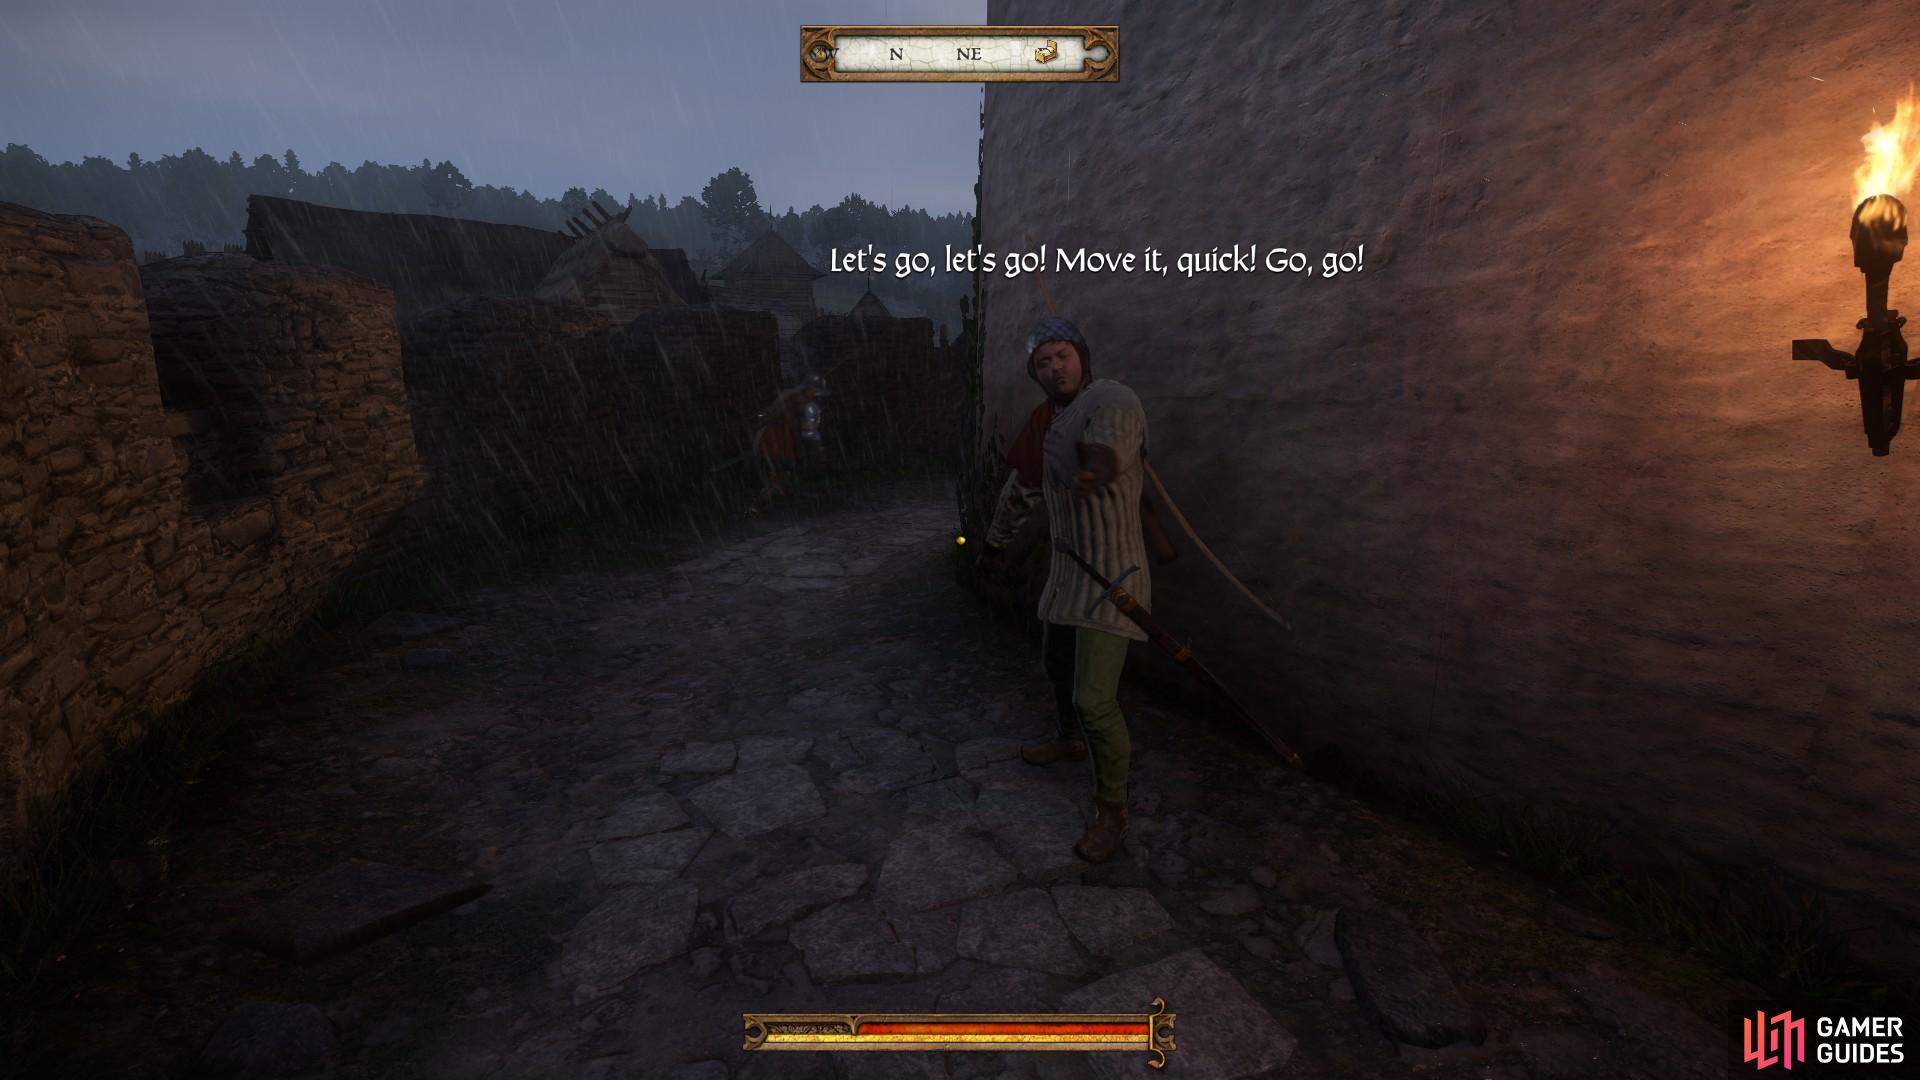
As you run south-east you will soon come across the house where Theresa, the woman you fetched nails for earlier, is being attacked by three Cumans. It is not a good idea to attack the Cumans at this time as you will quickly become overwhelmed. Instead, whistling for one of the nearby horses (see Controls and Hotkeys) will serve two purposes by providing you with a mount to escape on while distracting the attacking Cumans, allowing Theresa to escape.
Whistle for one of the horses to distract the Cumans from attempting to rape Theresa.
After summoning a horse the three Cumans will focus their attention on you. Mount the horse, turn east and ride as fast as you can along the road toward the village of Rovna. A cutscene will follow in which Henry is shot in the leg with an arrow from one of the pursuing Cumans who are now chasing you on horseback. Be ready to continue riding south-east through Rovna when the cutscene ends.
As you ride away try to swerve in different directions to avoid the arrows.
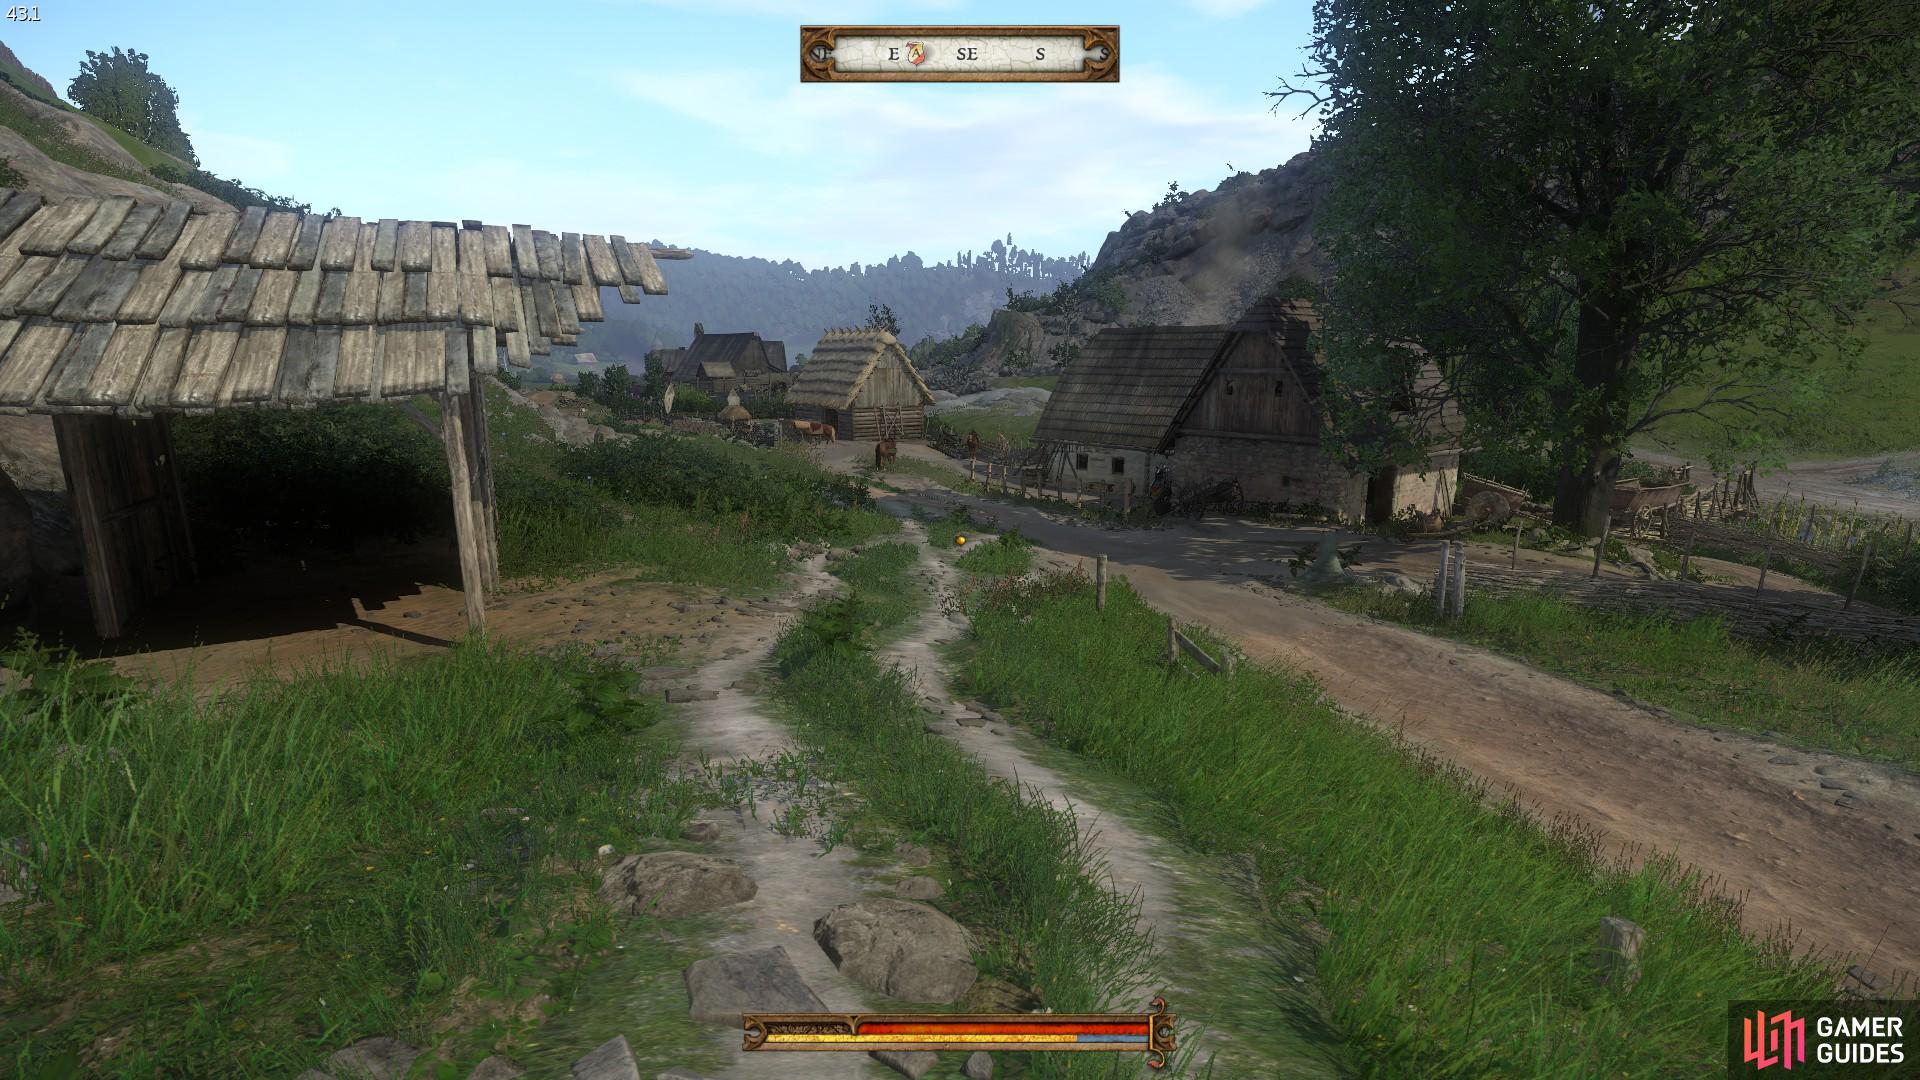
As you reach the small bridge going over the stream out of Rovna, continue north-east toward Talmberg. Maintain a gallop to ensure that the Cumans do not catch you.
(1 of 2) Upon seeing Talmberg in the distance a cutscene will follow in which Henry is saved by the Talmberg archers.
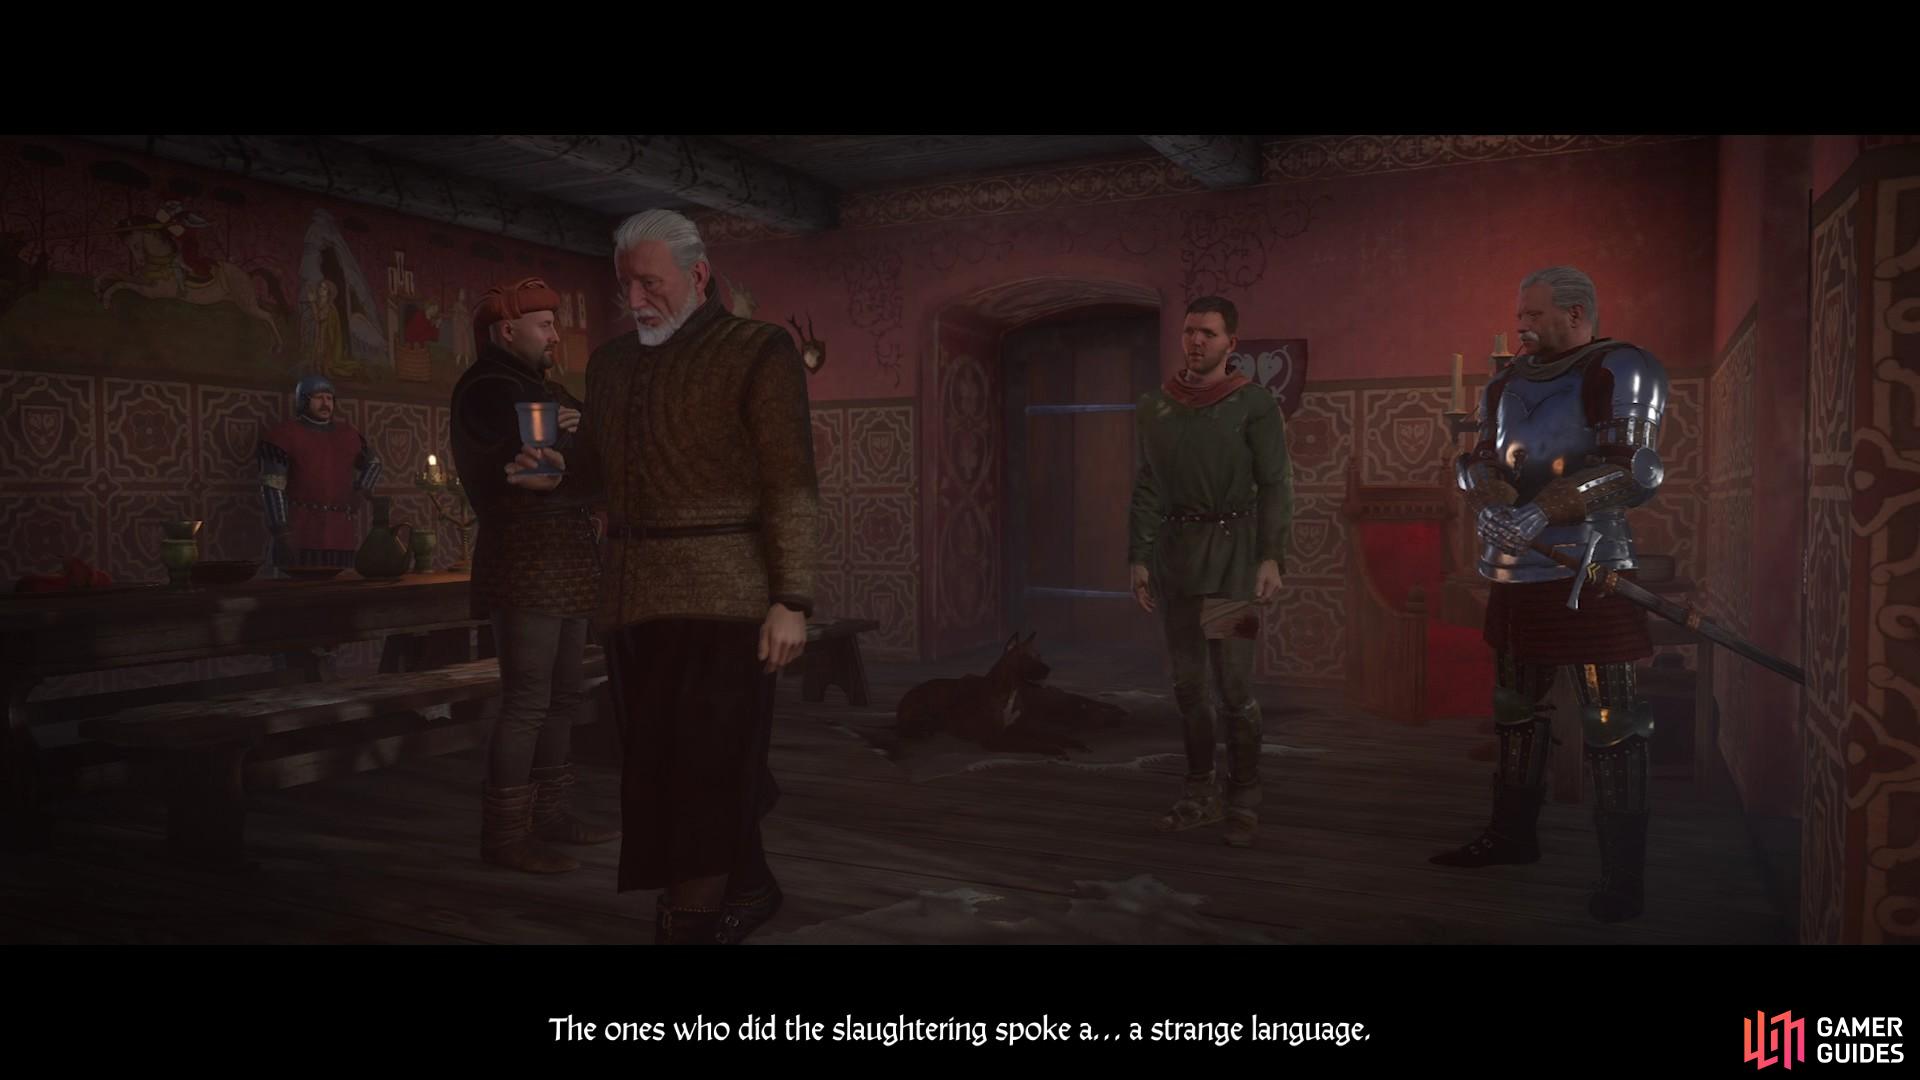
Upon seeing Talmberg in the distance a cutscene will follow in which Henry is saved by the Talmberg archers. (left), Henry relays what happened at Skalitz to Sir Divish and his council. (right)
When the cutscene with Sir Divish ends, you will be instructed to speak with Sir Robard, captain of the city guard of Talmberg. At this point Henry is still recovering and will need to eat and rest. Sir Robard will show you to the kitchen and to a room where you can sleep.
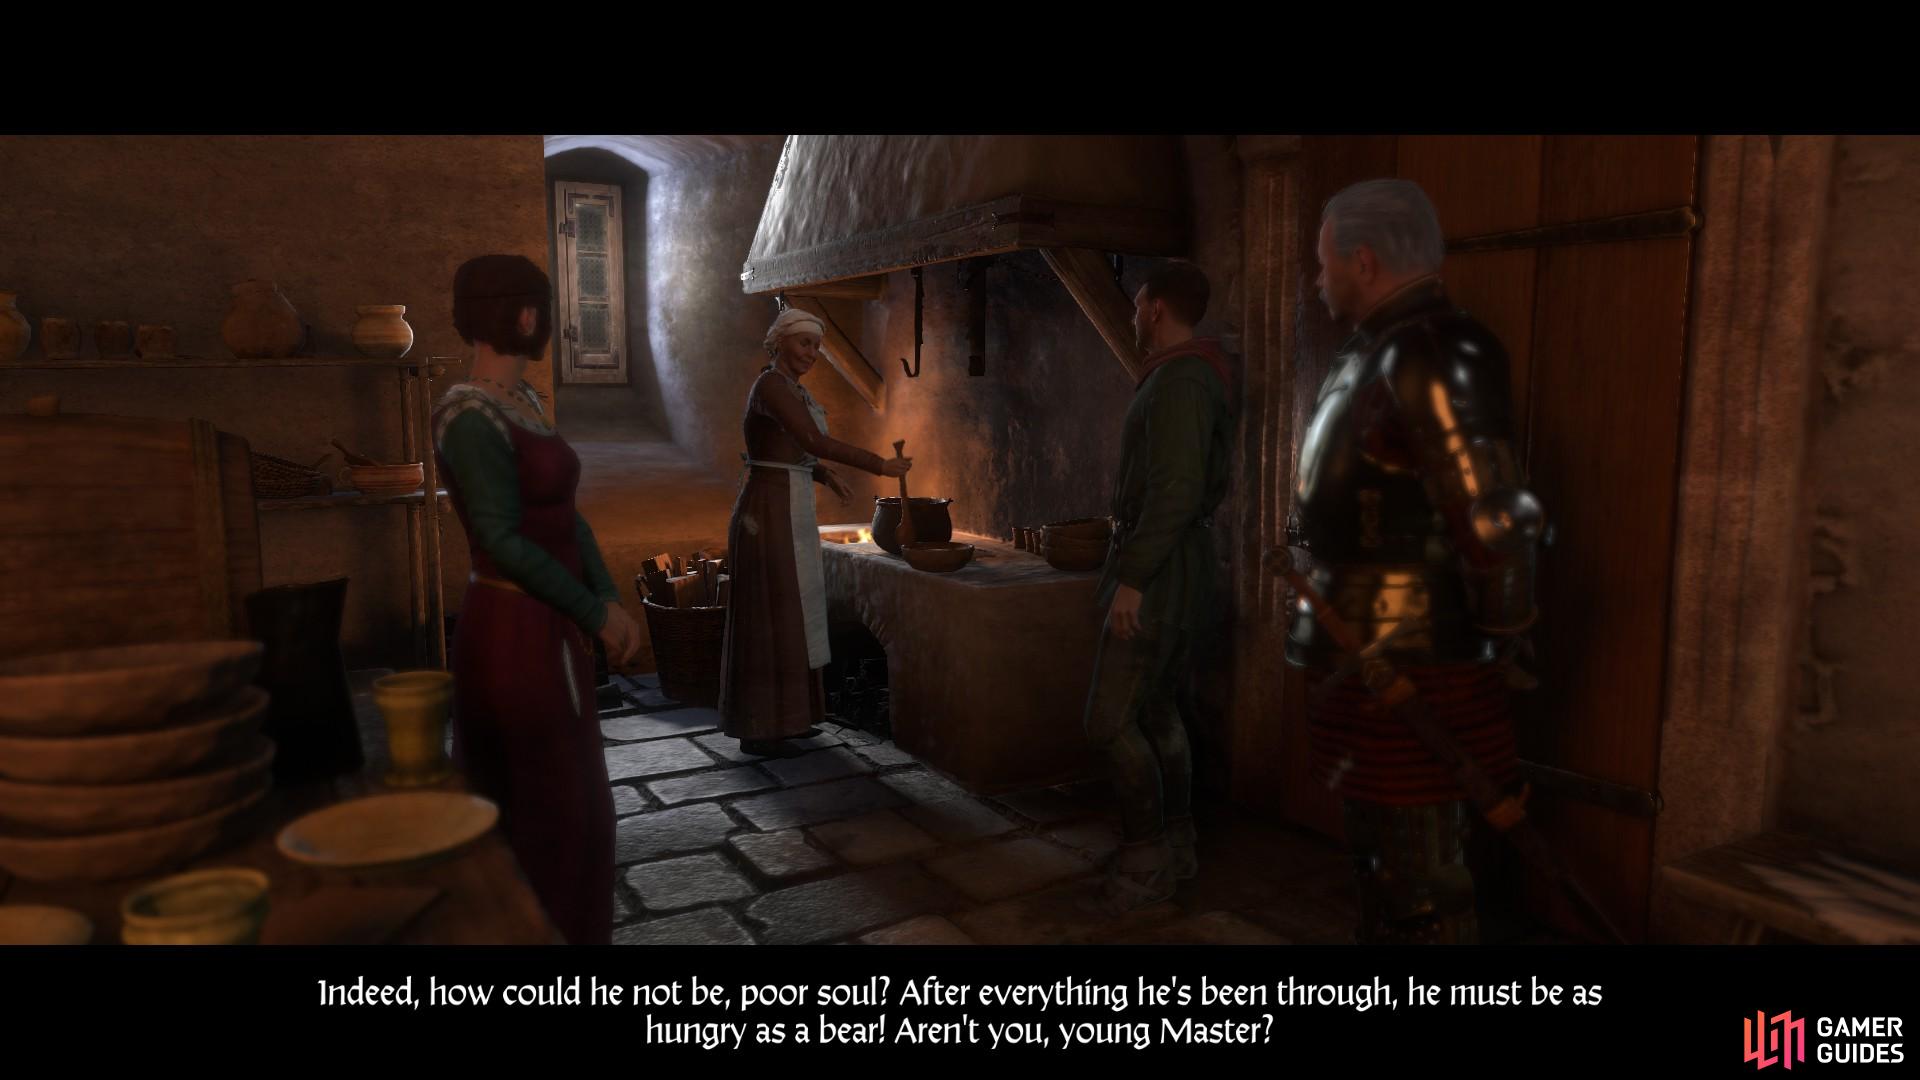
Henry also encounters Lady Stephanie in the kitchen. The wife of Sir Divish, she will prove useful to your future endeavours.
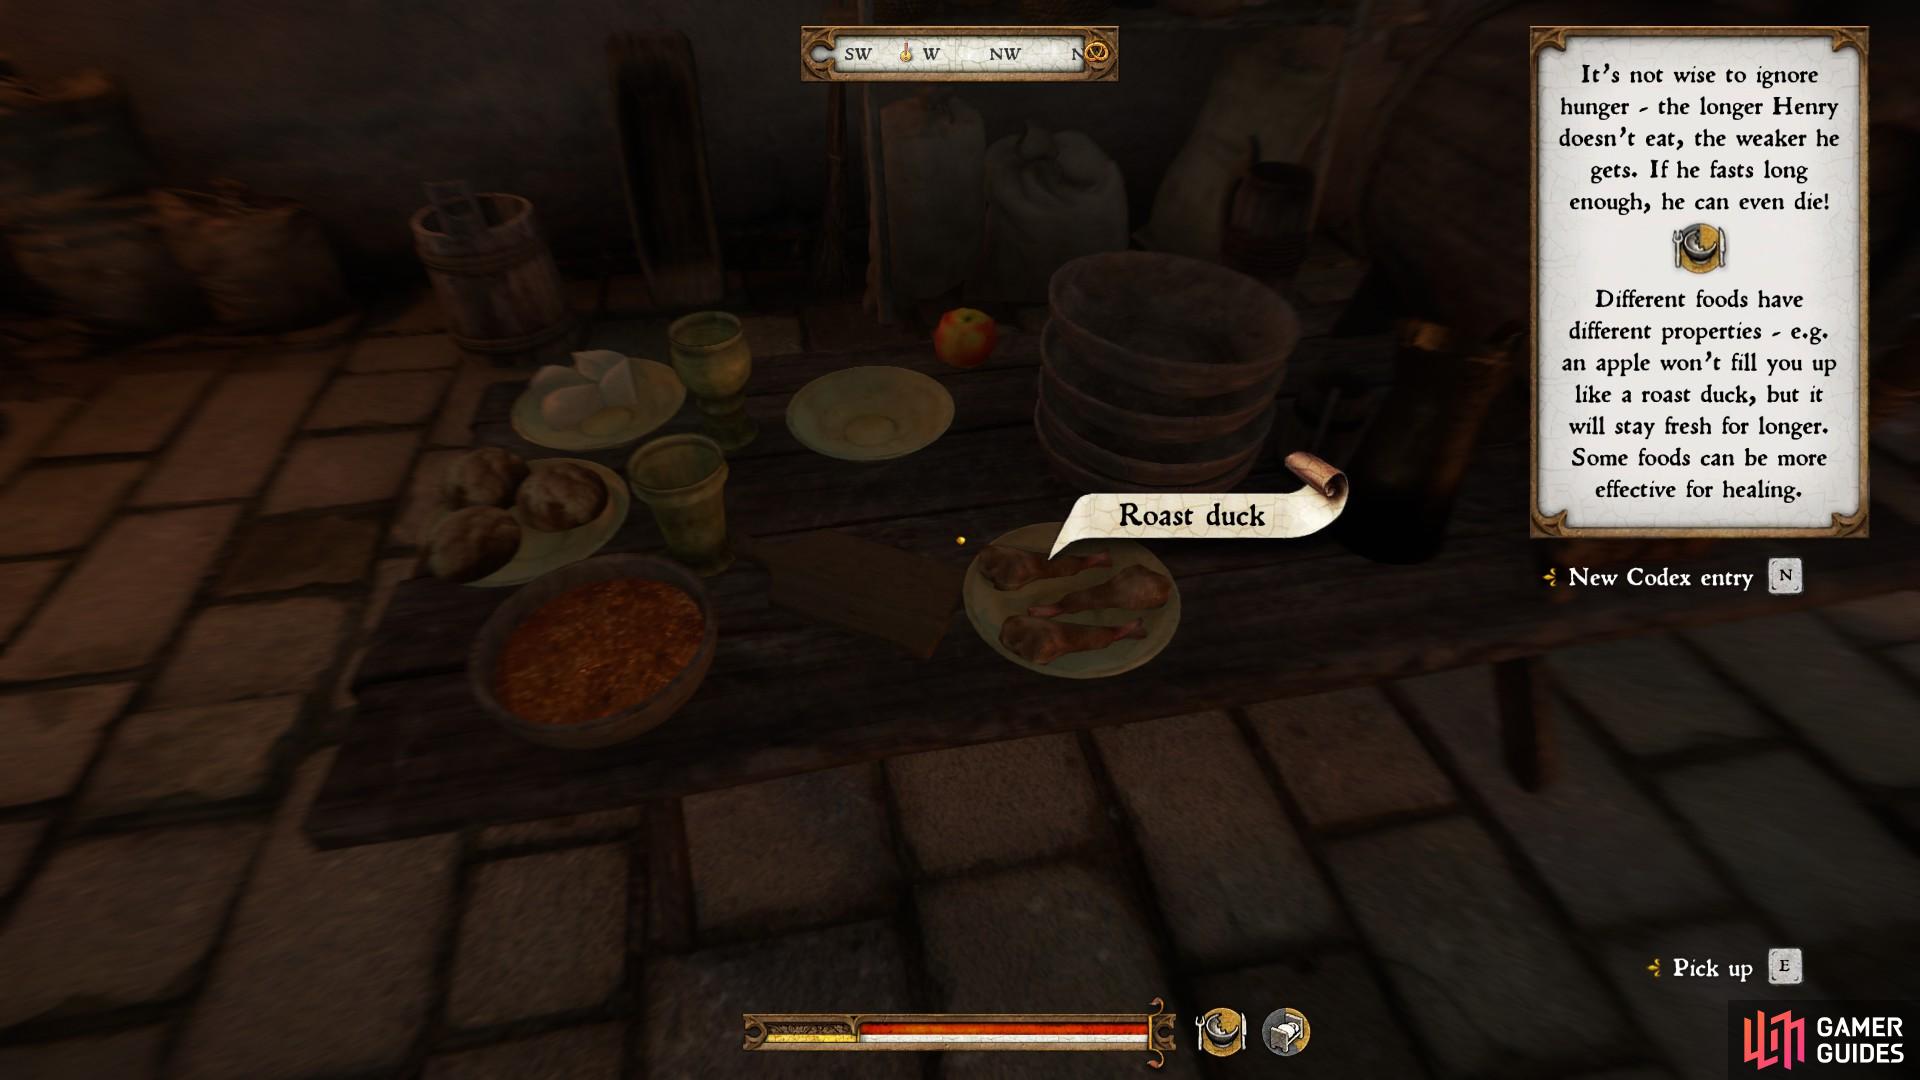
Since you are famished, eat the heartiest foods to restore Nourishment to 100. It is a good idea to eat the roast duck and other foods which spoil rapidly first, saving the fruit and bread for later use.
As you are picking up the food, be sure to respond to the villager who is asking about how you are doing. While not essential to the questline, every dialogue encounter will contribute to your Speech skill. When you are done eating and talking, go to the bed in the outhouse beside the stables.
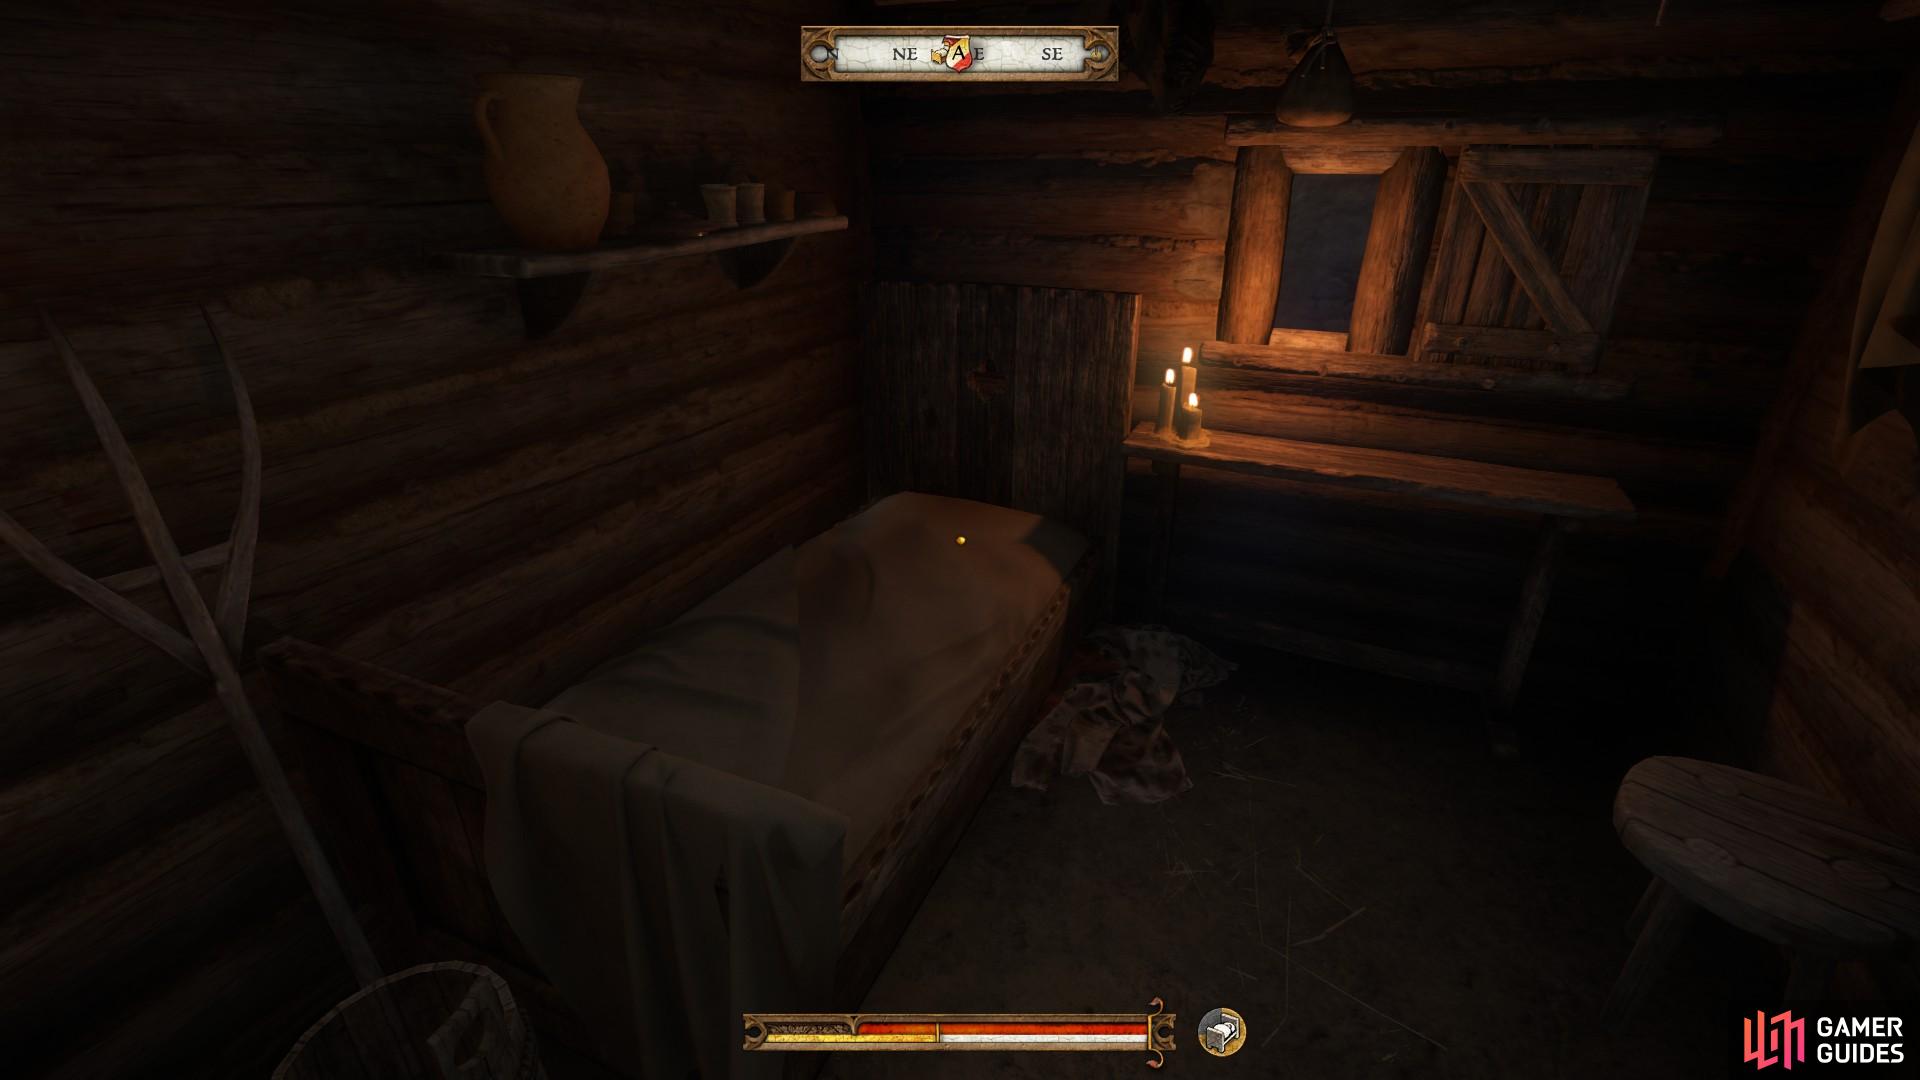
(1 of 2) Interact with the bed and select ‘Sleep’ to open the time dial.
Interact with the bed and select ‘Sleep’ to open the time dial. (left), Sleep for as long as you can to restore as much energy as possible, but be aware of the depleting Nourishment level. (right)
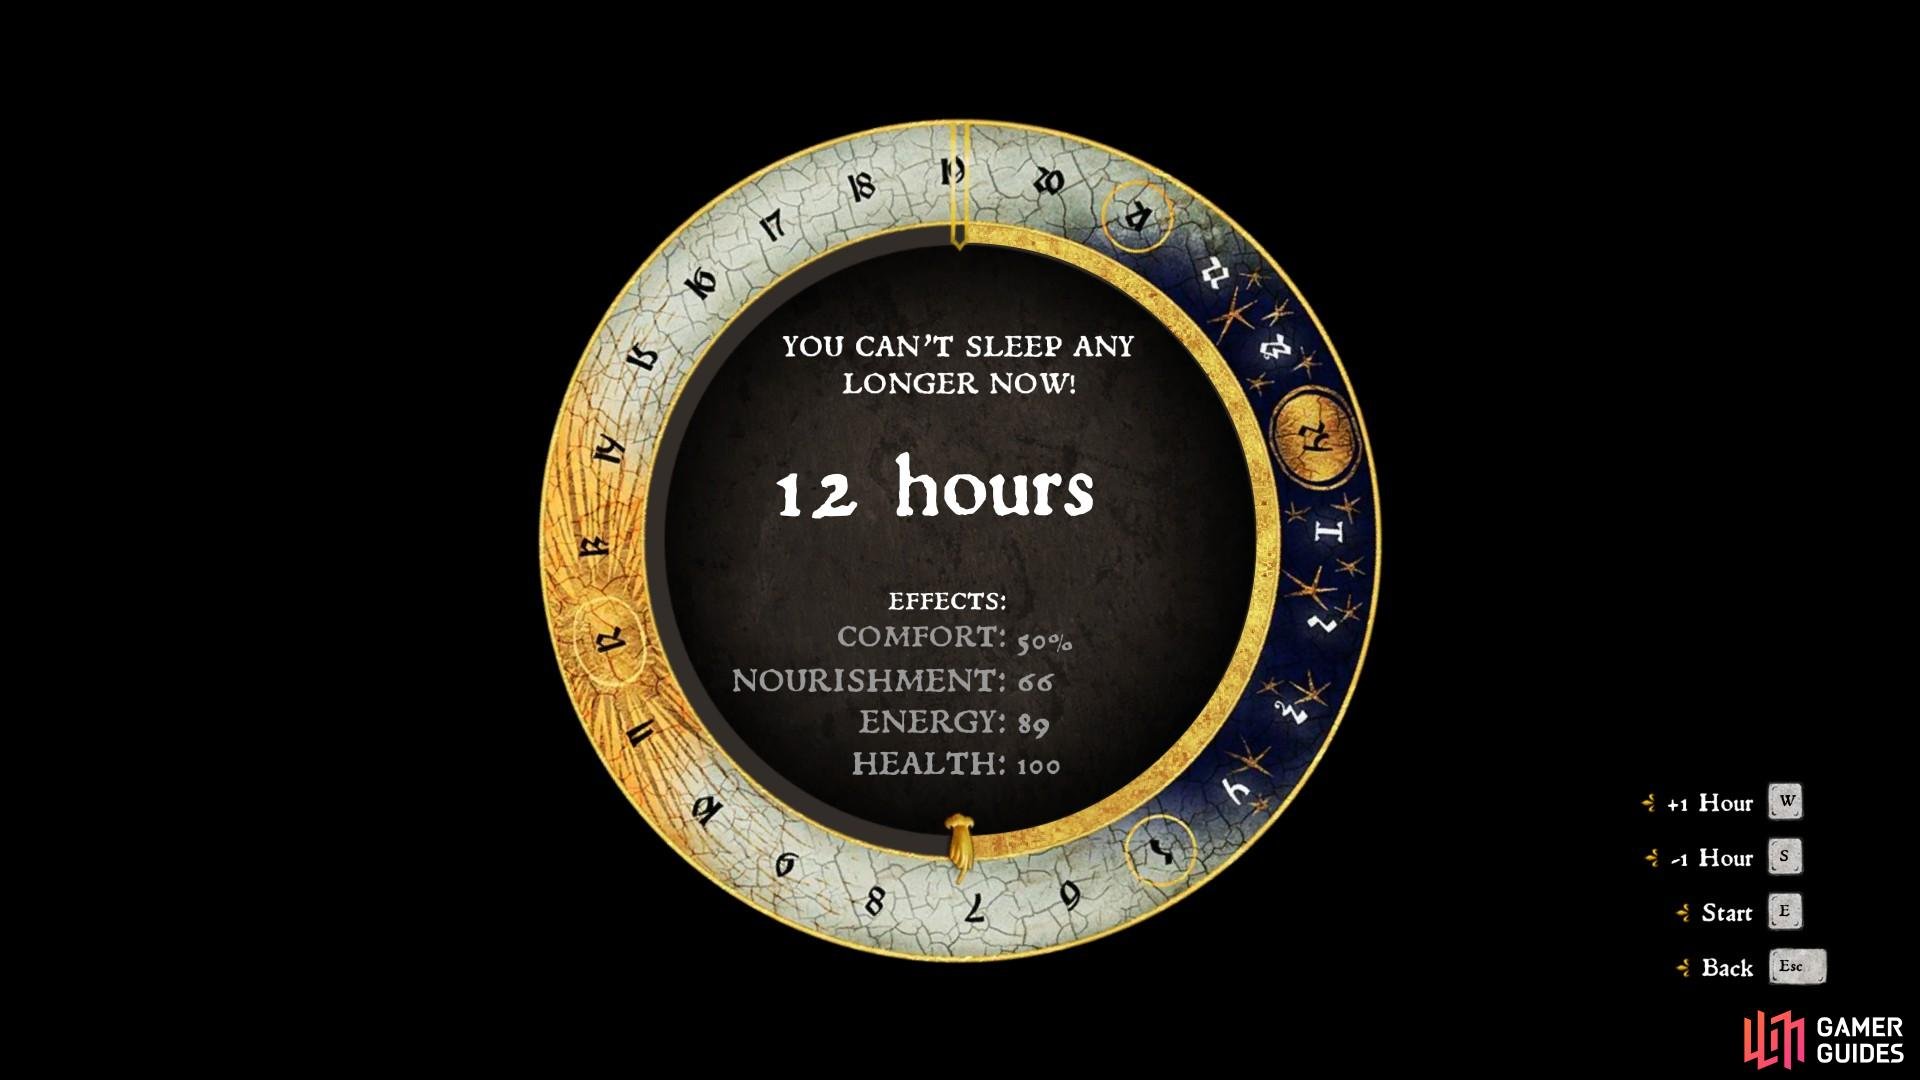
In normal circumstances the time dial would fast track you to the time specified. However in this case a cutscene interrupts the process.
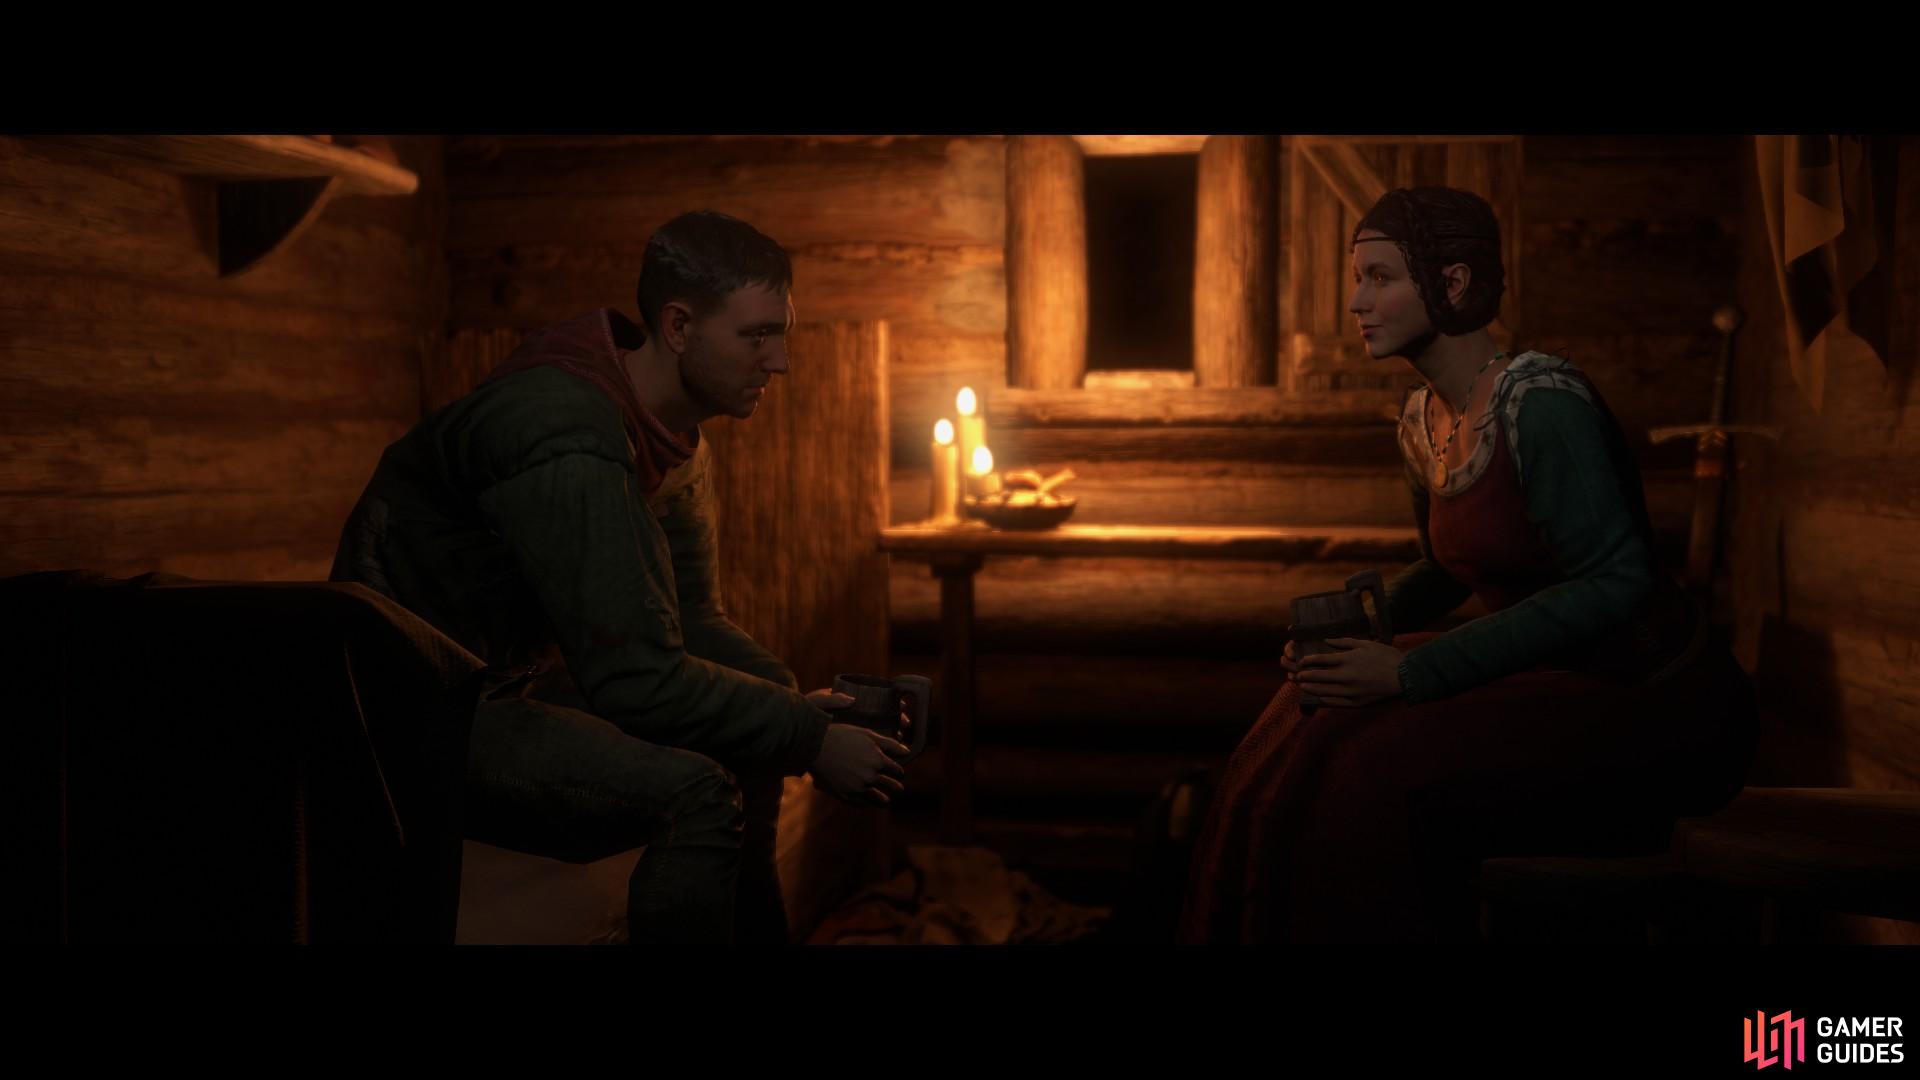
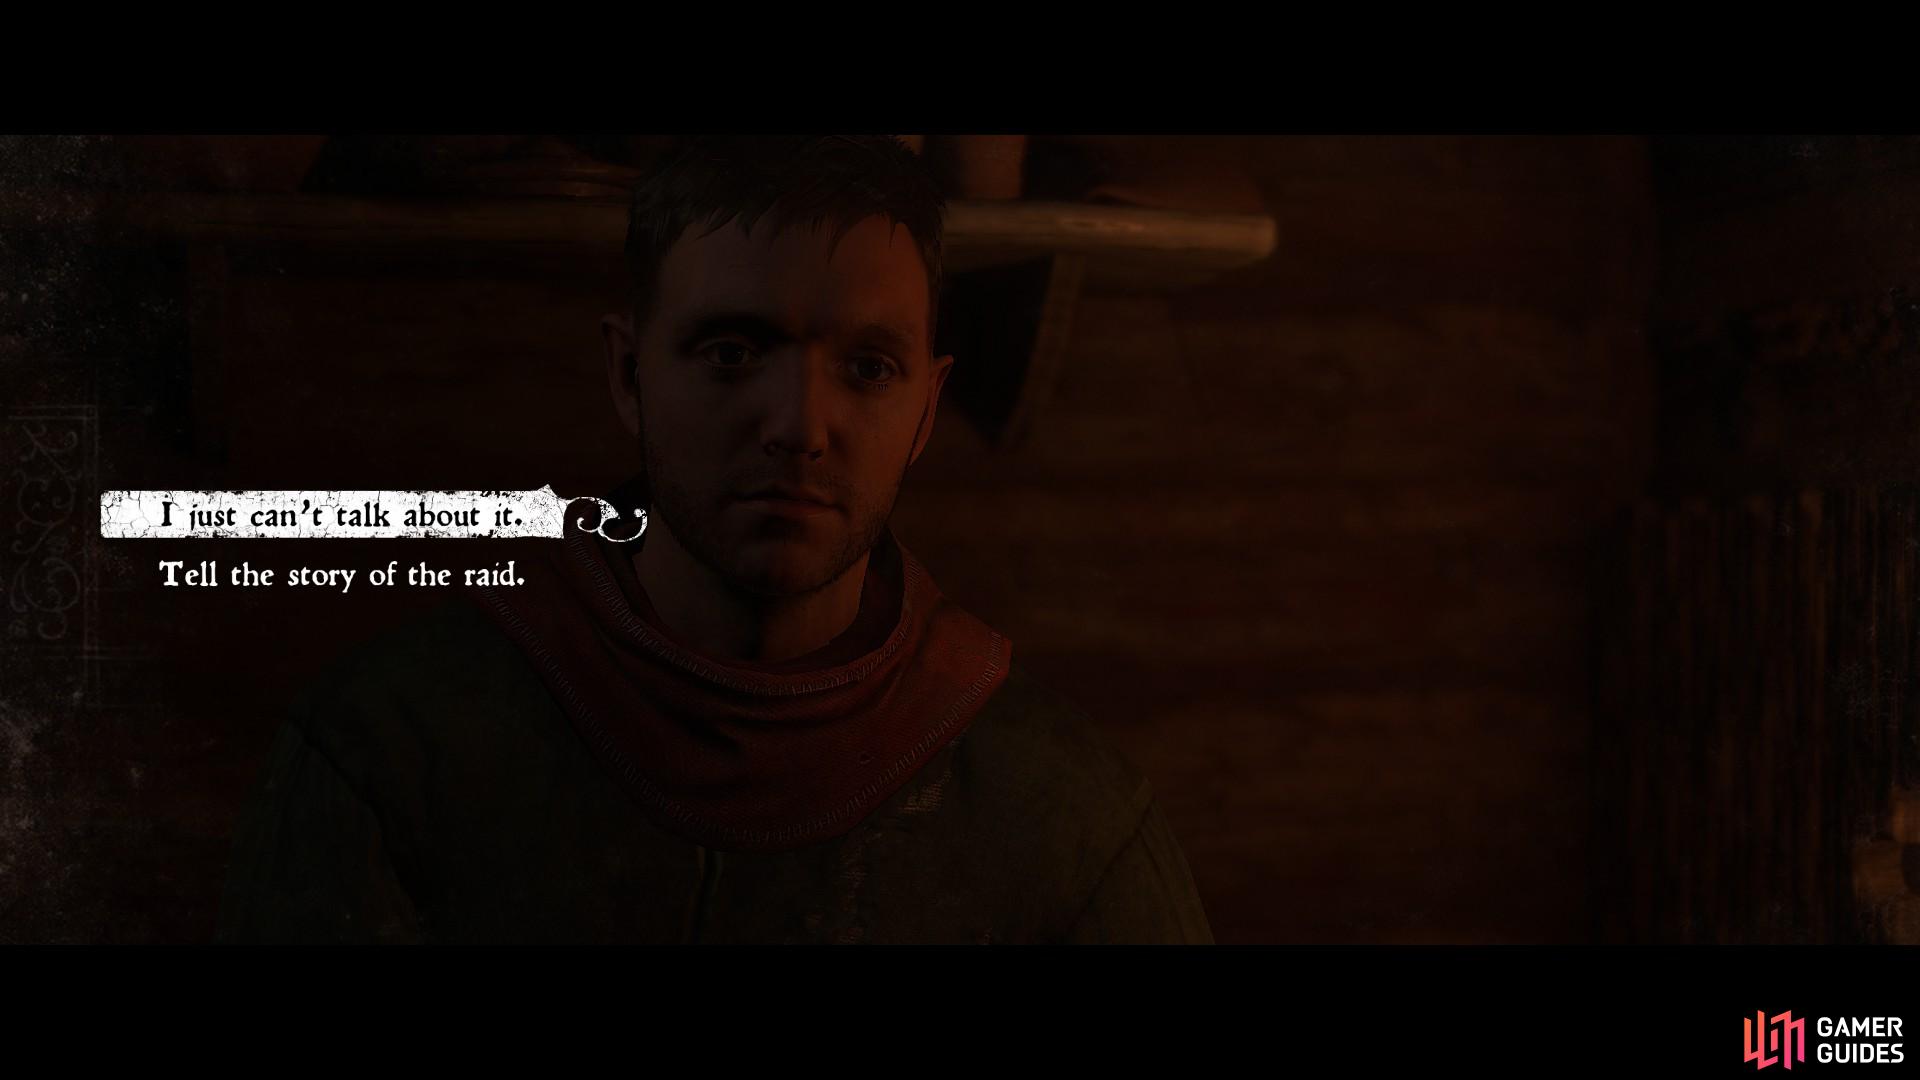
(1 of 2) Lady Stephanie visits Henry to comfort him.
Lady Stephanie visits Henry to comfort him. (left), Choose to tell the story of the raid for an opportunity to increase your Speech skill. (right)
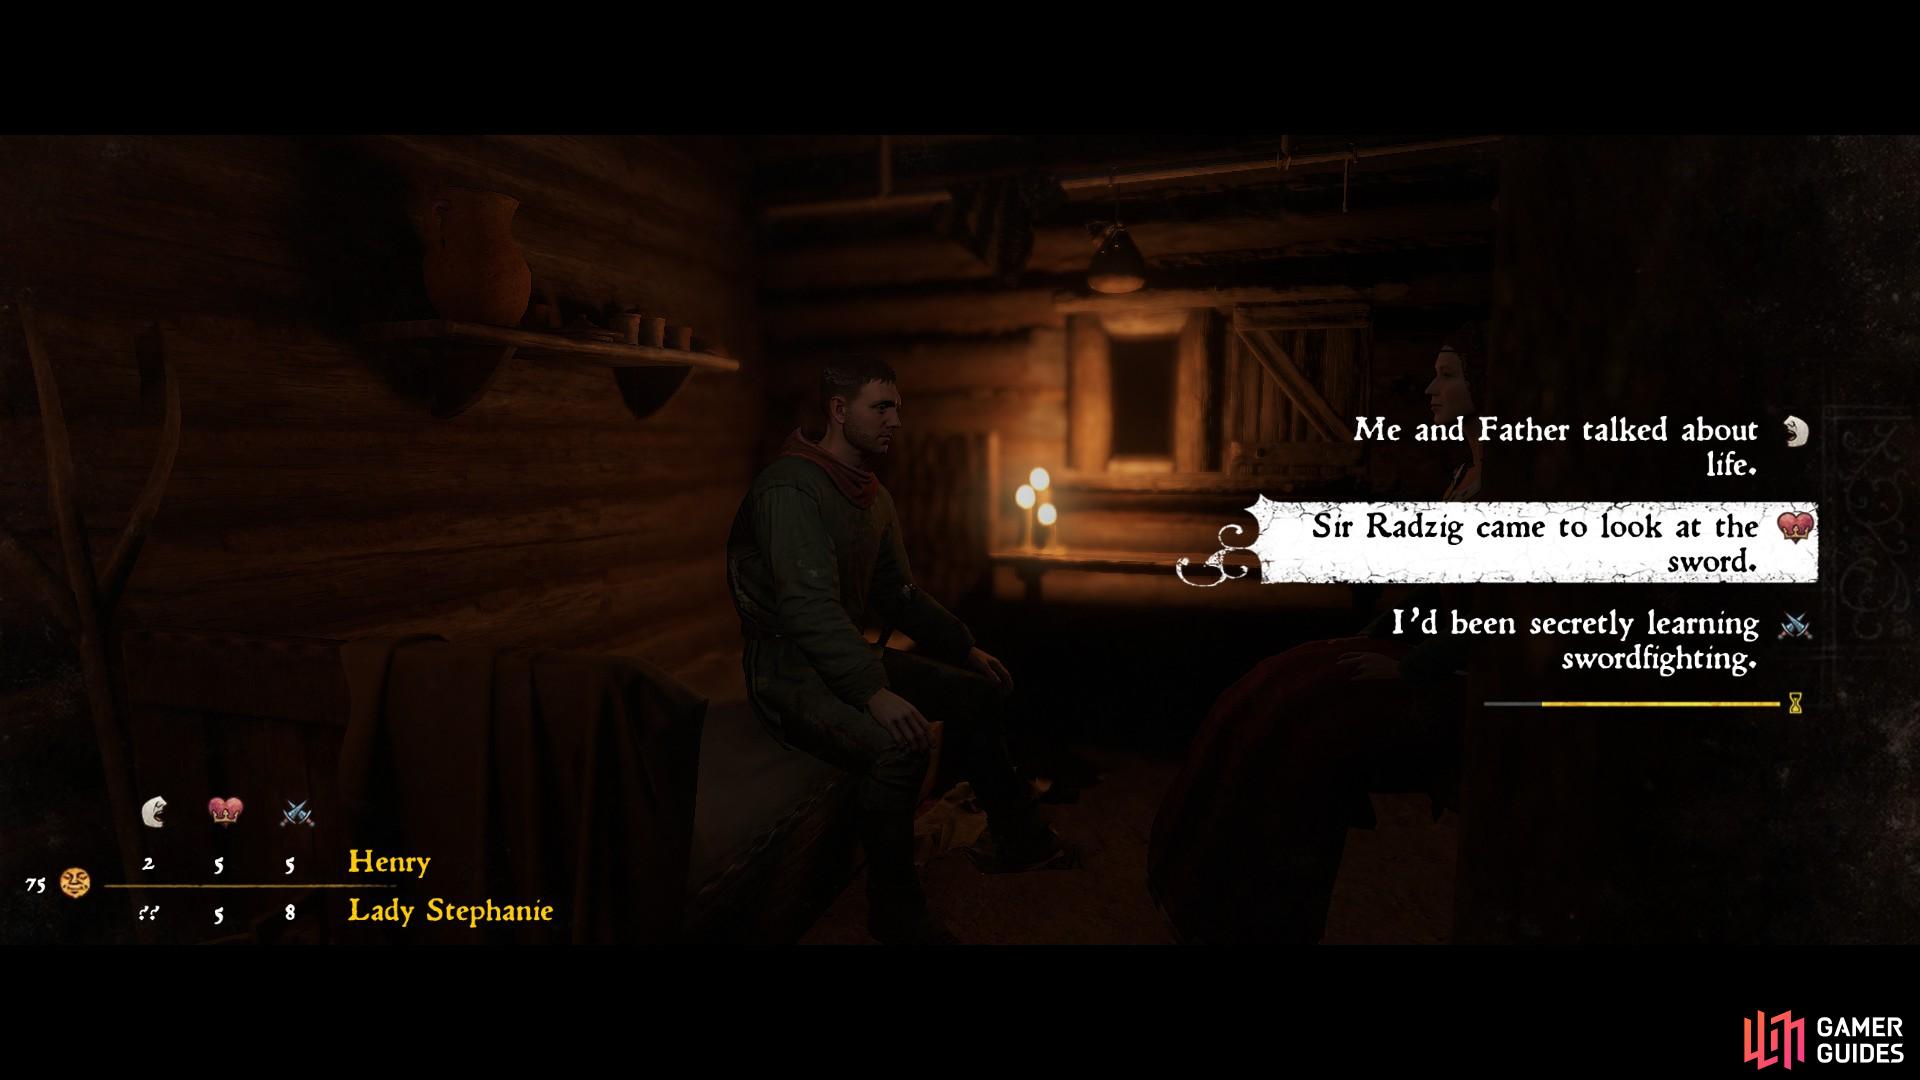
Avoid using the battle icon when speaking with Lady Stephanie to ensure success in Speech, which will contribute to its skill level.
After the interaction with Stephanie you will go back to sleep during which you suffer nightmares about the raid on Skalitz. After some time Sir Robard wakes you to inform you of a company from Skalitz which has arrived at Talmberg. Take the torch from the table behind you before heading to the battlements using the gateway stairs.
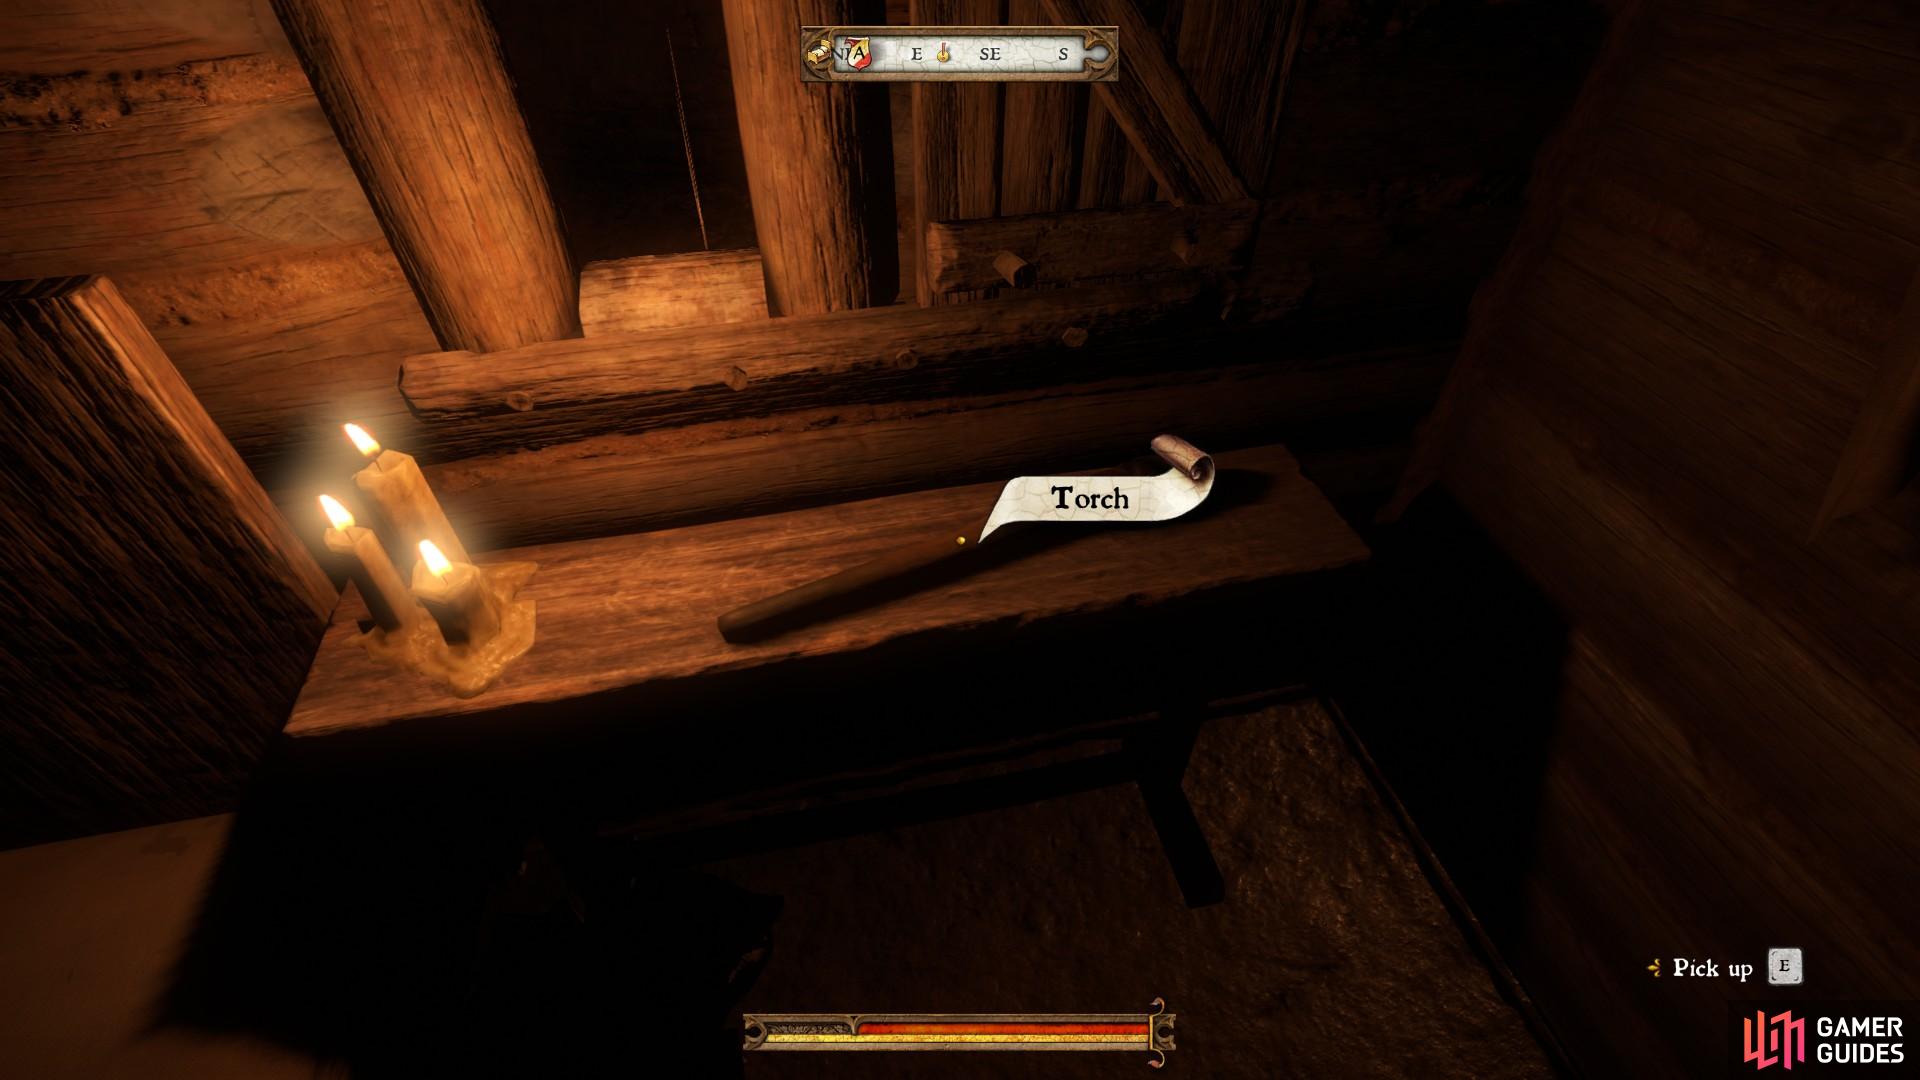
Remember to take the torch to avoid difficulty in seeing outside!
Once you have the torch in your inventory equip it and walk to the stairs leading to the battlements.
The stairs to the battlements can be found beside the main gate to the inner bailey.
Walk up the stairs and follow the ramparts to where Sir Divish is gathered with Sir Robard and his men. Speak with Sir Robard to find out what is happening and initiate the cutscene.
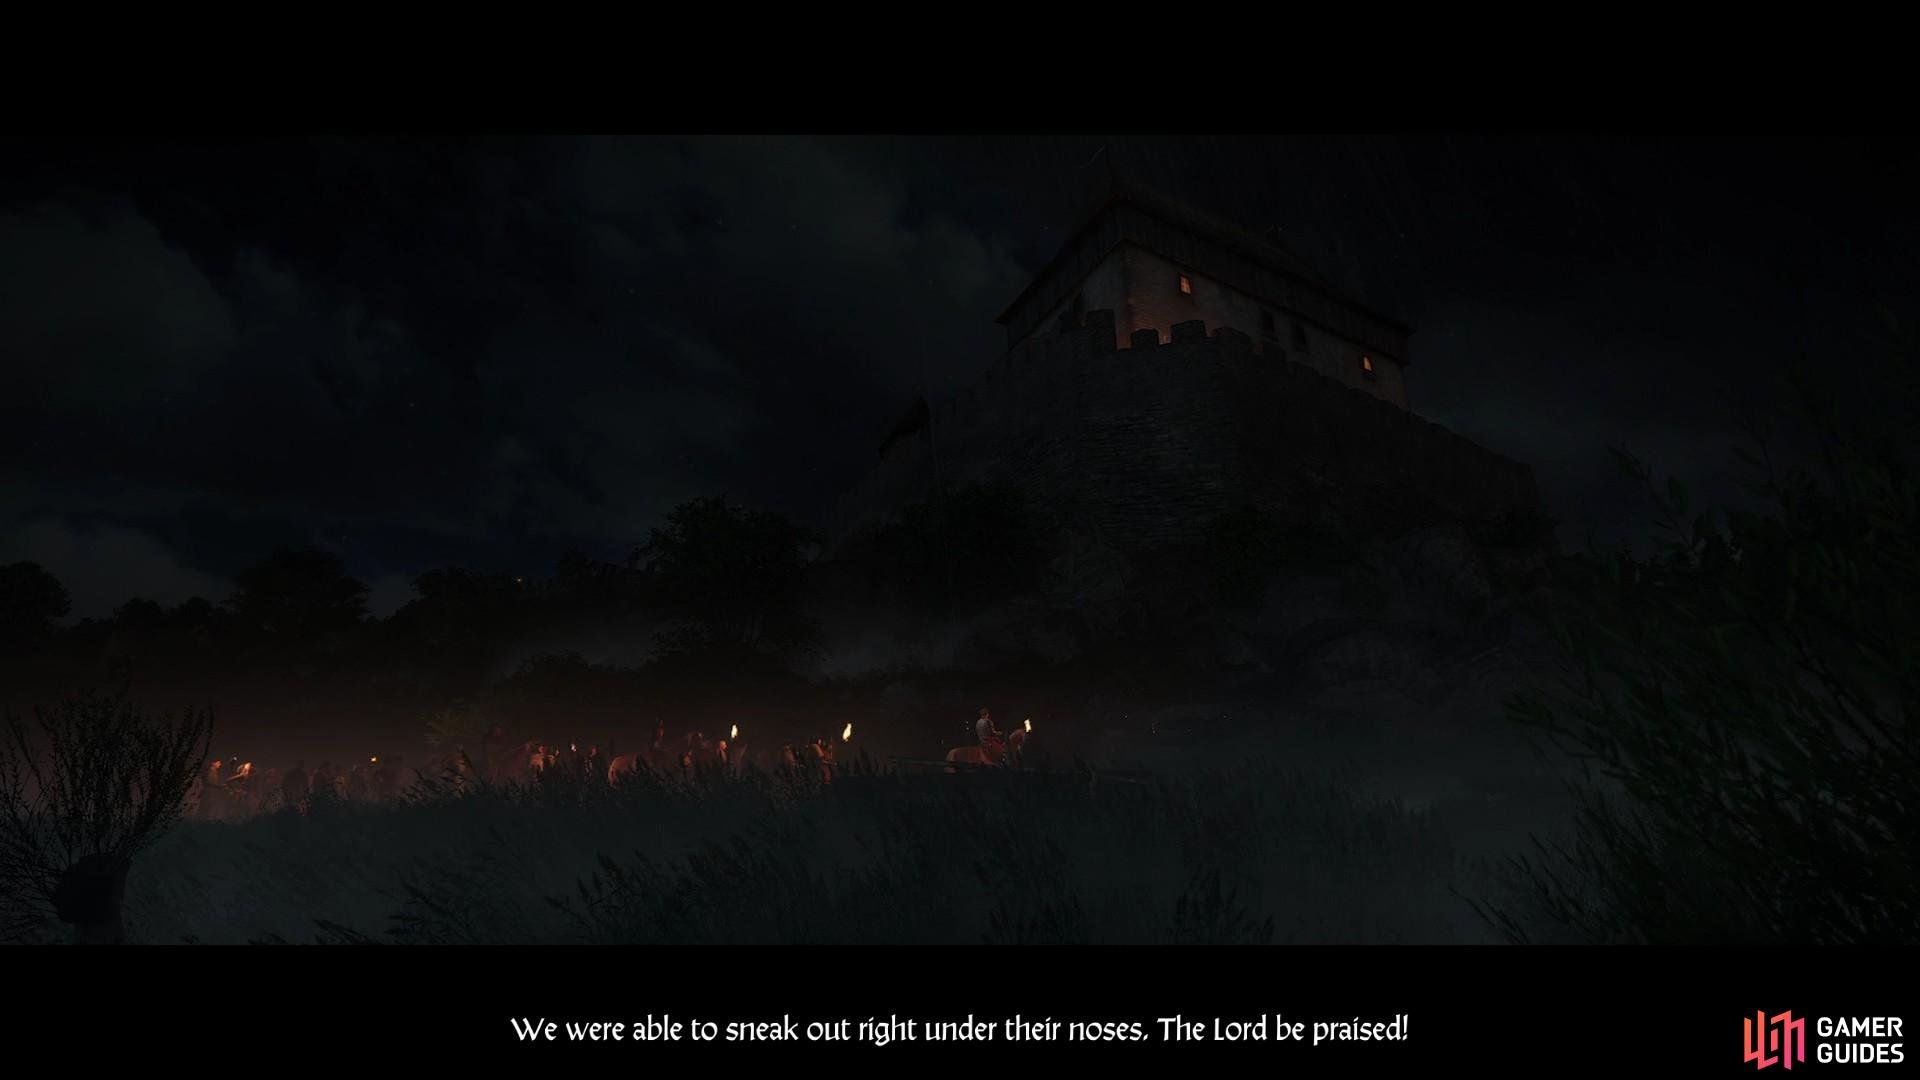
The cutscene reveals that Sir Radzig was able to escape with a number of soldiers and residents from Skalitz.
With Sir Radzig and his company on their way to Rattay, speak to Sir Robard to see how you might help. He will order you to keep watch on the battlements for the night. As you keep watch, make use of your time by speaking to the guards about recent events. One of the guards will soon speak to you and advise you to wait. This advice can be taken literally; open the time dial and set it to wait until morning. Set the dial to wait until dawn at five in the morning.
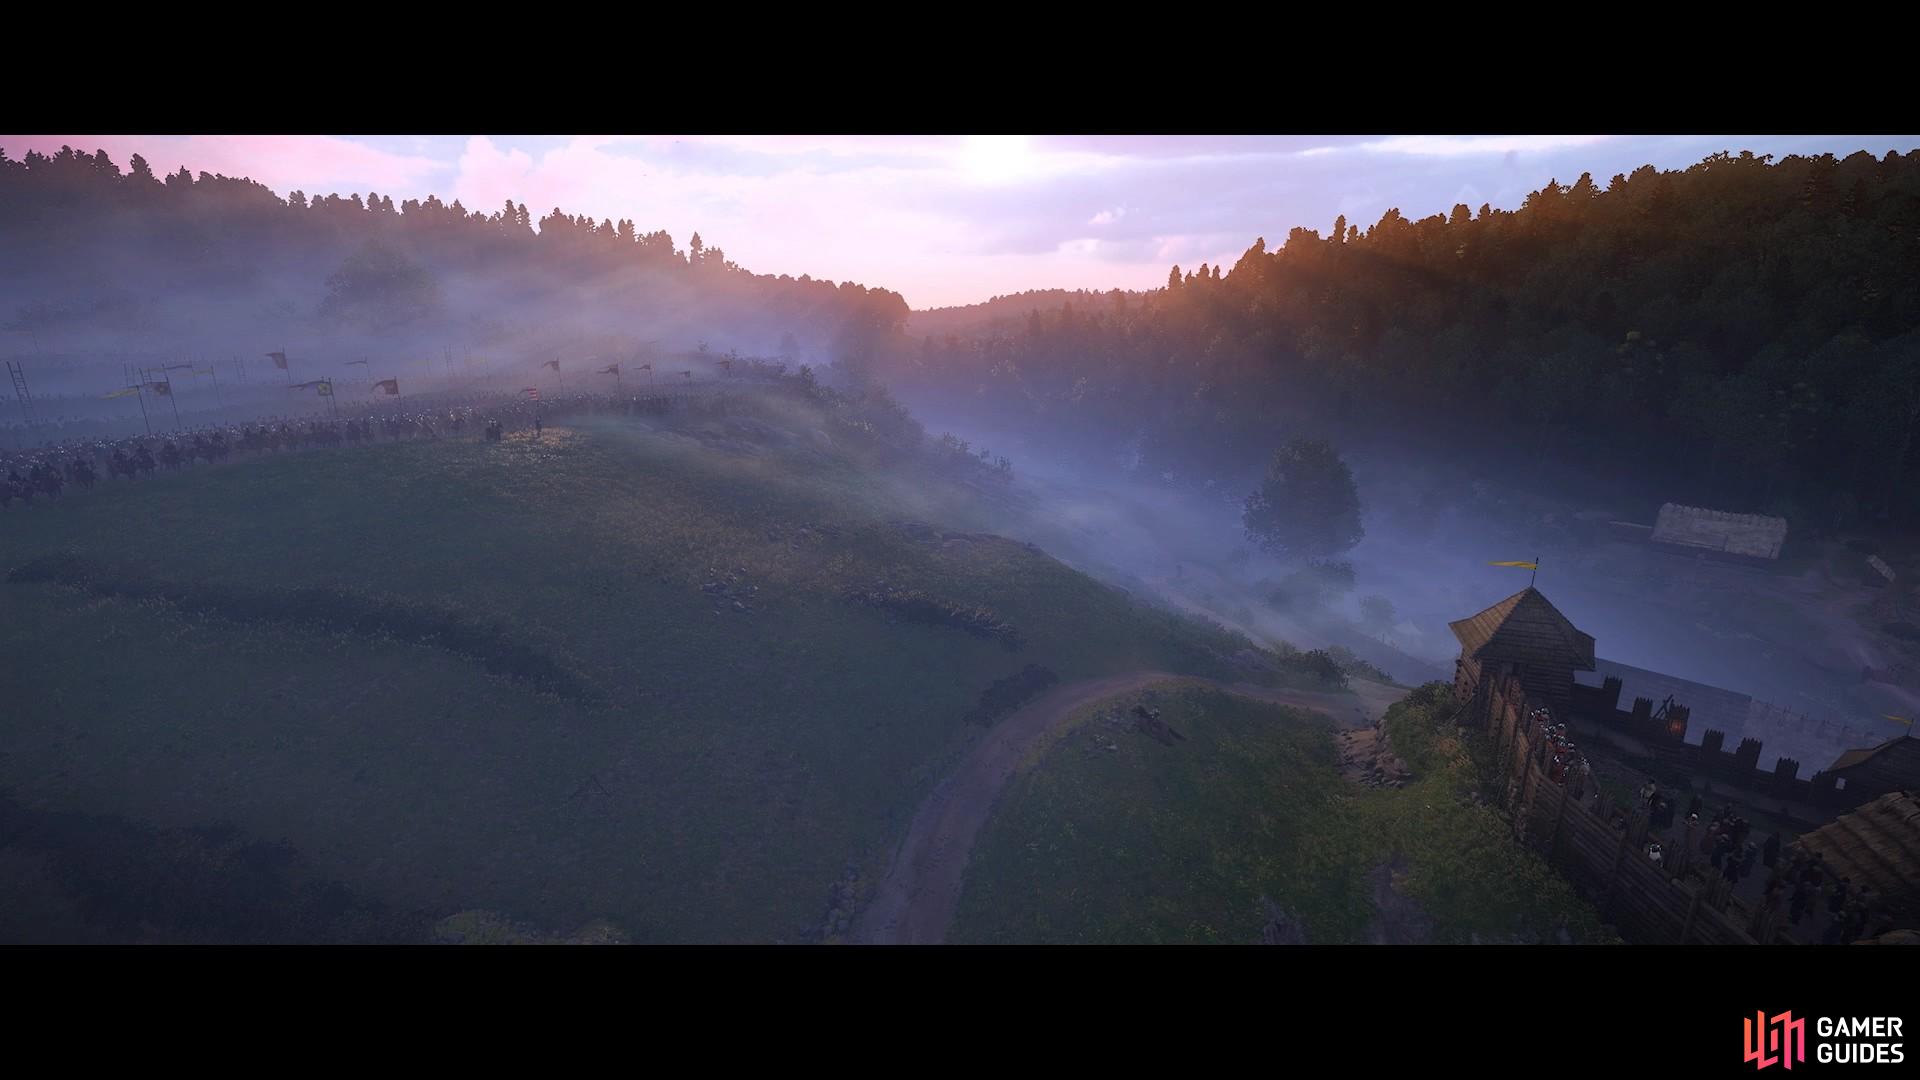
At dawn your watch will end as an alarm is raised. Follow the guards to the battlements of the outer bailey where Sir Divish is gathered with his garrison to parley with Sir Markvart von Aulitz.
(1 of 2) Follow the guards to the outer Bailey.
Follow the guards to the outer Bailey. (left), Watch events unfold as Sir Divish conducts a parley with Markvart von Aulitz. (right)
When the cutscene has ended you will have three new objectives; ‘Bury your loved ones in Skalitz’, ‘Talk to Sir Robard’ and the optional ‘Get a horse’. You will not be able to leave for Skalitz until you have gained permission to leave Talmberg. Unfortunately, Sir Divish has assured Sir Radzig that he will not allow Henry to leave until the situation has become less dangerous. You will therefore need to find a way to escape. The first thing to do is talk to Sir Robard who can be found by the combat arena.
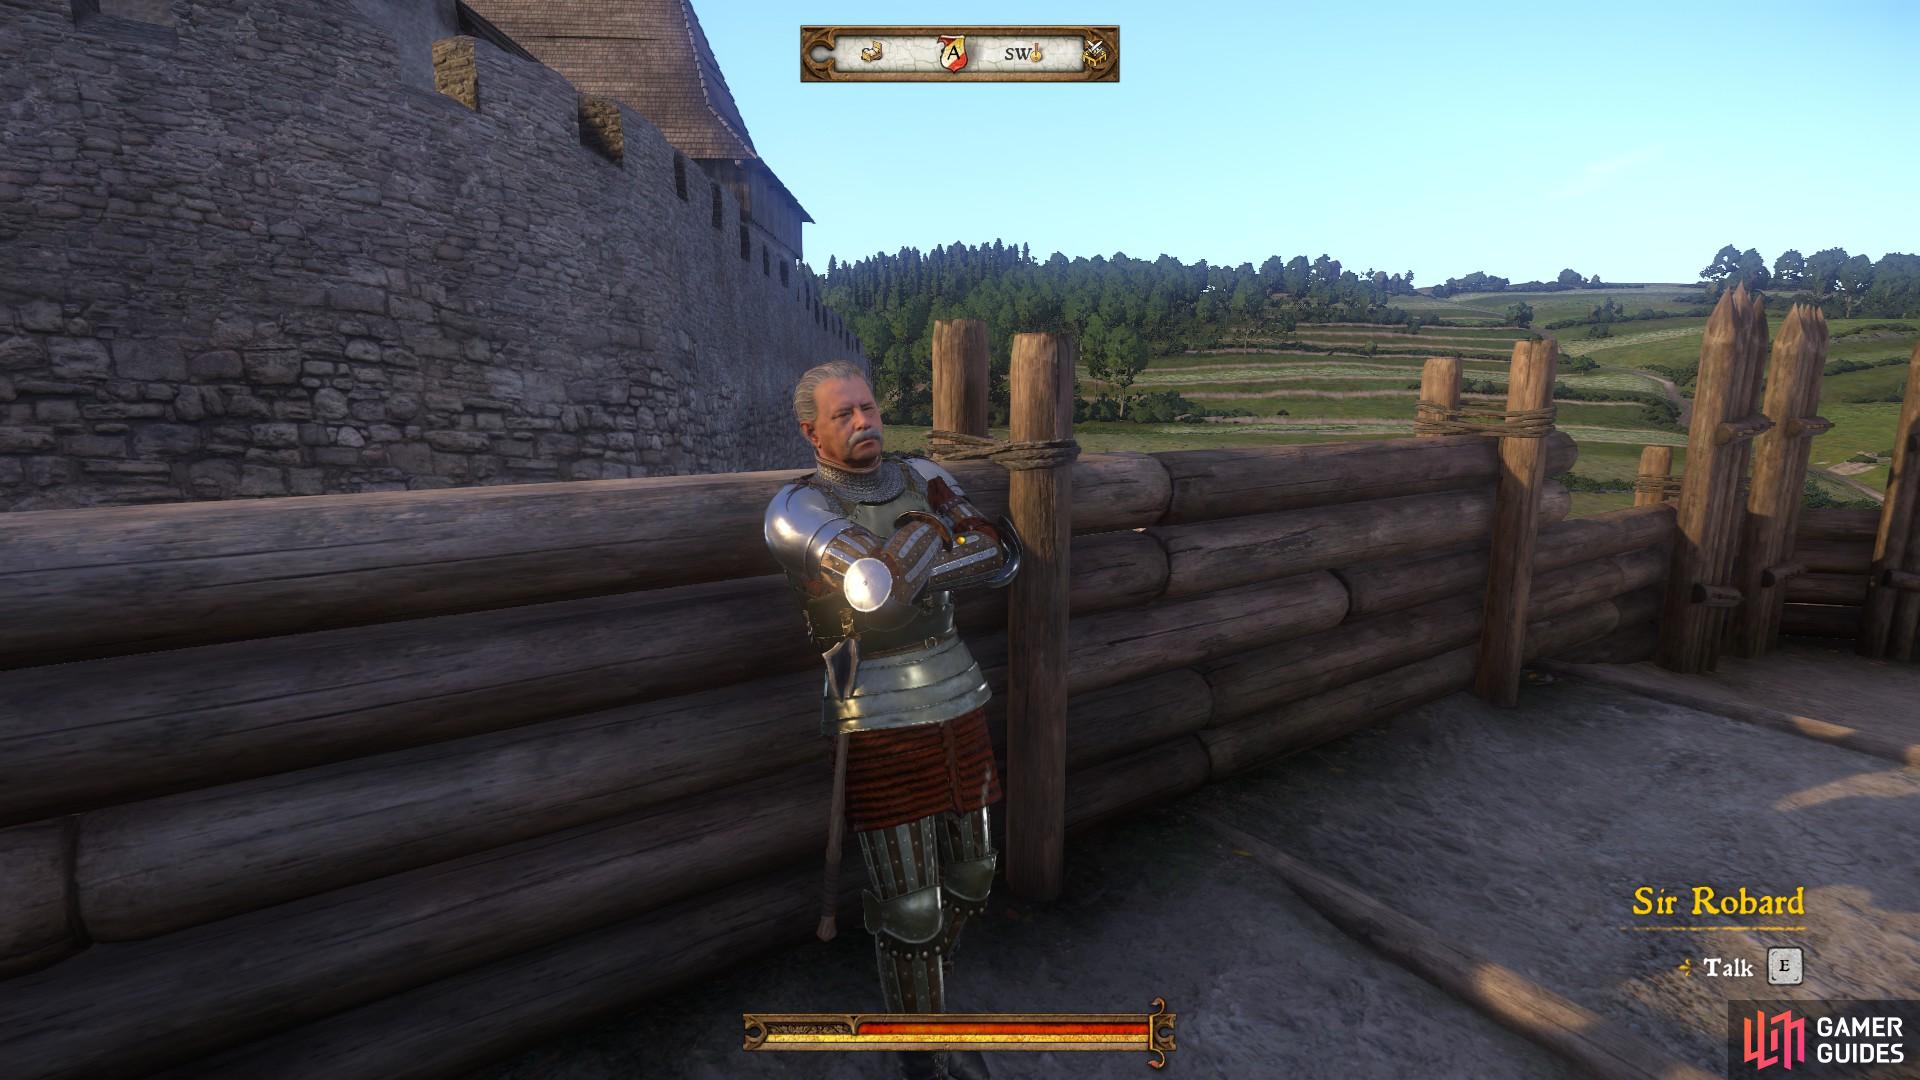
Speak to Sir Robard about leaving Talmberg. Remember to exhaust all dialogue options to increase Speech skill.
You will soon find that Sir Robard’s sense of loyalty to Sir Divish means that he will not allow you to leave, regardless of the dialogue options which you choose. However, speaking to him is a good way to learn new things about the politics of the realm and to increase your Speech skill. Once you have talked about everything with Sir Robard, you will be left with the vague objective to escape the castle. First, make your way to the main entrance to the castle and speak to Guard Radim who is on duty.
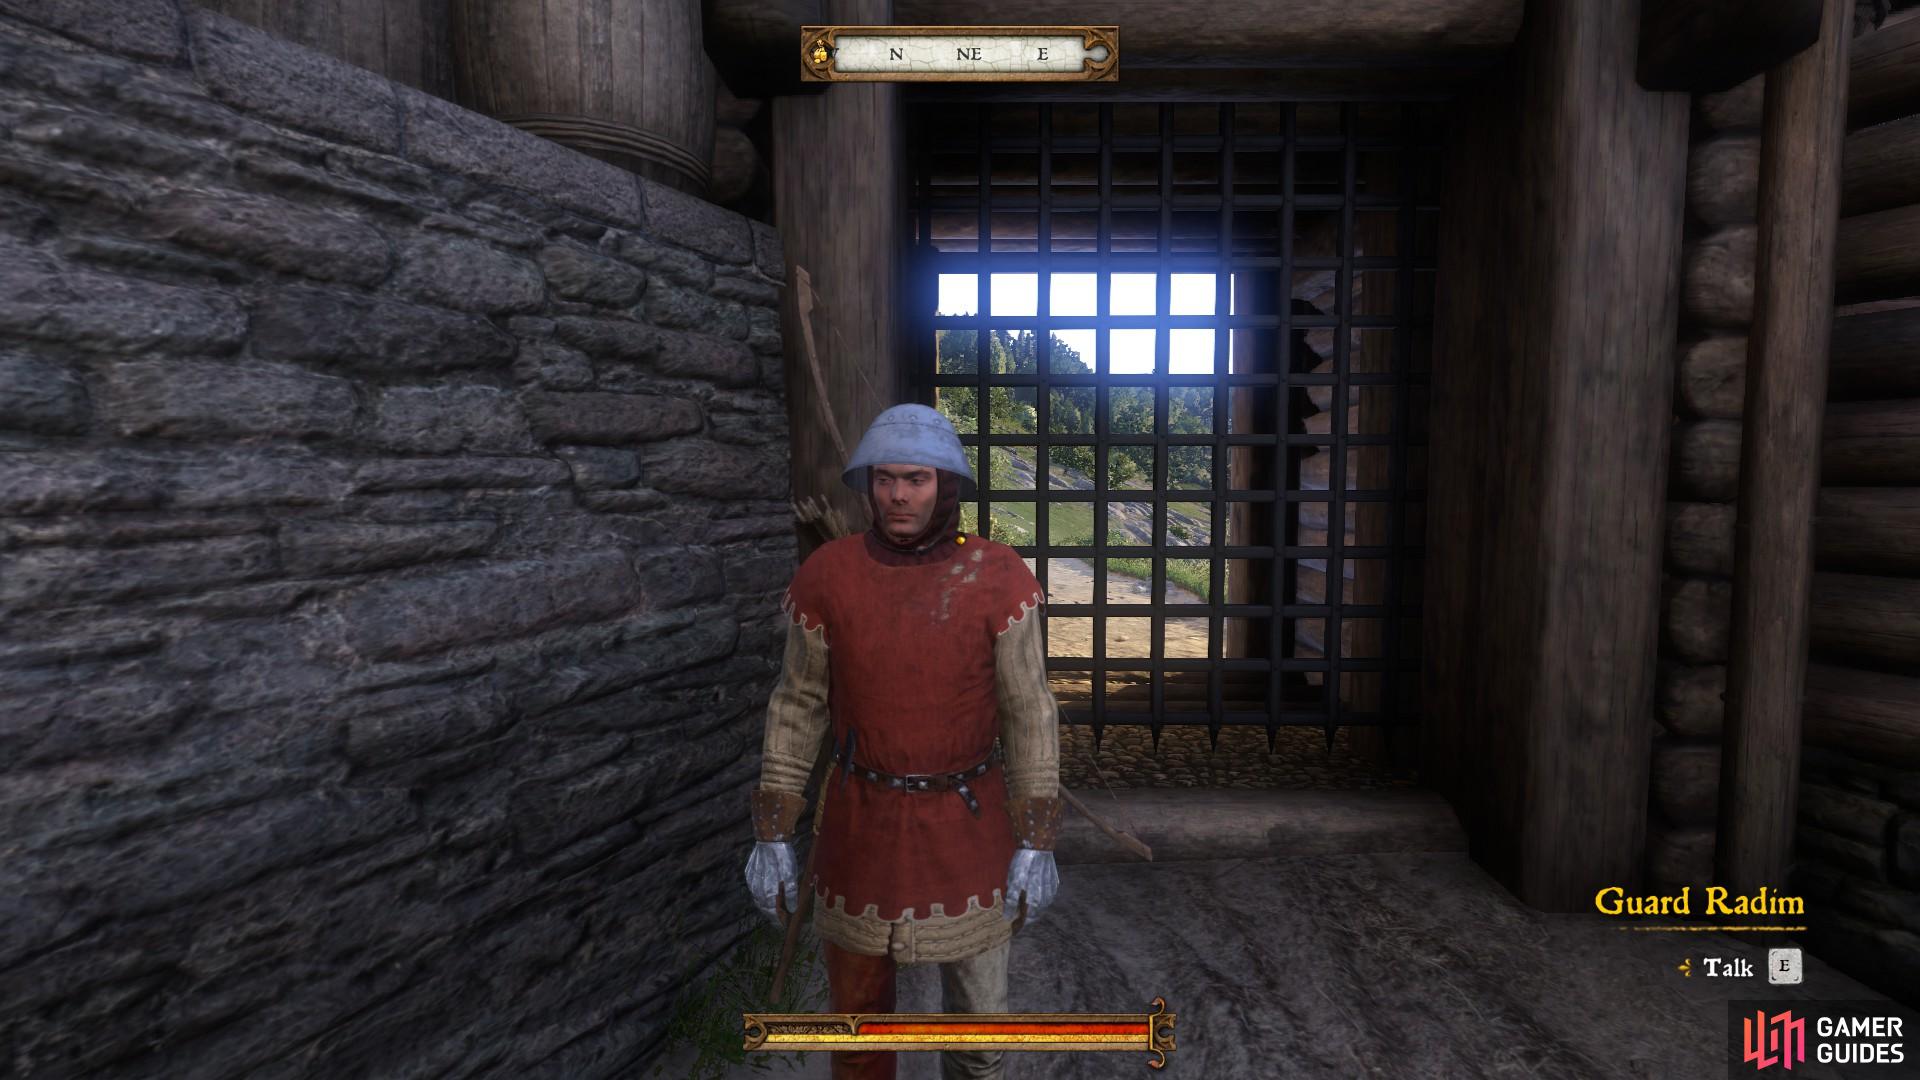
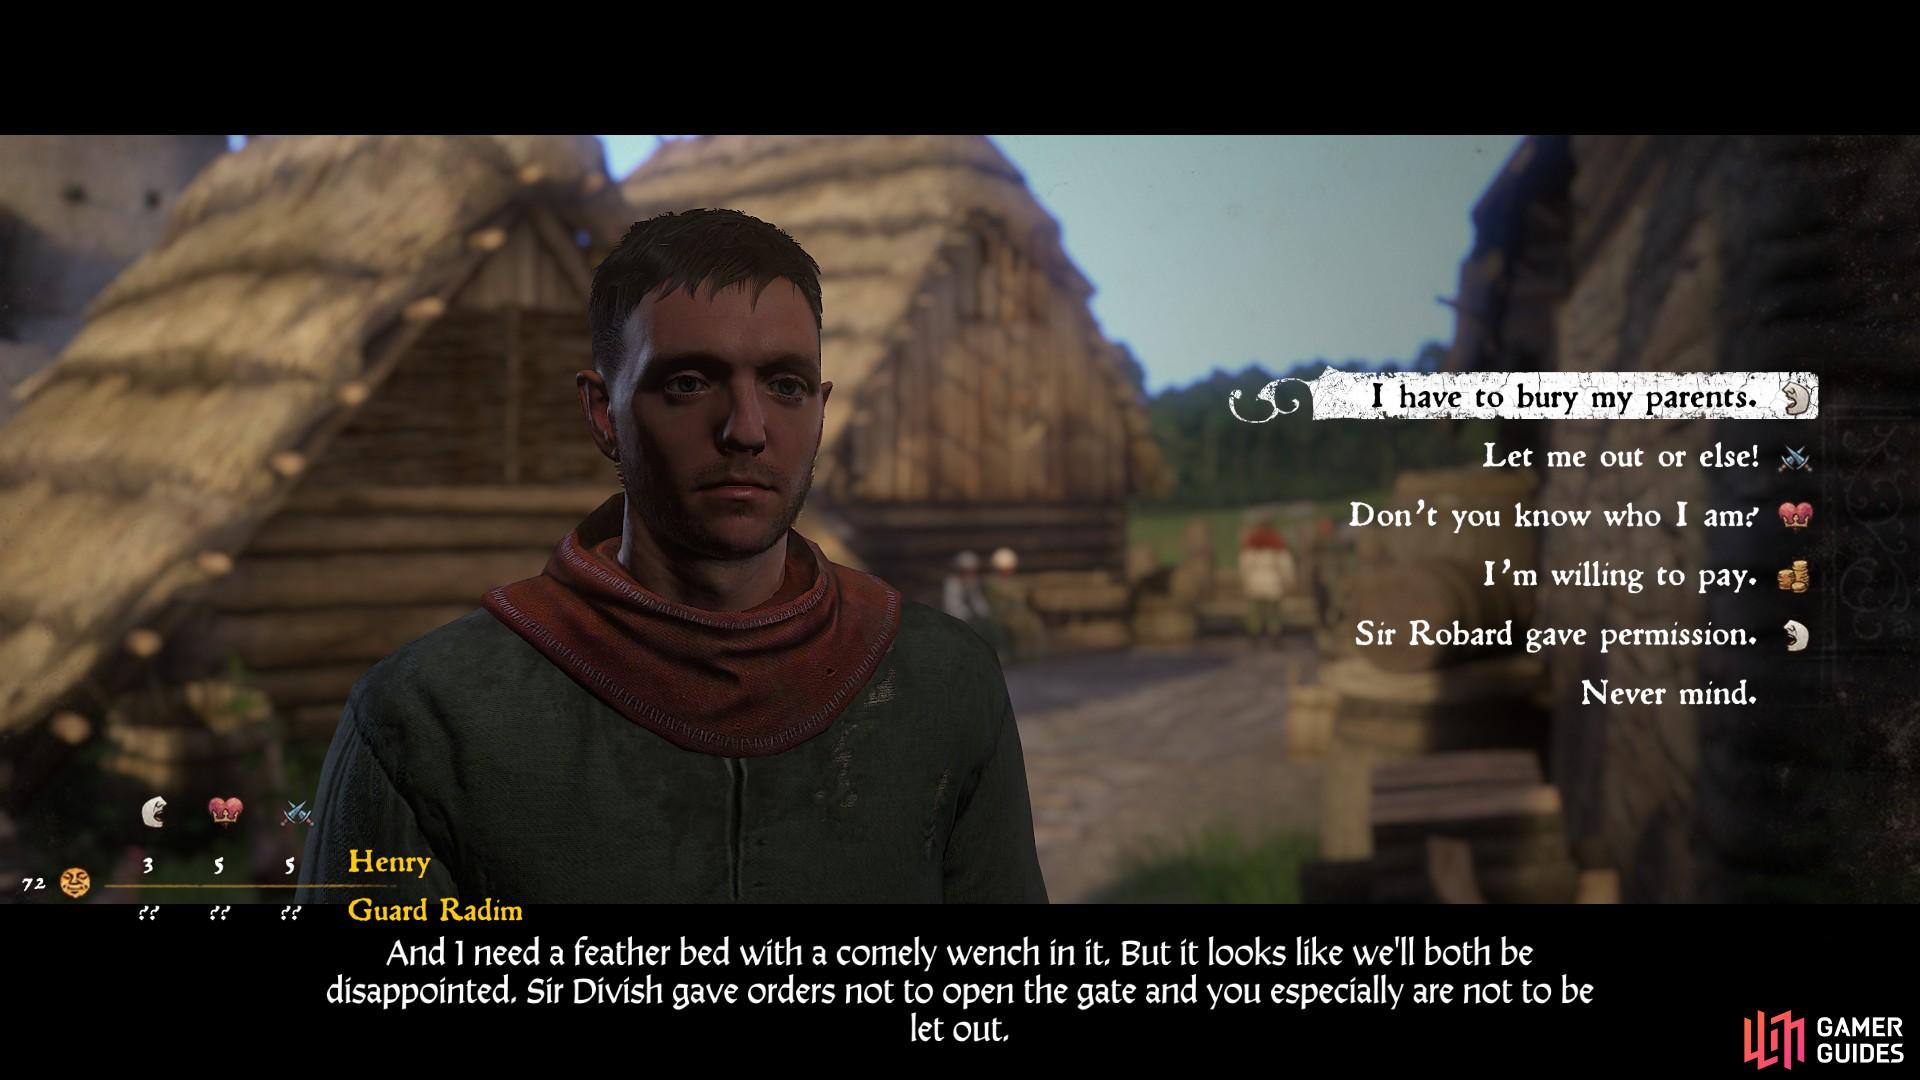
(1 of 2) Speak to Guard Radim about leaving the castle.
Speak to Guard Radim about leaving the castle. (left), Plead with him by telling him that you have to bury your parents to prompt him into suggesting a method of escape. (right)
After telling Guard Radim that you want to leave, he will suggest that you find a disguise, more specifically a set of Talmberg armour from the gatehouse to ensure that he does not land in any trouble for helping you.
If you want to leave Talmberg quickly without the armour, you can jump from the drawbridge and make a run for it. Be prepared to bribe your way out of any confrontation with guards!
If you decide to attempt to escape with a full set of Talmberg armour, visit Lady Stephanie to ask for help. You can find her in one of the rooms in the main living quarters of the inner bailey.
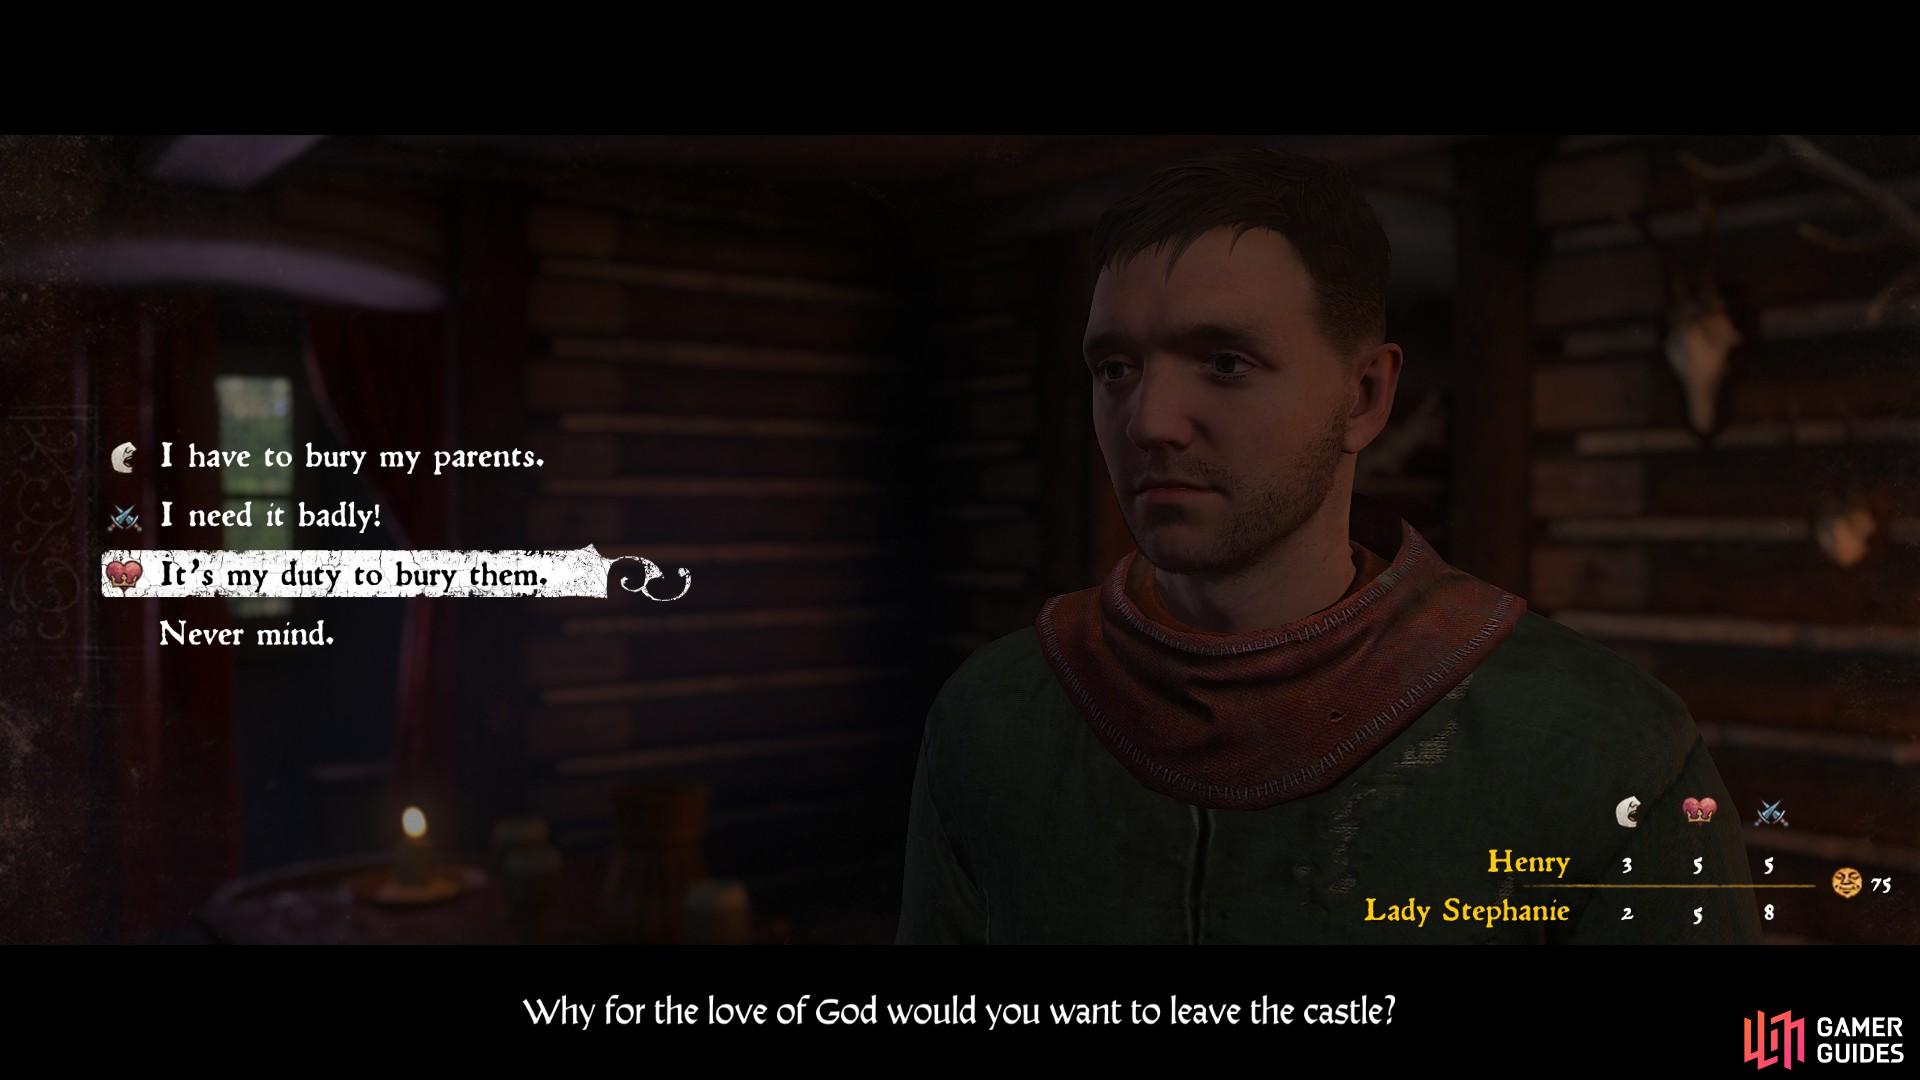
When speaking with Lady Stephanie, choose the dialogue option with the most chance of success and be sure to ask for bribe money.
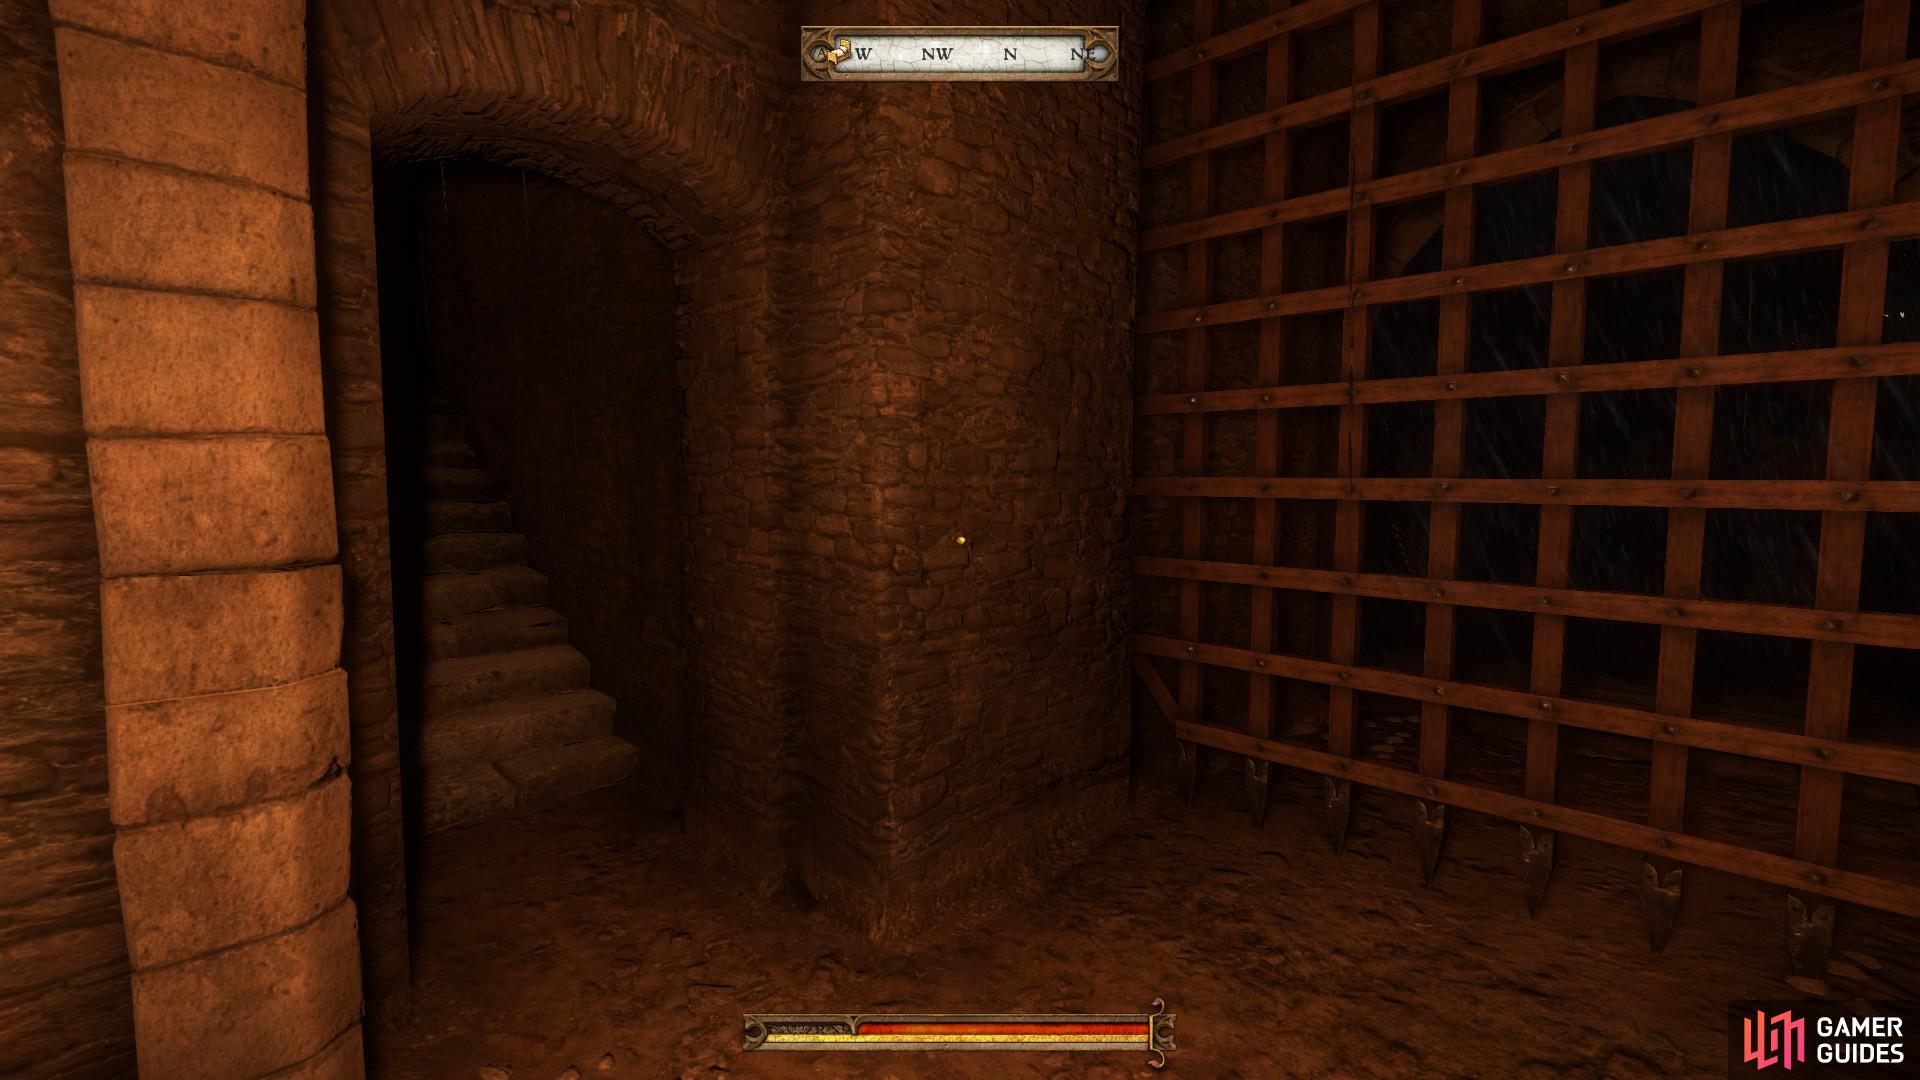
After providing you with some bribe money to appease any troublesome guards, Lady Stephanie will suggest a few places to look for Talmberg armour. These include the guardhouse and the towers on either side of the castle. Aside from a number of weapons located in the guardhouse, you will find that the armour is locked in chests. You will therefore need to use lockpicks to open them. If you failed to get any from Fritz at Skalitz, you can buy one from the Trader in the main courtyard. The tower with the easiest and least guarded chests to open is the largest one, and can be accessed through the door at the end of the hallway in the main living quarters.
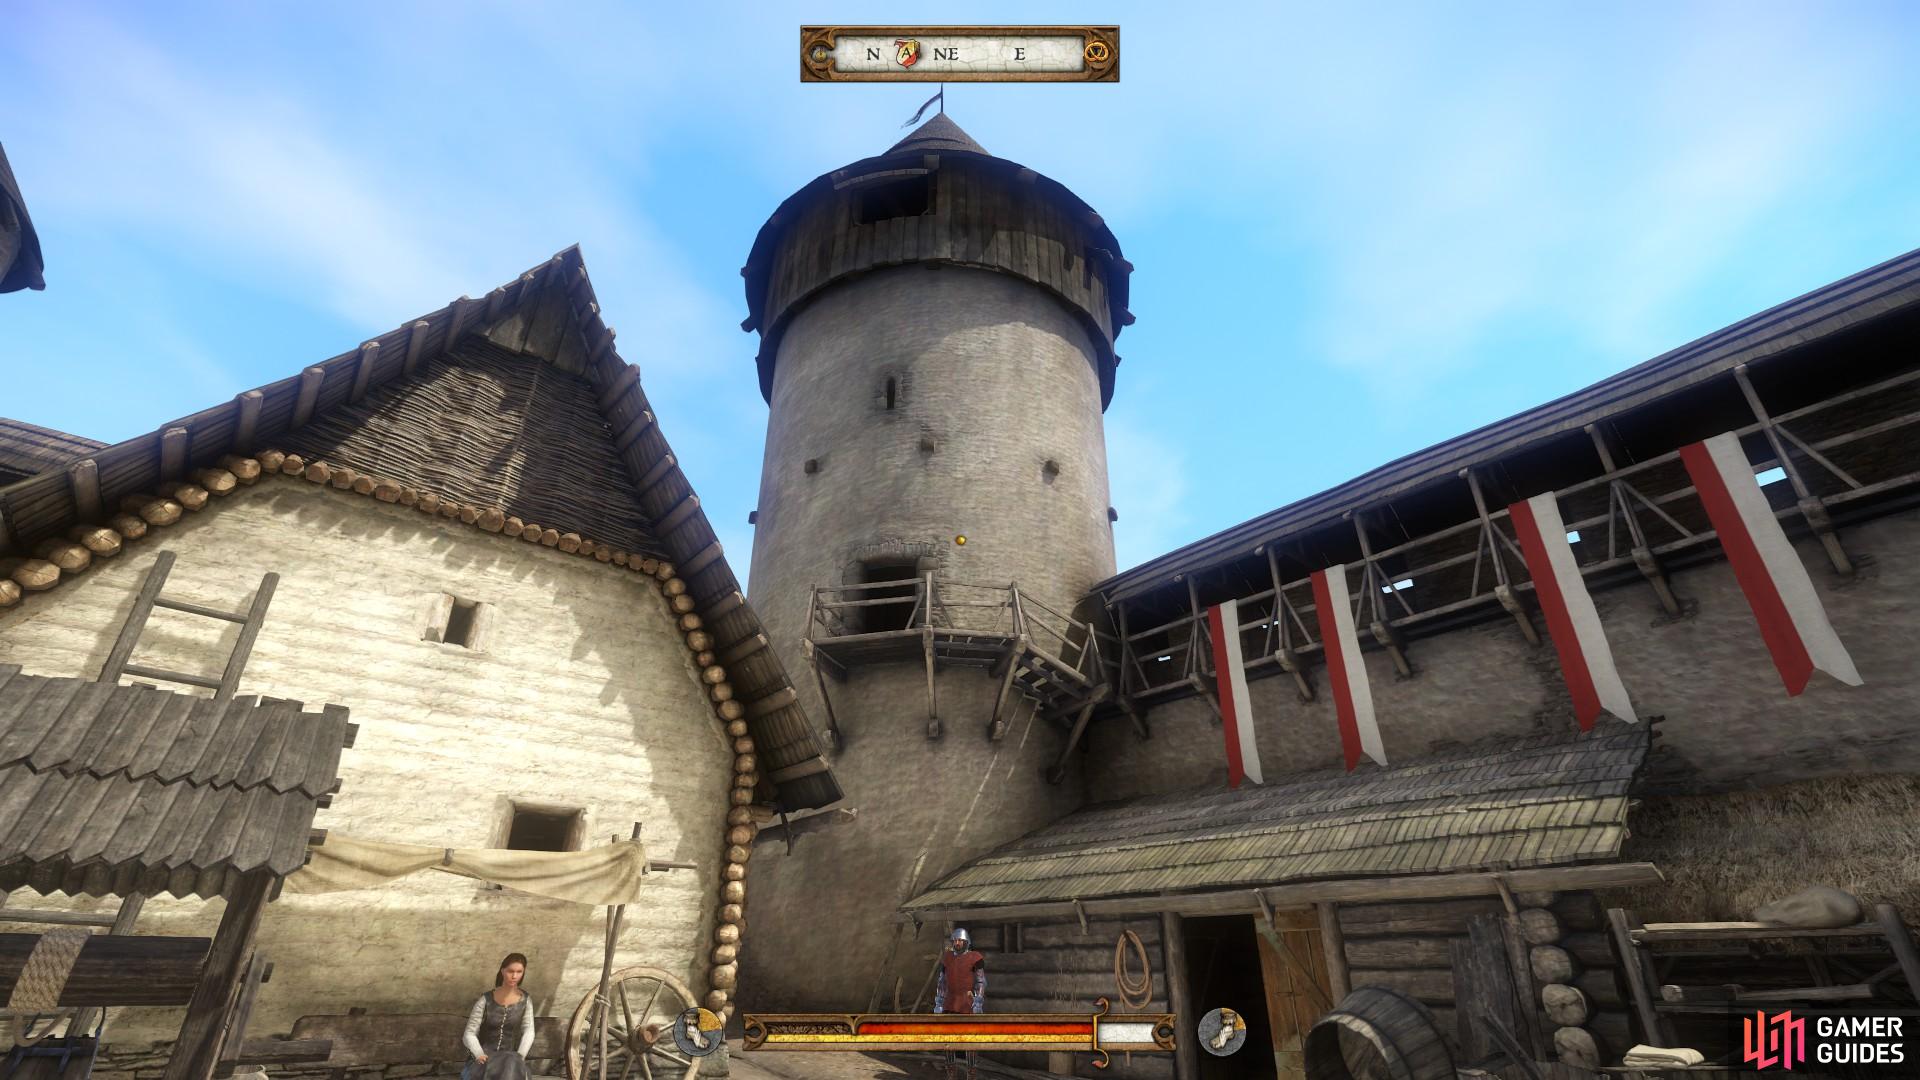
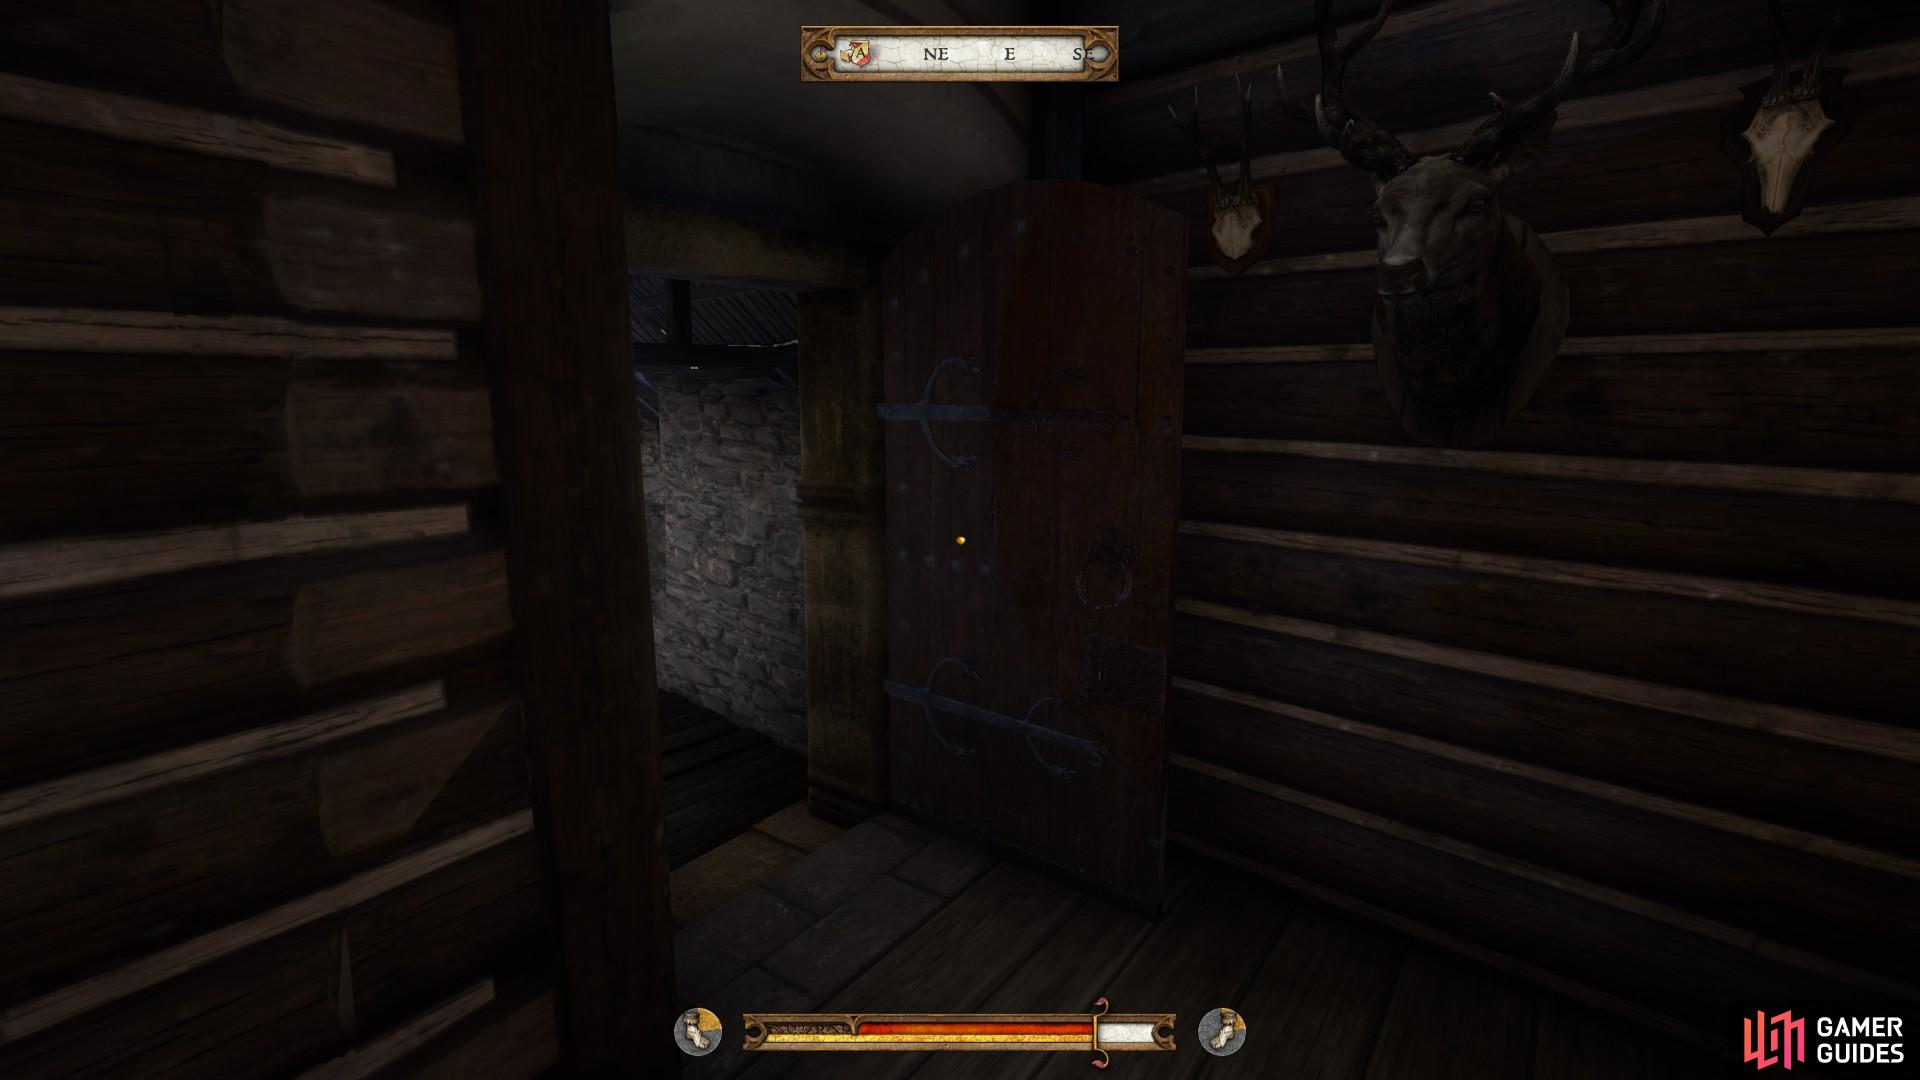
(1 of 2) The tower containing the easiest and safest chests to open with lockpicks.
The tower containing the easiest and safest chests to open with lockpicks. (left), Access the tower through the door at the end of the hallway in the main living quarters. (right)
Once you are in the tower climb the ladders to find the chests containing armour and weapons, but make sure that no guards see you do it. It is a good idea to save the game before you attempt to open the chests to ensure that you do not lose any lockpicks, especially if you only have one in your inventory from the Trader. After finding your choice of weapons and a full set of armour, go back to Lady Stephanie and ask her if it is suitably convincing. With Lady Stephanie’s approval, it is time to leave. Be sure to mount the horse with the green saddlecloth from the stables before you go to complete the optional objective and make your way to Skalitz faster.
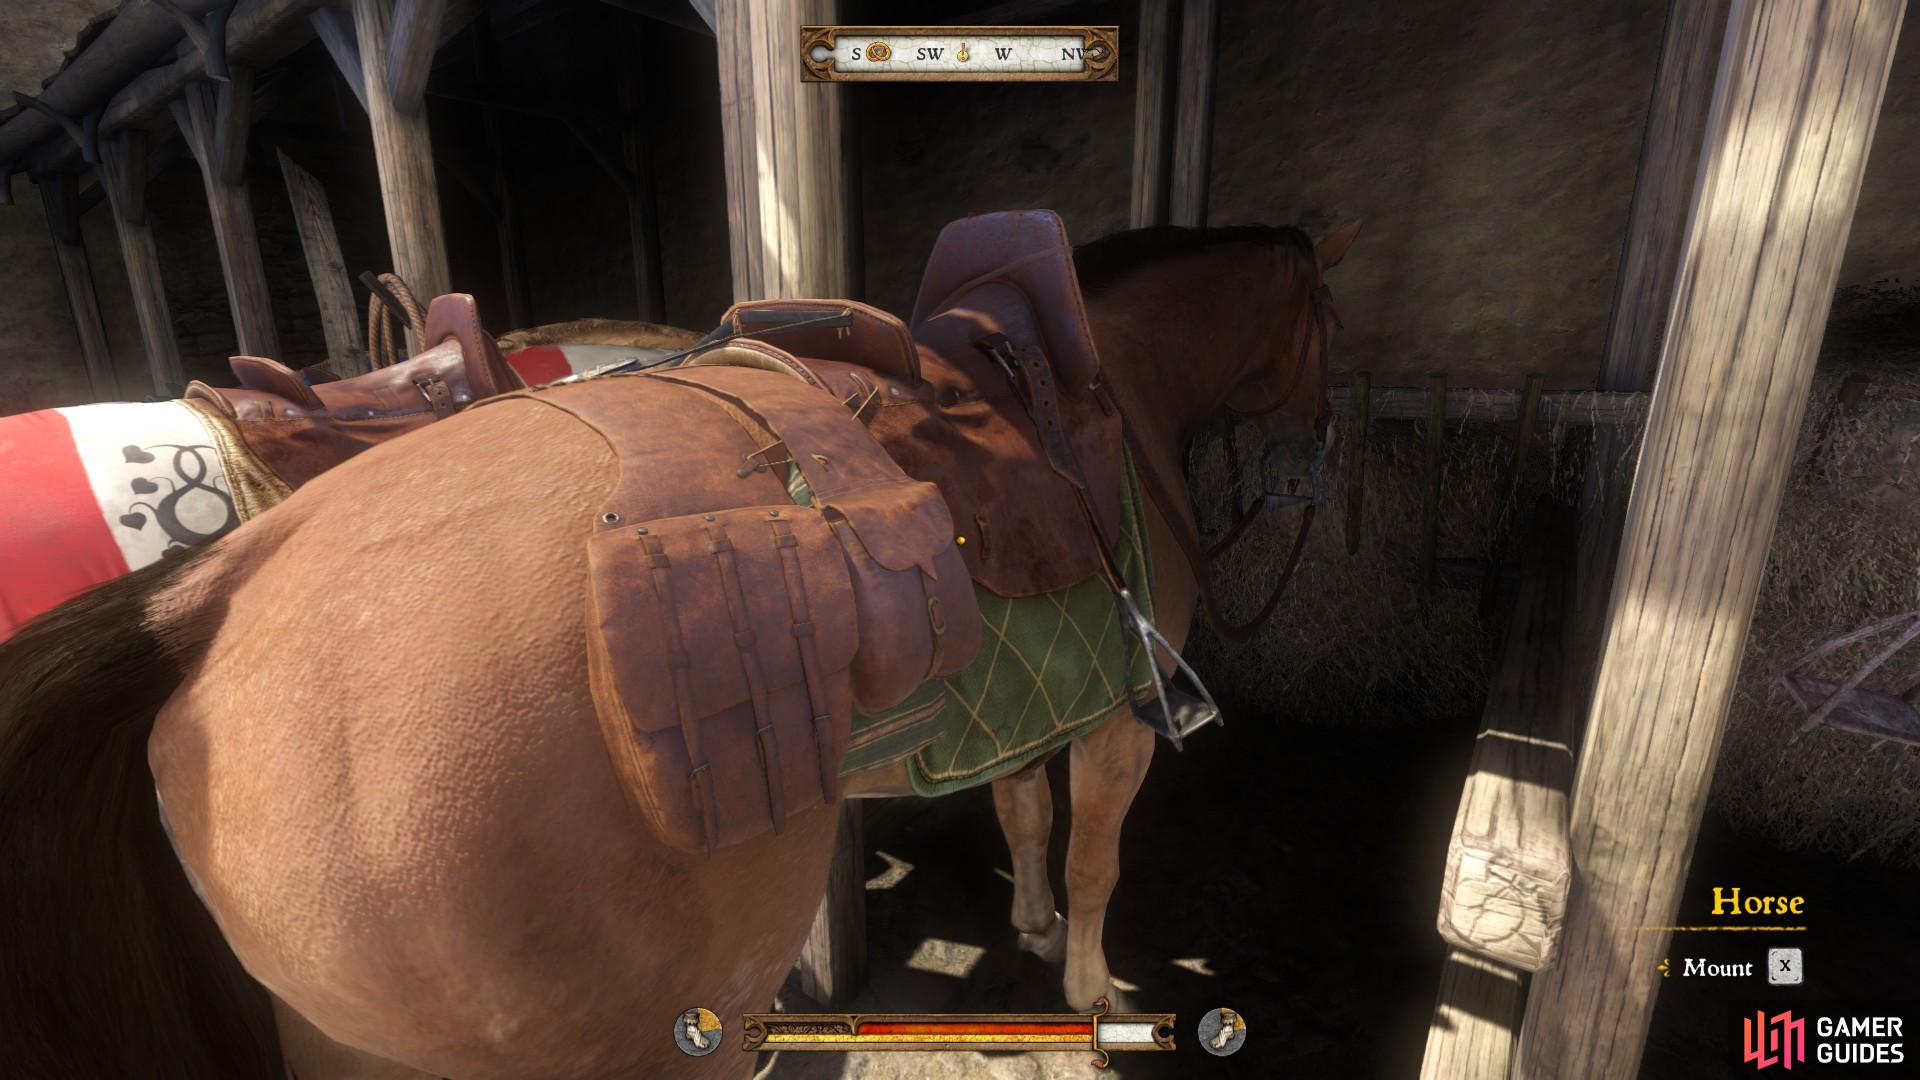
The horse with the green saddlecloth is the only one you can mount without it counting as stealing.
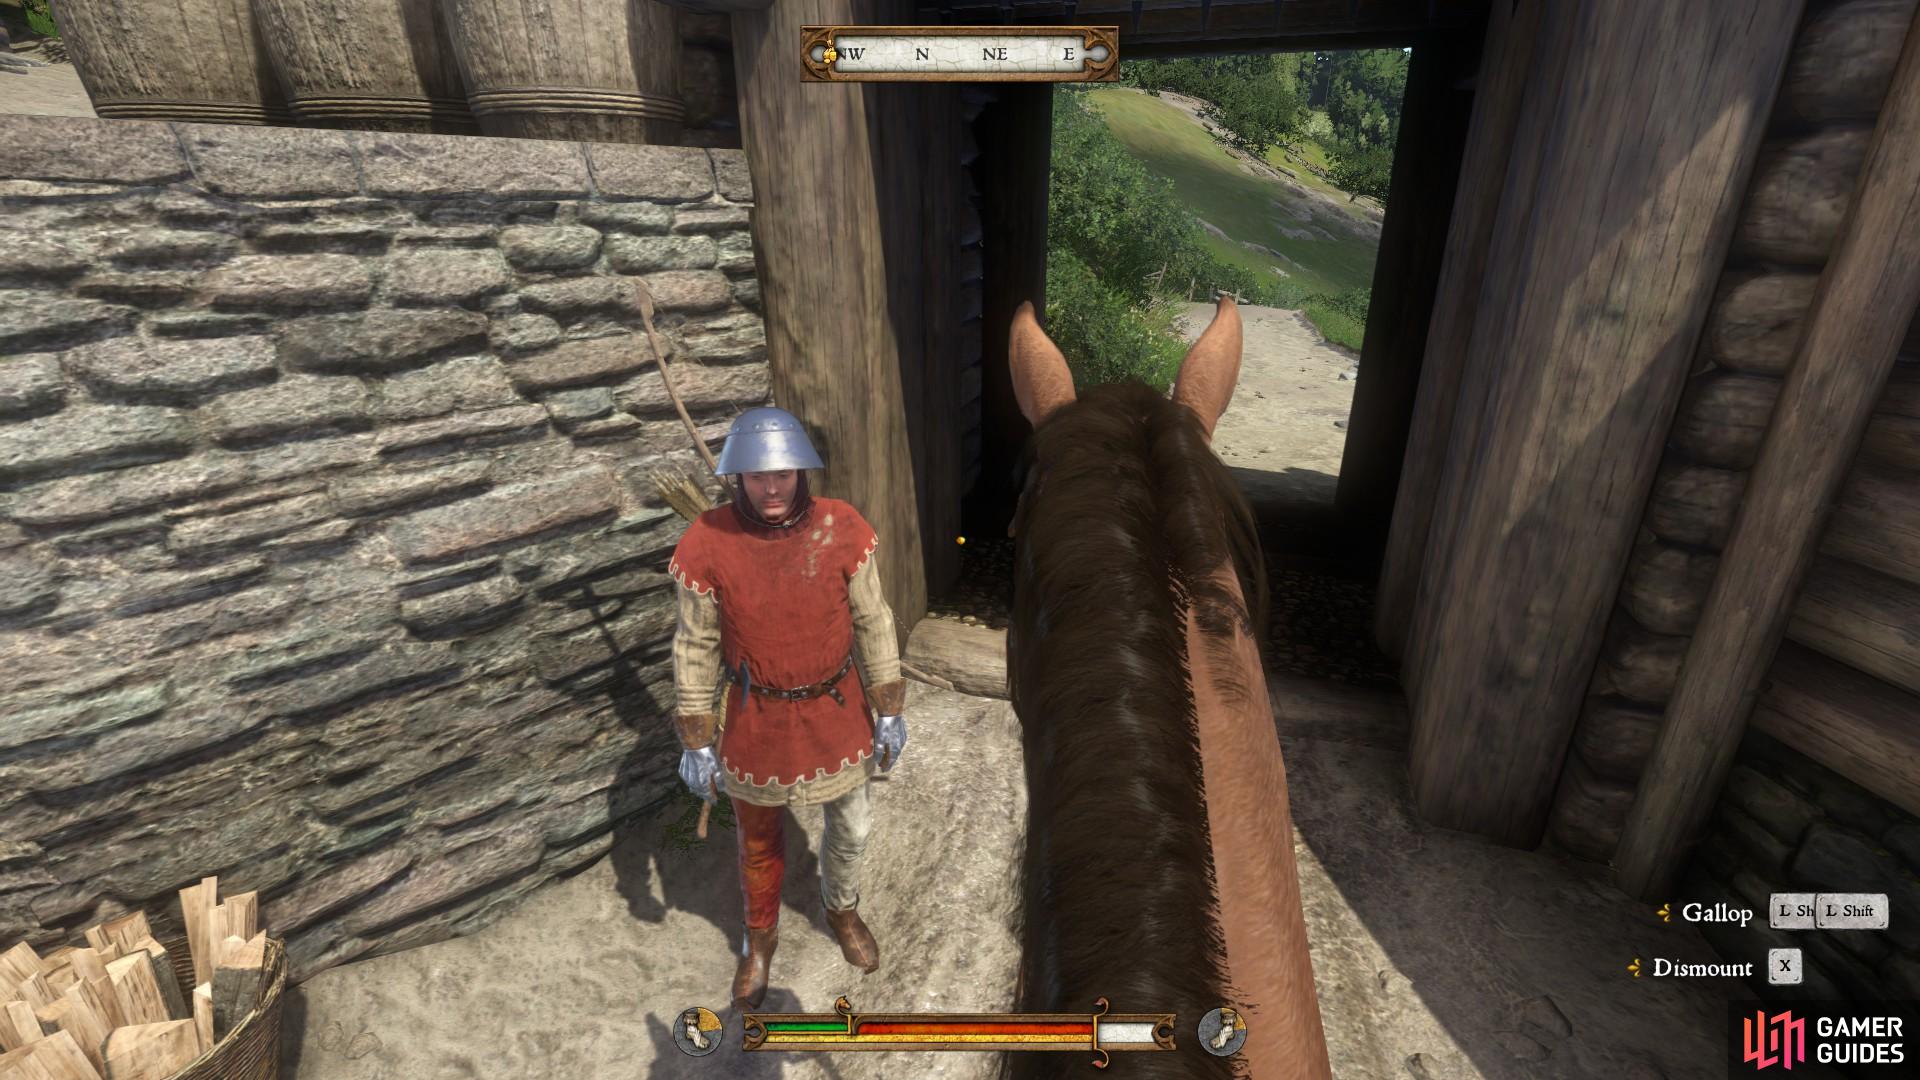
Once you are on the horse, make your way to the main castle gate to speak to Guard Radim. After some initial confusion, he will let you pass.
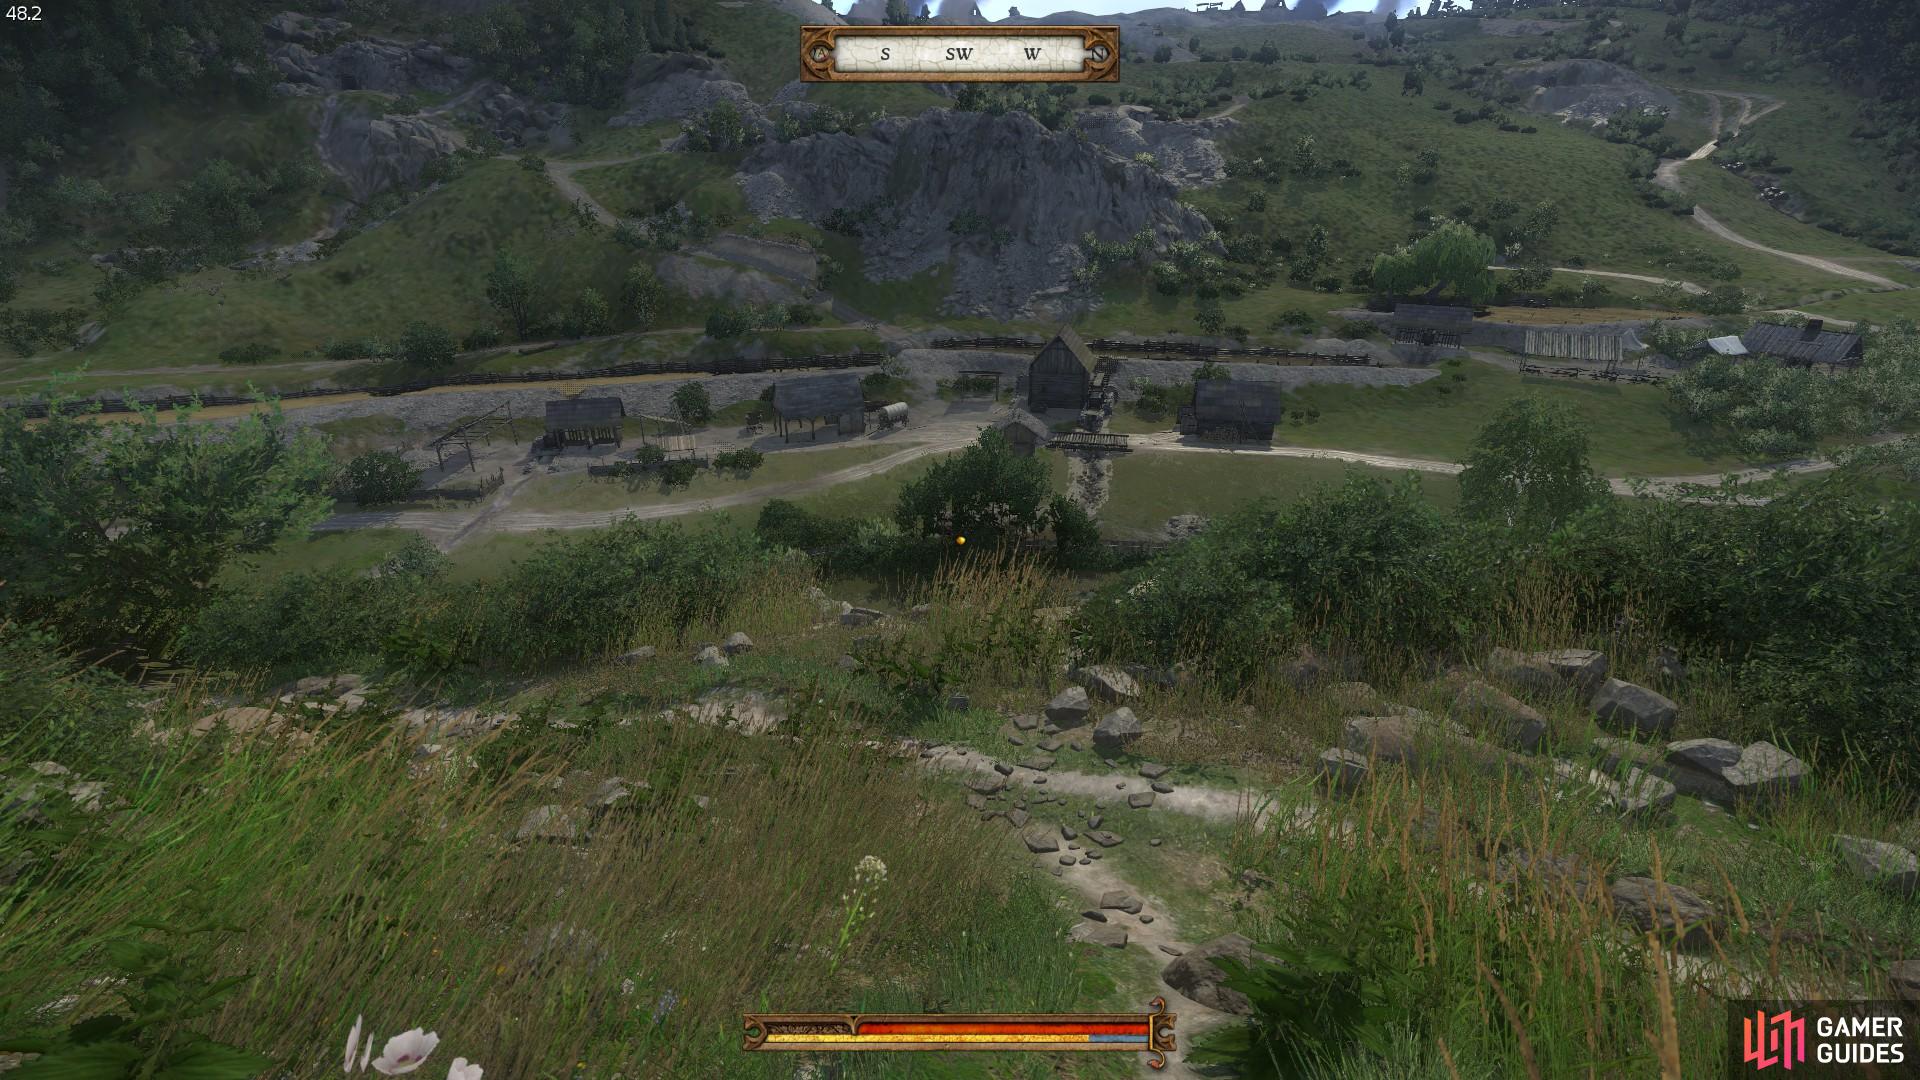
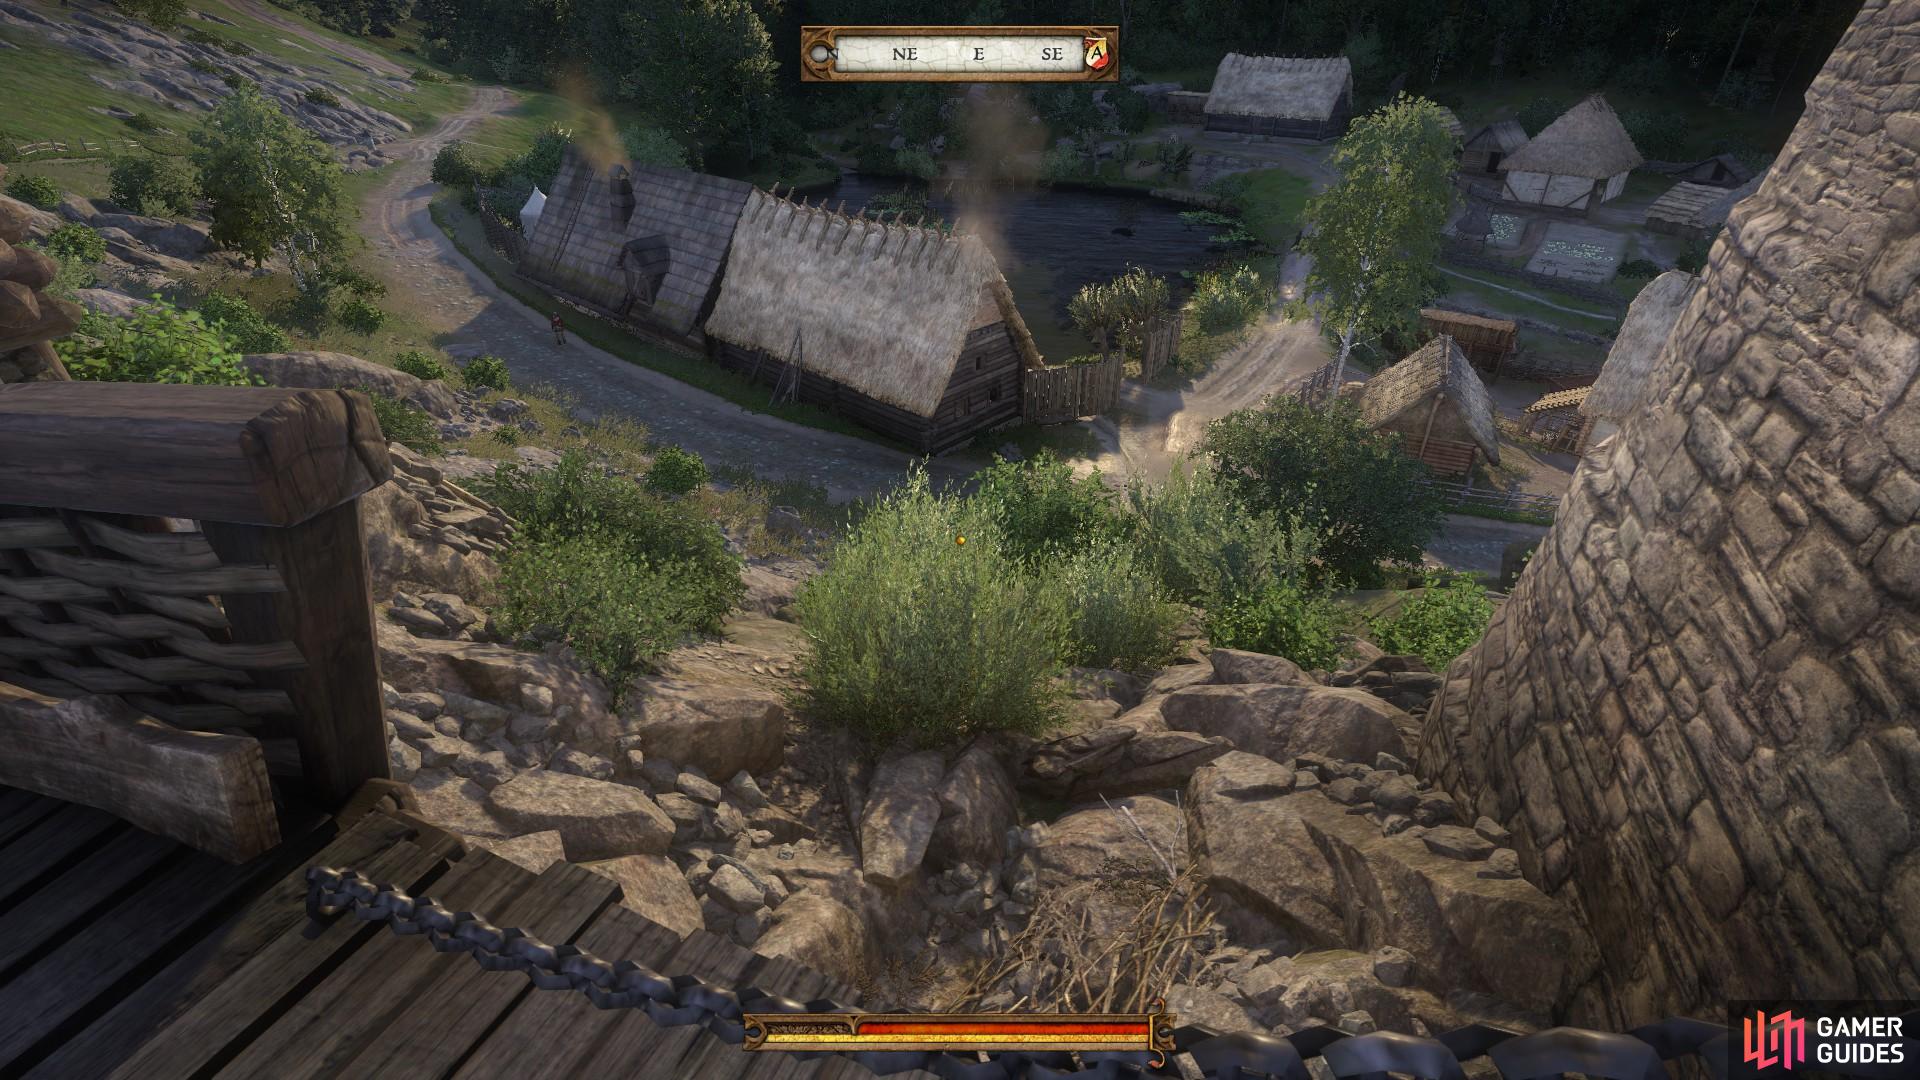
It is now time to head to Skalitz. Head north-west toward the quest marker until you reach the quarry, at which point a cutscene will initiate.

 Sign up
No Comments