
The combat system is central to the Outward experience. Mastering the basics will allow you to explore the world with the peace of mind that you will be able to handle your own. Here we will explore the basics of combat before moving on to some of the more advanced techniques.
Locking on Enemies
By default you are able to manoeuvre freely when fighting opponents throughout the world. This allows for greater control over your ability to weave between multiple enemies with sidesteps, dodges, and parry / blocks. The drawback of this mode is that you won’t always be guaranteed to land a hit on the desired opponent if you find movement to be tricky to handle. To aid in landing hits accurately, lock onto your opponent by pressing [TAB]. While this will restrict your movement slightly, it will ensure that strikes will be directed at the opponent you are locked on to regardless of your current position. Keep in mind, though, that if you’re too far away from an opponent as you strike you will likely miss, leaving you exposed to an incoming attack.
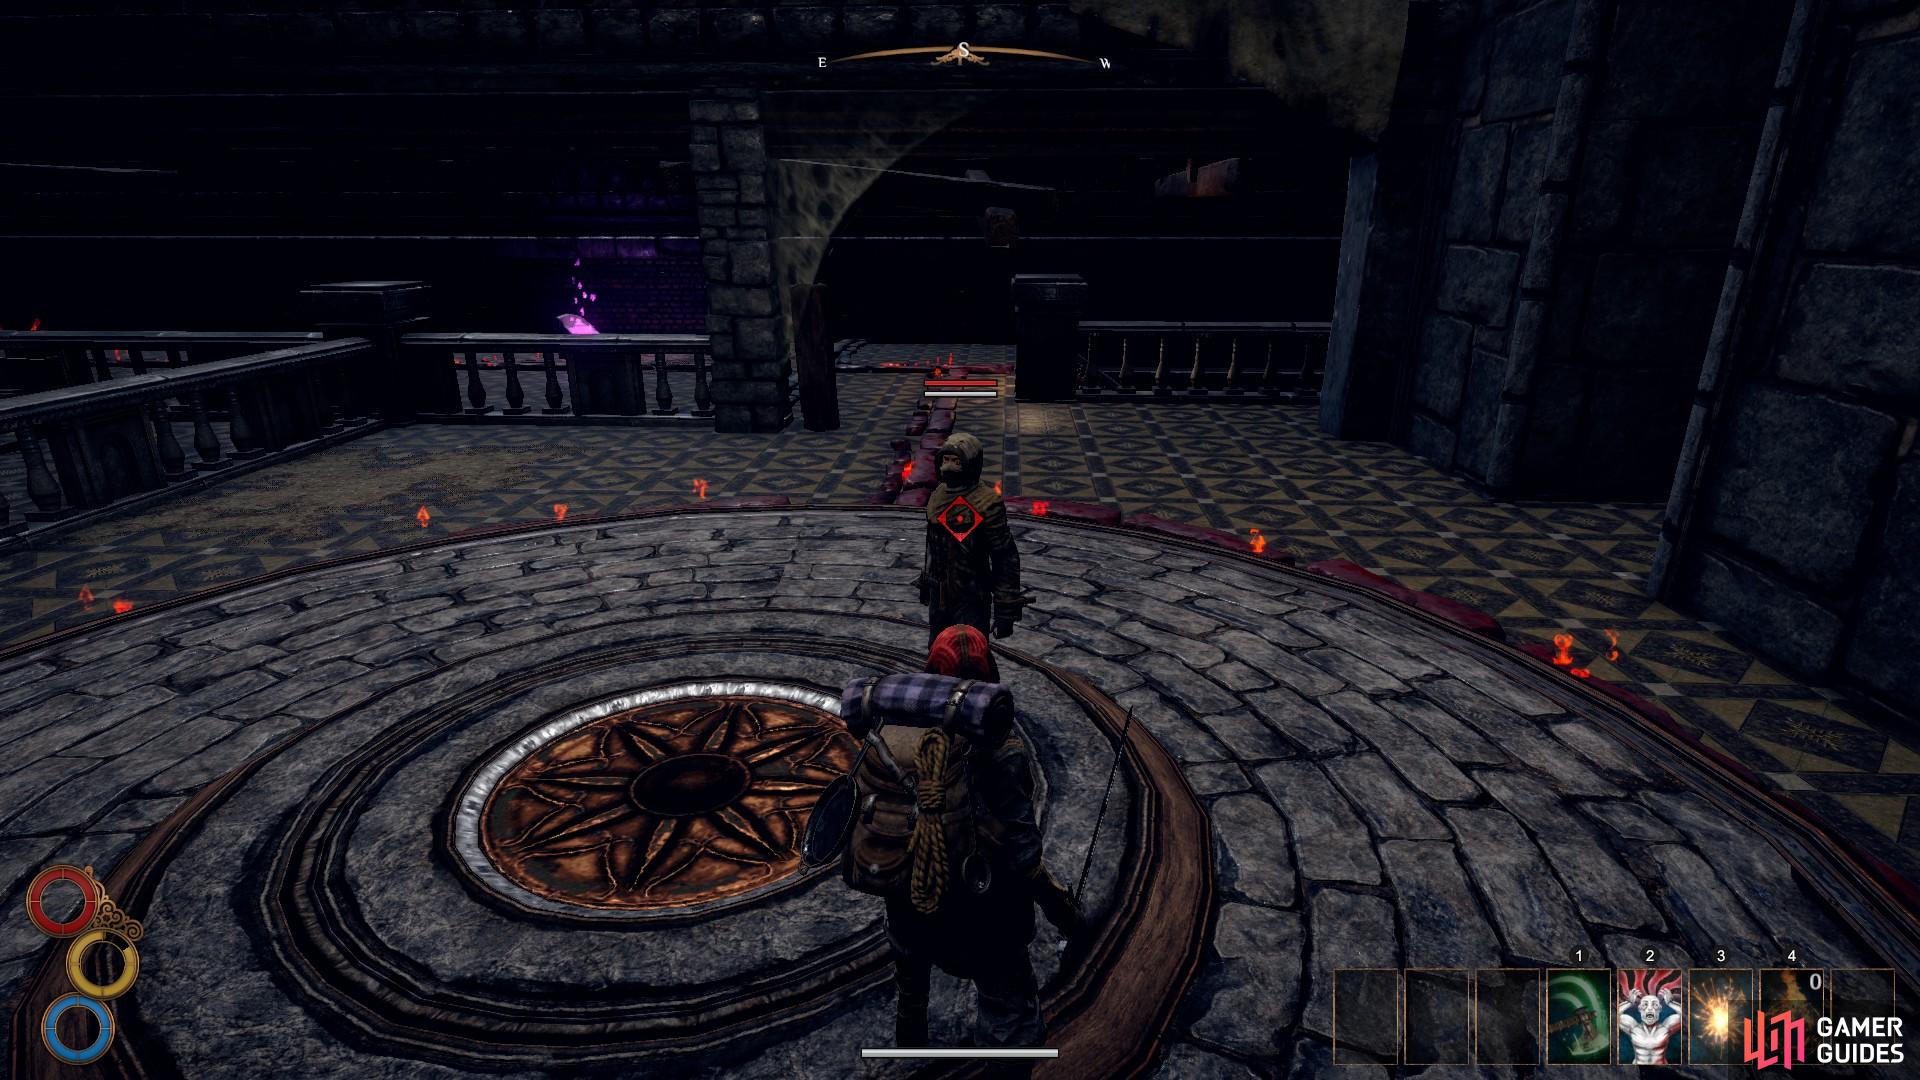
The above target marker will be displayed when you are locked on to a specific enemy, displaying their basic health and stability stat status.
Basic Attacks and Special Attacks
The most basic form of attack is executed by pressing [Left Mouse Button]. This allows for quick strikes which deal light damage based on the attributes of your weapon or spell. Special attacks are executed by pressing [Mouse Button 3]. These attacks generally allow for heavier hits to land on opponents, particularly with two-handed weapons.
Combination Attacks – Physical
Combination attacks are easy to execute but come with a wide variety of options. The effect of a combination attack will vary depending on the type of weapon that you are using and on the precise order in which you combine attacks. For example, if you strike once with a basic attack followed by two special attacks when using a mace, this will result in a powerful strike upwards. With a sword, striking once with a basic attack followed by once with a special attack will result in a sweeping cut to the left of where you’re facing, which will impact multiple enemies.
Alternatively, striking twice with a basic attack followed by once with a special attack will result in a sweeping cut to your right, dealing significant damage to multiple enemies. In addition to the Area of Effect damage inflicted by these combination attacks, you will also sidestep either left or right, allowing you to dodge any incoming attacks as your strike executes. Each weapon has its own form of combination attacks which may play to your strengths or preferences in combat, so it is worth experimenting with different types before you invest too much in one specific style.
Combination Attacks – Spells
If you choose to play more the role of a mage, combination attacks are also essential to be proficient in combat. Some spells require not only a sufficient amount of mana to cast, but also physical items to be present in your inventory. For example, to cast a fireball you first need to ensure that you have at least one Fire Stone in your inventory. You can then execute the first spell, ‘Fire Sigil’, which creates… well, a fire sigil, on the ground. While standing in the fire sigil, you can cast the spell ‘Spark’ to throw a fire ball at your opponent. Each Sigil of Fire consumes one Fire Stone to create, but once cast you can use ‘Spark’ numerous times to throw fireballs until mana is depleted.
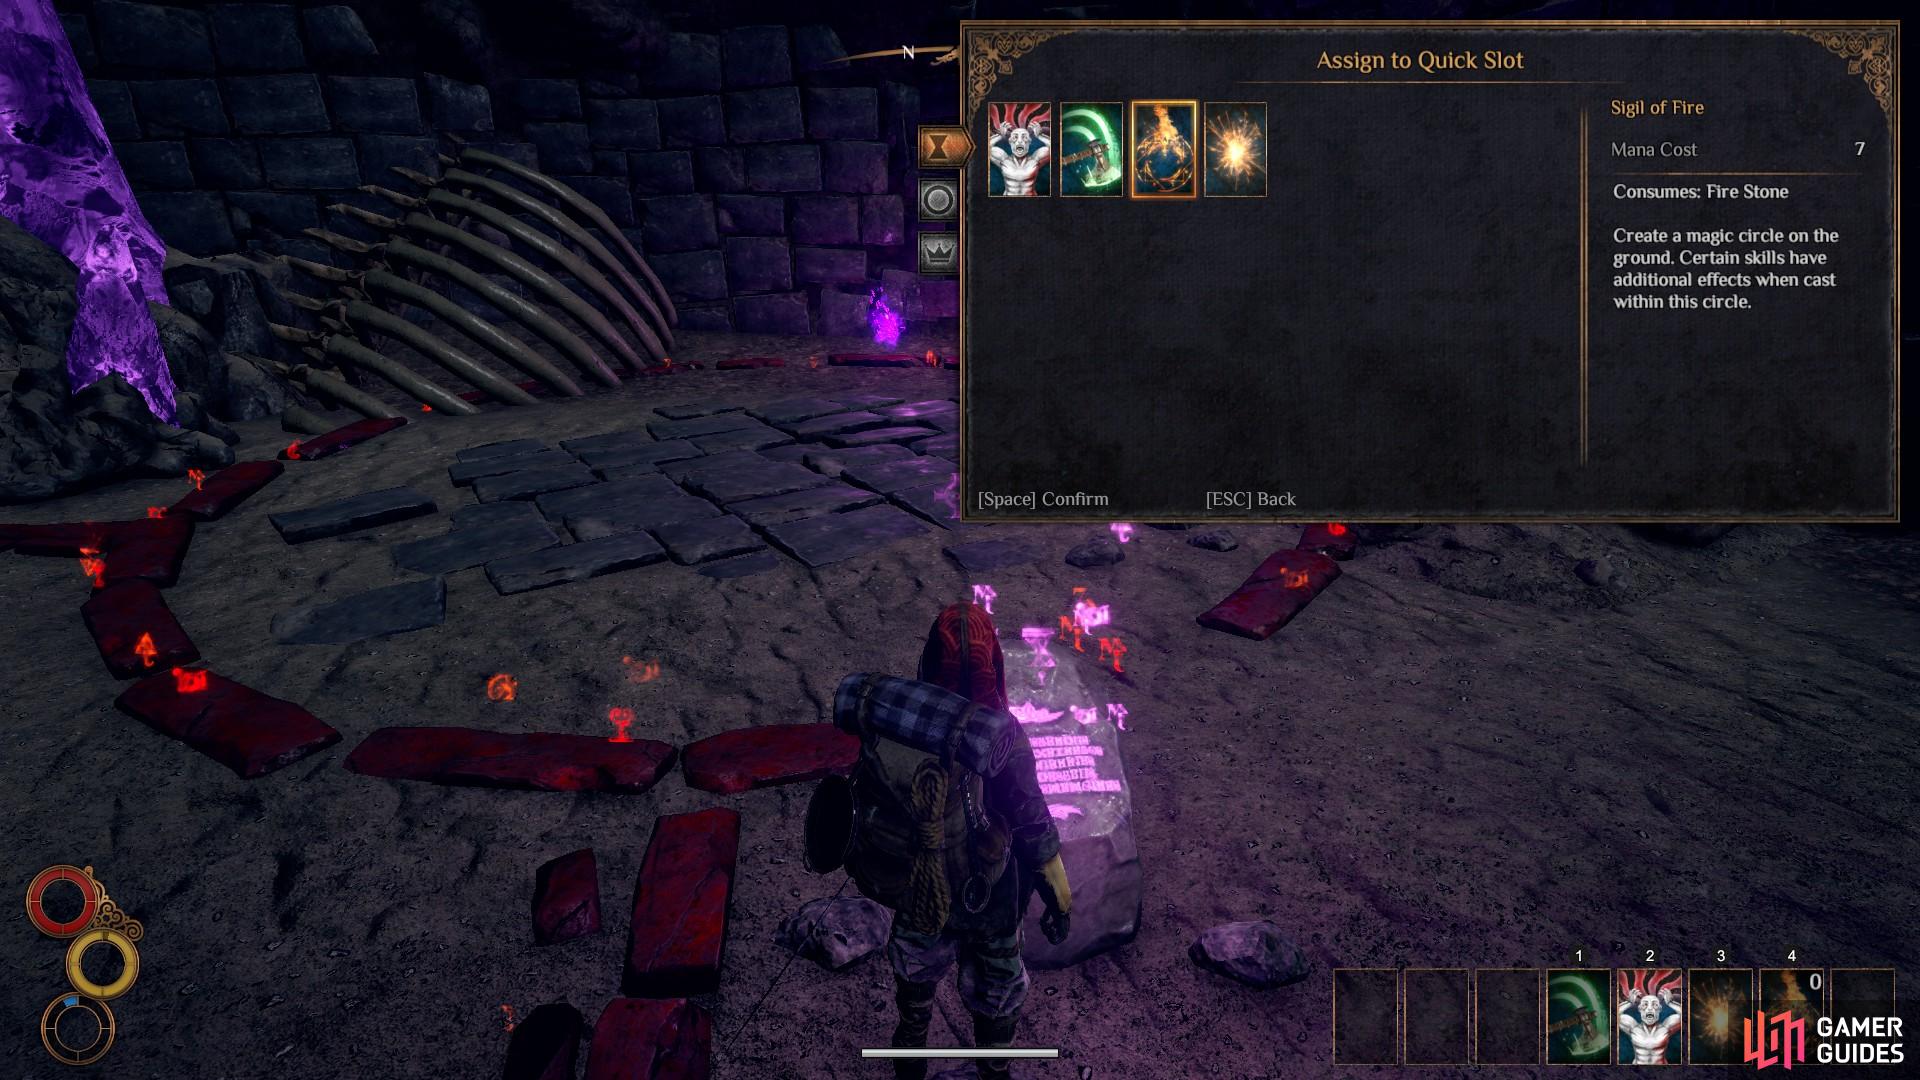
The ‘Sigil of Fire’ skill as shown in the quick slot menu.
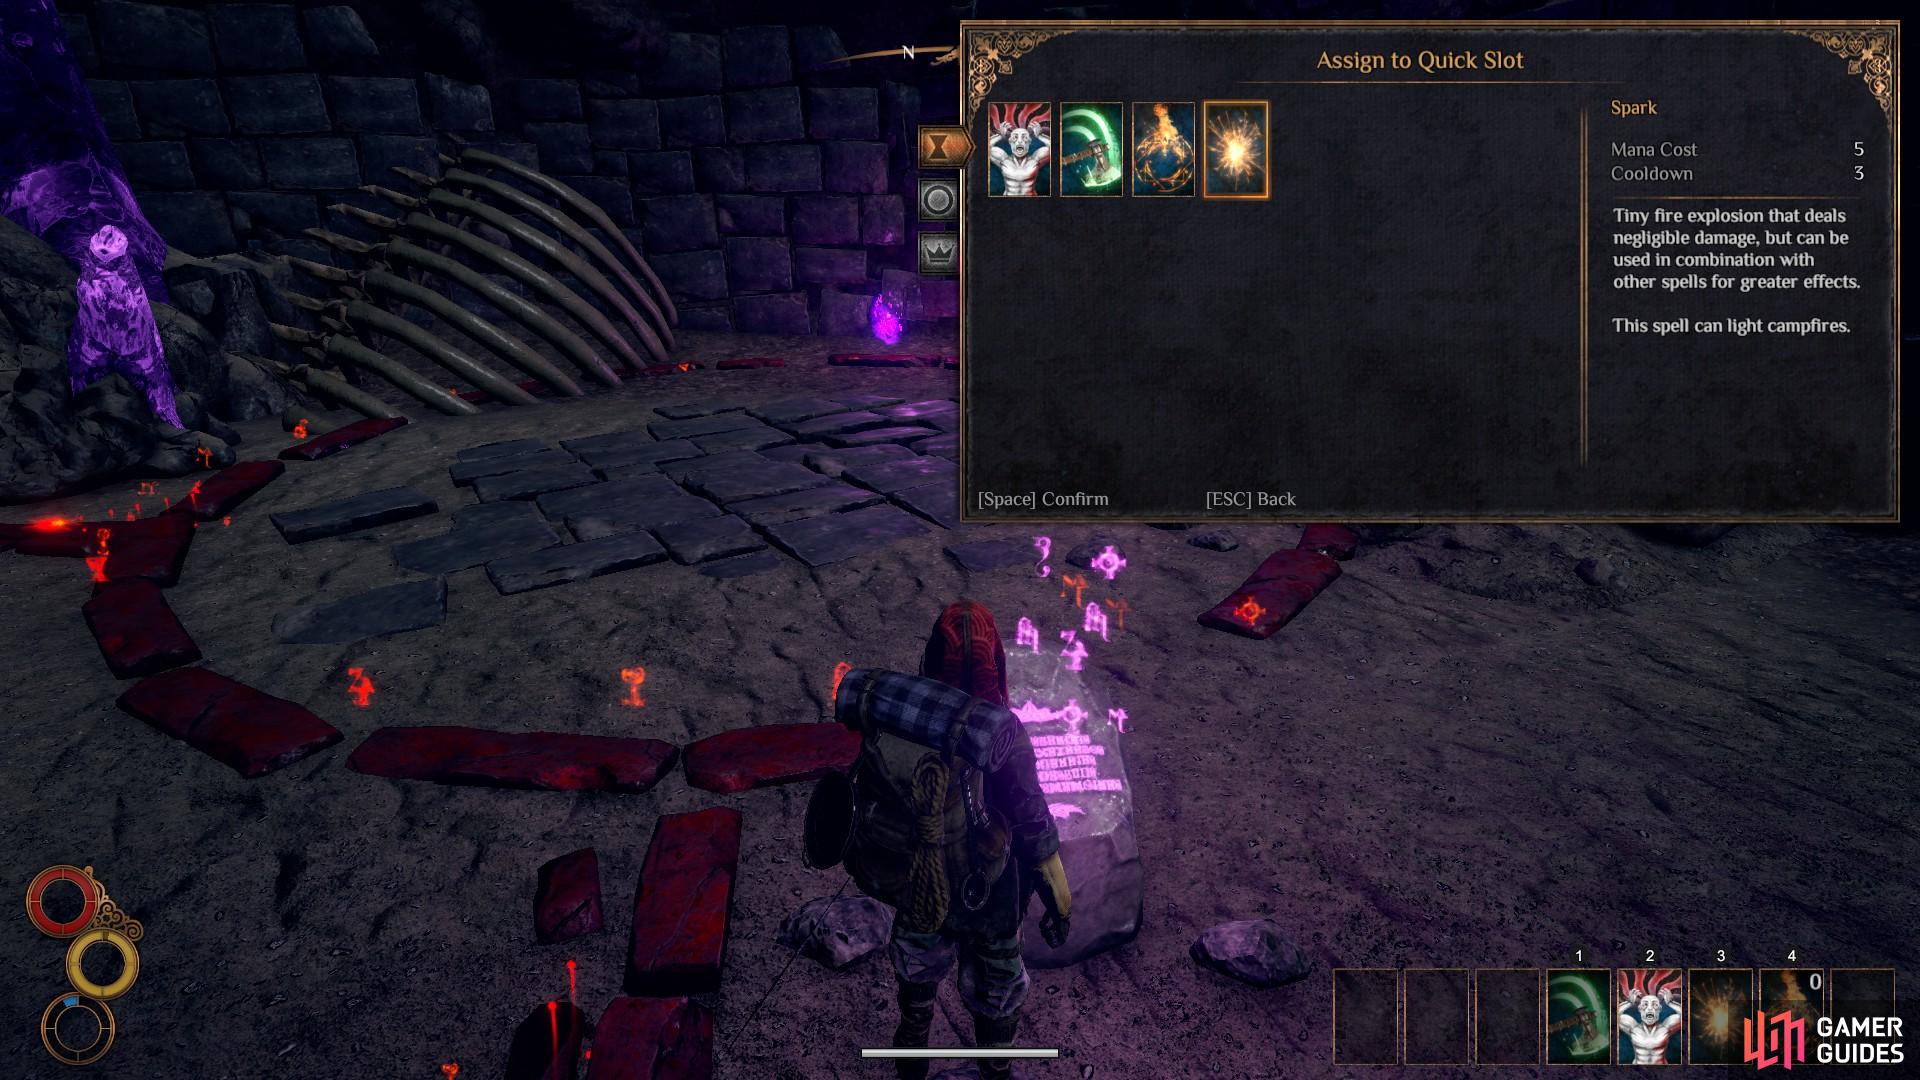
The ‘Spark’ skill as shown in the quick slot menu. Here you can read about different combinations of skills currently known to you.
The same principle applies to defensive spells. For example, when using Rune magic you can cast the rune ‘Dez’ followed by ‘Egoth’. This results in a Runic Protection buff which provides +15% to Physical Resistance and +2 to the Protection stat, each lasting 177 seconds by default. There are also spells which provide tactical utility in combat situations. For example, again as a Rune mage you can cast ‘Runic Trap’. This skill creates a trap which can be placed anywhere on the ground and can be used before an attack or during one. It can either be triggered by an enemy or detonated by the player, inflicting 70 Ethereal damage and 75 Impact damage by default.
Blocking Incoming Attacks
You can block almost any incoming attack by pressing [Right Mouse Button]. The effectiveness of your block wiill depend on your equipment. For example, while you can block any basic attack with any weapon equipped, your block will be more effective if you have a shield equipped. A shield ensures that any block performed consumes less stamina than a block without one. It also reduces how much you will be knocked back by powerful attacks, which in turn reduces the impact on your stability bar (more on that below). An additional bonus of using a shield is that you can also block any incoming arrows.
Evading and Dodging Attacks
The evade and dodge mechanics are fundamental to the combat system in Outward. Most of the enemies that you encounter throughout the world will be relentless in their assault. They have high awareness range when facing you and they can perform attacks just as swiftly as you can. You therefore need to be alert in every combat encounter. While blocking can be an effective defence against one opponent, it becomes more difficult when you’re facing multiple foes. In this case the dynamics of a fight change as the enemy will seek to flank you at every available opportunity.
The most effective defence, then, is to do the same to them. Perform sidesteps [Hold Shift to briefly sprint out of the way] and dodges [Press space to roll] to manoeuvre between enemies in order to exploit their weaknesses by targeting them from the side or from behind. This will also prevent them from blocking incoming attacks if you attack them before they are able to turn and face you. Keep in mind, though, that performing dodges consumes a significant amount of stamina. It is therefore recommended that you choose to sidestep whenever possible, as this consumes less stamina.
Maintaining the Stability Bar
The stability bar can be found at the bottom centre of your screen. As you might have guessed, this determines how stable you are in combat. With each incoming attack your stability bar is reduced. When the bar drops to 50% you are vulnerable to being knocked back. At 0% you are vulnerable to being knocked down. The impact on your stability bar with each hit is reduced depending on your armour attributes and whether you are using a shield. Your first line of defence comes in the form of blocks, the capacity for which is represented by the gold bar of defence which appears when you hold block [Right Mouse Button]. Once this is depleted your second line of defence is represented by the standard white stability bar. While multiple swift attacks can deplete both bars in a matter of seconds, they also regenerate similarly quickly if you remain unscathed for anything more than a second.

Your stability bar as it appears without an active block stance (left) and with an active block stance (right).
Managing Health, Stamina and Mana
The main stats which influence your ability in battle are Health, Stamina and Mana. Initially, each come in short supply and must be used with careful consideration. This is especially relevant in Outward as even being away from your keyboard for too long without pausing the game can result in death. Your stats are not stagnant as time goes on. Instead, going too long without rest will cause stamina to be depleted. Not drinking enough water regularly will cause you to die of dehydration. Leaving a bleeding wound to fester without using a bandage in time will result in you bleeding out. Exposing yourself to poison without quickly using an antidote will result in you passing out. In this way the stat bars are dynamic and always subject to change.
Fortunately there are ways in which you can prevent these scenarios by using basic game mechanics and a number of useful items. As you might expect, sleeping for a number of hours will replenish your health and stamina. Drinking water allows stamina to recover more quickly, provides hot weather defence and eases burns. Drinking tea can aid in recovery from illness. Using your campfire, a kitchen or cooking pot to consume foods ensures you maintain health and avoid hunger. The use of bandages will prevent further bleeding if you sustain a deep cut from an aspect of the environment or from a foe, and consuming antidotes to poisons will prevent the poison from spreading. You must be swift when using these antidotes, though; most poisons will spread to the point of no return within a few seconds.
Any debuffs such as bleed, thirst, hunger or poison will be visible in the bottom left of the screen next to your health, stamina and mana bars, as shown above. An icon with an exclamation mark will also show which item can be used to cure a debuff, as in this case with a bandage being indicated as a cure for bleed.
No Comments