
This quest begins immediately after completing Mouths to Feed, the third quest in the Heroic Kingdom of Levant faction questline. After 3 days, speak with Queen Calixa within the Heroes’ Palace of Levant.
When you’re fully stocked and ready to begin the quest, speak with Queen Calixa. She will inform you that a peace has been proposed between the Blue Chamber Collective and the Heroic Kingdom of Levant. Cyrene and Yzan, however, do not agree to it. It is your task to convince them otherwise.
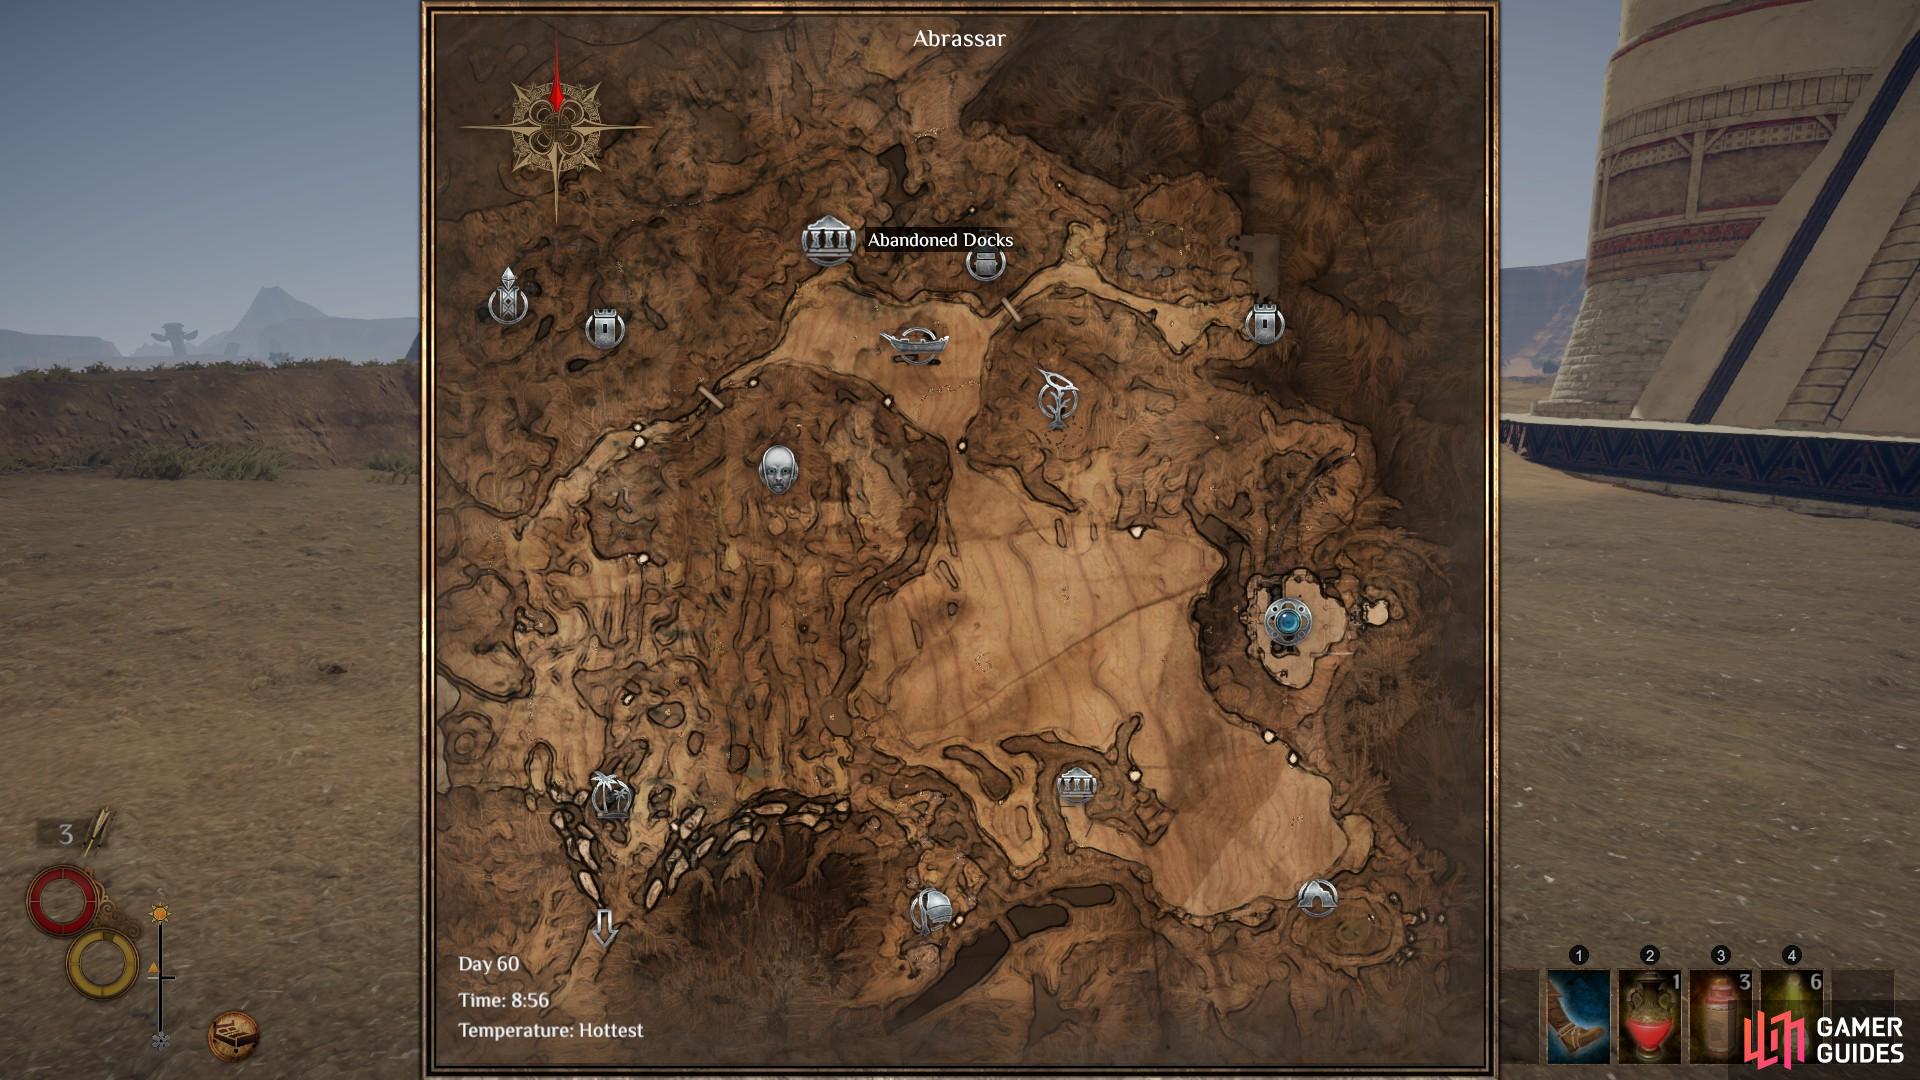
(1 of 3) The location of the Abandoned Docks, in the north of Abrassar. Head north west from Levant and beyond the Walled Garden.
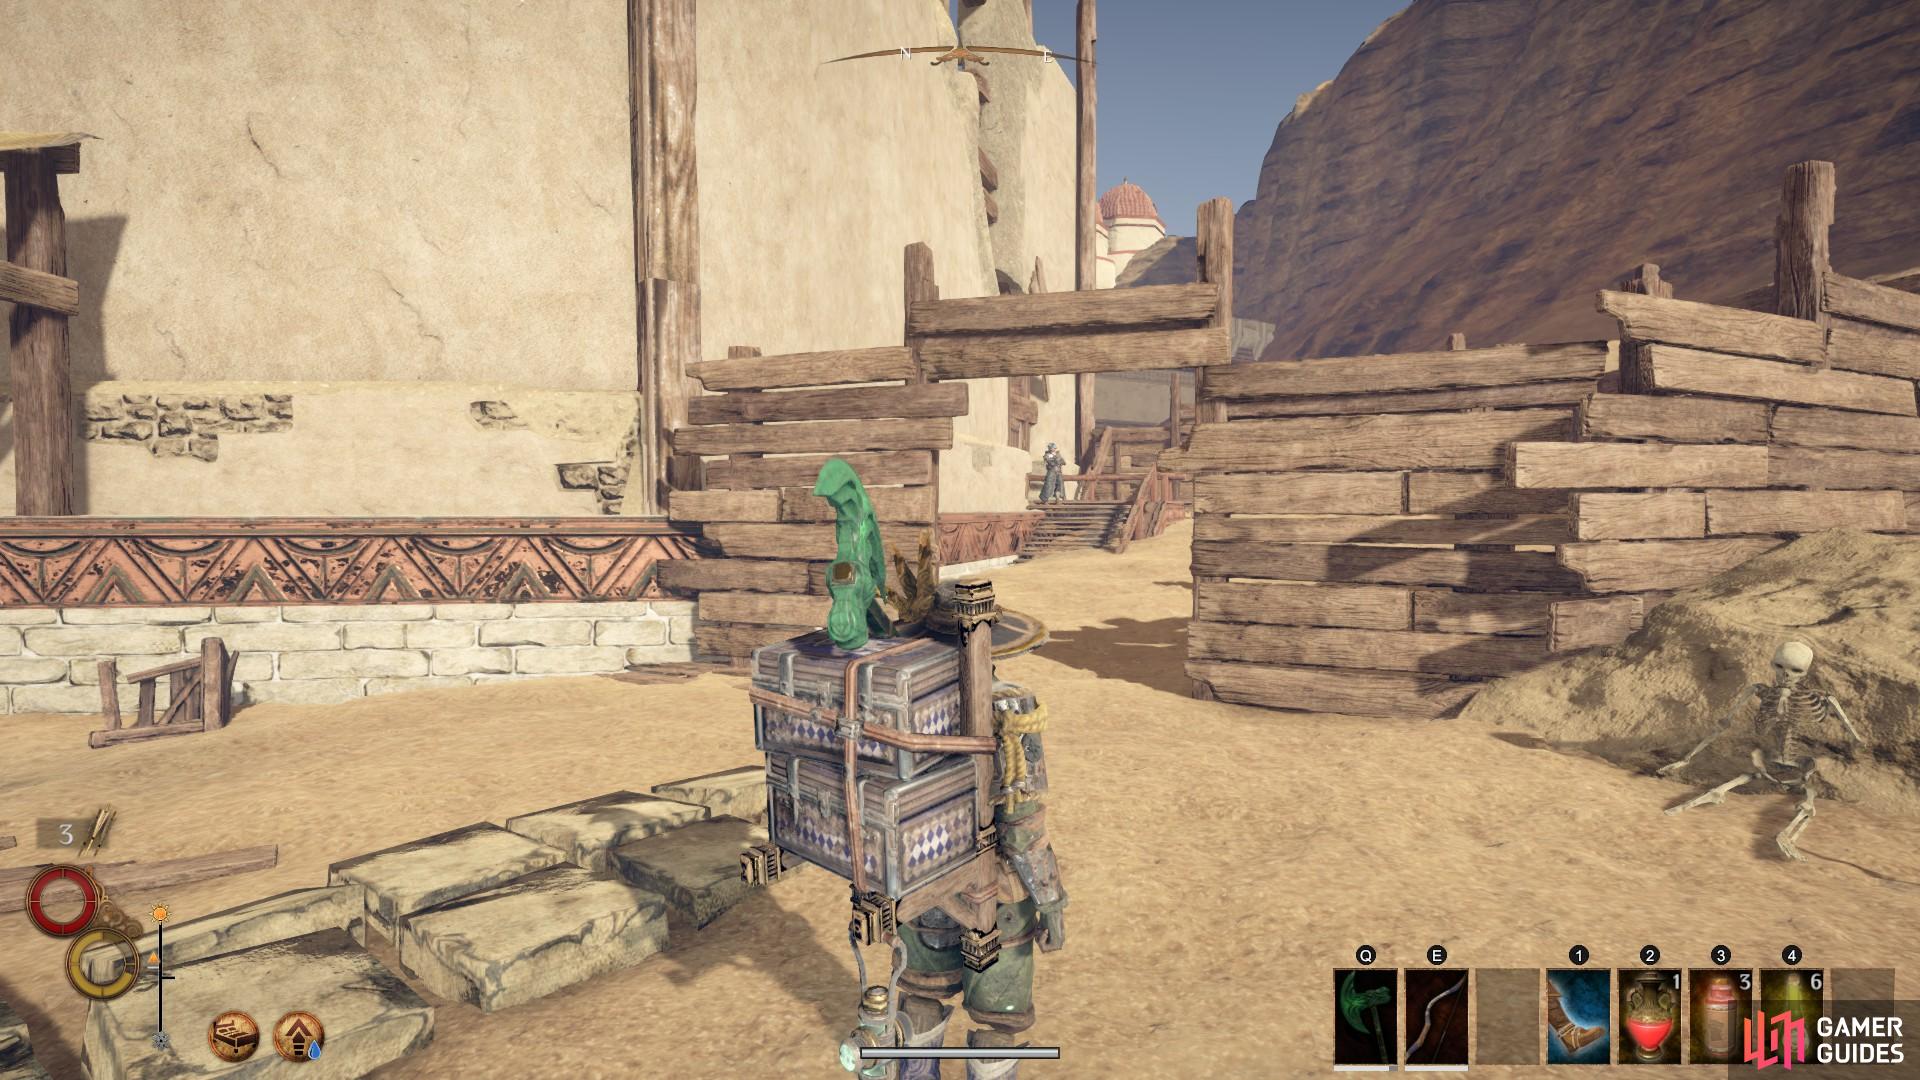
Make your way to the abandoned docks in northern Abrassar. After leaving from the main gate, head north west toward the Walled Garden. Continue beyond it until you reach a wooden bridge, as shown above. Once on the other side of the bridge, keep to your left as you follow the cliff edge west, and keep going until you see a wooden platform, as shown above. This leads to the Abandoned Docks. Enter the Dock’s Storage and speak with Yzan, who will be waiting for you inside.
Here you have two options; you can convince Yzan to abandon his plans for a coup, or you can fight him. It is recommended that you convince Yzan with the below dialogue options to ensure that he becomes your ally. The only reward after fighting him comes in the form of a two-handed sword named ‘Royal Great-Khopesh’, which deals 42 physical damage and 43 impact, with an attack speed of 1.0. In addition, it inflicts the Pain debuff (-25 physical resistance). If the sword is no use to you and you prefer an easier time in the quest ahead, choose the following dialogue options as they appear:
3: “They could have done more if they weren’t forced to pour so many resources and people into this losing war!”
1: “You left Cierzo because of how they forced Roland’s problems onto you. You’re doing that same exact thing to Levant right now!”
3: “Yzan, Levant is barely surviving. One more crisis will kill us all. Is this war more important than our survival?”
2: “You could just play it like you were a double agent. You’re good at that.”
When you have successfully convinced Yzan you will need to kill two bandits with him. They are normal bandits and shouldn’t be a problem. With the bandits dead, you can speak to Yzan again. He will ask you to travel back to Levant and warn Queen Calixa about the impending threat to her life. You will not be able to enter Levant through the main gate, as the city is on lockdown. Instead, enter through the slums entrance by turning right (south) from the main entrance and following the walls as they turn east until you reach a wooden structure, as shown below.
The entrance to the slums, approaching Levant from the south.
Here you will encounter Markus, a resident of the slums who is guarding the entrance. If you defeated him during the Sand Corsairs quest, he will allow you to enter immediately. If instead you spoke with Dawne, you will need to defeated a unique bandit within Sand Rose Cave. Thankfully, the cave is located not too far from Levant. Head directly south from Markus until you see the entrance below.
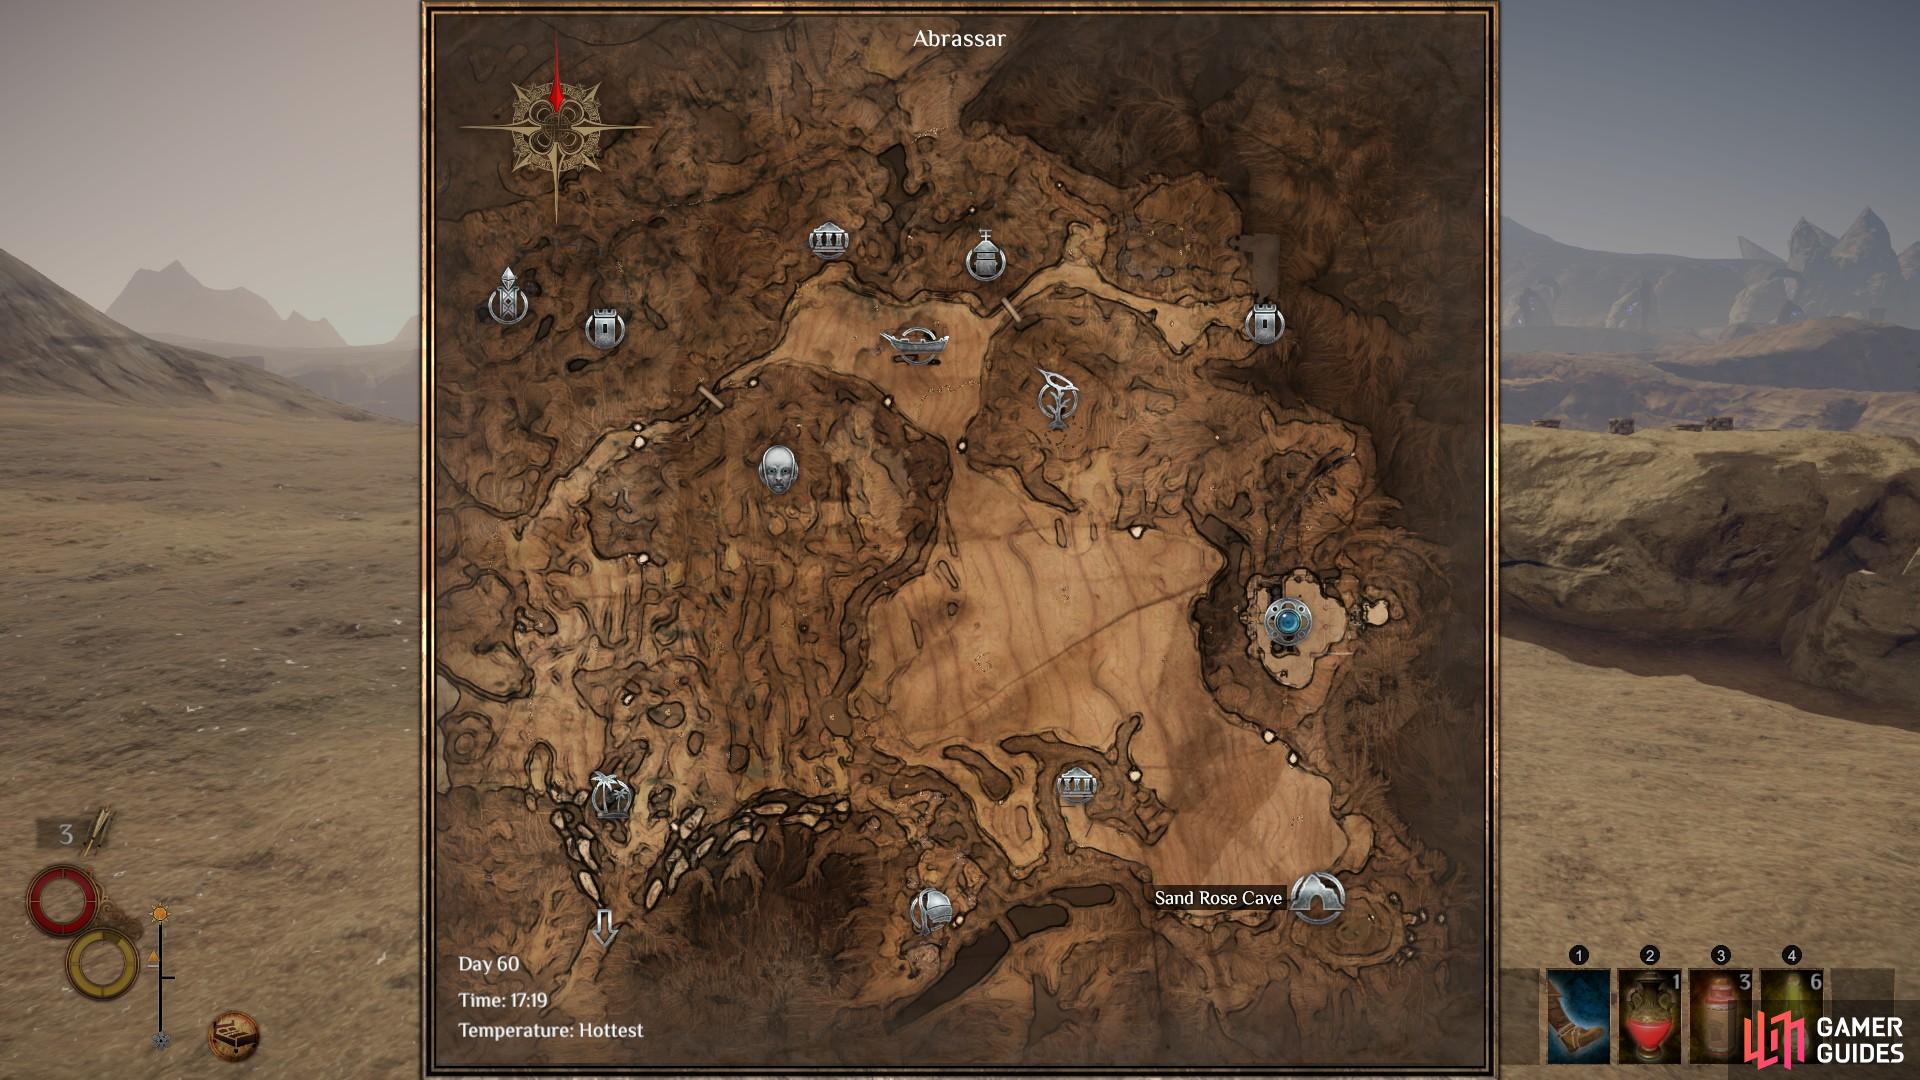
Upon entering the small village, go down the stairs directly in front of you and enter the cave through a wooden door at the centre of the crater. Once inside, turn right and follow the path into the first room. Here you will find some regular bandits. You can choose to kill them or sneak by and take the path to your right. Next, turn left up the slope westward and then right, down the slope to the north. In this room you will find the unique bandit, marked by her white hair. She is not difficult to defeat and has no special skills, but you should be careful to avoid her shield charges, which deal significant impact.
When the bandit is dead the quest log will update and you can return to Markus at the slums entrance to Levant. Once inside, head directly north (not up the stairs) until you can go no further and then turn west. Keep going until you see Pigeoneye waiting beside the entrance to a house. Here is where the Tripwire Trap and Iron Spikes come in handy. Give them to Pigeoneye so that he can deal with the nearby guards.
When Pigeoneye has dealt with the guards, head west and take the first left. Here you will find the entrance to the Undercity Passage. Once inside, head down the stairs and then through the hallway to the east, where you will find Dawne waiting. Depending on your personal history with Dawne, you will need to do different things to gain passage. If you fought and defeated Zagis during the Sand Corsairs quest, you will need to defeat Dawne for the Palace Passage Key. If you convinced Zagis to surrender and spared him, and you paid Dawne beforehand, she will let you through for free. Otherwise, you will need to pay her 50 silver.
Regardless of your outcome, once you’ve dealt with Dawne you will be able to proceed through the secret passage which leads to Heroes’ Palace. Once inside, head north to the throne room and speak with Yzan. If you chose not to convince Yzan or failed to do so, you will need to fight both him and Cyrene. Together they are quite swift and can deal a lot of damage in a short amount of time. You should therefore use the space within the throne room to separate them and strike with swift attacks of your own while evading their incoming attacks with dodges or sidesteps. Cyrene will knock you back with high impact on some hits, so be sure to avoid these in particular.
When Cyrene (and Yzan if necessary) is defeated you will enter a conversation with Simeon. At the end of the dialogue you will have the option to join his convoy to Monsoon, or make your own way there in your own time. If you choose the latter you will be able to loot the body of Cyrene for some randomly generated loot. Choosing the former will teleport you to Monsoon immediately.
Once you’re in Monsoon, head directly north to Elatt’s Temple. Here you will enter a discussion with the nobles and Elatt himself. At the end of the discussion you will need to defend the streets of Monsoon from Scourge beasts. Before exiting the temple to the streets, be sure to drink the Peacemaker Elixir, granting a permanent boost of +20 to Health, Stamina and Mana.
To end the fight quickly, focus on defeating the Immaculates primarily. In particular, you will need to defeat a unique Immaculate named the Butcher of Men, who can be found to the south west of Elatt’s temple. The Immaculates are particularly powerful and can knock you down with two hits if you have light armour. You should take advantage of the help from other heroes such as Sagard Battleborn to ensure that you aren’t defeated. Wait until an Immaculate is focusing on a particular hero and then use your most powerful attacks or spells to deal heavy damage from behind.
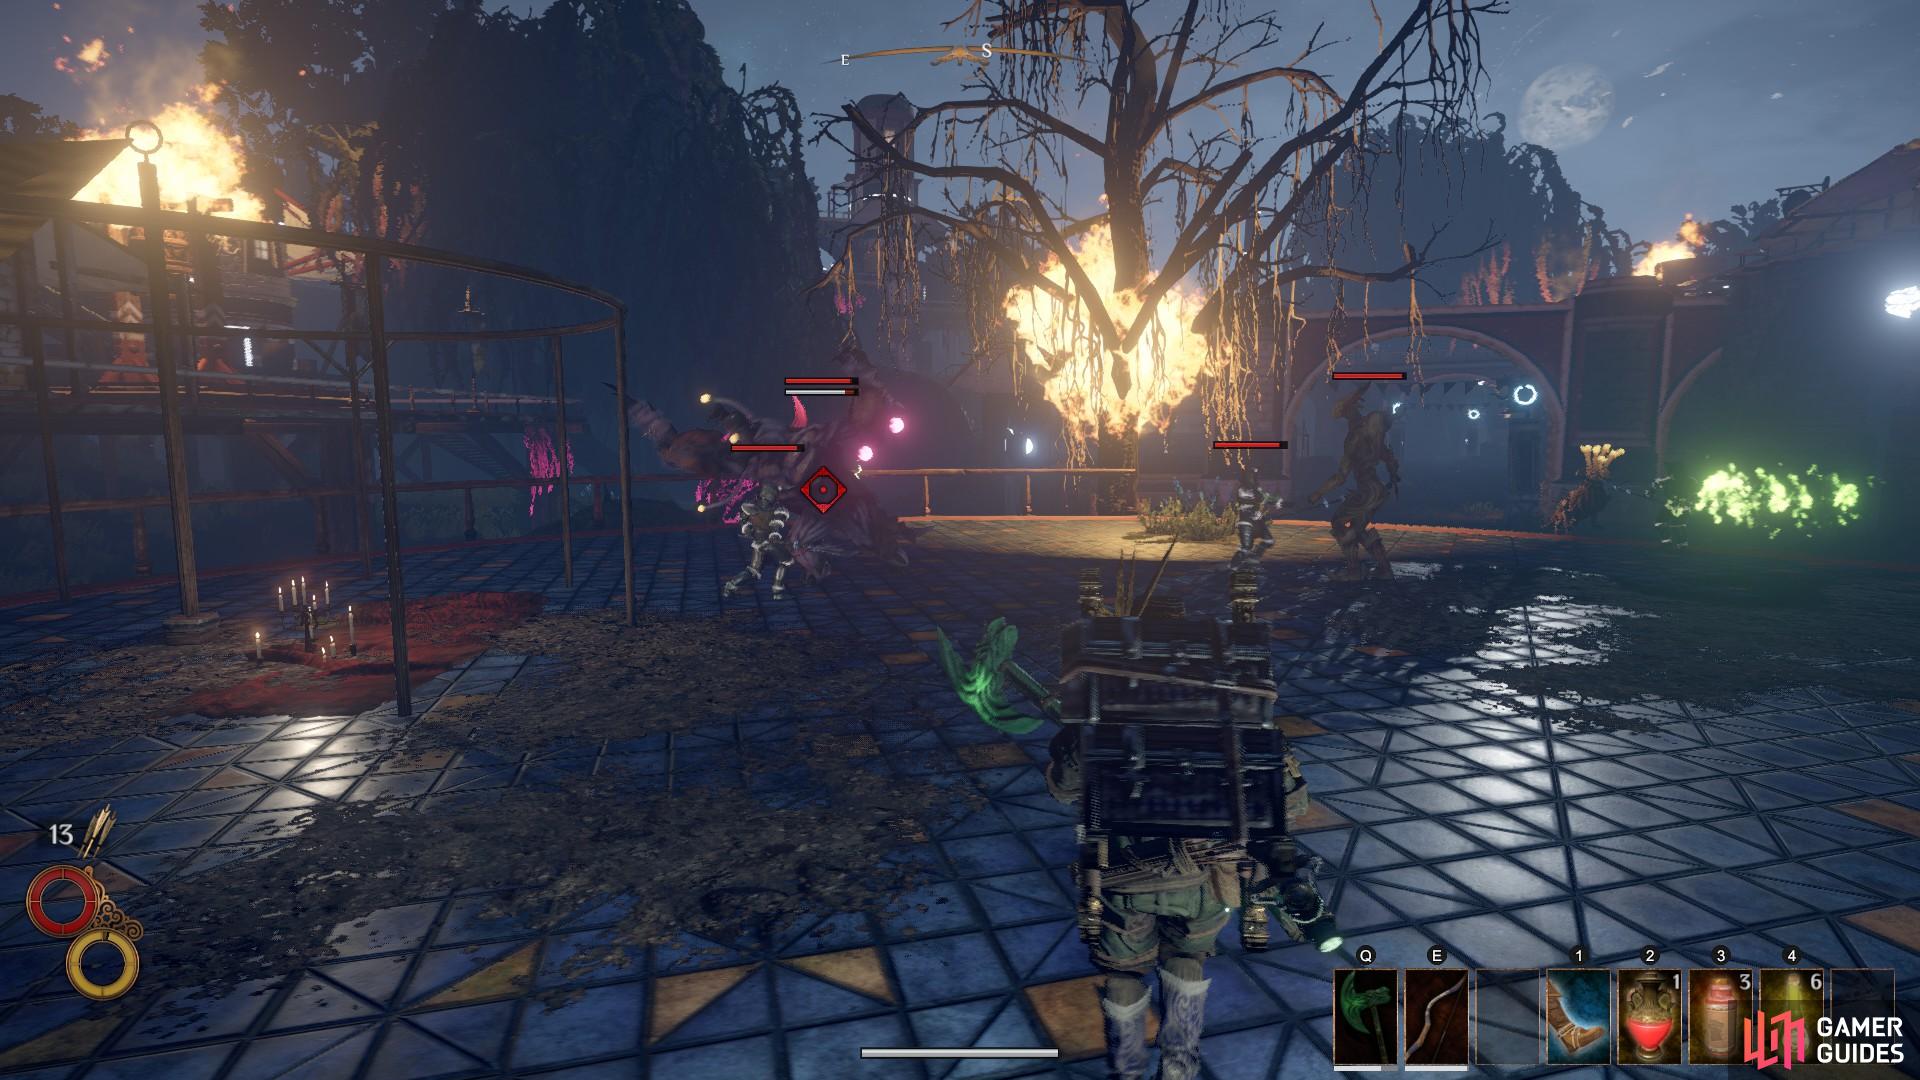
Take out each group of Immaculates as you defend the city with the guards.
When you reach the Butcher of Men, keep your distance as he strikes your allies. You can then move in and deliver powerful hits without being knocked back.
At the end of the fight, be sure to loot the Butcher of Men and then speak with King Simeon. You will be granted further rewards and the quest will complete.
No Comments