
You are notified of this quest by Rissa after you have been adopted into the Aberdeen family and completed the first mission for The Blue Chamber Collective faction.
When you arrive in Cierzo through the main gate, Burac will speak to you and inform you about the imminent threat to the town. An assault is being planned from the fortress of Vendavel. It is your task to defeat three warlords who are planning the attack.
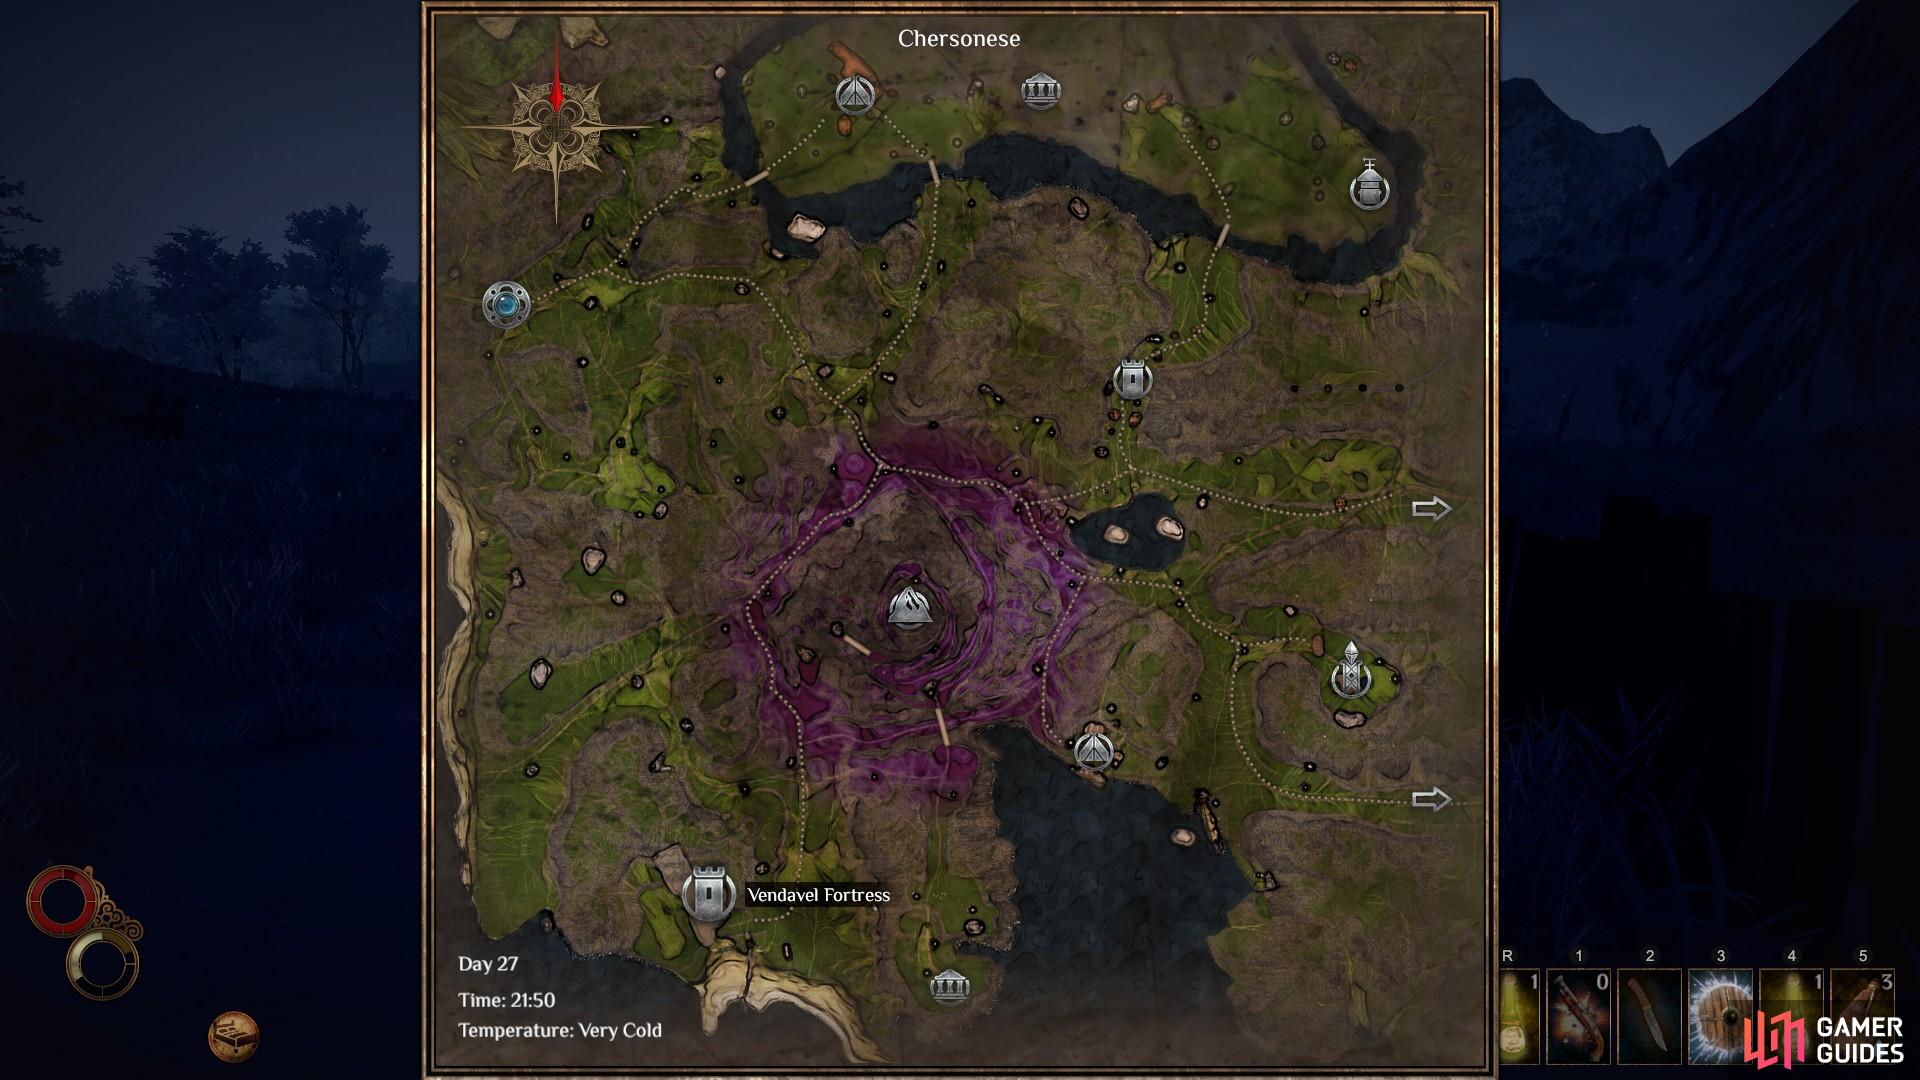
The location of the fortress of Vendavel on the map of Cheresone.
To do this you must find the warlords in the fortress of Vendavel. Make your way north east from the main gate of Cierzo. When you reach a fork in the road, head south east and follow the road toward Conflux Mountain. Eventually you will come across another fork in the road, marked by an abandoned caravan. Turn right and head south east. At the next fork in the road, turn south west. Eventually you will come to another fork in the road, at which point you should turn south. Following this road will take you directly to the fortress of Vendavel.
As you approach the walls of the fortress you are likely to meet some bandits outside. Take care of them however you see fit. If you are struggling, see the ‘Combat’ guide. When you’re ready, take what you need from your backpack in terms of essential weapons, food, water and any helpful scrolls. Enter the fortress with your backpack left outside. If anything should go wrong, you will be able to collect it later without losing any items.
Once inside the fortress, turn left and enter the room. Here you will find Crock, the first warlord. At this point you can choose to drink with him or fight him immediately. Drinking with him will allow you to send him to Burac in Cierzo, who will fight him on your behalf. If you choose to fight Crock, be prepared for a fight in close quarters. You will only have the room you meet him in and the hall behind him to play with in terms of movement.
Don’t be fooled into thinking that you can’t simply stand aside from his attacks. He wields a club, which means he’s slow. A simple sidestep will ensure that you get out the way of any incoming attacks. You can then follow up with a swift or heavy attack of your own. Repeat this until he’s worn down. He has a lot of health, so it will take some patience. As soon as Crock falls, two guards will appear at the gate. The same tactic will work to defeat them, though there are a little faster so you may need to perform a full dodge to evade their attacks.
When both Crock and the guards are defeated, you can loot the body for a Vendavel key and a Vendavel Prison Key. Now move further into the fortress by opening the gates. Do not go straight ahead. If you use the mechanism in front of you, you will be dropped into a troglodyte lair and it will be difficult to escape. Instead, turn left and go downstairs. Turn left again at the bottom of the stairs and speak with the Vendavel Nurse. If you have a health potion or a bandage, you can provide it to her for 5 silver.
Now turn around and go to the end of the hall. Go up the stairs to your right. Here you will find Rospa. At this point you can speak to him and either choose to kill his nephew Eto in exchange for Rospa’s promise to call off the attack, or openly declare your aggression and fight him immediately. If you choose the latter, you should draw Rospa out of the room to avoid fire from his archers. As you retreat, a single guard may follow Rospa into the halls. Use the same tactics as you did with Crock; kite Rospa and the guard and wait for them to strike. When their animation ends, retaliate with your own strikes.
To find the last warlord, Balira, go back the way you came but as you ascend the stairs to the main hallway near the fortress entrance, turn west up the stairs. You will enter a room in which there is a wooden lift mechanism. Use the lever to ascend in the lift. At the top you will enter the highest point in the fortress, where Balira is waiting with two guards. From here you can choose to kill her immediately or to kill her husband, who is now a deadly frost creature known as a Wendigo.
If you choose to kill her there and then, she will fire a frost spell at you as soon as the dialogue ends. Be ready to dodge to avoid this. As soon as you can, head back to the lift mechanism and use it to go down. The two guards should jump in the lift and follow you. Deal with them first, as Balira won’t follow you down the lift. Both guards are rather slow, and you will have the entirety of the fortress to kite them, so defeating them should be easy. However, do be mindful of their shield charge attacks and be ready to evade when you see the animation.
Once both guards are dealt with, go back to the lift mechanism and use it to reach Balira. As soon as you reach the top she will be waiting for you with a frost spell. Quickly dodge to avoid this and get close to her as soon as possible; her melee attacks are much weaker than her ranged mana attacks. The first time you enter her melee range she will use a powerful area of effect lightning attack, so you should dodge as soon as you have approached her and then get back into melee range. Use a combination of light and heavy attacks to whittle down her health, taking advantage of any stability deficit.
Once Balira is dead, return to Cierzo and speak with Burac. He will reward you with a number of potions and an armour piece based on the type that you are currently wearing. This completes the quest.
No Comments