
After you’ve created your character, the game begins with you washed up on a beach after being shipwrecked. The first thing to note is that you should leave no stone unturned as you explore this area. Almost everything you find here will be of use in the quests to come.
The first useful item that you should look out for is a torch, located just to the left of where you spawn. You will find it resting beside the cliff face.
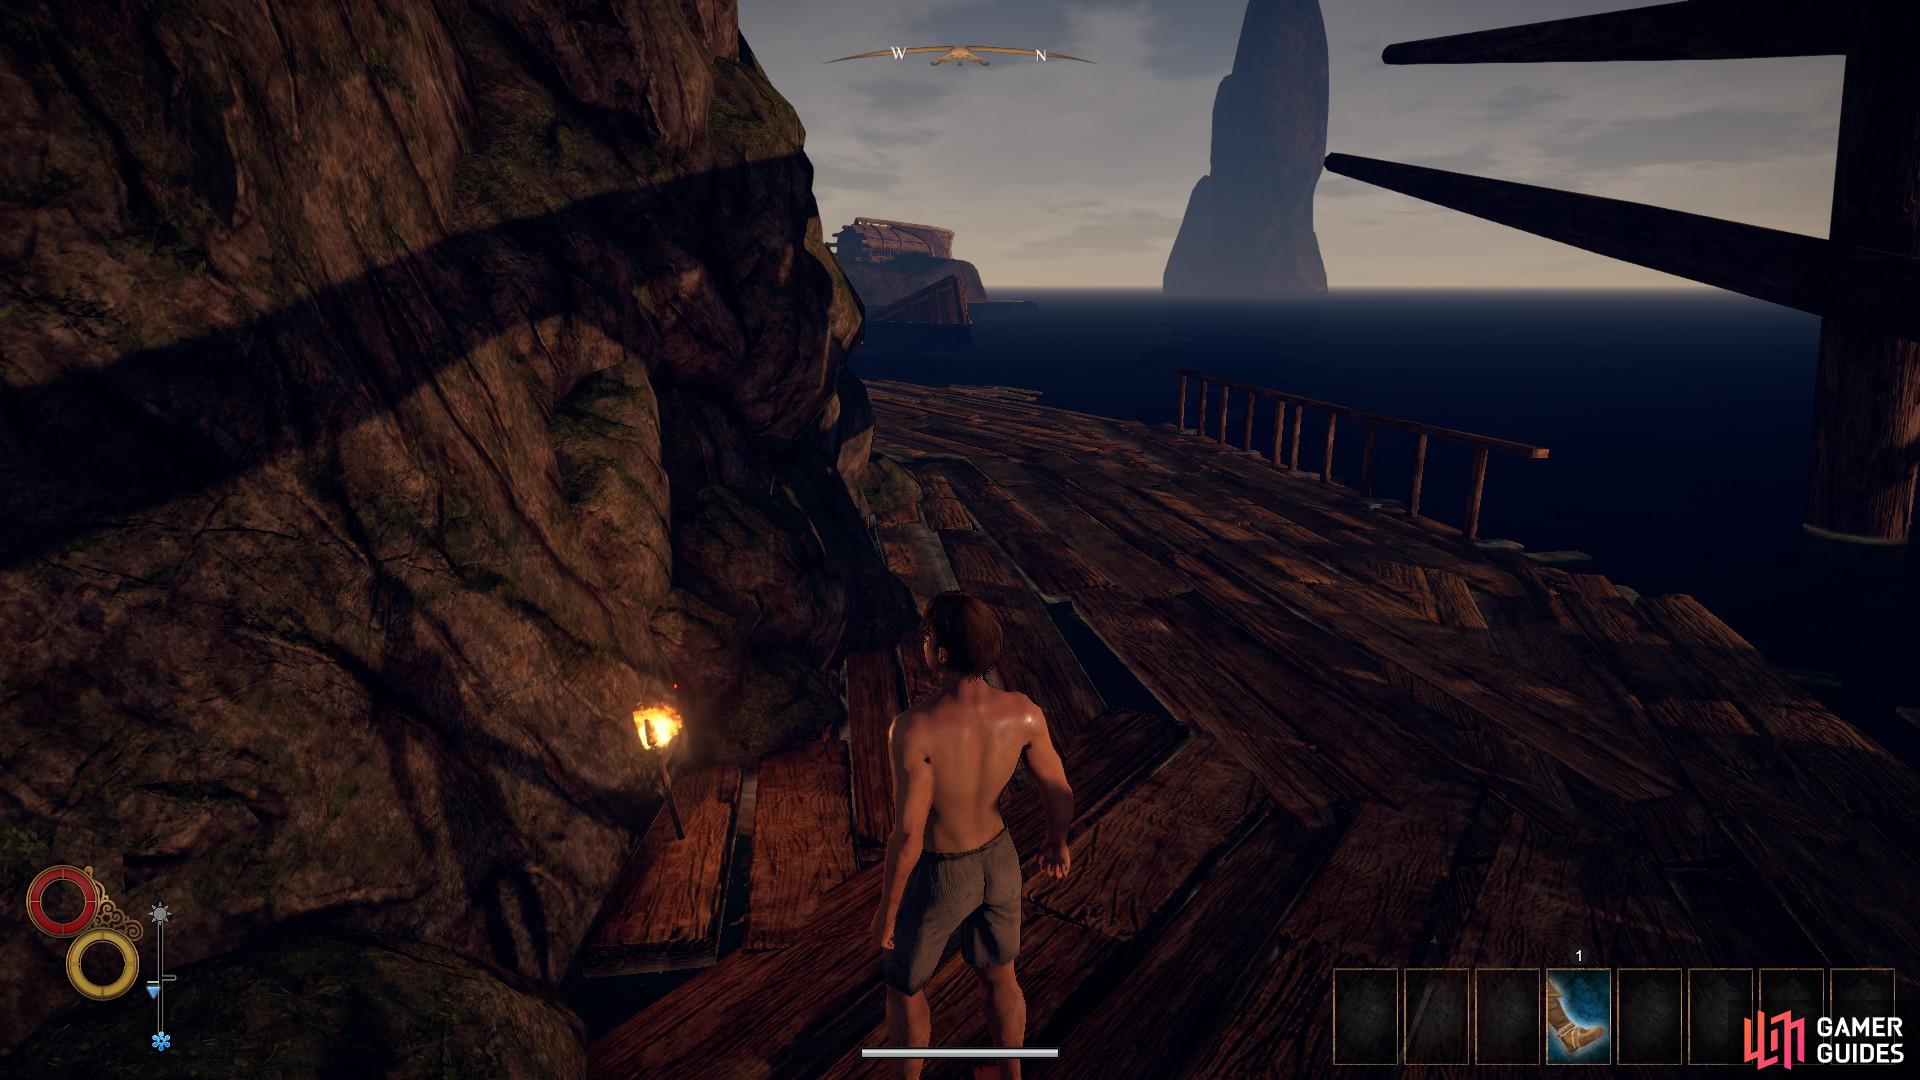
Locate the torch to your left and pick it up to automatically equip it.
Now that you have the torch, continue on along the walkway. You may find other torches as you come onto the beach, however don’t be too tempted to loot all of them as their weight can add up, costing valuable pocket space. Instead look directly ahead of you as you leave the wooden walkway. You should be able to see a small bush on the beach. Head toward it and loot its contents for some Gaberries, an item which will be useful for crafting later.
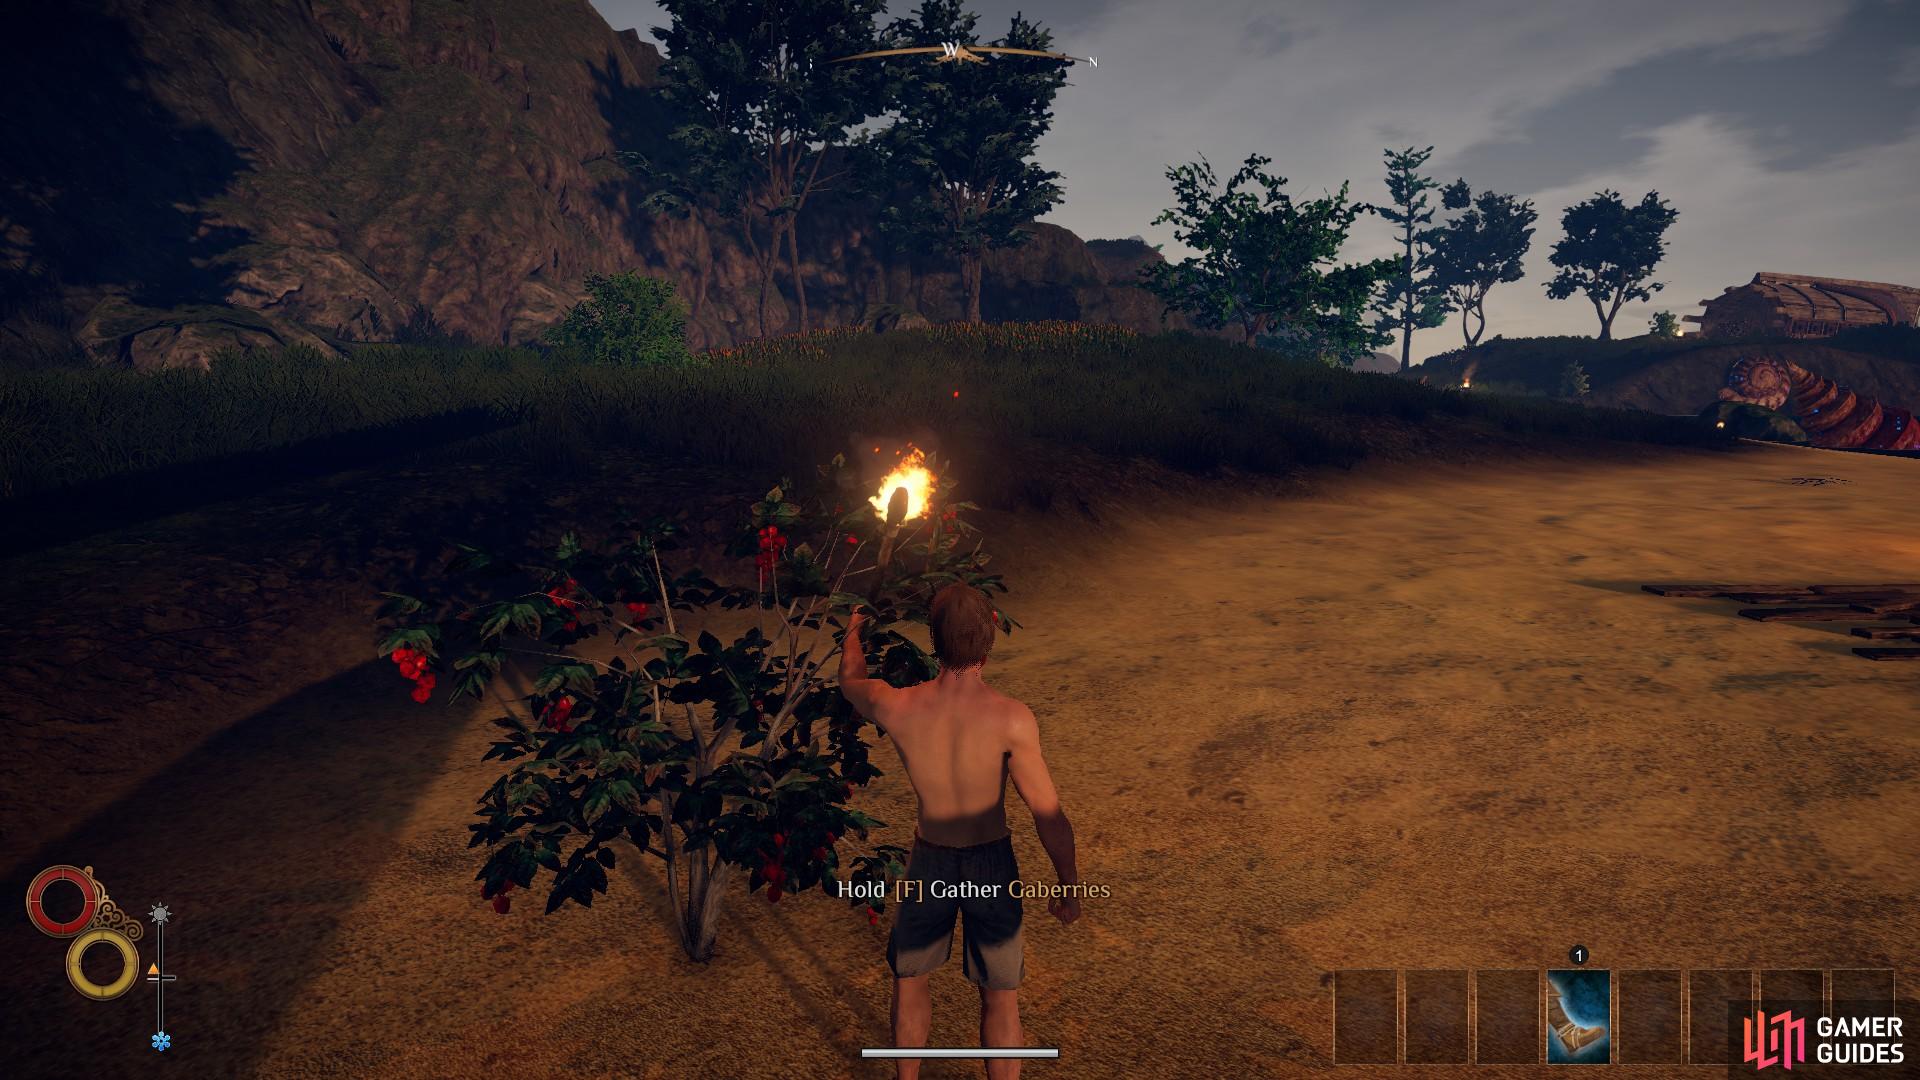
Loot the Gaberries from the bush on the beach.
As you continue walking along the edge of the shore you will come across other useful items including some tattered clothing, which will prevent deterioration of health due to cold, and some seaweed which can be used in crafting later. For now, go into your inventory and remove the tattered clothing while you are in a hot environment. If you keep it on you will acquire a heat debuff which causes all actions to consume 50% more stamina.
Once you’ve acquired the clothing and seaweed you will notice a small stream feeding the ocean to the left. Follow the stream until you approach some wreckage, within which you will find a harpoon. Loot the harpoon and then take a drink from the stream to prevent thirst.
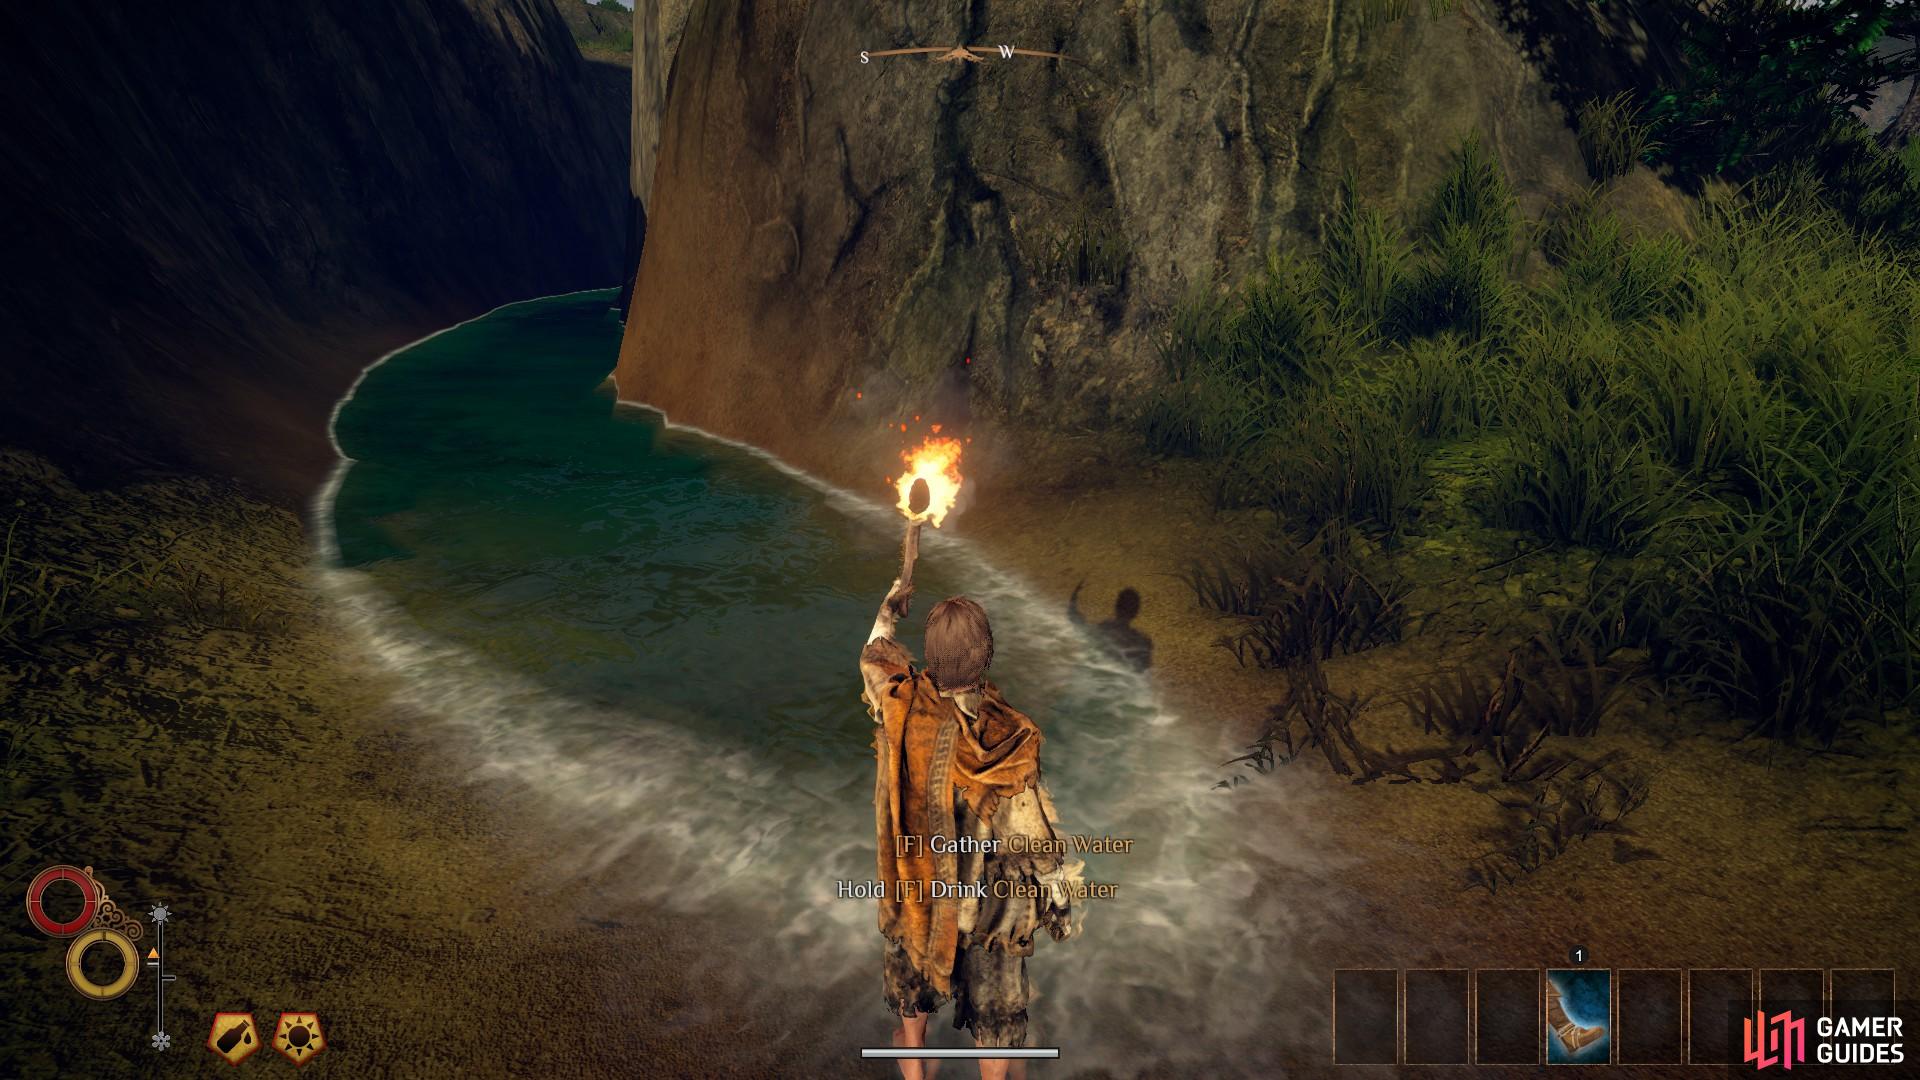
The stream leading to the location of the harpoon.
Walk up and along the cliff ridge until you come across a brazier. Beneath it you will find some bandages. Loot the bandages and then loot the other Gaberries to your left. Now go to the tent at the top of the cliff edge and speak with Yzan Argenson. He will offer you a bedroll to sleep in. Don’t sleep yet however, there are still some items to find in the surrounding lands and if you sleep, you will be teleported to your home.
First, go to the beach area behind the cliff edge. Here you will find some more loot in a junk pile. At this point you should find that you are hungry. Go back to Yzan. You will find some bread in a basket behind him. Eat it to stave off any negative debuffs caused by hunger.
Now you can head south west from the tent until you see a stone archway. Go through it and to the left. Here you will find more loot in the form of a pickaxe on the other side of the rubble where you found the harpoon. Once you have the pickaxe head back to the archway and loot the machete on the dead body which can be found slumped on a nearby rock.
Next head into the fields to the south. You should proceed with caution here; there are two large hyenas which will serve as your first enemies to kill. Be sure to drop any equipment which might be overburdening you before you fight them. The pickaxe will be the heaviest item in your inventory at this point.
Although the machete has faster attack speed than the harpoon, use the latter for a greater reach advantage. Equip your clothing for now. It will take some time before the heat stamina debuff takes effect, and in the meantime it will provide some valuable light protection.
Once you have the attention of one Hyena, draw it away from the other so that you can fight one at a time. Use swift light attacks to whittle the health of the hyena down. Pay attention to the movement of the Hyena; when it initiates a strike animation, avoid it by performing a sidestep or a dodge. The hyena will lunge at you intermittently. Wait for this to happen, evade and then strike.
Try not to spam too many attacks unless you’re sure that they will hit. Without stamina you will not be able to avoid incoming attacks, and it only takes a few to kill you at this point. Once you’ve killed and looted both hyena, remember to pick up any items that you dropped, go back to Yzan and use the bedroll to sleep.
When you come to sleep in the bedroll you will see the below ‘Resting’ screen. Here you can choose to sleep for any number of hours to reduce tiredness, replenish health and stamina, and repair equipment. Note that resting will slowly deplete mana. You will also note an ‘Ambush’ percentile; this will increase or decrease depending on when and where you camp in the wild. You can choose to guard for a number of hours to reduce the chances of ambush when necessary.
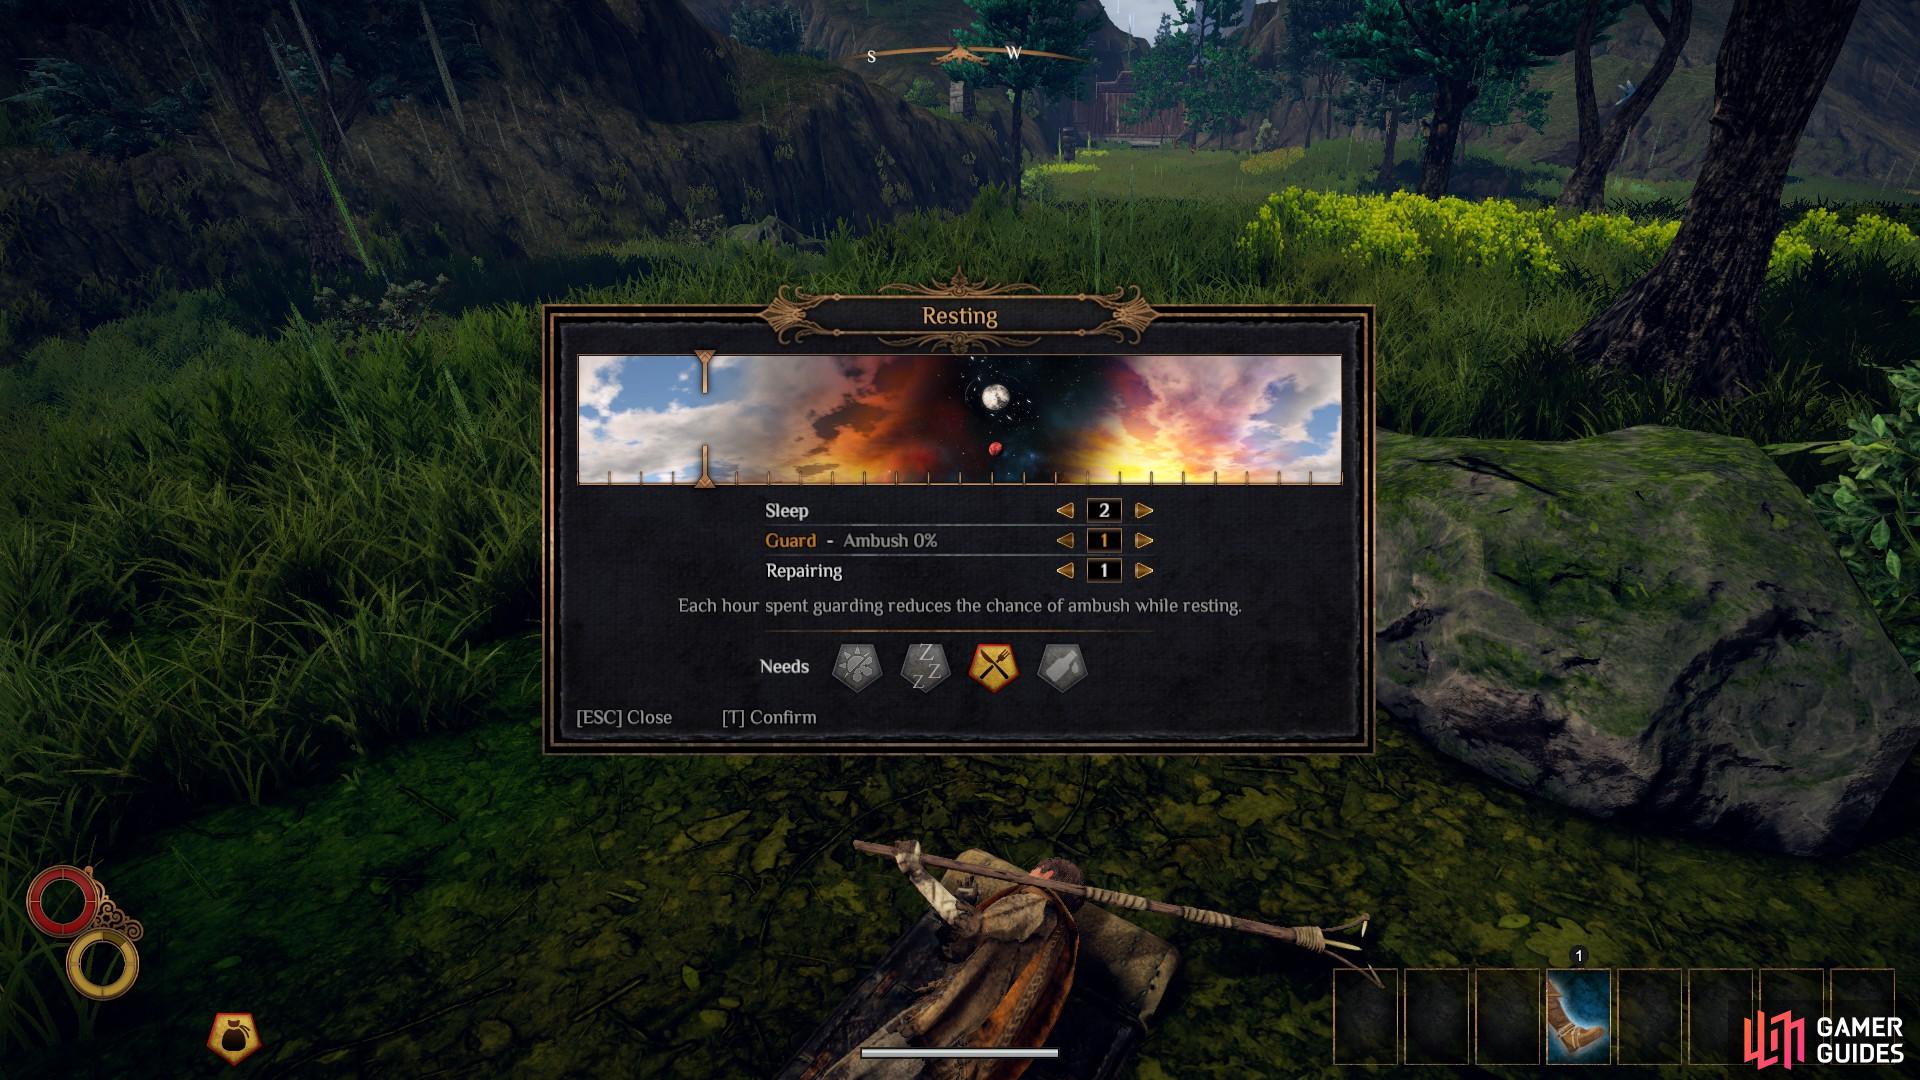
This screen will be shown whenever you choose to rest. Take note of your needs and act accordingly.
No Comments