After receiving the next piece of ‘Gunrunner’ intel from Nightwing, you can begin this part of the side-mission via the objective marker that appears. Following suit from the previous cache, we’ll need to tag the van with the Disruptor and knock on the back door to have it drive off. Head back up to the skies and tail the van all the way across Founders’ Isle until it drives into the ‘Fish Market’ building directly below Stagg Airship Alpha.
When you arrive at your destination, you’ll see a Sniper on the balcony just beside the garage door. Grapple up to this platform and deal with the Sniper before entering the door he was guarding.
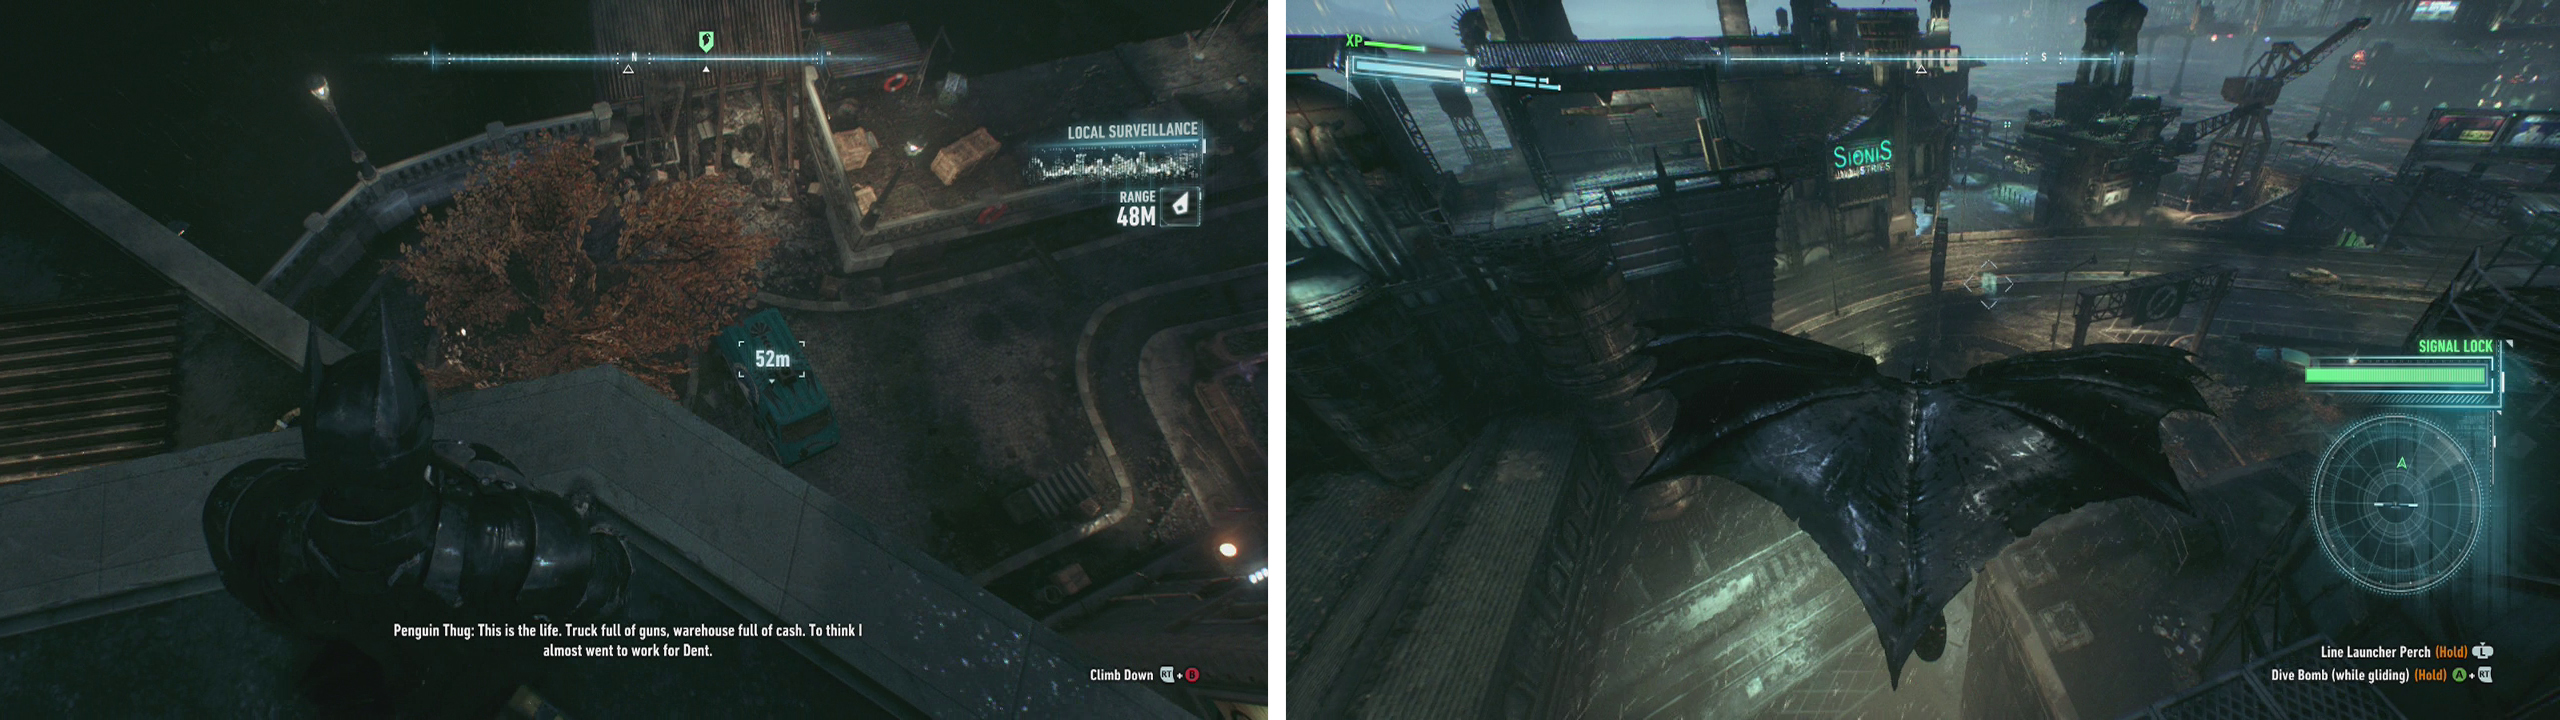
Use the Disruptor on the van (left) and follow it to the destination. Make sure you disable the sniper’s weapon (right) before approaching.
As you enter you’ll see seven armed gentlemen below. Follow the platform to the right to find a ventilation shaft that will allow us to slide down and end up in a tunnel beneath the guards here. Sneak up and use a Fear Multi-Takedown to start the fight and then quickly move in and attack the survivors before they can get too many shots off.
Once you have cleared the room, look up onto the nearby wall for a vent hatch that we can pull down with the Batclaw. Once the cover is gone, grapple up and work your way through the vent until you reach the vault room.
As with the other vault rooms we have experienced earlier, there is a number of enemies standing guard. This one features 13 Soldiers (three of whom have guns) and a pair of Brutes. Before dropping into the room, you’ll want to sabotage the weapon crate and then use a Fear Multi-Takedown from the overhead pipes to begin the fight by evening the odds a little. Nightwing will show up shortly thereafter and between dual takedowns and the droppable weapons and environmental takedowns available, you should clear the room in no time.
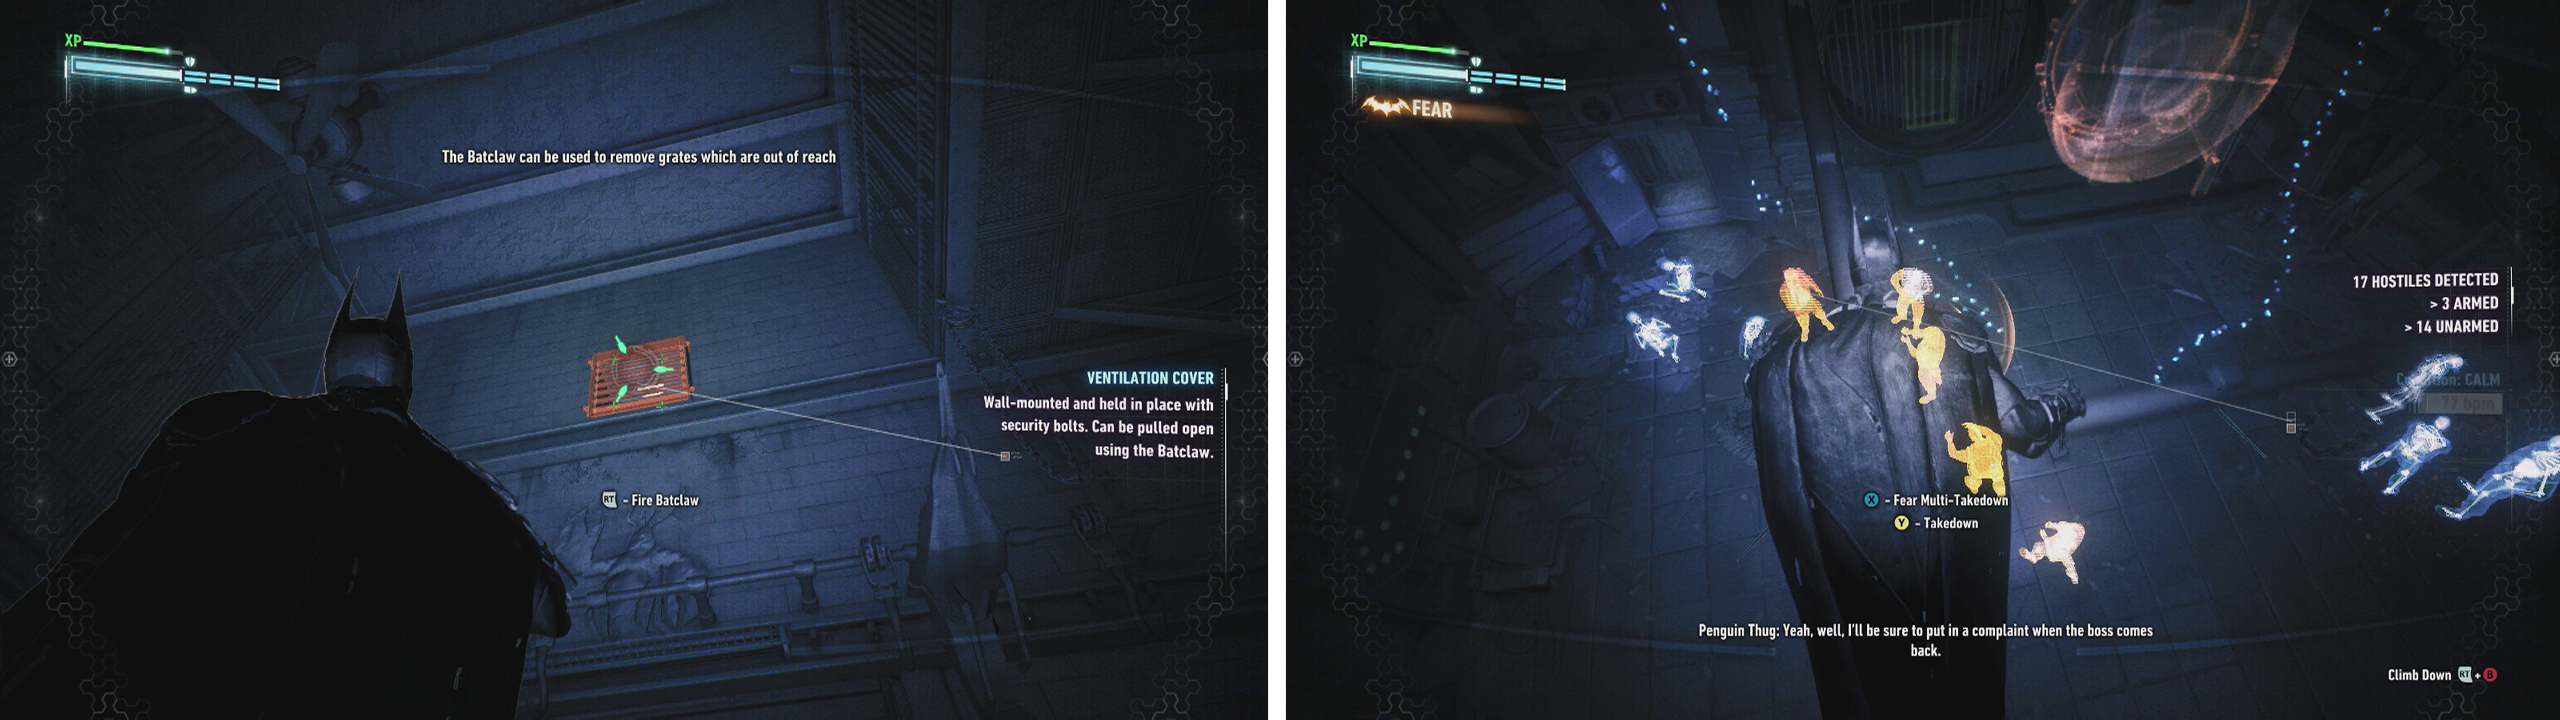
After the first enemies, look for the vent on the wall (left). Use a Fear Multi-Takedown to begin the fight by the vault room (right).
After the fight, enter the vault and use our Explosive Gel to destroy the weapons cache in the same as we have done previously.


No Comments