When you are ready to continue with the story, return to the GCPD building. Drive down into its car park and enter the precinct proper. Head on over and speak with the indicated NPC for a scene that will trigger the next stage of the game.
Objective: Stop the assault on the GCPD
Exit the precinct and return to the car park. As you enter, a scene will play and a swarm of enemies will start pouring out of the APCs that just arrived. Quickly run over and hop into the Batmobile to take them out in a much easier fashion, you can fight them if you really want to, but the Batmobile is definitely your best bet.
If any of the enemies escaped and entered the precinct before you could stop them, exit the Batmobile and run into the holding cells area to finish off any stragglers.
Objective: Investigate power generator to restore power
Return to the car park and hop into the Batmobile. Enter Battle Mode and look for an anchor point on a ventilation fan near the roof. Attach your Power Winch to this and pull down the fan to create an opening.
As Batman, use the Batclaw to grapple up to the new opening and follow the linear passage through the tunnel and vents until you drop down. Enter the open elevator shaft ahead and grapple up to the top of the shaft.
Exit the vent at the top for a scene.
Following the scene, make your way over to the western side of the rooftop to find the generator. Hmm, looks like that won’t be our ticket at this time. Fortunately we’ll have a chat via our communicator that gives us an alternative option.
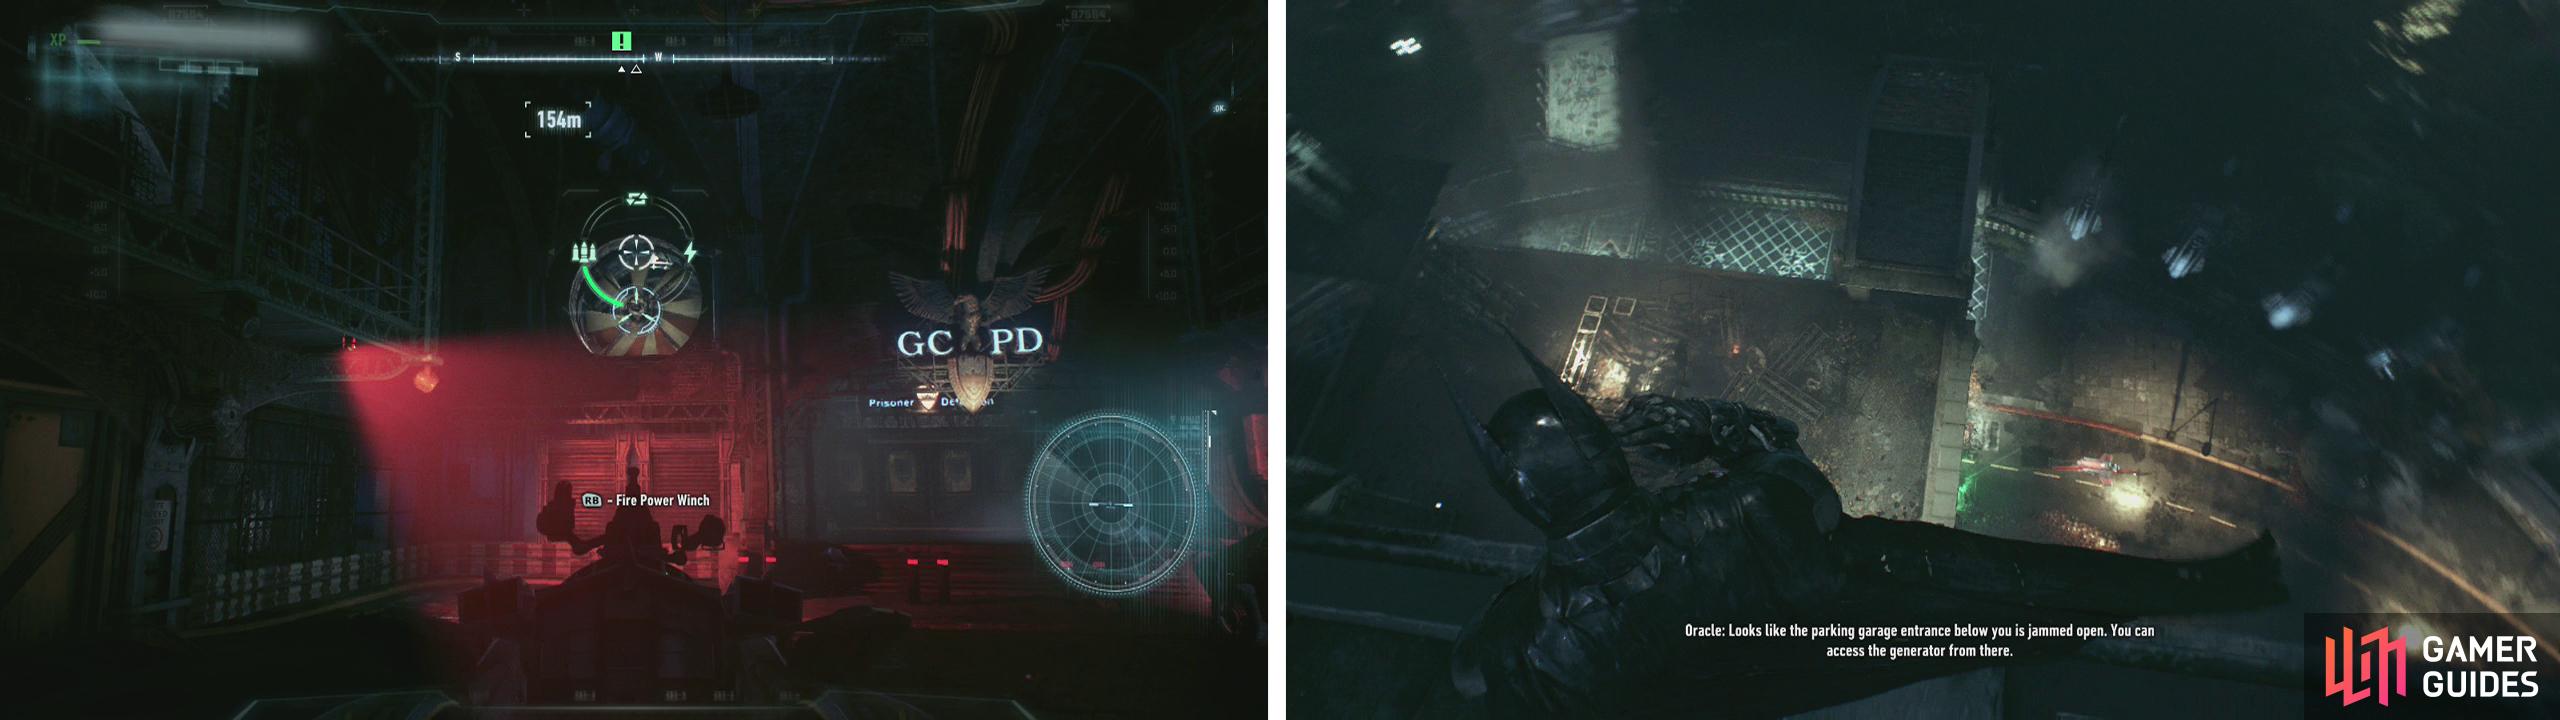
After clearing the car park, pull down the vent for a passage to the roof (left). Approach the generator (right).
Objective: Access GPD Parking Garage to power up backup generator
At the northern end of the rooftop with the generator, you’ll be directly above the entrance to the car park that we’ve driven in quite a few times by this stage. Before dropping down, use your Remote Hacking Device on the Dragon Drone just outside it to blind it temporarily.
When it is safe to do so, drop down to ground level and crawl through the half-open gate before the Dragon recovers.
Move down the ramp and you’ll need to engage in a round of fisticuffs with a group of militia forces. This is a tricky fight due to the presence of the shielded Brute and pair of Soldiers equipped with stun sticks. There are 14 Soldiers total and several melee weapons to deal with as well. Remember to overload the stun stick enemies to stun them before taking them down and if possible leave the Brute for last so that you can deal with him distraction free.
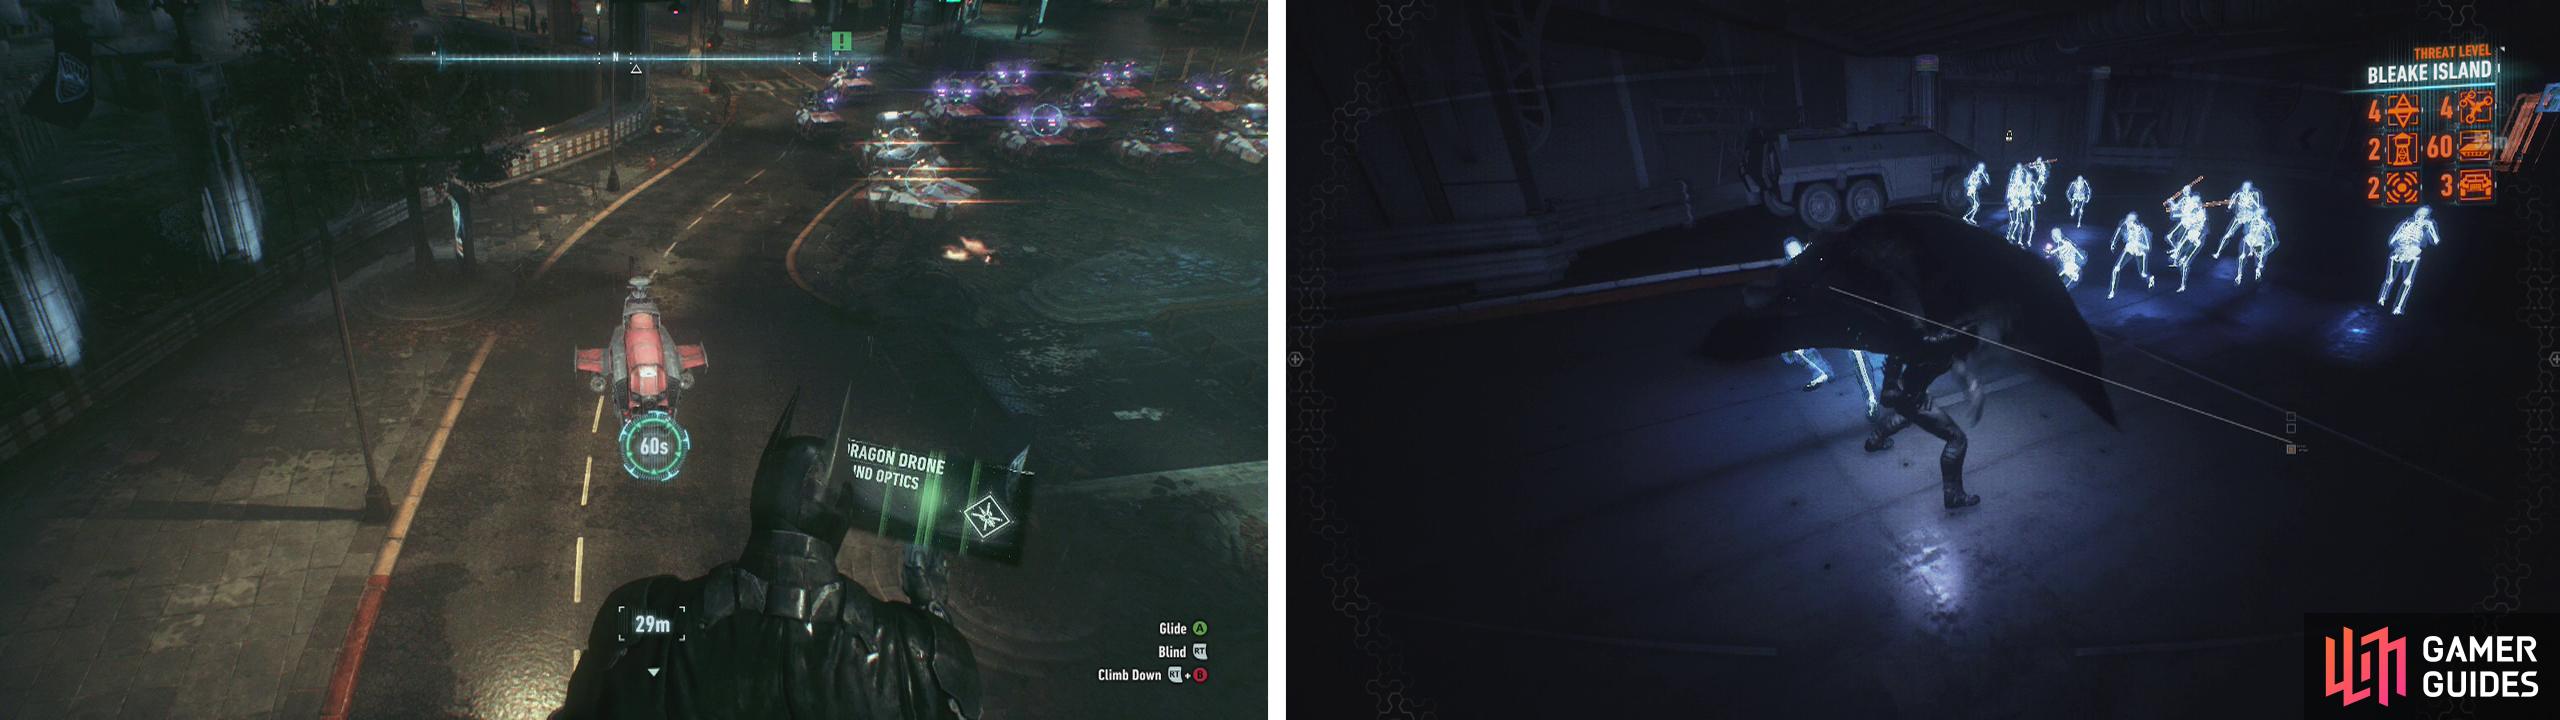
Use the Remote Hacking Device on the Dragon Drone (left) and then duck into the garage to take on a large number of militia (right).
Once the fight has concluded, move up and into the small alcove next to the locked gate. Here you’ll find three generators mounted on the wall. Hit each of them with a blast from your Remote electrical Charge gadget to open the door.
Mosey on down into the car park once more and hop in the Batmobile. Head for the exit and prepare yourself for the largest single Drone Tank battle in the game.
During this fight your ally in the GCPD is able to hack Drone Tanks in the area, which can have various effects include setting off explosions, turning tanks against their friends and setting off EMP blasts to disable nearby units. You’ll see targets appear on the screen when one of these hacks is ready to be completed and at that point you are going to want to shoot said target to activate the effect.
There are a total of 62 Drone Tanks to take out during this fight and their numbers include Twin Rattlers, Dragons, Mambas, Diamondbacks and a pair of large Missile Launchers. As these numbers are quite overwhelming to begin with, it is important to make the best use of your ally’s hacks and unleashing the level 4 Missile Barrage as often as possible. Both of these options are a good way to begin thinning out the numbers and most definitely worth pursuing if you can keep your dodging up to scratch.

You’ll be vastly outnumbered in this fight (left) but using the weakened wall beside the carpark entrace can provide a useful bottleneck (right).
As there are large numbers involved, if you do find yourself getting a little out of shape, there is a weak wall next to the garage to the GCPD car park that we can drive through to reveal a waterfront road. If you back up a little down the road out of line of sight, this will force enemy units to come to you and they’ll have to come through the destroyed wall which acts like a bottleneck. This enables you to take them on in a more controlled manner as you’ll only have to fight a more limited number of enemies at once and have to avoid single shots as opposed to 5-6 at a time.
After the epic Drone Tank massacre, you’ll receive a communications message telling you to head for the rooftop.
Objective: Stop the militia from disabling GCPD security systems
You’ll arrive on the rooftop to see a large contingent of militia forces waiting for you. To begin with you’ll encounter five Soldiers (two of whom have shields) and a Brute armed with stun sticks. Note that there are multiple melee weapons in the hands of Soldiers and on the rooftop as well as several environmental takedown opportunities including the hatches in the ground, the pipes and fences along the main rooftop walls – hot tip: Try and get the Brute with one of these environmental KOs for a quick, painless finisher.
Around halfway through this fight a helicopter will swoop in and drop off another load of enemies consisting of a Medic and five Combat Experts. As soon as they land, you’ll want to drop whatever it is you are doing and immediately target the Medic until he is knocked out before he can start electrifying or reviving fallen enemies. Once the Medic is out of the picture, it’s just a matter of patiently taking down each of the enemies one at a time.
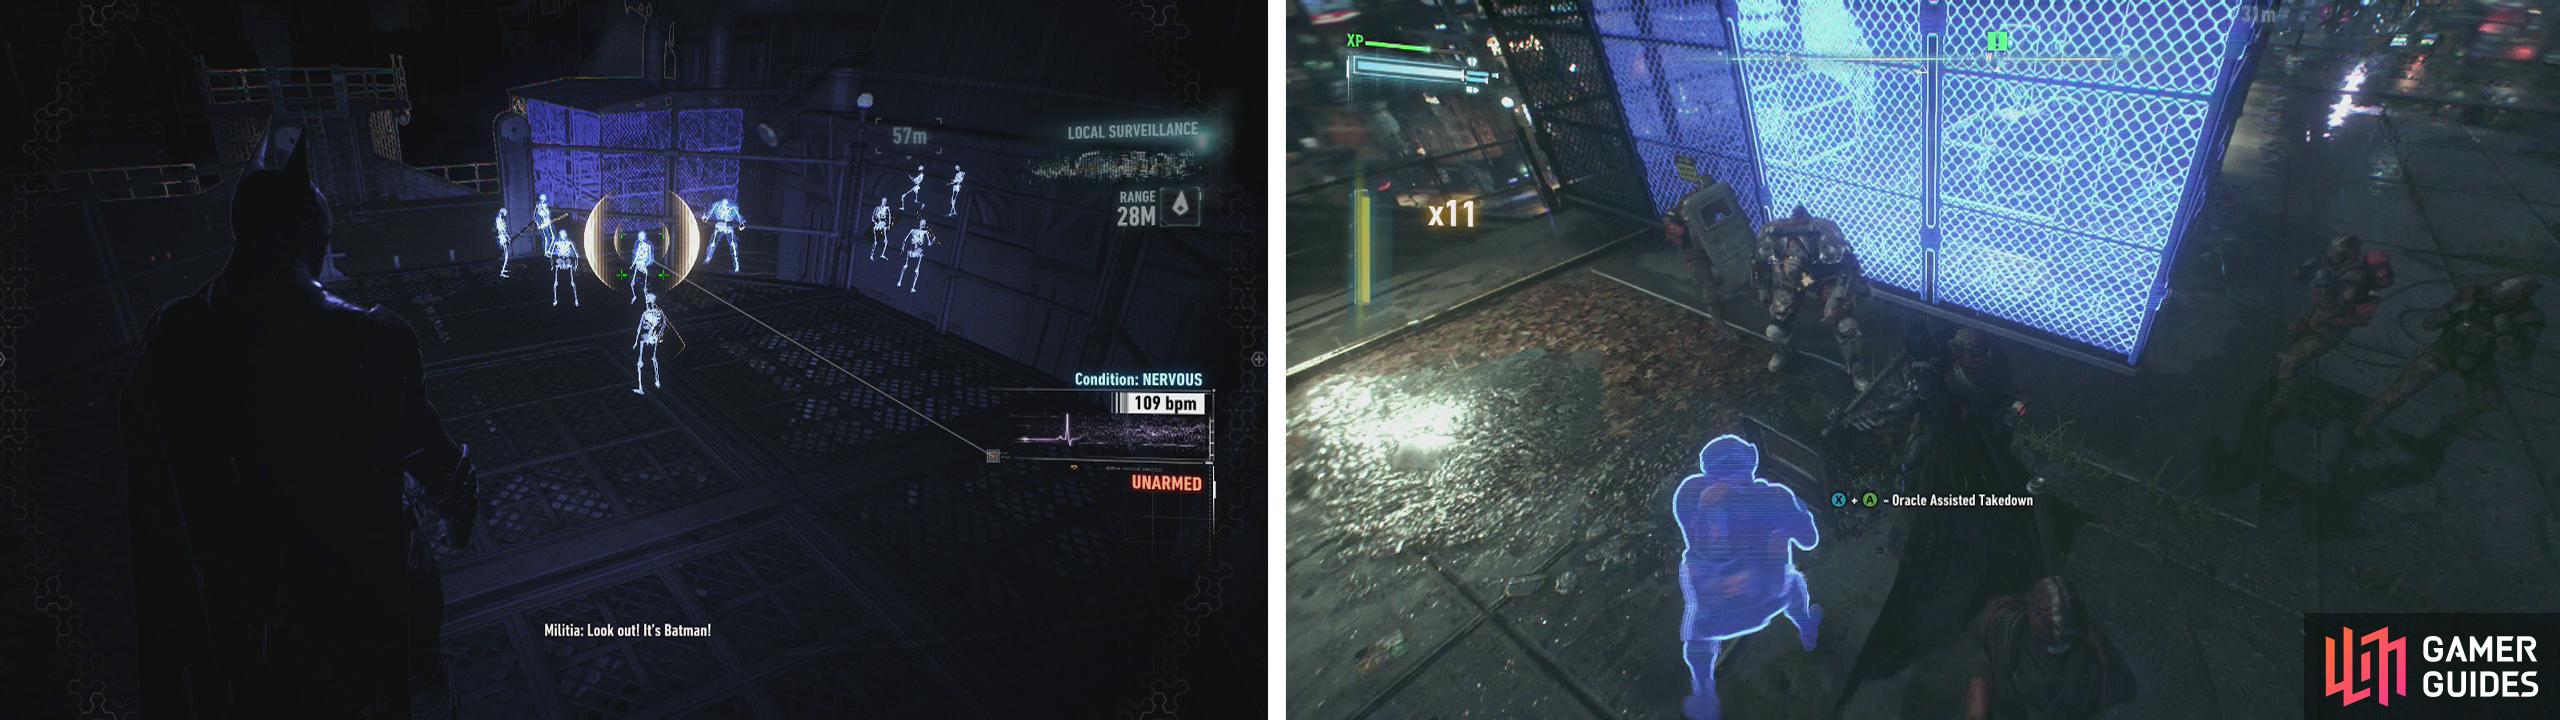
The hardest fight in the game awaits you on the GCPD rooftop (left). be sure to use the environmental takedowns available (right) to take out the trickier enemies.
After finishing off all of the enemies on the rooftop you’ll be treated to a short scene. After which you’ll need to fight one last group of enemies (don’t worry you’ll get a checkpoint with the scene!).
This final wave of enemies consists of two Medics, four Soldiers and two Brutes (one with stun sticks and the other with a shield). Again you are going to want to immediately target and eliminate the Medics before they can start reviving enemies. Dispatching the Medics will free you up to eliminate the Soldiers so that finally, you can focus on the Brutes in peace – use environmental takedowns on these fellows if you have any remaining to reduce the difficulty somewhat.
After successfully completing the fight, your objectives will be updated.


Objective: Investigate Panessa Studios
At this point we’ll need to head on over to the Panessa Studios base. Approach the cell we left Robin in for a conversation. A message will come through on your communicator which will update your objectives once again and bang a new mission marker on the map.
The game will now prompt you to select your active mission, select the ‘City of Fear’ main quest to proceed with the final part of the campaign.
No Comments