After receiving the next piece of ‘Gunrunner’ intel from Nightwing, you can begin this part of the side-mission via the objective marker that appears.
Following suit from the previous cache, we’ll need to tag the target vehicle with the Disruptor and knock on the back door to have it drive off. Head back up to the skies and tail the van all the way across Bleake Island until it drives into the Water Treatment Facility in Chinatown.
This weapons cache is a little trickier to get into as although you’ll see the vehicle drive into the building, there is no entrances at all around the base of the building for us. Instead, you’ll need to drive down into the sewers below Chinatown and you’ll find a room full of enemies blocked off by bollards. Use the Batmobile to knock out all the enemies in the room before exiting and heading on inside.
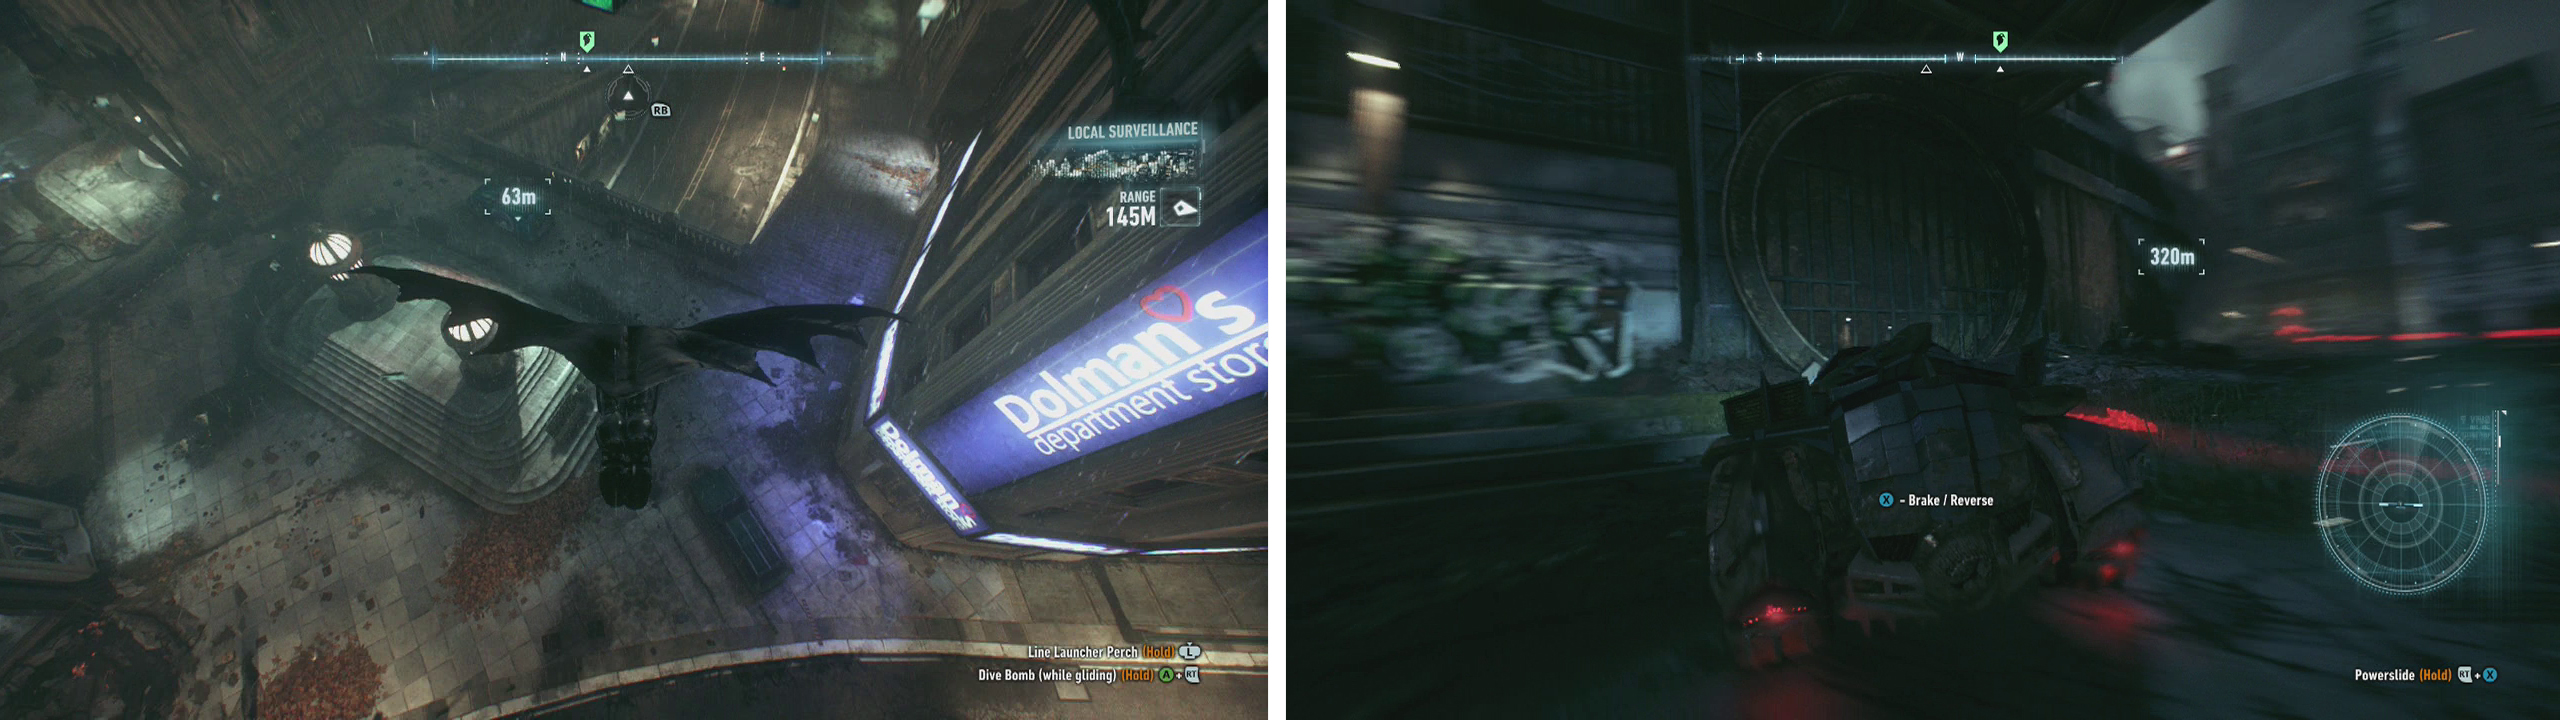
Use the Disruptor on the van (left) and follow it to Bleake Island. the entrance to the next weapon cache can be found in the sewer (right).
Climb the stairs here to the top to find a control room with a Riddler Trophy and a control panel with a lever we can pull to lower the bollards.
With the bollards down, enter the room as the Batmobile. Using the Batmobile, enter Battle Mode and use the Power Winch to grab the counterweight along the right hand wall. Pull this backwards to open the door beside it.
Switch to Batman and enter the half open door. Grapple to the top of the elevator shaft here to find yourself on a chain-linked ceiling with several hatches leading to the vault room below filled with enemies.
Unlike the previous two vault rooms you will be fighting by yourself this time around. There are 13 Thugs (two have stun sticks) and a knife wielding Brute that we will need to deal with. Before starting, check out each of the hatches on the floor to find the one with the most enemies below and perform a Fear Multi-Takedown to kick things off. There are plenty of objects around the room that enemies will throw at you during this fight, so keep your eyes out and be sure to counter them when you see them coming your way from across the room!
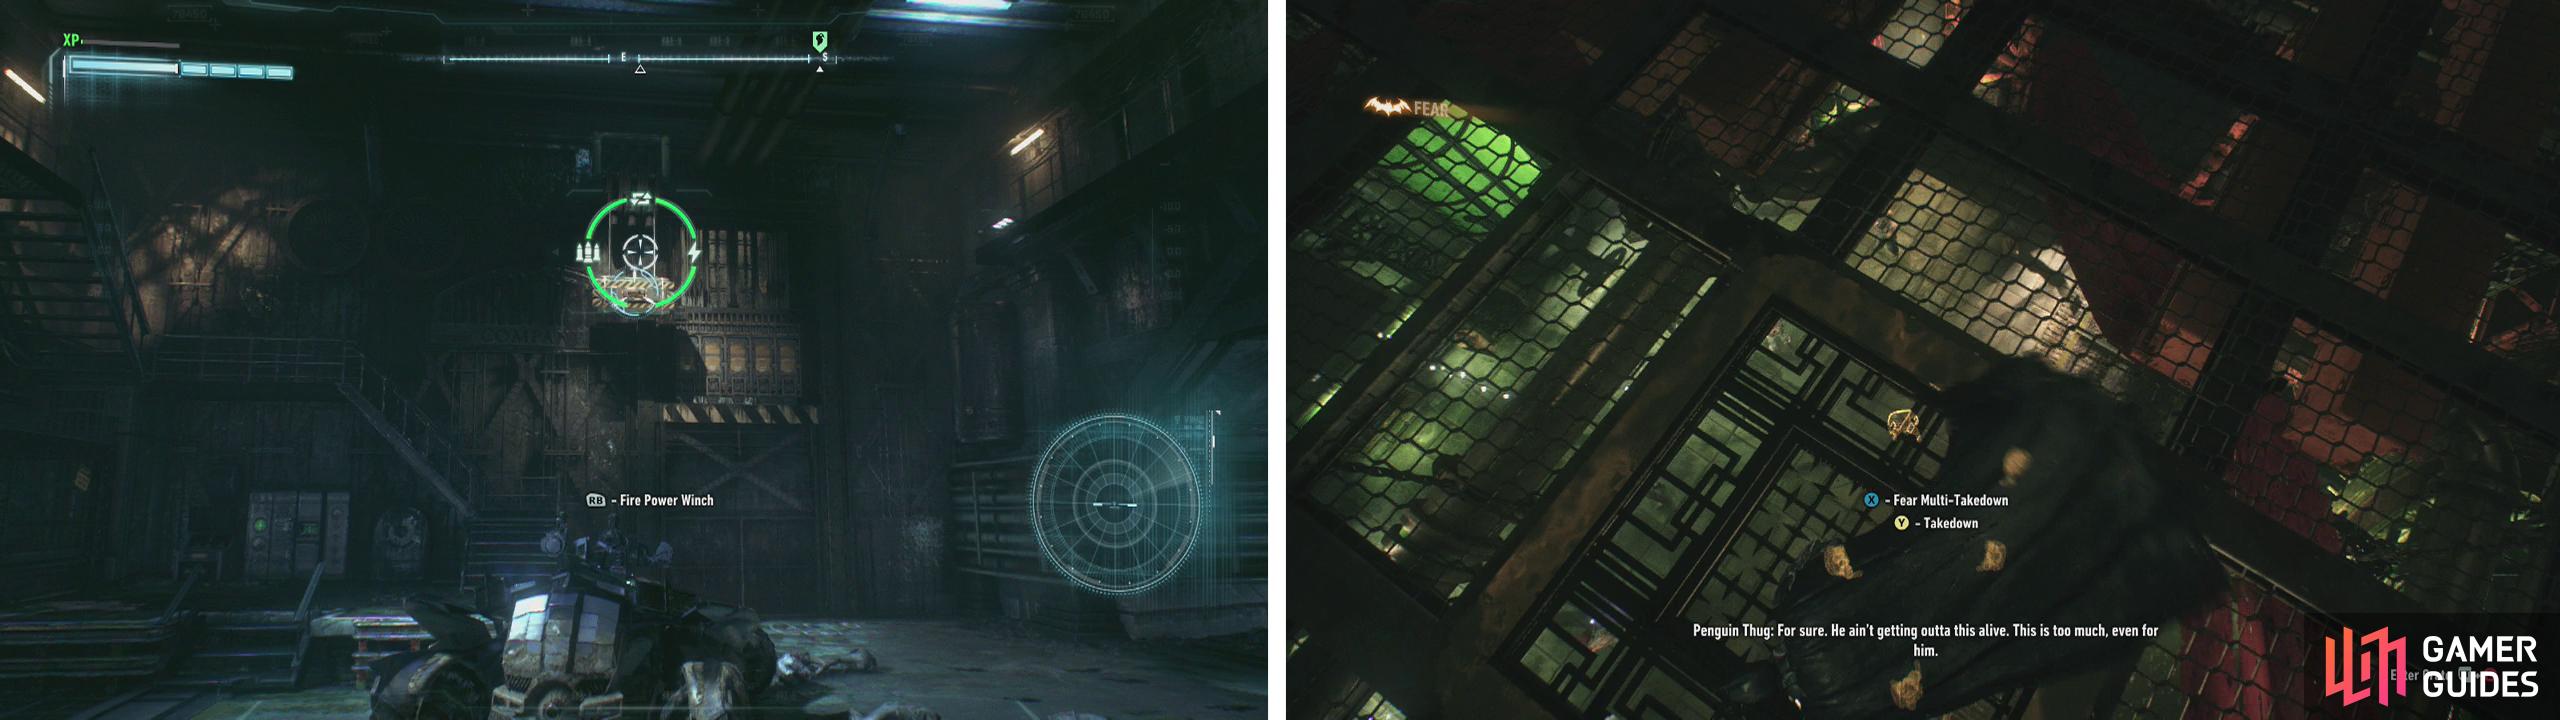
Pull the counterweight to open the door (left). Drop down through the roof using a Fear Multi-Takedwon to kick off the fight (right).
After the fight, enter the vault and use our Explosive Gel to destroy the weapons cache in the same as we have done previously.


No Comments