Objective: Use Batmobile Sonar to locate and release the plant on Founder’s Island
Whilst the mini-map is out of action with the gas cloud around, the Batmobile still fortunately will give you a GPS route to your next objective. Follow this to Founders’ Isle.
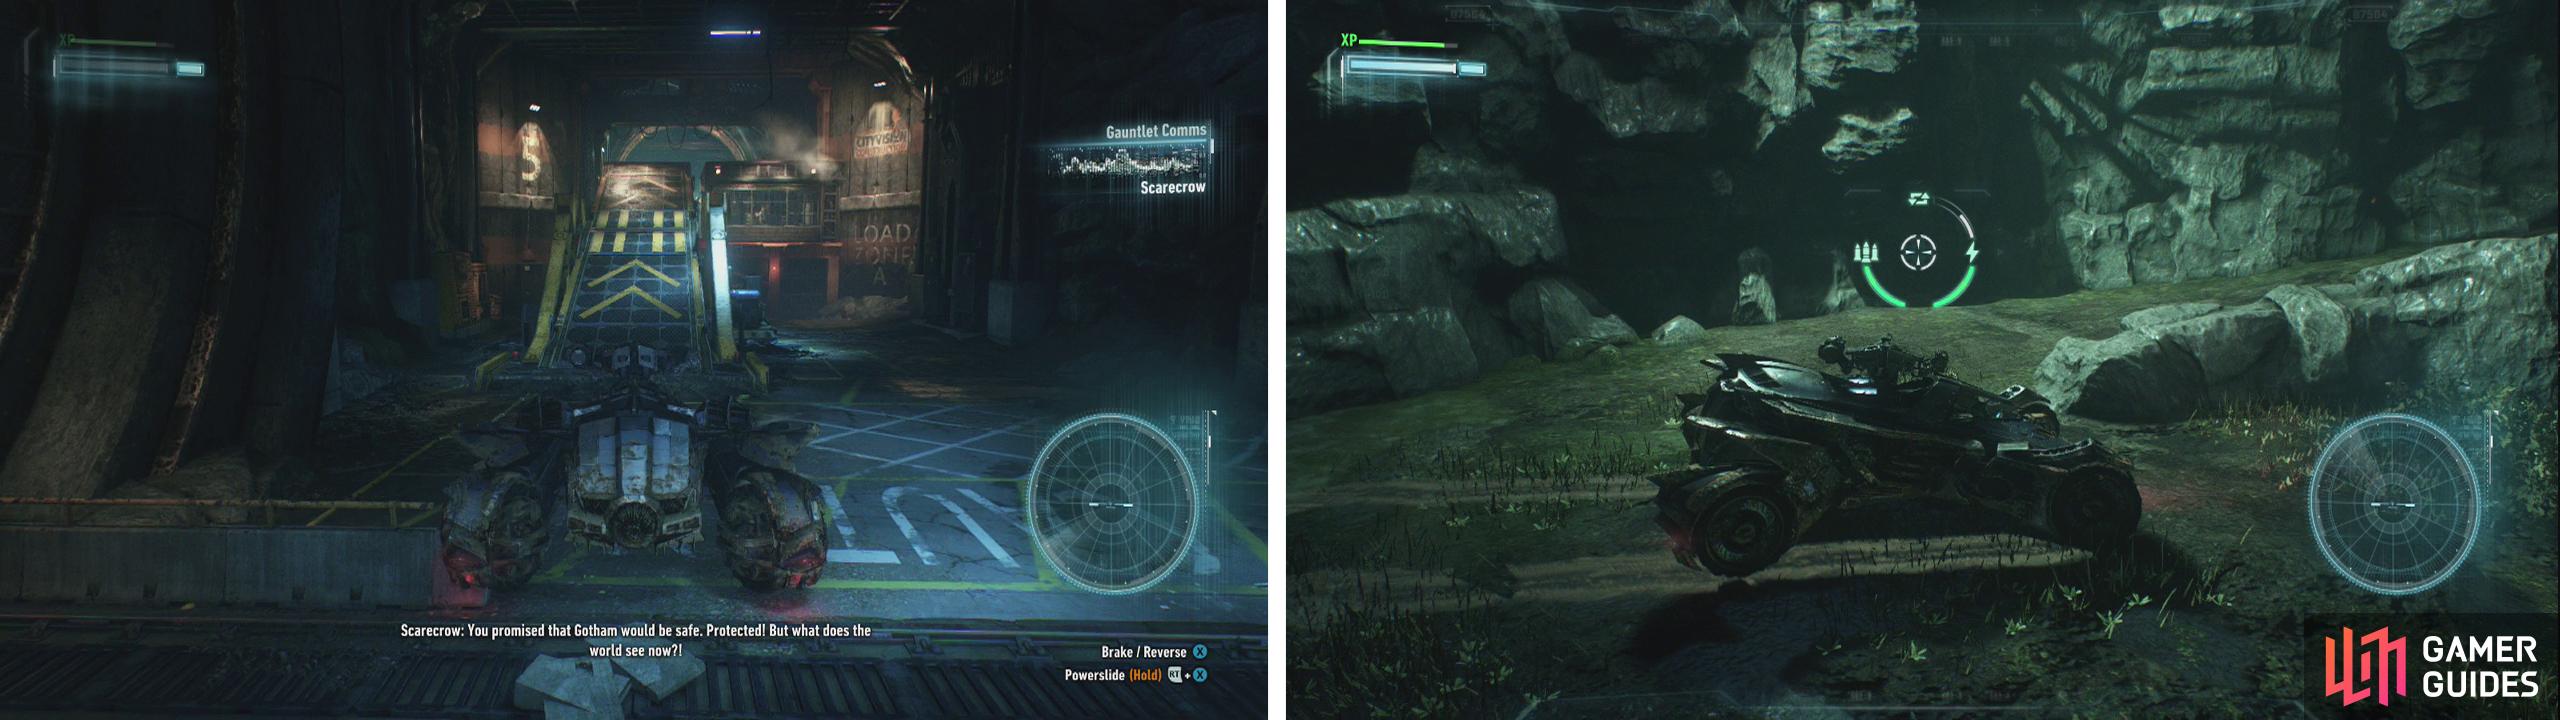
As soon as you arrive on Founders’ Island it’s time to find another of Ivy’s super plants! As before, we’ll need to use the Sonar whilst in Battle Mode to track root systems on the mini-map. The roots appear as white outlines on the mini-map and their source (and your target) will appear as a small red dot. We’ll need to follow the roots to their source to find the next objective.
The roots will lead you to a graveyard outside of a church building which is on the eastern side of the island, almost directly in line with the northern end of the small island in the centre of the map with the Lady of Gotham statue on it.
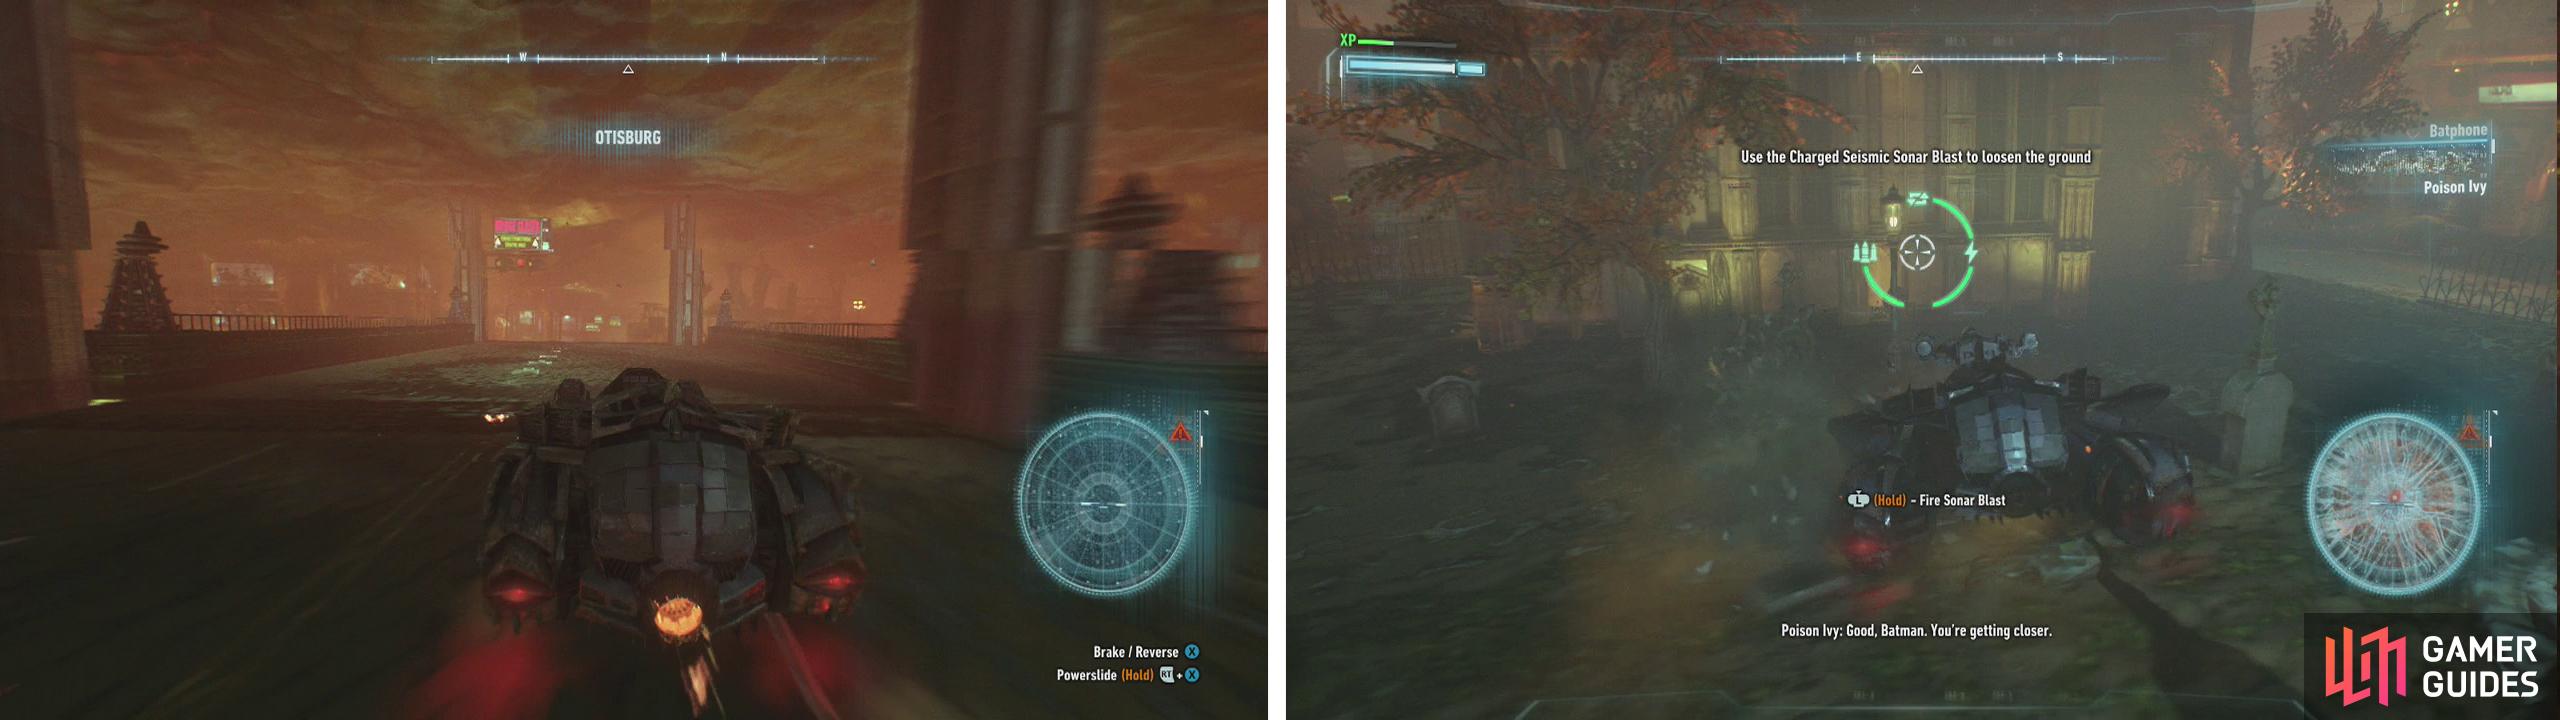
Follow the GPS to Founders’ Island (left). Use Sonar at the location in the graveyard of the Churchyard (right).
Use the sonar to position the Batmobile directly above the red dot and hold down the sonar button to unleash a Sonar Blast . Unfortunately, it’s not going to work this time! Following another brief conversation we’ll get a new objective marker.
Objective: Gain access to the subway network via the elevator at Port Adams
Again, you’ll need to use the GPS route in the Batmobile to drive over to Port Adams in the southernmost section of Founders’ island. Park in the allocated Batmobile parking space and wait for gate to open.
Head on inside for the first large scale Drone Tank battle that we’ve had for a little while. There are 17 Drone Tanks in total with forces consisting of four Diamondbacks, six Rattlers and a new type of Drone – the Dragon. Dragons are small, flying attack helicopters that will fire grenades at your general direction. Use your machine gun to take them down very quickly and avoid the red circles on the ground that indicates the splash damage zone of the grenades!
Port Adams’ main fight area is a large oval shape and you’ll be able to cut laps of it if you get cornered and need to reposition in a hurry or if you want to draw the Drone Tanks around one at a time. At the opposite side from the entrance you’ll find the final enemy - a large missile launcher of the same variety that we fought on the Watchtower earlier. It’s a good idea to leave this for last.
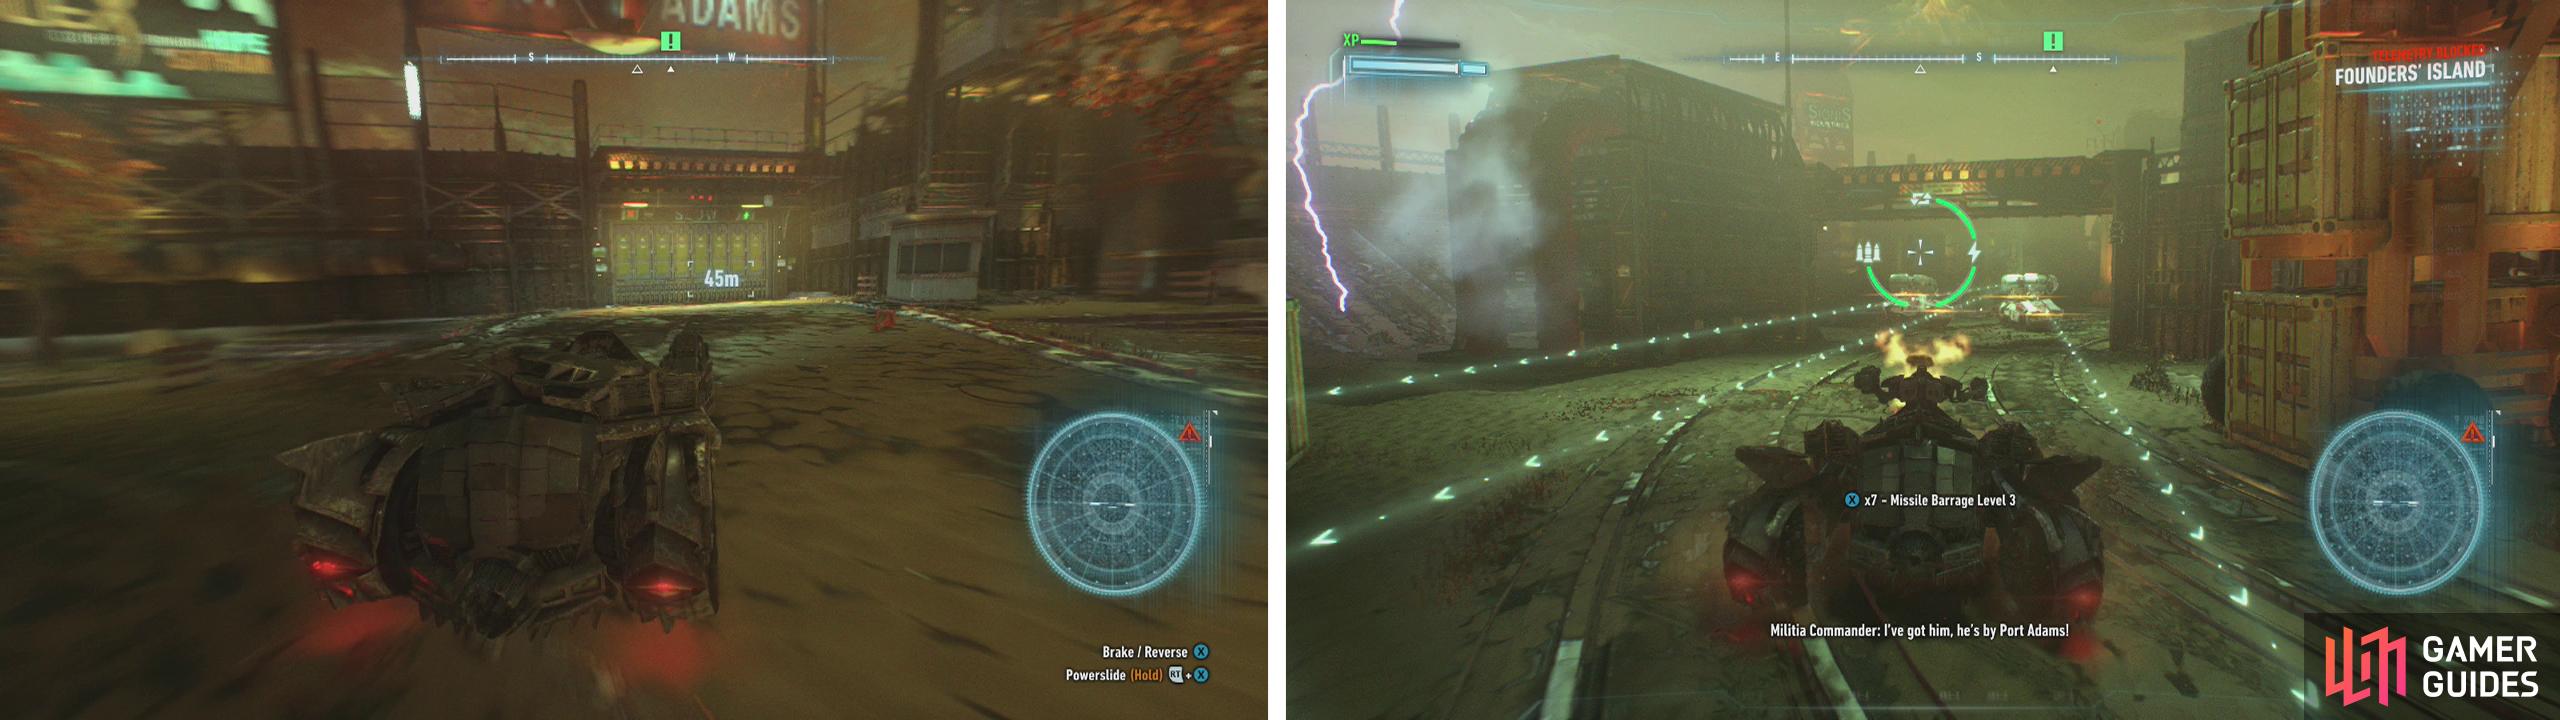
Enter Port Adams (left) and fight off the Drone Tanks within (right).
I shouldn’t have to remind you, but avoid taking fire and keep hitting enemies without taking damage to charge up your Missile Barrage attack. Let it go to cut down the enemy numbers and the duration of the fight significantly.
Now that the area is clear, head to the southern end of Port Adams and look for a ramp facing the centre of the area. Hit this with the Batmobile’s Afterburner active to launch over the fence here and into the centre of the island.
Unfortunately, as soon as you land you’ll immediately find yourself ambushed by another large group of 12 Drone Tanks.
Use the ramp to enter the inner section of Port Adams (left). Fight off the Drone Tanks in here too (right).
The interior area of Port Adams is quite a restrictive area with limited space for movement. The central open area is a bit of a death trap because of the sight lines granted to the enemy units, but there are several shipping containers around the outside that we can utilise to break line of sight and force the Drone Tanks through narrow gaps one at a time to make things a little less hectic.
Because of the narrow spaces, using our dodge and finer Battle Mode movements is incredibly important to weave between the various enemy firing lines. Again, do your best to take down as many enemies as you can without taking too many hits to build up your Missile Barrage and let it loose to help thin out the numbers!
Once the fight is done, locate the objective marker and enter Battle Mode to use the Power Winch on the indicated door to pull it down. Use the Power Winch again on the control unit inside to lower the elevator.
Objective: Use Batmobile Sonar to locate and release the plant on Founder’s Island
We’ll now be in a set of underground tunnels that we’ll need to follow through to find the next plant. Note the circular shape of the tunnel walls – we’ll need to drive at and up these at pace with the Batmobile!
In this first tunnel, drive up the wall to the right to cross over the blockage on the road and then stay near the roof of the tunnel to pass over the gate covering the floor. Keep moving along the tunnel until you reach the locked gate.
Exit the Batmobile and enter the floor grating just before the gate. Equip the Remote Hacking Device and move to the end of the tunnel. Use this to blind the Drone Tank immediately in front of the exit before hopping out of the floor and running past it.
In the distance you’ll see a Drone Tank patrolling from here, into the next room and back again. Wait until it is heading away before moving up slowly – keep an eye on the right hand wall of an alcove containing another Drone Tank. Take cover behind the wall, lean into the alcove and Remote Hacking Device it before continuing past .
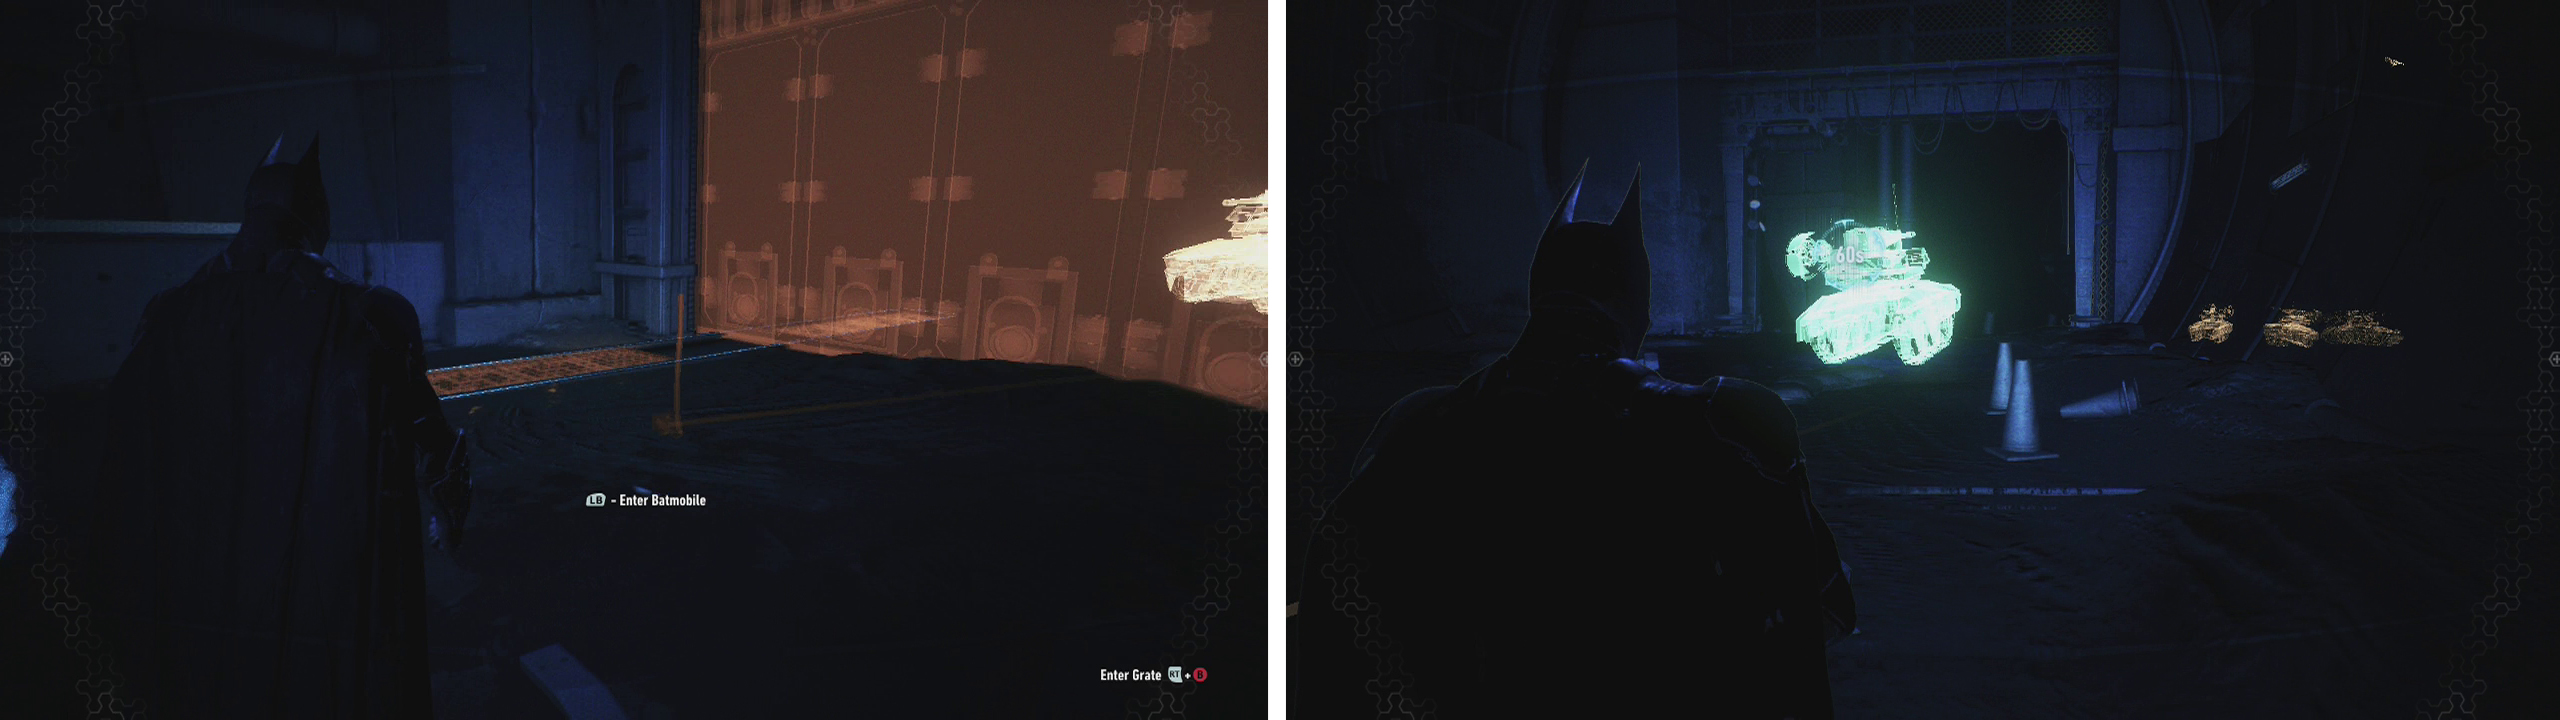
Enter the floor grating (left) and move up the tunnel, using the Remote Hacking Device to blind Drone Tanks as you go (right).
The patrolling Drone Tank should be on the way back now so before it gets into range, hit it with your Remote Hacking Device and keep moving through the next doorway and immediately use the Batclaw to grapple up to the supports above when you are able.
There is a group of four stationary Drone Tanks here and behind them is a small office area. Fortunately, none of them are looking at it, so as long as you are quiet, you can drop down from the supports and enter the office unnoticed. Interact with the lever here to open the security gate.
This will immediately switch you to Remote Batmobile Control mode. Continue through the gate as the Batmobile and take out all seven Rattlers.
Move up to the next gate, switch back to Batman and use console to open the gate.
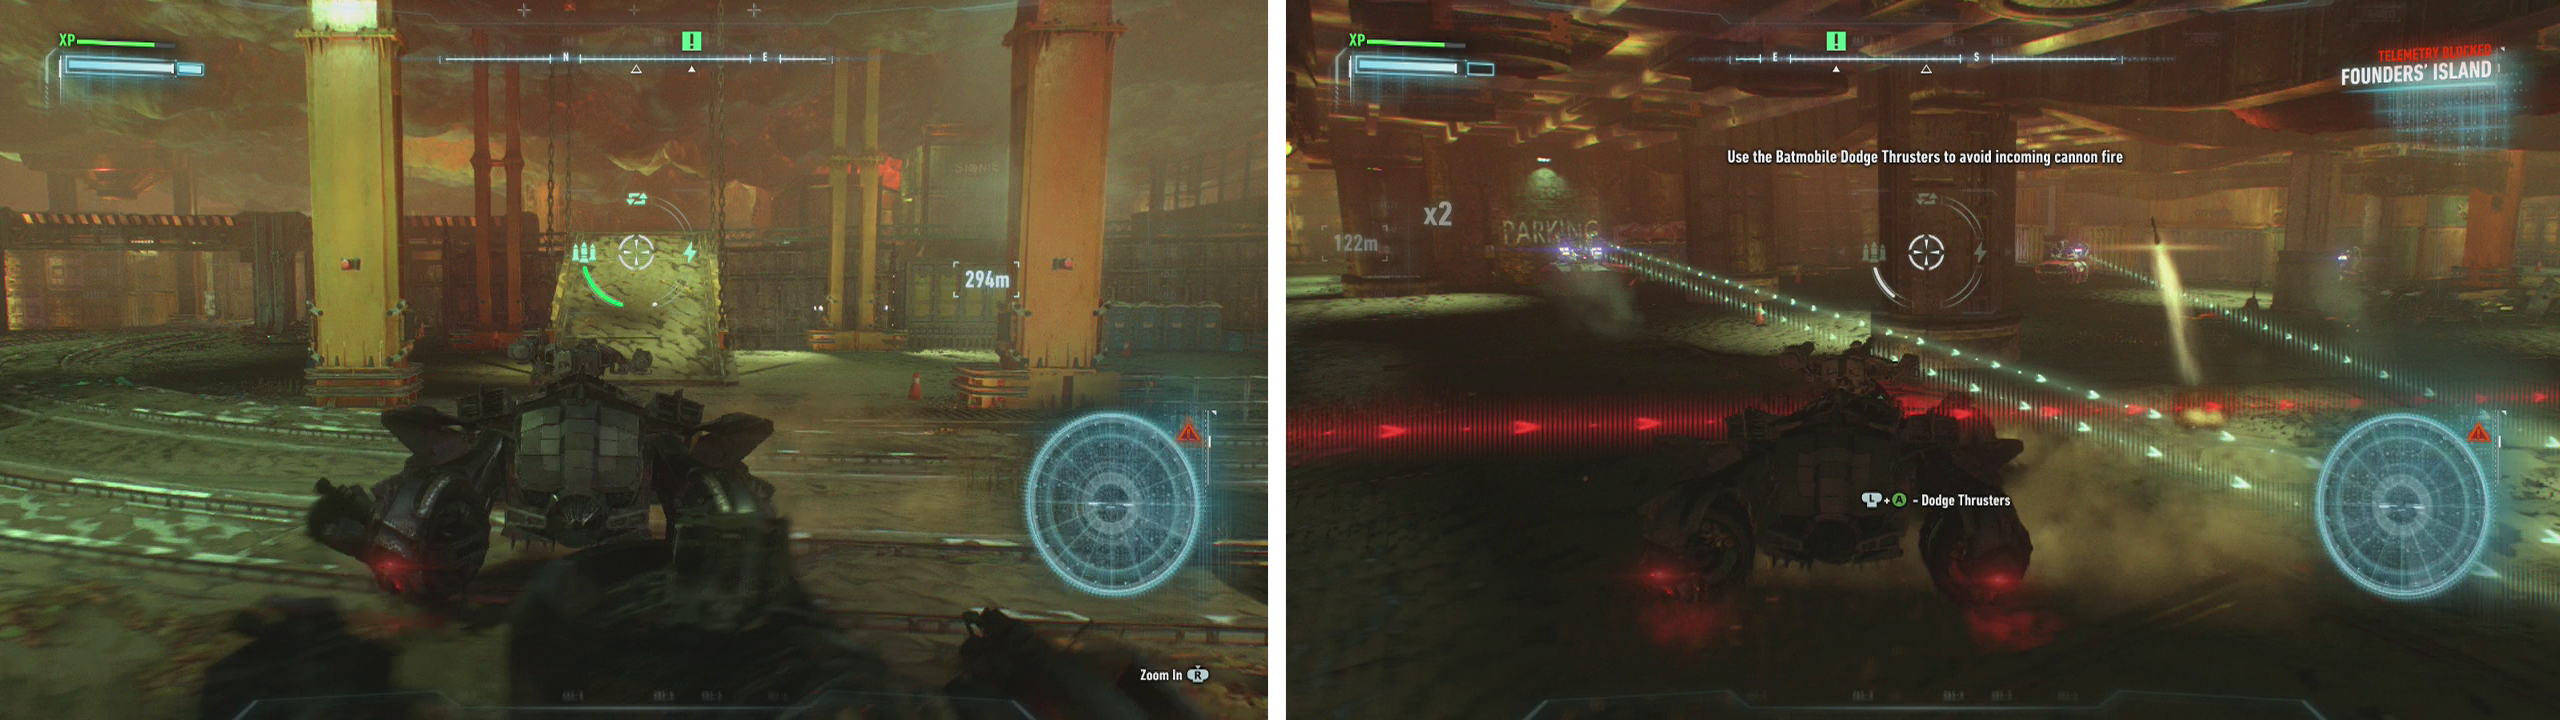
As you enter the next area you’ll notice a large ramp to the left. We’ll obviously need to use this to get up to the raised area at the far end of the room. There is a small building just at the top of the ledge here – this is a control room, head on inside and hit the switch here twice to make the ramp usable.
Head up the ramp and enter the tunnel ahead. We’re going to have to use those tunnel walls again at this point. Drive the Batmobile up to the roof to get over the fence at ground level, drop down the wall slightly to avoid the ceiling vent and then return to the roof once more to cross the hole in the ground over the pool of water. Continue through the tunnel into the next room.
We’ll find another ramp in this location, and another control room across the gap just beyond it. Cross the water-filled gap and hit the switch in the control room once to unlock ramp. This will cause it to drop to a slanted position. At this point use your Remote Batmobile Control and drive on to the ramp and park it on the raised section (the end furthest from the gap) to lower it to the ground. Return to Batman and hit the switch once more to lock the ramp in place.
Once the second ramp is in place jump across the gap (left). Follow the roots to the target location and use the Sonar blast (right).
With the ramp set up, we can now return to the Batmobile, get a run up and use the Afterburner to jump to the far side of the room.
Climb the stairs in the back right corner and proceed through the tunnel. Use the Sonar and follow the roots until you reach the red dot indicating the target location. Use the Sonar Blast to trigger a scene.
It’s also going to trigger another large-scale Drone Tank battle.
Objective: Protect the plant while it matures
During this fight, you’ll be fighting a total of 40 Drone Tanks, with an assortment of just about everything that you have fought in the Batmobile so far with Rattlers, Twin Rattlers, Diamondbacks, Mambas, Dragons and a large Missile Launcher all putting in appearances. The good news is that whilst the numbers are stacked against you, staying within range of the churchyard will allow Ivy to assist by using plants to kill the occasional Drone Tank.
As per the usual, you’ll want to avoid those holographic targeting lasers by using your dodge, or simply manoeuvring out of range. Use your machine guns to shoot down incoming rockets and the Dragon drones and remember that hitting most Drone Tanks directly on the turret area will cause the most damage. Keep hitting enemies without damage to charge up your Missile Barrage and use it to even the odds a little.
This is a long and tough fight, but by staying near the churchyard for Ivy assists, destroying the Mambas as soon as you see them (to avoid the constant missile locks!) and keeping well clear of the large Missile launcher until you have wiped out the majority of Drone Tanks can make things much more bearable. You just need to be on point with your dodging game!
Following the fight a scene will play and our objectives will be updated.
No Comments