Objective: Rendezvous with the Batwing
Following our chat with the APC and Alfred you’ll be given the opportunity to equip a new upgrade to the Batmobile, so head on over to the main intersection of Grand Avenue on Miagani Island and park in the Batmobile indicator for a scene.
The good news is that you’ll receive an upgrade to the Batmobile’s Missile Barrage , taking it to level 3. Charging this and unleashing it when the meter is full will now lock on and attack up to seven targets at once – nice! The bad news is that you’ll have to try it out almost immediately when you are ambushed by a patrol of Drone Tanks… sadface.
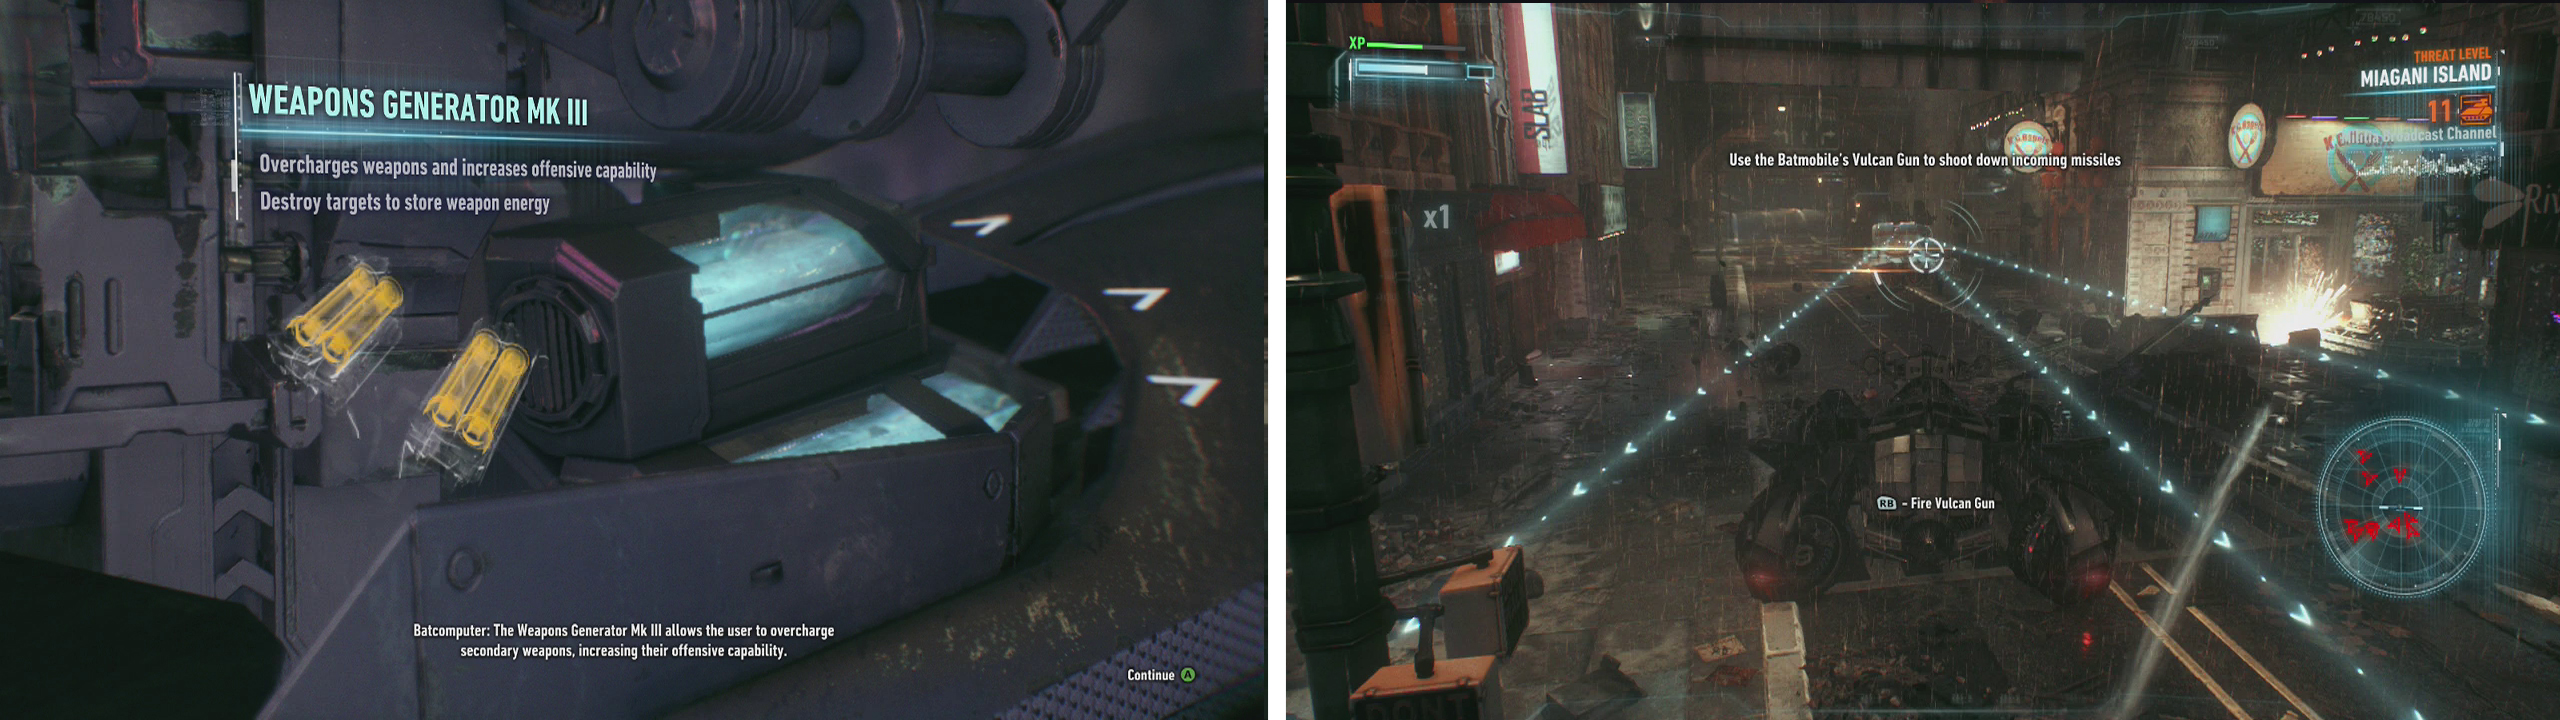
After picking up your new Batmobile Upgrade (left), you’ll be ambushed by Drone Tanks (right).
This group of 16 Drone Tanks, whilst not as tricky as the small army that was guarding the Miagani tunnel entrance, can still be tough if you aren’t right on your dodging game. The hostile force is made up of 12 of the basic Rattler units, three Diamondbacks and a Mamba. Remember to prioritise shooting down the Mamba’s missiles and continue to avoiding incoming fire so that you can build up your meter to unleash the Missile Barrage when available.
Objective: Rendezvous with Nightwing to get intel on Penguin
With our new objective in hand, we’ll need to head to the Ranelagh Ferry Terminal located near Mercy Bridge in north-east Miagani Island. As you arrive, make your way to the objective marker on the roof for a cut-scene.
During the scene we’ll be given a new gadget – the Disruptor . We can use this to prepare our enemies prior to combat to make things a little easier. We have three Disruptor shots by default and by targeting enemy firearms with a single Disruptor shot will cause the weapon to jam when used, shooting them with two Disruptor blasts will have them backfire and knock out the guard unfortunate enough to be holding it. You can also sabotage enemy gun crates which will electrify them and knock out the first enemy that attempts to access it.
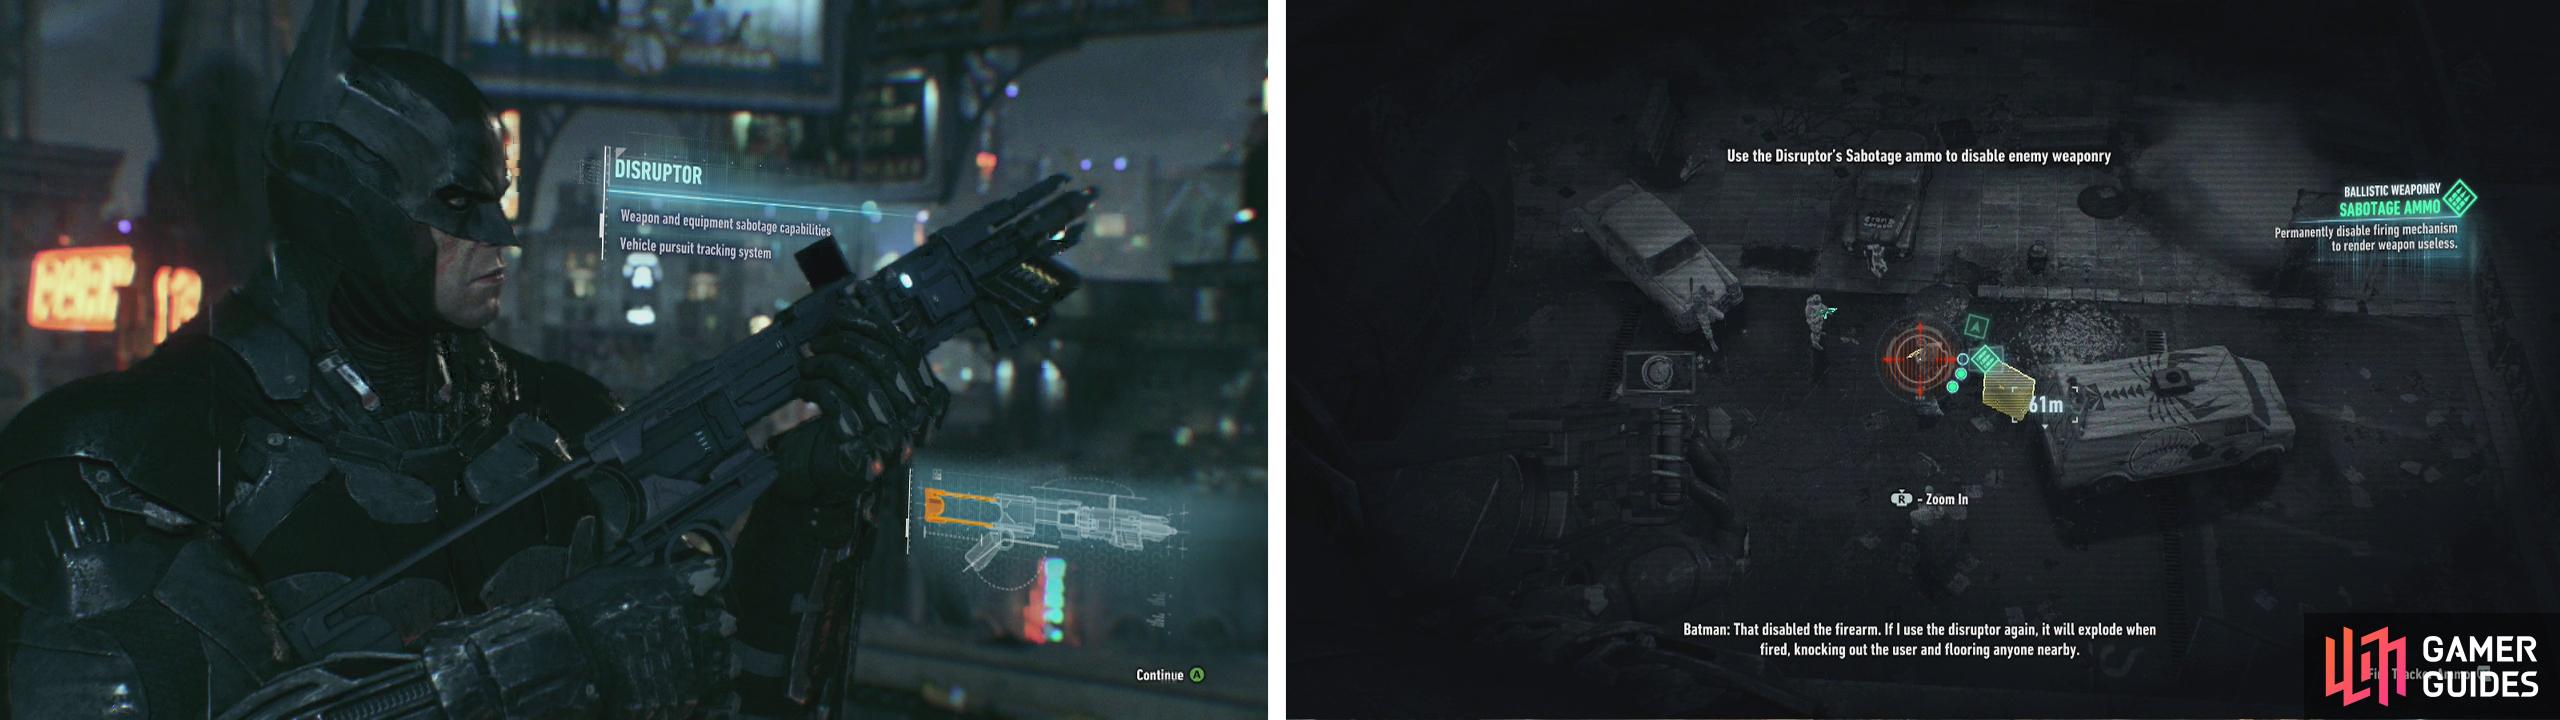
After getting the Disruptor (left) you’ll be able to sabotage enemy weapons and weapon crates (right).
From the rooftop, you’ll be able to see a group of enemies below consisting of a Brute and six Thugs. Target the two Armed Thugs and the Weapon Crate with the Disruptor before dropping in and fighting the group.
Once all the bad guys are down for the count, approach the van. Pull out your Disruptor to plant a tracking device on the vehicle and then interact with the door. This will trigger a short scene after which the van will take off.
You’ll need to follow the vehicle a short distance through the city whilst staying out of sight. To do this, you’ll need to grapple up to the top of buildings and either grapple between them or practice using your grapnel Boost and glide combination. Either way, you’ll need to maintain your position high above whilst following the vehicle.
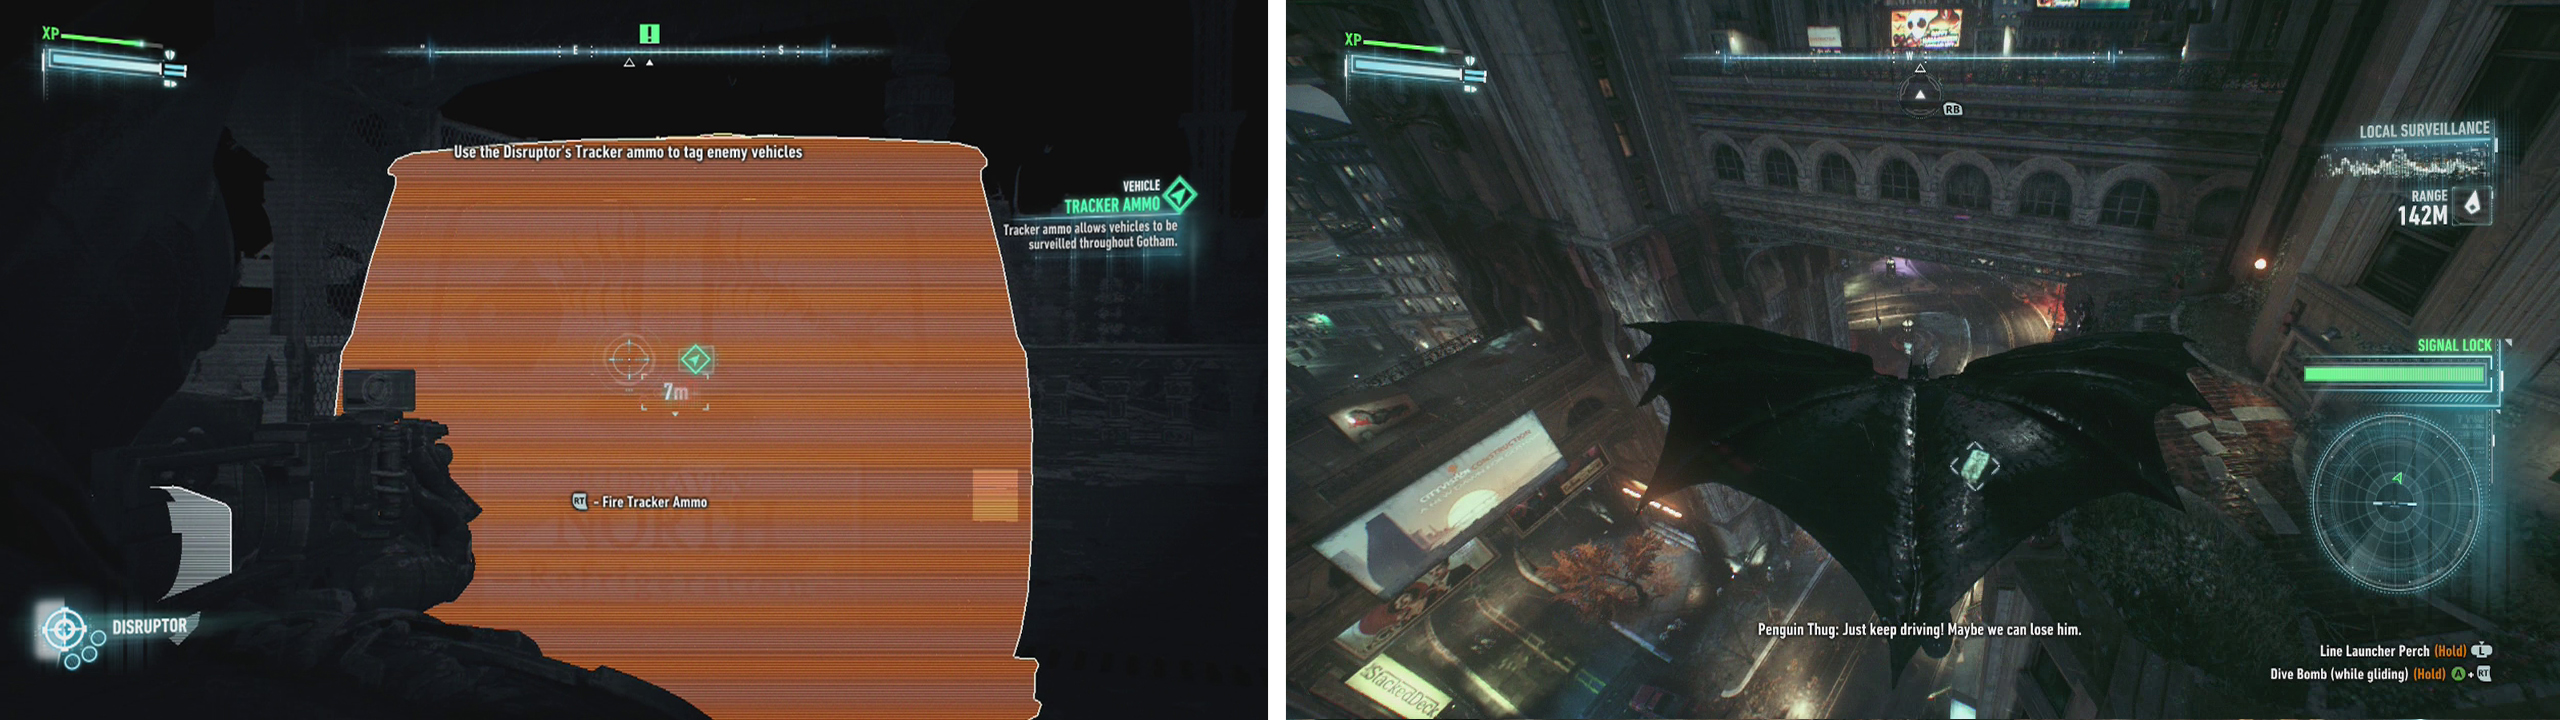
Shoot the Disruptor onto the van (left). Follow the van through the city from above (right).
Eventually the vehicle will lead you to a building just to the east of Mercy Bridge on Miagani Island.
Objective: Access the weapons cache and interrogate Penguin
To enter the building, we need to secure the rooftop. If you take position on Mercy Bridge or one of the raised areas near the target building you’ll be able to get a decent view of the rooftop area. We’ll need to enter predator mode to take down all of the bad guys here before we can continue.
Predator Section 05
There are six armed Thugs in total and a pair of Sentry Turrets. As with any predator scenario, the second you are detected, the guards will break off and behave erratically, leaving you to utilise the various takedown/stealth elements around the room to take them all out.
You can make use of several environmental factors to make things easier, including:
- The large under-ground floor ventilation area on the eastern side of the rooftop – this can be used to take down one of the Sentry turrets and three Soldiers patrol or stand by it.
- The vantage points around the radio antenna in the rooftop’s centre.
- The cables slung between various high points above the rooftop.
- The destructible walls and corners in the small building on the northwest side of the rooftop.
- Corners made possible by the crates stacked haphazardly around the ground floor and by the generator on the higher section of the roof are useful for corner takedowns.
To begin with, if you want to do it stealthily you can try the following sequence of takedowns. You should use the floor to sneak up on the northeast Sentry Turret undetected and disable it when no-one is looking before returning beneath the floor and dealing with the pair of patrollers and the stationary Thug on the east side of the rooftop. Next, grapple up to the top of the roof and deal with the Thug patrolling the upper platform. Sneak up and disable the second Sentry Turret before approaching the rooftop entrance to the building and performing a Fear Multi-Takedown on the pair of Thugs guarding it.
Of course if you get detected at any time, you’ll need to retreat to the top of the room and scout the various locations for ways to take the enemies down that best suits you.
Once the rooftop is clear (you’ll still need to disable the Sentry Turrets if you got spotted). Approach the rooftop entrance to the building and interact with the hatch to head inside.
In the room below you’ll see a large group of enemies – we’ll need to deal with them shortly. For now however, locate one of the ventilation shaft hatches on either side of the room and use it to reach an underground passage beneath the room below.
Sneak over to the floor panel behind our target and then hit the button prompt to interrogate him when it appears on-screen. During the ensuing interrogation scene you’ll be attacked several times, be sure to hit the counter button when you see the indicator appear over Batman’s head to make the next fight slightly easier.
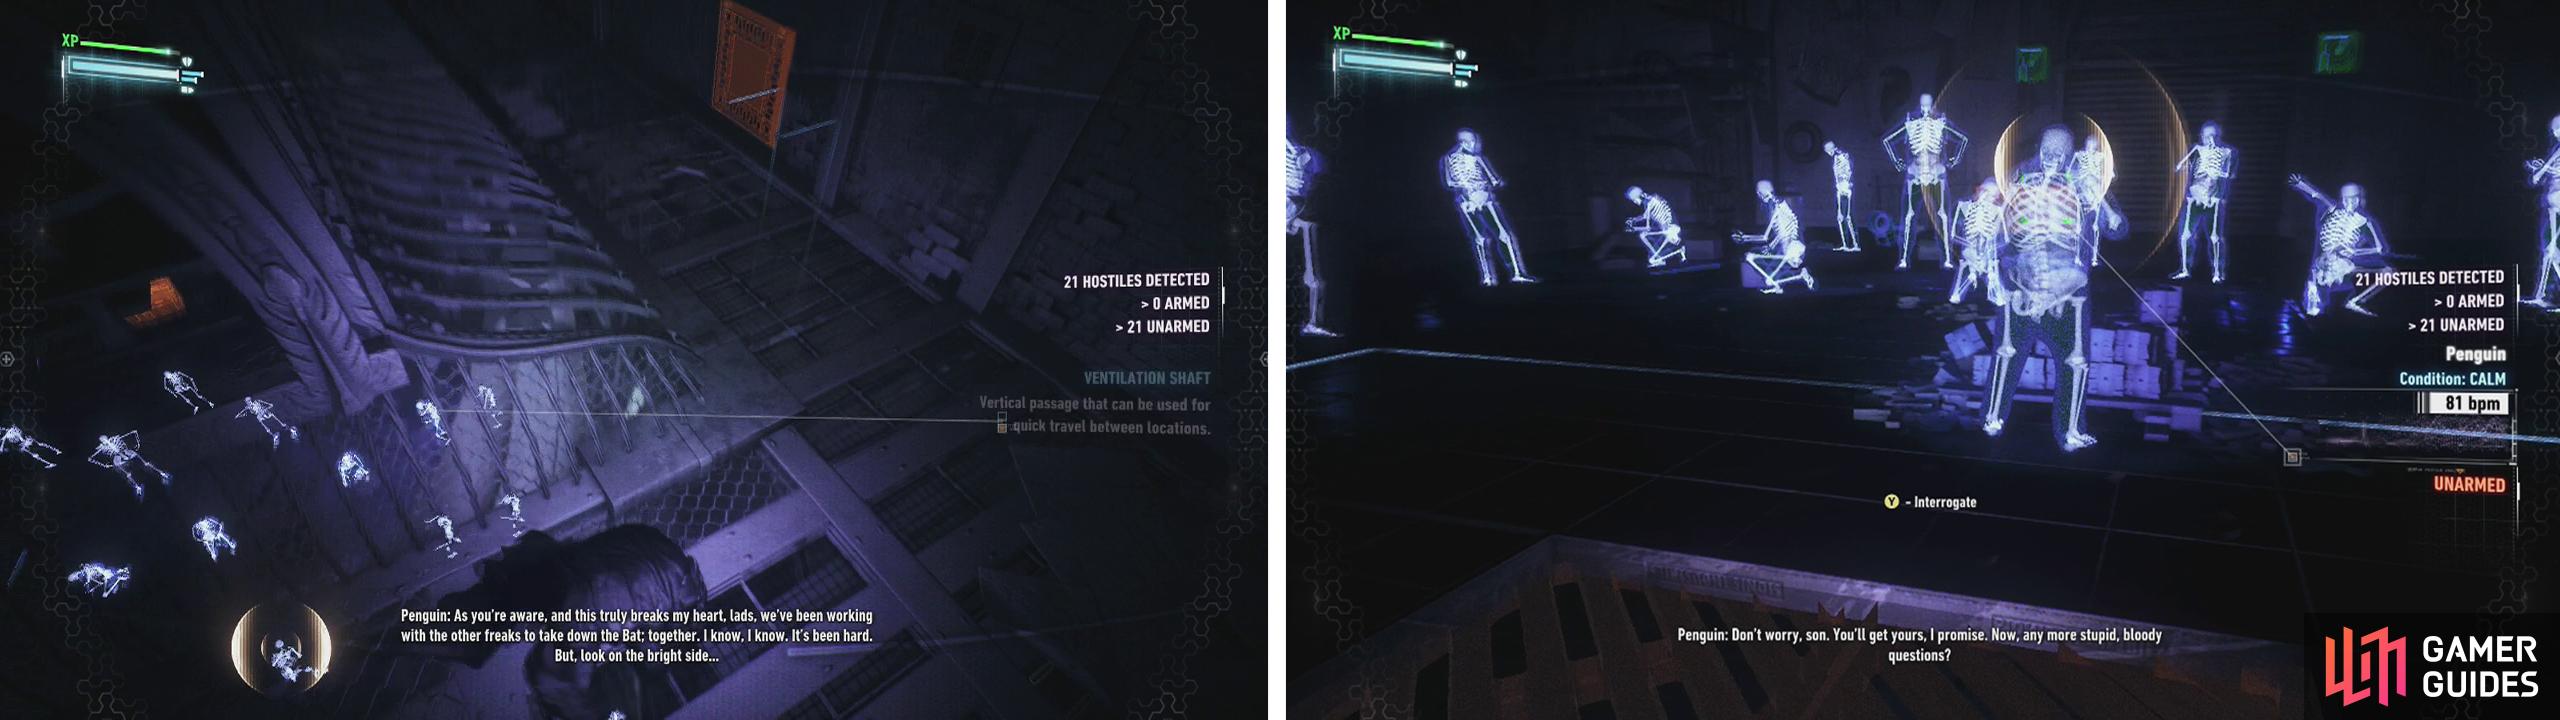
Once inside the building, look for the grating on the right (left). From sneak up on the target and interrogate him (right).
As soon as you regain control, you’ll be in another dual-combatant fight. This time we’ll be able to control both Batman and Nightwing . During team takedowns we can actually switch between the characters and fight as either. Nightwing’s attacks, like Catwoman’s earlier are similar to those of Batman, but have their own animations, with some taking slightly longer to complete. There are 20 Thugs (a few fewer if you countered some during the interrogation scene) and a Brute to deal with.
Once all of the enemies have been dealt with, our objectives will be updated.
Objective: Destroy the weapon cache
We’ll now need to destroy the weapon cache in the building. This is actually the first of five weapons caches located around Gotham (the others need to be found and destroyed during the ‘Gunrunner’ Most Wanted mission) and it is located inside the large vault.
To destroy the cache, we need to enter the vault and use our Explosive Gel to tag one of the weapon crates. Once that is done, exit the vault and interact with the door to move it into place. Back off to a safe distance before detonating the Explosive Gel to eliminate the weapons.


Return back up to the roof to find that there is an ambush in place ready to take you out if you try to exit the door. Instead, use your Batclaw to grapple to the support beam overhead. Pull out your gadget menu and switch to the Remote Batmobile Control .
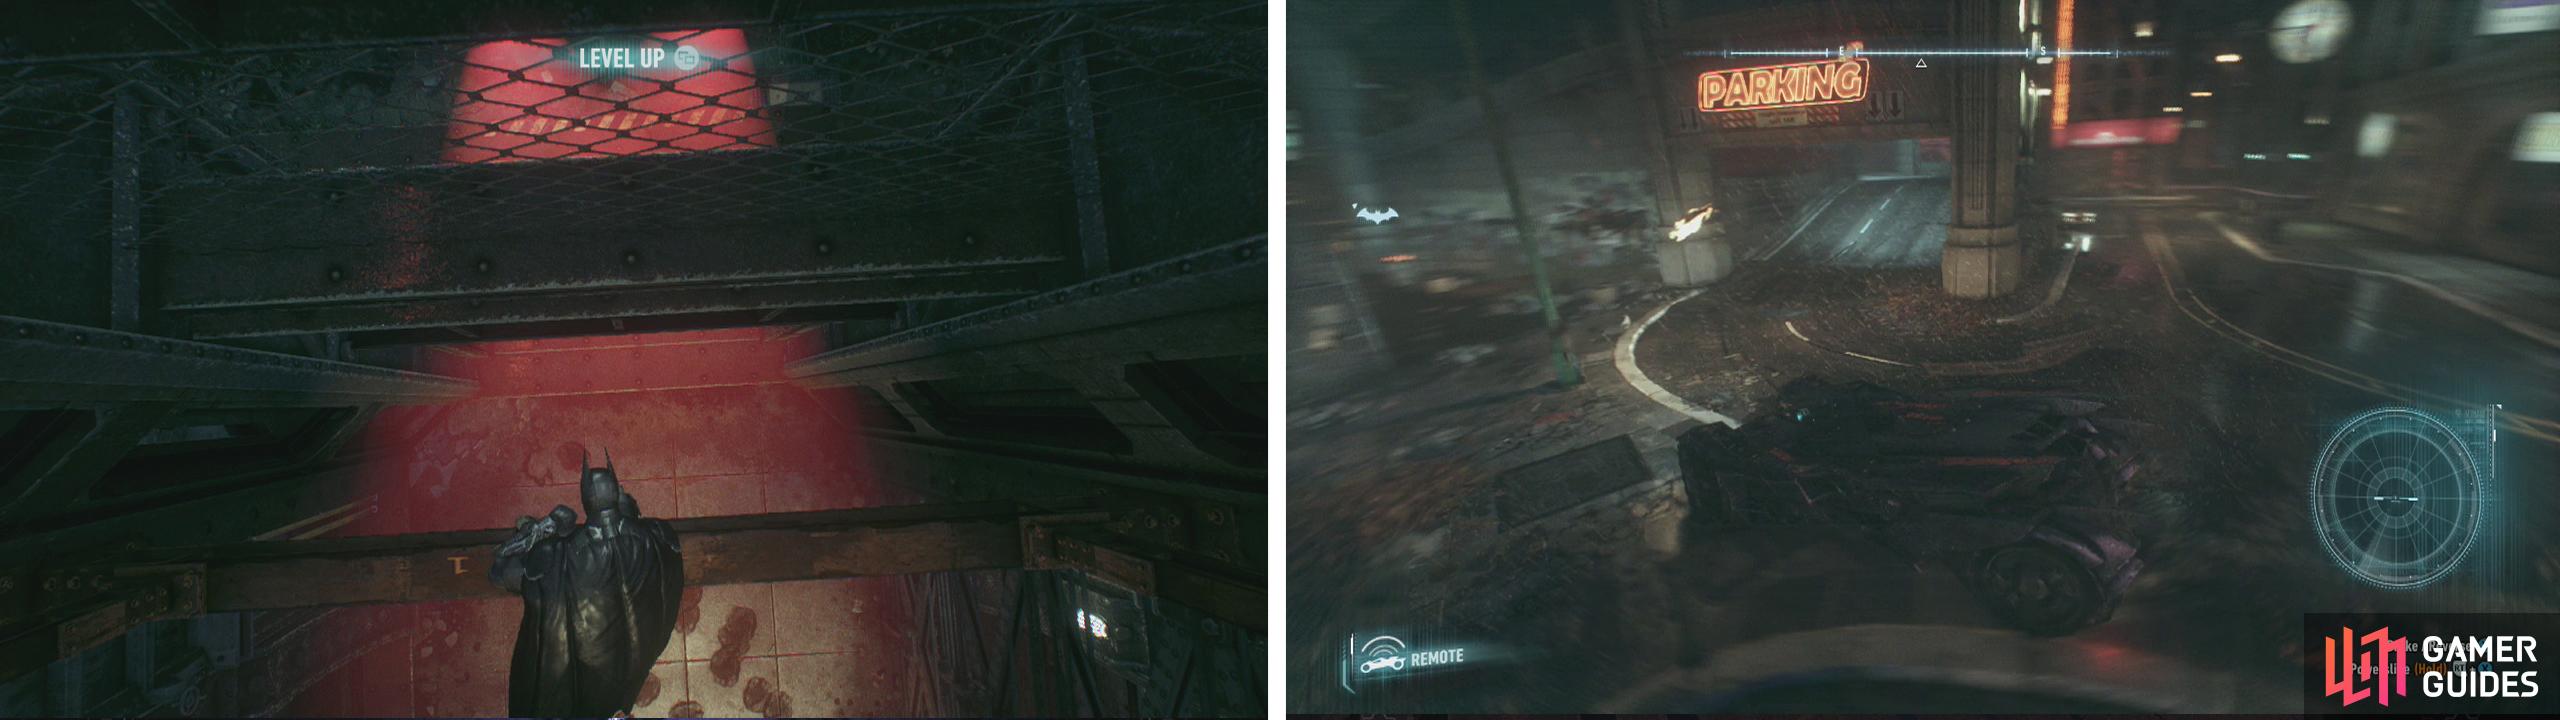
Upon returning to the roof, grapple up to the girders above (left). Use Remote Batmobile Control and dive to the top of the car park (right) to elimnate the ambushers.
Now that we are in control of the Batmobile, we’ll need to head over to the parking garage across the street from the building with the weapon cache. Enter Battle Mode for finer control and climb all the way to the top of parking garage. From here we can destroy the pair of Sentry turrets and the armed Thugs waiting just outside the door.
When it’s all clear, switch back to Batman and exit to the rooftop for a conversation with Alfred.
No Comments