Objective: Rendezvous with Gordon at the ACE Chemicals plant.
Now that we’ve discovered our next port of call, we’ll need to fly over to the bridge leading to the ACE Chemicals facility. Here we’ll cop a story scene when we arrive.
Objective: Rescue the ACE Chemicals workers
After the scene, grapple your way up to the wall above the gate leading to the ACE Chemicals plant. We’ll automatically transition into Detective Mode at this point and Batman will point out what we need to do next – clearing out a few armed soldiers.
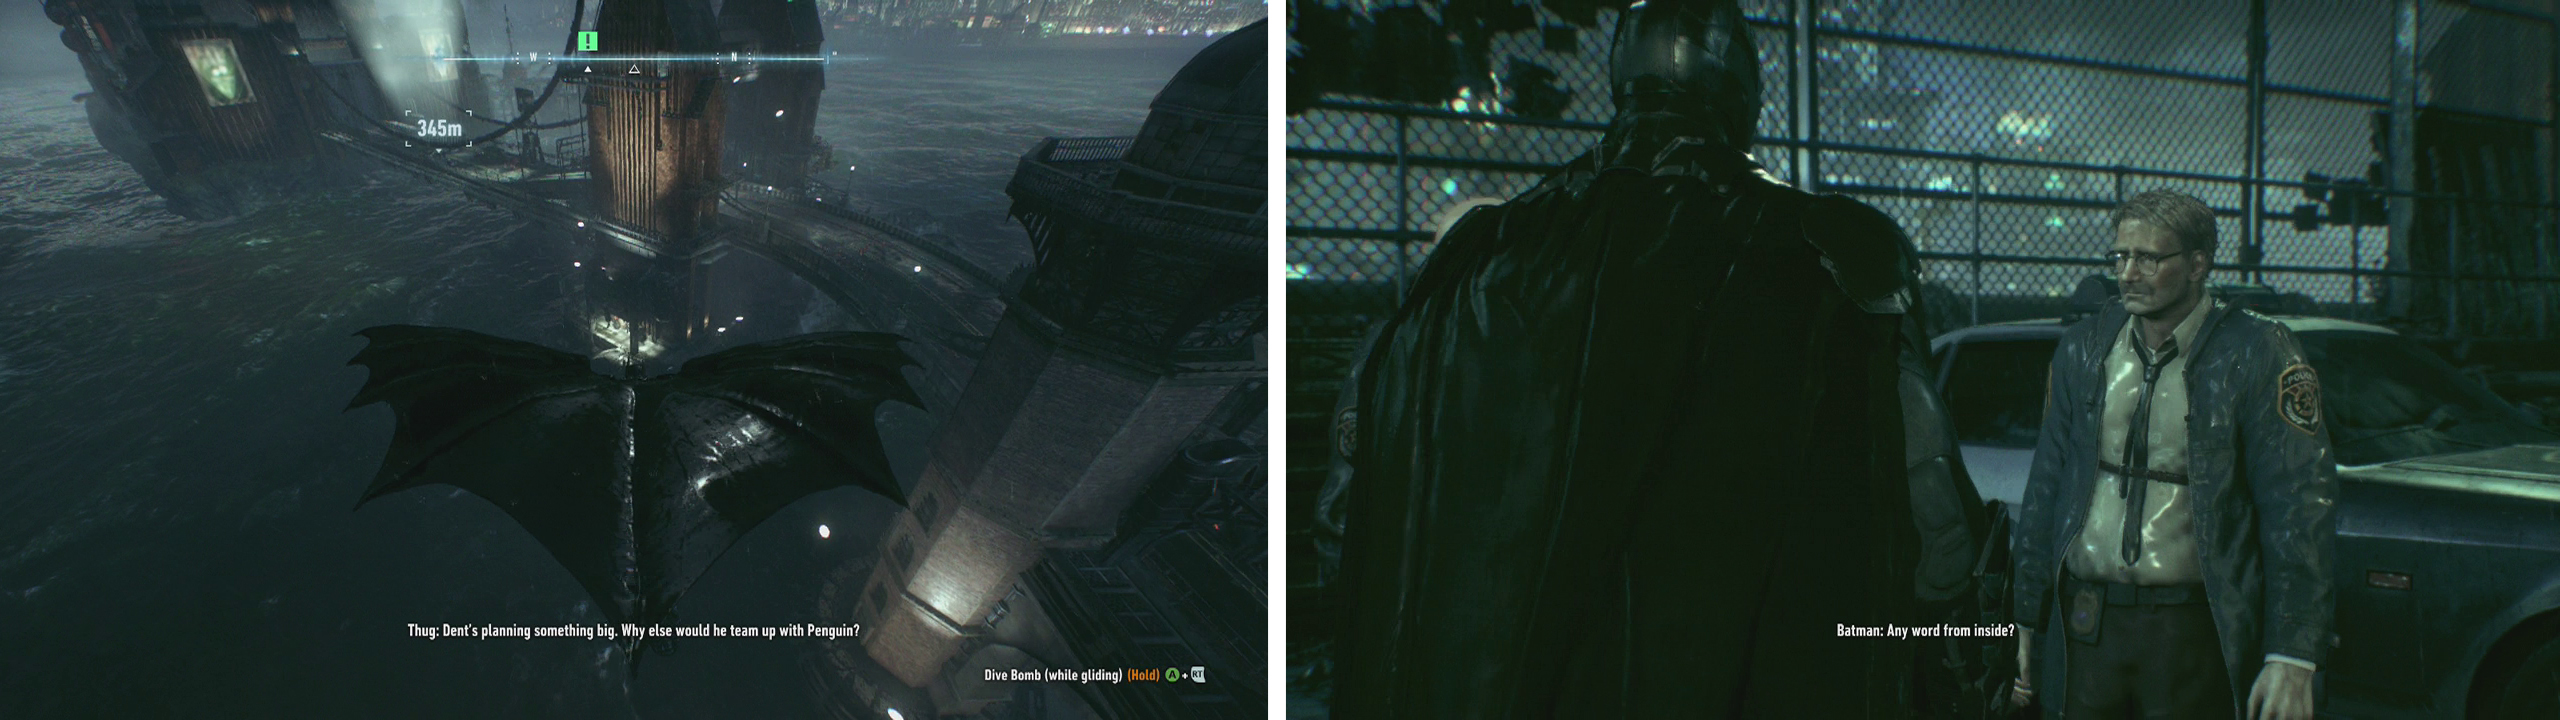
Make your way to the bridge leading to ACE Chemicals (left) and speak with Gordon (right).
You’ll also want to note the courtyards below filled with Drone Tanks. Land in this area with batman and he’ll be shredded to pieces in an instant – as such we’ll need to keep to the rooftops until we can get the Batmobile into the area.
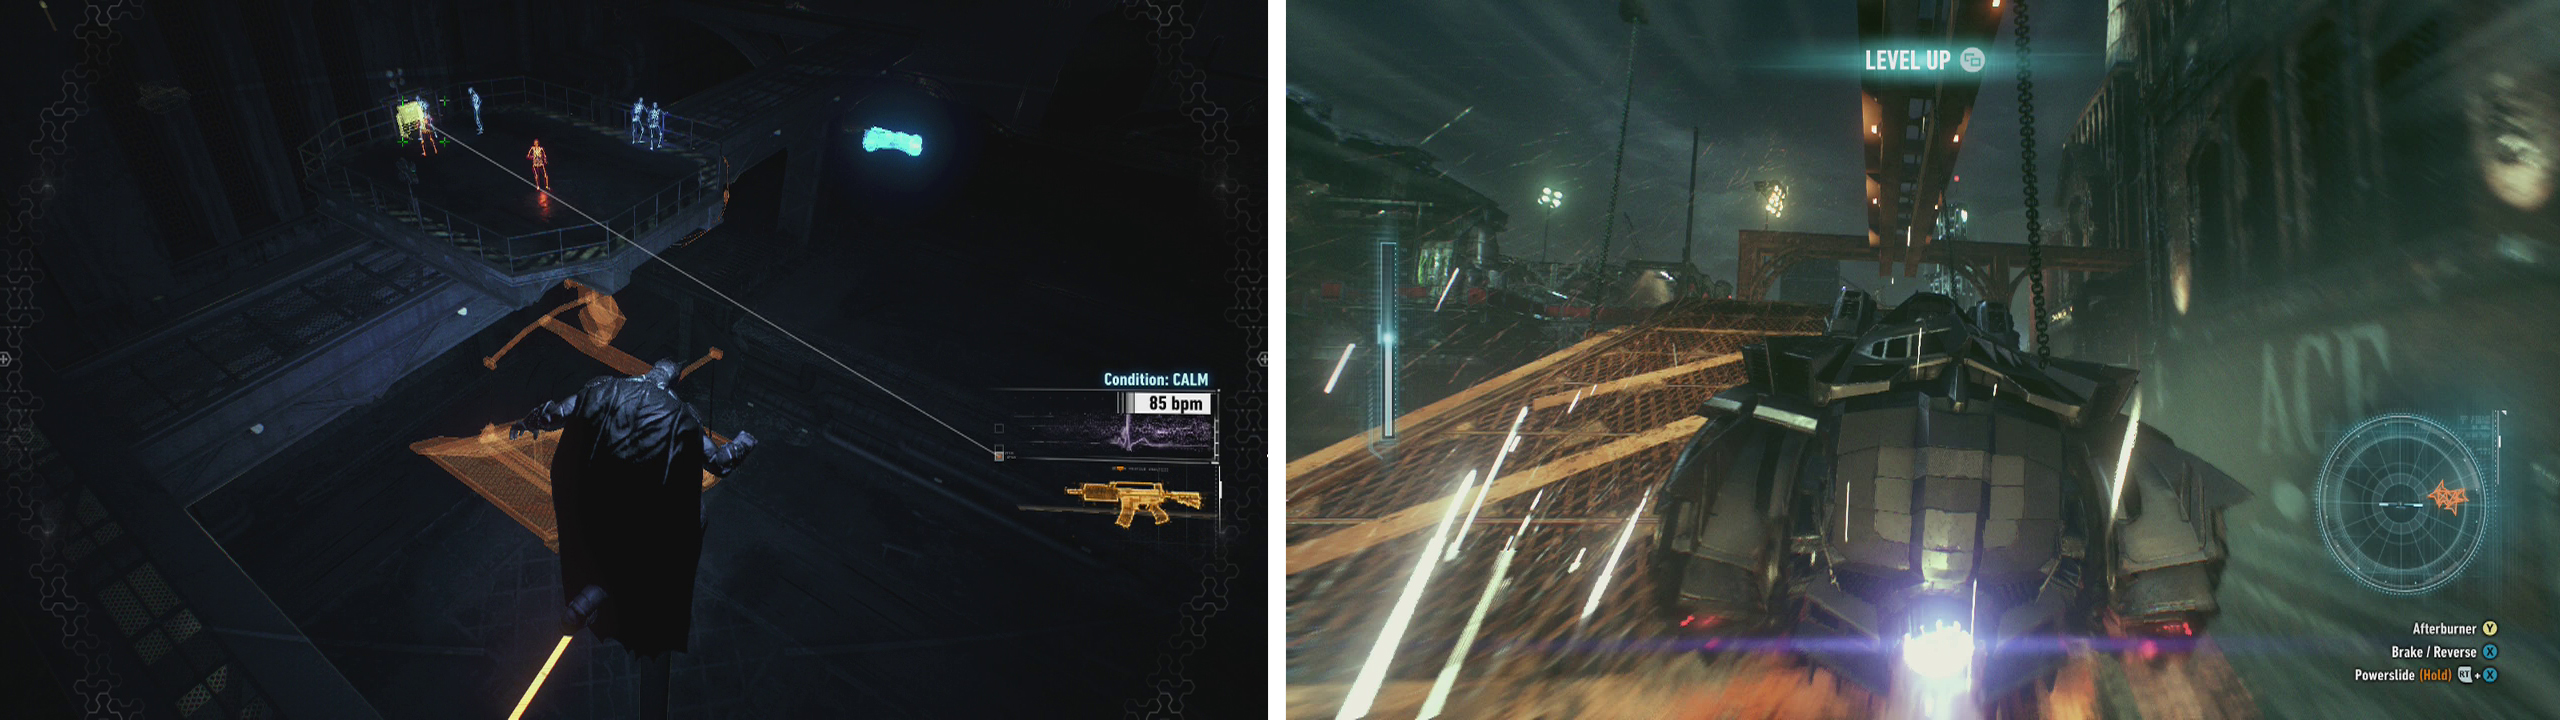
Predator Section 01
After the scene, you can either leap to the adjacent rooftop with the grating leading down to the platform below, or glide down and enter the floor grates here. There are five enemies in total and until you raise suspicions, two will stay together right in front of the terminal we need to access whilst the other three will patrol the area.
To make things easy, follow the patrollers using the below floor grates or the overhead cables and perform silent takedowns on them when they are out of sight of other guards. When all three of the moving enemies have been dealt with, approach the pair of soldiers talking by the computer and use a Fear Multi-Takedown to deal with them.
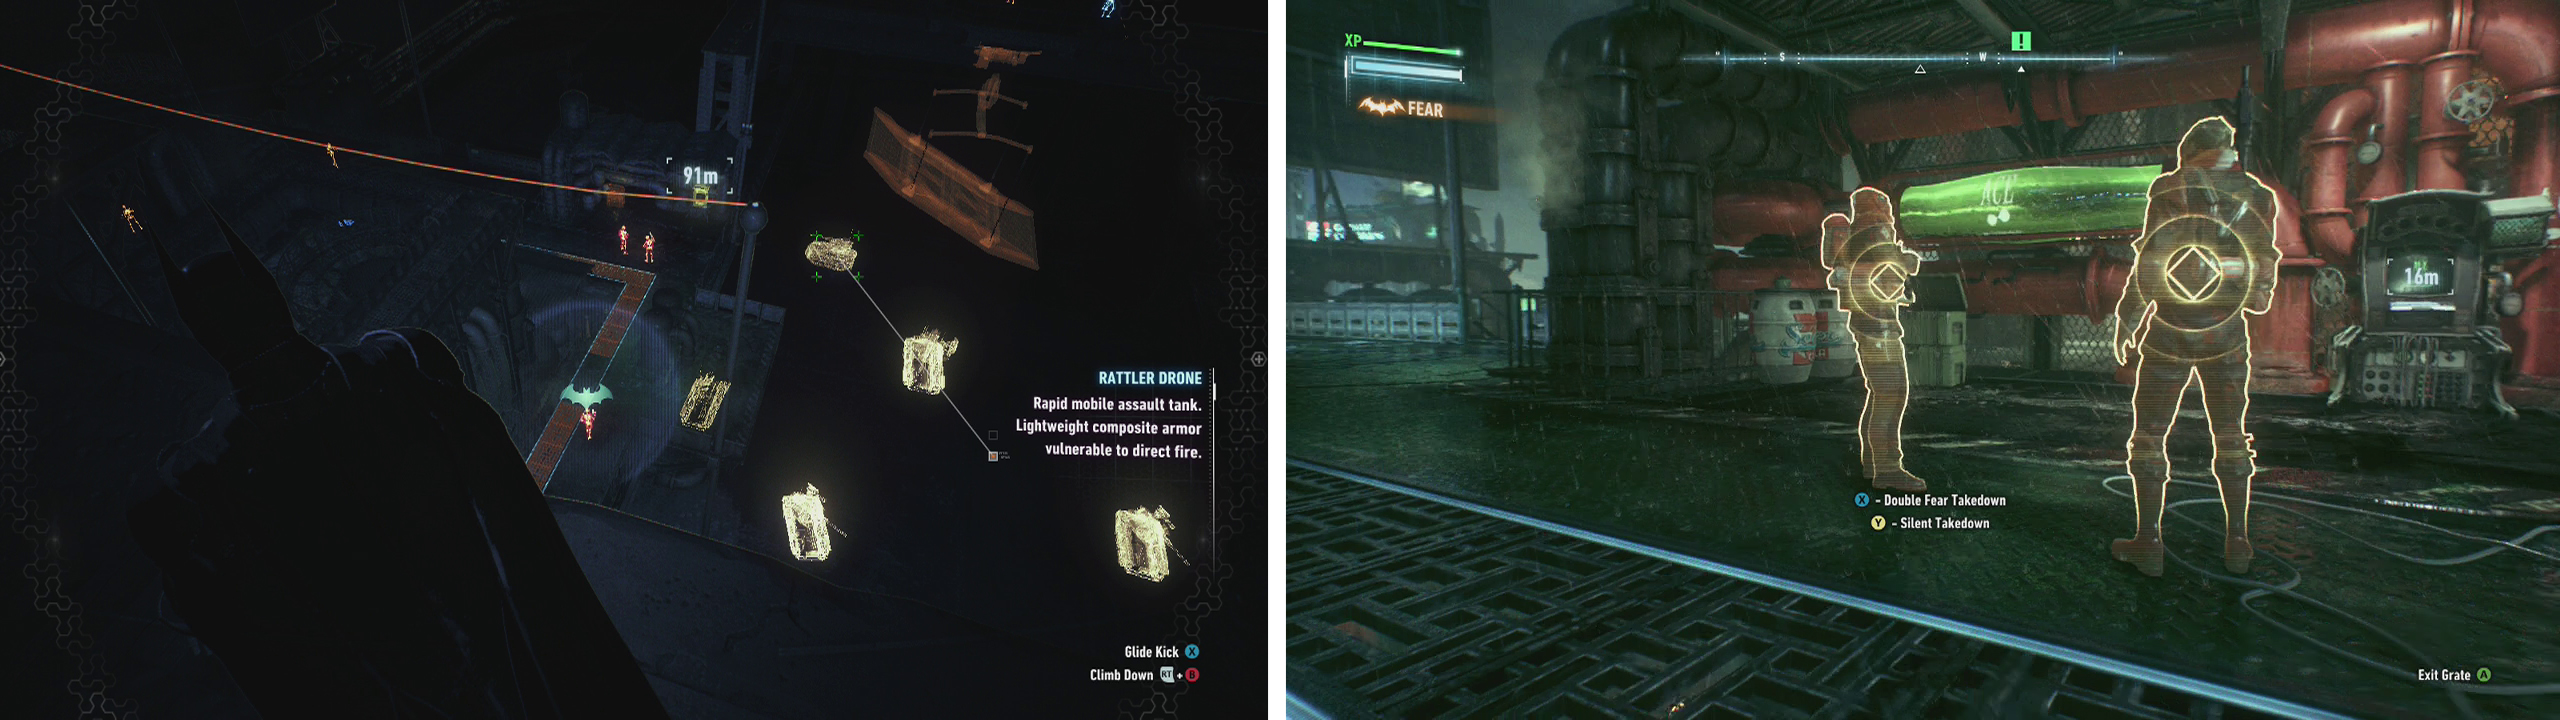
We’ll need to eliminate the guards here quietly (left). Use a Fear Multi-Takedown to eliminate the pair of guards (right)
Access the computer when you are able to do so. This will update our objectives.
Objective: Scan the ACE Chemicals plant for the missing workers
We’ll now need to grapple up to the very top of the ACE Chemicals building. A scene will play when we arrive and batman will fire out his Batarang again.
During this segment, the Batarang will cut laps of the facility and our job is to keep an eye on the meter in the centre of the screen – when it starts getting all ‘wavy’ like, hold it in position and hit the action button to analyse. This will reveal a hostage location. You’ll need to repeat this process five times in order to complete the flyover.
Objective: Open the main ACE Chemicals gate to allow access for the Batmobile
Now that we have all five locations handily marked on the screen for us as objective markers, we’ll need to do one more thing before we can get moving and that’s to allow the Batmobile access to the facility. Look for the ACE Chemical worker location closest to the main gate – that’s where we need to go.
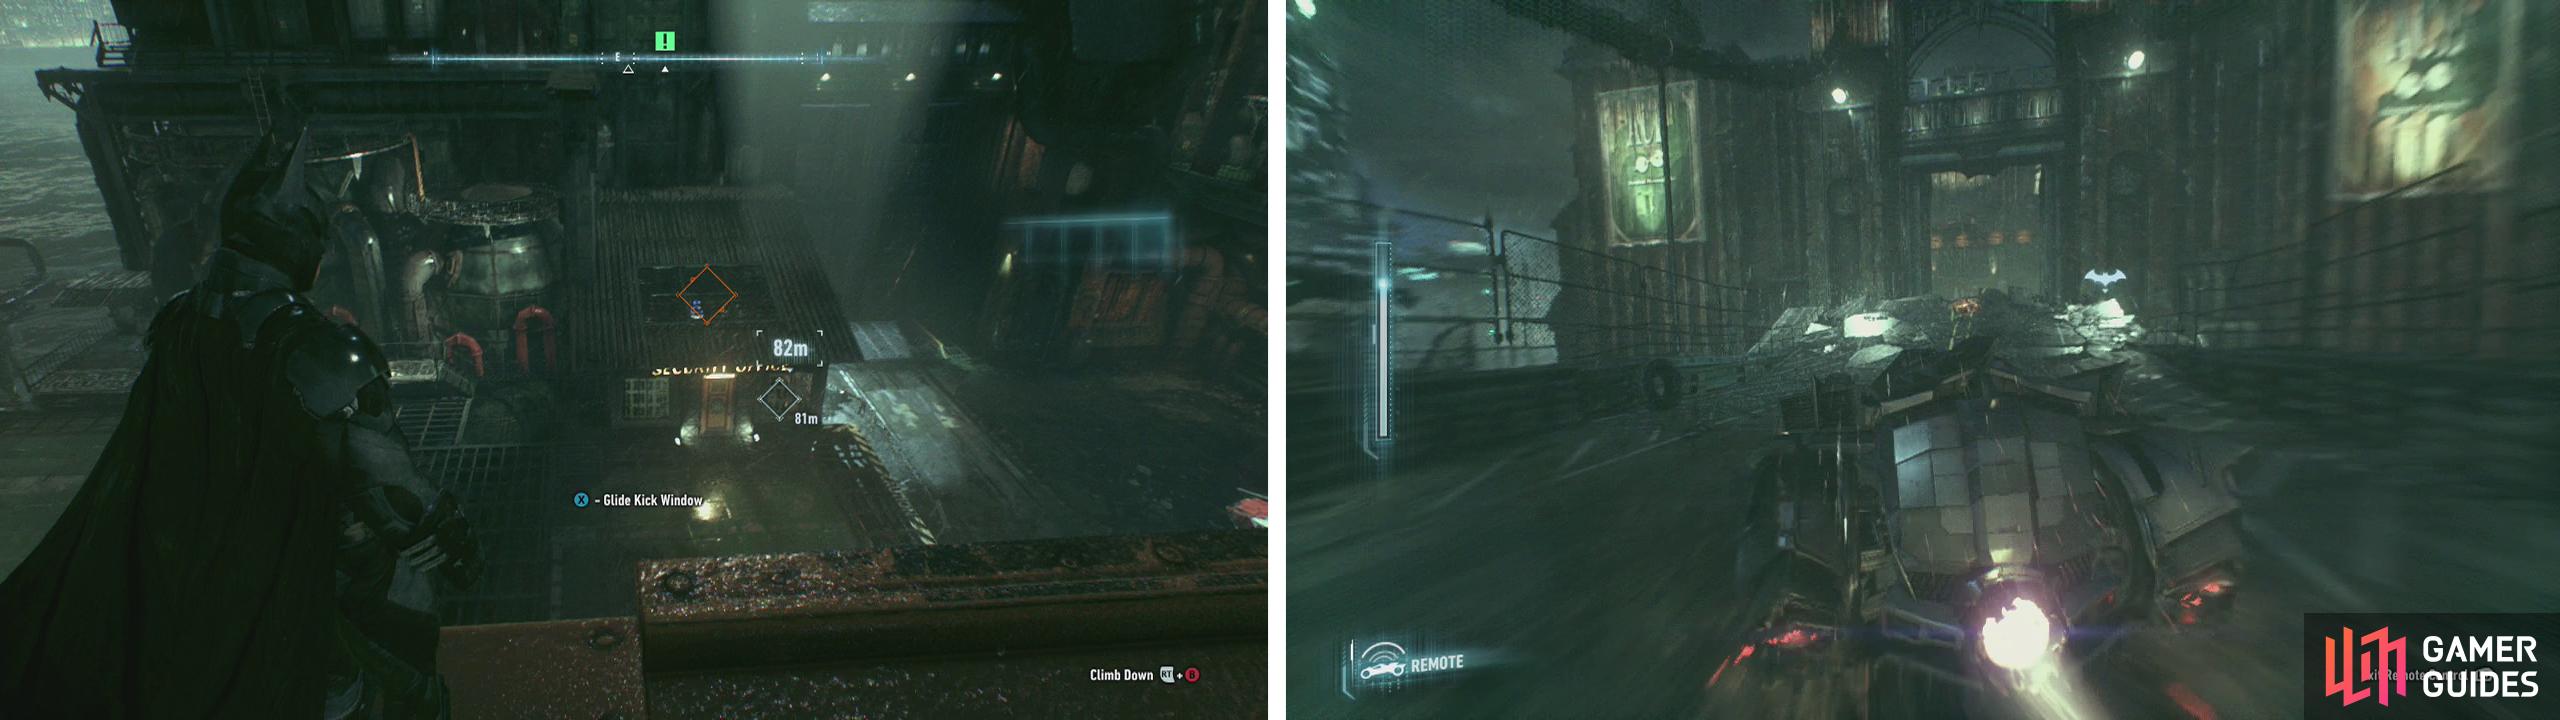
Crash through the window near the gate (left) and use the lever inside. Jump the gap with the Batmobile to enter the compound (right).
Find a vantage point above the objective marker and you’ll note that it is located within a small shack-type structure linked to the main wall. This room contains five regular Thugs (one armed with a melee weapon) and the hostage. Fortunately the roof has some windows which we can either glide kick from a distance or drop through to perform a takedown on an unsuspecting guard in the room below.
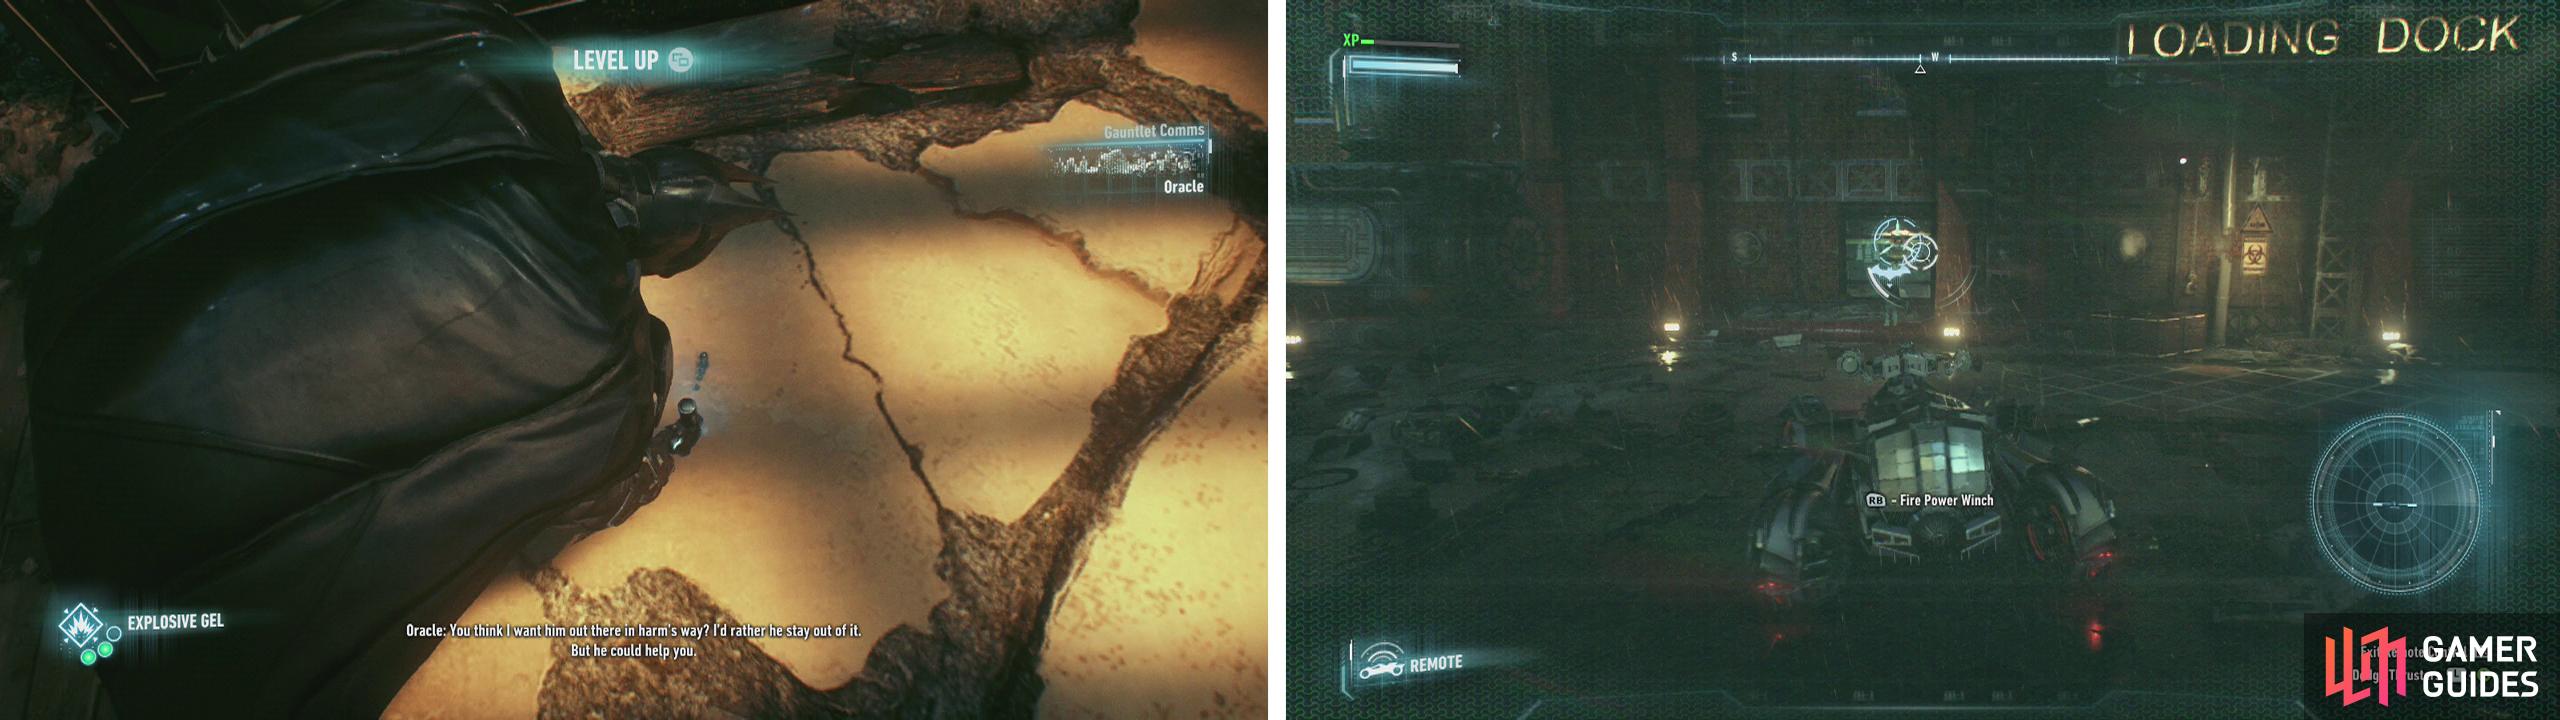
Once inside, fight off the remaining enemies and then interact with the Hostage [1/5] and after a brief conversation with Oracle, pull the switch on the wall next to him to open the main gate.
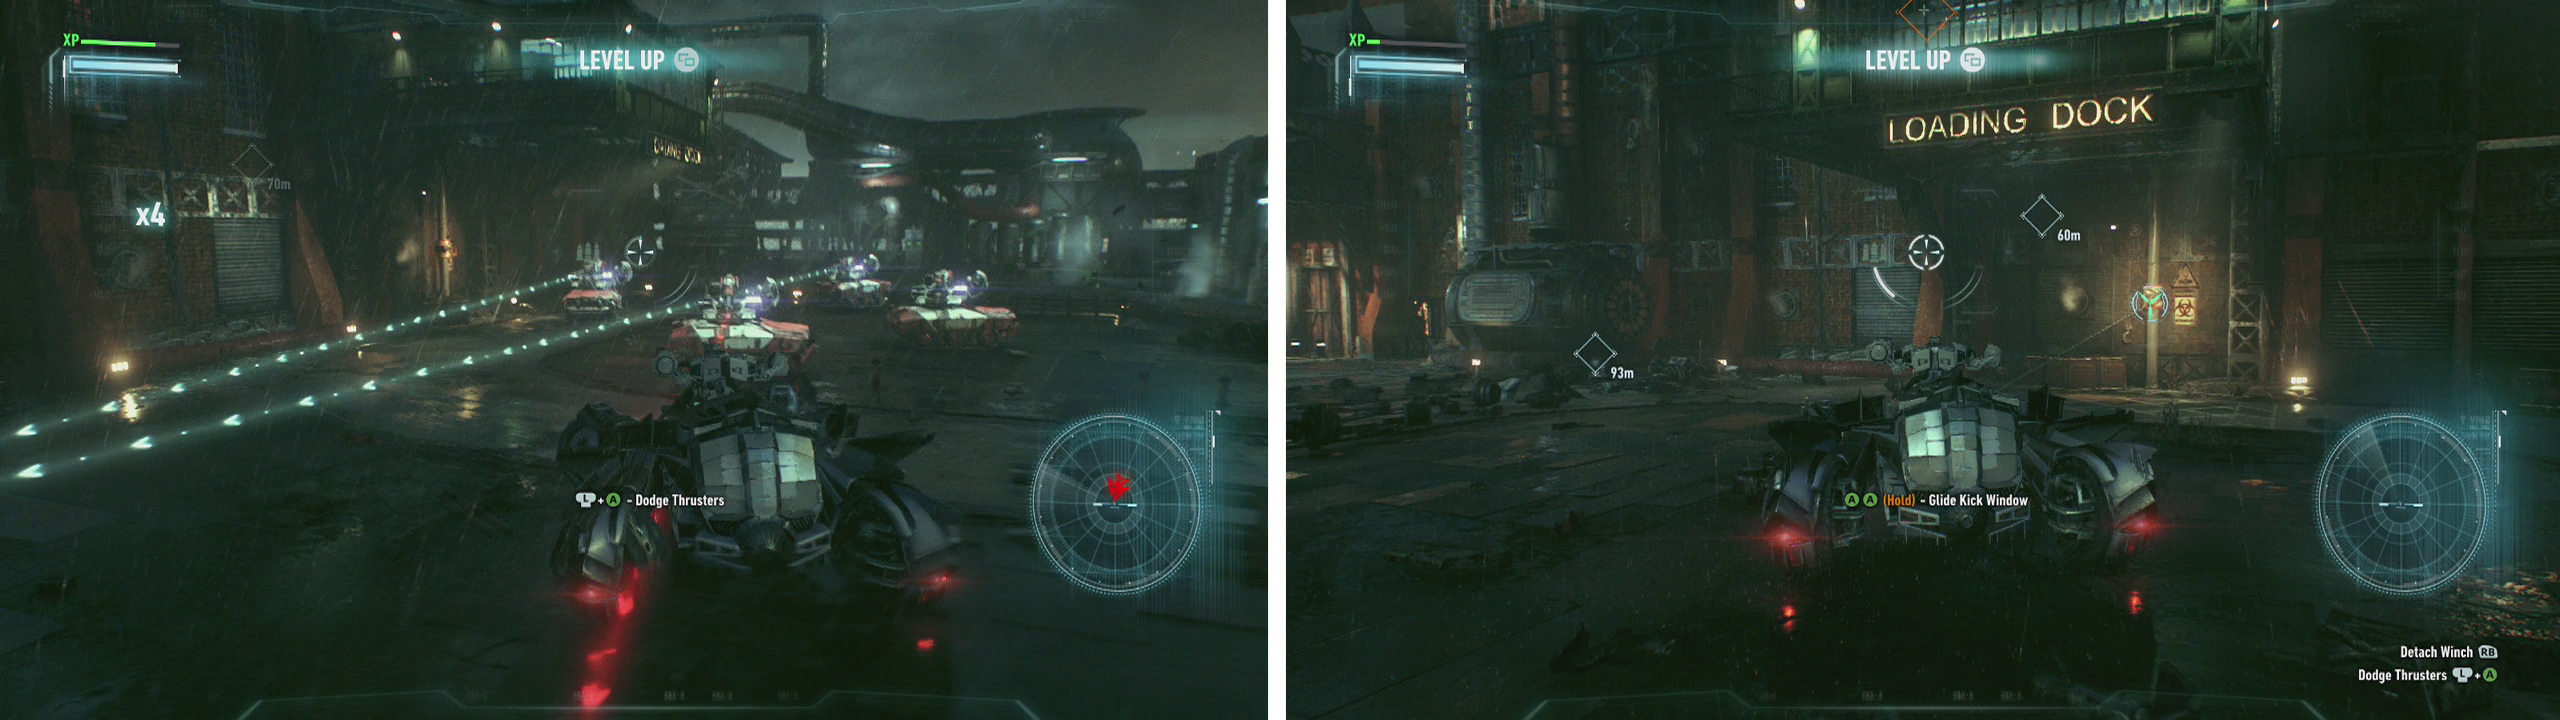
At this point, we can use the Batmobile remote to take control of the vehicle. Use the Power Winch on the anchor point here to raise the section of road closest to the gate to create a ramp. Have the Batmobile take a run up and use the Afterburner as you hit the ramp and jump across the gap into the ACE Chemicals compound. As you land, prepare to fight as there are several Drone Tanks waiting for you.
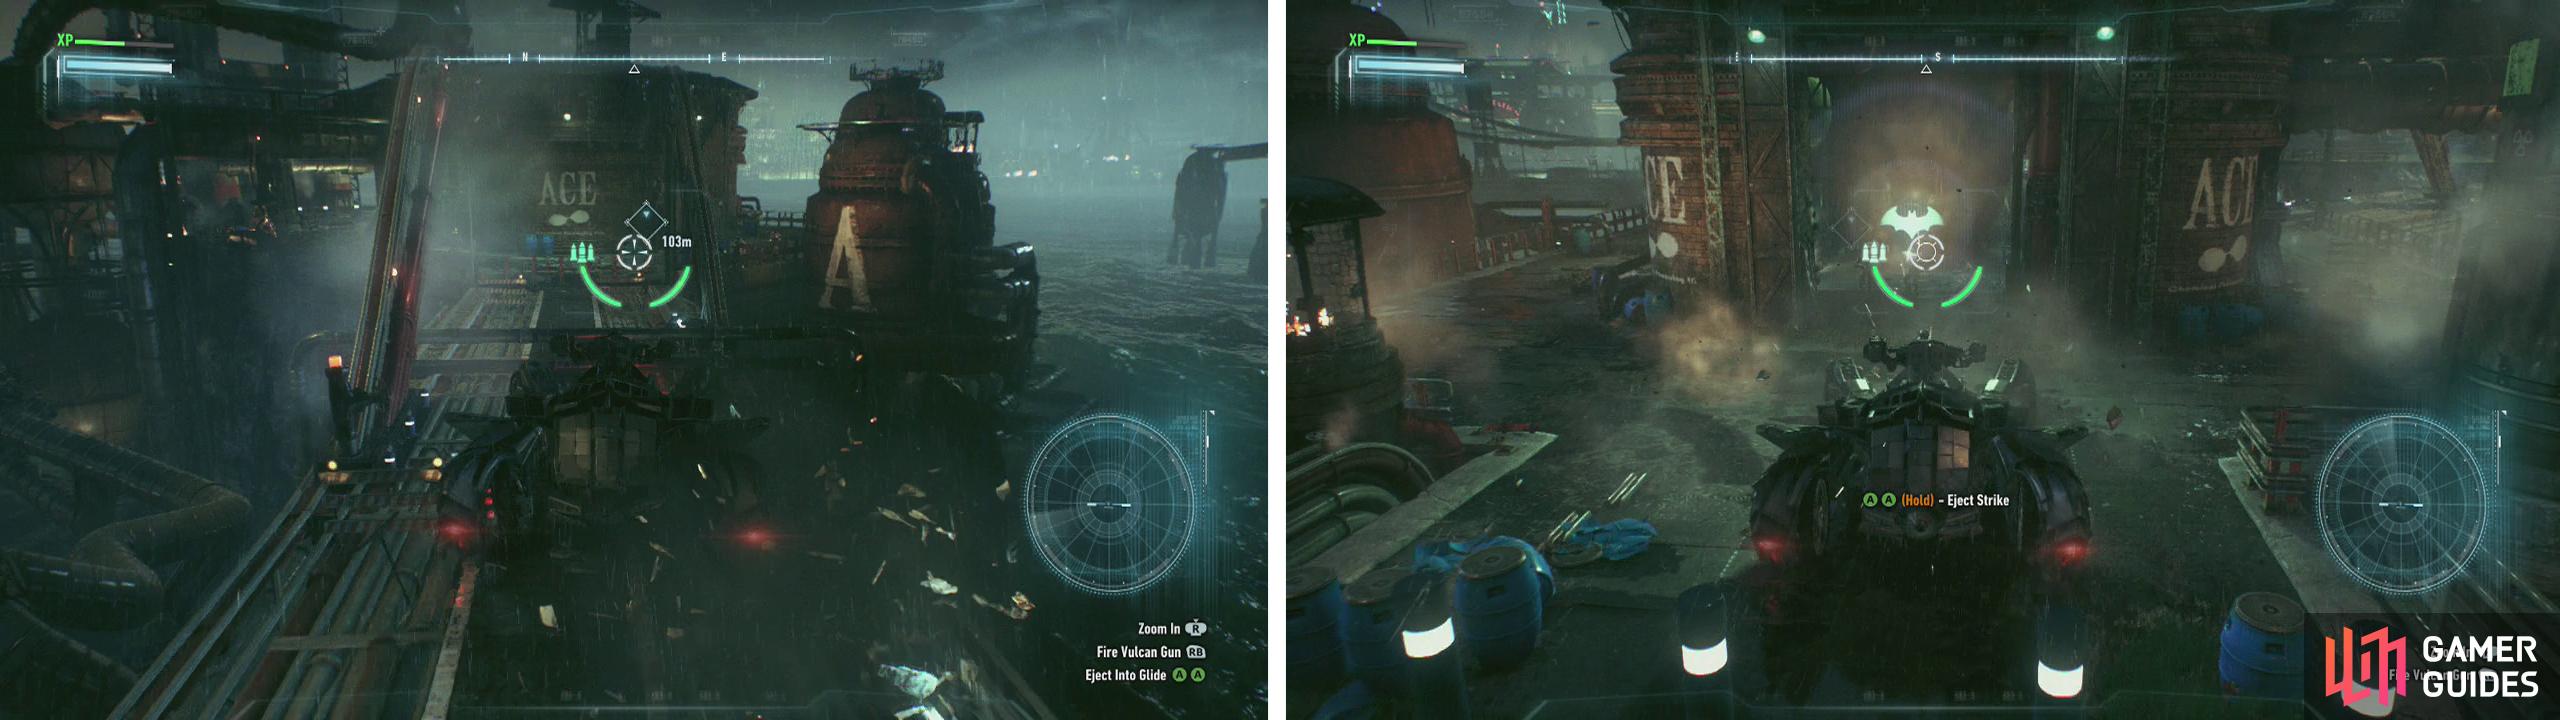
There is a total of five Drone Tanks here, with four of the standard Rattlers we have encountered before and a new type – the Diamondback which is able to fire three shots in a spread in front (it will also take more than 1 shot to the turret to kill). As per the usual, you’ll want to avoid those holographic targeting lasers by using your dodge, or simply manoeuvring out of range. Hitting the Rattlers directly on the turret area will destroy them instantly – so be sure to go for the easy kills!
After you have dealt with the hostiles, look along the right hand wall from the entrance to find an anchor point for the Power Winch . Pull this down to create a ramp.
Climb the ramp and enter Battle Mode for finer control. Approach the railing opposite the top of the ramp and use the narrow walkway here to reach the small platform with a building on it. Shoot the three armed guards here.
Use Battle Mode to traverse the narrow platform (left). Pull down the weak wall and shoot the enmies within (right).
Locate the anchor point on the side of this building and use the Batmobile’s Power Winch to tear down the wall. Shoot the remaining enemies before exiting the vehicle and heading inside. Make your way into the room behind the glass panel at the back of the area and approach the Hostage [2/5] for a scene.
Towards the end of the scene, you’ll be able to access your gadget wheel – select the Remote Batmobile Control and have your vehicle floor all five of the Soldier enemies in the room outside. Doing this will free you from the room, but will only temporarily stun the enemies. As such, give them a taste of fisticuffs to knock them out good – but remember to prioritise the pair that have firearms to prevent ranged attacks!
When the area is safe, walk over and interact with the Hostage [2/5] to free him. Hop back into the Batmobile and head back to the main facility – note the hanging ramp here – we’ll be back for this in a moment. For now however, take the hostage to Gordon’s location on the bridge outside.
Now that we have offloaded the first hostage, return to the ACE Chemicals compound and head up the ramp to the right again. We’ll now need to make use of that hanging ramp. Look above the ramp and you’ll see that it is on a moving arm of sorts and at the far end of this is a platform with a control panel. Grapple up to the platform and get ready to fight.
Initially, the platform is occupied by a group of six regular Soldier types (two of whom have guns). Prioritise the armed gentlemen and knock the remainder out and another four enemies will drop in. This second wave of goons consist entirely of Combat Experts (ninja sword-wielders).
Combat Experts resemble the ninja-like enemies that we encountered in Batman: Arkham City. These guys are tougher than regular Thugs/Soldiers as they can dodge using short range teleports, will occasionally counter your attacks and pull off joint attacks by jumping off each other or nearby walls. Finally they are equipped with swords which will do much more damage than a melee attack – so be ready to roll, dodge and counter!
Clear the enemies from the platform (left) to move the ramp. Use the ramp to jump to the next area (right).
After clearing the platform, you can access the control panel here which will enable us to move the hanging ramp about. Keep its orientation in line with the edge of the platform and lower it onto the ledge.
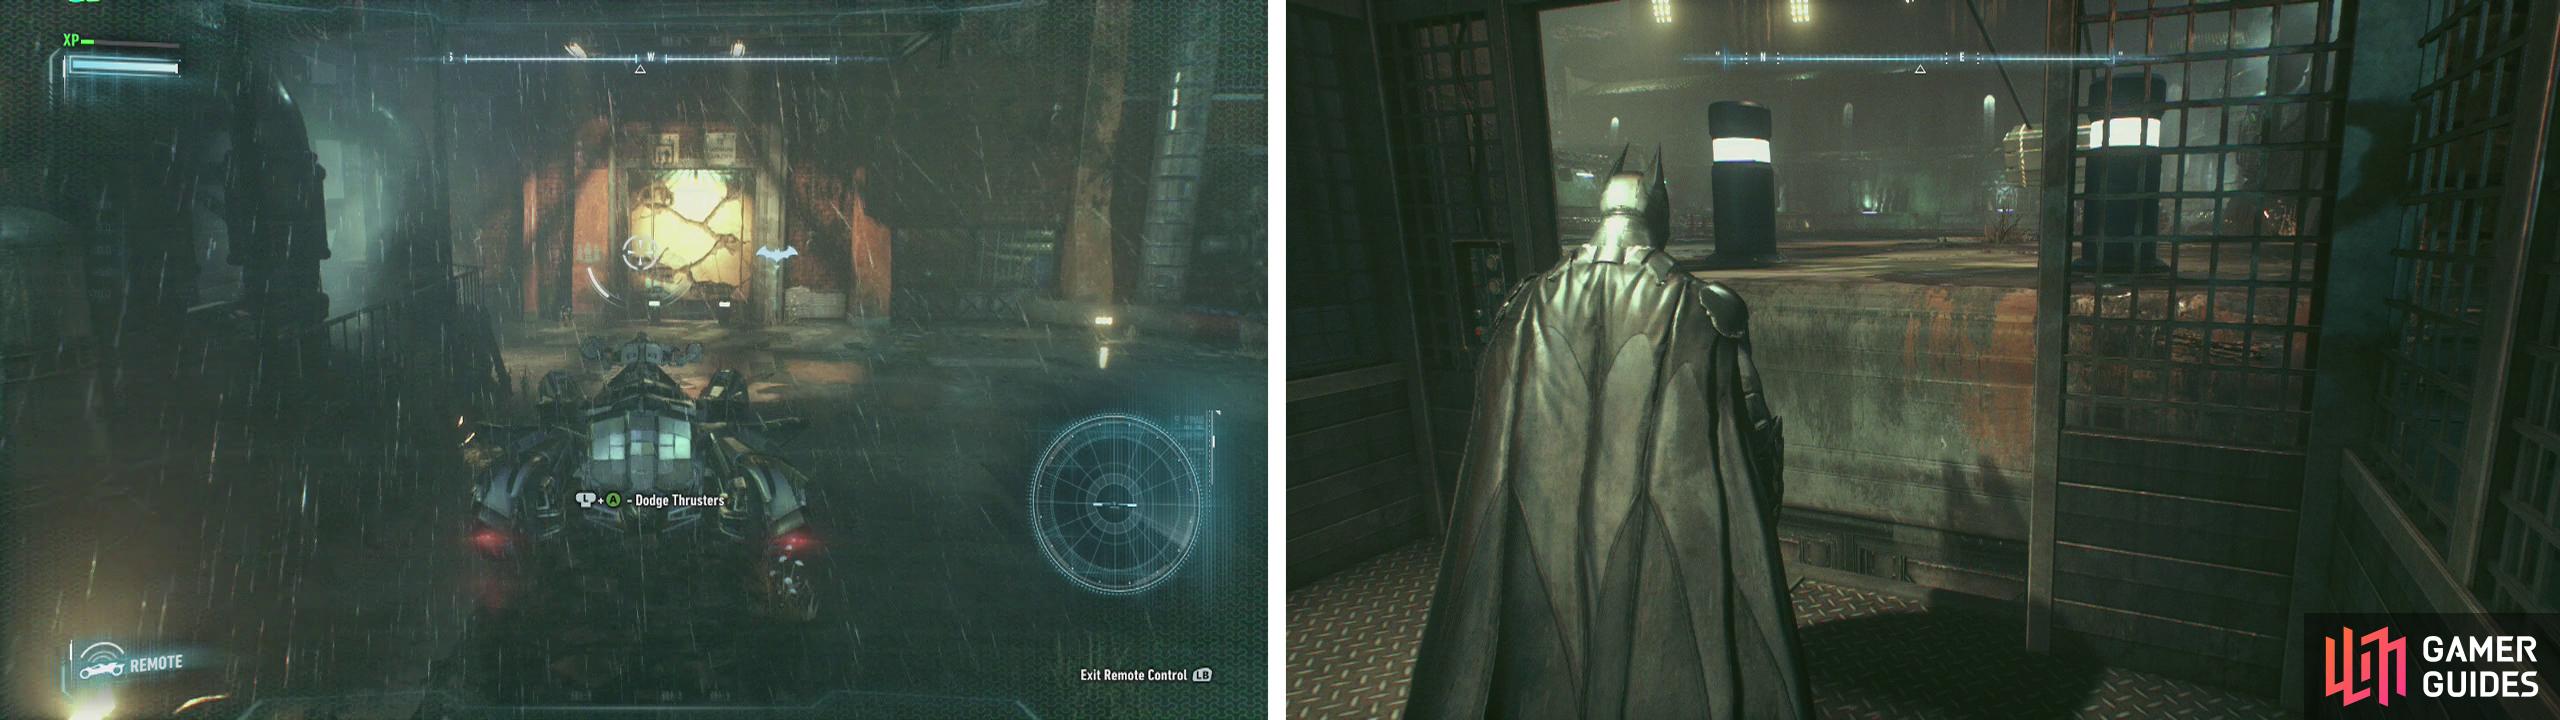
With the ramp in position, have the Batmobile take a run up and use the Afterburner as you hit the ramp to jump across the courtyard below and up to the next level. Enter the open doorway to the right and once again get ready for another Batmobile fight!
There is a total of eight Drone Tanks in the open area here with six Rattlers and two Diamondbacks making up that number. Remember that hitting the Rattlers directly on the turret area will destroy them instantly, which makes things much easier. Do your best to shoot them whilst avoiding incoming fire to build up your Batmobile’s Missile Barrage special attack to finish them off much quicker!
Once the area is clear of baddies, look along the back wall on the right side of the area for an anchor point beneath a ‘Loading Dock’ sign. Attach the Power Winch and back up until it breaks.
Clear the courtyard of Drone Tanks (left). Use the Power Winch to pull out the anchor point (right).
Exit the Batmobile and grapple up to the roof of the ‘Loading Dock’ building above the anchor point. Drop through the window here and fight off the enemies inside. In addition to five Soldiers (three are equipped with melee weapons), you’ll also bump into your first medic during this fight.
Medics are about as strong as your regular Thug/Soldier but they have a few special abilities than make them annoying. As a mainly support class enemy, they can be hard to target as they’ll run around the area whilst other enemies attack you. They have the ability to revive up to three enemies that you knock out back to full health, forcing you to fight them all over again. Towards the pointy end of the game, the Medics can also give enemies an electrical charge that will damage you if you attack said enemy. During most fights, it is in your best interests to attempt to single out and knock out the Medics first before moving on.
When there is a cessation in hostilities, you can flick on your Detective Mode to find the weak wall and use your Explosive Gel to knock it down. If you have not yet used the anchor point in the courtyard below with the Batmobile there will be some superheated steam here that will halt your progress (so go do it if you haven’t).
Enter the hallway behind the destroyed wall to find the next Hostage [3/5]. Continue to the end of the corridor and use your Explosive Gel on the weak floor to remove it. Drop down to the area below.
Drop through the floor using Explosive Gel (left). Open the window and have the Batmobile use the Power winch on the anchor point inside (right)
There are several vents spewing superheated steam ahead that prevent us from moving further. If you turn around and explore where you landed, you’ll find a control panel that will open a nearby window that we can activate and another weak wall that we can destroy with the Explosive Gel . Once you have done both, activate the remote Batmobile control.
Drive up to the now open window and through it, in the section behind the destroyed wall you’ll see an anchor point. Latch onto the anchor point with the Power Winch and pull it until it snaps. This will disable the steam vents.
As Batman, duck beneath where the steam was coming from earlier and in the next room you’ll find the fourth Hostage [4/5] . Again, proceed until the end of the hallway and this time you come across an elevator.
Interact with the yellow electrical panel on the left hand wall to open the elevator doors. Switch back to the Batmobile and approach the open door. Shoot the weak wall directly opposite the entrance to destroy it and reveal another anchor point for the Power Winch .
This anchor point is actually on a counterweight attached to the elevator car below. Grabbing it with the Power Winch and pulling it away from the shaft will bring the elevator to the top. Once it is up, enter the elevator car with Batman and then have the Batmobile move back towards the elevator shaft slowly to lower it.
Destroy the weak wall (left) and pull the counterweight out into the couryard to raise and lower the lift (right).
At the bottom, exit the lift and use the Batclaw to grapple up into the hatch on the roof nearby. Work your way through the passages here and remove the vent cover to find yourself above the enemies in the room below.
Use the roof here to perform either a takedown from above on a single enemy, or a Fear Multi-Takedown (if you have one ready to go) to drop up to three of them to start the fight. The room is occupied by a Medic, three Combat Experts and six Soldiers. Make sure you prioritise the Medic (or at least disrupt his reviving attempts) before focusing on the others. There are also multiple crates around the room, so be sure to look out for enemy projectiles!
Once you have beaten down the enemies here, you can approach the Hostage [5/5] and speak with him for a scene. Following a brief chat, enter the elevator and switch to the Remote Batmobile Control to draw the elevator back up to the top.
Exit the elevator to trigger a boss fight.
Boss: Arkham Knight Attack Helicopter
This is the first of several (unfortunately) boss fights that take place in the Batmobile and it can be a little tricky if you haven’t quite got the knack of the Batmobile’s combat controls just yet. The start of the fight has us squaring off against not only the attack helicopter, but five additional Drone Tanks (Three Rattlers and two Diamondbacks) at ground level as well. The first order of business is to clear the ground forces out before focusing on the flying threat.
Do your best to rack up successive hits and kills on the ground units so that you can unleash your Missile Barrage . As you do be sure to keep an eye out for the red, circular holographic markers on the ground – these represent RPGs fired by the gunship and the splash damage they dish out is pretty damaging unless you have upgraded your Batmobile (unlikely this early in the game).
The attack chopper itself has two attack patterns – it will hover at either end of the area and fire RPGs into the arena which will be represented by the red circles on the ground which can be dodged and missiles which will lock onto the Batmobile which will need to be shot down using the machine guns. It will also perform strafing runs across the centre of the fight area, dropping RPGs in a straight line beneath it as it goes.
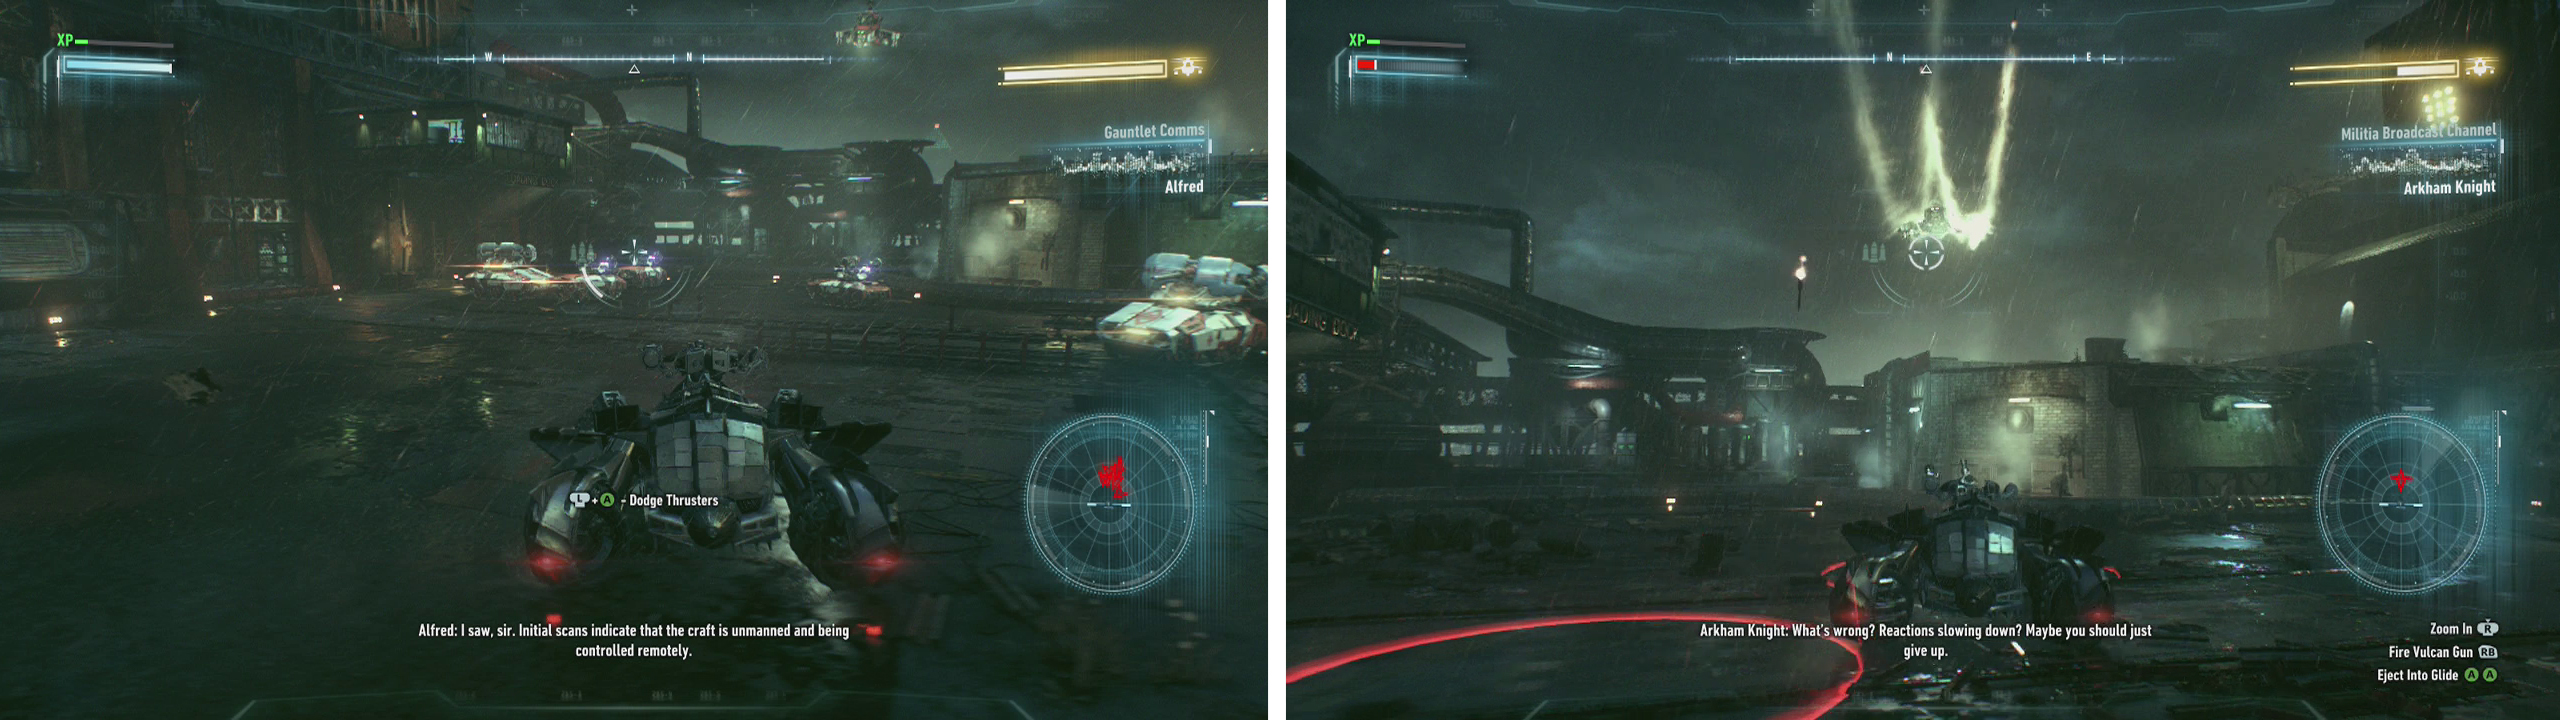
Defeat the Drone tanks (left) first before focusing on the Attack Helicopter (right).
To defeat the helicopter, we need to avoid all of the incoming fire and continue to shoot it when you get the opportunity to do so. Hold down the machine gun over it whilst using your tank shells when the cool down is up to maintain maximum damage output. It is not particularly tough and a few shots will take it down – the tricky part is avoiding all of the incoming fire!
Once the helicopter has been destroyed, return to where we entered this area originally and hit the button here to lower a platform. Use the lift here to take the Batmobile back to the starting area. Return to Gordon on the bridge to drop off the hostage.


No Comments