Objective: Speak to GCPD Communications officer to investigate possible lead
Drive over to the GCPD building and park in the basement. Enter the Communications Room and head on over to speak with the GCPD communications officer indicate by the objective marker for a chat.
If you neglected to pick up the Remote Electrical Charge gadget earlier, you can enter the Evidence Room to find a museum of sorts featuring objects from various super-villains that we have fought previously in the series to date – interact with these for a bit of brief dialogue. The most important piece of evidence in this room though is the Remote Electrical Charge gadget behind the display opposite the entrance. Smash the glass and grab it to continue.
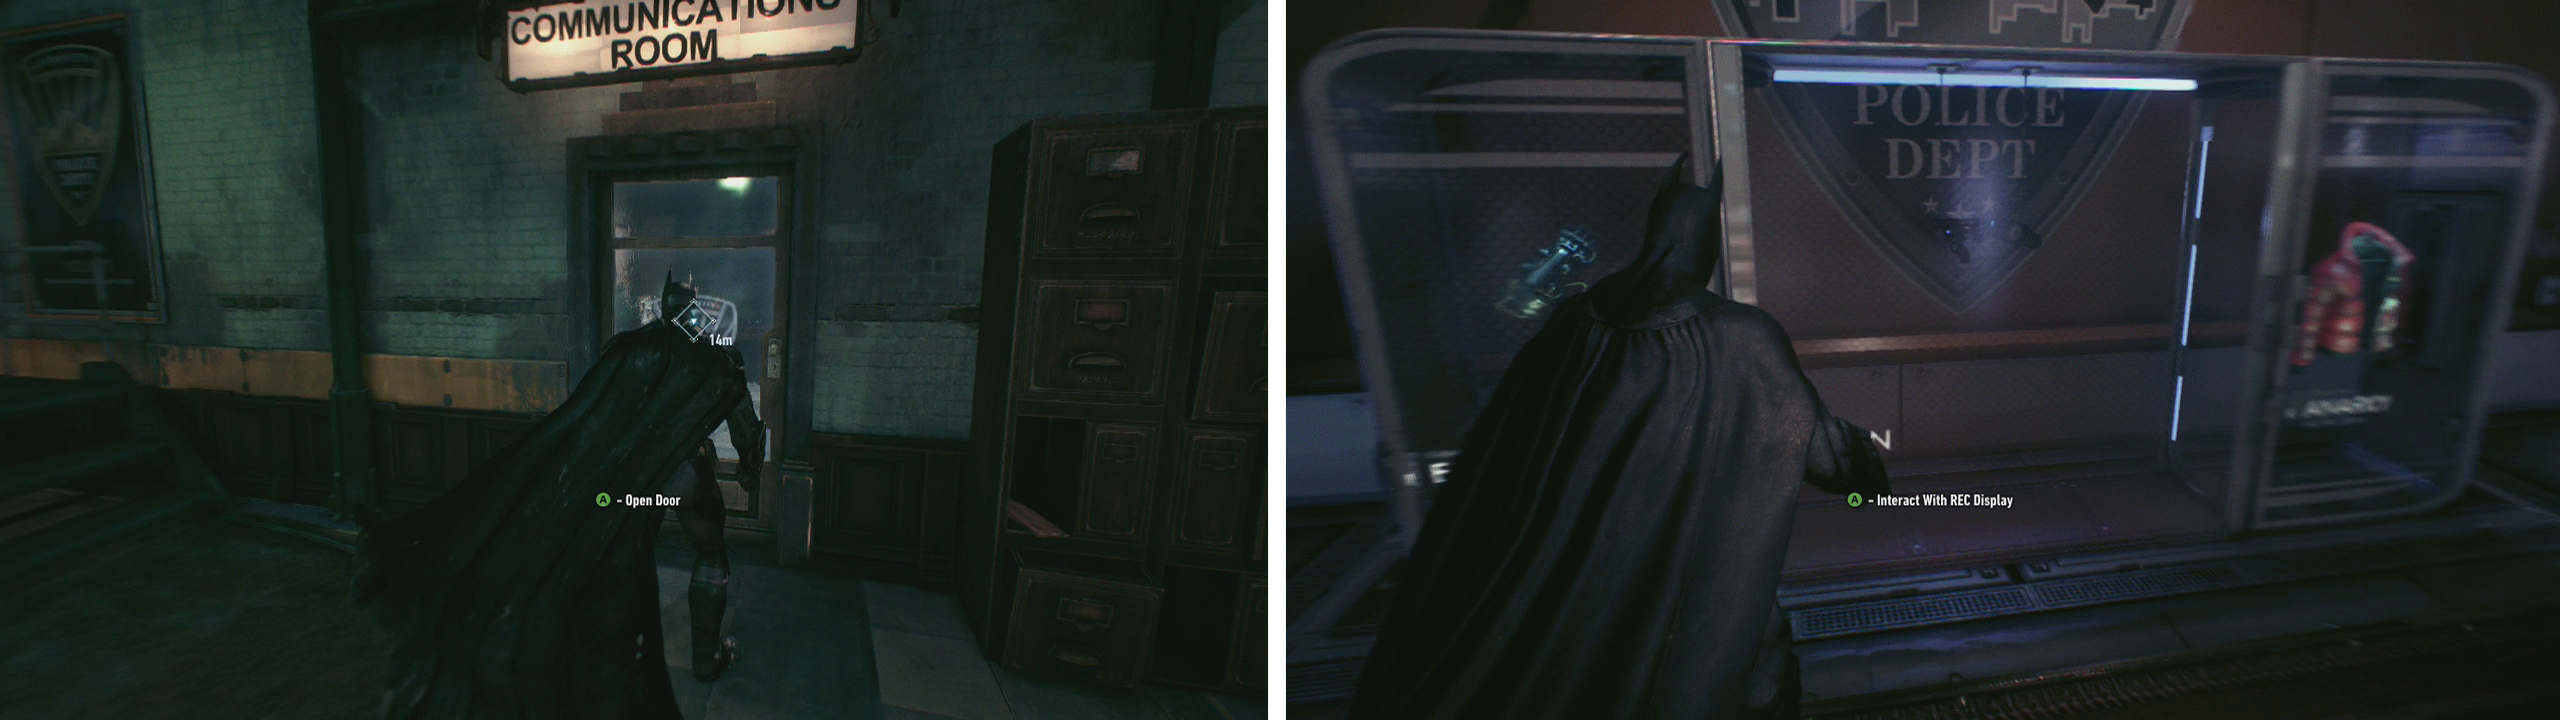
In the GCPD precinct go to the ‘Communications Room’ (left). Head to the ‘Evidence Room’ and grab the Remote Electrical Charge gadget (right).
Objective: Track down Gordon
Once we are back outside drive on over to the next objective marker located on Founders’ Island using the GPS route marked on the road for the quickest route. Note that in the time we have been inside additional Drone Tanks will have been deployed on the streets of Bleake Island, so don’t be surprised if you have to stop and fight along the way.
When you reach the objective marker you’ll find a locked door. Exit the Batmobile and enter the manhole in the centre of the street right in front of the door.
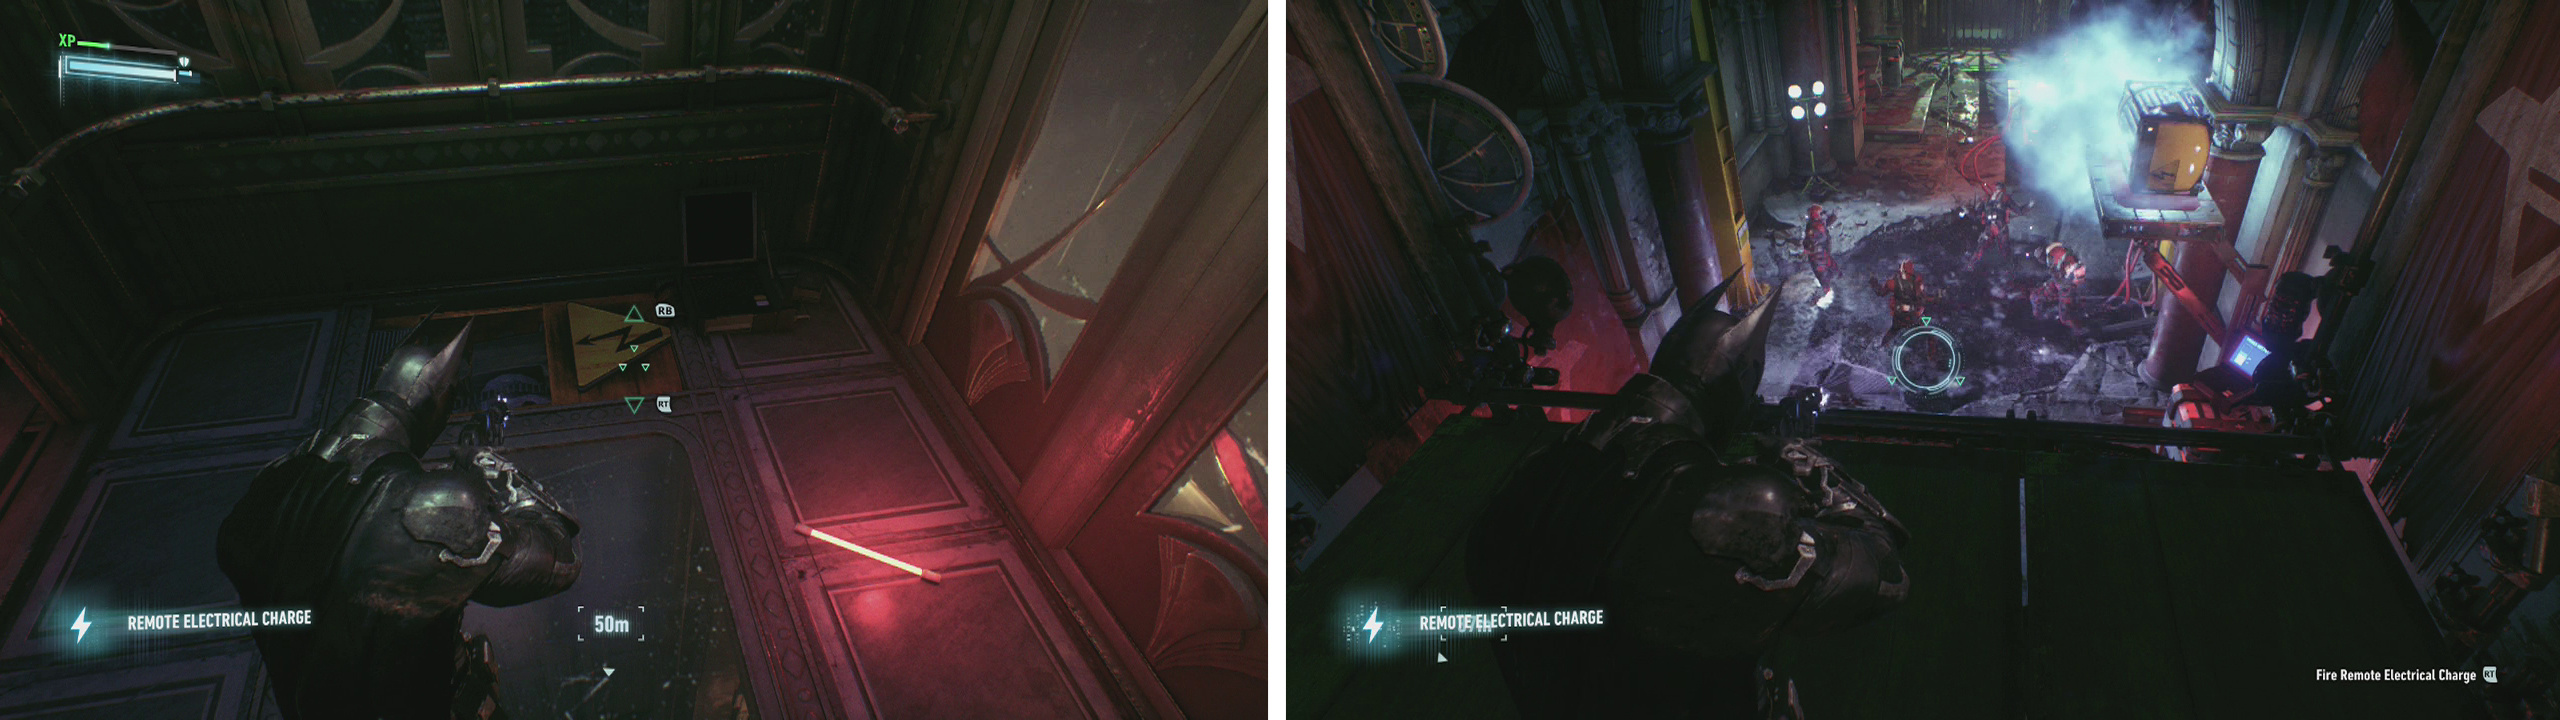
Follow the tunnel around the first corner to see an electrified pool of water. Hit the generator here with your Remote Electrical Charge to disable the electricity. Run across to the far side of the water to the gate. Turn around and re-activate the generator to open the gate and continue into the vent up on the wall behind it.
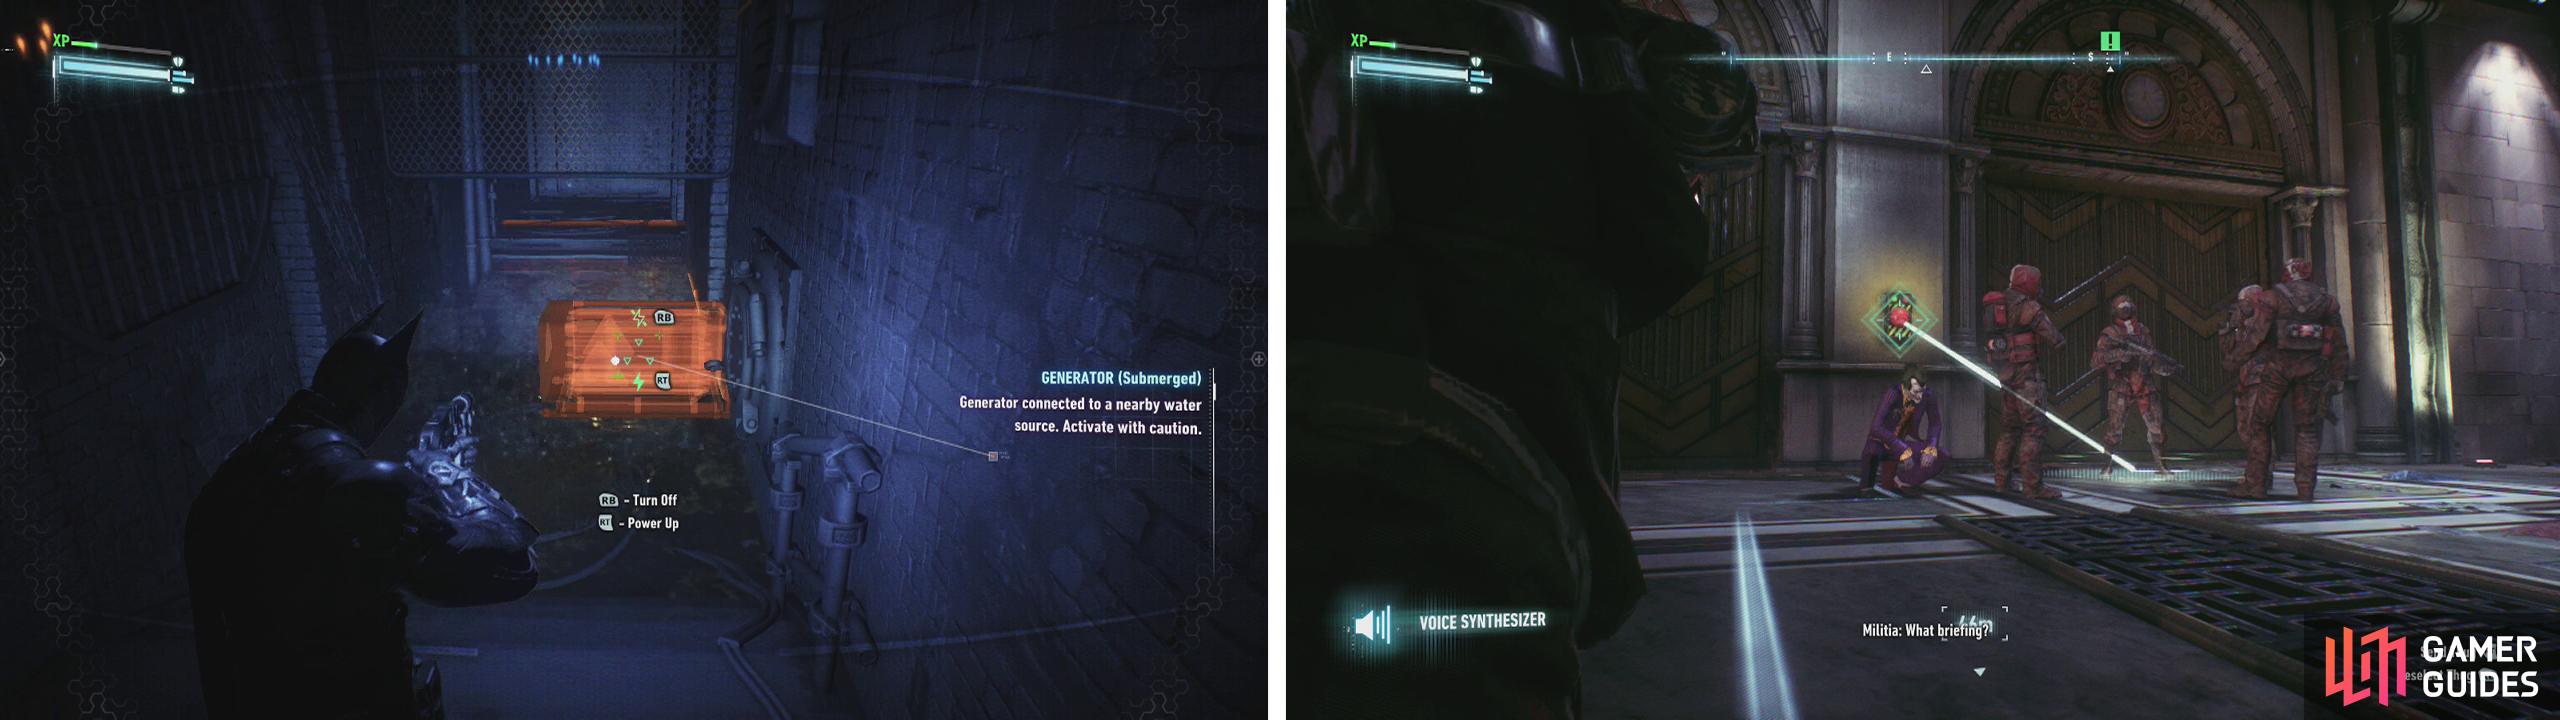
Use the Remote Electrical Charge to get throughthe water (left). Use the Voice Synthesizer to have a guard open the shutter (right).
We’ll be in a room beneath a large group of soldiers. Peek out from the vent and use your Voice Synthesizer on one of the guards and have him press the button on the wall to open the shutter.
Once the shutter is open, switch to Remote Batmobile Control and have it move up and shoot all of the Soldiers here.
When the room is all clear, switch back to Batman and pop out of the vent. Move up and interact with the yellow fuse box in the small alcove to the left of the elevator. This will open a second shutter at the back of the lobby. Inside you’ll find a large fan below and a weak wall on the far side of the room.
Switch back to Remote Batmobile Control and use the tank shells to destroy weak wall on far side of the ventilation shaft.
Take back control of Batman and grapple and glide your way across to the new ledge that the Batmobile has just opened up for us. In here, find the panel on the left wall and pull the lever to lower the bollards to allow the Batmobile access to the building.
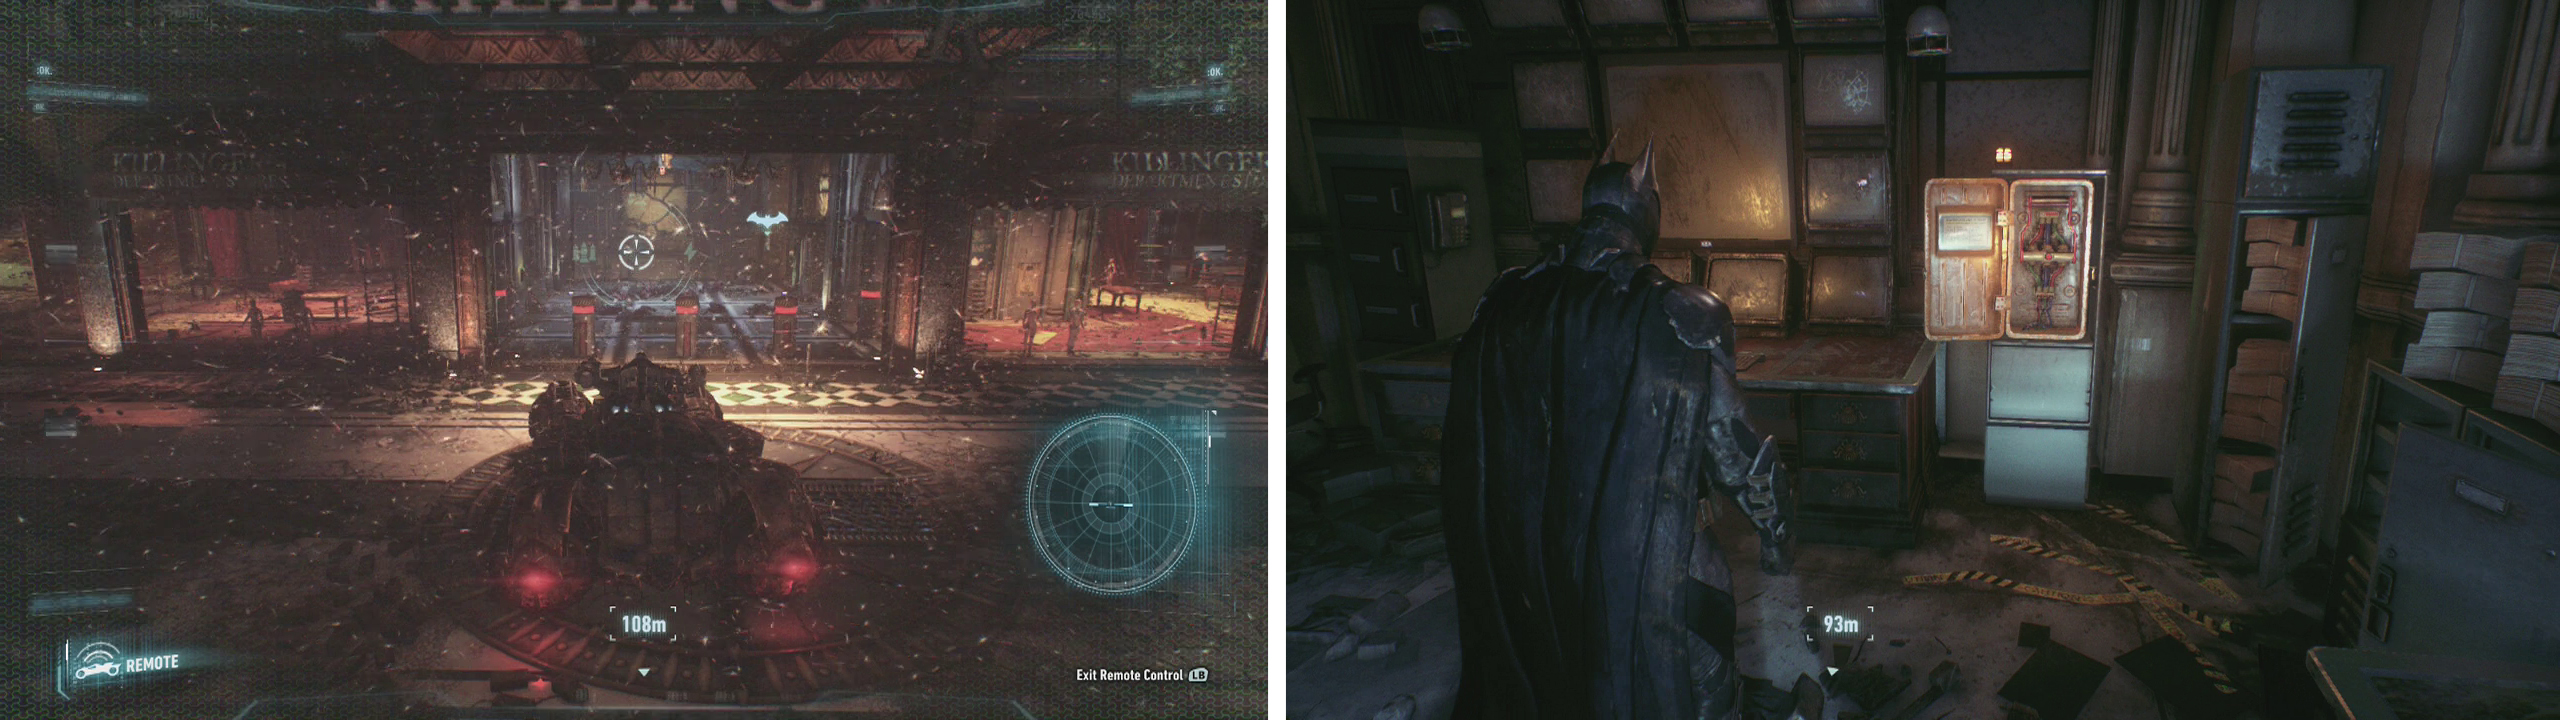
Use the Batmobile to destroy the weak wall (left). Glide down into the hole and pull the lever (right).
Switch back to Remote Batmobile Control and move into the lobby. Look for an anchor point on the roof. Use your Power Winch to latch onto this and then slowly back the Batmobile down into the ventilation shaft. Whilst dangling in the shaft, if you look towards the roof you should be able to make out another weak wall. Shoot this to destroy it.
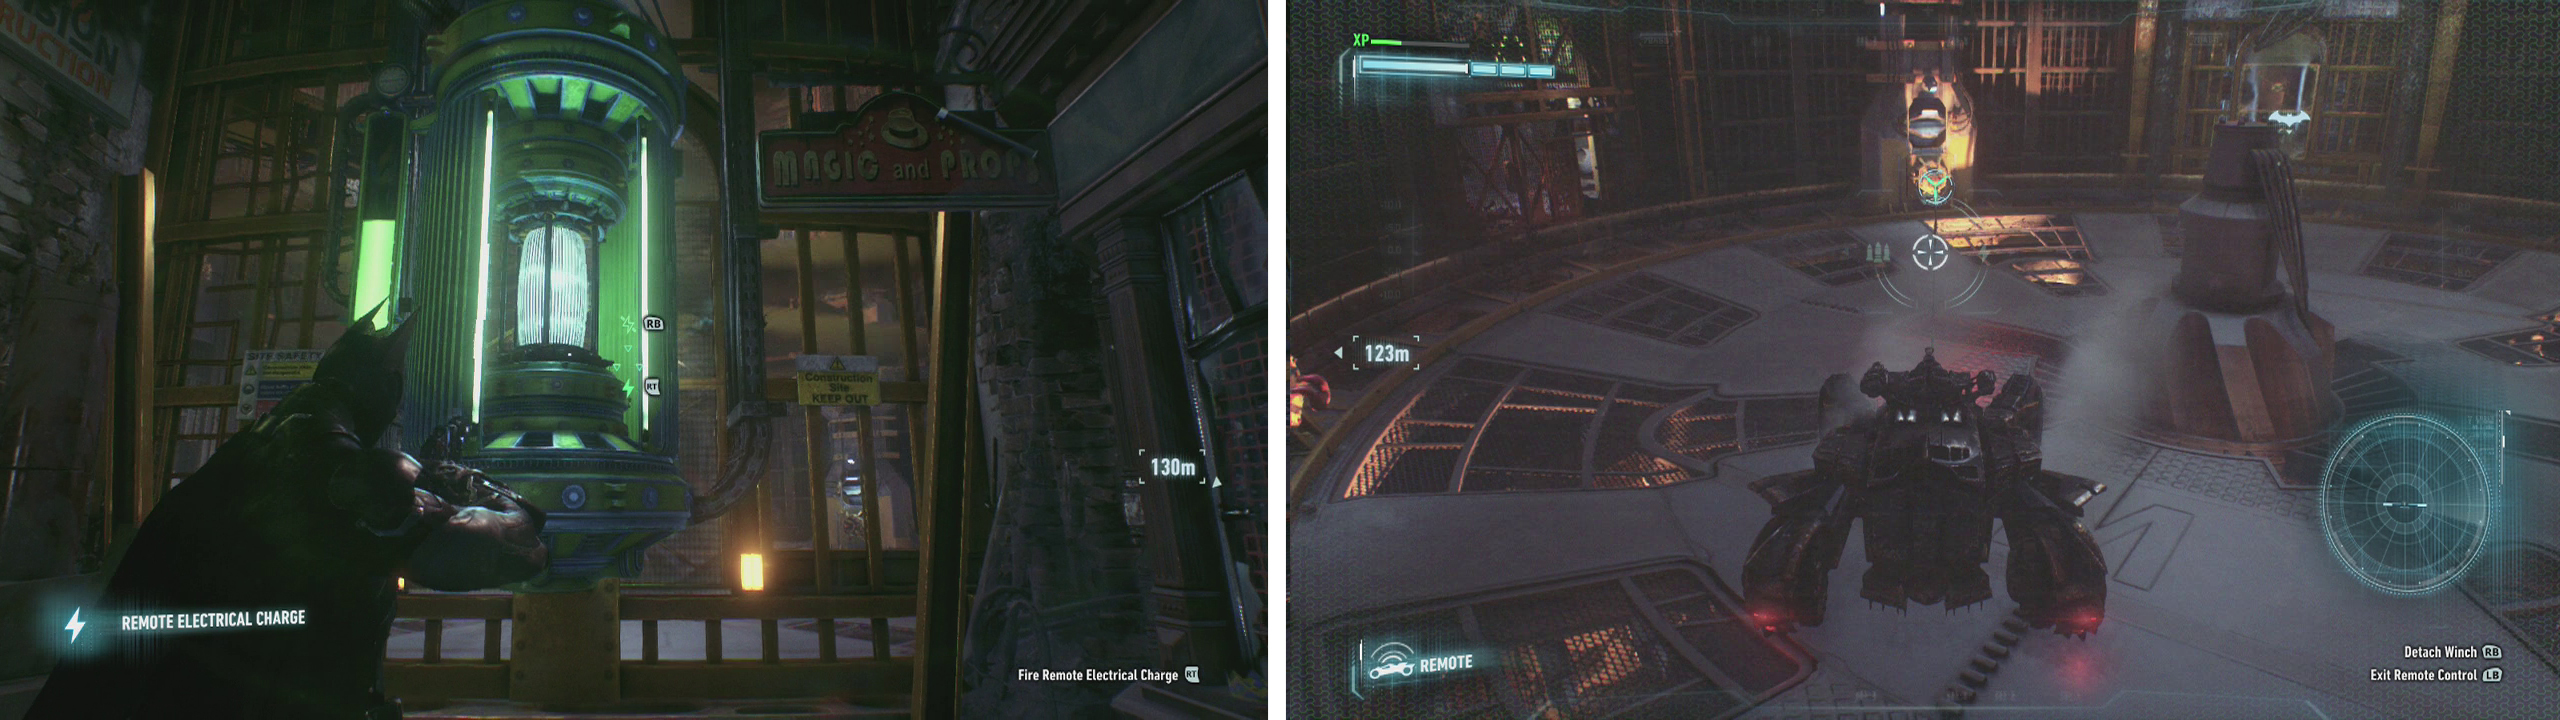
Change back to Batman and have him grapple up to the new opening at the top of the ventilation shaft. In the room here, you’ll see a spinning generator (there’s also a Riddler Trophy on a table). We need to use the Use Remote Electrical Charge on generator to disable fan. You’ll need to shoot and hit the core five times to overload it - try not to hit the covers that spin around the outside!
Now that the first fan has come to a halt, switch back to Remote Batmobile Control and drive further down the wall, past the stopped fan. Look over at the far side of the room to see yet another weak wall. Shoot this to take it down and then wait a few moments for some enemies to show up before shooting them down too.
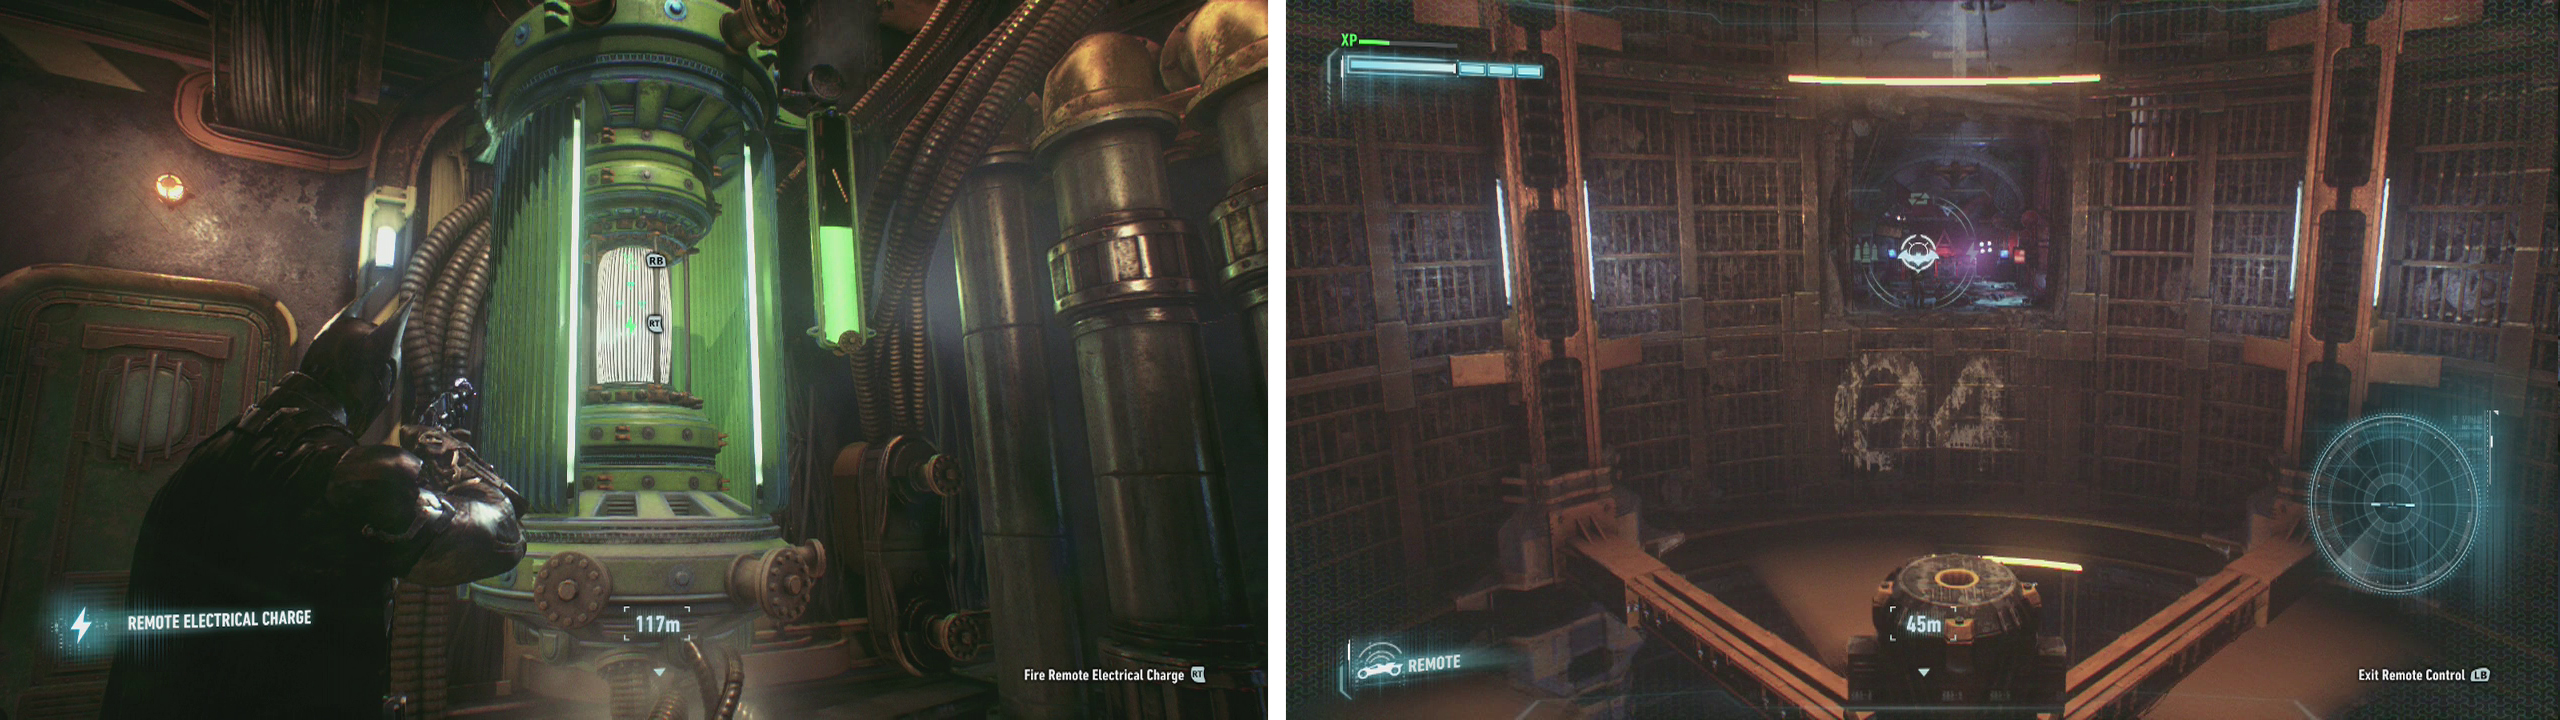
Use the Remote Electrical Charge on the generators (left). Drive down past the stopped fan and destroy the weak wall opposite (right).
Return to Batman and glide down to the stopped fan. Grapple to the Batmobile and then use the Batmobile eject to fly across to the new opening. Enter the small alcove to the right and grapple up to ledge here.
Enter the elevator shaft and on the left you’ll find a pair of generators. Use the Remote Electrical Charge on one of the generators twice to go down as far as possible. At bottom, use your Explosive Gel on the weak wall inside the lift to blow it open.
A scene will play introducing us to stun sticks. These are weapons that enemy Soldiers will be carrying around occasionally from now on that are essentially cattle prods. They will damage us if we attempt to attack any Soldier holding one head on. Instead, you can either vault over their heads to attack them from behind, or use the quick attack Remote Electrical Charge to overload them.
Once you have fought off both enemies, pull the sexy lever on the wall to continue.
On the floor of the fan room, go through open door to the right of our initial entry. Climb ledge to left and from this platform shoot the generator on the shelf ahead with the Remote Electrical Charge to deal with the group of enemies below.
Use the Remote Electrical Charge on the generators (left) to move the lift. You can also use it on the generator (right) to deal with the enemies below.
Pull lever at the end of the hallway to access the elevator. As with the previous lift, there are a pair of generators here. Hit one of the generators once to take the lift down and then from the top, hop off into an alcove. Shoot the generator again to send the lift back up.
Drop to the bottom of the elevator shaft and grapple up to the small ledge above the door. Pull this grate off the wall and enter. Crawl along wires all the way to the end and then drop down to the ground behind the giant screen behind the Soldier identified as the leader. Approach the back of the screen and hit the button prompt that appears to take him down.
This will unfortunately trigger a fight with the rest of the enemies in the room which includes a pair of Medics and 19 Soldiers (two of which have stun sticks). There is also a pair of weapons crates around the room and plenty of tossable objects so keep your eyes peeled for incoming projectiles and try to interrupt any enemies going for the guns. As per usual, you’ll want to take out the Medics first before focusing on the other enemies – remember that you can use the quick Remote Electrical Charge attack to stun the stun stick fellows and keep their annoyance level to a minimum.
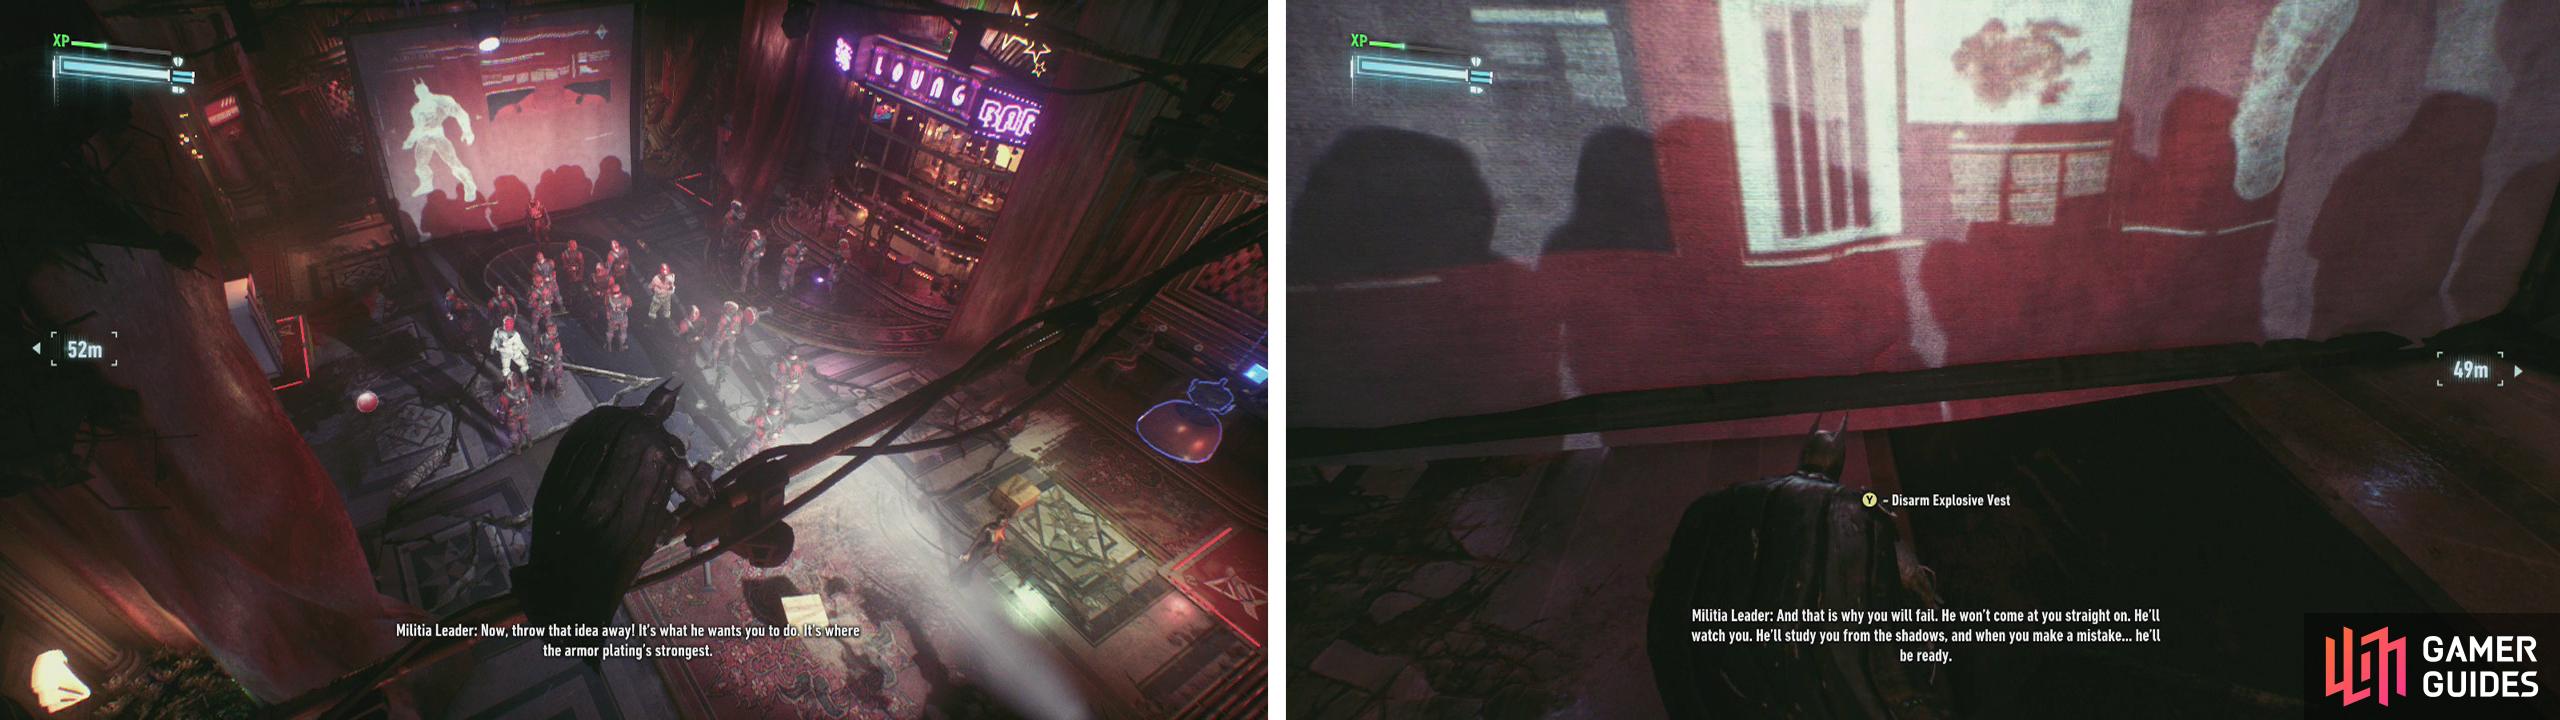
Sneak across the wires here (left) before dropping down behind the wall, approaching and taking down the leader from behind (right).
After the fight, look behind the large red curtain for a Riddler Trophy and then approach and interact with the yellow fuse box to open the door to the next area.
As you reach the end of the next hall a brief scene will show you a weak wall and explain what we’ll need to do shortly. For now though, drop down into pit and take the other exit over to the right.
Approach the corner and use your Remote Hacking Device to temporarily blind the Sentry Turret behind the grating. Whilst it can’t see you, enter elevator shaft opposite and grapple up quickly before the hack wears off.
In the room at the top of the elevator shaft, you’ll find another spinning generator. As with the last one, we need to use the Use Remote Electrical Charge on generator to disable the second fan and again, you’re required to shoot and hit the core five times to overload it.
With the second fan now stopped, revert back to Remote Batmobile Control and lower the Batmobile all the way down to the floor.
After disabling the second generator (left) lower the Batmobile to the bottom of the room and use the anchor points to lower the floor (right).
Here you’ll find many anchor points around the outside of the room. Attach your Power Winch to one of these and tug it to the left, this will rotate the floor downwards. Take the floor down to its lowest point and enter the tunnel we went down as Batman. Destroy the Sentry Turret opposite the lift. Switch to batman and return to the Batmobile before hopping inside.
Return to the main room and shoot the weak spot on the wall. Rotate the floor again (in the opposite direction this time) so that it rises up in line with the new opening. Move up to the door barring your path and interact with the fuse box on the right hand wall to open it.
We’ll now be in another circular tunnel scenario in which we’ll need to drive up the walls to avoid obstacles in the Batmobile. When you reach the end, use your Afterburner as you hit the ramp to jump across to the next area… and trigger a boss fight.
Boss: Excavator
As soon as you regain control, you are going to want to turn and run. If the Excavator touches you, you are toast, so make sure you use the walls to get the Batmobile up and over the gate that is blocking the bottom of the tunnel and keep moving until you reach the end there are mines along the walls here that will damage the Excavator.
When you regain control, you’ll find yourself in a small, cut-off map area that can be seen in the bottom right corner of the screen. There are three tunnels leading off from the main zone here, each with a set of mines at the end that will damage the Excavator. As such, we need to get the Excavator’s attention (either by shooting him or driving past) and get him to chase us through each of these tunnels.
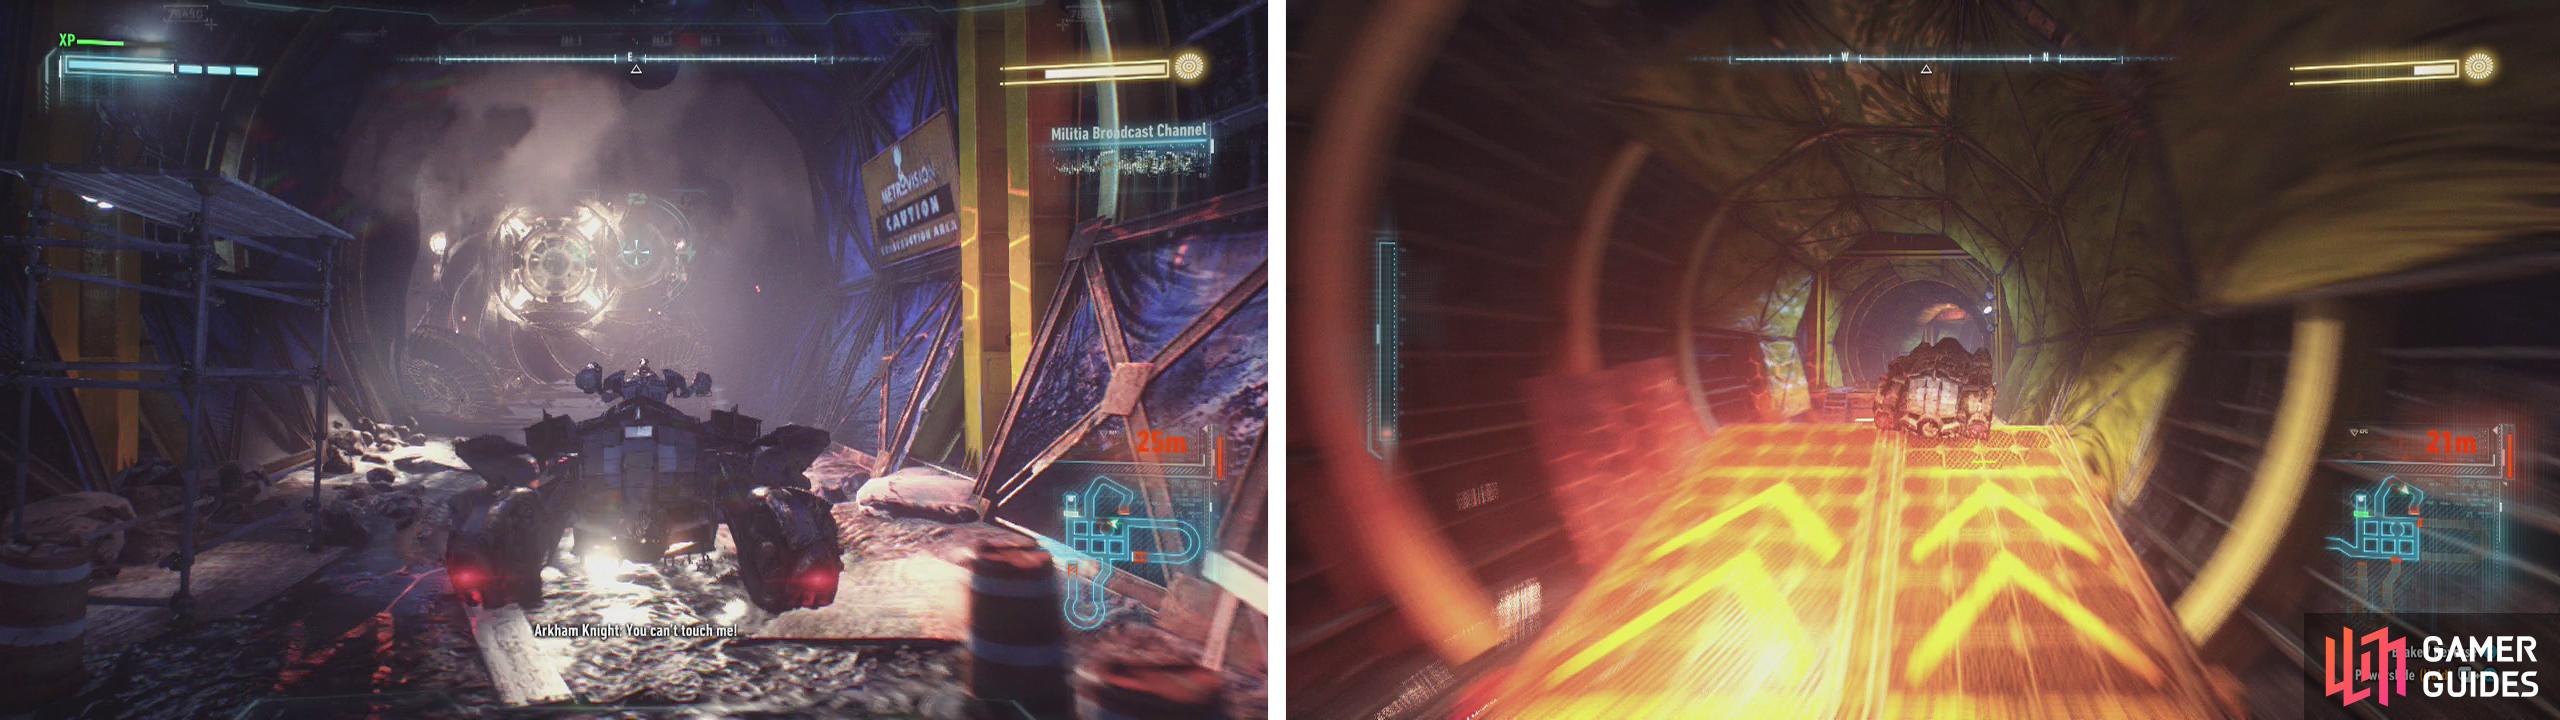
Shoot the Excavator to get its attention (left) and then drive through each of the tunnels (right) to damage it.
Here’s what to expect from each tunnel:
- North – The northern tunnel is the easiest as it simply requires us to jump across three ramps before reaching the end.
- East – The eastern tunnel has a fairly easy set route through it that you need to follow. You’ll just need to avoid several rotating fan blades towards the end.
- South – In the southern tunnel, you’ll want to try and maintain a position about halfway up the left hand wall so that you can avoid obstacles at the ground and central regions of the tunnel. When you see the stopped fan, return to floor and manoeuvre around it before reaching the end.
After you have successfully led the Excavator through all three tunnels, it will stop chasing you for a while. Huzzah!


Move up to the now unlocked door in the northwest corner of the small map. Note the anchor point on the ventilation fan above – use your Power Winch on this to pull it to the floor.
A scene will now play, during which you are required to use your Batmobile eject move at the right moment to escape.
No Comments