Once we are back outside the GCPD precinct drive on over to the Clock Tower using the GPS route marked on the road for the quickest route.
Objective: Meet Oracle at the Clock Tower
When you arrive, have Batman grapple his way to the roof of the Clock Tower and use Detective Mode to locate the secret entrance up here. Interact with the hatch to enter the tower.
Inside the tower, you’ll need to activate your Detective Mode and search the area. Interact with the small bust of the gentleman on the bookshelf next to the framed portrait to find a retinal scanner that when activated will alter the room’s interior somewhat.
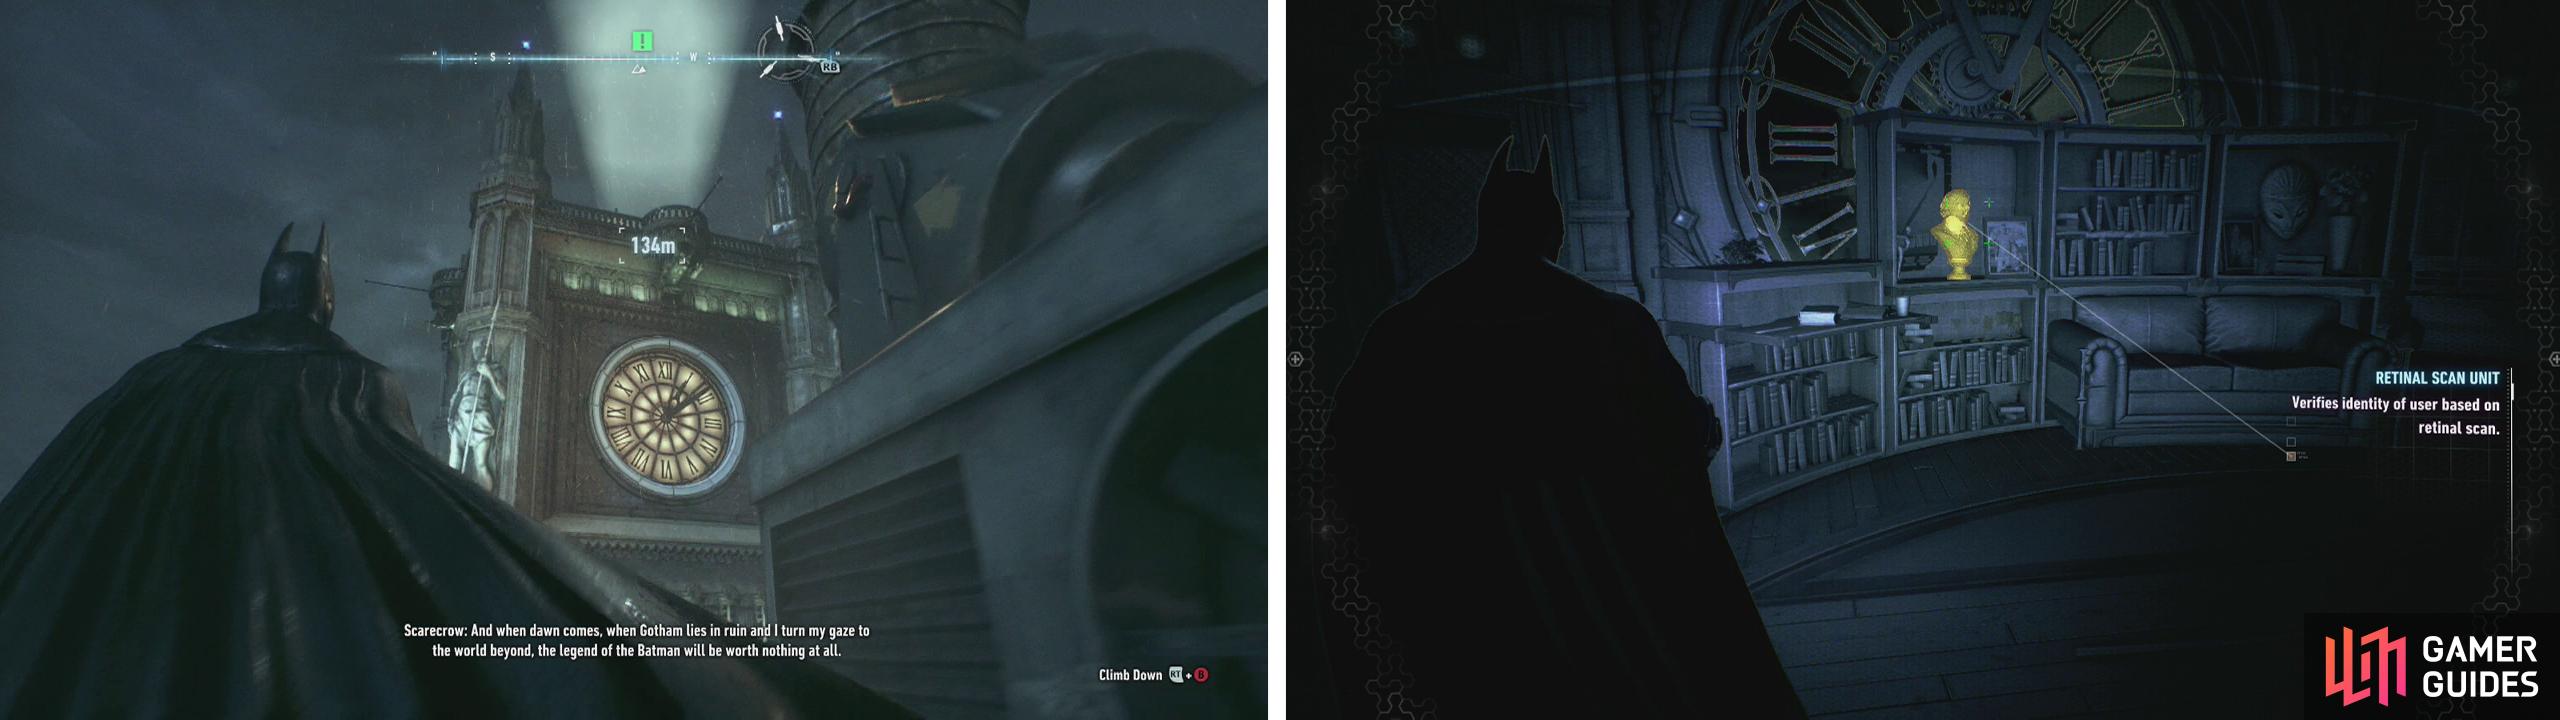
Head to the Clock Tower (left) and look for the secret door on the roof. Use Detective Mode to find the retinal scanner (right).
Use the computer console that appears in the middle of the room to continue.
Objective: Use the Panessa Studios antenna to pinpoint Scarecrow’s location.
Use your Batclaw to grapple to get back up and through the hatch on the roof we entered from. We’ll now need to make our way over to the Panessa Studios building over to the east of our current location.
Once we reach the roof of the studios, interact with the circuit board that is marked with the objective indicator to attach a Remote Access Device . Unfortunately, this won’t do much for us and we’ll have to find another way to utilise it.
After speaking with Lucius via the communicator, the Batmobile’s Power Winch upgrade will appear by the lighthouse just to the southeast of the movie studios. Head over to the objective marker at ground level and either drive your Batmobile onto it, or stand on it and summon the Batmobile to trigger a brief scene showing the upgrade being fitted.
Objective: Power up the Panessa studios antenna
As soon as you regain control of the Batmobile, you’ll be facing a sign with an anchor point on it. Enter the Batmobile’s battle mode and use the indicated button to fire your Power Winch at it. Once attached, drive backwards, away from the sign to pull it down.
Now that the sign is gone, back a little further down the ramp we are on to get a run up. Speed up the ramp and then hit the Afterburner button to launch the Batmobile across the gap onto a nearby rooftop (don’t worry if you miss, it’s just a short trip back up to the ramp again).
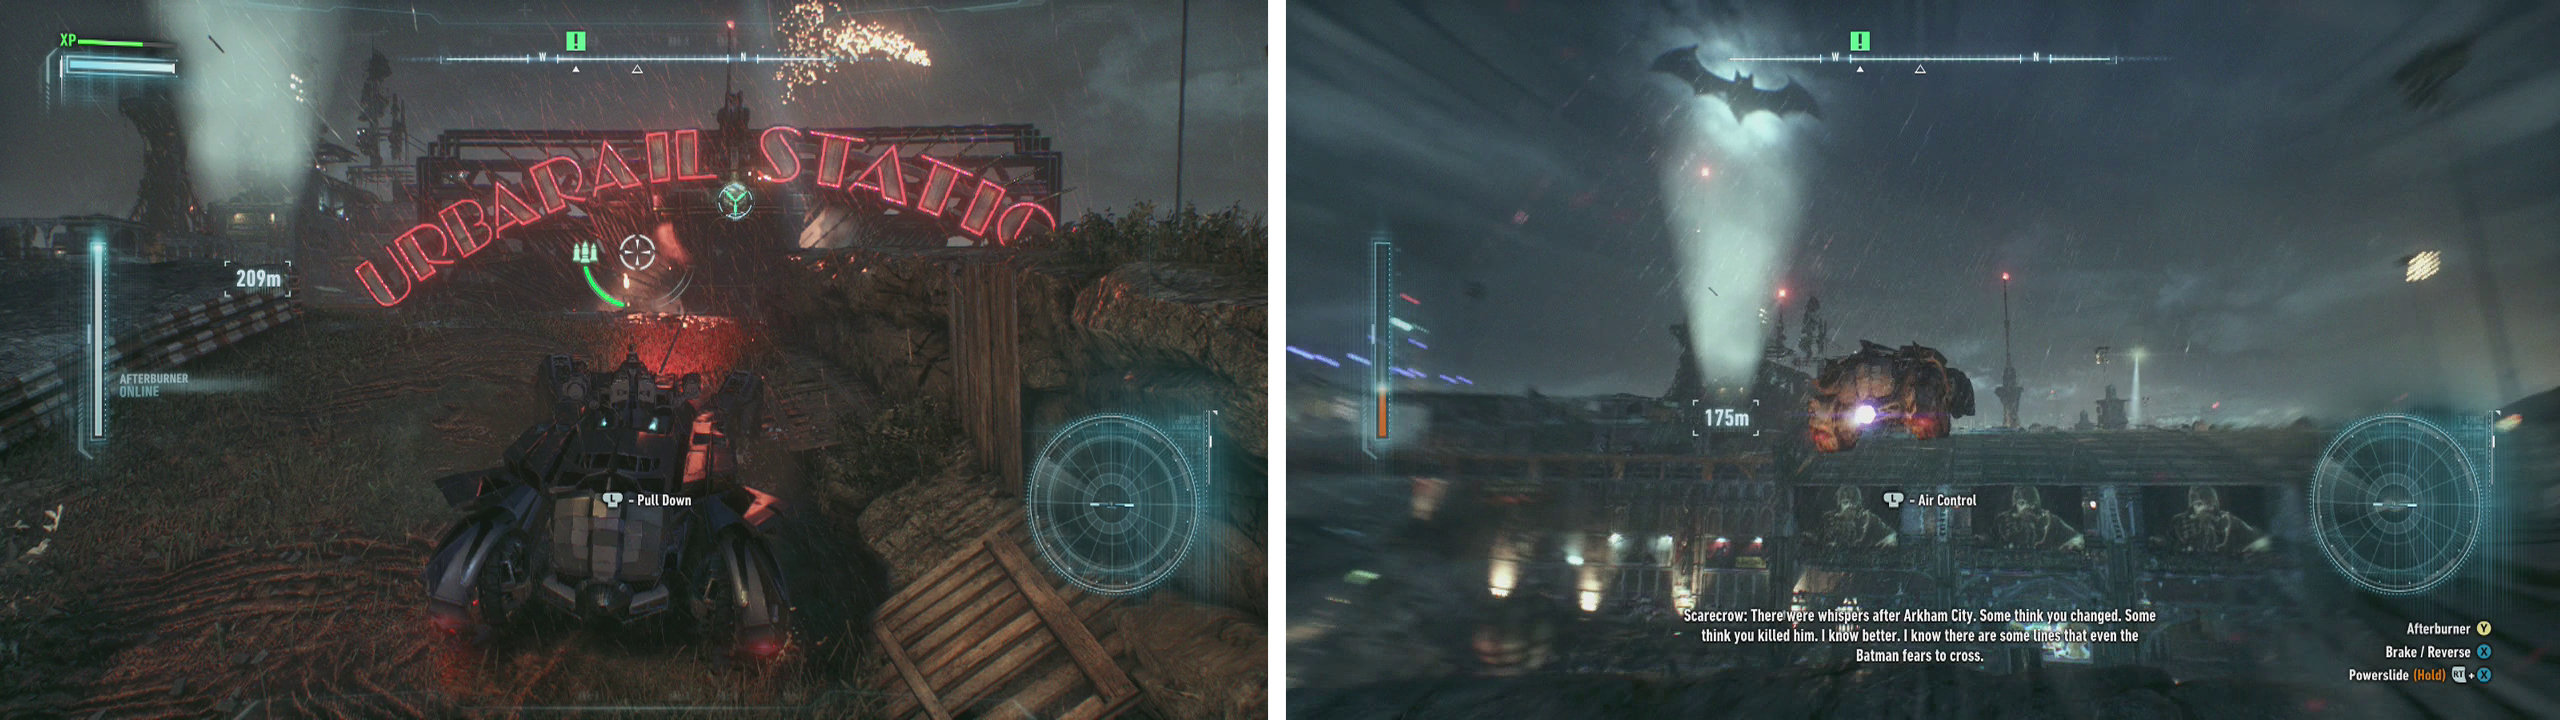
Use the Power Winch to pull down the sign (left). Run up and use Afterburner to jump to the rooftop (right).
Once on the rooftop, immediately enter Battle Mode for better control and look for a small raised section of roof with an anchor point on it just to the right of where we landed. Use the Power Winch to pull this up to create a larger ramp and then use it to reach the next level of the rooftop.
Follow the set route across the rooftop here to the left and utilise the narrow passages making sure to use Battle Mode for finer control. When you reach the very end on the far Western side of the roof, you’ll be facing the studio and see an anchor point.
Hit the anchor point with the Power Winch and then drive off the rooftop to swing across to the other building. Drive up the wall to access the balcony. We’ll now be able to drive over to the panel where we inserted the Remote Access Device earlier.
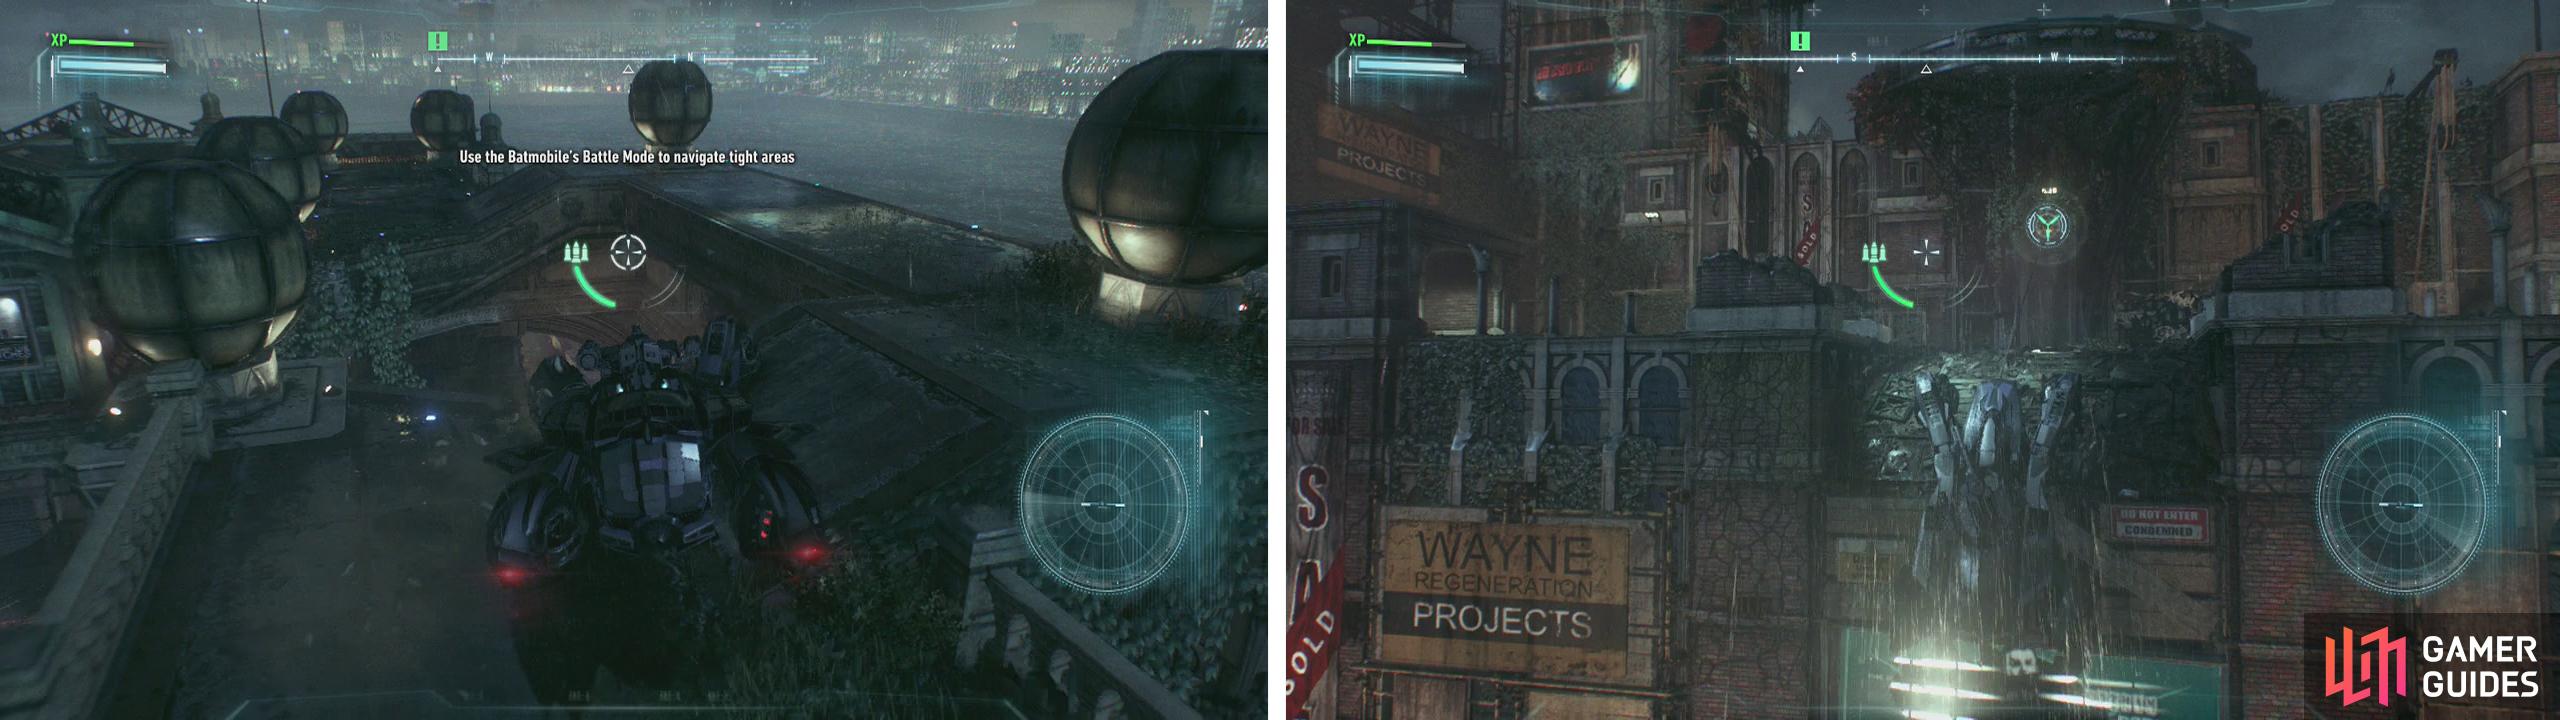
Use Battle Mode to manouver across the rooftop (left). Drive up the wall whiclst attached to the anchor point (right).
Fire your Power Winch at the panel and a small, blue meter will appear in the bottom right hand corner of the screen. This introduces a mini-game of sorts - we need to rev the Batmobile’s engine by pumping the accelerate button so that the needle stays within the orange segment on the meter. Once the orange section reaches the top a scene will play.
Objective: Use the antenna at the Falcone Shipping Yard
Head over to the next objective marker to the south. As you arrive, you’ll find that Scarecrow’s men are guarding the antenna.
At this point, the game will give you a quick tutorial on some of the basics of Predator sections – which entail taking down a group of armed enemies whilst remaining undetected. We’ll want to do as the game suggests this time around and use Detective Mode to scout the area - there are five baddies and they are all inside the building here, and armed.
From one of the vantage points, throw a Batarang into the rooftop to make a noise. This will cause a pair of enemies to exit the sheltered area. When they split up, drop down and sneak up behind each of them for a silent takedown. Make sure that you return to a vantage point between takedowns to reconfirm the enemy locations!
Once both enemies have been dealt with, a short scene will play.

Use silent takedowns to eliminate the guards that exit the room (left). After picking up a new suit, try some training simulations (right).
Head over to the marked location to retrieve a new Batsuit. This unlocks the remaining five AR Training sequences ( ‘Summon, Eject and Glide’, ‘Fear Multi-Takedown’, ‘Predator Fundamentals’, ‘Throw Counter’ and ‘Grapnel Boost MKII’ ) on this rooftop. These are good to undertake for a refresher into the game’s controls for returning players or for learning the basics for newcomers. Although they are entirely optional, completing them all will allow you to earn yourself some Waynetech Points so it’s a good idea to give them a go.
With the new equipment on (and training complete if you felt like it) return to the rooftop building with the thugs inside. Enter the grating on the floor leading beneath the wall. Crawl into the shelter so that you are below the Thugs inside.
We can now initiate a Fear Multi-Takedown – a QTE of sorts that allows us to eliminate up to three enemies at once. Successfully pull this off to clear the room.
After speaking with the hostage, make your way to the electrical panels on the side of the room. Attach a Remote Access Device to continue .
Exit the building and you’ll be thrust into a short mini-game. Here we’ll need to control the two antennas to find Scarecrow’s location. One antenna is assigned to each of the control sticks and we’ll need to re-position each so that they face the small island-type area that protrudes from the far east side of the city.
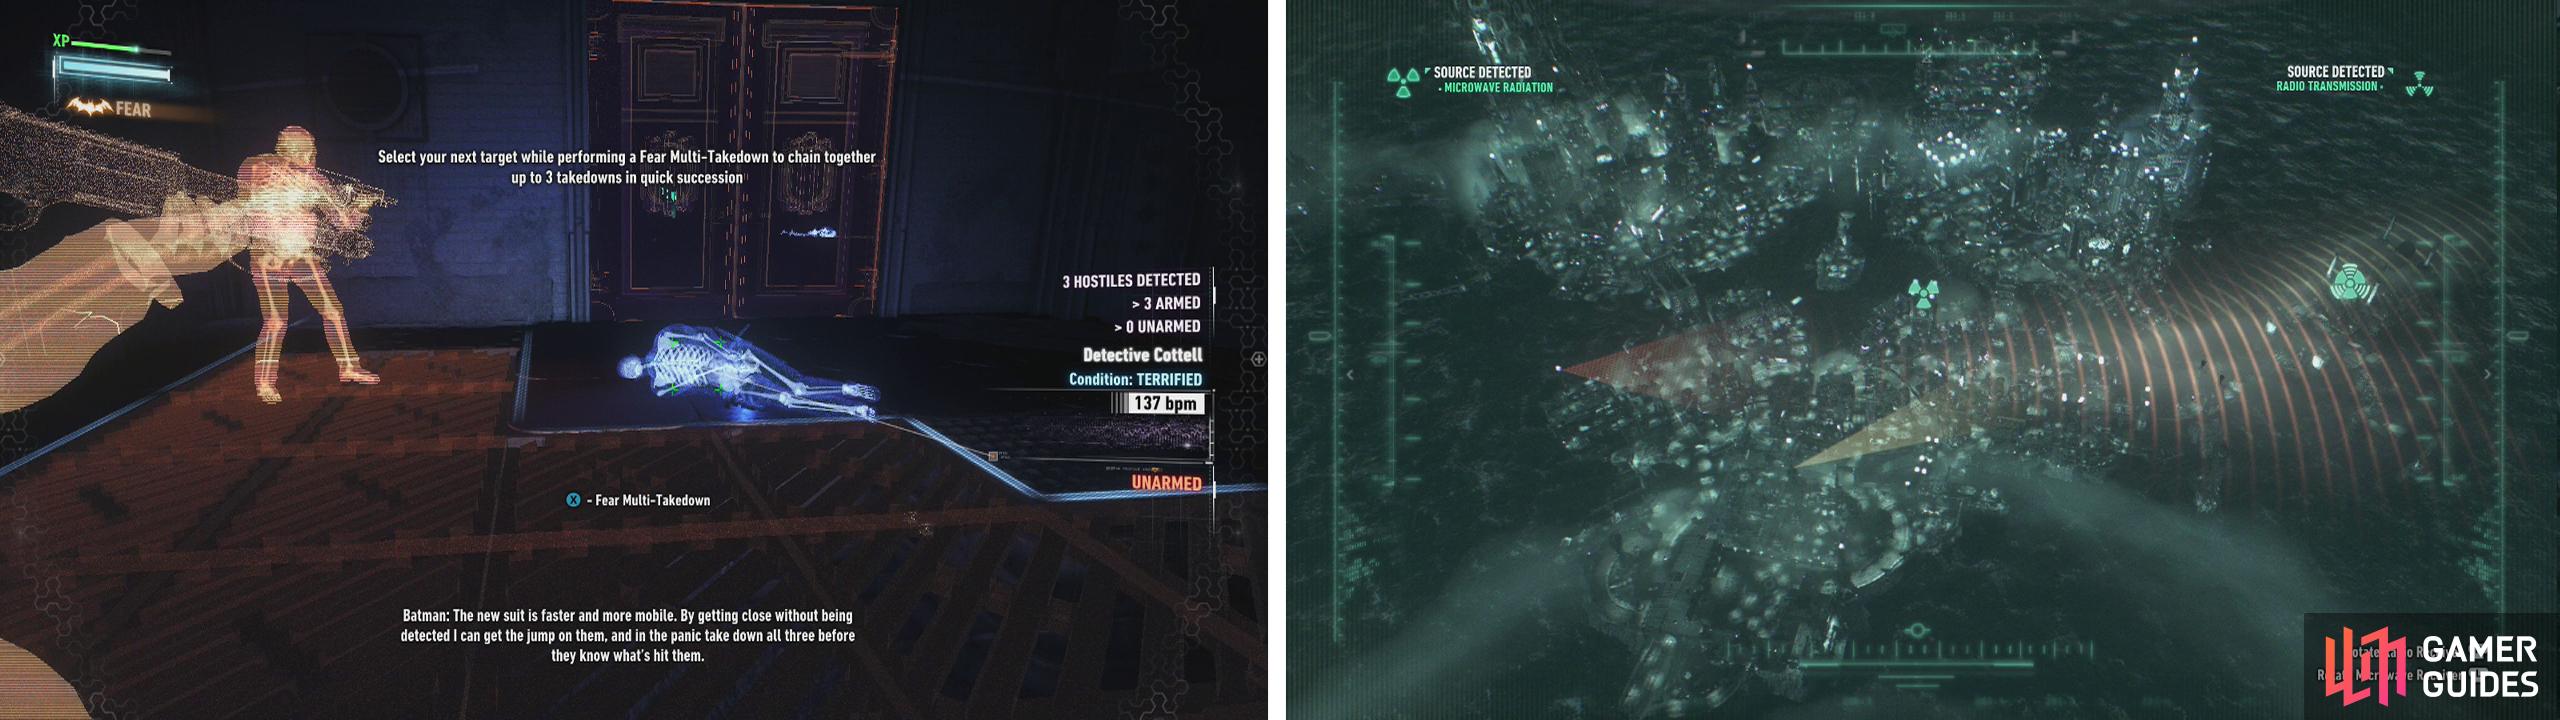
Use the vents to sneak into the room and use a Fear Multi-Takedown (left). Move the recievers so that both aim at the south eastern side of the city (right).
When you have successfully located Scarecrow, your objectives will update.


No Comments