Objective: Track the Arkham Knight’s vehicle
We can now exit the Clock Tower and return down to ground level where we need to hop into the Batmobile. At this point, we need to enter Battle Mode and use the vehicle’s Forensics Scanner (Detective Mode for vehicles apparently) to follow a certain set of tyre prints.
After a short distance, a brief cut-scene will occur during which a militia aircraft will drop an explosive device onto the road in front of you… And of course, being the curious crime fighter that we are, we’re going to get out of the car and inspect it. Yep, we’ll have to get rid of it after all.
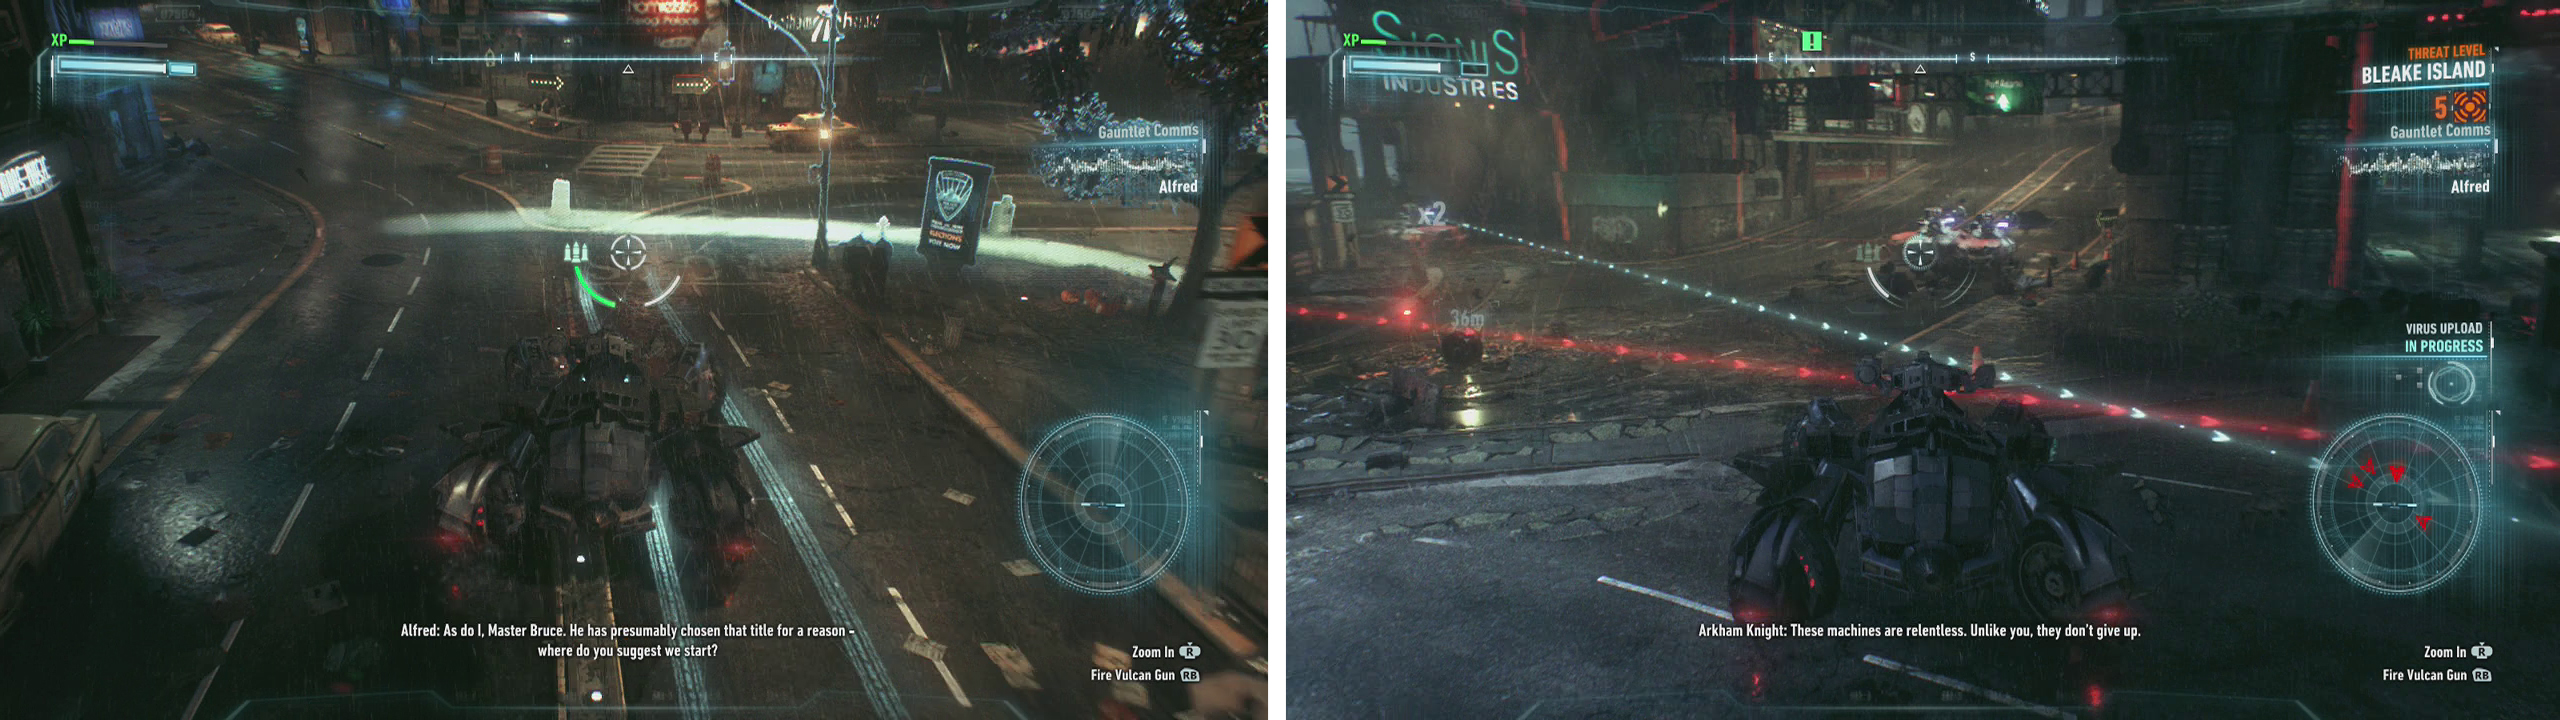
Use the Forensics mode to follow the tire tracks (left). Disarm the bomb and then fend off the Drone Tanks (right).
Whilst in Battle Mode you need to attach the Batmobile’s Power Winch to the anchor point on the explosive device and hack it (don’t ask, it’s a Batman game!). As you hack the device, unmanned Drone Tanks will show up to attack you and you’ll need to fight them all off to complete the hack. There are 16 in total, with all of them being the low-levelled Rattlers. Use your usual tactics to deal with the threat.
Once the area is clear you’ll be able to attach your Power Winch to the explosive once more and perform a mini-game to perform a controlled explosion on it.
Now that that little distraction is over with, re-enter Forensic Scanner mode and continue to follow the trail until you reach a raised bridge. A scene will play.
Objective: Lower Mercy Bridge
Following the scene we’ll be atop Mercy Bridge. Glide to the far side of the river and make your way to the waypoint in the distance at Grand Avenue Station. Use the raised train track to approach the building and you’ll find that it actually goes through the building as well, allowing you to safely inspect the enemy presence on the level below.
Predator Section 04
As with any good Predator section, we will obviously need to clear out all of the enemies in the area to continue. There are two levels to the concourse here, with raised sections on either side and a lower level in the centre. Here we’ll find eight Soldiers hanging around this area, with one of the Soldiers also piloting a Boa Sentry Drone.
The second you are detected, the Soldiers will break off from their set patterns and behave erratically, leaving you to utilise the various takedown/stealth elements around the room to take them all out.
Before you have been detected however, the Soldiers act in the following ways:
- On the northernmost balconies either side of the train tracks there will be three stationary guards – two to the right and one to the left.
- Another stationary Soldier by the computer we need to access in the middle of the platform.
- The Boa Drone controlling Soldier remains stationary on the upper level in the south-east corner of the station. Directly beneath a vantage point.
- Two enemies patrol the southern part of the lower section of the concourse.
- A final guard cuts laps around the upper concourse on the eastern side of the station.
We’d recommend clearing the single stationary guards out first (except for the Boa Drone Controller) as you can perform silent takedowns on them the easiest. DO NOT take out the Drone Soldier first if you want to do this silently as doing so will crash the drone and alert the guards. Next you should try removing the patroller from the upper deck by dropping down from a vantage point and then the pair of soldiers at the southern end of the lower concourse via underground vents and corners (whilst avoiding detection from the drone). If you are still going silent at this point, you can inverted takedown the Drone Controller before using a Fear-Multi-Takedown on the pair of stationary guards on the northern balcony.
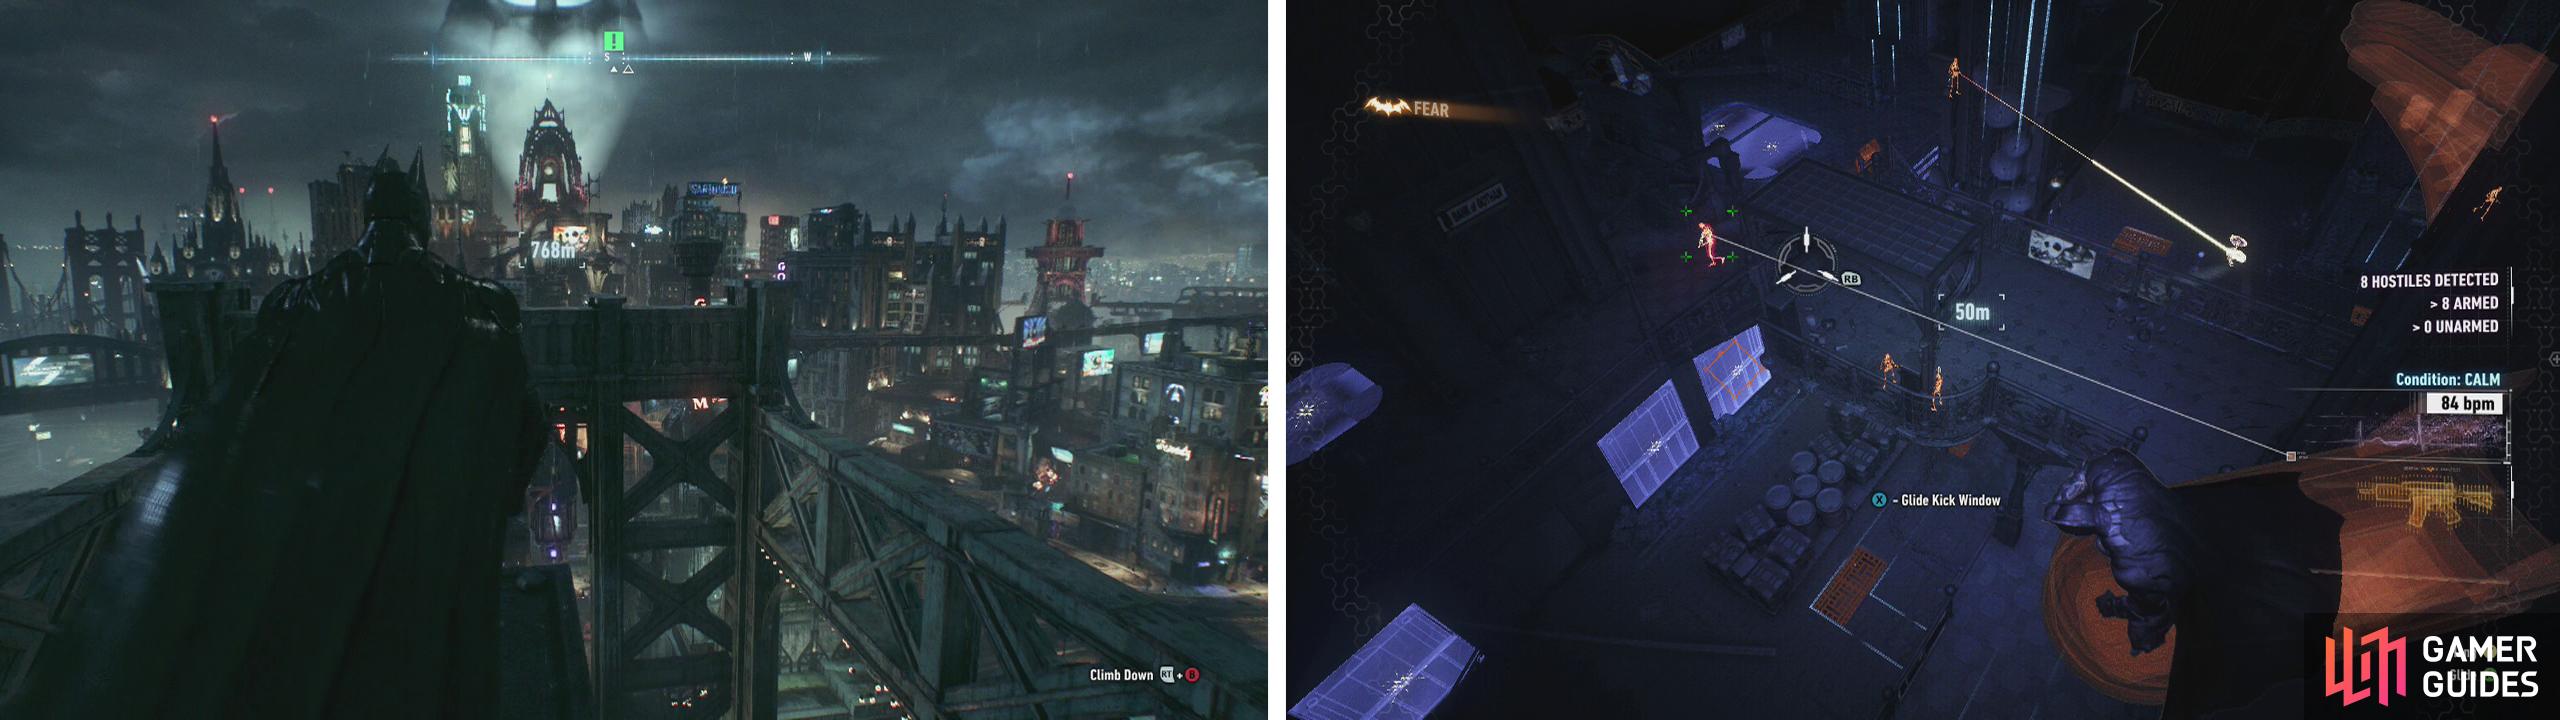
Fly over to Grand Avenue Station (left). Use the vantage points to scope out the area (right).
Of course if you get detected at any time, you’ll need to retreat to the top of the room and scout the various locations for ways to take the enemies down those best suits you. There is an extensive network of underground vents on the lower concourse as well as interiors with plenty of corners for corner takedowns and multiple vantage points on the upper concourse that you can utilise.
Once the room is clear of enemies, approach the console in the centre of the lower concourse and interact with it for a scene.


No Comments