Objective: Take out the long range missile launcher
The next objective marker is a short distance away and here you’ll find a large missile launcher on the rooftop guarded by a group of enemies. As with the previous objective, we can use one of the cranes overlooking the tower to get a good view of the rooftop… oh and I should mention, its predator time!
Predator Section 09
The top of the predator section’s building features a tiered construction with five levels and the lowest four are being inhabited by bad guys. The missile launcher that we are targeting is found on the lowest level.
There are eight armed Soldiers (one of whom has a Detective Mode Scanner) guarding the rooftop and the missile launcher location. Unfortunately, once you have taken down 2-3 enemies, you’ll have Soldiers changing their tactics as the Arkham Knight will let them know of your presence and relays tips to them over the radio.
You can make use of several environmental factors to make things easier, including:
- As with most predator rooms, there is an extensive vent tunnel network covering most of the ground floor and the adjoined rooms below balconies.
- You can use the Remote Hacking Device on the security alarm panels, portable generators and to open/close doors around the area to create distractions.
- You can also use the Remote Hacking Device on the door panels to lock enemies inside rooms to thin out their numbers – there are door locks on the lower level and the second floor.
- There is a series of girders on the eastern side of the rooftop that allow you to view each of the levels fairly care free and also give you access to ventilation shafts leading to the passages below the ground floor.
- Several floors feature breakable walls and corners we can utilise for takedowns.
I found the best strategy to begin with to head to the lowest level, drop into the floor and use the tunnels to take down the three enemies here – especially the Detective Mode Scanner! The two patrolling guards here are a bonus if you can do it.
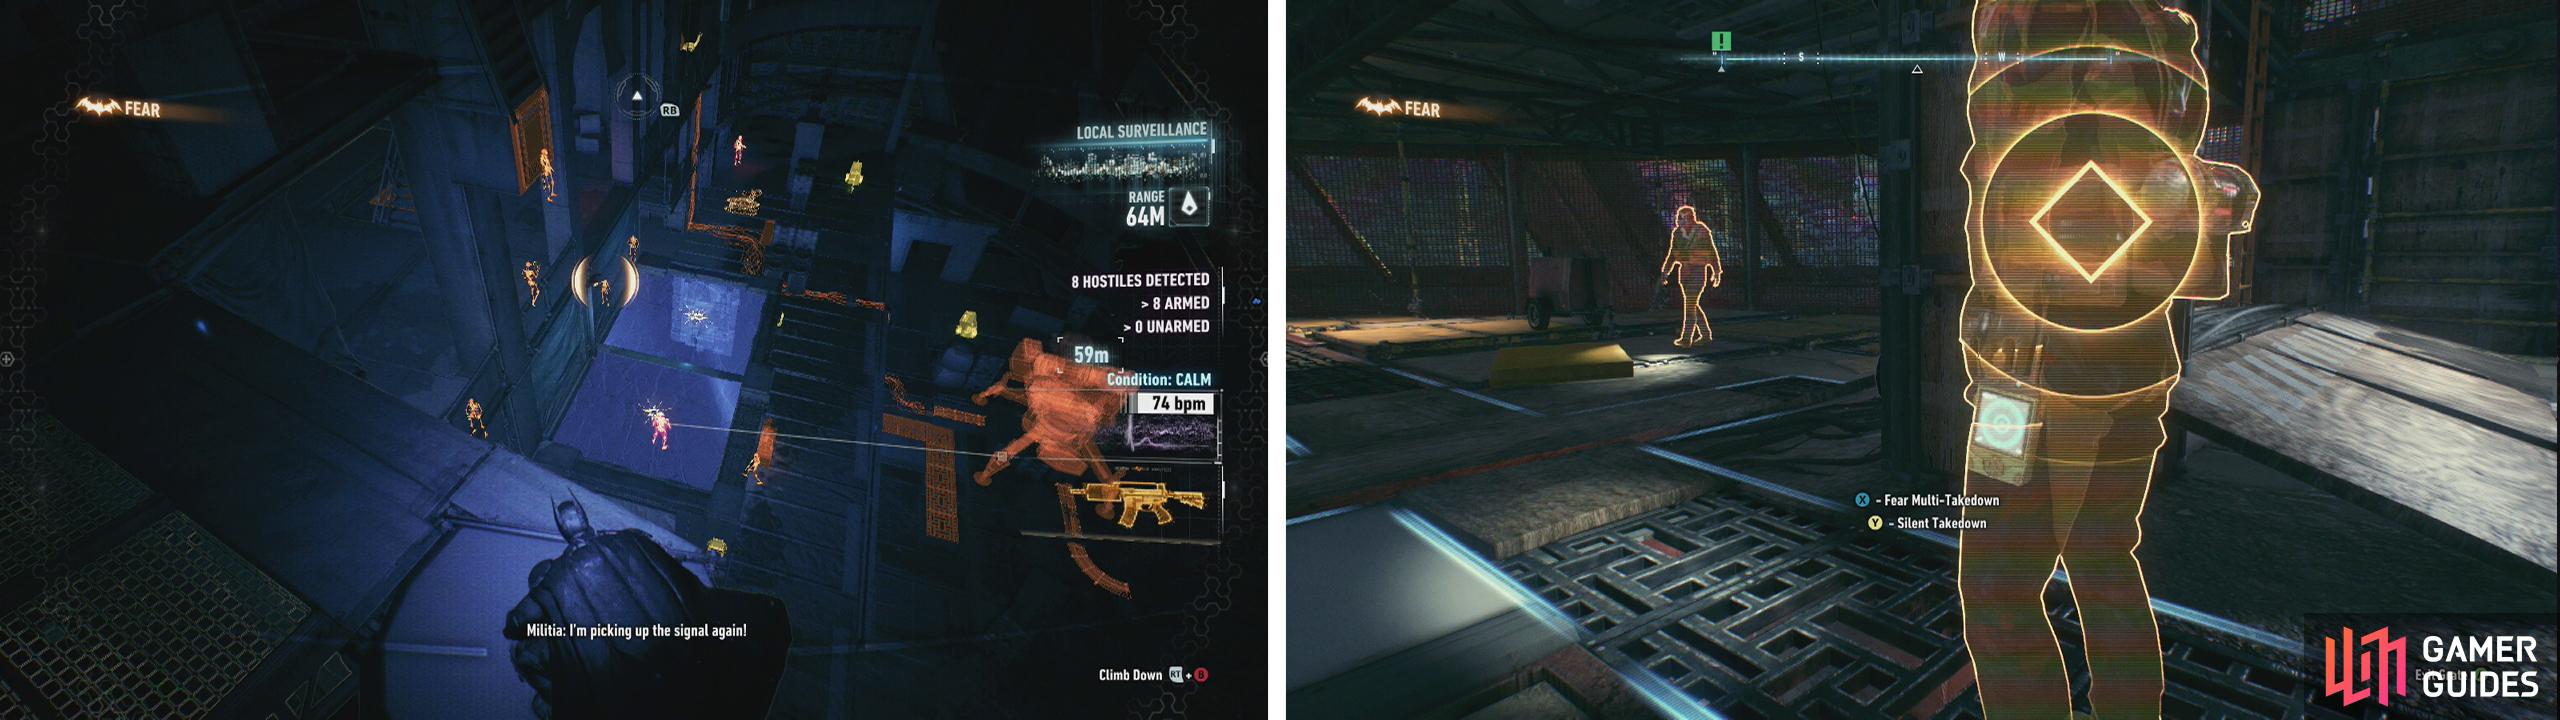
Use the various hig places to observe the enemies (left). Make good use of Fear Multi-Takedowns (right).
Once the Arkham Knight chimes in, the enemies will start to patrol the area in irregular search patterns and as such you’ll need to use your best combination of tunnels, using the Remote Hacking Device to lock enemies in rooms temporarily and to create distractions and be sure to use the numerous walls to perform corner takedowns or a Fear Multi-Takedown (if you get a few numbers together) to reduce the hostiles quickly.
Once the enemies are all down for the count, move up to the front of the missile launcher to update your objectives.
Objective: Lower the barriers protecting the missile launcher
To continue, we’ll need to head up to the fourth floor of the rooftop and enter the door here to reach the missile launcher’s control room. Interact with the computer here to lower the defences – this will coincidentally also lower all of the bridges into founders’ Island. Huzzah!
This will also switch us over to Remote Batmobile Control automatically.
Whilst the opening of the world map for your exploration shenanigans is a good thing, as soon as you cross a bridge onto Founders’ Island, you’ll become aware that there have now been five Cobra Drone Tanks deployed around the island. As this is the case, we are going to have to take them all down before we can continue with our mission.
We’ll need to approach this scenario in the same manner we did for the single tank or the three-way Cobra encounter that we completed earlier. Essentially we need to use our mini-map/radar to sneak up on all three tanks whilst avoiding detection, lock on and shoot their weak spots. It’s a good idea to isolate each tank and take them down one at a time. Fortunately there are several layers to Founders’ Island and lots and lots of side alleys and buildings we can use to stalk our prey and to break line of sight.
Destroying one of these Cobras will have the knock on effect of alerting any other nearby Cobras and they will quickly converge on your location. As such it’s a good idea to get away from the site of the explosion and wait for them to settle back down into regular patrol patterns again before moving back in and taking on the next one.
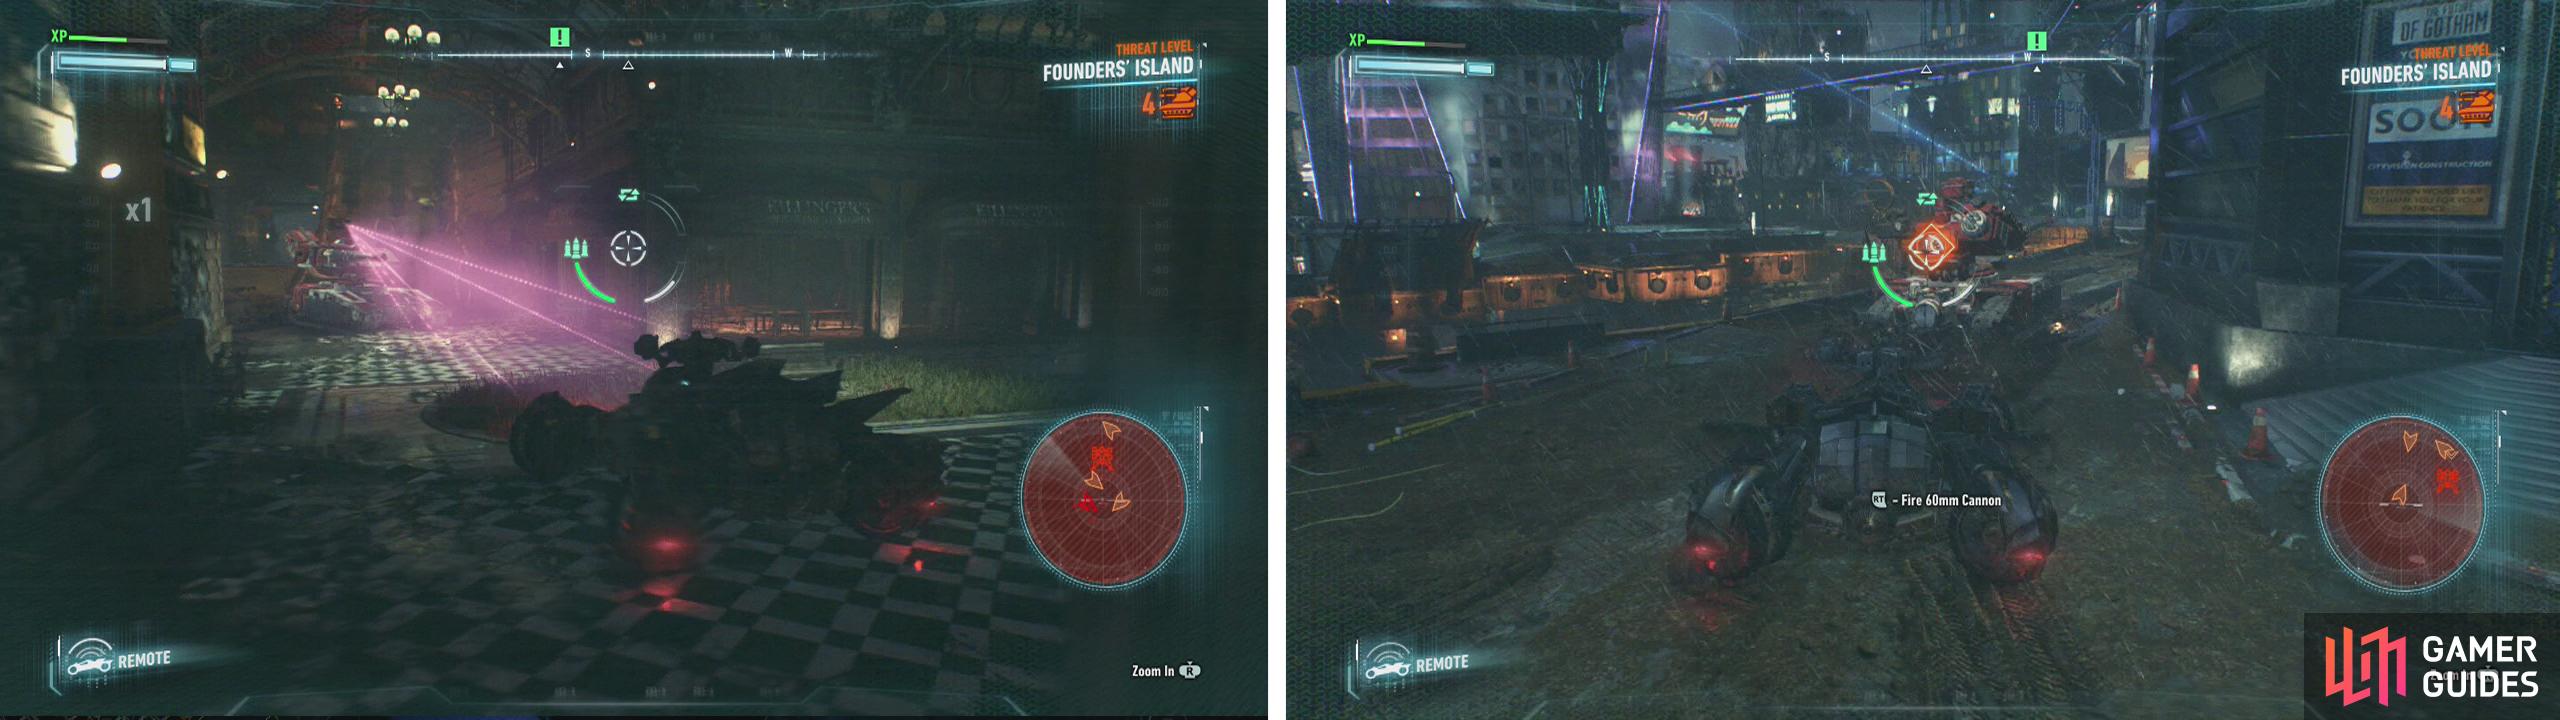
When fighting Cobras avoid the lasers (left) and sneak up to hit them in the rear (right).
After destroying all five Cobras, follow the GPS route until you reach a ramp.
We need to use the ramp to leap across to the roof of the building in the distance but unfortunately it’s not quite at the right angle. As such, enter Battle Mode and locate the anchor point at the top of the ramp. Fire off the Power Winch and pull it back to raise the ramp.
This will trigger a short scene and we’ll be back in control of Batman again who has since taken refuge in the ceiling of the control room. Below the control room is now filled with enemies that include two Medics, a knife wielding Brute and eight Soldiers.
Manoeuvre around in the roof until you are able to perform a Fear Multi-Takedown (it’s a good idea to target a medic here if you can). Once you are down, you’ll need to fight off all the enemies to continue – as such be sure to use your usual tactics of taking care of Medics as soon as possible, before focusing on the Soldiers and finally the Brute (there are weapons and environmental takedowns on offer to damage him easier).
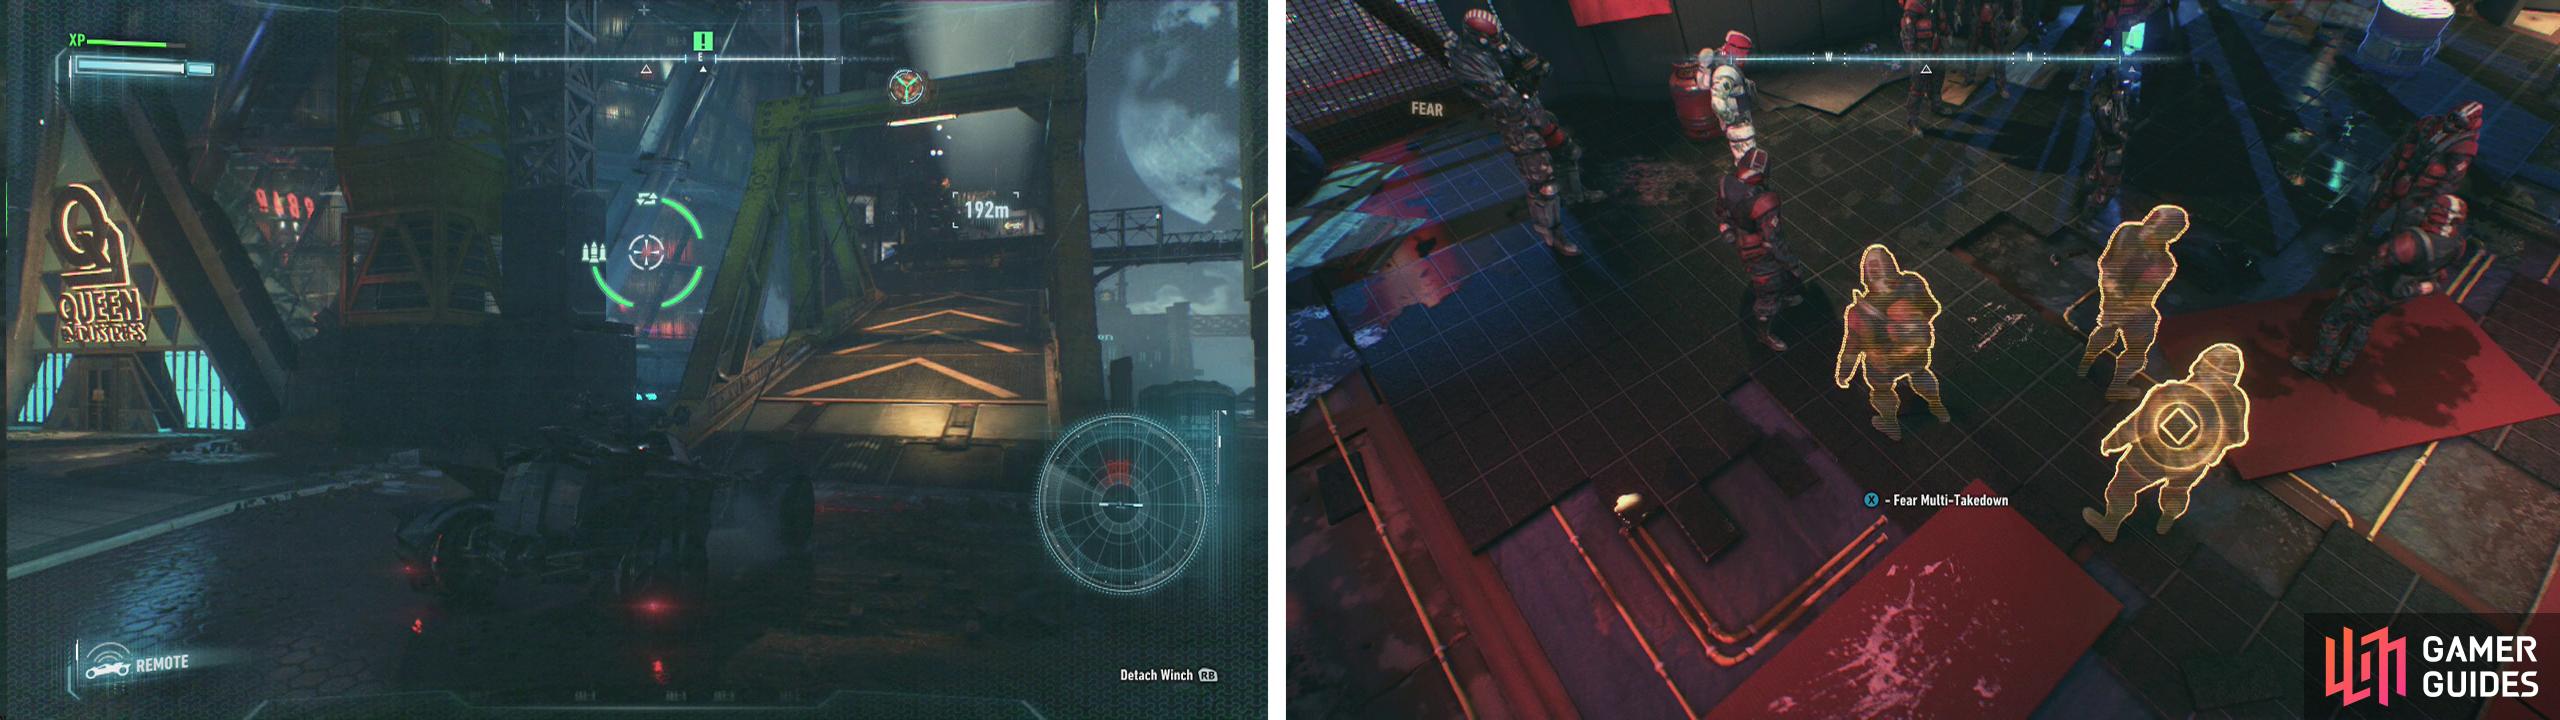
Interact with the ramp in the Batmobile (left). Use a Fear multi-Takedown when the room fills with enemies (right) - try to get a Medic!
Following the fight, use the computer once more to lower the shield and then switch back to the Remote Batmobile Control .
We’ll be back at the ramp again! Continue to back up with the Power Winch attached until the ramp locks into place.
Get a run up and use your Afterburner as you hit the ramp to reach the building opposite. Use Battle Mode to look back towards the missile launcher. It will attack you both with tank shell fire and lock on missiles so use the Battle Mode ability to strafe up and down the ramp here, fire a shot off when the target comes into view and then quickly retreat down the ramp and behind cover. Repeat until it blows up!
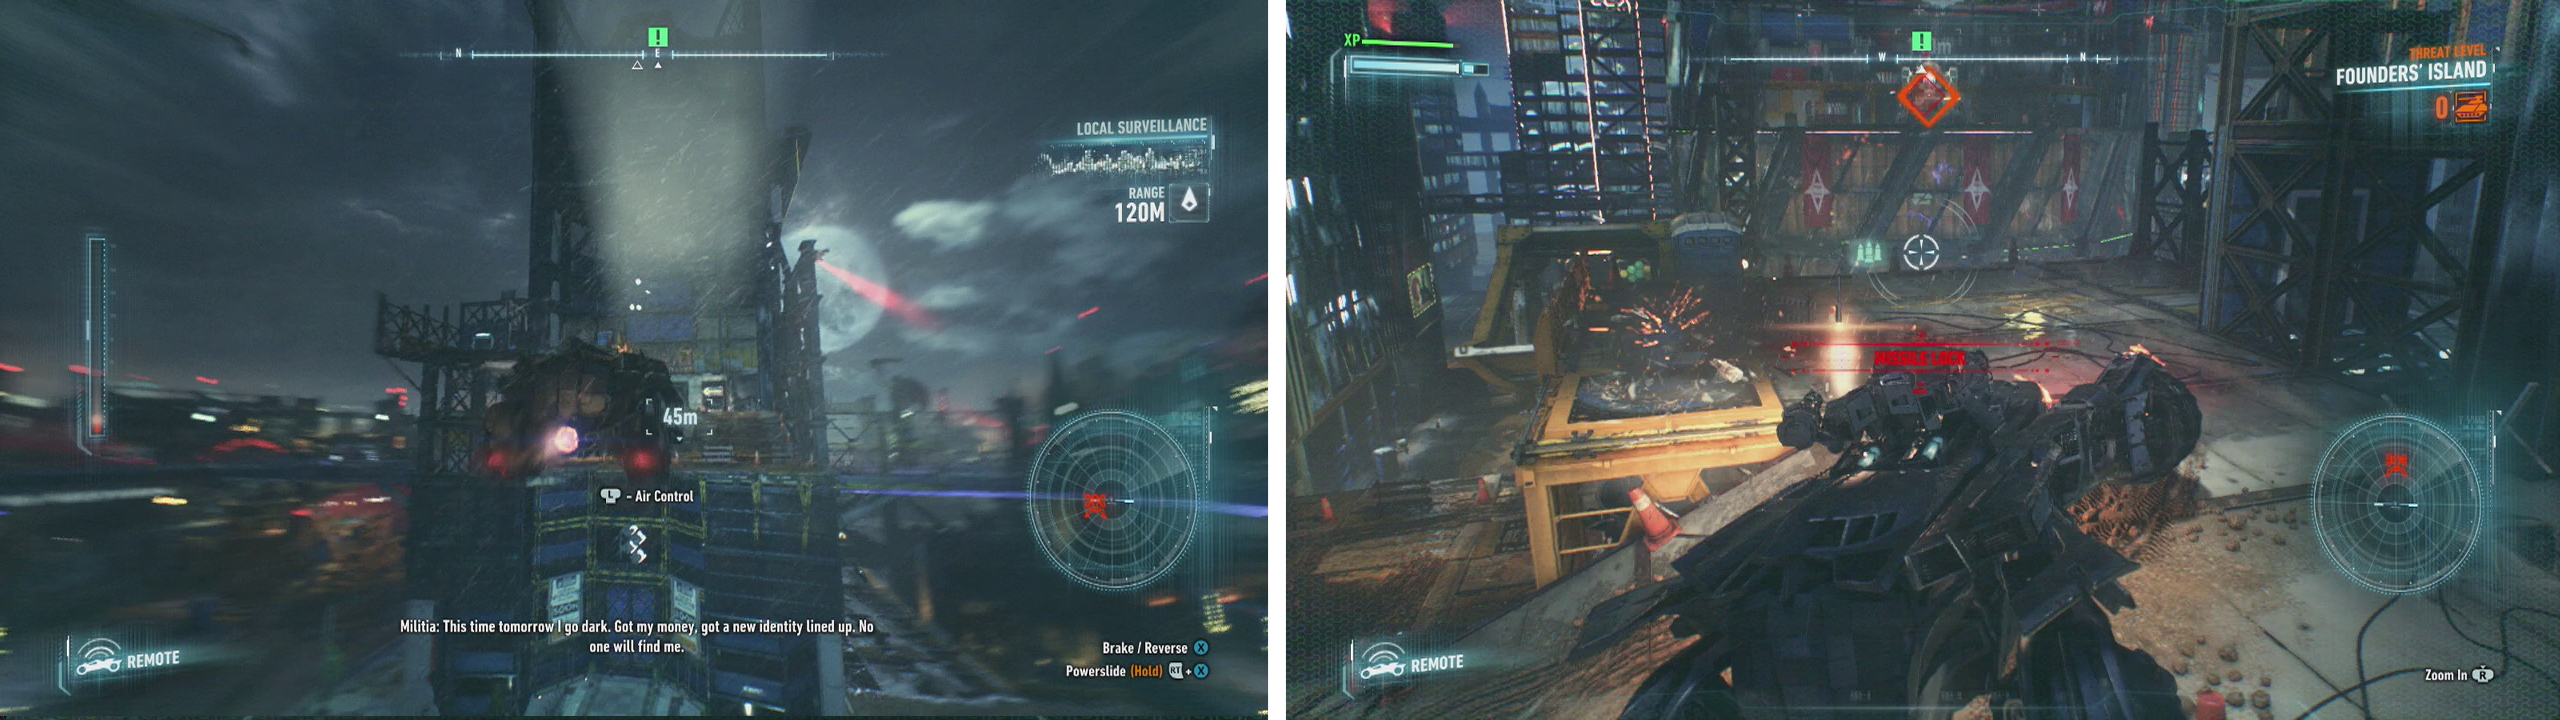
Jump the gap using the ramp (left) and in Battle Mode take out the Missile Turret (right).


The game will now prompt you to select your active mission, select the ‘City of Fear’ main quest to proceed with the campaign.
No Comments