After that close call, we’ll now find ourselves in a tunnel below the Arkham Knight’s HQ. Look up and use your Batclaw to grapple to the ledge above. Follow this tunnel a short distance and climb up the next ledge.
We’ll be under the floor of a room in which there are several enemies milling about. There are two Medics, eight Combat Experts and an Armed Soldier to fight here. Fortunately, you should have a Fear Multi-Takedown up your sleeve at this point and you should most definitely use it to quickly eliminate one of the Medics (or both if you have upgraded the Fear Multi-Takedown and you are able to target both).
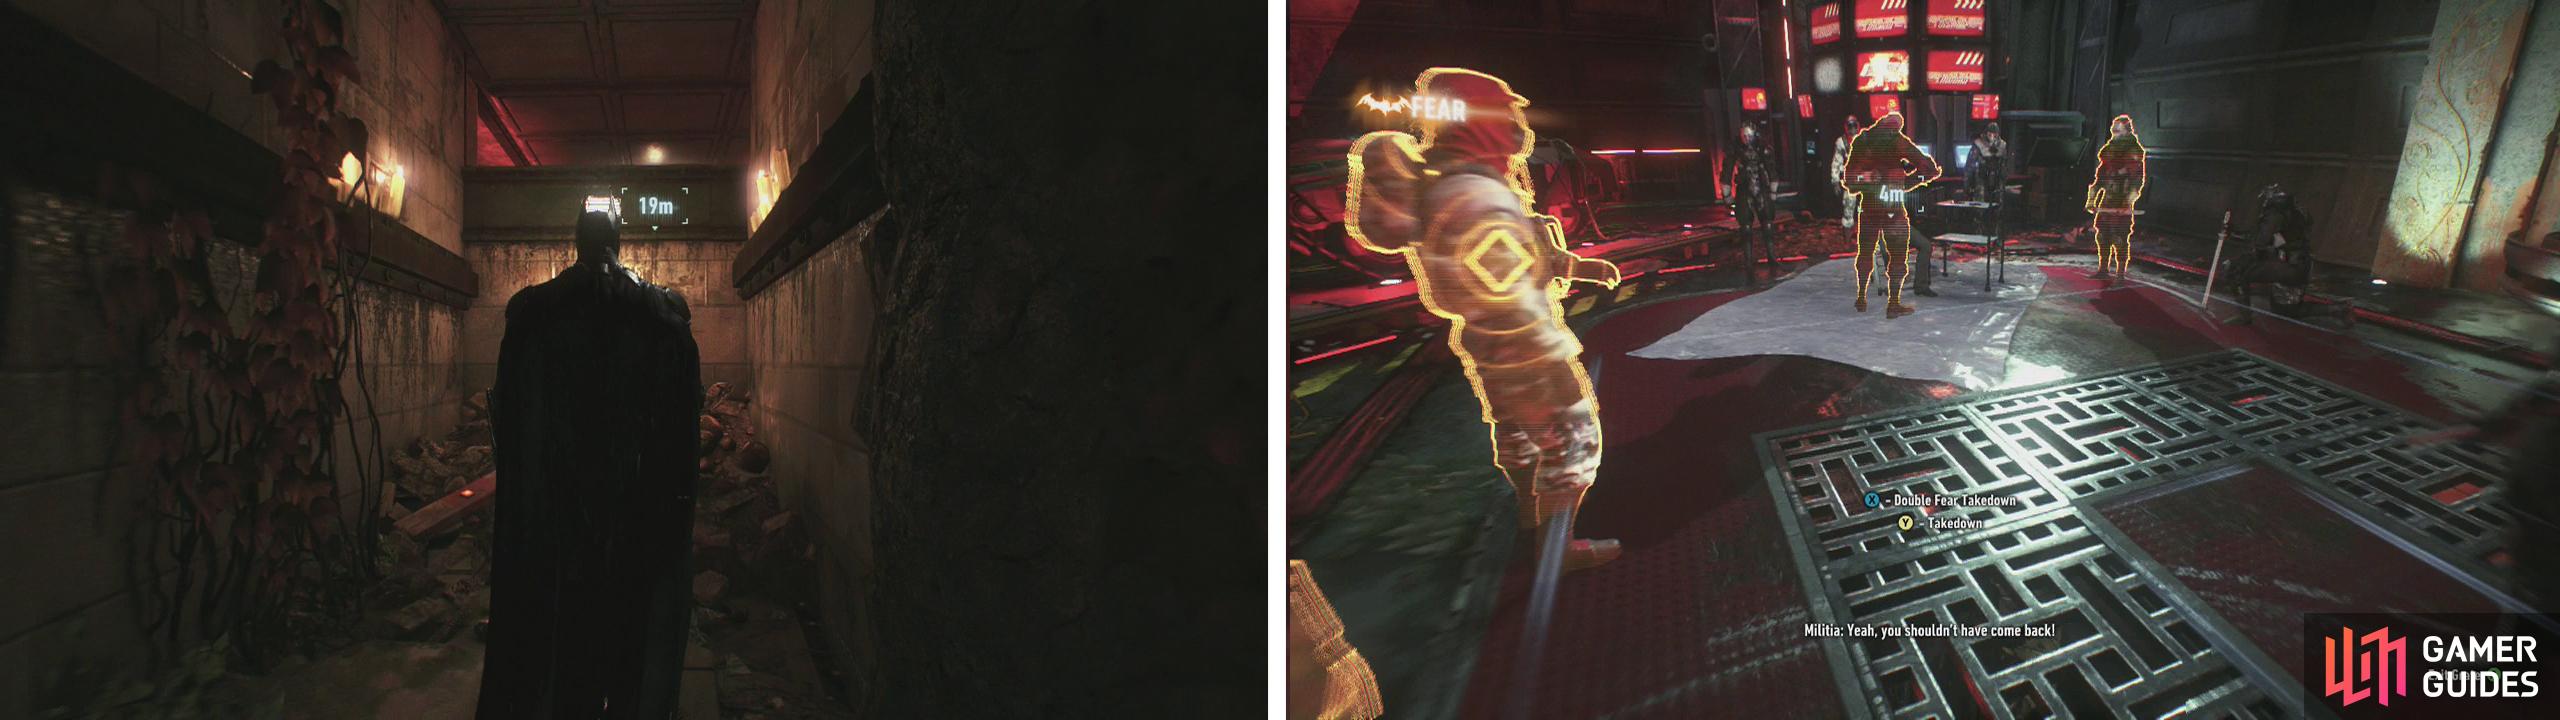
Cllimb up the ledge at the end (left) and perform a Fear Multi-Takedown from the grates (right).
Once the Medics are out of the way, perform your usual in-fight shenanigans to take down the remaining enemies. Make sure with so many Combat Experts around that you keep a keen eye on the environment as they will leap at you from everywhere. You’ll also want to stay on the armed Soldier and be sure to disarm him whenever he picks up the gun.
When you are ready to continue, walk over to the fellow in the chair and interact for a scene. This will trigger another boss fight.
Boss: Arkham Knight
As soon as the fight begins, you’ll be in cover behind a wall with a view of our target in the distance. For the duration of the fight, he will sit on one of the vantage points with his sniper rifle and constantly scan the room. The red laser indicates where he is currently looking and his line of sight will be visible on the floor/walls as a red indicator.
To defeat the Arkham Knight, we need to sneak up directly below his position and grapple up to the vantage point he is on. We’ll need to do this four times across increasingly difficult scenarios.
Although it is definitely possible to sneak through each stage and take down the target without being spotted, you’ll still need to dispatch any remaining enemies before the fight will progress to the next stage. You guessed it -this fight is essentially one long, four stage predator room. There will be quite a few enemies in the next few minutes that we need to take down before we finally get around to ending the Knight’s fun.
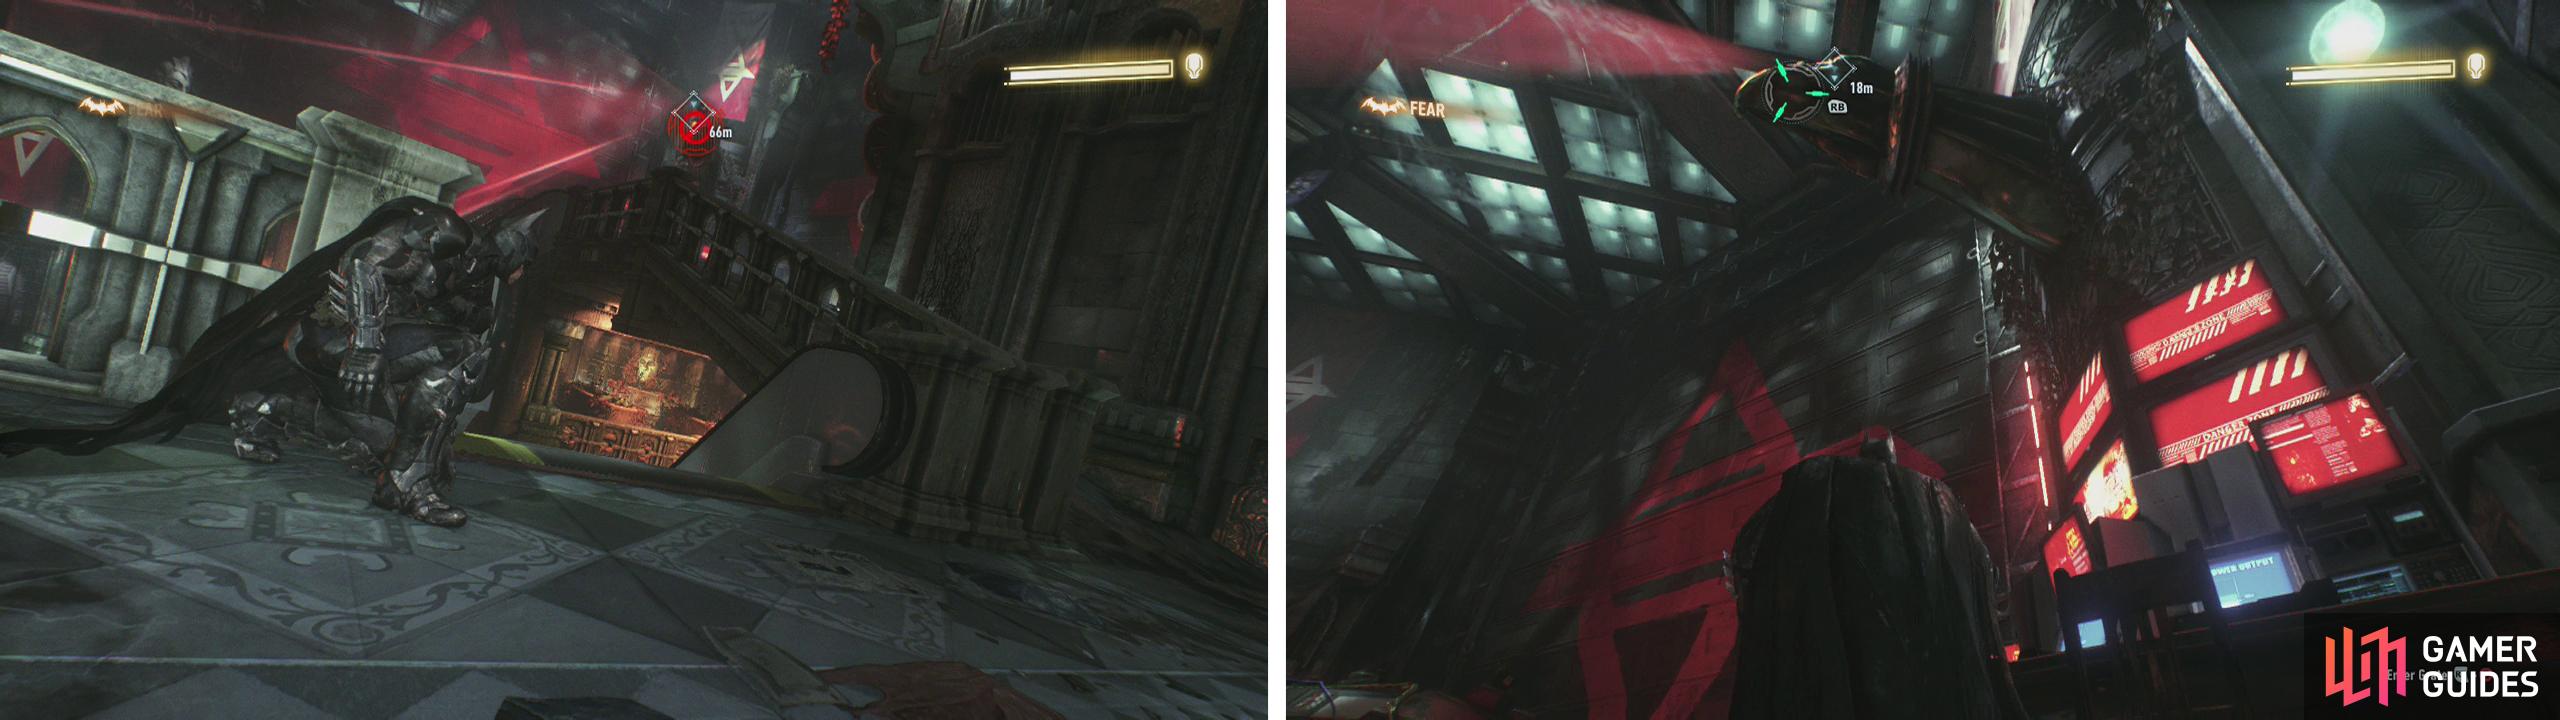
The Knight will sit on a vantage point and look across the room (left). We need to get below him and grapple up to his position (right).
The room itself is quite large and will change slightly depending on the stage of the fight you are at. In addition to the central area, there are four additional rooms that will open/close as you progress to the north, south, east and west each of which has its own unique features we can use to quietly eliminate the enemies that appear.
It should be noted that as the predator stage goes over several rounds, you should keep track of any mined vantage points and destroyed vents as they will not reset and will limit your movements during the later sections. It is also wise to keep the handiest techniques/objects/distractions for as long as possible, because once they are used you won’t be able to use them again.
You can make use of several environmental factors to make things easier, including:
Central Room – There is a raised balcony area and a lower section, both coming complete with below floor ventilation ducts. On the ground floor is a generator we can use to lure an enemy into a takedown with a combination of Voice Synthesizer and Remote Hacking Device . The escalators here can be activated with the Remote Hacking Device to create a distraction.
North room – There is a large glass building here with a weak roof we can perform takedowns through, hatches on the roof to transition below, an underground ventilation tunnel network and small vents at ground level allowing us to sneak through the base of the main structure in the centre of the area.
East room – This area also has an underground ventilation tunnel network and several large servers that we can take cover behind at ground level which are handy for corner takedowns. There is also a pool of water with a generator nearby that we can hit with a Remote Electrical Charge to zap anyone walking through the water at the time.
South room – This area has a wide open balcony area devoid of any cover (although it does have a destructible floor we can use to take down an enemy below if you time it right). It has an underground ventilation tunnel network that links with the Central room. It also features several large planters on its lower level which are handy for staying out of sight of the Arkham Knight and for corner takedowns.
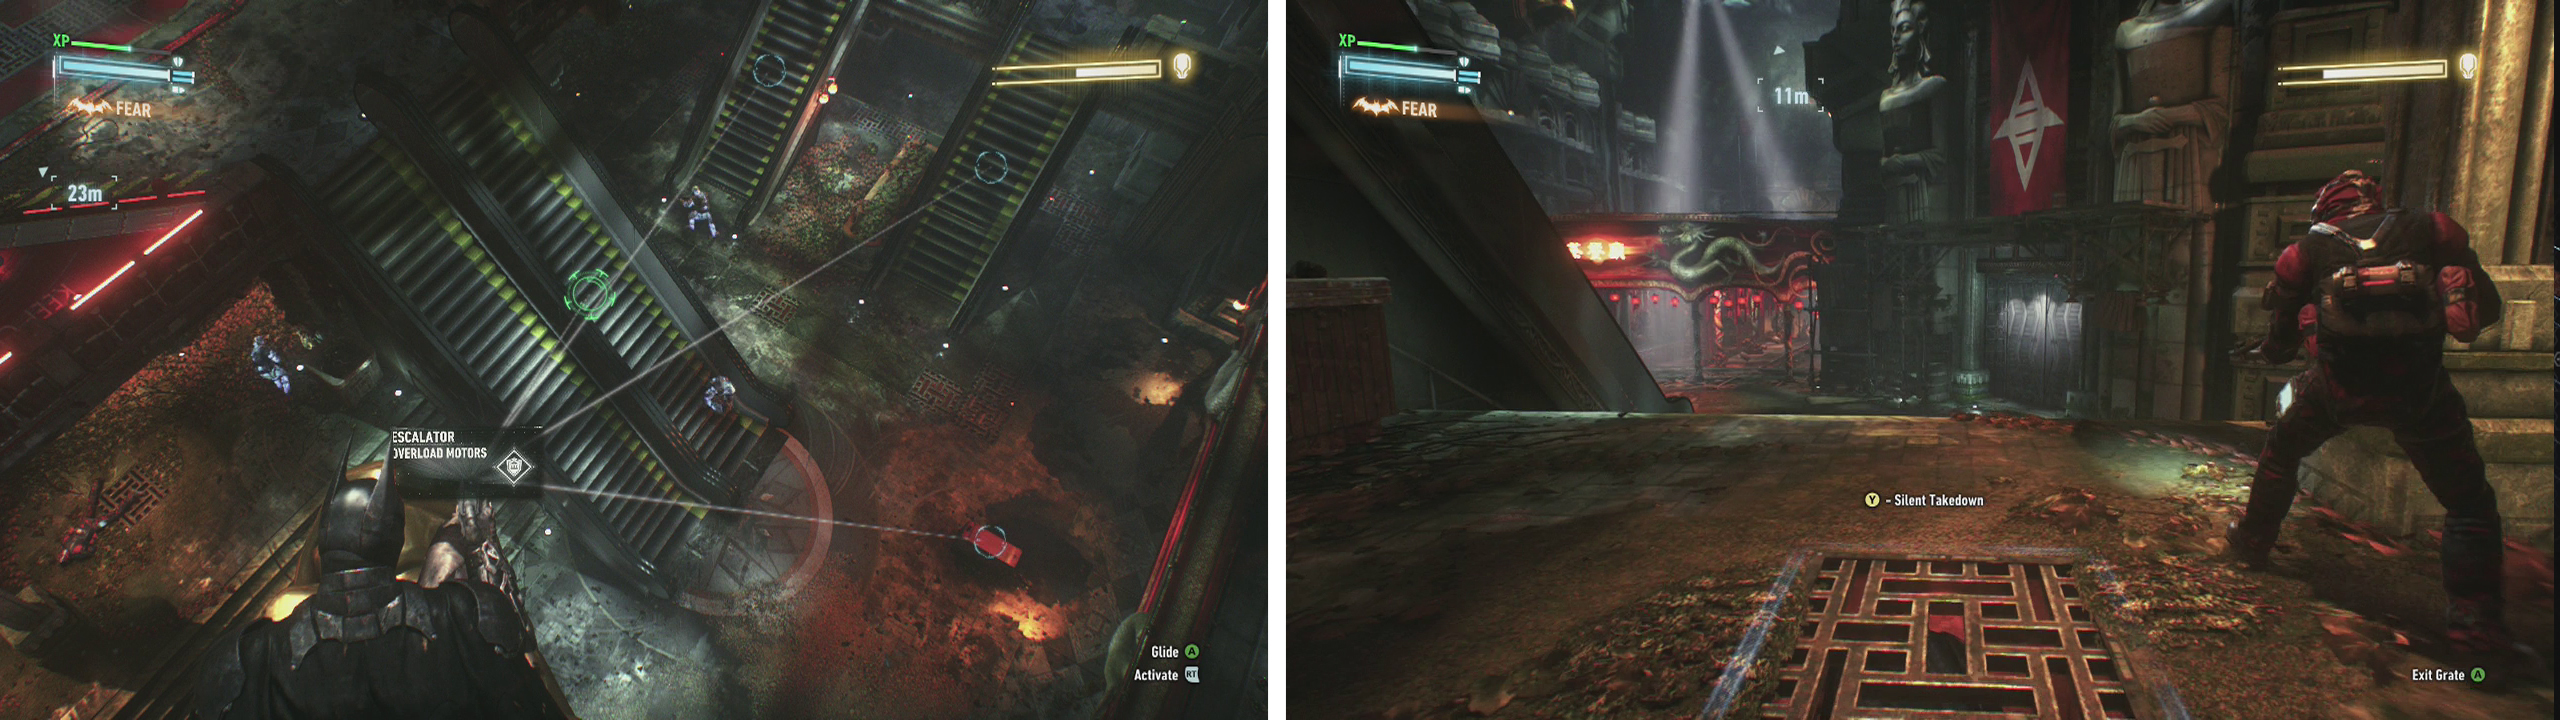
Use the escalators to create distractions (left) and the vents for silent takedowns (right).
Phase 1: Alone
The first phase is not so difficult and is here for the sole reason of showing you what to do. Keep an eye out for the red lasers and whilst he is not looking at you, slowly sneak up the right hand side of the room until you are below his platform. Grapple up to the vantage point for a short scene and he’ll move to the next position.
Phase 2: Reinforcement Wave 1
The game will show a pair of doors opening to the east and the north. The main target will take up position on a vantage point in the eastern room. Reinforcements will also enter the area from both open doorways and spread out. We’ll need to dispatch them before pursuing the primary target.
There are six Soldiers (one with a Detective Mode Scanner) and a Boa Drone which is controlled by the Arkham Knight which unfortunately means we can’t hijack it, only temporarily blind it with the Remote Hacking Device . The drone patrols between both rooms and you want to keep an eye on it and blind it when it is nearby so that it won’t attack and alert the other guards. You’ll also want to keep your use of Detective Mode to brief bursts until you disable the enemy with the Detective Mode Scanner.
It’s a good idea to try and use the southern and central regions of the area to take out the first lot of enemies so that you stay out of the sniper’s line of sight. When you have most of the enemies out of the way, move into the room with the Knight and utilise the various environmental elements here to take out any remnants. Use tunnels to get close to the boss before grappling up to his vantage point for a scene.
As soon as you have taken down the Knight and his soldiers, the eastern room’s shutter will close and you’ll be trapped inside. Grapple up to the small opening on the door to escape before the timer reaches zero. On to phase 3!
Phase 3: Reinforcement Wave 2
With the closure of the eastern room, the southern door will now open and the Arkham Knight will take up residence on one of the vantage points in here. The northern door will remain open. Again the boss will summon Soldiers to help him out. There are six Soldiers and a Boa Drone (controlled by the Arkham Knight) this time around. Unfortunately all of the Soldiers are wearing camouflage armour which means none of them will appear with Detective Mode active.
As with the previous room, it’s a good idea to take down as many enemies as possible in the rooms out of sight of the Arkham Knight’s sniper scope before going after him. You’ll need to be extra careful to keep a watchful eye on the guards below and make your move to take one down when you are certain they are isolated. If you still have the generator and the escalators available for distractions, this is a good place to lure a few enemies into the open. You can even smash them with a Fear Multi-Takedown if you have one available.
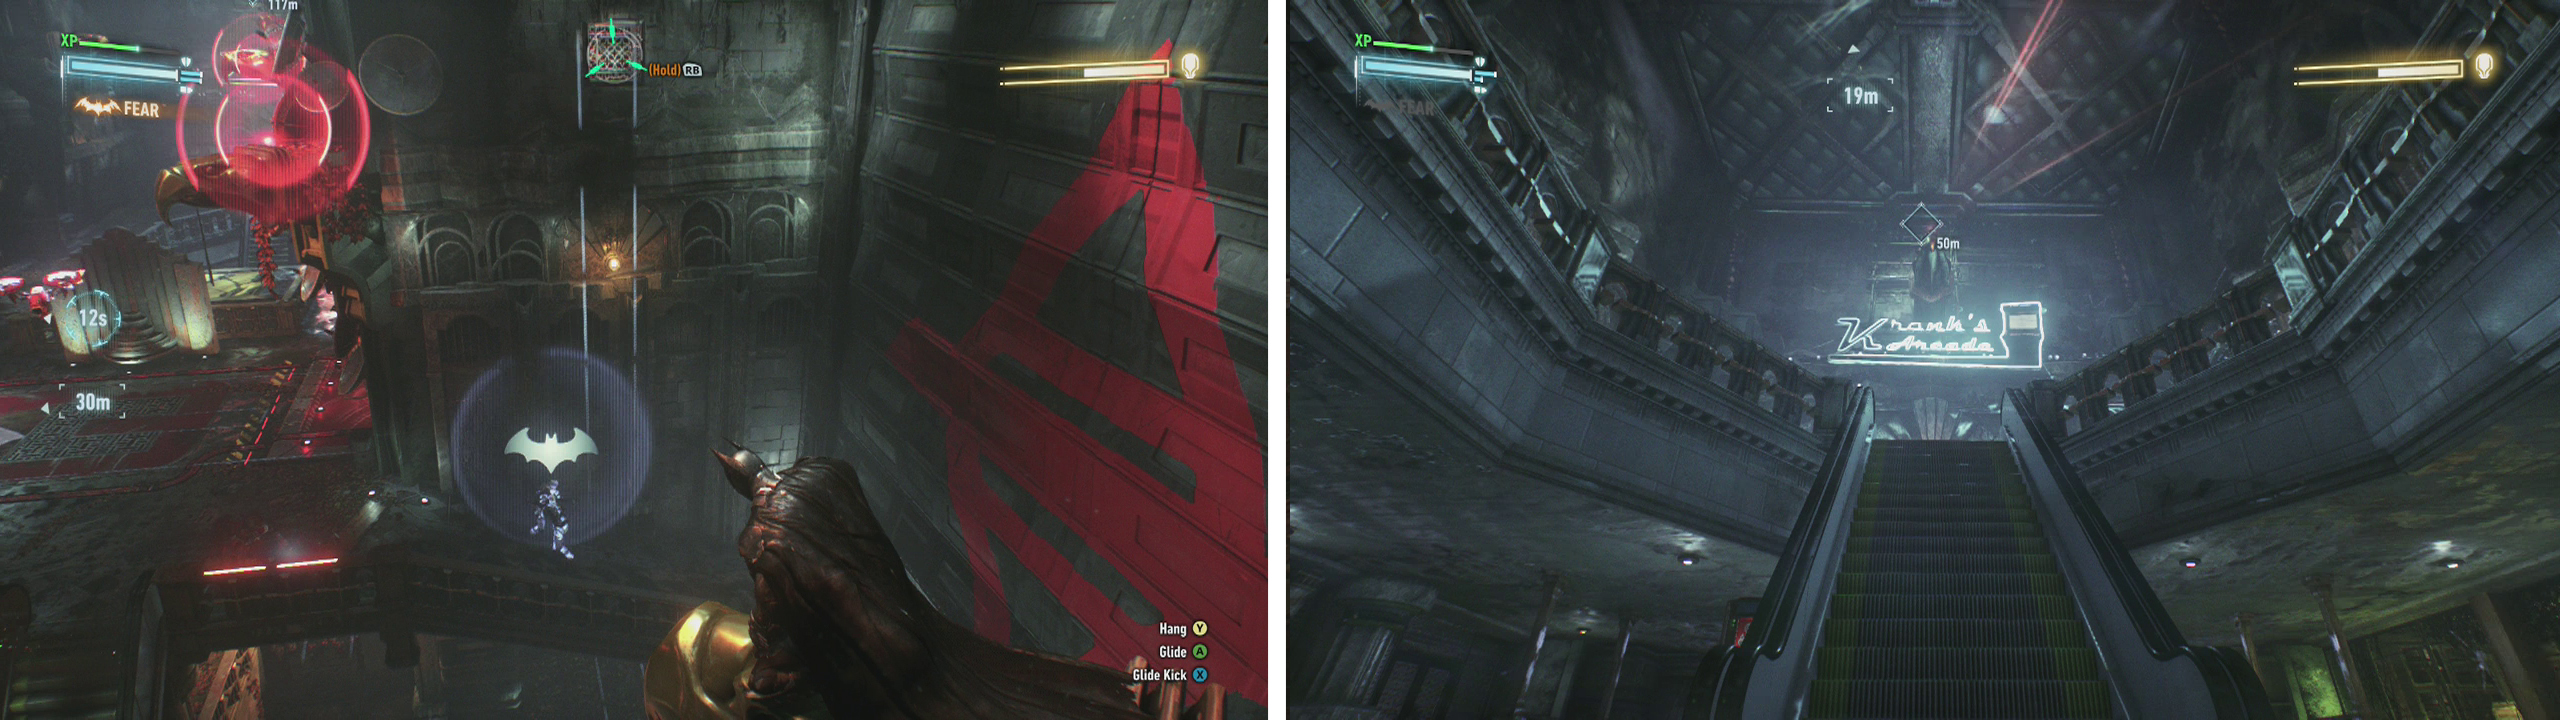
Watch out for mines being planted on vantage points (left). Use the floor and the stairs to position yourself below the Knight a third time (right).
When you’ve dealt with the Soldiers approach the Knight using the floor vents and use them to sit hidden at the base of the escalator leading up to his position. Wait for him to look away before racing up and grappling to the vantage point to trigger a scene.
Once the Knight has been knocked off his perch again the shutter will close behind you. As with the previous section, grapple up to the small opening on the door to escape before the timer reaches zero to get out.
Phase 4: Turrets
During the final phase all of the doors will shut except for the western room which will now house the Arkham Knight along with a pair of Sentry Turrets at ground level and his patrolling Boa Drone. The only option here is to use the crates to slowly move up to his position. You’ll need to do this whilst avoiding the sniper rifle indicator and using your Remote Hacking Device to disable the turrets before racing past.
It’s a good idea to make your move once the Boa Drone patrols out of the room so that you only need to worry about controlling two devices we need to manipulate with the Remote Hacking Device instead of three! It is also possible to neutralise one turret and sprint along the wall beside it and grapple up to the vantage point with the knight if you time it right, but the timing is tricky and will result in death more often than not, so the slow and steady approach is probably the best.
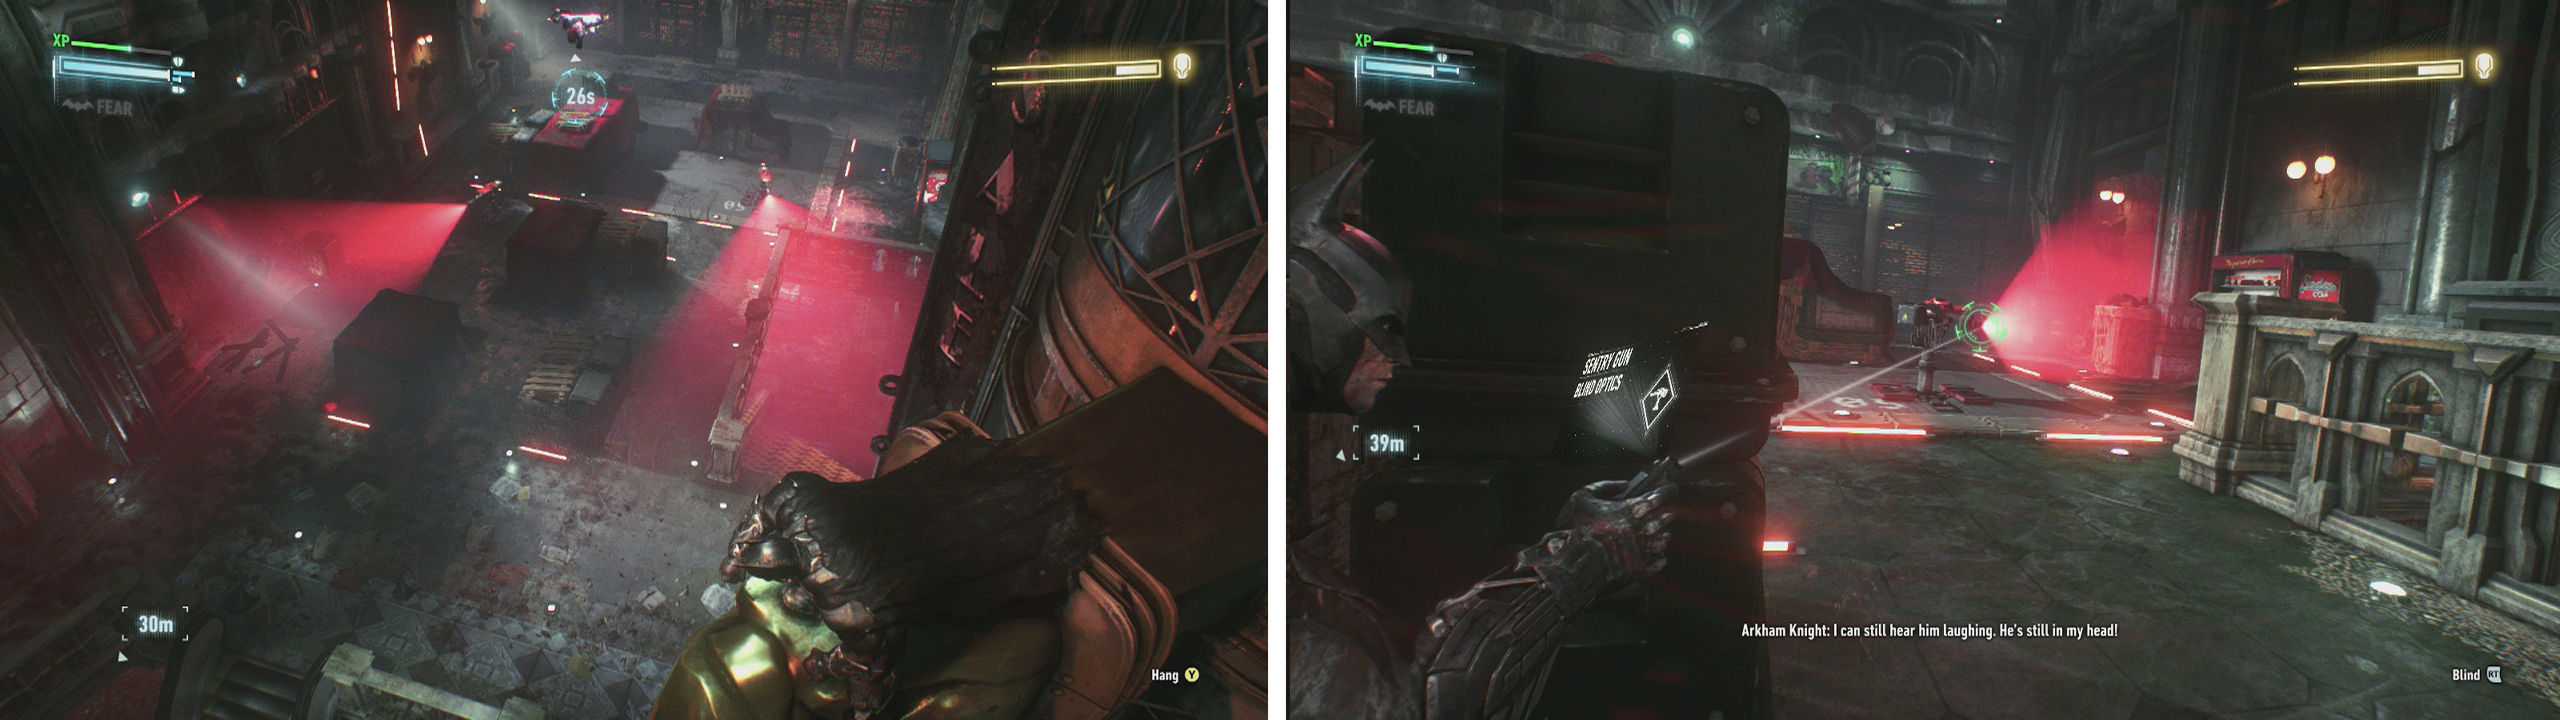
We’ll need to work our way through the Sentry Turrets (left), be sure to use your Remote Hacking Device to blind them (right).
When you grapple up to the Arkham Knight for the fourth time, a scene will play to end the fight.
After the fight, we can move over and rescue the hostage (finally!) for another conversation and another brief scene.
As soon as you are back in control of batman, you’ll need to fight off the group of enemies that just emerged from the lift. There are four Soldiers and a Brute. This brute is a little different however as he has shock sticks, making it impossible to attack him without using the Remote Electrical Charge gadget to stun him.
Take them all down to continue.
Objective: Confront and apprehend Scarecrow
Following the fight, enter the elevator and press the button to ride it to the rooftop. Exit for a scene.
No Comments