
| Important Items in this Area | . |
|---|---|
| Lancer Rifle | Talos Rucker Keycard |
| eBook: The Sleepwalking World | eBook: Talos Rucker: An Autobiography |
| Breach Software #6 | Breach Software #8 |
| Praxis Kit | Rucker’s Evidence |
| Breach Software #7 | Trangle Code #27 |
| Praxis Kit | Neuropozyne |
| eBook: The Inconvenient Aug | Praxis Kit |
| eBook: The Inconvenient Aug | eBook: The Inconvenient Aug |
Alrighty, you sneaked past the police, got access to ARC territory and possibly dealt with Gallois - it’s time to move one. Either ride the elevator up to “The Throat” or climb the ladder behind Gallois shop. Either way, go through a doorway to the north where you’ll have an encounter with a very, very big aug named Marchenko. He doesn’t exactly paint ARC in the best of lights.
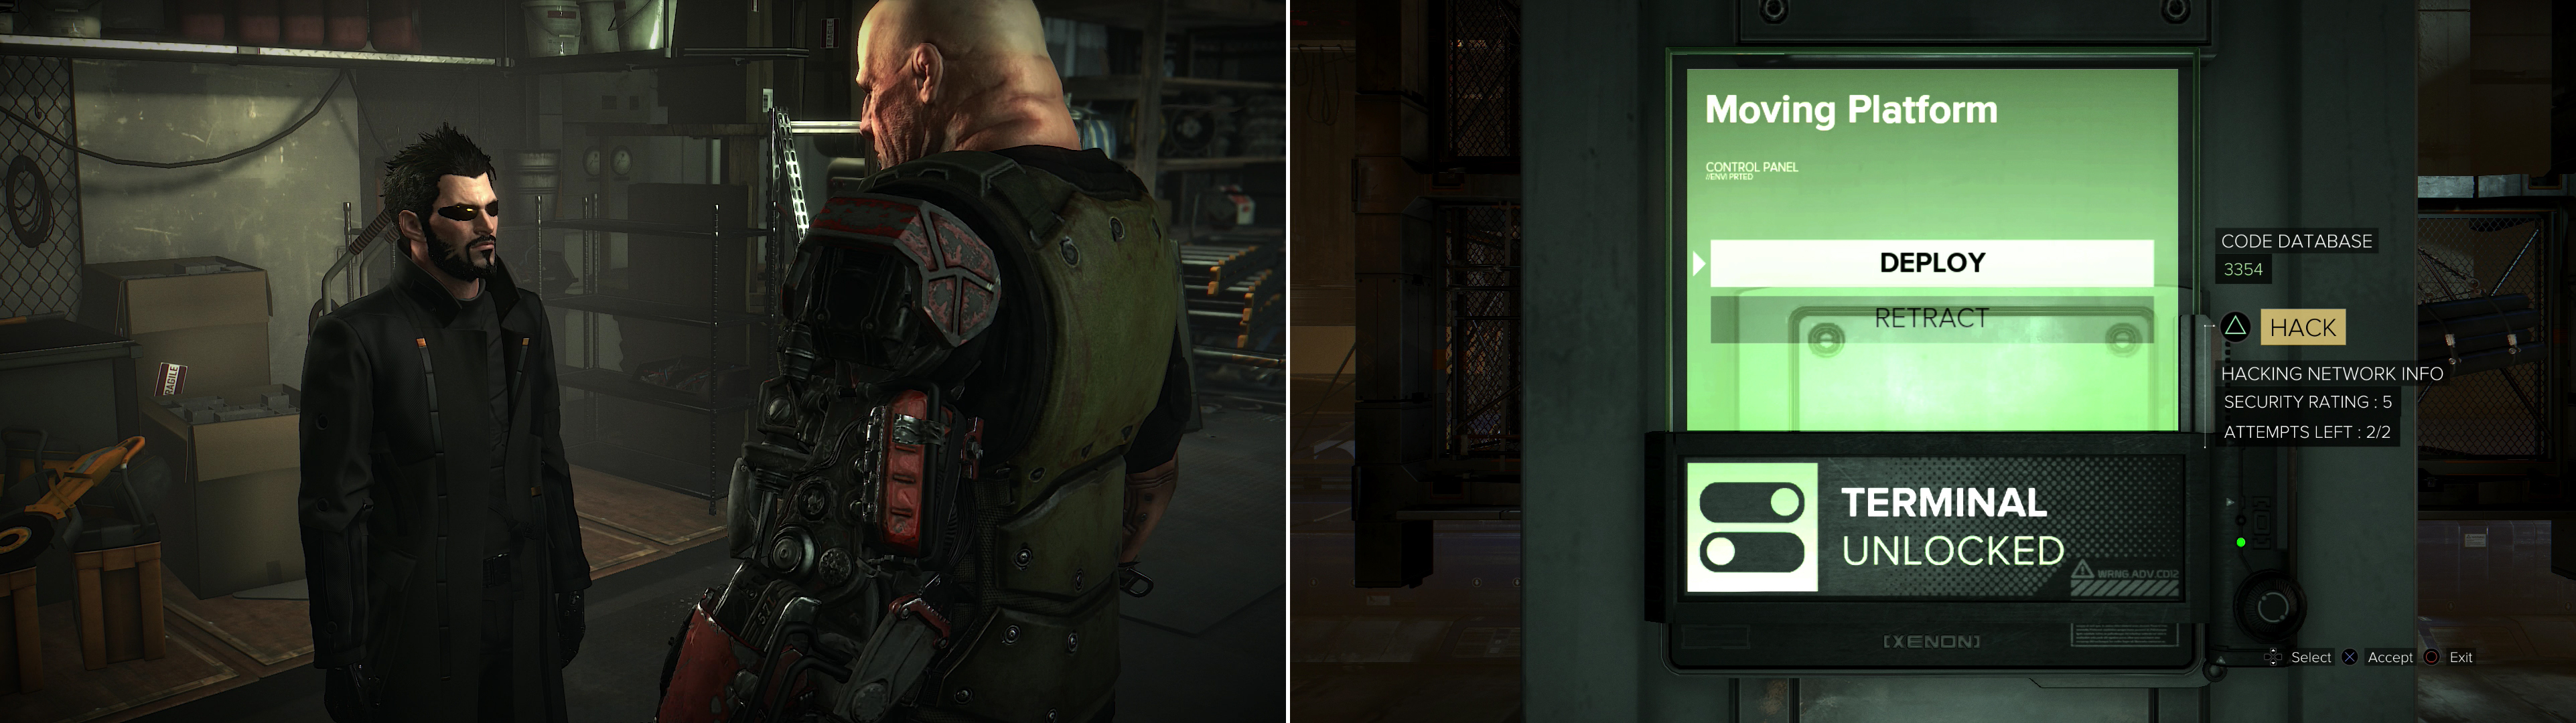
Past the Stedry Market you’ll come face to… chest…. with Marchenko (left). Hack a Keypad to deploy a bridge, which will shorten your trip considerably (right).
The Throat
After you friendly conversation, turn north and search the storage shelves to score a variety of goodies, including Crafting Parts, a unit of Stealth Software and a Credit Chip in a case. In a Weapons Briefcase you can find another Machine Pistol and some Machine Pistol EMP Ammo, while in some searchable containers to the east you’ll find more Crafting Parts and Stun Gun Ammo.
Head down a long hallway to the east, stopping at some point to hack a Keypad to the north (Security Rating: 1). In the room beyond you’ll find a Pocket Secretary for a VERY useful code, then search a Weapons Briefcase to obtain some Tesla Cartridges and some Typhoon Ammo. Continue heading east and either use Glass-Shield Cloaking to sneak through some lasers, or disable them with Remote Hacking.
Continue east and go through a doorway to reach The Throat. Ahead of you is a Keypad (CODE: 3354) (Security Rating: 5) you can use to deploy a platform and reach the elevator beyond. If for some reason you can’t be bothered to simply enter a code and walk forward, however, drop down off this ledge and head to the south to find a Credit Chip in a case, then head north to find a Weapons Briefcase in a metal circle, in which is a Frag Grenade and a Concussion Grenade. On the northern end of this shaft you’ll find a large… shipping crate? Find a hole you can enter along the southern side of this object and grab some Crafting Parts and a Stun Gun out of some searchable containers, then proceed north, grab a Battle Rifle near some searchable containers and jump up a variety of objects along the northern end of the container (grabbing some Combat Rifle Armor Piercing Ammo and search a crate along the way). When you reach the top of the shipping container head south, jump onto another structure to the south-east, then head east along a beam, which runs south to reach the platform the elevator is on.
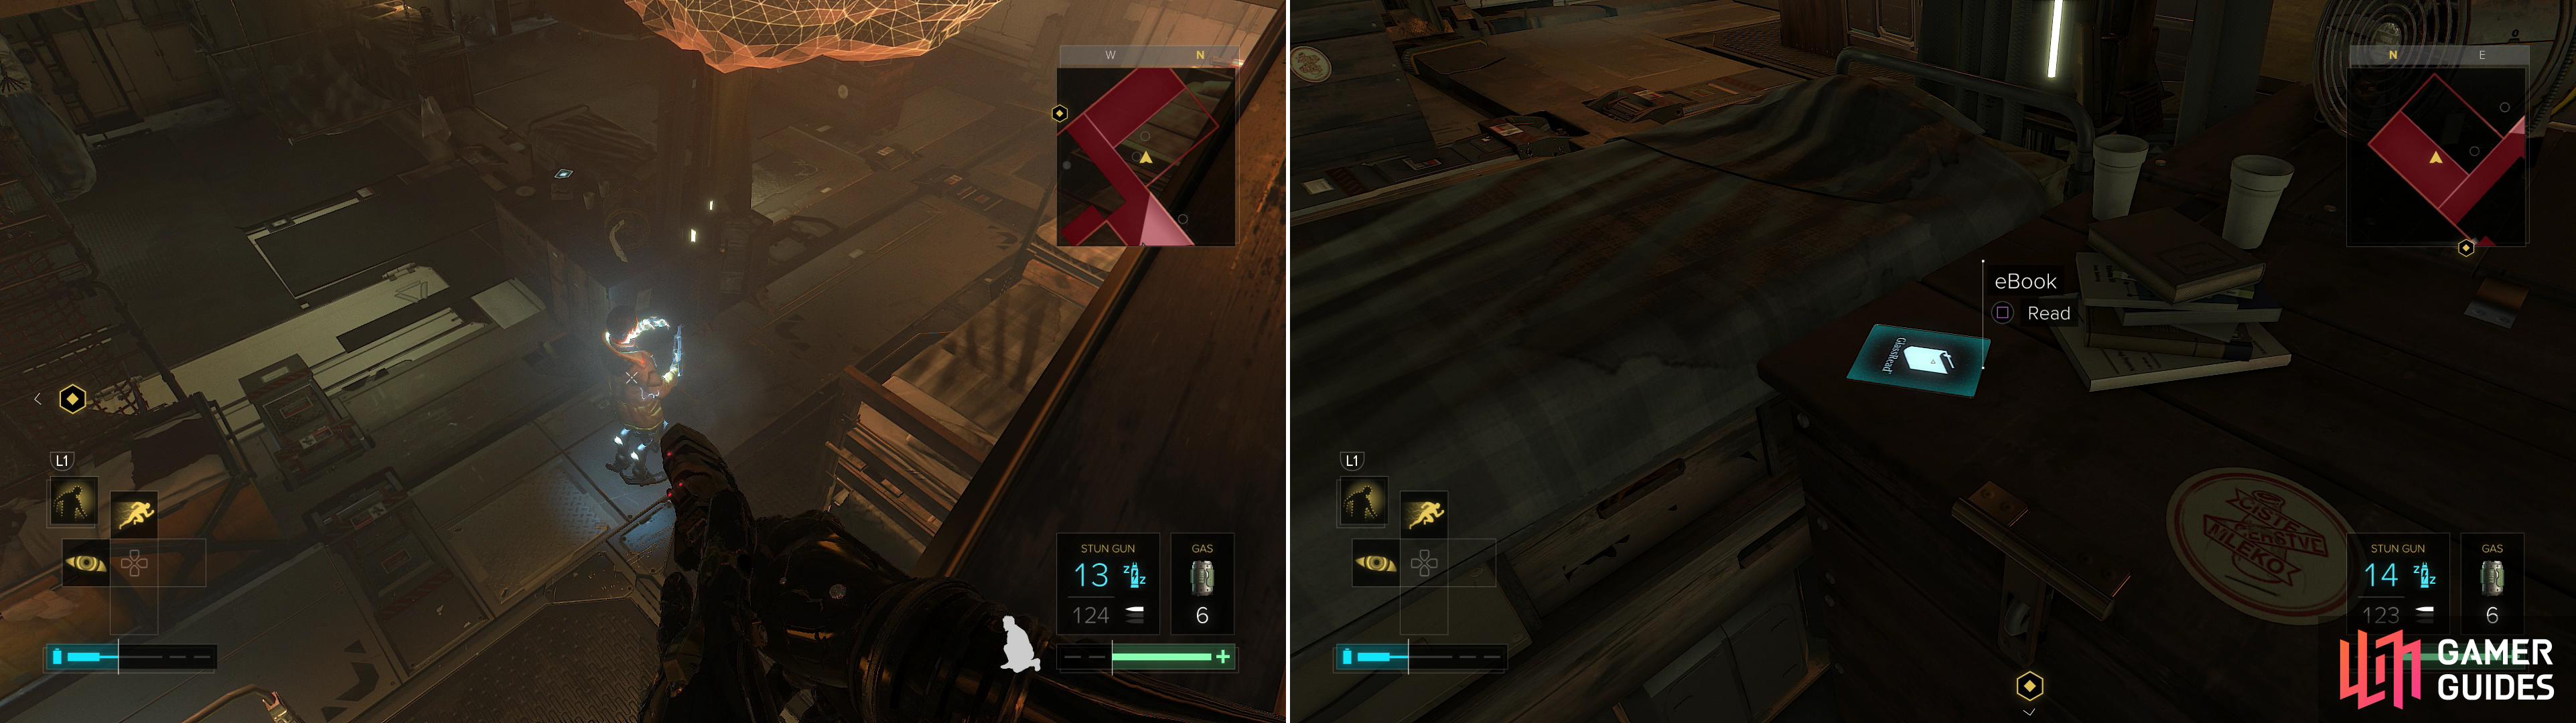
Alternatively, from the roof of the shipping crate turn north-east to find a ladder. Climb it and jump onto a mobile platform to the south, where you’ll find a simple, four-direction control panel. Press the button to go up, then turn north and walk across a blue and yellow “Santeau Group” sign. Drop down on a platform to the south and enter an apartment to the west, near some pipes. Inside this apartment you can find some Crafting Parts both out in the open and in cabinet. Grab a Gyroscopic Regulator of a table, then search some searchable compartments for a Credit Chip, a Tranquilizer Rifle, a Machine Pistol, a Mine Template and a Gas Mine.
Leave the apartment and climb up the pipes to the south, duck under a pipe, head up a metal ramp, then, at a ladder, drop down a ledge and cross another blue and yellow sign to the east to find a Weapons Briefcase, inside of which is the “Lancer Rifle” weapon, some Crafting Parts and some Battle Rifle Armor Piercing Ammo. Return back across the bridge and scale the ladder you bypassed earlier, then climb a ramp and turn north to find a ledge. Climb up there and turn west to find a window you can squeeze through, then loot the apartment beyond to score a HypoStim Injector, a box of Crafting Parts, a unit of Stealth Software, some Combat Rifle Regular Ammo and some Machine Pistol EMP Ammo.
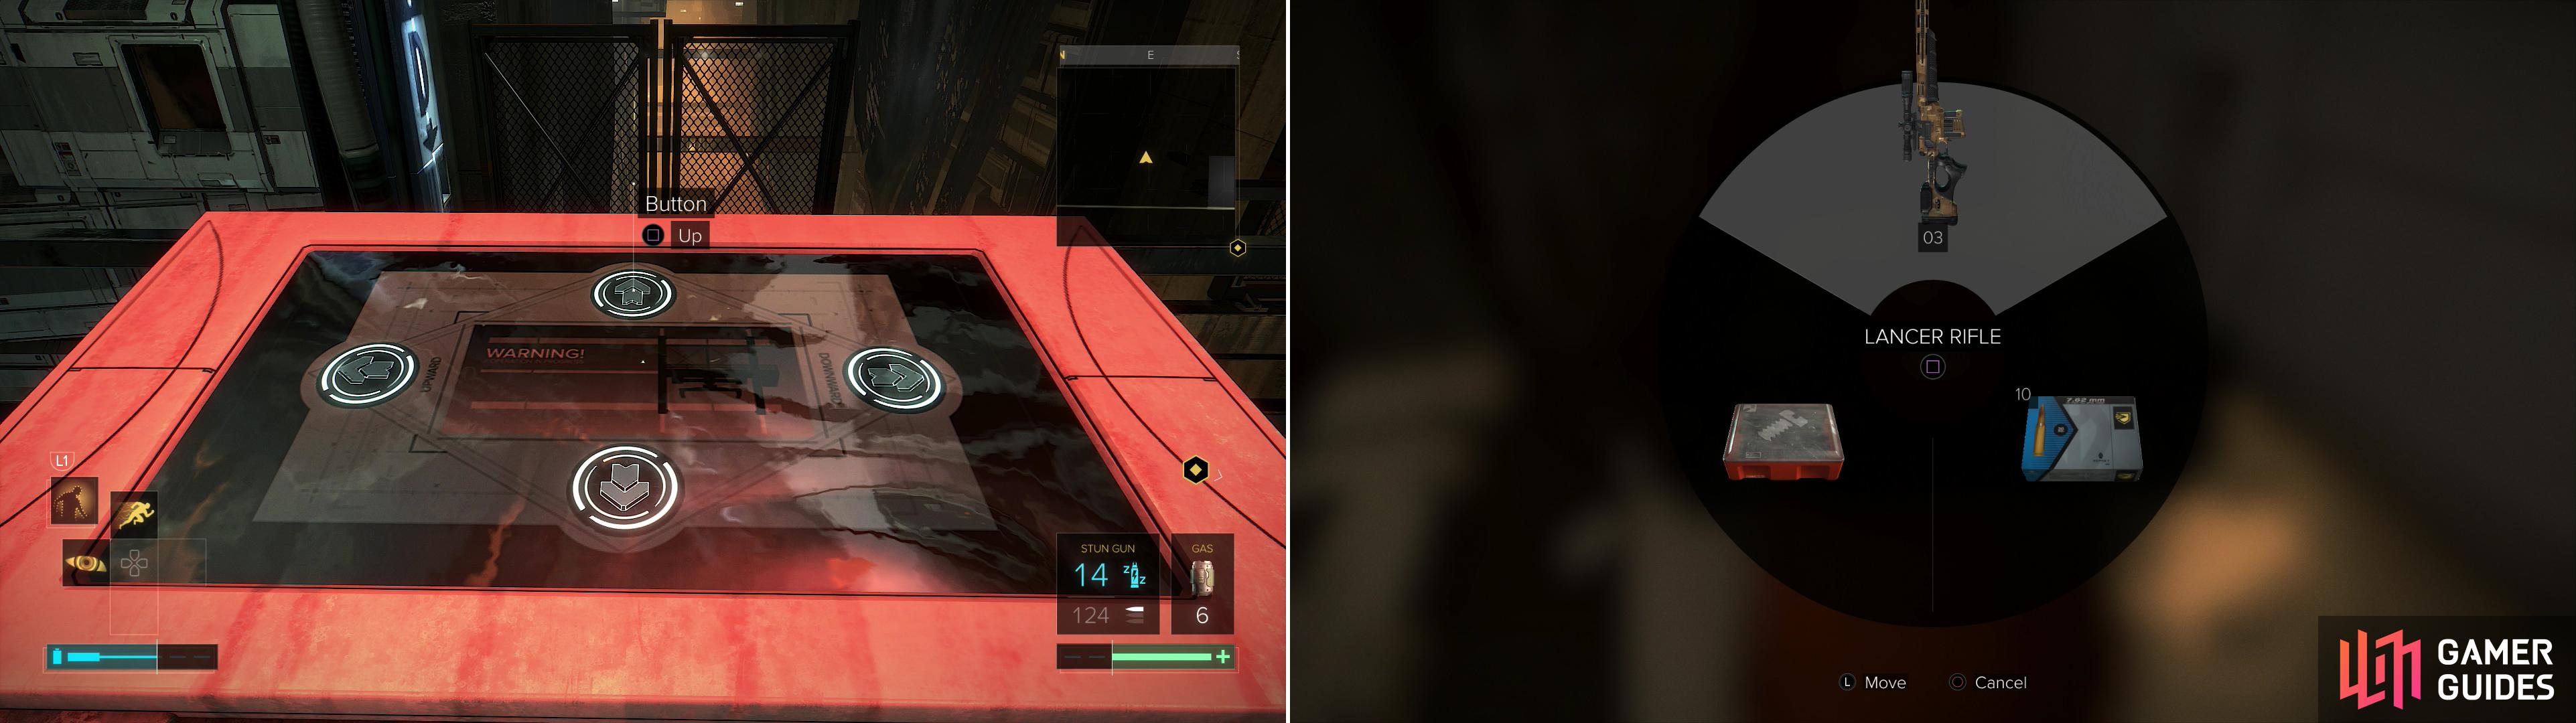
On the other hand, take the long route and use two lifts (left) to reach a bit of rare loot (right).
Exit the apartment and climb onto a platform to the north, upon which you’ll find a button you can press to call over another movable platform. Summon it and press the up button to raise the platform. When it stops head south onto another platform, then turn west and scramble through a doorway and into an apartment. Loot some lockers to score Painkillers, a Credit Chip and a Holosight, then go through a doorway to the south and down some stairs to reach… well, the area where the elevator WOULD have taken you.
Speaking of which, if you went the elevator route search the platform the elevator is on to find two lockers, inside of which are a Biocell and a Battle Rifle, then turn your attention to the elevator. Either use the ARC Keycard to open the door or jump atop the elevator, destroy a vent cover and drop down into the interior. Ride the elevator up and turn north to spot the doorway to the apartment, which you can thread your way through in reverse order to score all the aforementioned loot in the paragraphs above (especially that Lancer!). Or you could just ride the elevator back down and follow the non-elevator route, too. Whichever works for you.
Whichever route(s) you take, when you’re done exploring your options and looting head west from the elevator platform and enter a restricted area. Jensen will contact Chikane and the threat lying ahead will be revealed. Be wary, this is the most difficult part of the game so far, especially if you want to get through the place with your Pacifist/Foxiest status intact AND obtain all the collectibles. Don’t worry, though, with some direction, patience, a impetuous application of your Stun Gun and plenty of save/loading, you should make it through!
| Objective | Reward |
|---|---|
| For reaching RVAC Row | XP 1950 |
RVAC Row
Continue north through restricted territory, then head west up some stairs to witness a cutscene. After the cutscene, it’s time to get to work. The walkthrough up until this point has accommodated a number of routes through quests when multiple routes were viable. Here, though, the guide will dispense with that and try to directly guide you through this area, ignoring any loot that’s not unique. Glass-Shield Cloaking, Remote Hacking and Vision Feedback (Wayfinder Radar System) will all prove themselves invaluable here.
Crouch behind some crates and when the coast is clear sneak north behind more cover, then turn north to spot a ladder. Climb the ladder or jump up to the ledge and stay wary of the guard that patrols up here, then make your way west and look up at the stairs. Remote hack the laser grid (or just use Glass-Shield Cloaking to avoid it) then climb up the stairs, turn west and note the camera ahead. Jump up onto the ledge above the camera, hence bypassing the obstacle, then sneak your way west until you find a vent to the north.
Sneak through the vent and into a barracks room, where two guards below you will be chatting. Wait for them to part company, after which one will leave the room. Drop down and take out the guard who remained in the room, drag his body behind some cover so they can’t be seen from the doorway then climb back up to the structures above the room and wait for the next guard to enter the room. When he does, wait for him to close the door behind him, then Stun Gun him from your elevated perch - preferably near the door. No other ARC Soldiers should enter this room, so you can just leave the bodies anywhere. While the room is free of guards, however, search some wooden crates near the center of the room, near a bed, to find the eBook “The Sleepwalking World” .
Take out the ARC Soldiers in the barracks (left) so you can grab an eBook in peace (right).
Climb back up to the structures above the room and exit via the vent you used to enter. Once outside, turn west until you run out of west, then turn south and make your way across some crates and onto a ledge. Be wary of one guard below you to the east, as they can play spoiler here. You can just wait for them to come look over a nearby railing and take them out, though, as no other guards patrol over here.
You should find yourself on a square roof surrounded by ledges. If you look over the railing down and to the south-west you’ll see an elevator, which will be your goal shortly. For now, however, turn south-east to find a structure running south, which will serve as a bridge you can use to cross from the roof you’re on. Cross this bridge to the south and leap over a railing, then turn south-west to spot a security camera, a hole in the ground and some stairs. Either sneak around the camera’s line of sight or remote hack it, then head up the stairs. Be careful, though, as a guard patrols around up here… but he can also be knocked out, as nobody else will wander here, just keep his body away from the northern end of the platform he’s on, just in case.
From the stairs either sneak north, then turn west and go through a window, or go west from the stairs and enter a door (marked 550125) to reach a server room. There’s a number of goodies here, but be sure to grab “Breach Software #6” from the eastern end of the central server shelf in the middle of the room.
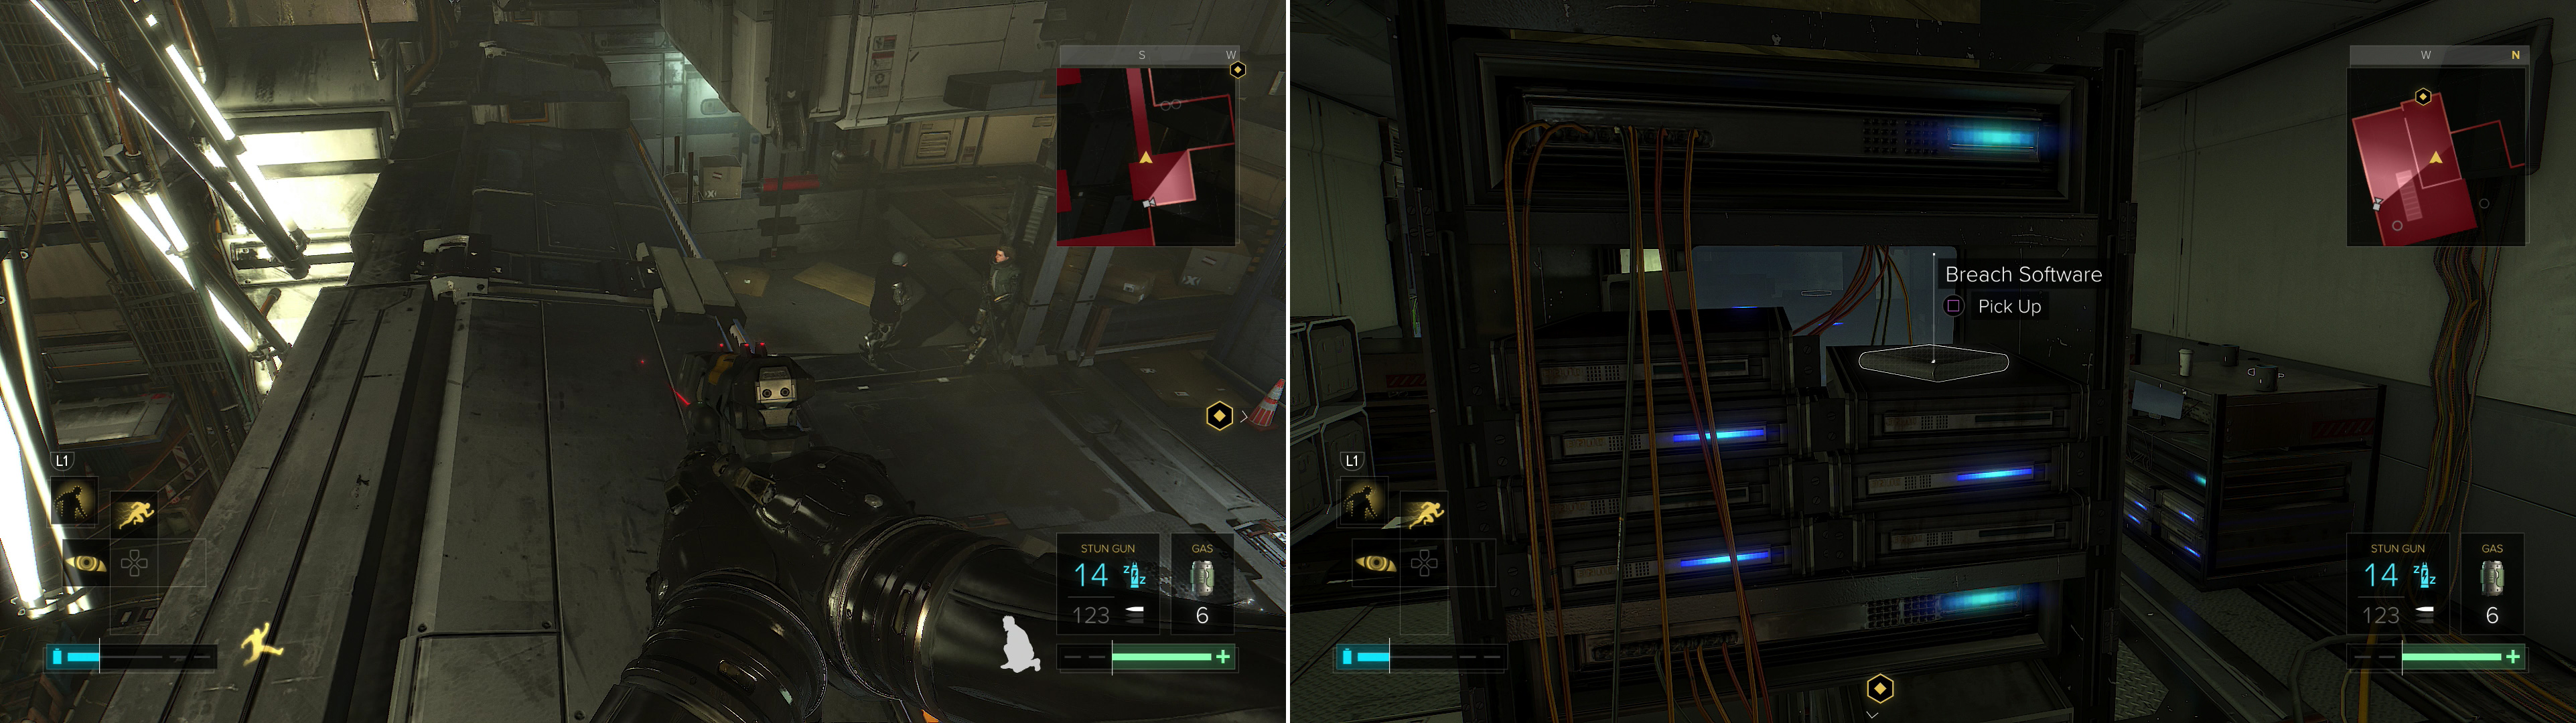
Cross a bridge to reach a server room (left), where you can find Breach Software #6 (right).
Climb out the window to the east, then head to the north-eastern corner of the roof you find yourself on and look down. Drop onto the bridge below you, then backtrack across it to the north to reach the the previous roof you were on before you went bridge running. It’s now time to turn your attention to the elevator below you, to the south-west. There were two guards chatting down here, but they should have both started walking their routes now. Wait until one guard is either standing by a blue beam near the elevator, or at the railing east of the elevator, then drop down and press the button to call the elevator. Stay to the north, near the elevator, and if you were quick enough you won’t be noticed before the elevator arrives. Slip on in the elevator and take it down to the “Ground Floor.”
Take cover along the elevator wall under the button and look out of the elevator at the stairs to the east. Wait for a guard to walk up the stairs and head off to the east, then sneak down the stairs and enter a door (marked 300420) to the south. Grab a Pocket Secretary off a trunk, then continue west and turn south to find a destructible vent on the wall. Smash through it and crawl through the hole you made, then turn west to find a depressed area streaking with lightning. Fortunately there’s a breaker nearby, so just jump down and turn it off, then continue west, climb up a ledge and behold! The magical lair of golden penguins!
| Objective | Reward |
|---|---|
| For making it through RVAC Row | XP 1950 |
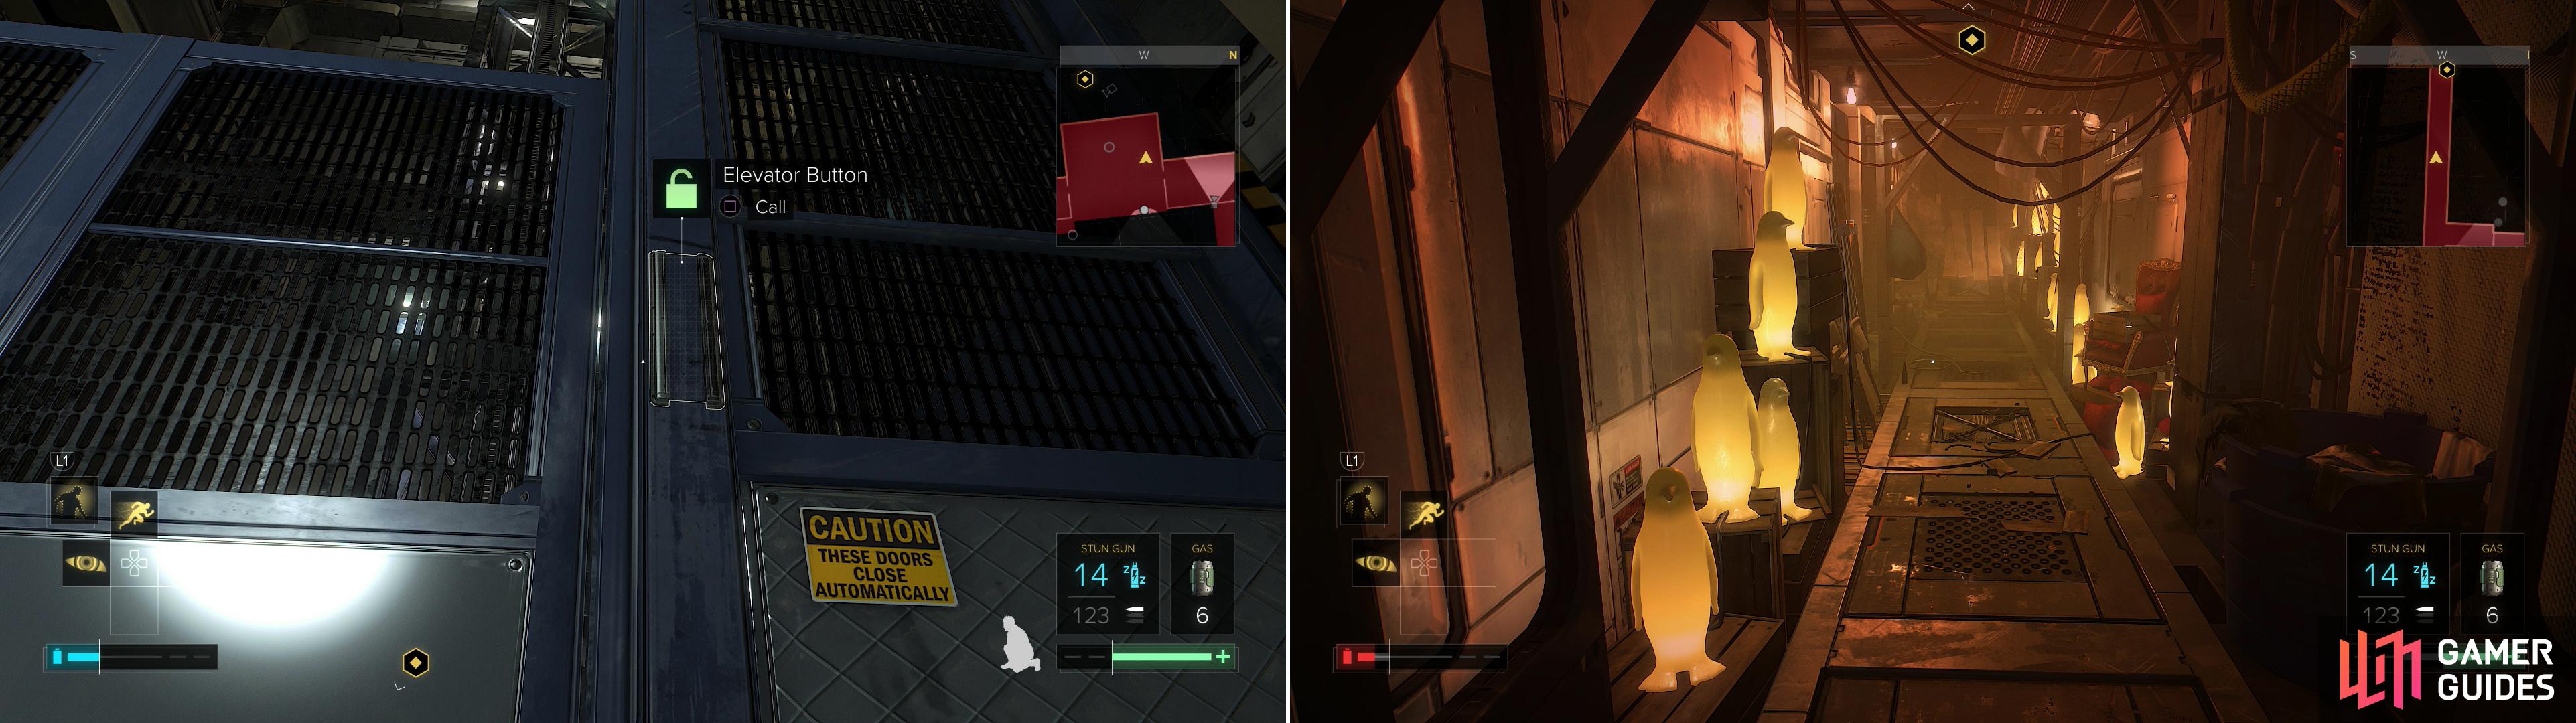
Sneak into the elevator and ride it down (left) and make your way through the magical golden penguin court! (right)
The Golden Rookery
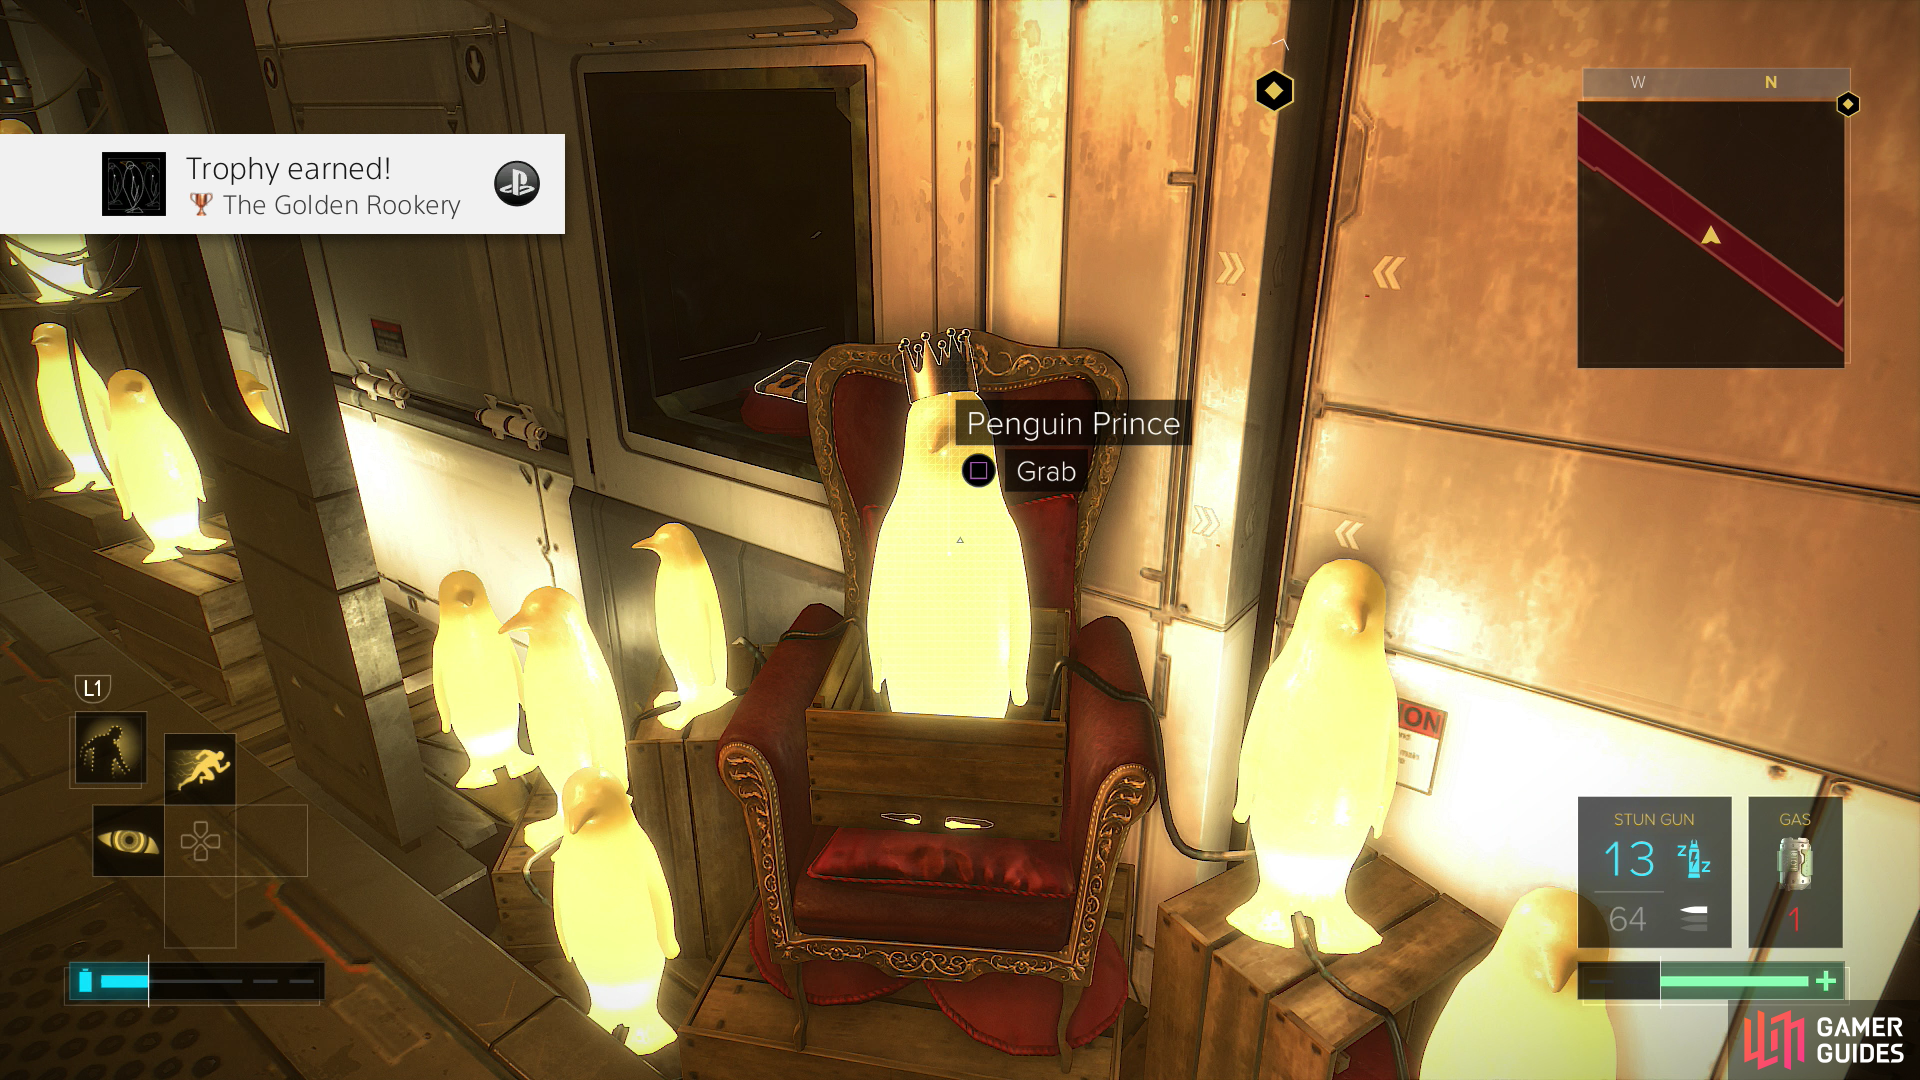
Save your game - make a hard save on a different slot - then, if you want to get the trophy/achievement, “The Golden Rookery”, it’s time to get to work. Remember Ivan Berk’s Apartment back in the Udalek Complex, before the Narrows? Where the crowned golden penguin resided? Sure you do. Your goal is to take that penguin from there to this hallway, where he must be reunited with his court.
You already know the route and hopefully cleared the way to some extent, but your biggest task will be to get rid of the ARC Soldiers running around the RVAC Row. Don’t worry about kills, staying hidden, or any of that nonsense - you saved, remember? Just get rid of the security in RVAC Row, return through The Throat, the Stedry Market and the Narrows. Grab the penguin king and carry him back - if you cleared the way, the hardest part of this will be setting his highness down to open doors and activate elevators.
When you place the monarch in the box on his throne, a wall compartment will unlock, reveal a “Praxis Kit” and earning you the trophy/achievement “The Golden Rookery”. Once done, reload the save before you embarked on this royal escort and continue on - it’s a shame to miss out on that Praxis Kit, but it’s one hell of a chore to maintain Pacifist/Foxiest and get it.


Ridit Station
Continue west through the penguin king’s court, go up a ramp, then head north through a vent. When you exit the vent, look down and wait for two ARC Soldiers to get done talking, then, when they’re not looking and far enough away, drop down and climb up the rollers of an industrial printer. Climb through another vent to the north and exit the vent in the Ridit Station.
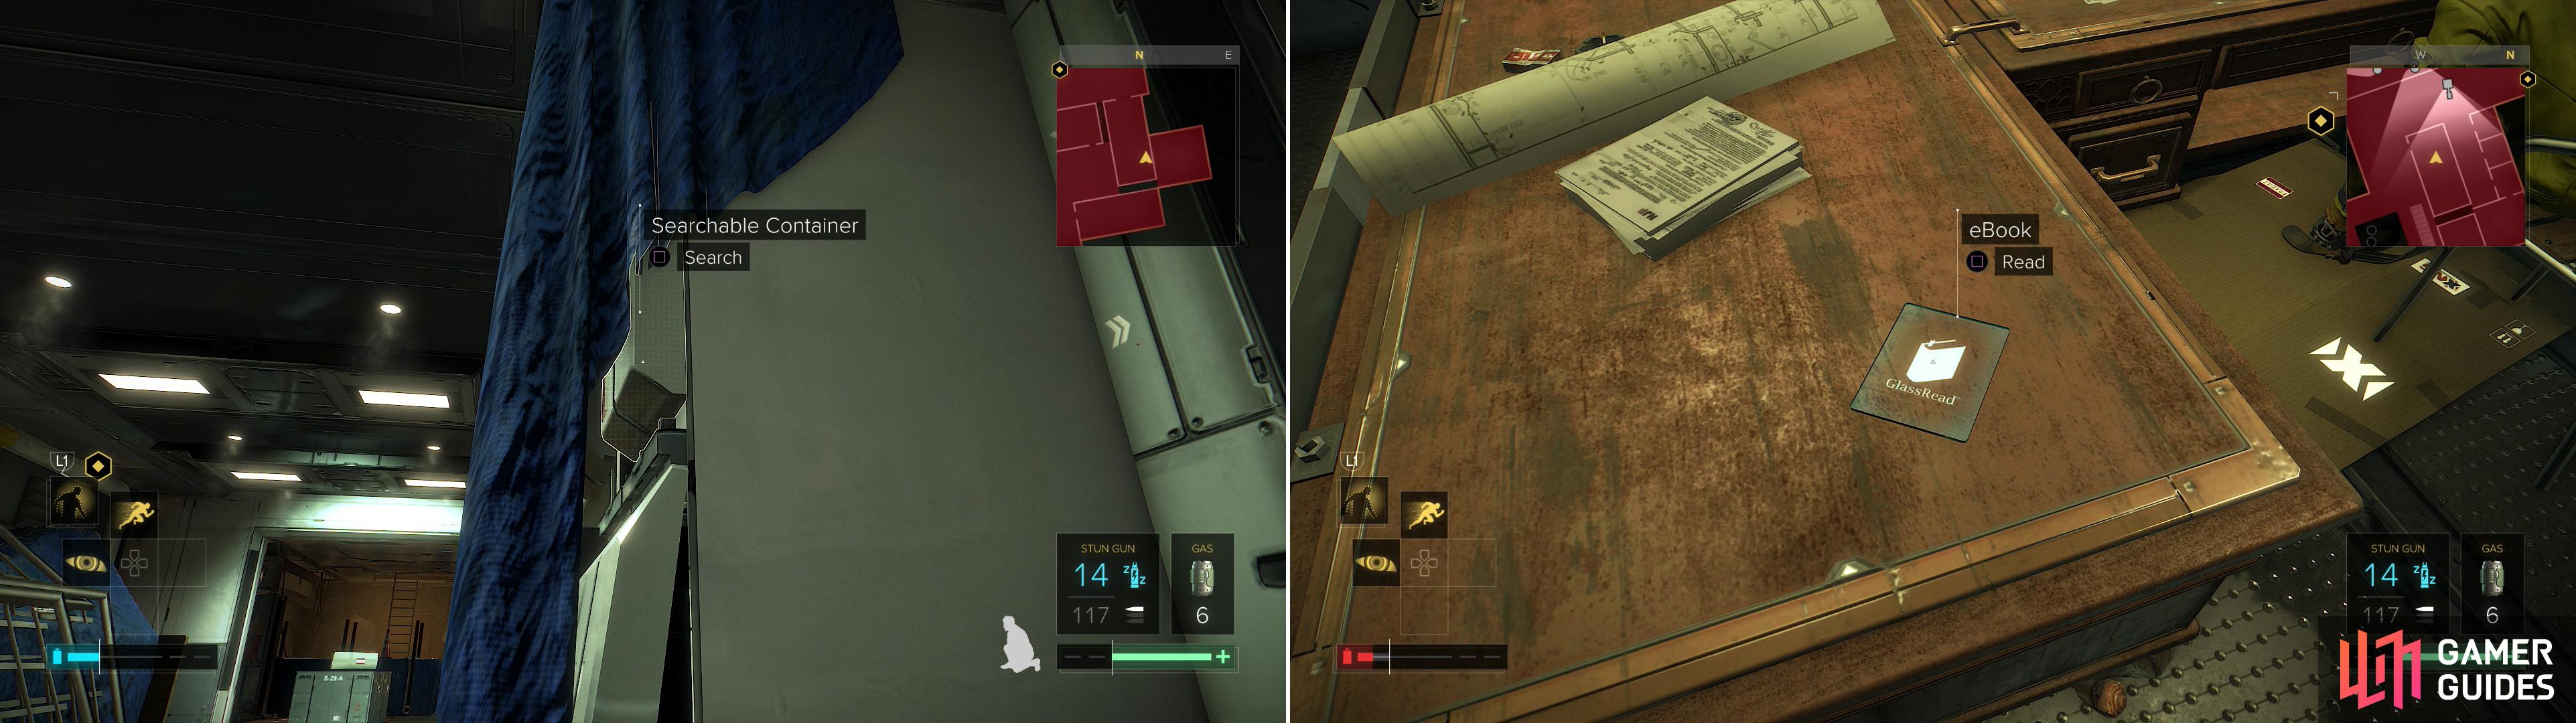
If you thought ARC security was tight outside… well, it’s like that in here, but with more security devices and in a smaller, more enclosed space. Fun! Drop out of the vent and take cover next to a doorway to the north, then remote hack a camera. Sneak north through the office once the camera is disabled and take down a guard if one is present, then drag the body east. If the guard isn’t present, stick to cover along a metal wall near the window, look west and wait for the guard to return, then Stun Gun her and drag her out of the way. Might as well eliminate any potential complications while you can. When the guard is gone, search a desk along the northern end of the building to find eBook “The Inconvenient Aug” .
From the eastern-end of this L-shaped building, turn north and crawl through a window, then drop down off a ledge and continue north to a doorway. Beyond this door is the security room for Ridit Station, and inside are two guards. Open the door (to the west is a larger opening you want to avoid) and take cover along the wall adjacent to it and wait for the guards to get done talking, after which one will break away and head east. When he turns east, pop out of cover and shoot him with your Stun Gun - the other guard won’t notice, nor will he move. Head into the room and watch to the south-west, as an ARC Soldier is on patrol and might get alerted (although rarely to any terribly noteworthy effect) if you disable the second guard. Wait for the aug outside to turn south, then knock on the second guard in the security room and drag his body east. Hack the security computer in here (Security Rating: 3) and turn off whatever security devices you can. Once done, turn north and grab “Breach Software #7” off the table near the security monitors.
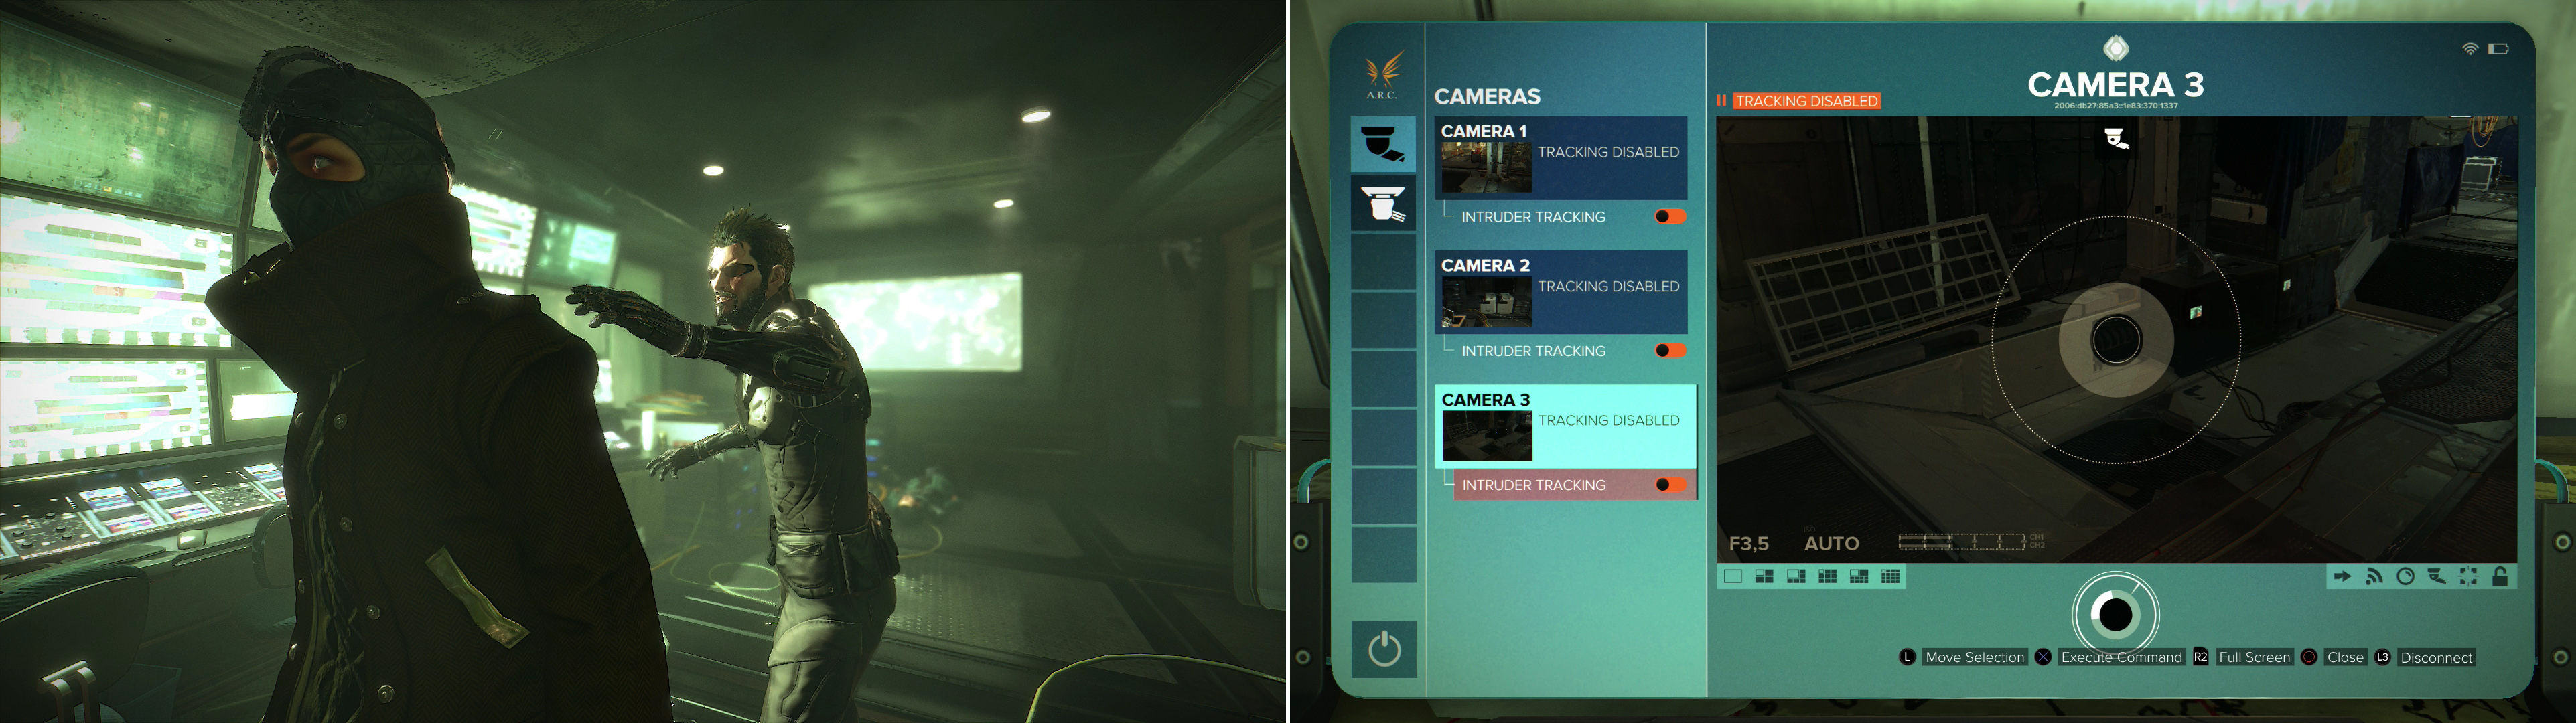
Dispatch the ARC Soldiers in the security room (left) and disable the cameras on the level (right).
Leave the security room via the small, eastern doorway and turn south to spot a window you can climb through. Do so, then head east a bit and turn north to find another window, this one occupied by some cables. Jump into the window and continue north into the room beyond and turn north-east to spot some cabinets and searchable containers. Crouch down and search the southern end of these containers to find a searchable container mostly obscured by a blue tarp. You can open this container to find a “Praxis Kit” .
Grab the Praxis Kit and whatever other loot you find appealing in nearby containers, then turn east and climb through a window. You should now be standing on a generator - jump up to the floor above you and head north down a hallway - a route that’s much more approachable now that the cameras are down. Eventually this hallway will lead to a larger one running east-west, which is patrolled by an ARC Soldier. When they turn west, make your way to the north and hide along the northern end of a spool of cable, then wait for the guard to return. When they do, pop them with the Stun Gun and drag their body east, near a ladder. Out of sight, out of mind - you’re going to be taking down a few guards now, to clear the way.
Return to the spool of cable and hack the lasers in the hallway, then take cover behind some crates just west of where the lasers were. From here you can take out the guard sitting on some crates to the north-west - a headshot with the Tranquilizer Rifle will do the trick. If you don’t have such artillery on hand, you can also use Glass-Shield Cloaking to get closer and take them out with a Stun Gun shot, or you can just backtrack down the hallway to the east, then turn south and hack a Keypad (Security Rating: 2). Continue west through the room beyond the doorway the Keypad locked - this bypasses the sitting guard altogether.
Further west is another guard you can sneak up behind and dispatch - they keep lookout near a square opening in the floor down which number monitors dangle. Once this guard has been neutralized continue north to a window, where you can overhear two guards chatting. When they finish one will move away to the west, and you should likewise head west to find a trio of lasers. Remote Hack them or use Glass-Shield Cloaking to get through another the lasers, then head past them and turn north to spot the door to the room with the two guards in it. Shoot the one sitting at a desk to the west with your Stun Gun, then take out the other guard further east. Return to the western end of the room and search the desk there to find the eBook “The Inconvenient Aug” , which is the prize for which you went through all this effort to obtain.
In a well-hidden Searchable Container you’ll find a Praxis Kit (left). Be sure to surgically dispatch the ARC Soldiers so you can lay your hands on some collectibles (right).
Leave the room and continue west, take cover near some canvas-covered junk, then look north to see the last obstacles standing before you; a turret and, in a room to the west, two more guards. You can either Remote Hack the turret, then sneak north past it and the guards (in the latter case, staying along the western wall will help you avoid their gaze). If you have the “Turret Domination” augmentation and disabled this turret in the security room downstairs you can just sneak past it as if you hacked it - again, stick close to the western wall to avoid the guards. Alternatively, wait for the turret to look away then head west through a window; if you go through the building you’ll have to dispatch both guards, but you’ll avoid the turret.
Press the button at the end of the hallway and enter the elevator cage, then press another button to ride up. Congrats! If you were able to follow these steps you should have obtained every collectible in the ARC territory (three eBooks and two units of Breach Software) all without being detected! Good for you.
| Objective | Reward |
|---|---|
| For making it through Riddit Station | XP 1950 |
Meeting Talos Rucker
Take the elevator up and head north down a hallway to meet Talos Rucker. Your only goal here is to talk him into compliance, which will simplify matters and earn you extra rewards. Pick the following dialogue options in order; “Turn the Tables”, “Patronize”, “Justify” and “Turn the Tables” and Talos will see things your way and hand you “Talos Rucker Keycard”.
| Objective | Reward |
|---|---|
| For meeting with Talos Rucker | XP 3150 |
| For talking Talos Rucker into compliance | XP 1000 |


Once you’re back in control, search Talos’s office - he’s beyond caring about it anymore. In various drawers you can find a HypoStim Injector, an EMP Grenade and a Smoke Grenade, amongst other goodies. In the south-western corner of the room you’ll find a desk, on which is the eBook “Talos Rucker: An Autobiography” . Turn east and enter a side-room and grab “Breach Software #8” , then return to Rucker’s office and head to the north-western corner to find a door you can open with the Talos Rucker Keycard.
Enter the keycard-locked room and grab the “Rucker’s Evidence” Pocket Secretary, some Absinthe and a Credit Chip off a table. Turn south and pick up a Tranquilizer Rifle, then hack a Keypad (Security Rating: 5) to open a safe - use a Multi-Tool if necessary, as this safe contains “Triangle Code #27” , a bottle of “Neuropozyne” and a “Praxis Kit” . Nice haul! Grab a Biocell off a chair, then read the eBook “The Inconvenient Aug” on the sofa. Between the two is a Weapons Briefcase containing Stun Gun Ammo and a Tranquilizer Rifle.
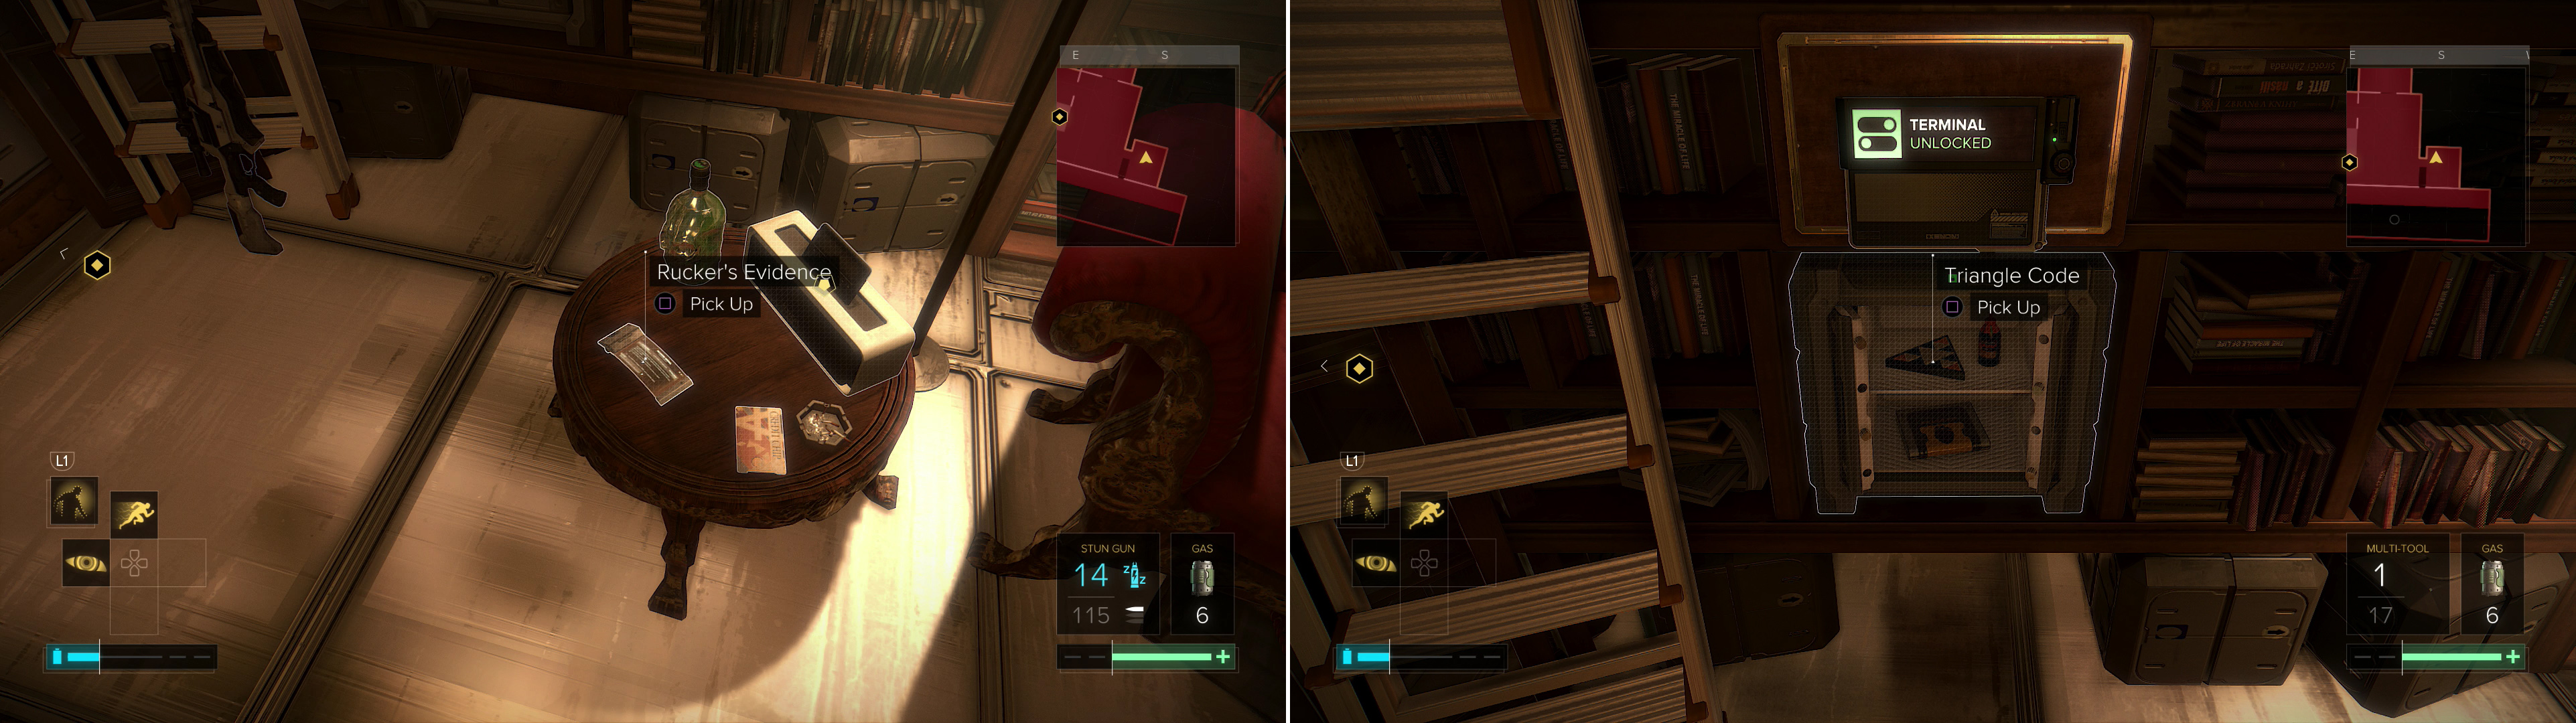
Pick up Rucker’s Evidence (left), then loot his safe to find a variety of goodies (right).
Ty Zahrada
Turn north and you’ll find a metal shutter covering a window. Open it, then drop down to the north onto a metal walkway. Look down to the north and dispatch an ARC Soldier below you, then climb back up south to the walkway and make your way east along a metal walkway. Take cover behind an outcropping and wait for another aug to come over the railing and take some pot shots. While he’s engaged, pop out and shoot him with your Stun Gun and he’ll fall behind the barrier, out of sight of the other guard in the greenhouse to the south-east. Speaking of which, wait for that guard to be turned away then head over two barriers to reach the building he’s in. Enter via the western door, hide behind a planter and when he comes over perform a takedown.

Make your way east through the greenhouse and exit the building to the north. Look down over the railing to spot another guard. This guard is stationary, but his allies to the north are not, so wait for them to look elsewhere, then dispatch the stationary guard and drag him to the south-west. While you’re over here, turn west to spot a vent, through which are two small rooms containing a variety of ammo, a Biocell and an EMP Grenade. To the west of the northern room is a door, which… well, it’s another way you could have sneaked down here, but the guards are easy enough to dispatch, and there won’t be any nasty surprises behind you now.
Leave the vent and make your way north to a door (Security Rating: 2) then head north through the building, sticking near the eastern wall as much as possible to avoid detection by potential lookie-loos. When you reach the northern end of the building, crawl out a window and continue north until you spot another stationary guard looking over a railing. Dispatch her and drag her body behind some crates to the south or just move slow north to avoid her. Either way, drop down onto a metal roof to the west, then drop off this roof to the north-east and hide behind a pillar while tow guards talk. When finished, they’ll split up and you can easily dispatch the one who remains up here, then drop down to the lower level and get rid of that guard.
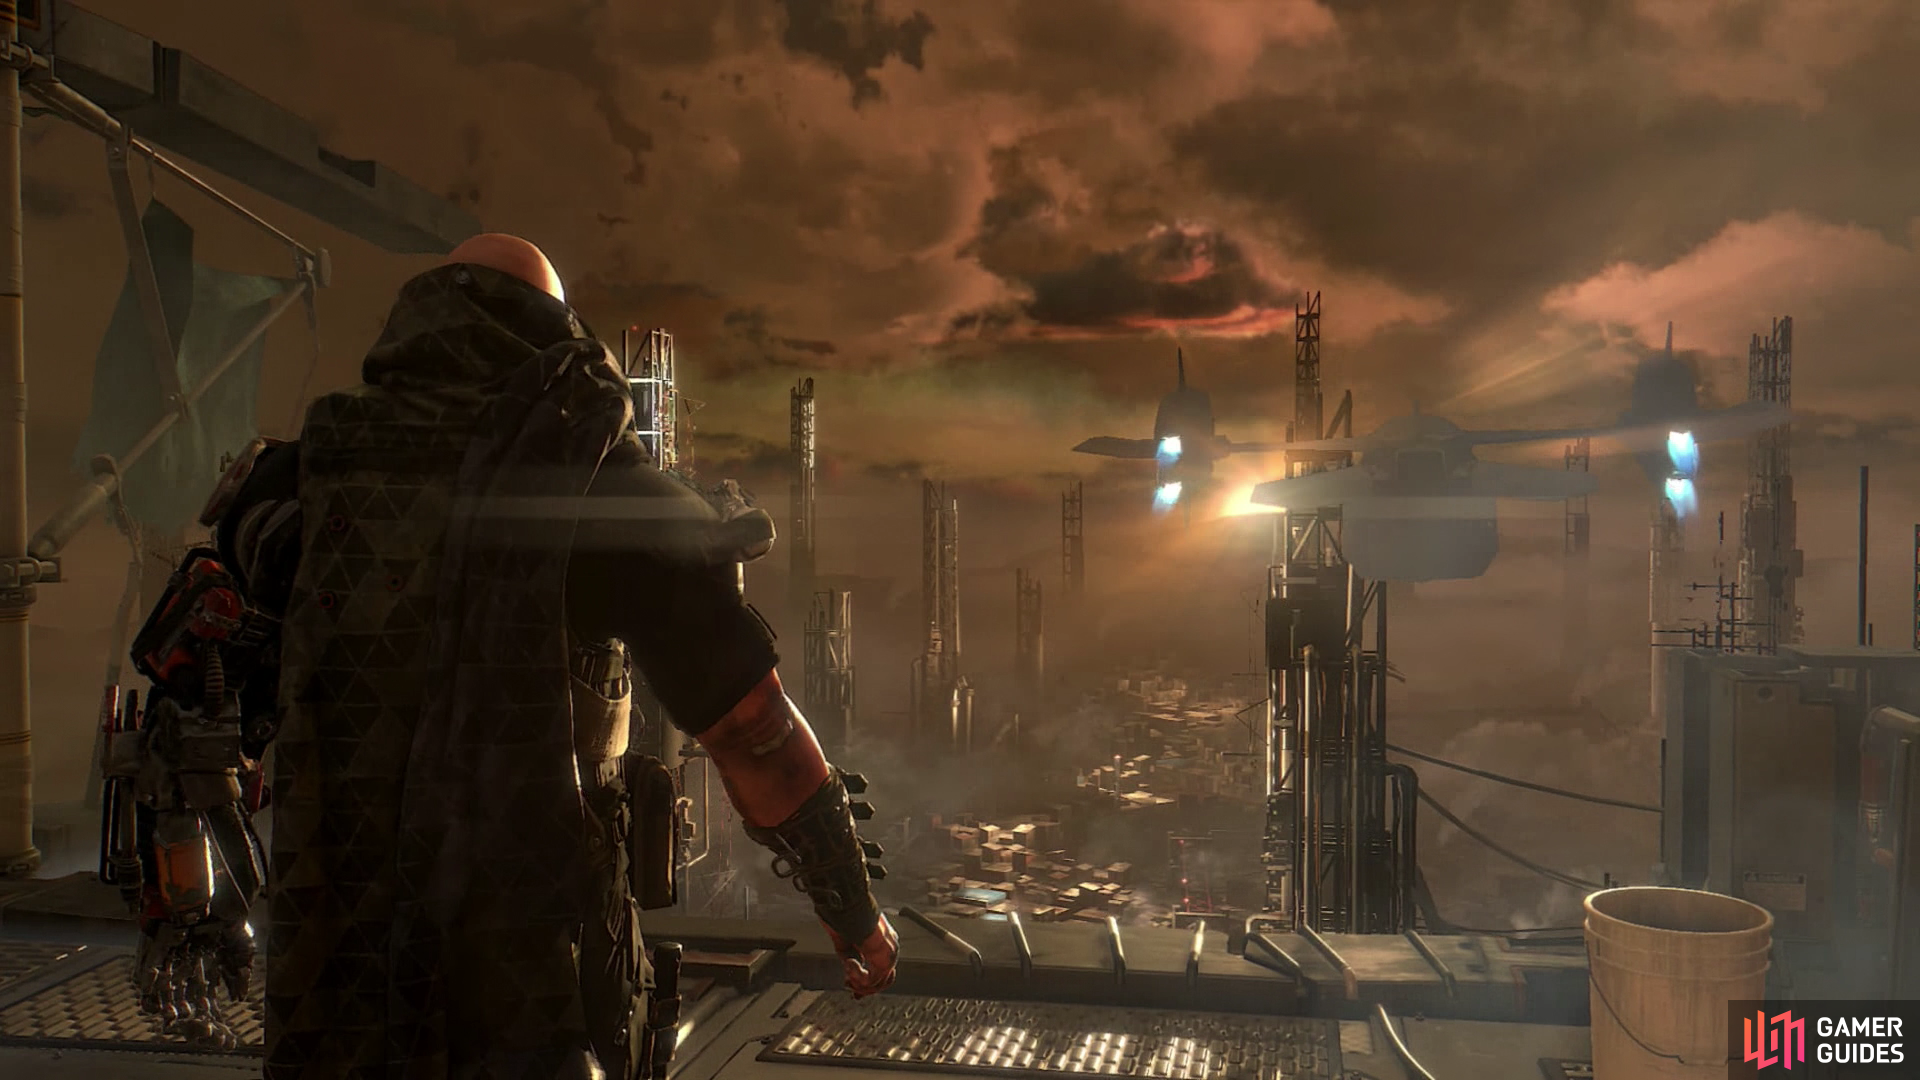
When both guards here are out of commission and you’re on the lowest level, sneak to the north-east to find a gate. Press a button as Miller whines at you, then wait for the slowest gate in the history of gates to open. Once it does, continue north-east, then north - you’re out of danger now, you need merely stroll down some ledges to make your escape, which is probably more dramatic than it really should be, all things considered.
| Objective | Reward |
|---|---|
| For escaping from Golem City | XP 1000 |
You’ll be dropped off in Prague, where night has fallen. Miller will whine and you’ll get some dialogue options. When you get the chance, keep the evidence from him - it’ll do more good in Vega’s hands than in Miller’s - but otherwise the choices you make don’t really matter. After the chatter, “M7: The Rucker Extraction” will finally, mercifully end, and you’ll get two new main quests; “M8: Tracking Down the Real Terrorists” will start immediately, and “M9: Checking Out the Men in Charge” will begin as you move through Chikane’s workshop. Before messing with any more main quests, though, there’s a bit of new loot to pick up and plenty of new side-quests to do. That’s what the guide will focus on next, if that’s not appealing to you, skip ahead to “M9: Checking Out the Men in Charge” .
| Objective | Reward |
|---|---|
| For talking to Miller after the Rucker debacle | XP 3150 |
No Comments