
| Important Items in this Area | . |
|---|---|
| Triangle Code #17 | Breach Software #10 |
| eBook: The Singularity Church of the Machinegod | Breach Software #12 |
| Neuropozyne | Neuropozyne |
| eBook: Global Politics Review [2029 Edition] | Triangle Code #18 |
| eBook: The Sleepwalking World | Praxis Kit |
| Breach Softward #11 |
Take the metro to Capek Station and from the metro station head north-west to find the alley leading to the Church of the Machinegod complex. In the entrance you’ll find Nomad Stanek, who will again ask you to save his daughter. Uh-huh. Got it. Head into the “Courtyard” of the apartment complex the “church” occupies and continue south-west through some more doors to reach the “Backyard”. Turn north-west and you’ll spot a basketball hoop, along with two balls. Use your magical Adam powers and make one of those balls go through the hoop (even if you just pick it up and “move” it through) and you’ll get the trophy/achievement “Ballsy”.
| Objective | Reward |
|---|---|
| For talking to Nomad Stanek | XP 500 |


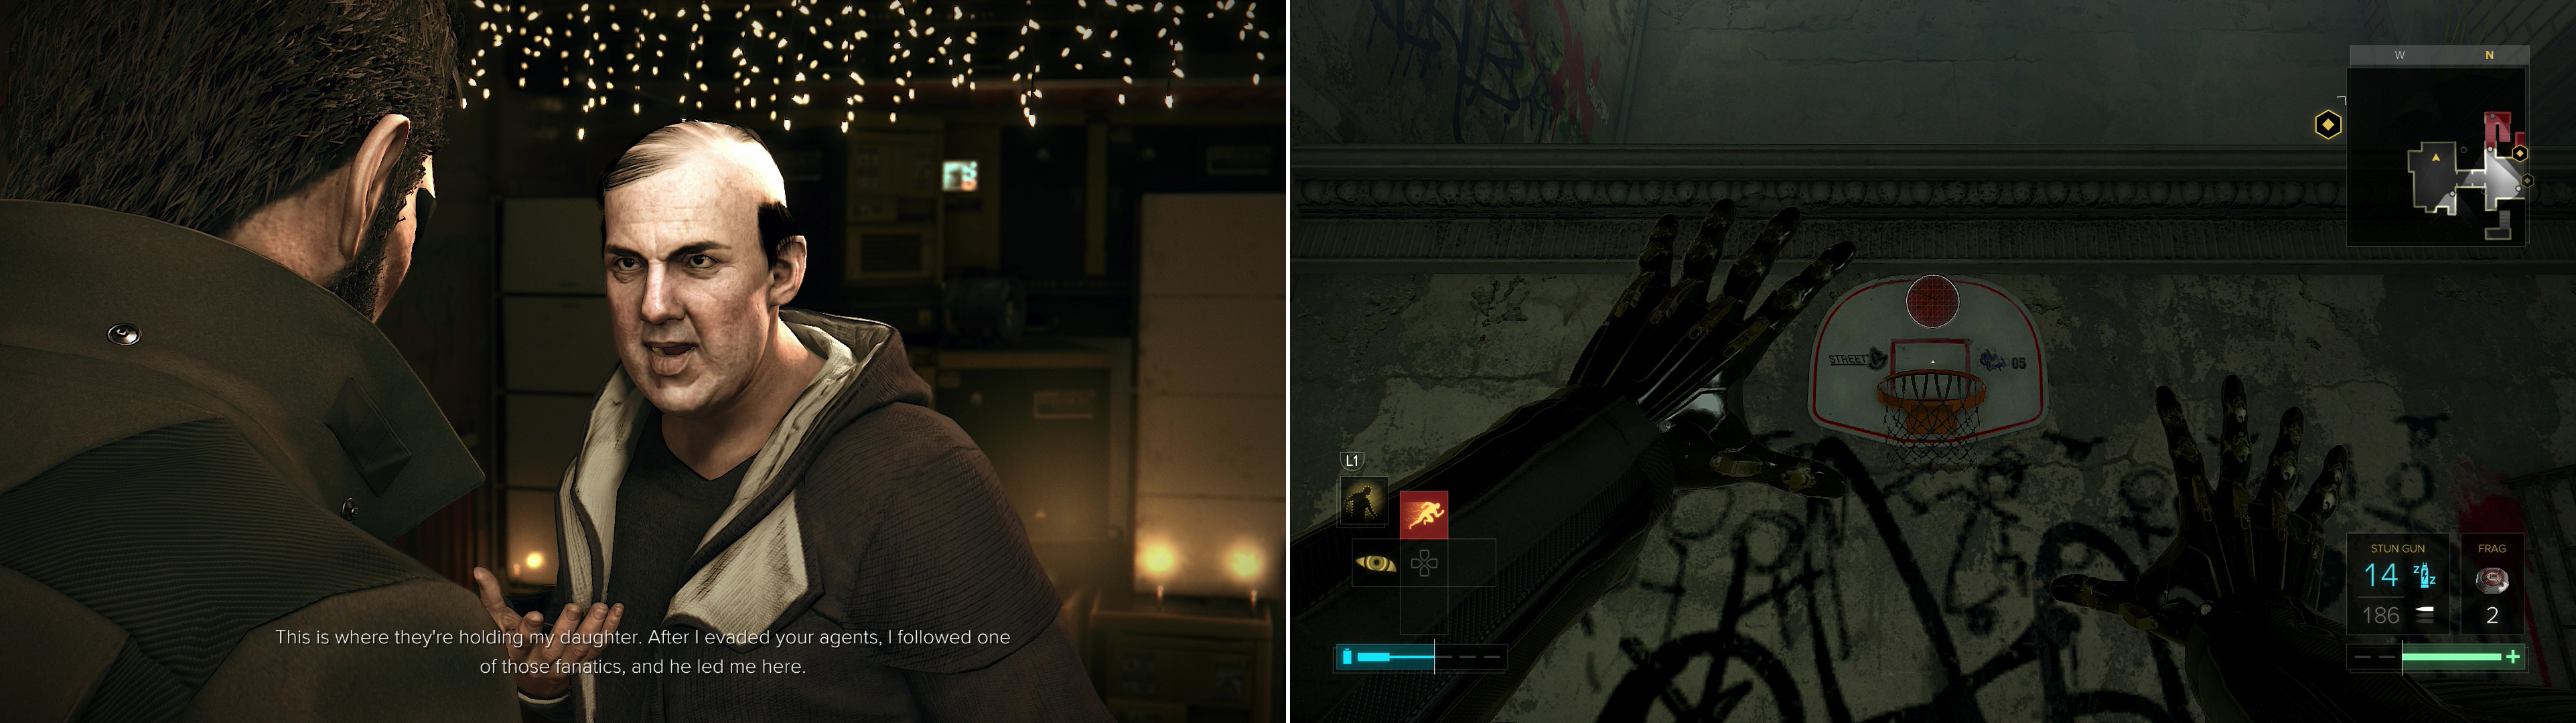
Outside of the Church of the Machinegod you’ll be pestered by Nomad Stanek (left), but nothing is so urgent that you don’t have time to play som basketball! (right)
Trophies are always nice, who doesn’t like them? But that’s not all you’re back here for. Head to the south-eastern end of the backyard area to find a stack of cables, power generators and other furniture. This is your key through the area as quickly as possible - don’t worry about collectibles, you can get them after completing the mission, when there’s no hostiles around.
Jump onto a red explosive barrel, then from there jump high onto a generator to the south-east. Turn north-east and jump up onto another generator, then turn south-east and take a short hop onto yet another generator alongside a building. Turn north-east and you’ll spot a Frag Mine on the wall, which you can disarm with Remote Hacking. Do so, then jump over to the ledge it menaces and go through a hole in the wall to the south-east. Wait by the doorway and two Cultists will finish a conversations, then go to their posts, one in the room to the north-west, facing the room you’re in, and the other will occupy himself outside. All you’re here to do, however, is to get close enough for them to finish their conversation and move on to their respective positions.
Crawl back outside onto the ledge and make your way north-west along it, taking cover on the edge of the building. Walk slowly, however, as there’s another Frag Mine you need to disarm. You can again rely on Remote Hacking, or just move slowly and disarm it by hand. Once done wait under the north-western-most of the three windows adorning this side of the building and be sure you’re attached to cover, as a Cultist walks around who can spot you if you’re not. When she leaves the room this window decorates, vault through the window and follow her into the larger, central room and take cover behind some servers. When she gets bored staring out another window and goes to return to the north-western room, perform a takedown, then take cover along the south-western end of the yellow generator in this room and use it to perform another stealth takedown on the cultist busy smoking away what’s left of his natural body.
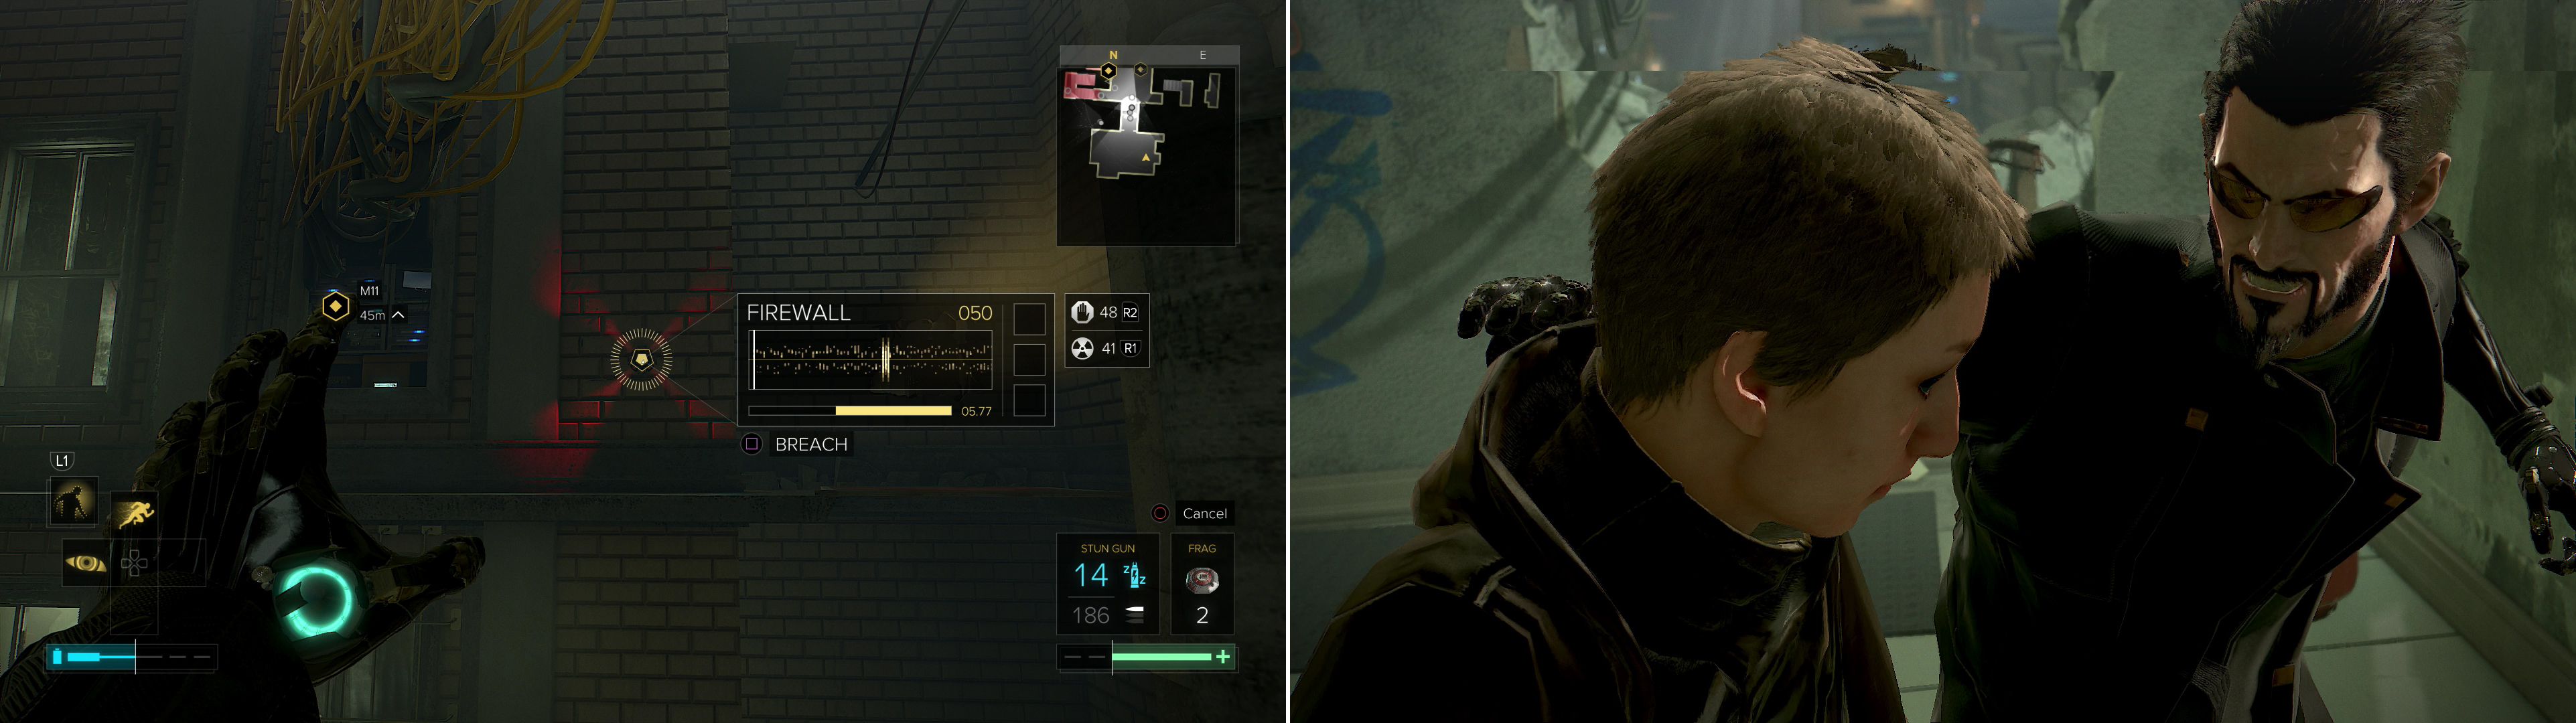
Climb some generators and Remote Hack a Frag Mine (left) then head into the upper levels of the “church” and dispatch some cultists (right).
Once the guards are down, politely close the door and hop up onto the generator in the middle of the room. Turn south-east and look up at the ceiling to spot a hole in the roof, which you can jump up through - just aim at the far ledge and hope Adam cooperates. Work your way around some explosive barrels and exit the door onto the balcony outside, then head over to apartment #96. All you need to do now is hack a Keypad (Security Rating: 1) and head inside the room to confront Allison. Select the dialogue options “Critique”, “Focus”, “Critique” and “Counsel” to talk some of the crazy out of her (earning the “God Killer” Trophy/Achievement in the process) and convince her to give you the information you came here for. VersaLife may have cleared out their vault, but you learned a great deal by chasing this lead.
| Objective | Reward |
|---|---|
| For successfully debating with Allison Stanek | XP 1000 |
| For saving Allison Stanek | XP 3150 |


Looting the Church of the Machinegod
Allison has been dealt with and the Cultists are no longer a problem, one way or another, so now it’s time to get to looking. Although the Cultists aren’t going to bother you, be wary of the cops around here, as they still won’t look kindly on you hacking things in front of them. Right then, preliminary warnings out of the way, let’s start looting from the courtyard up.
The courtyard itself isn’t terribly interesting, just a unit of Nuke Virus Software and some Crafting Parts lying around. To the north-west, however, you’ll find a gated-and-boarded-up archway. Move a Metal Crate out of the way to reveal a hole you can crawl through, then turn south-west and hack a Keypad (Security Rating: 2) to reach a janitorial closet. Search a shelf to the north-west to find “Triangle Code #17” .
Climb into a vent and it’ll deposit you on the landing of the first story stairwell. Not too impressive, there. Head upstairs and turn north-east to find apartment #90, which is protected by a Keypad (Security Rating: 2). Given the police presence, however, you should probably just leave it alone and head onto a crude walkway spanning the courtyard and jump north-east onto a ledge. Crawl through a window to reach the security room of the “church”, and head north-west (searching a cabinet for a Biocell along the way!) to find a table with the eBook “The Singularity Church of the Machinegod” on it.
From this table turn south-west to find a hidden door concealing a clinic, inside of which you can search a variety of cabinets to obtain a HypoStim Injector, a Biocell and a bottle of “Neuropozyne” , among other goodies. If, on the other hand, you head north-east from the table with the eBook on it you can find some lockers containing a Machine Pistol, a unit of Stealth Software, some Crafting Parts, a Credit Chip and a Mine Template. Further north-east, in the bathroom, you’ll find a HypoStim Injector and a weak spot on the wall you can destroy… but it’ll get the cops all antsy. If that bothers you, return to the larger room and use a Multi-Tool to open the Keypad (Security Rating: 3) the guard stands in front of. Or, if you must spare a Multi-Tool, drop down into the courtyard, jump up onto a ledge to the north-east, open a vent and remote hack a Gas Mine. Climb into the vent and turn left, hack or disarm another Gas Mine, then follow the duct into the security room’s armory. However you manage to get in here loot several Weapon Cabinets and Weapons Briefcases for a variety of weapons and ammo.
Exit apartment #90 and enter apartment #91 and grab the eBook “Global Politics Review [2029 Edition]” off a table, then head into apartment #92. Enter the bathroom and you’ll find the eBook “The Sleepwalking World” on a mattress on the ground. You can also find some lockers to loot in another small room to the south-west. Return to the large, central, bunk-bed filled room and turn south-east to find a painting on the wall near an Alarm Panel. Move the painting out of the way, then crawl into a duct to reach a maintenance area coursing with electricity. If you want to turn off the power and end the electrical menace, the breaker is to the north-east. Turn the power off or not, then jump up onto some pipes to the south-east, then turn north-west and jump onto another set of higher pipes to find another vent.
Go through the vent and it’ll deposit you in a bathroom on the third floor - in apartment #95, to be precise. Enter the monitor-filled living room and head north-west, then turn north-east and enter another, smaller, monitor-filled room. Search a painting on the north-eastern wall to reveal a safe, inside of which is “Breach Software #11” , a Frag Grenade and three bottles of Neuropozyne.
In apartment #94 you’ll find several units of hacking software, some Crafting Parts and, in a cabinet in the small north-western room, a Multi-Tool. Apartment #95 is apparently where all the servers are stored, and consequentially you’ll find more hacking software, more Crafting Parts, numerous sellable computer components and a Tactical Shotgun in the bathroom. Loot what you will and head to the north-western end of the room to find an enclosure formed by a bunch of servers. Search the north-eastern end of the server enclosure and crawl through a gap to find “Breach Software #10” and a Multi-Tool. Grab them, then head into a small room to the south-west where you’ll find a HypoStim Injector off a desk.
Climb into - and through - a duct in this room to reach the stairwell leading to the top floor. Disarm a Frag Mine on the wall of the stairs going down, then head upstairs and enter apartment #97, where you’ll find a unit of Datascan Software, a unit of Stop! Worm Software, a Tactical Shotgun, and a Weapons Briefcase containing a Stun Gun, some Machine Pistol EMP Ammo and a Mine Template.
Leave apartment #97 and enter apartment #96, the nerve center of the Church of the Machinegod, and where Allison Stanek and her Cultists tried to “ascend”. Not surprisingly, it’s also where the best loot is. Ignoring the more mundane stuff (ammo, hacking software, Crafting Parts, etc), head into the room to the north-east and search a shelf full of servers near the bathroom door to find “Breach Software #12” . To the south-east, behind the… ah… ascension pillar? you’ll find a dresser containing a bottle of “Neuropozyne” . Another, shorter dresser to the west, near a computer, contains a Stun Gun and some Crafting Parts.
To get the last bit of loot, head back to the bathroom door and turn south-east to spot a variety of health monitors. Leap up onto the rafters above these monitors and turn north-east to spot a small cardboard box sitting on a hexagonal bit of woodwork. Toss the box out of the way to find “Triangle Code #18” . Finally, turn south-east to find a case, inside of which is a “Praxis Kit” and a Credit Chip.
With that, you’re done with the Church of the Machinegod area. If you are completing this quest for keeps, leave the area and you’ll be contacted by Miller, who instructs you to meet him at Chikane’s place. You’ll also get a call from Koller, provided you’ve been following this guide and doing the requisites quest. He’ll invite you over to his place so he can finally fix you up, starting “SM08: The Fix” . It’s worth doing this quest before you continue the main story, as it will give you more control over your augmentations, and it’s really as simple as heading over to The Time Machine and talker to Koller again. Or rather, it CAN be that simple. If you’re here looting collectibles after “M12: The Heist” , or if you don’t care to complete “SM08: The Fix” skip on back to “M13: G.A.R.M.” .
No Comments