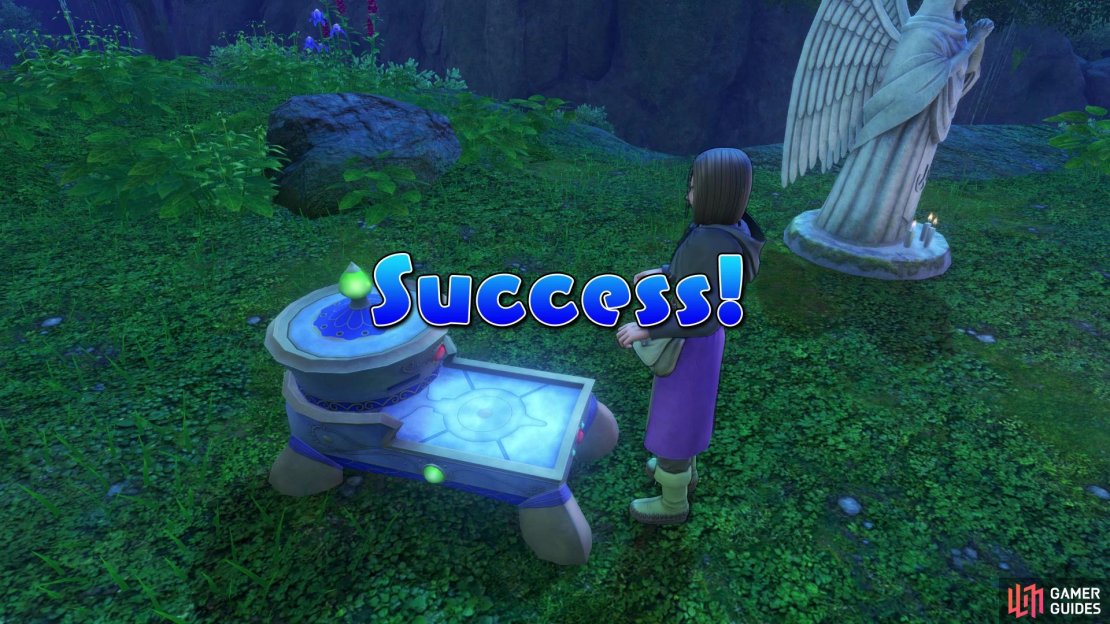
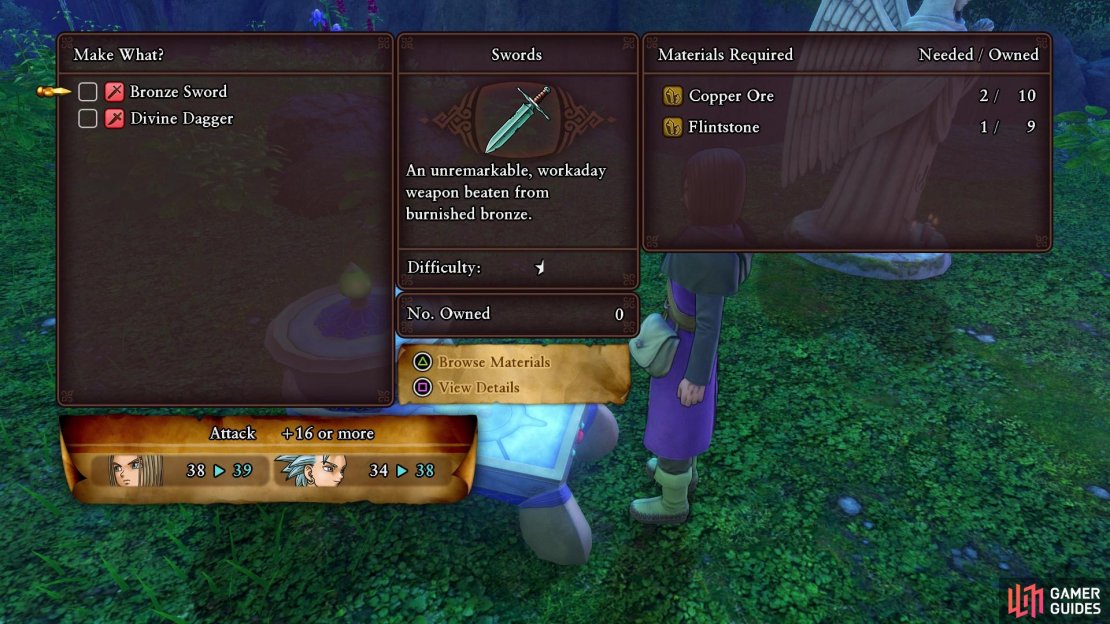
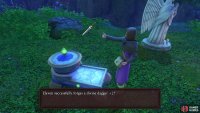
The Fun-Size Forge is unlocked during your trip through the Manglegrove, where Erik will give it to you at the campfire event. If you’ve ever played Dragon Quest VIII, then you might recall the Alchemy Pot. The Fun-Size Forge is similar to that, where you can craft weapons, armors and accessories using materials found in the game’s world. However, unlike DQVIII, you need to find Recipe Books in order to actually craft the items. These Recipe Books can be gotten from treasure chests, by reading books found on bookshelves, and even as rewards from the various Quests you complete.
The forge is an invaluable asset to you on your journey
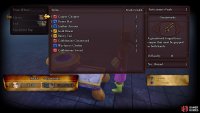
You will receive your first Recipe Book from Erik, when he hands you the Forge, but the rest will have to be found, so make sure you search every nook and cranny. In the vanilla version of the game, you can only use the Forge at the campsites you come across in the world. However, in the Definitive Edition of the game, you will be able to use the Forge pretty much anywhere, as you can simply access it via the Important Items menu. Once you head into the menu, you will be able to either select an item to newly craft, or rework an item you already have. If you plan on reworking an item, then you will need Perfectionist Pearls, which are gotten by successfully crafting new items.
Forging An Item
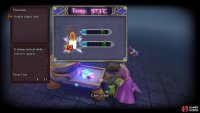
Whether you choose to craft a new item or rework a different one, you will enter the forging process. What you will see is a glob of metal, along with different spots you can strike with the hammer. Each section will have a gauge next to it, with a green range, as well as a little notch along the upper line of the window. Your goal is use the Bash option on the menu to strike a spot, which will cause a meter to start filling up the gauge. The catch is that you want to the meter to land in the green section, or even better, to land straight on the little notch. You’ll know it’s on the notch, as the meter will turn yellow, indicating a perfect forge for that section.
Of course, you can’t keep simply Bash endlessly, as you have a stat called Focus in the bottom left of the menu window. As you try to forge an item, the Focus will be depleted, with Bash using 5 Focus each time you use it. When you don’t have enough Focus left tp continue working on an item, you will need to finish the current forging session. This can be a bad thing, as it might result in a failure, which means you will simply get the base item with no bonuses at all. The number of Focus points will gradually increase as the Hero’s actual level increases.
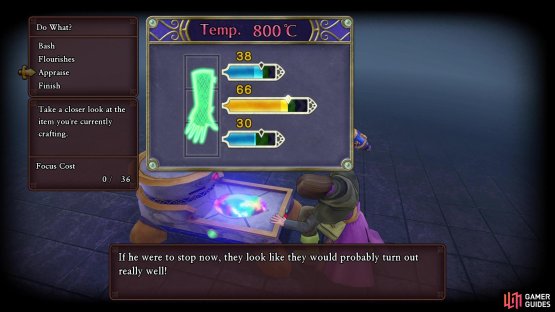
As you successfully forge items, you will notice they will get a bonus to the stats sometimes upon completion, in for the form of a +1, +2 or +3. It’s important to note that if you fail at th minigame, you will always receive the base equipment, no matter what. The same is true if you’re reworking an item, as you will always get back the item at the value it was before reworking it (i.e. if it was +1 before reworking, it will be +1 if you fail). If you finish with the gauges being in the green for all sections, then you will always receive a +1 to your item. If starting an item from scratch, you will need at least half of the gauges yellow if you want to +3 it. Appraising the item can tell you what bonus you will be receiving, with “Pretty well” being +1, “Really well” being +2, and “Brilliantly” being +3.
Flourishes
Bash will only hit a single section of an item when forging, but Flourishes are special forging techniques that will usually hit multiple sections. You will unlock Flourishes upon leveling up your main character during normal gameplay, with the first one unlocked at Level 10. The catch with Flourishes, though, is that they use more Focus than a normal Bash, so you will need to be extra careful to not spend all of your Focus on them. Note that at level 55, you will learn Hephaestus’ Flame, which is not an actual Flourish you can use yourself. It occurs randomly during a forging session, but only once.
(1 of 2) The Appraise option will tell you the quality of the item you’re forging
The Appraise option will tell you the quality of the item you’re forging (left), You will gain Flourishes as you level up, which will be extremely helpful (right)
When it does appear, you will be able to use it and the next hit, whether it’s a normal Bash or a Flourish, will be a critical and stop when it hits the notch on the gauge. The best use of this is when you have a section or more than one) close to the notch, then trigger the Master Stroke to make it a lot easier to hit it, ensuring an easier time in getting the +3 quality out of the item.
| Flourish | Level | Focus | Effect |
|---|---|---|---|
| Double-Edged Bash | 10 | 8 | A strong vertical strike over two squares |
| Lightening Bash | 12 | 10 | Strike a single square at half strength |
| Double Whammy | 17 | 8 | A double-strength strike on a single square |
| Sizzly Puff | 23 | 10 | Boosts temeperature by 300 degrees |
| Quadrabash | 26 | 12 | A strong stike over four squares in a two-by-two pattern |
| Multibash | 31 | 7 | An extra-efficient ability that strikes four squares at random |
| Triple Whammy | 35 | 11 | A triple-strength strike on a single square |
| Crackshot Bash | 38 | 16 | A strike with an increased chance of a critical hit |
| Kaquadrabash | 44 | 18 | A double-strength strike over four squares in a two-by-two pattern |
| C-C-Cold Blow | 46 | 12 | Lowers the temperature by 300 degrees |
| Crosscutter Blow | 50 | 7 | A strong strike over two diagonal squares |
| Woosh Bang Wallop | 60 | 15 | A strong strike on a single square that also lowers the temperature by 150 degrees |


No Comments