
The Champs Sauvage
| Area | Items |
|---|---|
| Mini Medal | West of the south Camp, chest |
| Vanguard | Southeast of the northwest Camp, chest |
| Enchanted Stone | Northeast of the northwest Camp, chest |
| Sparkly Spots | Area |
|---|---|
| Celestial Skein | South of the bridge |
| Celestial Skein | Northwest of the ruins |
| Narspicious x2, Sparkly Sap | West of the ruins, Tree gathering point |
| Evencloth (Night only) | South of the ruins |
| Glimmergrass x2, Thinkincense | South of the ruins, Flower gathering point |
| Celestial Skein | South of the Camp |
| Glimmergrass | Northwest lake |
| Platinum Ore x2, Mirrorstone | West of the northeast Camp |
| Red Eye | North of the Camp |
| Superior Medicine | Northeast |
| Drasilian Shilling | Northeast |
| Flintstone | Northeast |
| Pink Pine | Northeast |
| Glimmergrass | Northeast |
| Monsters | HP |
|---|---|
| Handsome Crab | ~91 |
| Spiked Hare | ~88 |
| Golden Corn (Rare) | ~860 |
| Lump Mage | ~96 |
| Medislime | ~90 |
| Agoomulator | ~86 |
| King Slime | ~512 |
| Metal Slime Knight | ~100 |
| Dragurn | ~256 |
| Very Devil | ~81 |
| Hades Condor | ~150 |
| Zumeanie | ~110 |
| Pteranodon | ~97 |
| Golem | ~187 |
| Corpse Corporal | ~262 |
| Brollygagger (Rain only) | ~108 |
| Brollympian (Rain only, Rare) | ~982 |
Zoom back to The Strand and sail the boat north and then head inland to the east to reach a vortex of light. Use Lorelei’s Harp to find yourself in a small lake where you can dock the boat. Your destination lies to the north however like all new areas, take the time to explore for items, new monster entries and more Crossbow Targets.
At the first intersection, head south across the bridge and keep to the left wall to find your first Sparkly Spot, a Celestial Skein. Turn to the northeast while you’re here and look behind the large rock to discover the first Crossbow Target. As you continue south, ignore the town for now (you’ll be heading here later as part of the adventure) and search northwest of the ruins in the center to find another Sparkly Spot containing another Celestial Skein followed by a Tree gathering point to the west of this location housing two Narspicious and a Sparkly Sap.
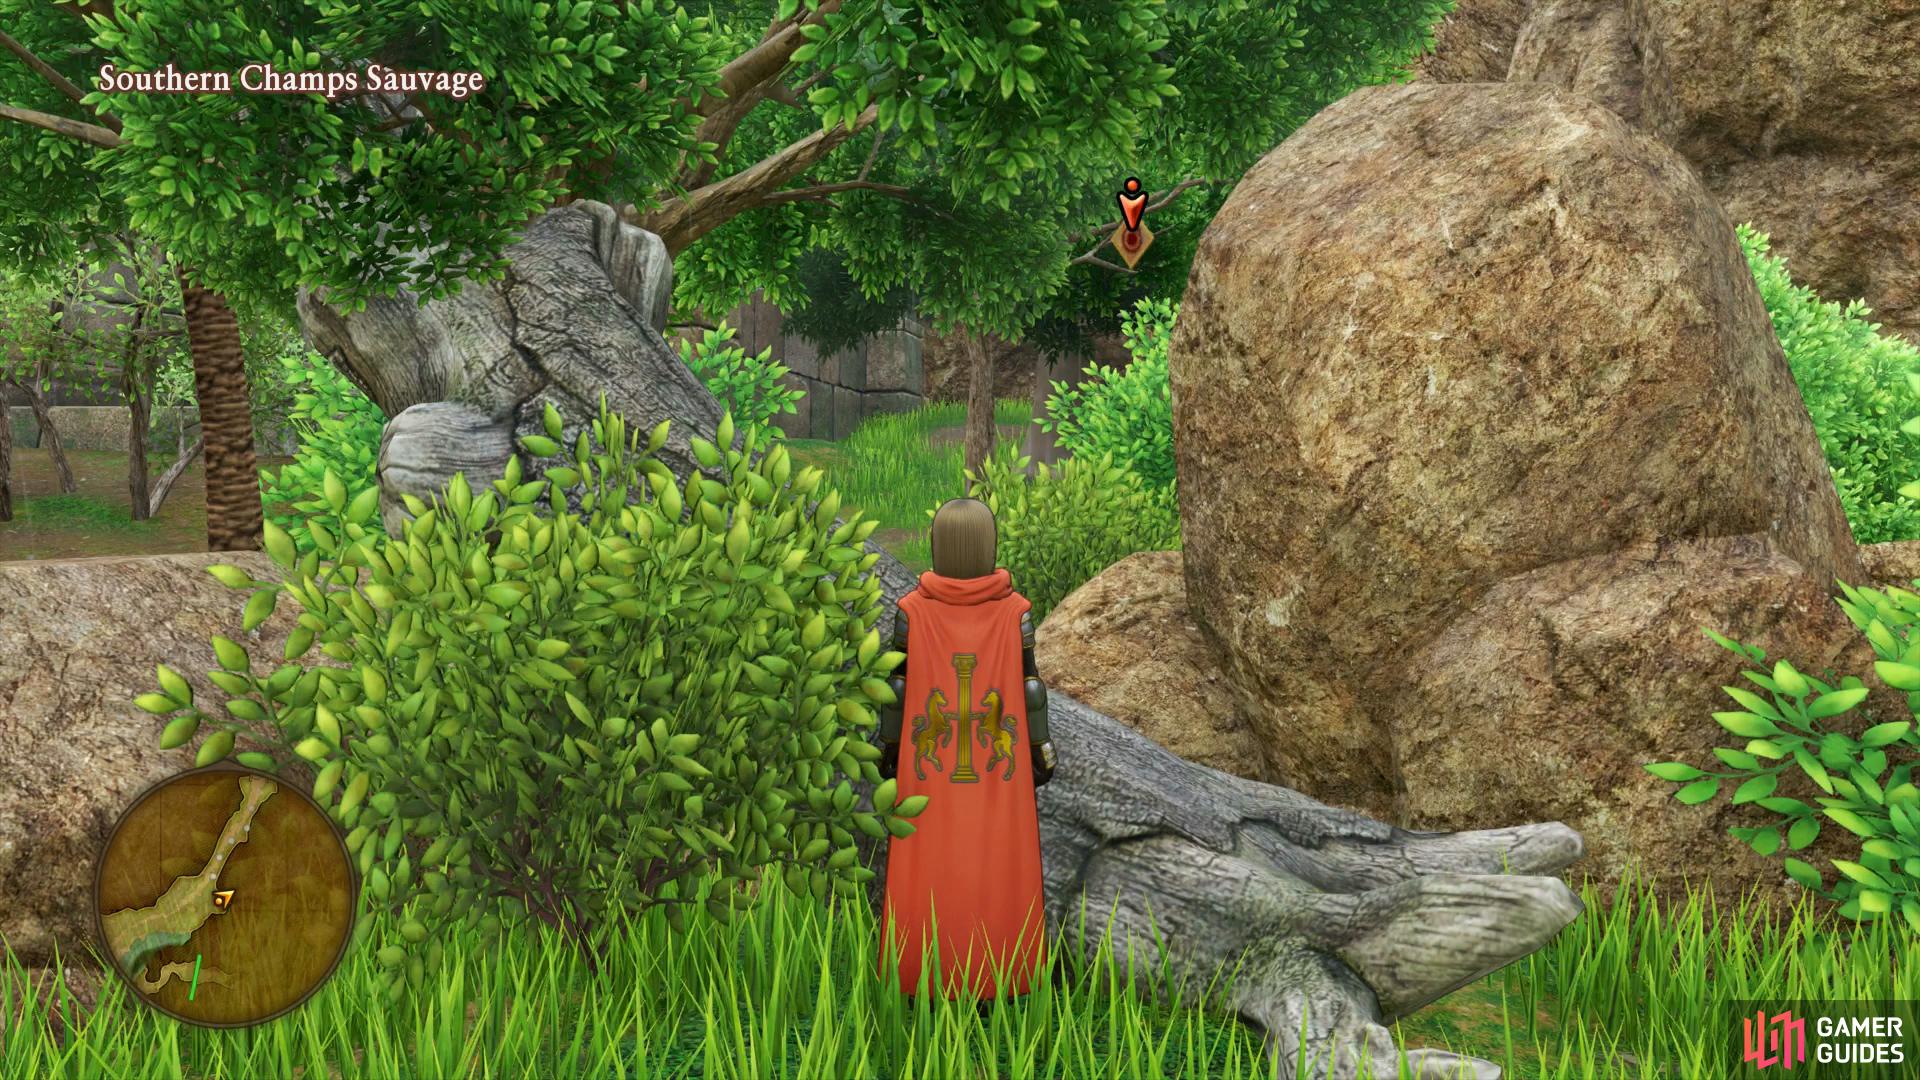
As you head south across the bridge you’ll come across the first Crossbow Target
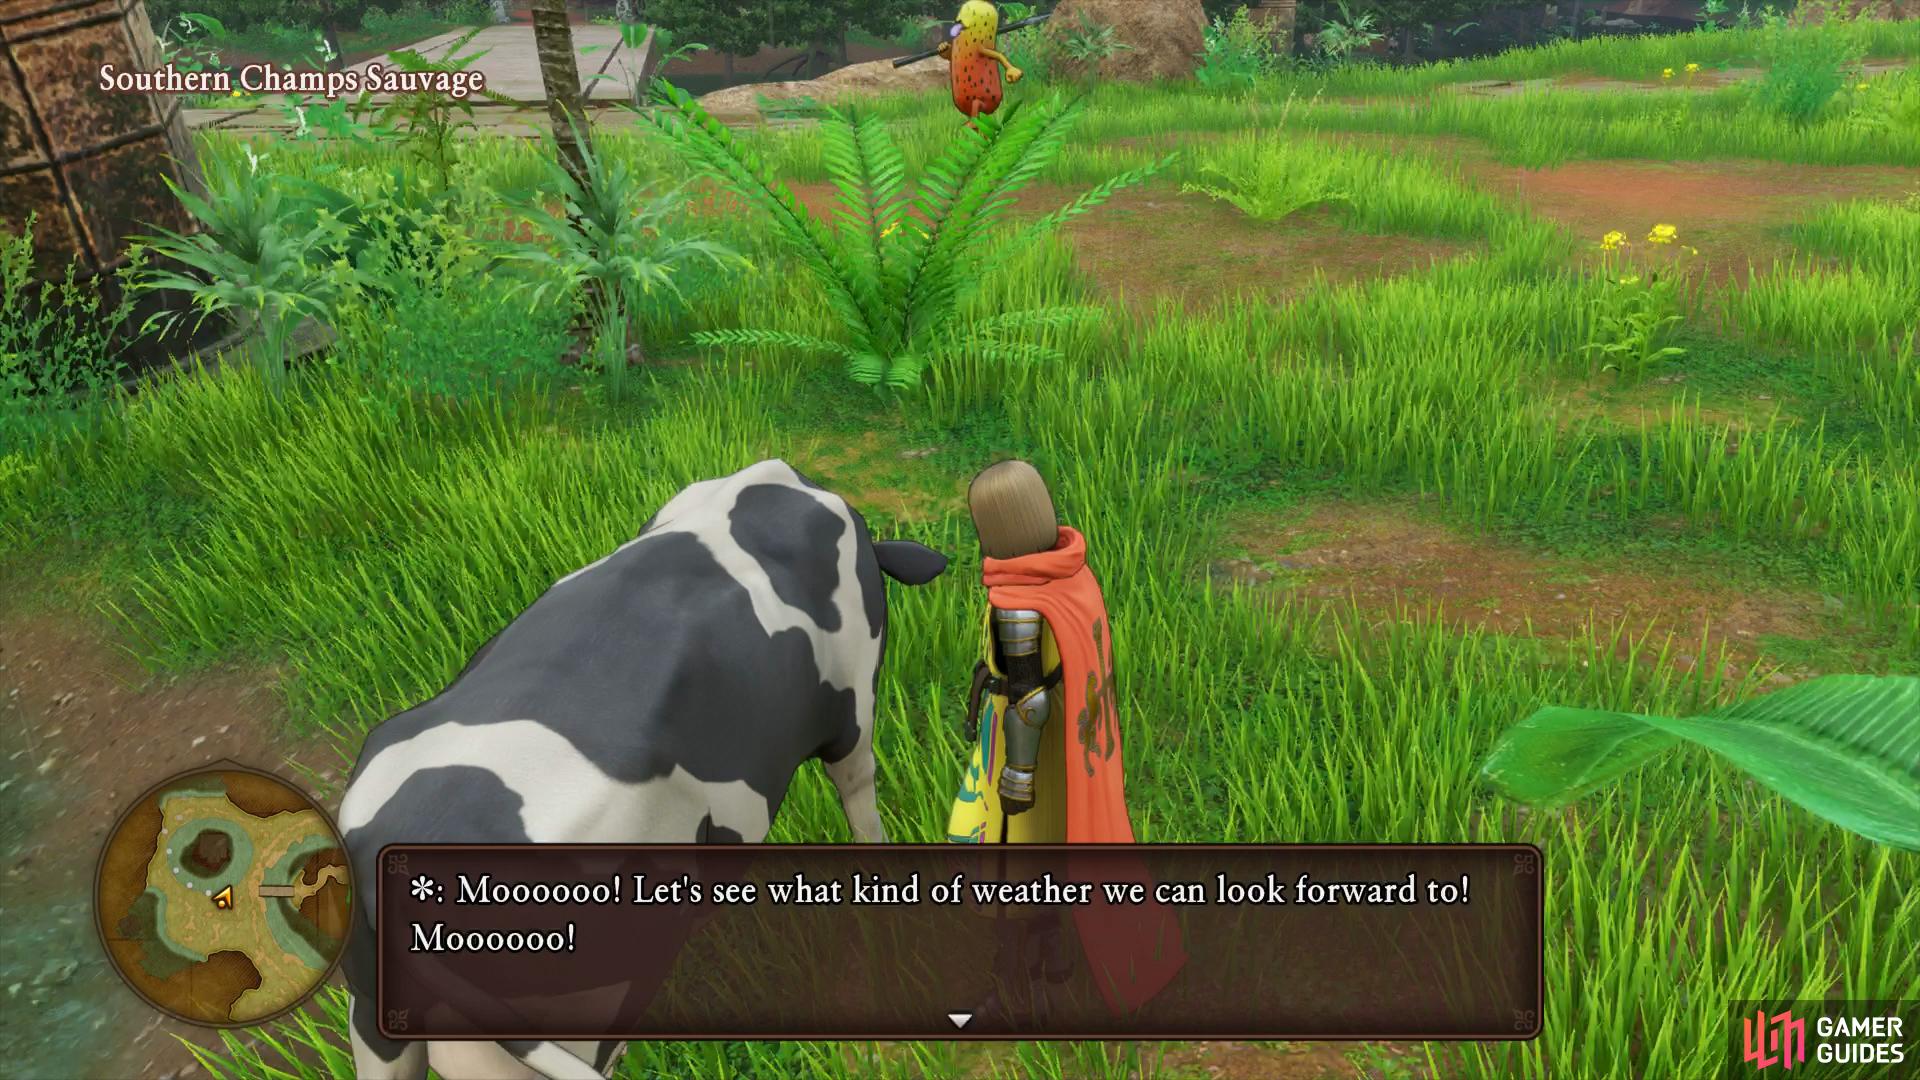
then search south of the nearby ruins to find the next Weather Cow.
Search to the south of the ruins now to find your next Weather Cow and then glance to the southwest to find an Evencloth if you find yourself here at night. A little further south of this item is a Flower gathering point containing a Thinkincense and two Glimmergrass. Head over to the east where the water is to find your next Sparkly Spot, this one containing Platinum Ore.
Rest at the camp now to save your game and recover your HP and MP along with shifting the time to Night if you missed the previous Sparkly Spot. The items on sale are nothing to write home about however there are some useful materials you may wish to consider stocking up on. Head south from the camp to find a Sparkly Spot with a Celestial Skein and then glance up to the west of this location to spot the next Crossbow Target dangling from the tree. Head northwest into the corner here to find a chest containing a Mini Medal and then make your way back to the north of the bridge.
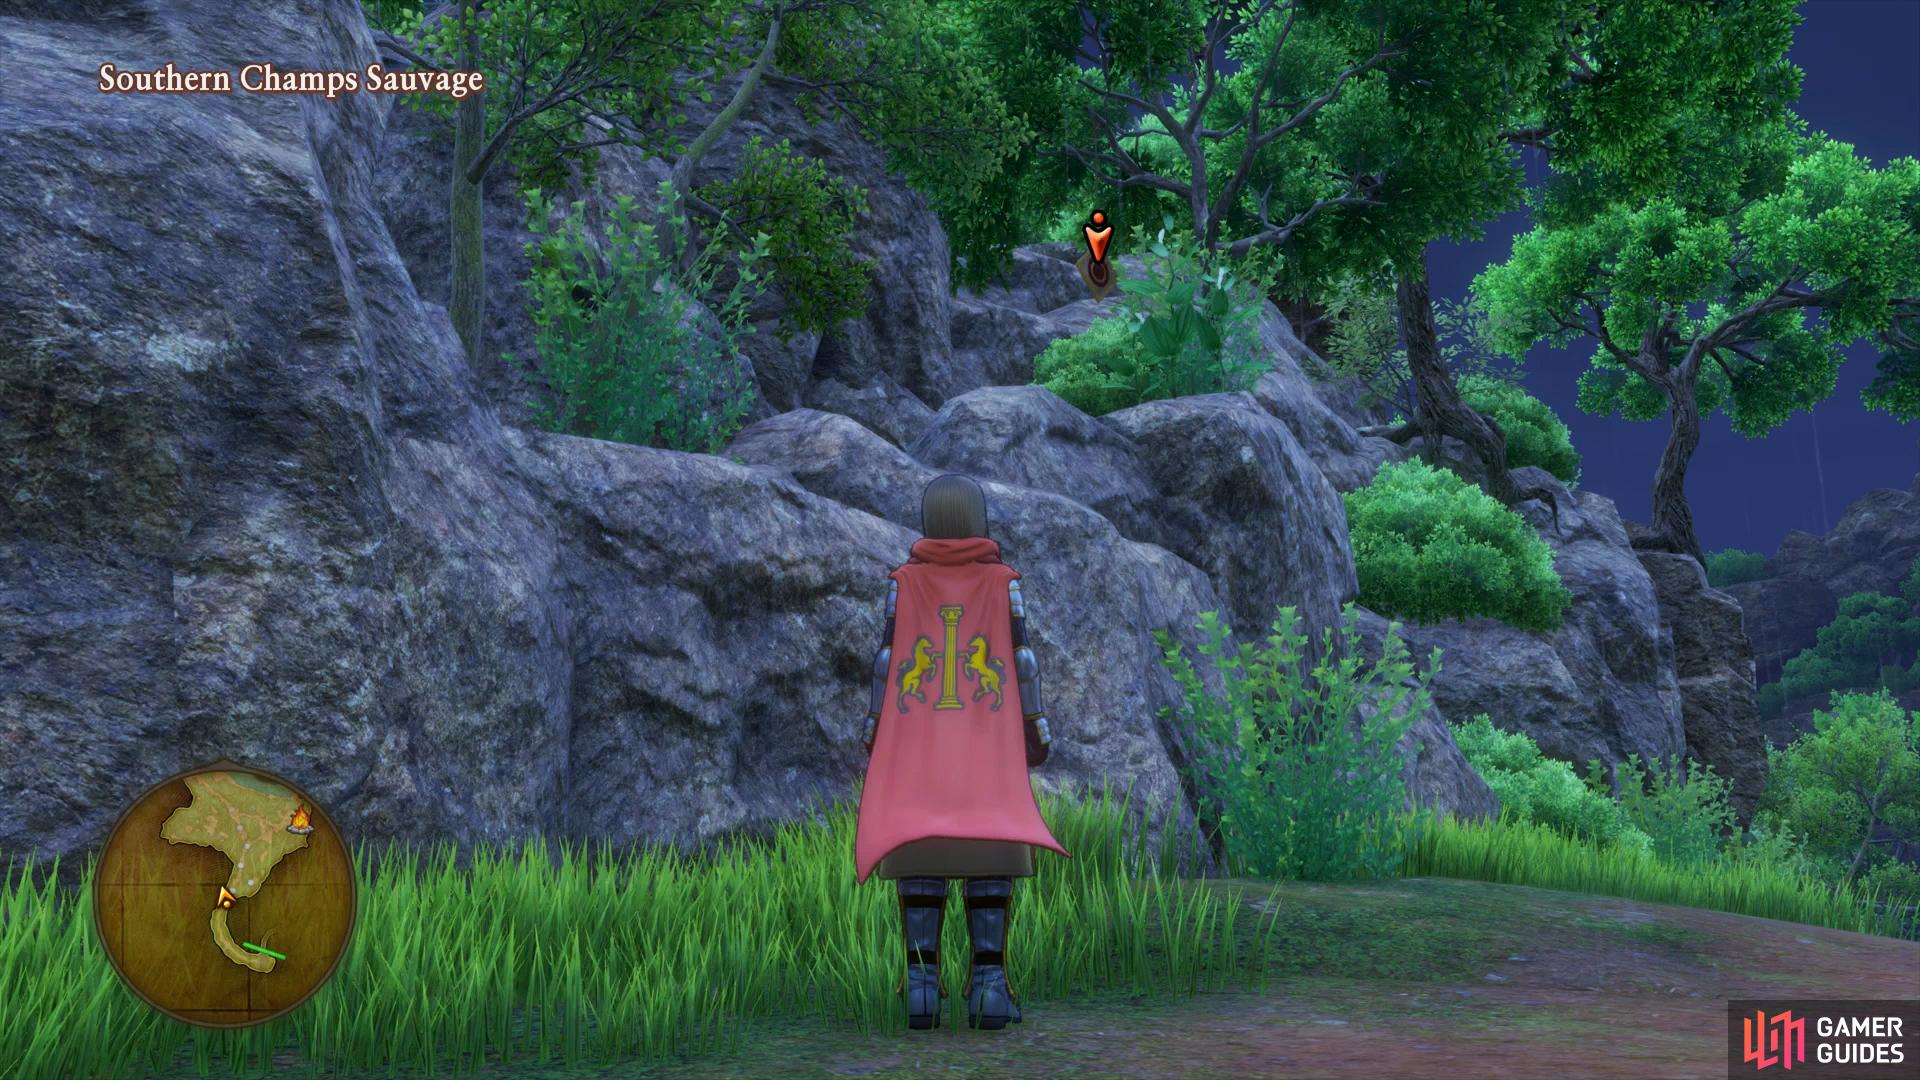
The second Crossbow Target is up high near the southern exit
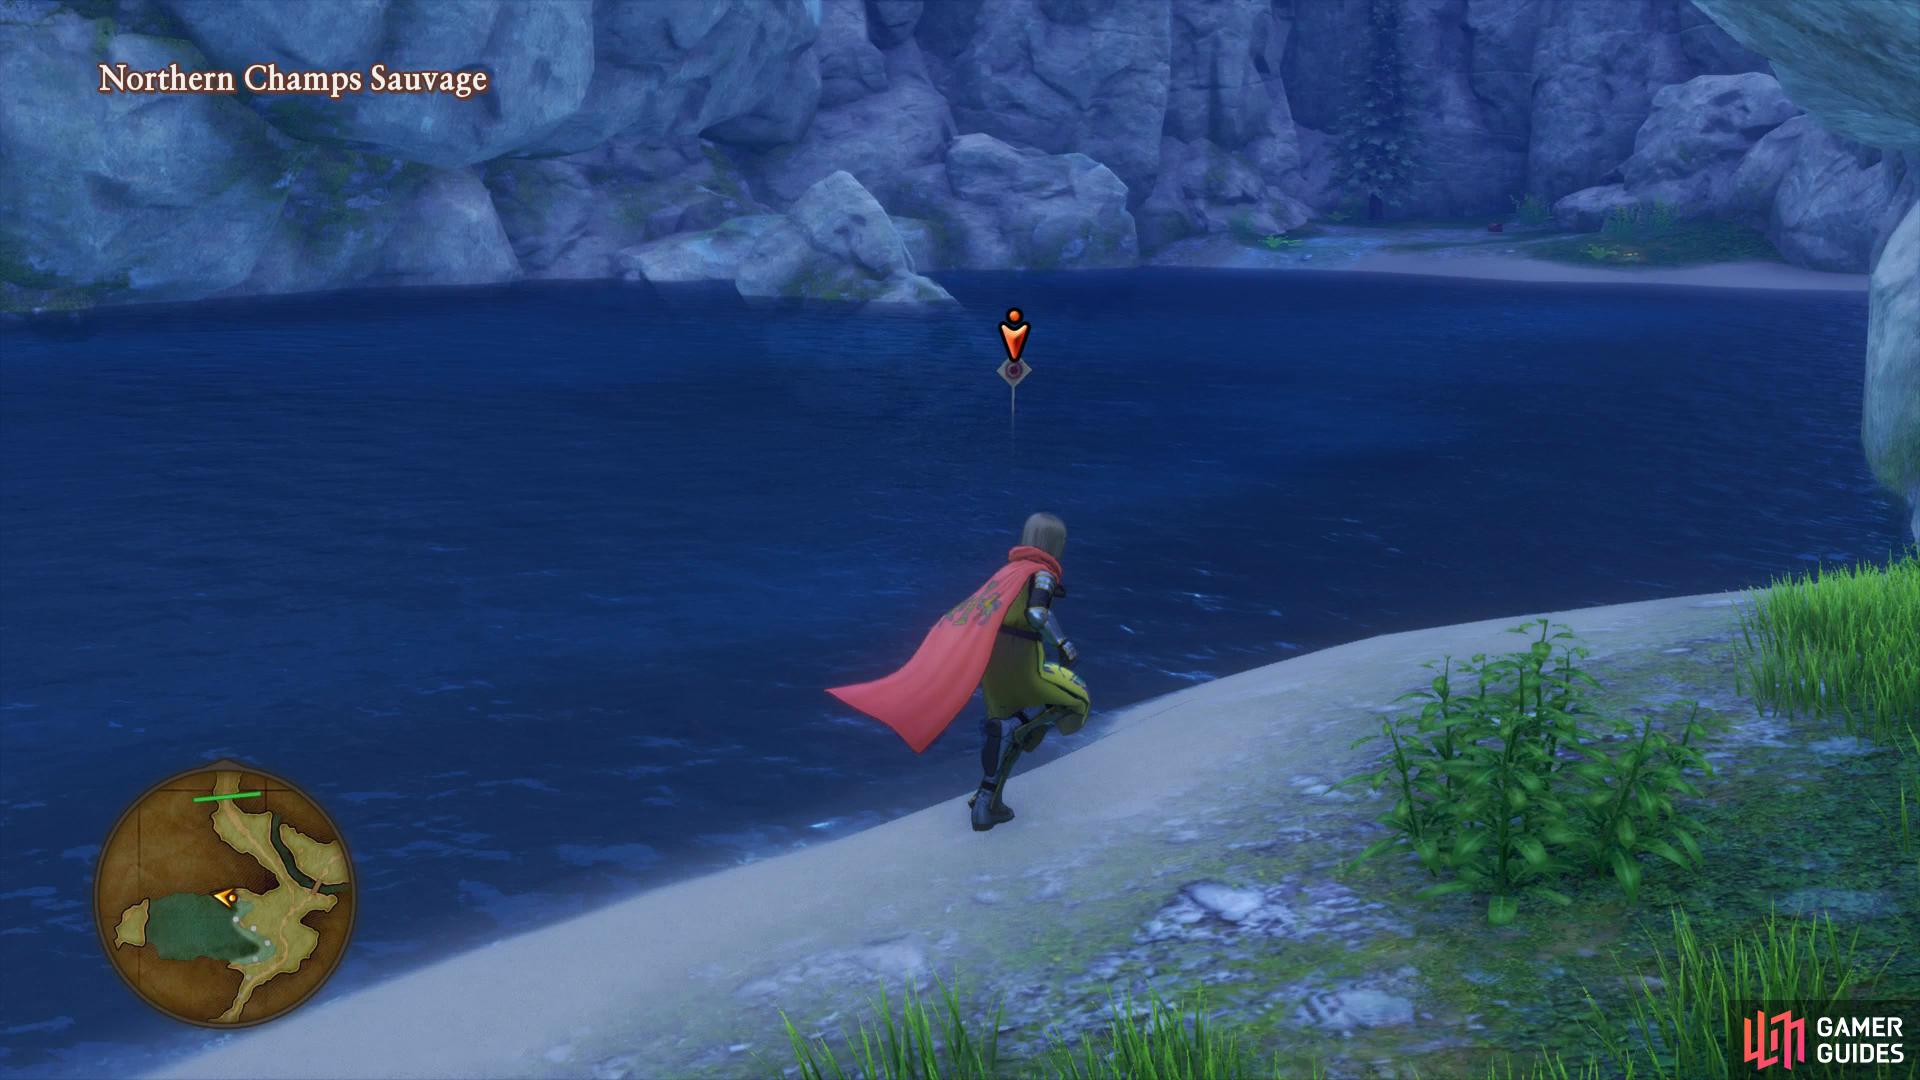
when you return to the north, look in the lake to spot another Crossbow Target.
Search near the upcoming lake to find the next Sparkly Spot containing another Glimmergrass and then look into the lake to shoot the next Crossbow Target. Your destination lies to the northwest at this next fork so ignore it and head over the bridge. Head to the northwest of this area and look towards the waterfall to discover another Crossbow Target. Move over to the east now and up the steps, shimmy across the edge and over to an Ore gathering point containing two Platinum Ores and a Mirror Stone.
Return the way you came and take the north path across the walkway and drop onto a Sparkly Spot containing a Red Eye. Make use of the Camp here and forge any of the Drasilian Armor set for the Hero with whatever Platinum you’ve managed to gather so far. If you’ve managed to forge both the helmet and the chest piece and equip it, you’ll alter the Hero’s appearance once more.
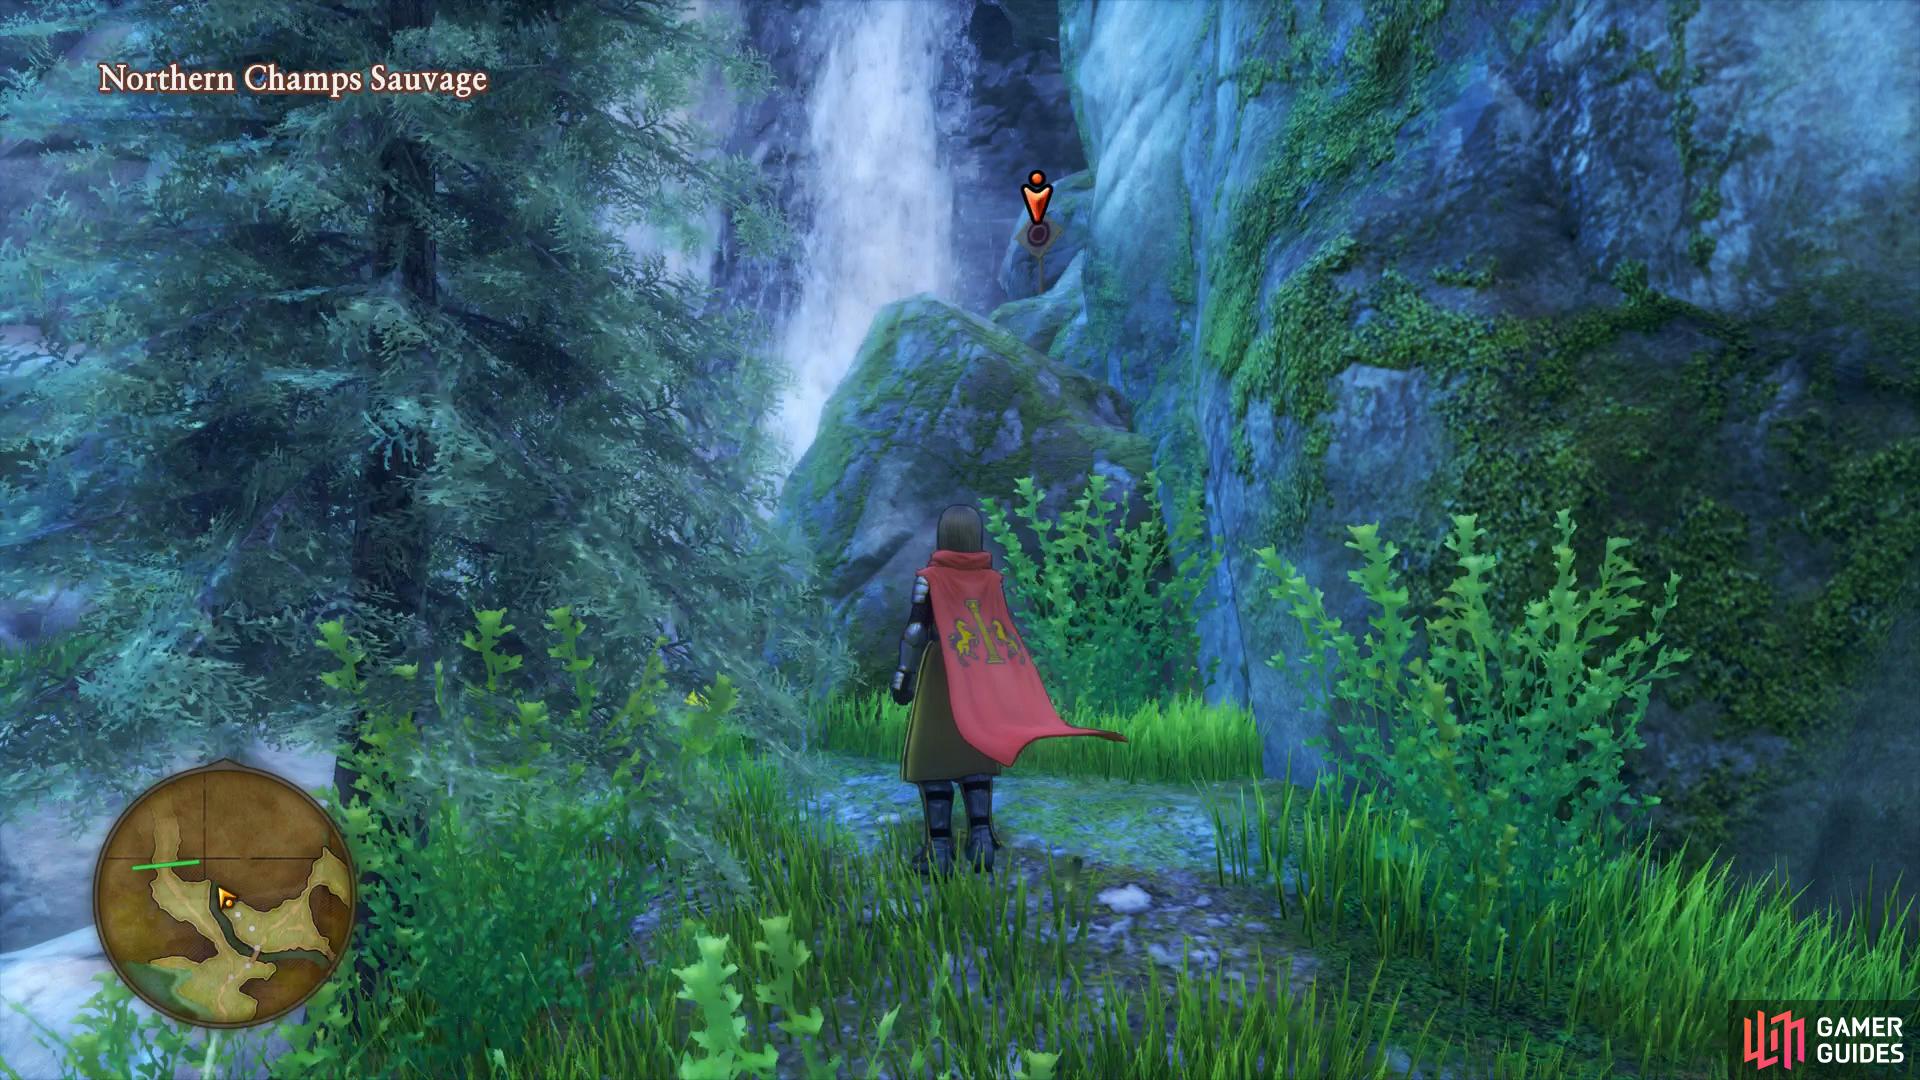
Search near the waterfall to the east of the Académie for the fourth target
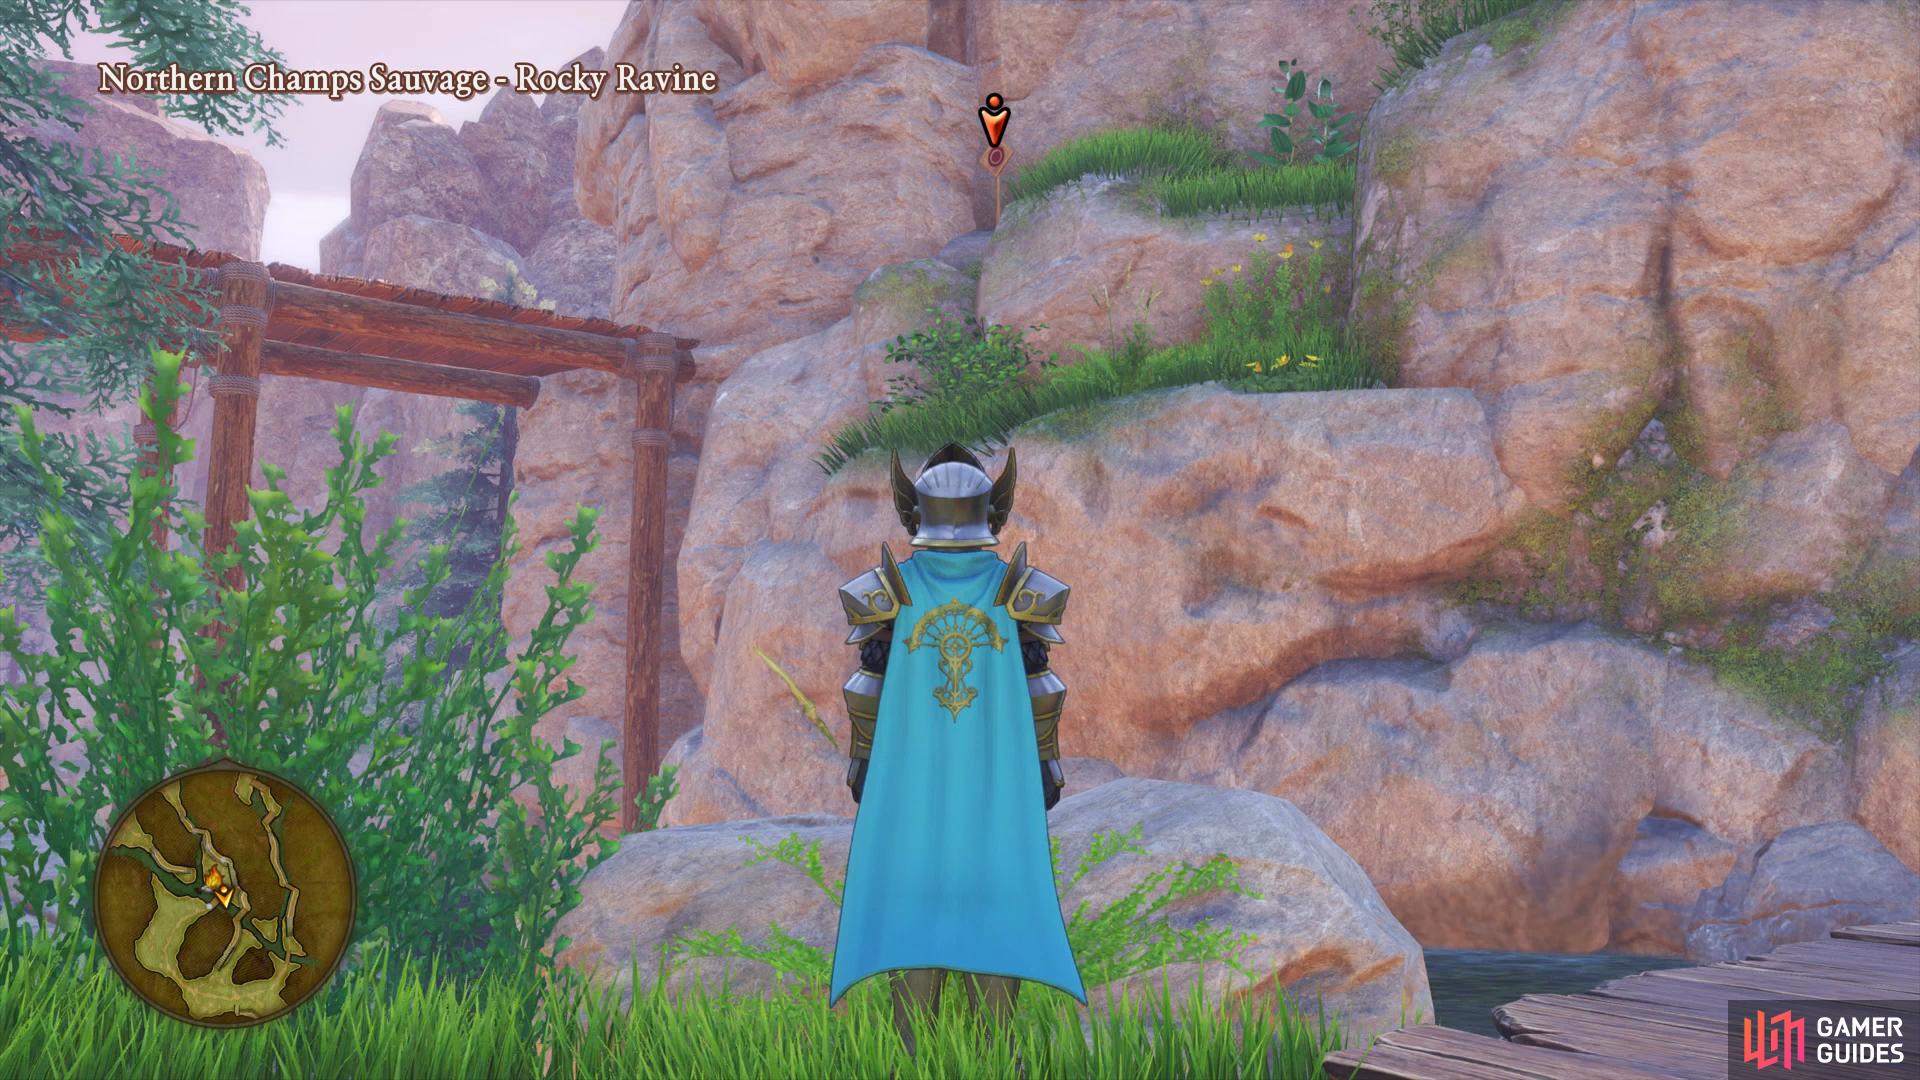
while the final target is just south of the Camp.
Head south towards the bridge and look up into the air to spot the final Crossbow Target, shoot it and speak to the Bodkin Bowyer to obtain four Seeds of Therapeusis. Take the south bridge and follow the path to the east where you’ll spot a rope hanging down, climb to the top to discover a chest housing a Vanguard. There are two paths you can take here, take the center one up the stairs and follow the path to another chest containing an Enchanted Stone.
Return the way you came and head northeast across the bridge and then search beside the steps leading up to find a Sparkly Spot containing a Superior Medicine. Make your way up the steps now and follow the path picking up the Sparkly Spots as you go along to obtain a Drasilian Shilling, Flintstone, Pink Pine and a Glimmergrass. Return to the fork you took earlier to reach the northeast area and take the other path to reach your destination.
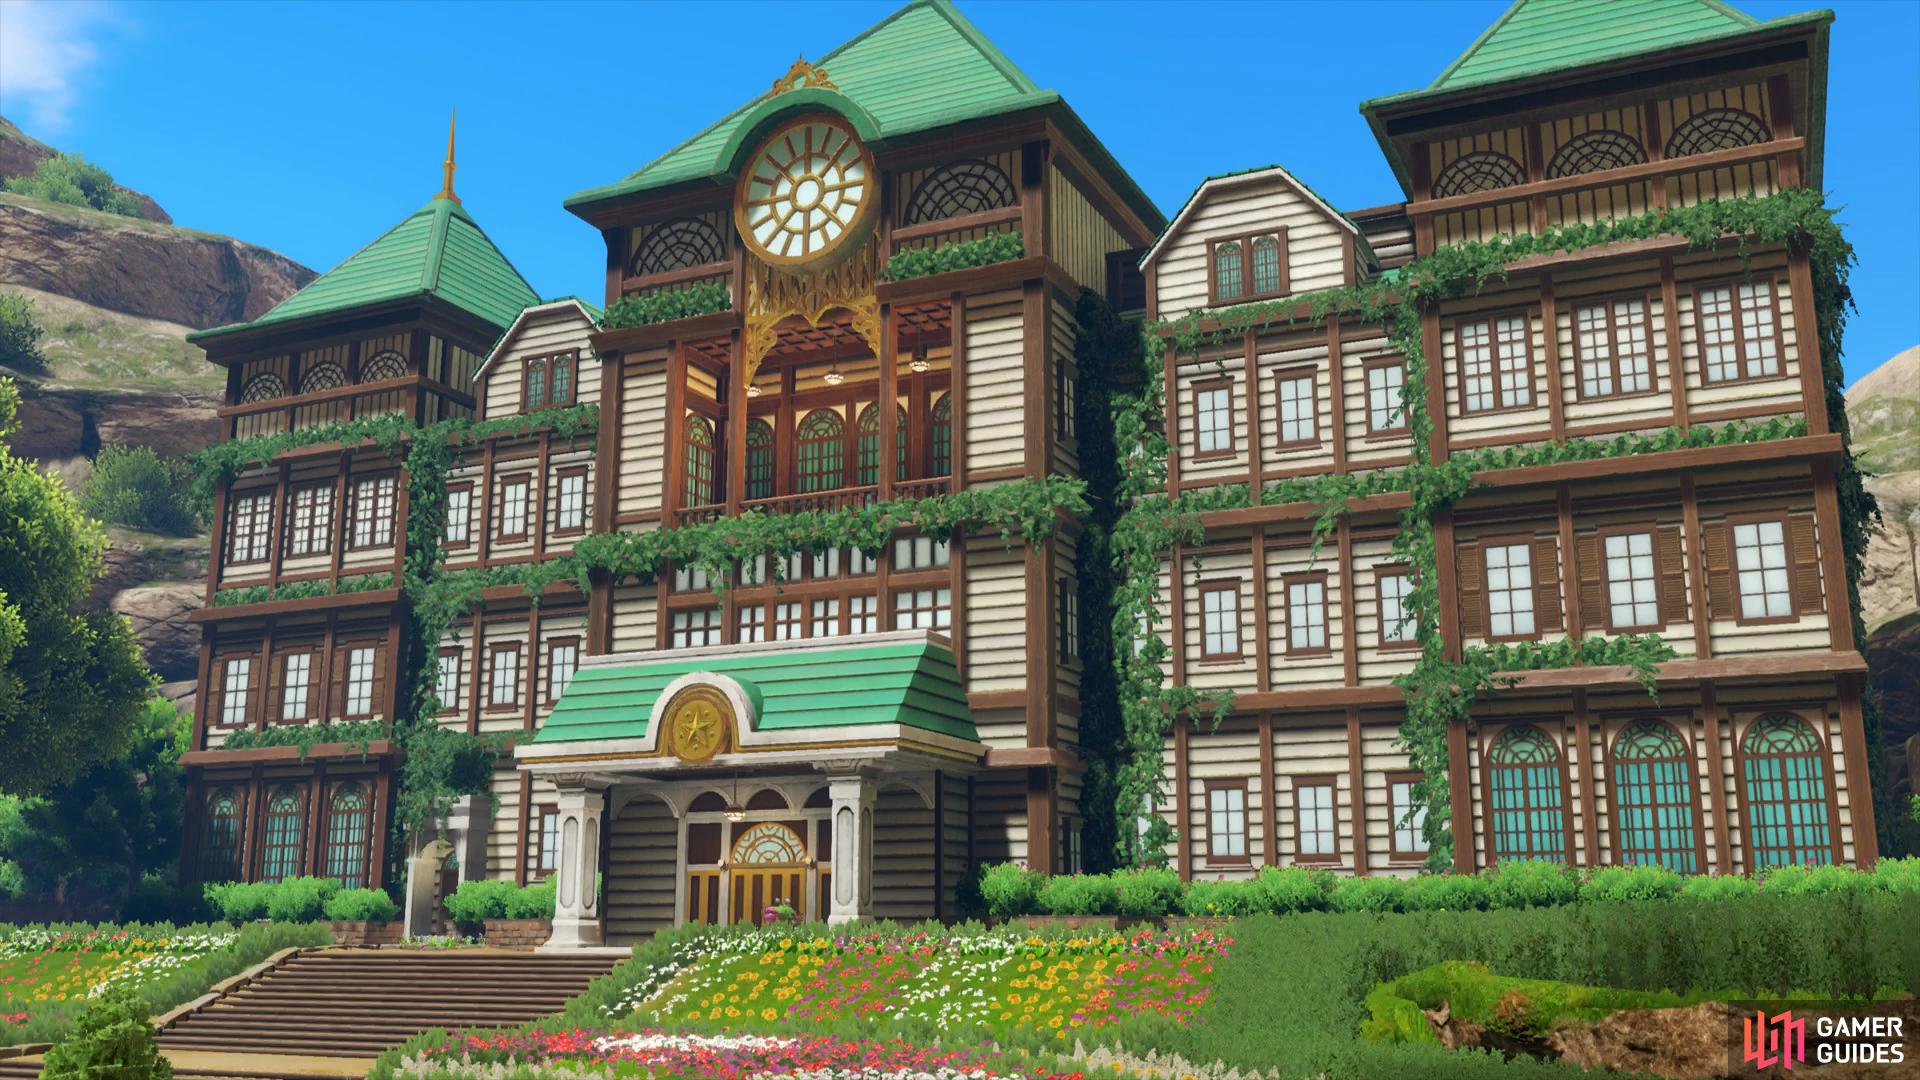
L’Academie de Notre Maitre des Medailles
| Items | Area |
|---|---|
| Mini Medal | Well, barrel |
| Enchanted Stone | Well, chest |
| Seed of Life | Kitchen, pot |
| Next-Level Neckwear | Bibliotheque, bookshelf |
| Fine and Dandy Designs | Bibliotheque, bookshelf |
| Feathered Cap | 2F, wardrobe |
| Bling-bling Belt | 2F, wardrobe |
| Mini Medal | 2F, wardrobe |
| Mini Medal | The Headmaster’s Office, pot |
| Sparkly Spots | Area |
|---|---|
| Royal Soil | Well |
| Sleeping Hibiscus | East of the Academy entrance |
You enter what appears to be a school for girls and you’re there just in time to catch the opening ceremony for the day. After your somewhat strange exchange with the Principal (along with the students that range from human girls to monster lips), you’ll be beckoned to pay him a visit in his office. For the curious types however, there are plenty of goodies to snag and quests to accept before meeting with the Principal.
East of the entrance you’ll find a well that you can climb down where you’ll find a Mini Medal in a barrel sitting in the shack to the east, an Enchanted Stone in a chest to the north and a Royal Soil in the Sparkly Spot to the west. Climb back out of the well and head north past the courtyard towards the entrance of town where you’ll notice a Sparkly Spot to the east in the flower bed containing a Sleeping Hibiscus. Check out the west side of the entrance to find a student with a task for you, she wants you to forge a Queen’s Whip at +1 or higher of which you’ll obtain the Recipe from her to forge it. Agree to aid her to accept Quest 19 - Making Things Right and then Zoom to any Camp to forge the weapon in question. Return to her and hand over the Whip to complete the quest and obtain three more Mini Medals for your trouble.
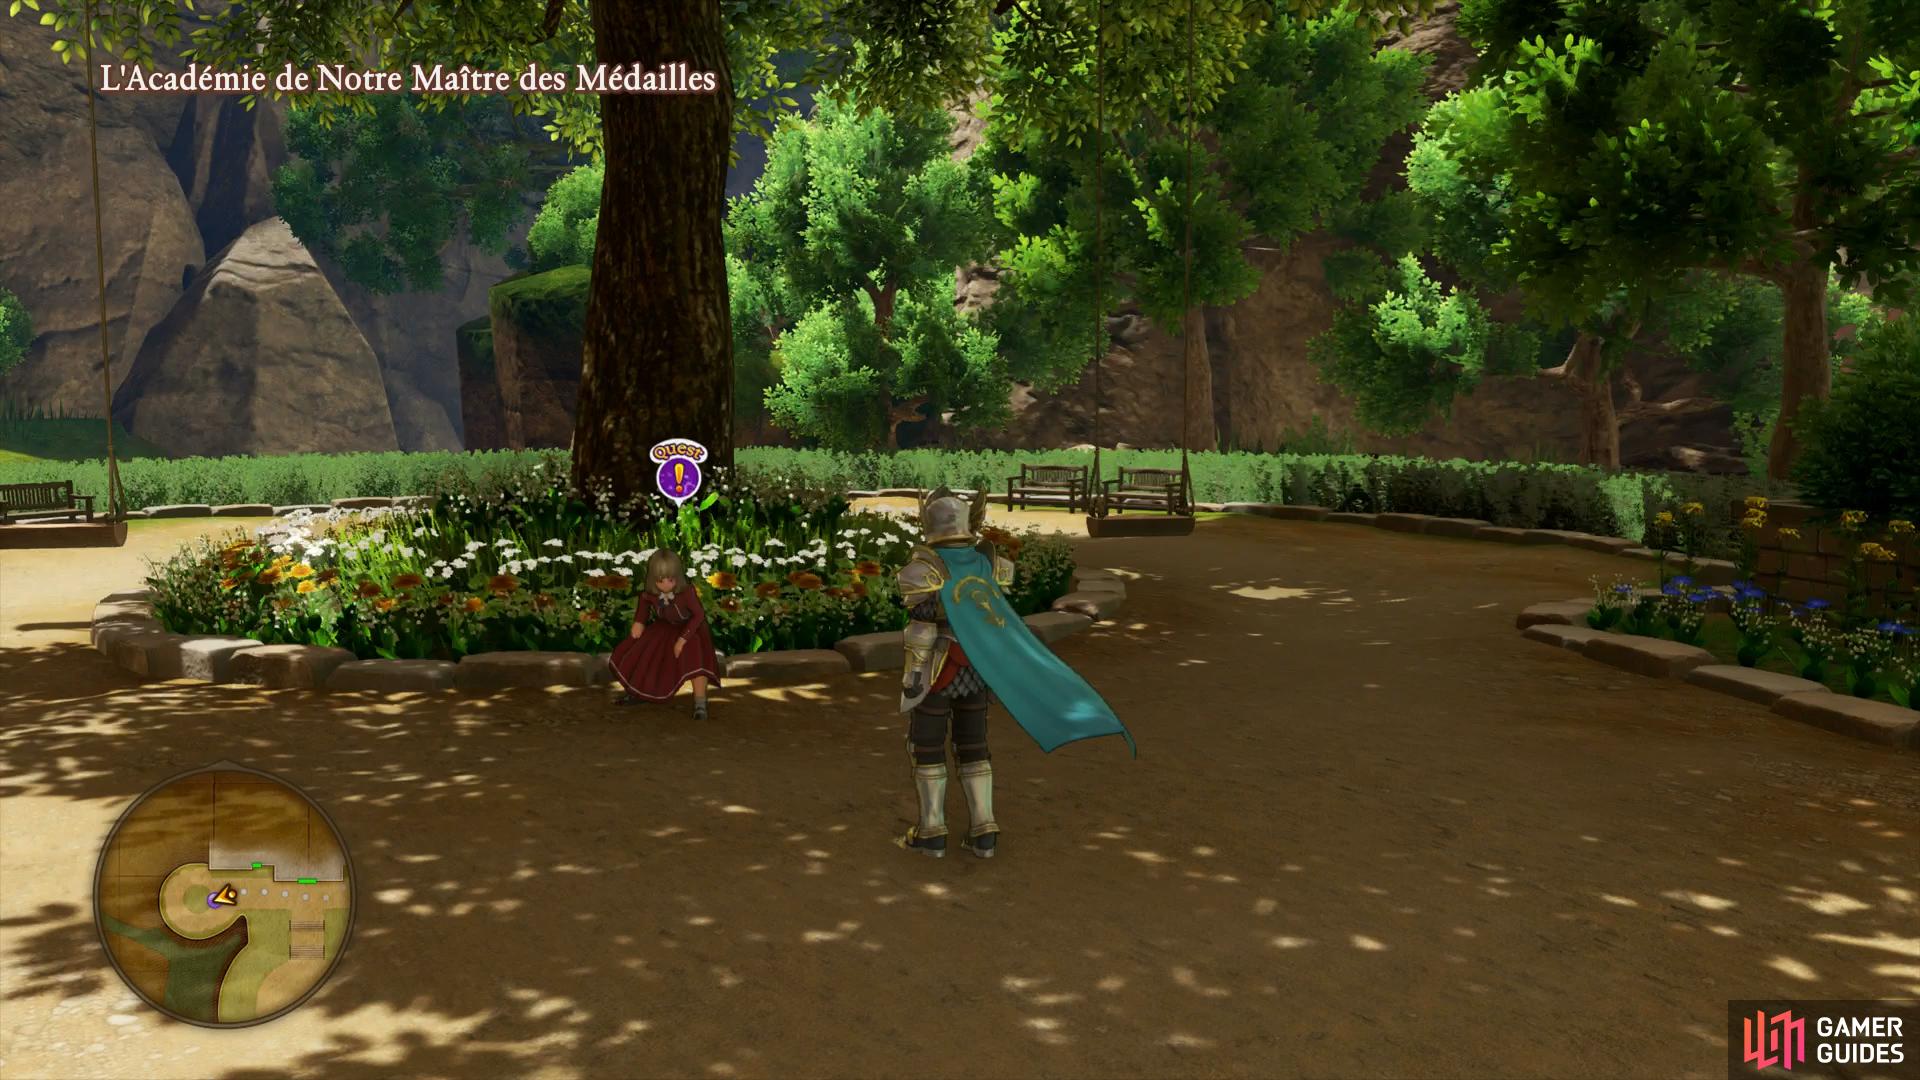
Speak to Zazie to the left of Acadamie to accept her quest
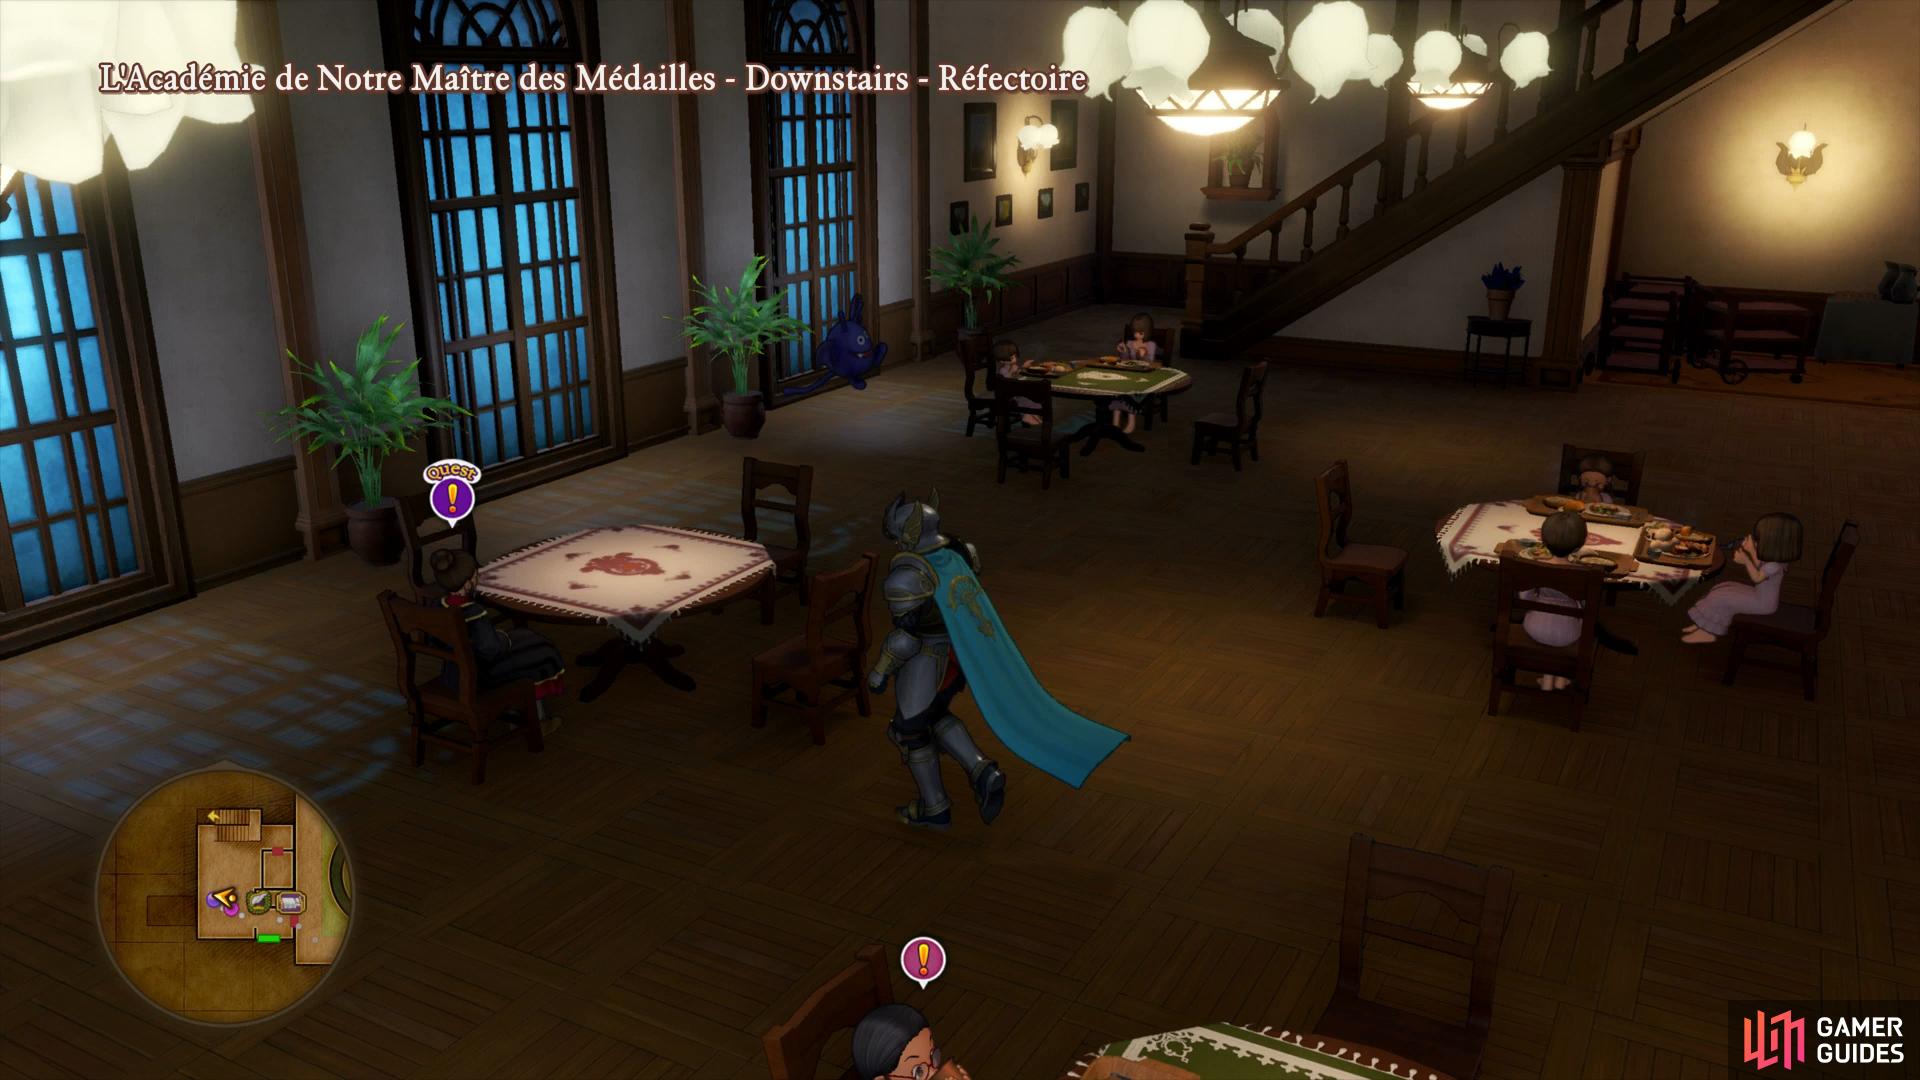
while a teacher in the refectorie has another simple quest for you.
Enter the School via the front door and ignore the central door for now, this leads to The Headmaster’s Office. Instead, head into the first room on your left and rest the night should you need to recover. The woman in the center will offer to sell you Perfectionist Pearls at the cost of 100G per one, this is a great resource to take use of in order to rework any gear you may want.
The final shop in this room will sell all manner of tools along with the colored eye materials for 1000G a piece, expensive but useful and you’ll be returning here often to restock throughout your adventure. Speak to the girl sitting down here and listen to her request, when sorting through the library she came across a diary that came along with a cryptic message at the end of it and she wishes for you to investigate for her. Agree to aid her to accept Quest 18 - A Memorable Mystery and she’ll read the message to you regarding burying something in the Schoolyard.
Hold off on the quest for now and continue your exploration of the interior, heading into the kitchen to find a pot to smash, inside you’ll obtain a Seed of Life. Ignore the stairs leading up for now and return to the entrance hall, heading around anti clockwise the next room is locked for now but you’ll find the Bibliotheque next to it. Head inside and begin pouring through all of the books on the shelves, along with all of the interesting information you’ll discern you will also obtain the Next-Level Neckwear and Fine and Dandy Designs Recipe Books. You’ll find the acting Church in the next room should you need to Save your game and the final room is also empty so make your way to the second floor via the east stairs.
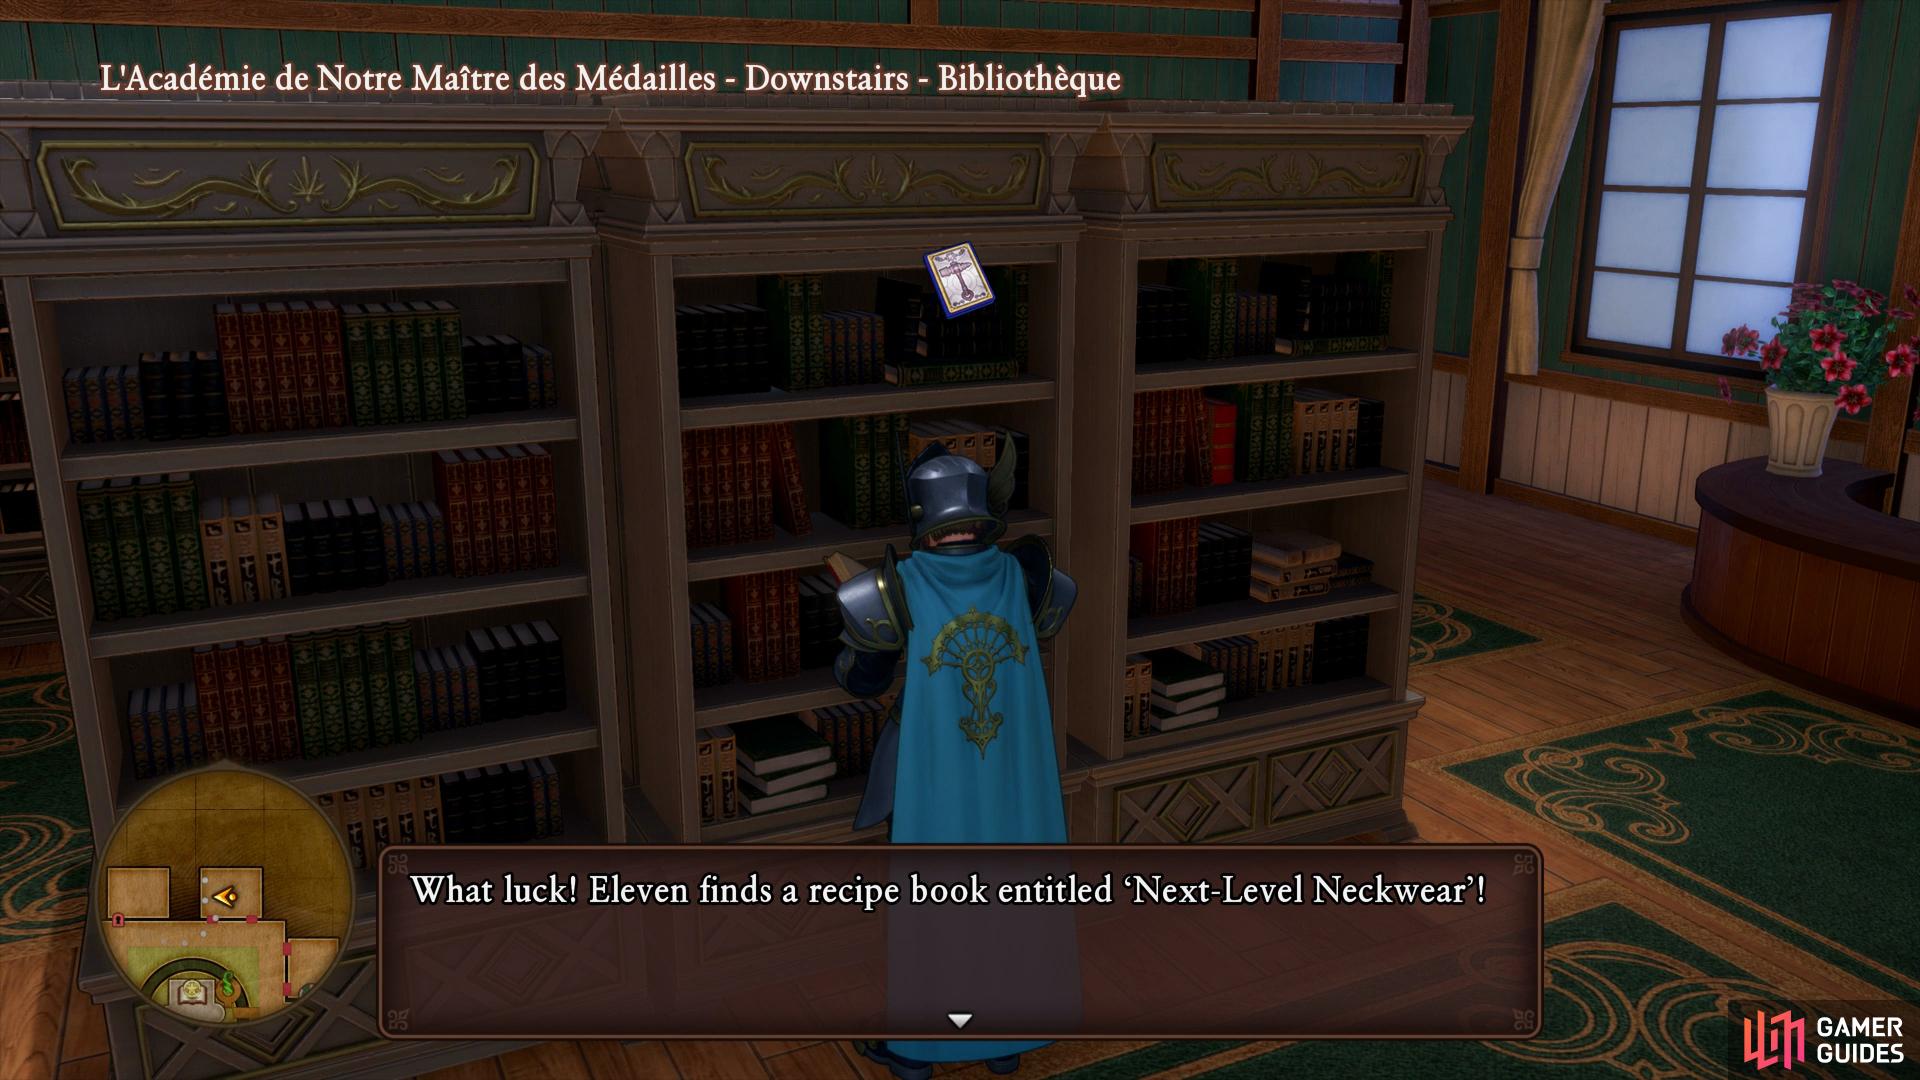
The Bibliotheque houses two new Recipe Books
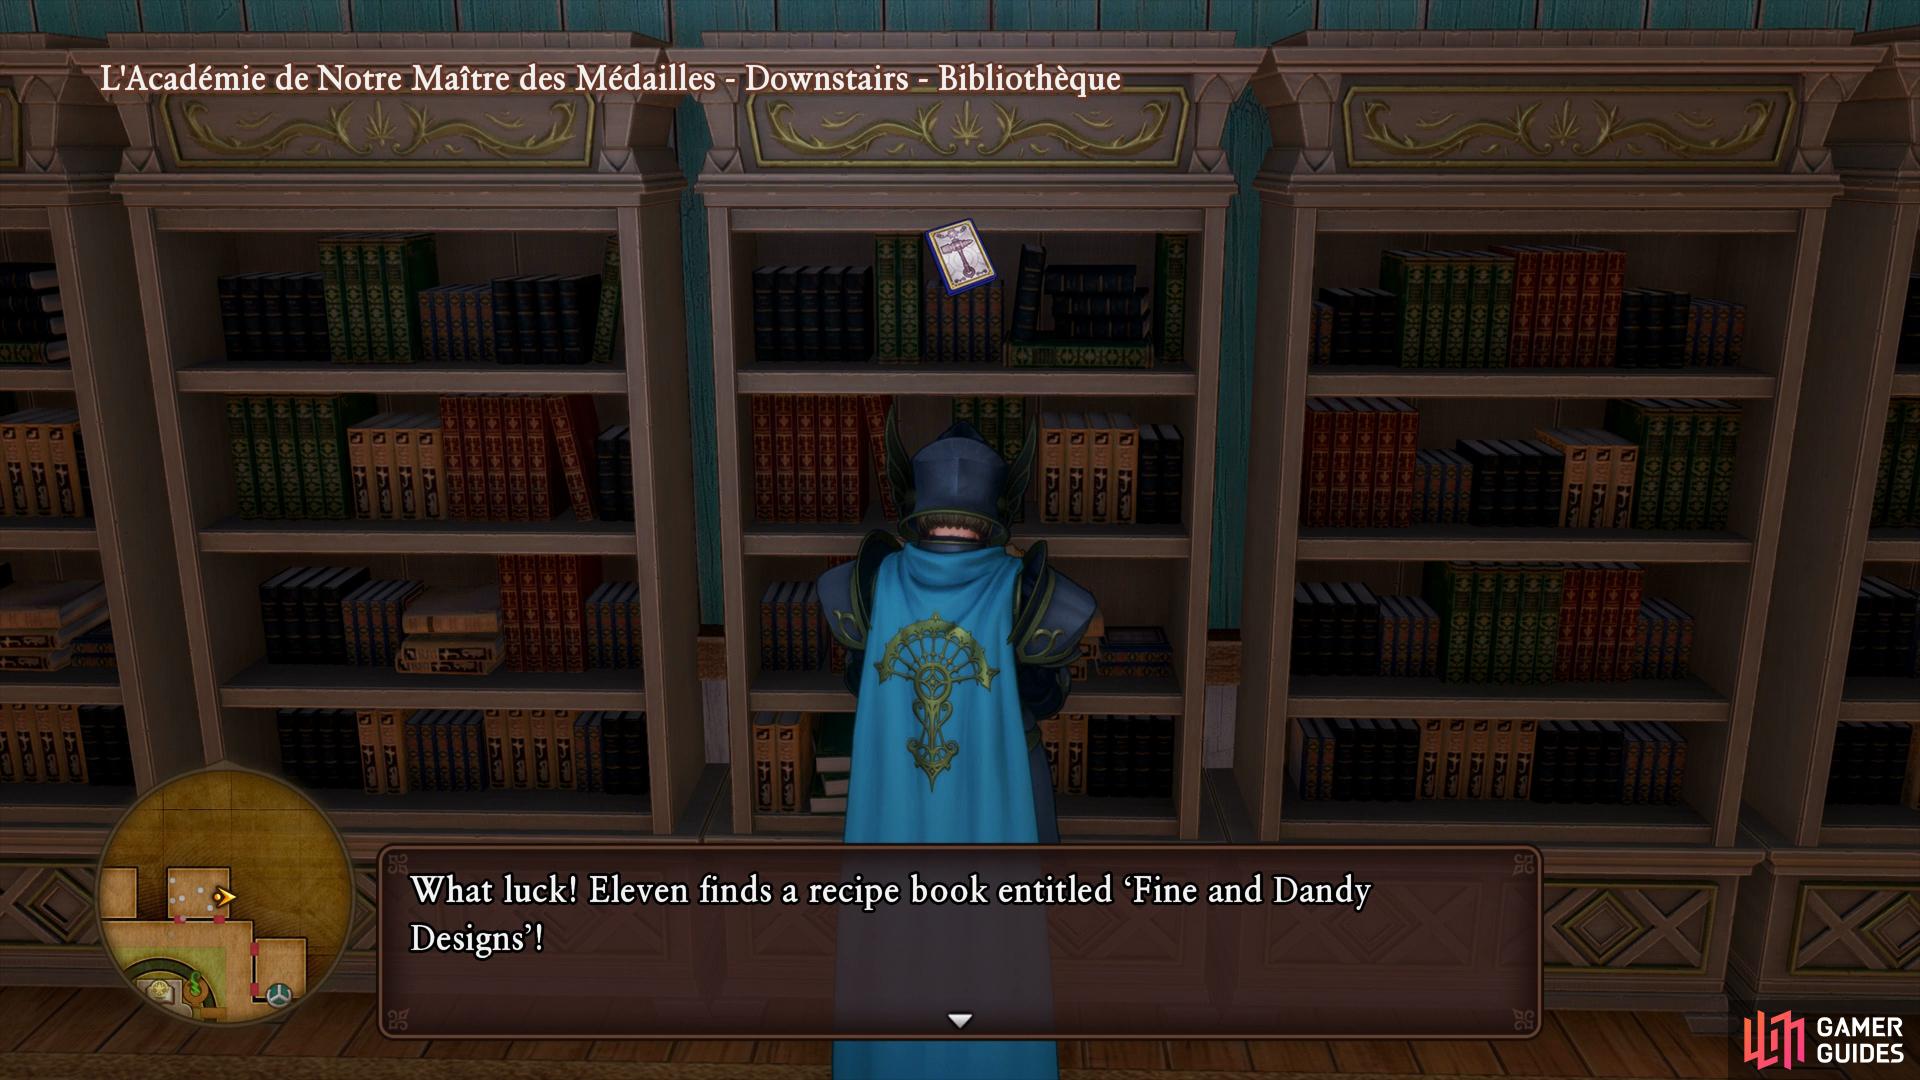
you’ll be able to forge an assortment of useful necklaces.
Head over to the west side of the floor and enter the first room to the south to find a third quest giver. Purscilla wishes for you to find the school paper to see an article, agree to assist her to begin Quest 20 - The Agony and the Ecstasy. Head over to the east side of this floor where you’ll find the bulletin board in question and speak to Bashtienne to discover that the Issue in question has blown away toward the direction of the The Eerie Eyrie. Return to the rooms on the west side and enter the room north of the quest giver to find a wardrobe with a Feathered Cap. Search the room next to the quest giver next to find another wardrobe you can ransack to obtain a Bling-bling Belt. Finally, search the room to the west of this to find yet another wardrobe waiting to be pillaged from, another Mini Medal awaits inside.
Make your way back down to the ground level and enter The Headmaster’s Office finally to speak to him. He will admit you as a guest student (due to you being a male of course) so that you can assist in collecting the Mini Medals around the world for him. He’ll also add a new page to your Stamp Book so you can begin earning more rewards. Break the pots in the corner to obtain another Mini Medal and then take the opportunity to hand over any Mini Medals you have on you at this moment in time, if you’ve been following this walkthrough you should have 13 on you. You’ll obtain an Uniforme de l’Academie and a new Recipe Book, Kit Fit for a King. Before you leave the academy, take the opportunity to examine the Root of Reminiscence next to The Headmaster’s Office, using this you can rewatch past events.
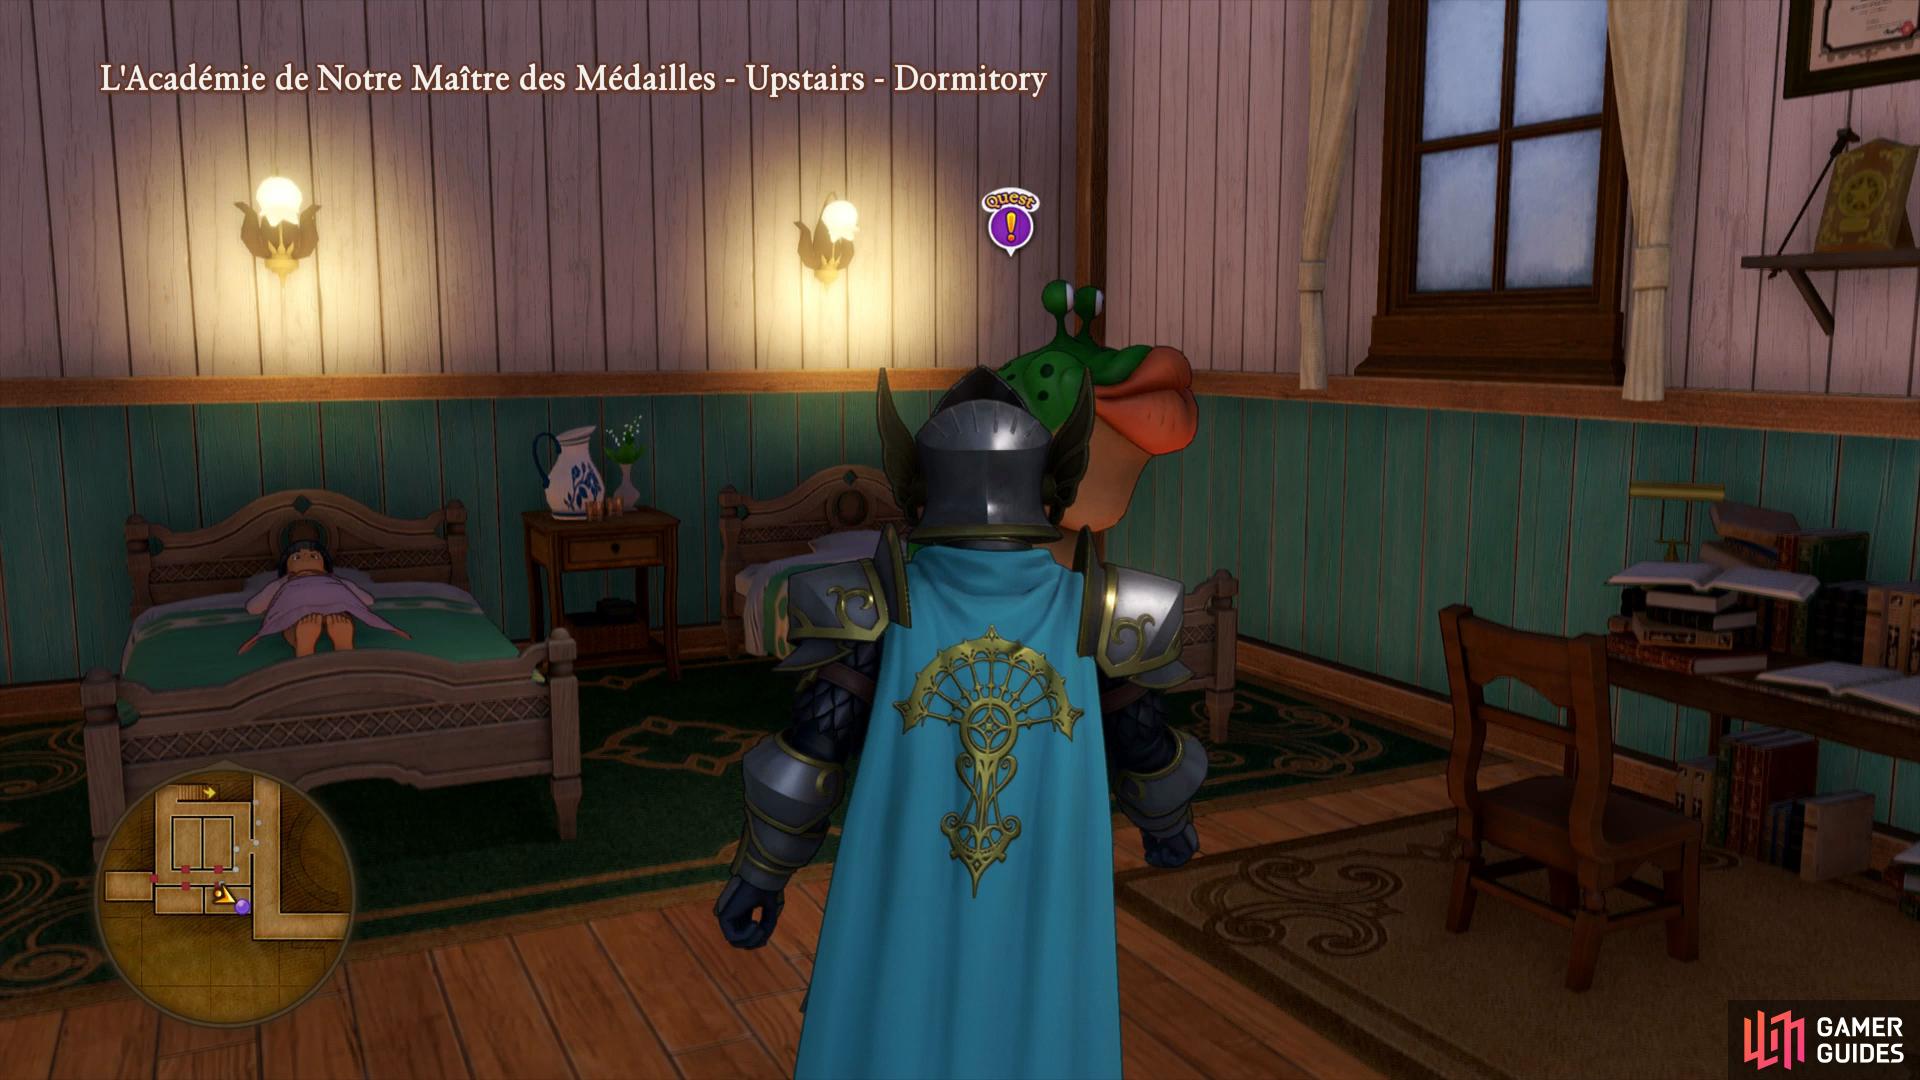
You’ll find a third quest to accept in the dormatories
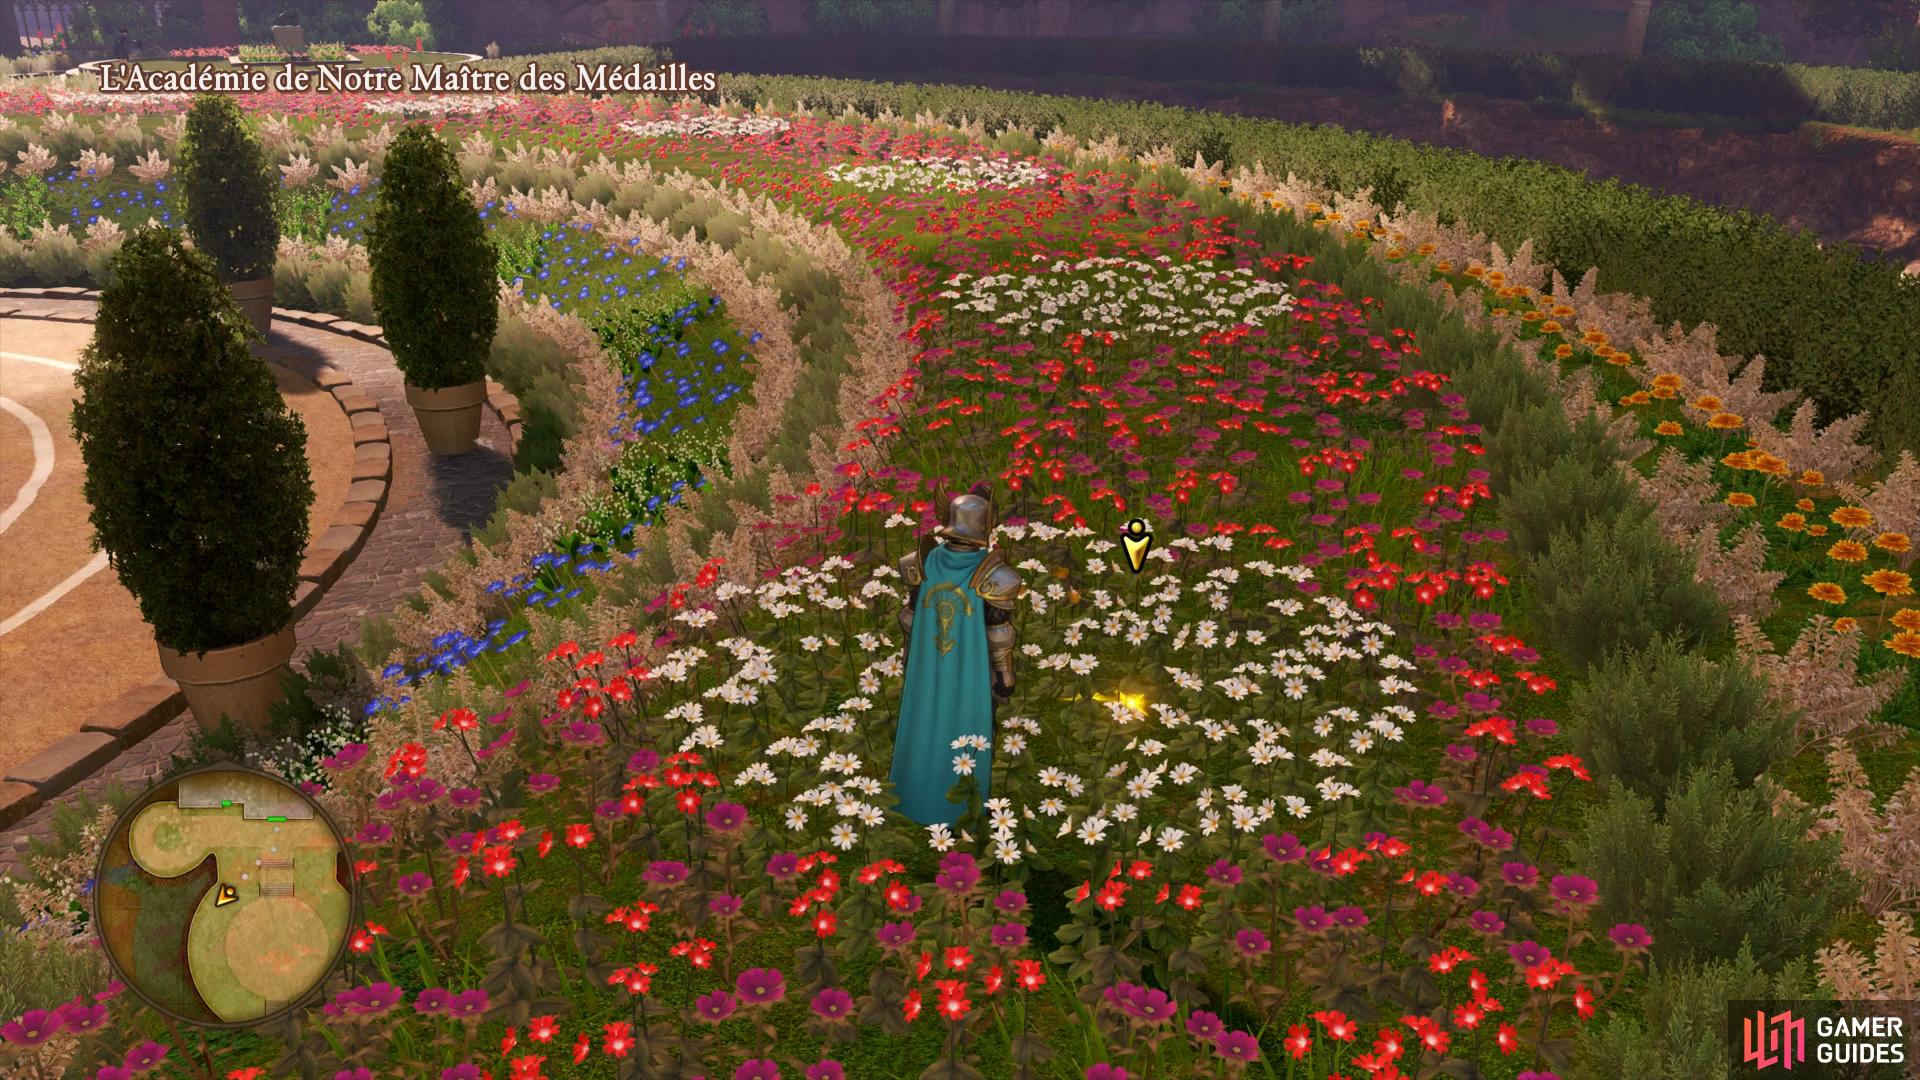
search the field of flowers to the southwest of the entrance to find the missing box.
Exit to the Schoolyard and look for the golden Sparkly Spot (searching at night makes this easier) amongst the flowers southwest of the door. Return to the teacher in the school and hand over the box to complete Quest 18 and obtain a Belle’s Bow that will regenerate MP every combat round for Jade.
With your business concluded here for now, Zoom back to the northwest Camp of The Champs Sauvage region. If you have the resources (there’s a Platinum Ore gathering point nearby remember) then forge the new armor set for Rab to give him a new look and boost his stats. From the Camp, make your way to the northeast corner of the area until you reach the rope leading up the cliff and into The Eerie Eyrie.
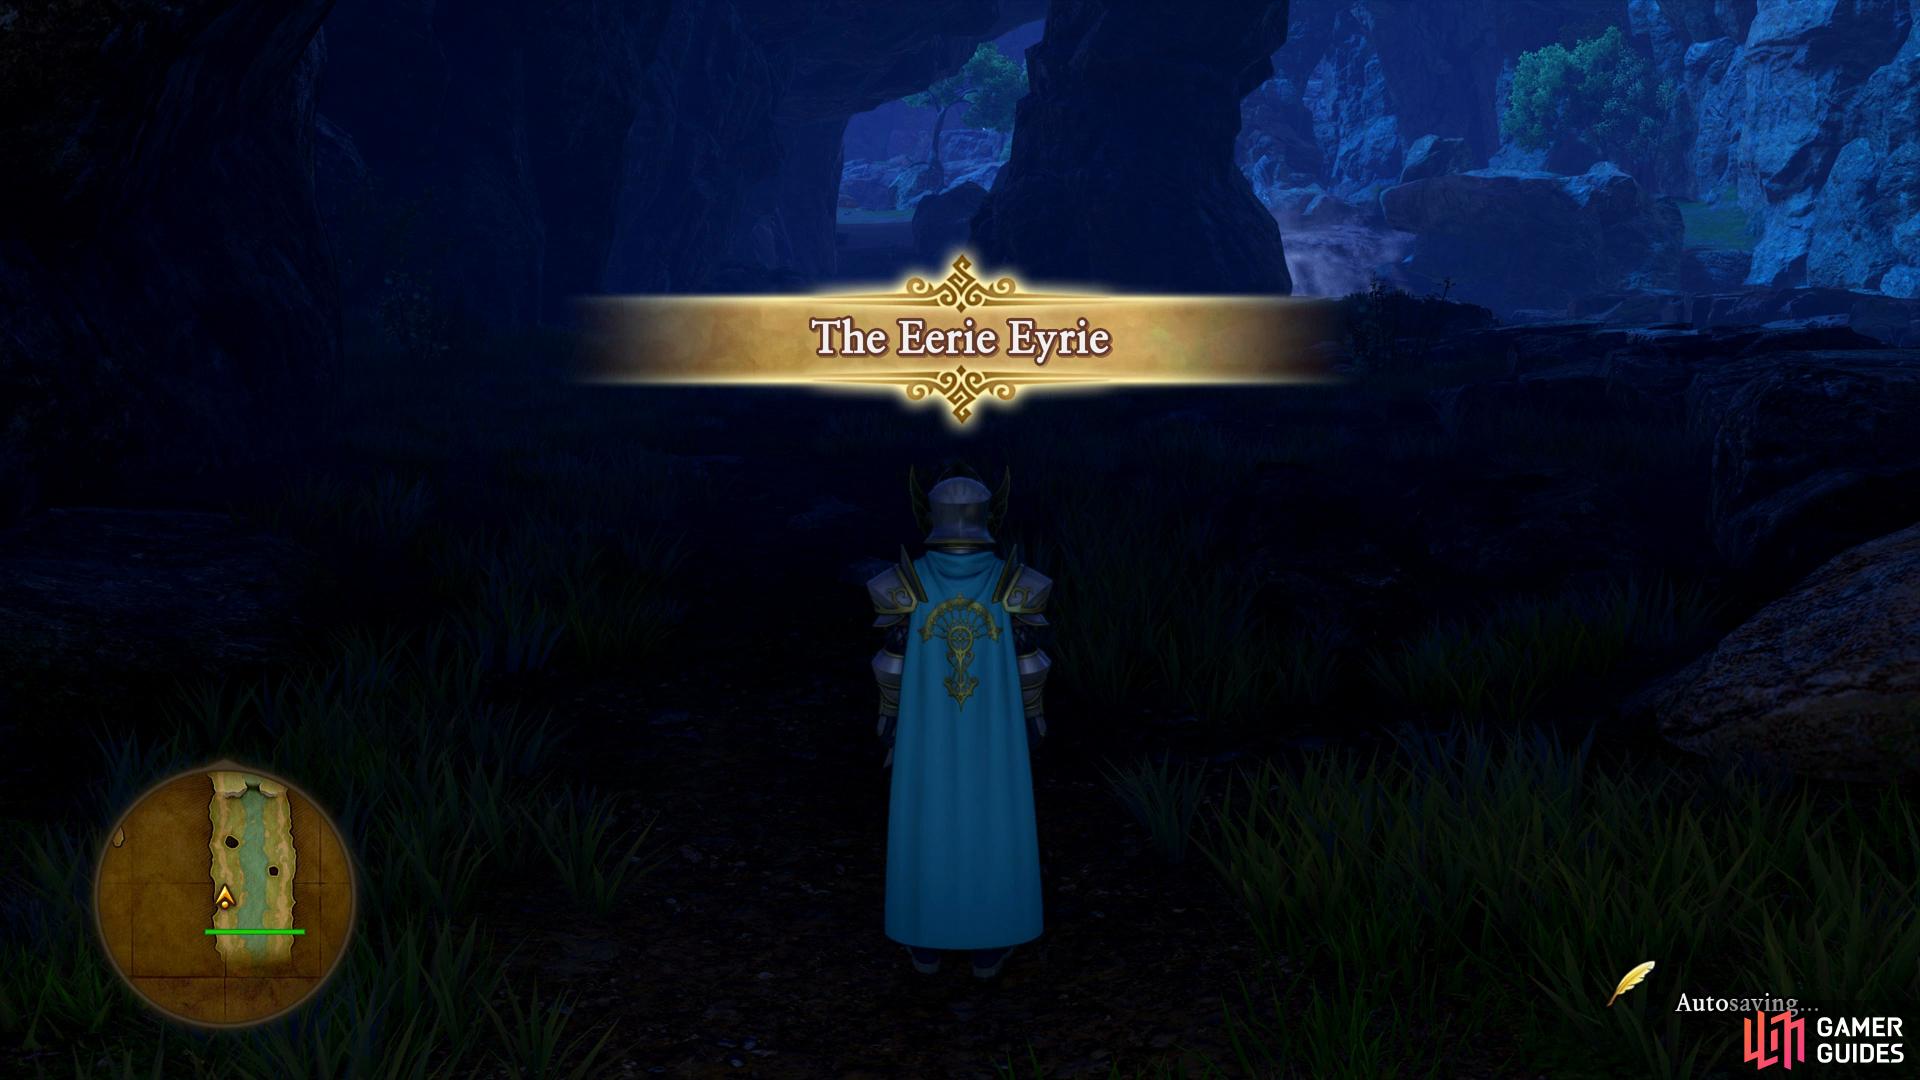
The Eerie Eyrie
| Items | Area |
|---|---|
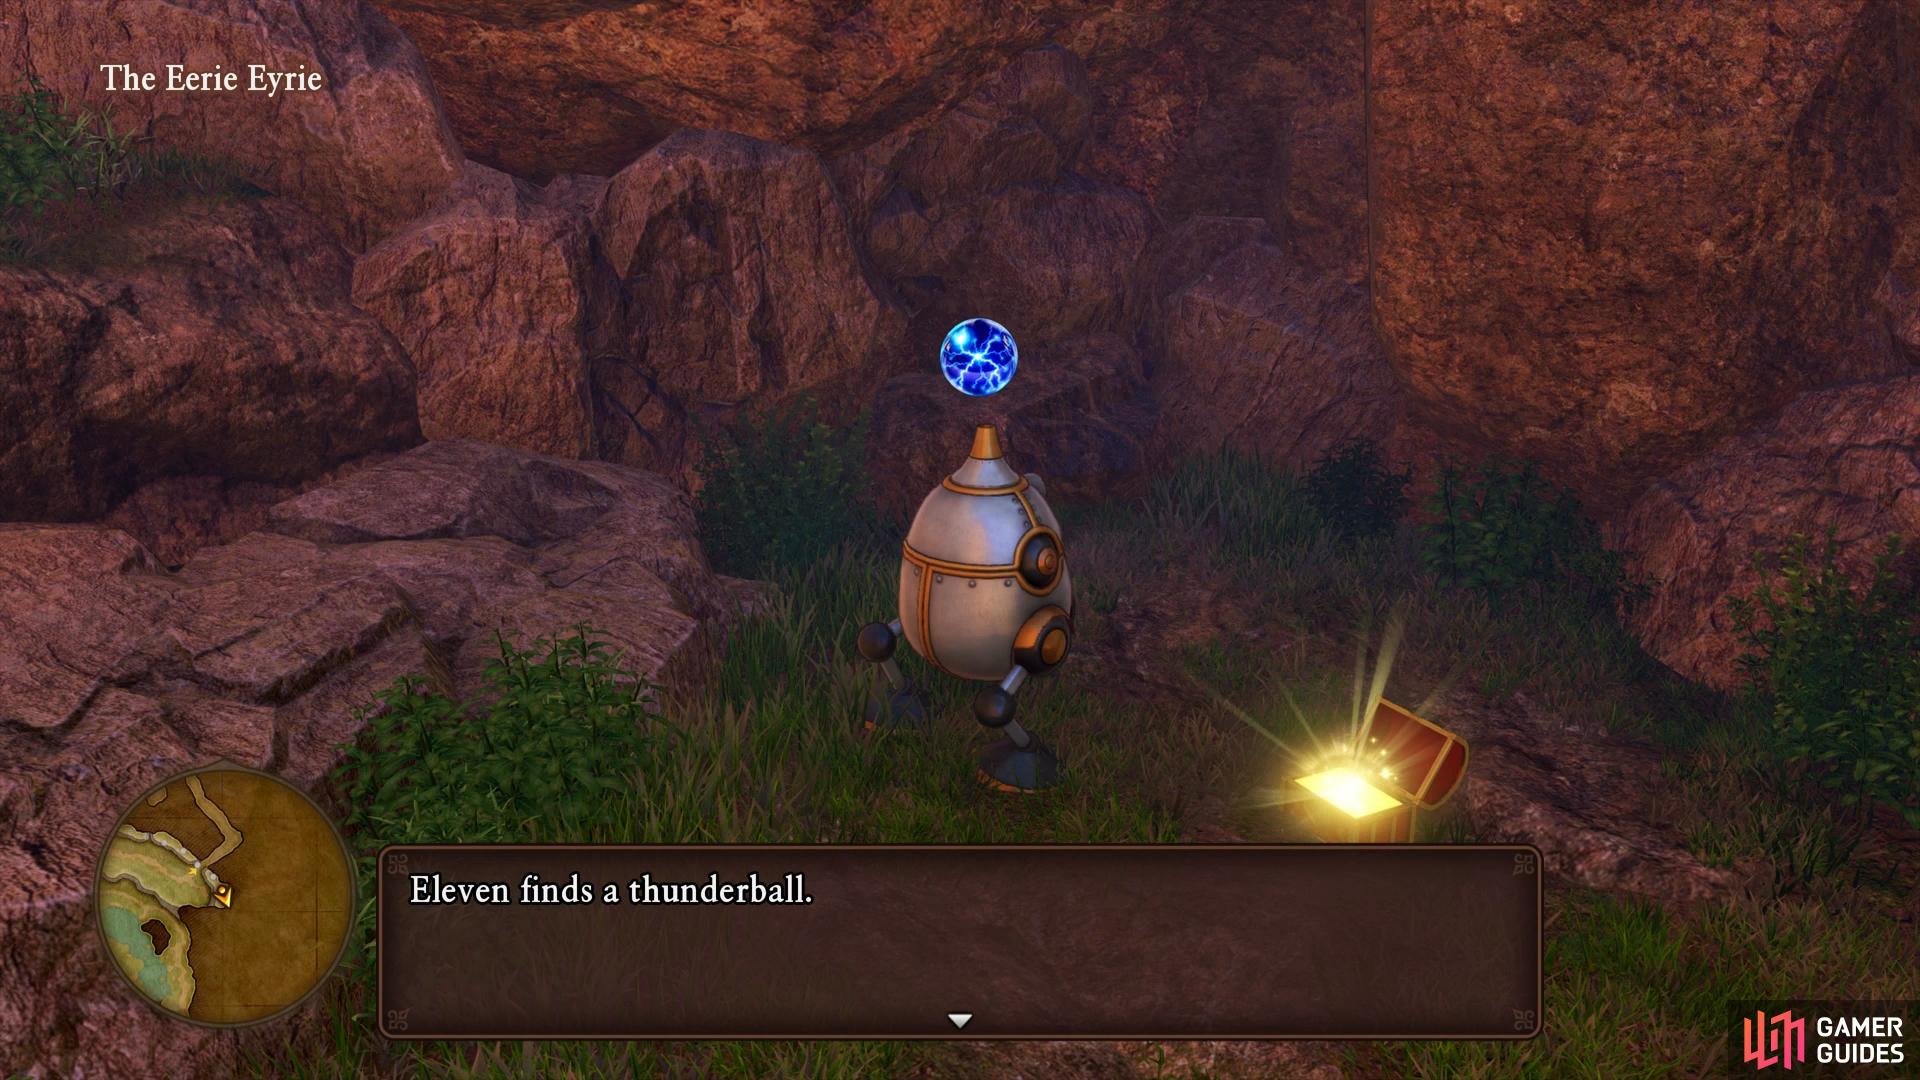
| Thunderball | North of the Camp, chest |
| Mini Medal | Central stream, chest |
| 5000G | Central steam, chest |
| Electrifying Equipment | West of the Camp (back route), chest |
| Prayer Ring | Northwest, chest |
| Build Better Birds’ Feet | Behind the northern waterfall, chest |
| Magic Water x4 | Peak, chest |
| Sparkly Spots | Area |
|---|---|
| Tiny Tortoise Shell | Entrance |
| Slipweed | Behind the Camp |
| Superior Medicine | North of the Camp |
| Celestial Skein | Southwest path in the Caves |
| Platinum Ore | Western path in the Caves |
| Slipweed | Outside the northern exit of the Caves |
| Purple Eye, Platinum Ore, Gold Ore | Northwest, Ore gathering point |
| Flurry Feather | Northwest cave |
| Monsters | HP |
|---|---|
| Handsome Crab | ~91 |
| Medislime | ~90 |
| Dragurn | ~256 |
| Very Devil | ~81 |
| Hades Condor | ~150 |
| Rotten Eggsokeleton (Mount) | ~71 |
| Overtoad | ~128 |
| Demonrider (Mount) | ~113 |
Could the Orb you’re looking for be nesting at the top of this eerie mountain peak? You’ll discover the answer to those questions as you ascend. Begin by heading north and the Rainbough will begin to glow, indicating that there is in fact an Orb in the area. Search east of the waterfall before you continue to find your first Sparkly Spot containing a Tiny Tortoise Shell and then make your way over to the nearby Camp to rest up and save your game.
Across the stream you’ll notice some glowing Rotten Eggsokeletons, head over and dispatch one to mount it. Make your way back over to the Camp and leap onto the platform behind it to snag the next Sparkly Spot containing a Slipweed. Continue up the path to the north and leap onto the next platform you see along the northern wall to reach another Sparkly Spot, this one housing a Superior Medicine. Continue to leap across the platforms to the east and over the gap to reach a chest at the end with a Thunderball inside. Drop down now to see a sign in front of a cave, search the back of it to find the missing school paper from Quest 20.
Use the Eggsoskeleton to reach the ledge above the caves
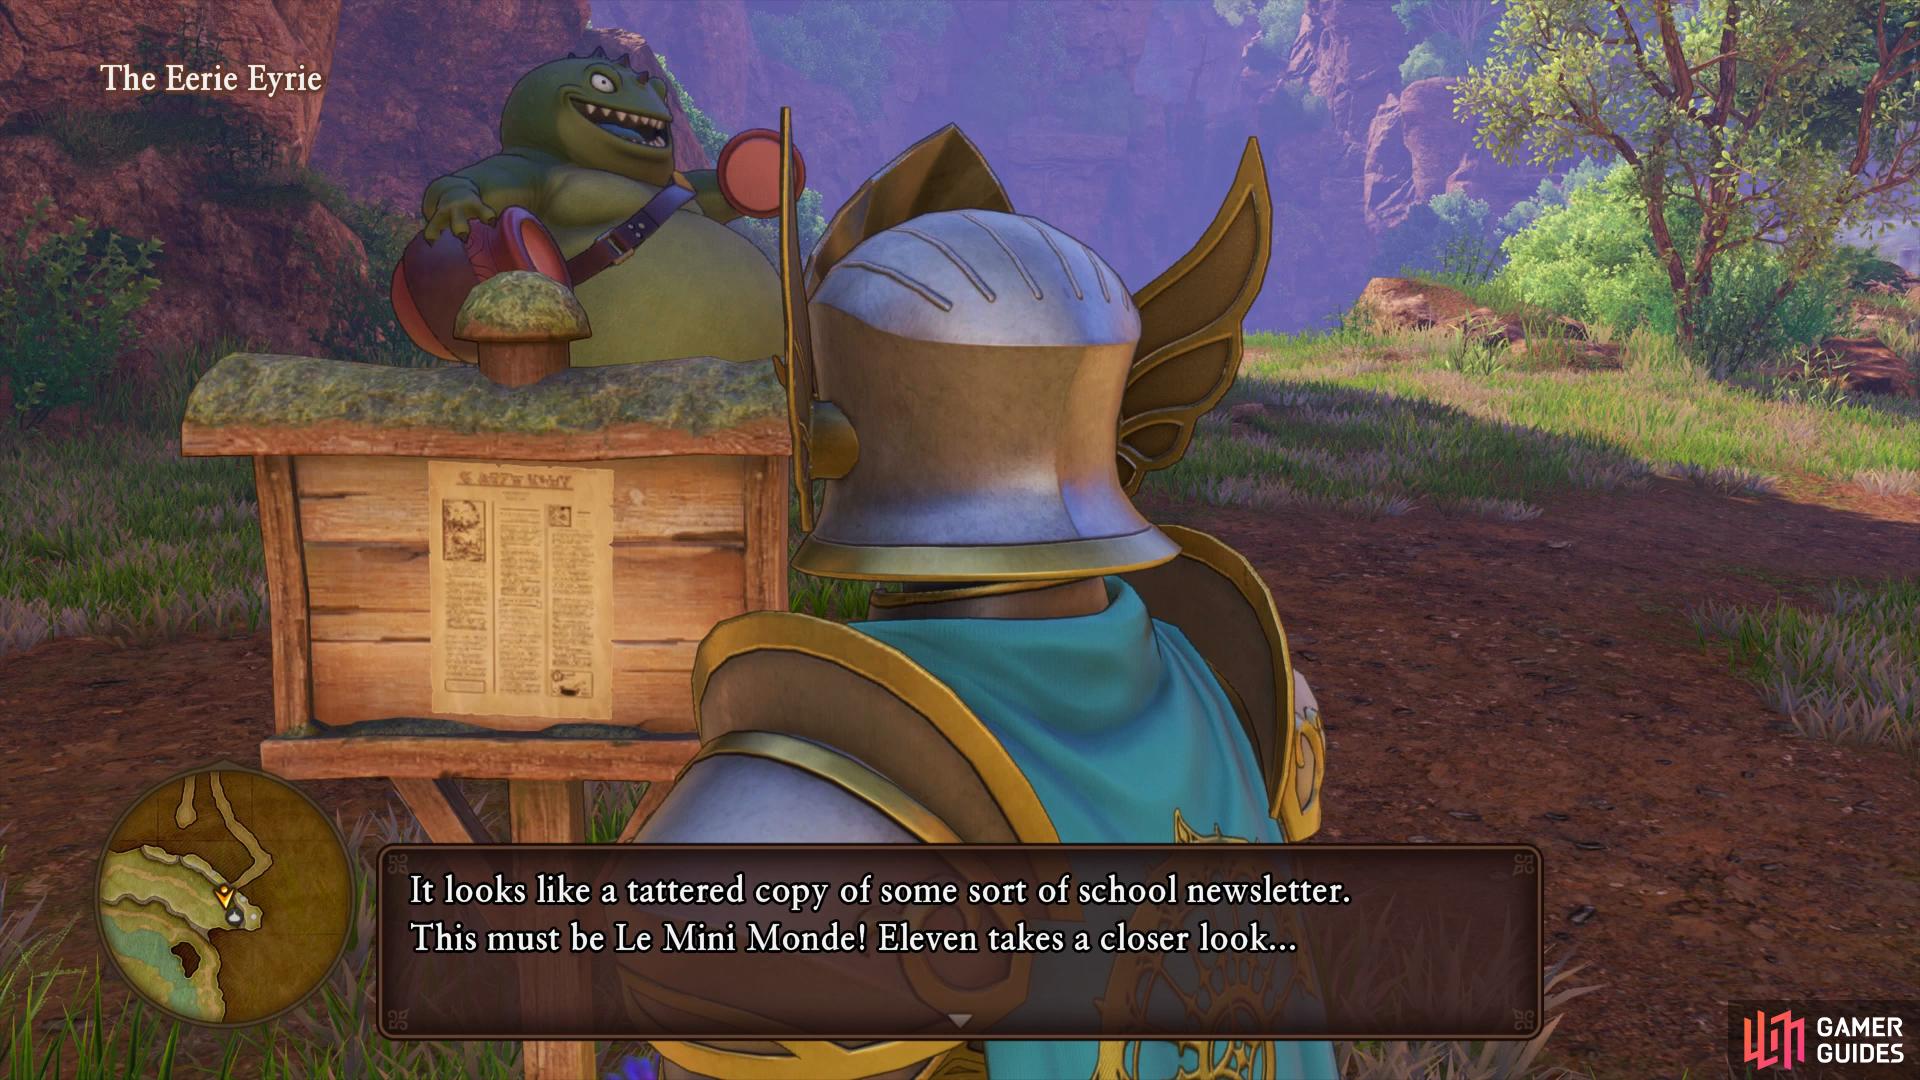
the newspaper for Quest 20 is on the back of the sign leading into the caves.
Follow the caves until you reach an open area and take the southwest path to find a Sparkly Spot containing a Celestial Skein. Continue north until you can head down a short path to your left and loot the next Sparkly Spot housing a Platinum Ore. Follow the linear path north and then west as you exit the caves and loot the next Sparkly Spot containing another Slipweed.
You’ll find yourself along the main stream now, head over and grab yourself another Rotten Eggsokeleton and leap onto the ledge to the southeast where another chest awaits, open it to obtain your next Mini Medal. While still mounted, head to the far south and leap on to one more ledge to find a chest containing a hefty 5000G. Ditch the Rotten Eggsokeleton here and defeat one of the nearby Demonriders to gain yourself a new mount. Move over to the western wall here to find some claw prints allowing you to traverse the wall.
At the next intersection, head south and follow it all the way to the end to find another chest, this one containing a new Recipe Book, Electrifying Equipment that will allow you to forge some new magical weapons. Before you head back to the previous intersection, check out the nearby tree to attach a rope to it, creating a shortcut back to the Camp. Return north and ascend the next wall to reach another open area.
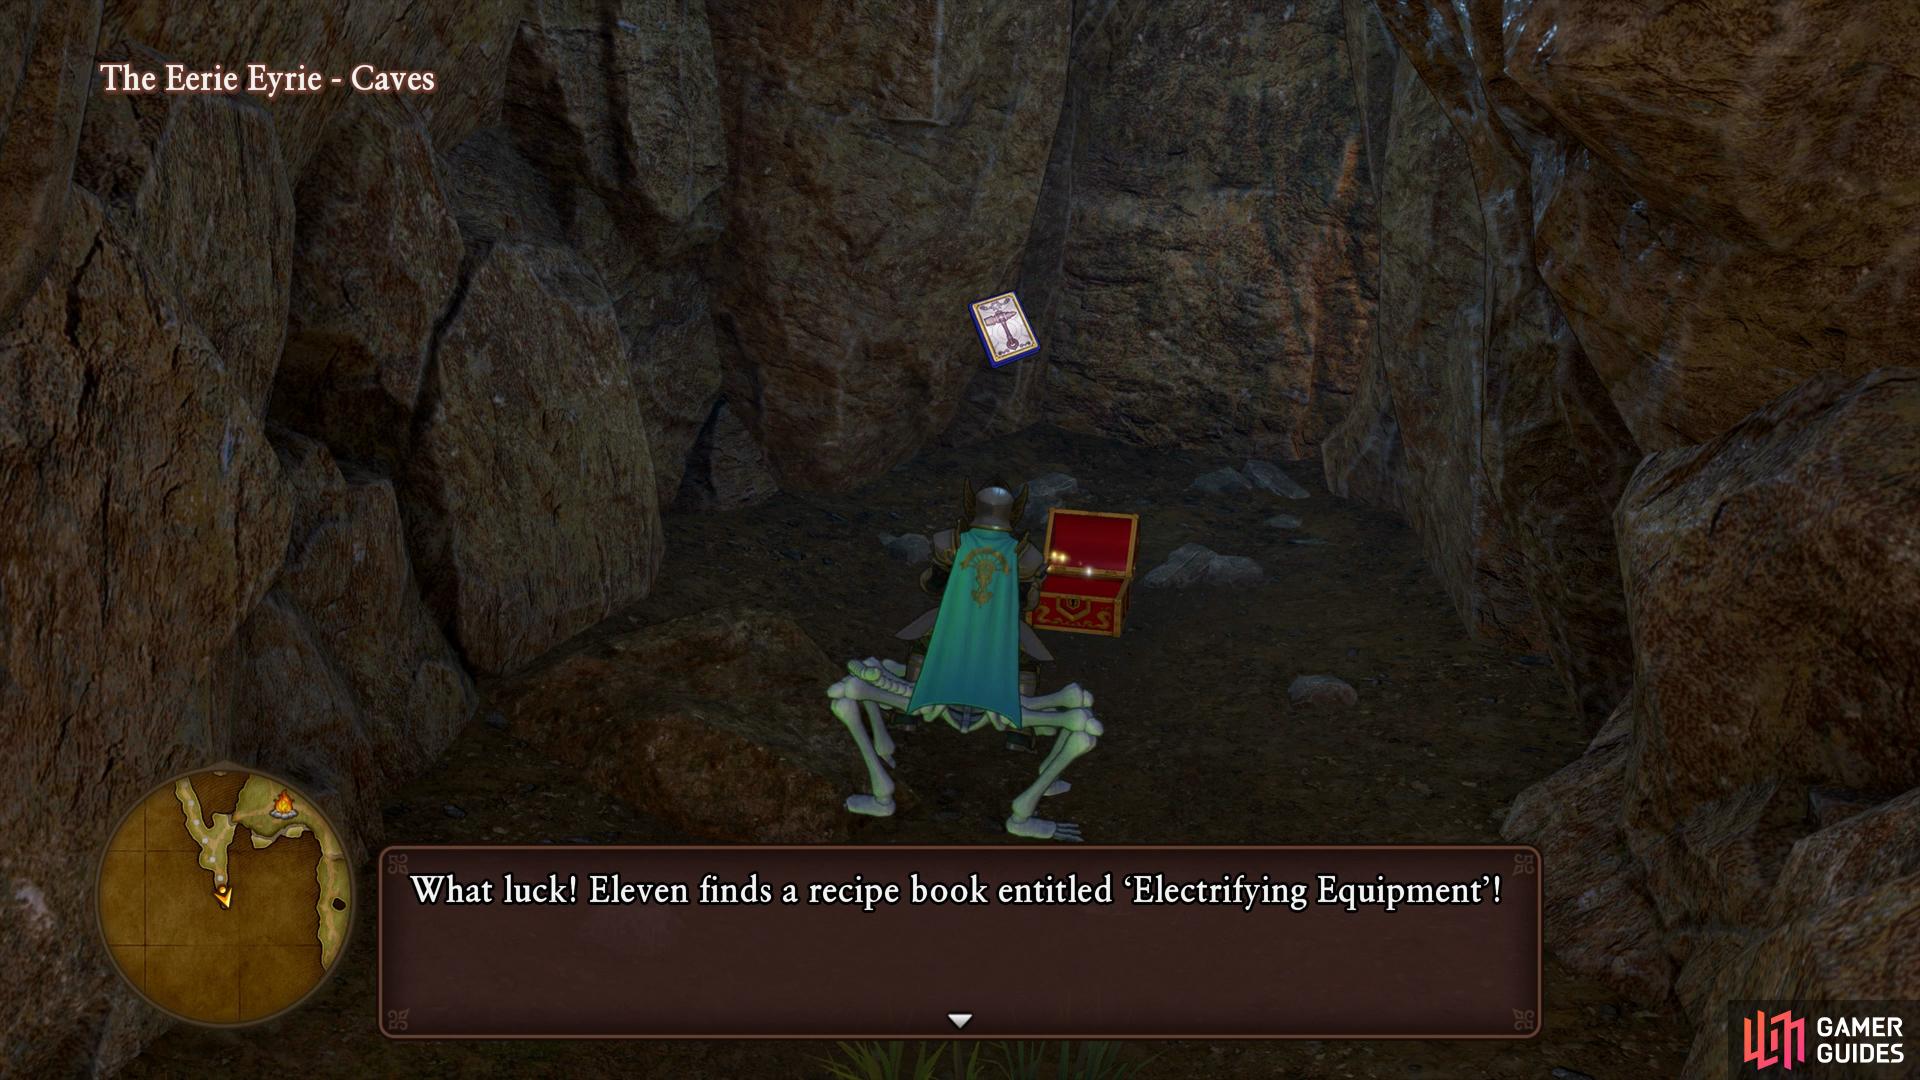
This Recipe Book will allow you to forge the Lightning Lance from the Casino if you’ve yet to earn it

while you can obtain a useful pair of Claws from this Recipe Book.
Northwest of this area is an Ore gathering point containing a Purple Eye, Platinum Ore and a Gold Ore. Head over to the northeast path splitting off from this open area to find the next chest, open it to obtain a Prayer Ring. Grab yourself another Demonrider if you need it and head east to drop down. Follow the path around and through the cave, past a Sparkly Spot containing a Flurry Feather and behind the waterfall for another chest, this one housing another new Recipe Book, Build Better Birds’ Feet. Follow the path to the east now and open the chest on your right to obtain four Magic Waters. Take the time to recover your HP and MP before you step forward, a boss battle awaits.
Boss - Elysium Bird
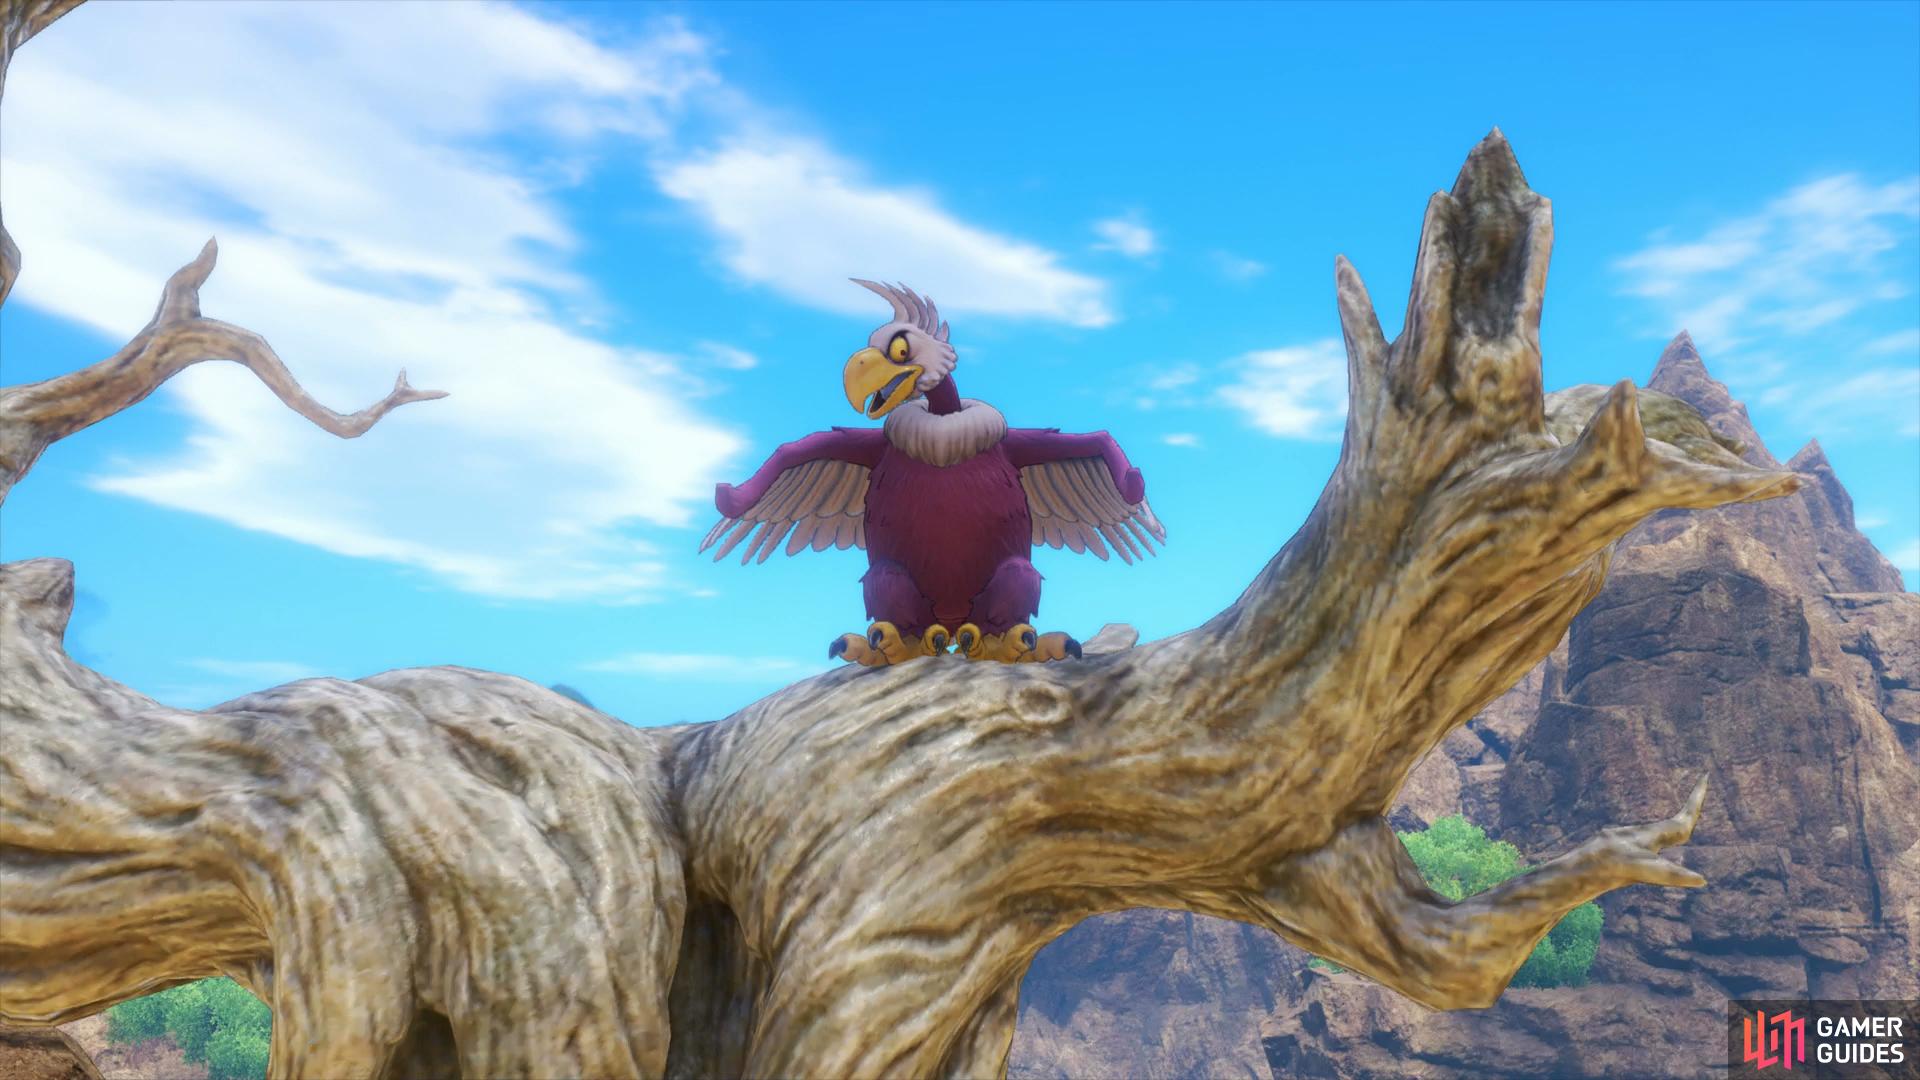
The Elysium Bird could be considered more of a mini boss truth be told but it still has over 800 HP along with two Hades Condors supporting it. As a trio, the group have devastating group wide attacks so be prepared to use Hustle Dance a lot if you have it.
The Elysium Bird will attack twice a round with it’s regular attacks dealing around 60 HP. The more immediate concern however is the Sizzle spell it uses often, this combined with the Hades Condors flame attack can cripple your party quickly. Make use of Serena’s Hymn of Fire and Veronica’s Magic Barrier to reduce the damage and then get to work on dealing damage.
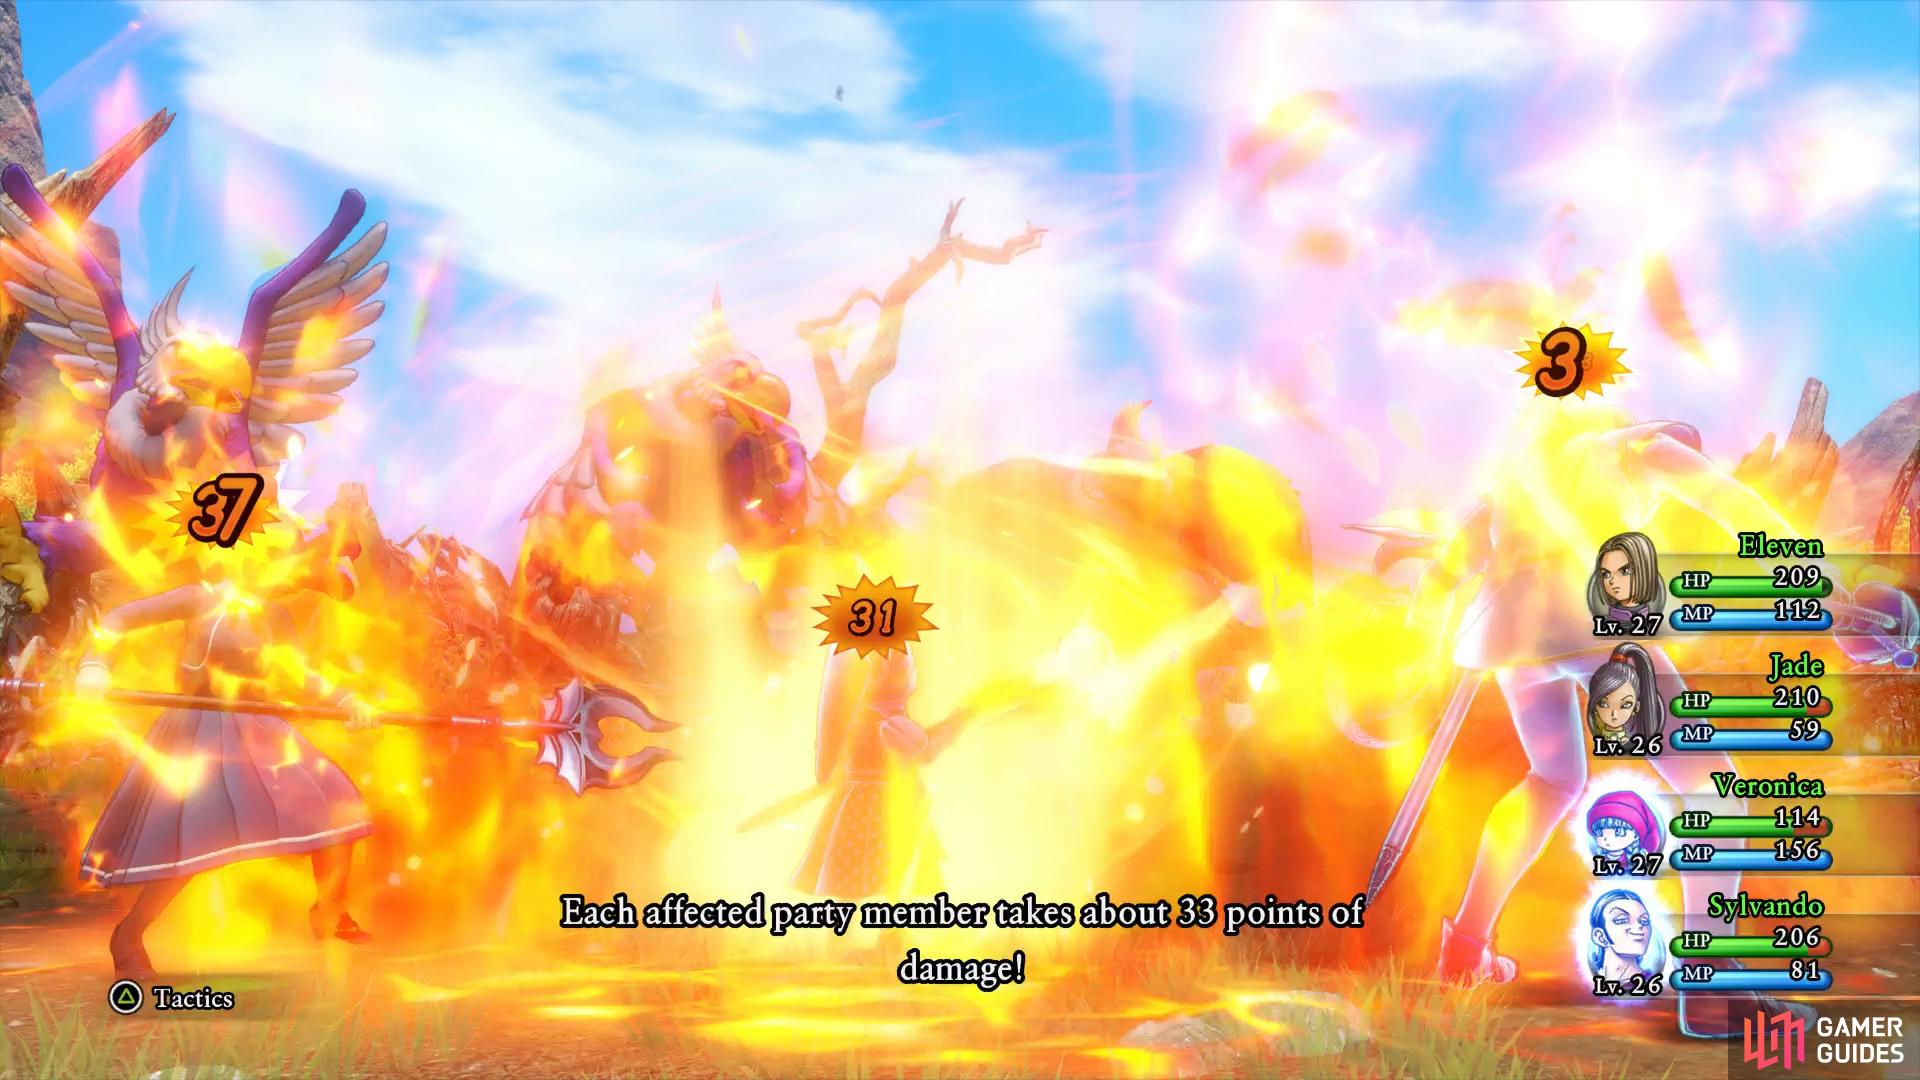
Sizzle is deadly if you don’t manage to put up Magic Barrier and you suffer a Critical Hit
you’ll need to keep up the damage as the Elysium Bird will cast Multiheal.
The Hades Condors should be your first priority, they don’t have much HP so any hard hitting attack like Frost Fangs (especially if you’re using a Platinum Blade) and Crackle are useful here. If Veronica is Level 29 then she will have learnt Boom, make use of this to deal huge damage to the entire enemy party. Finally, Jade’s Harvest Moon skill is devastating against these flying beasts, especially with Oomph on her. The Elysium Bird can heal itself for around 100 HP so you’ll need to be consistent in dealing regular damage if you wish to take it down.
Upon defeating the Elysium Bird, head over to the final chest, your main objective awaits inside, the Silver Orb. With your new Orb in hand, Zoom back to L’Academie de Notre Maitre des Medailles and head up the stairs to report your success with Quest 20 to obtain an Uniforme de l’Academie. Finally, report to the Principal, you should have enough Mini Medals for the next reward, a Falcon Blade. Your next destination lies to the south of the school, use the Zoom spell to reach the southern camp of The Champs Sauvage region and head north to the nearby town.
No Comments