
The party returns to Arboria following their success to pay tributes to their fallen friend, Veronica. Enjoy the following party and when you’re ready, attempt to leave Arboria. Erik will stop you and give you a hot scoop on where adventure may wait.
Open your map to discover a number of places with events, these are all option but offer scenes you won’t want to miss. You can view them in any order you like but when you’re ready to push the plot forward, Zoom to the Camp in Dundrasil.
Dundrasil Region
Make your way through the northern pass and head east to reach the Octagonia area. Head south from here to find some Mysterious Ruins, the ones that Erik suggested back in Arboria. Make your way into the center of the ruins to find a strange painting as Rab reveals the contents of a book he’s been reading from the Watchers. The sticking point from it however is the extract which suggests there may be a way to bring back a loved one from death, one you’ve just happened to have lost yourself.
Head up the ramp when you regain control to and loot the Sparkly Spot containing an Ethereal Stone before continuing your search to the west where you’ll find the missing Wheel of Time. Call on Cetacea and fly to the only place you’ve yet to land, a tower to the north of Yggdrasil.
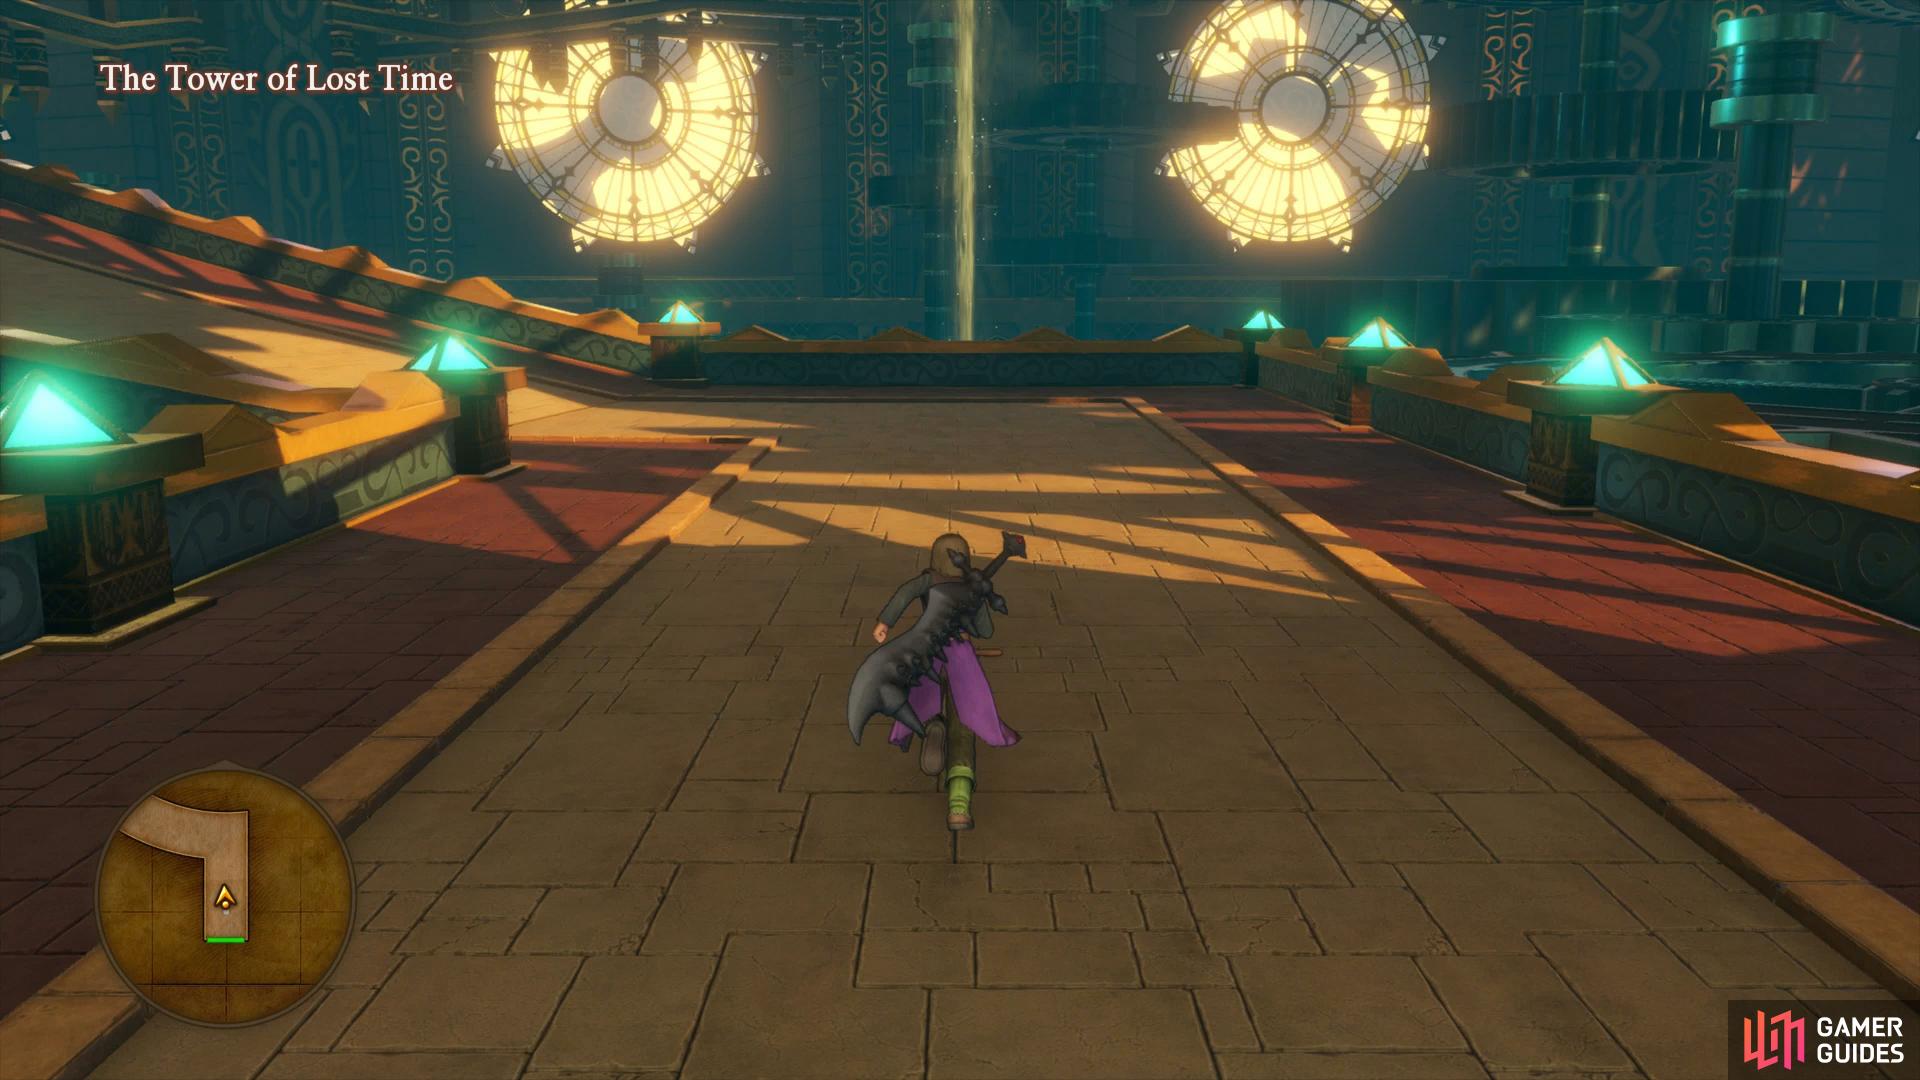
The Tower of Lost Time
| Items | Area |
|---|---|
| Good Godly Gear | The Lost Land, chest |
| Agate of Evolution | The Tower of Lost Time, south, chest |
| A Hero’s Book of Basic Weapons | The Tower of Lost Time, before final cog, chest |
| Sparkly Spots | Area |
|---|---|
| Technicolour Dreamcloth | The Lost Land |
| Colourful Cocoon x2, Glimmergrass | The Lost Land, Flower gathering point |
| Chronocrystal | The Tower of Lost Time |
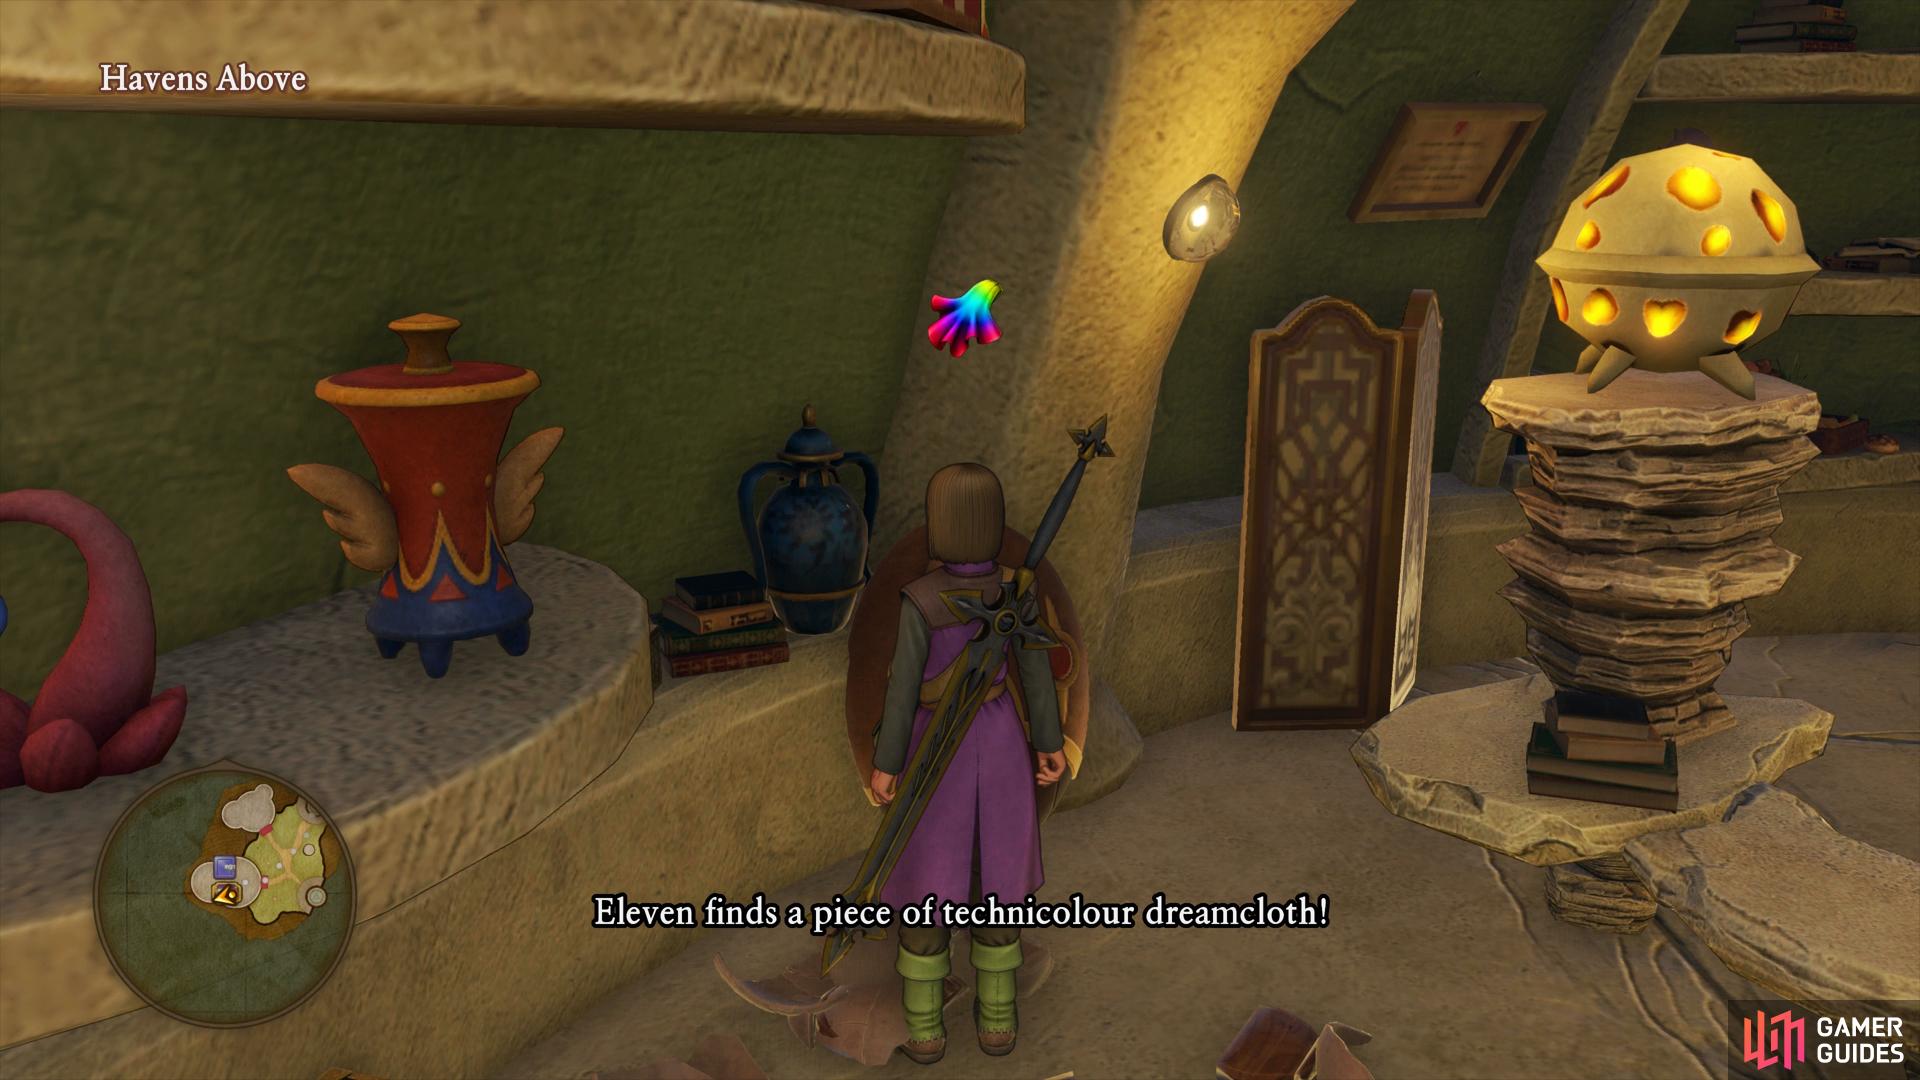
Follow the path north, looting the Sparkly Spot along the way containing a Technicolour Dreamcloth and search to the east to find a Flower gathering point containing a Glimmergrass and two Colourful Cocoons. Head around the back of the tower to the northwest to find a chest containing a Recipe Book, Good Godly Gear. Return to the entrance of the tower and head over to the door, using the Wheel of Time to gain access.
Follow the path up using the first cog and then head south to find a Sparkly Spot containing a Chronocrystal. Continue to follow the path south, taking the next two cogs, to reach a chest containing an Agate of Evolution. Return to where the path split and take the northern cog this time, heading south to another chest containing a Recipe Book, A Hero’s Book of Basic Weapons. This book will allow you to forge the evolution weapons to their next stage such as the Poker, Stardust Sword and the Bad Axe. Follow the path north to the top to reach the Altar of Ages.
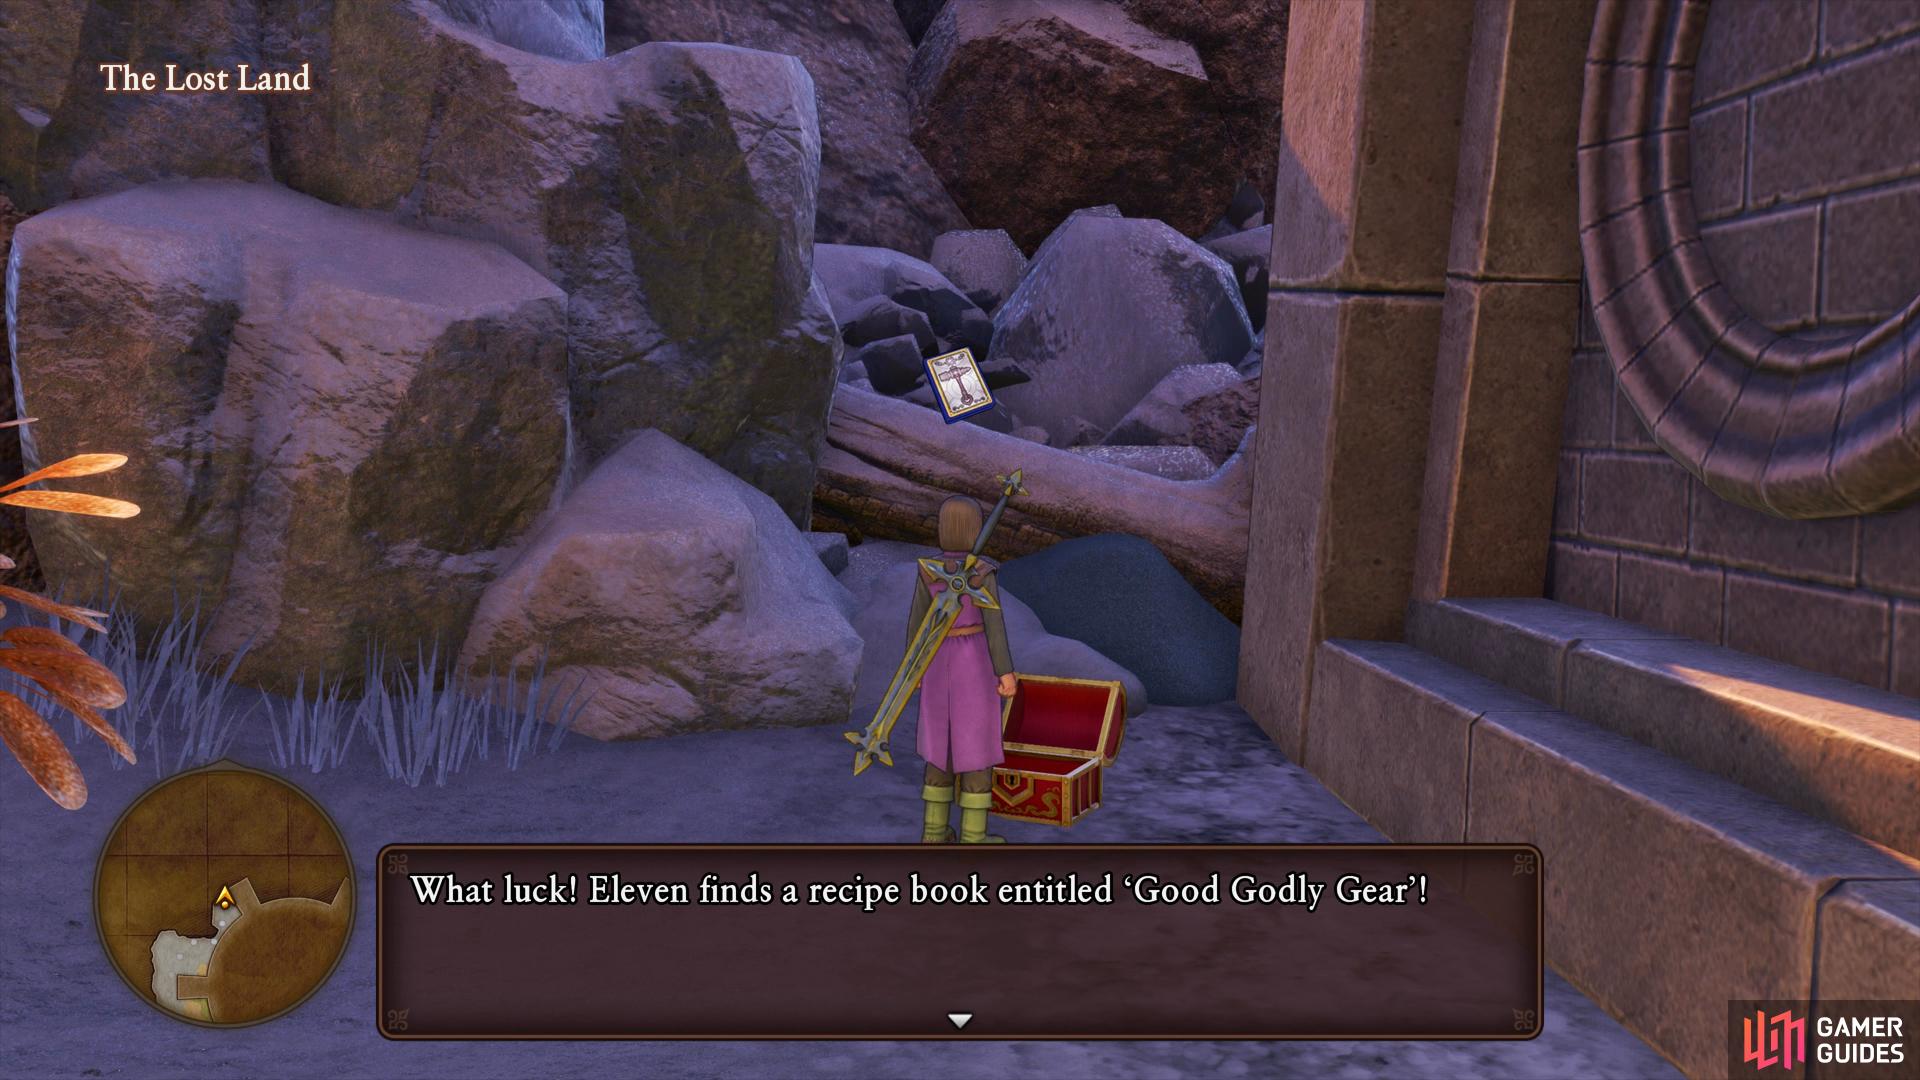
Search around the back of the tower to find this hidden chest
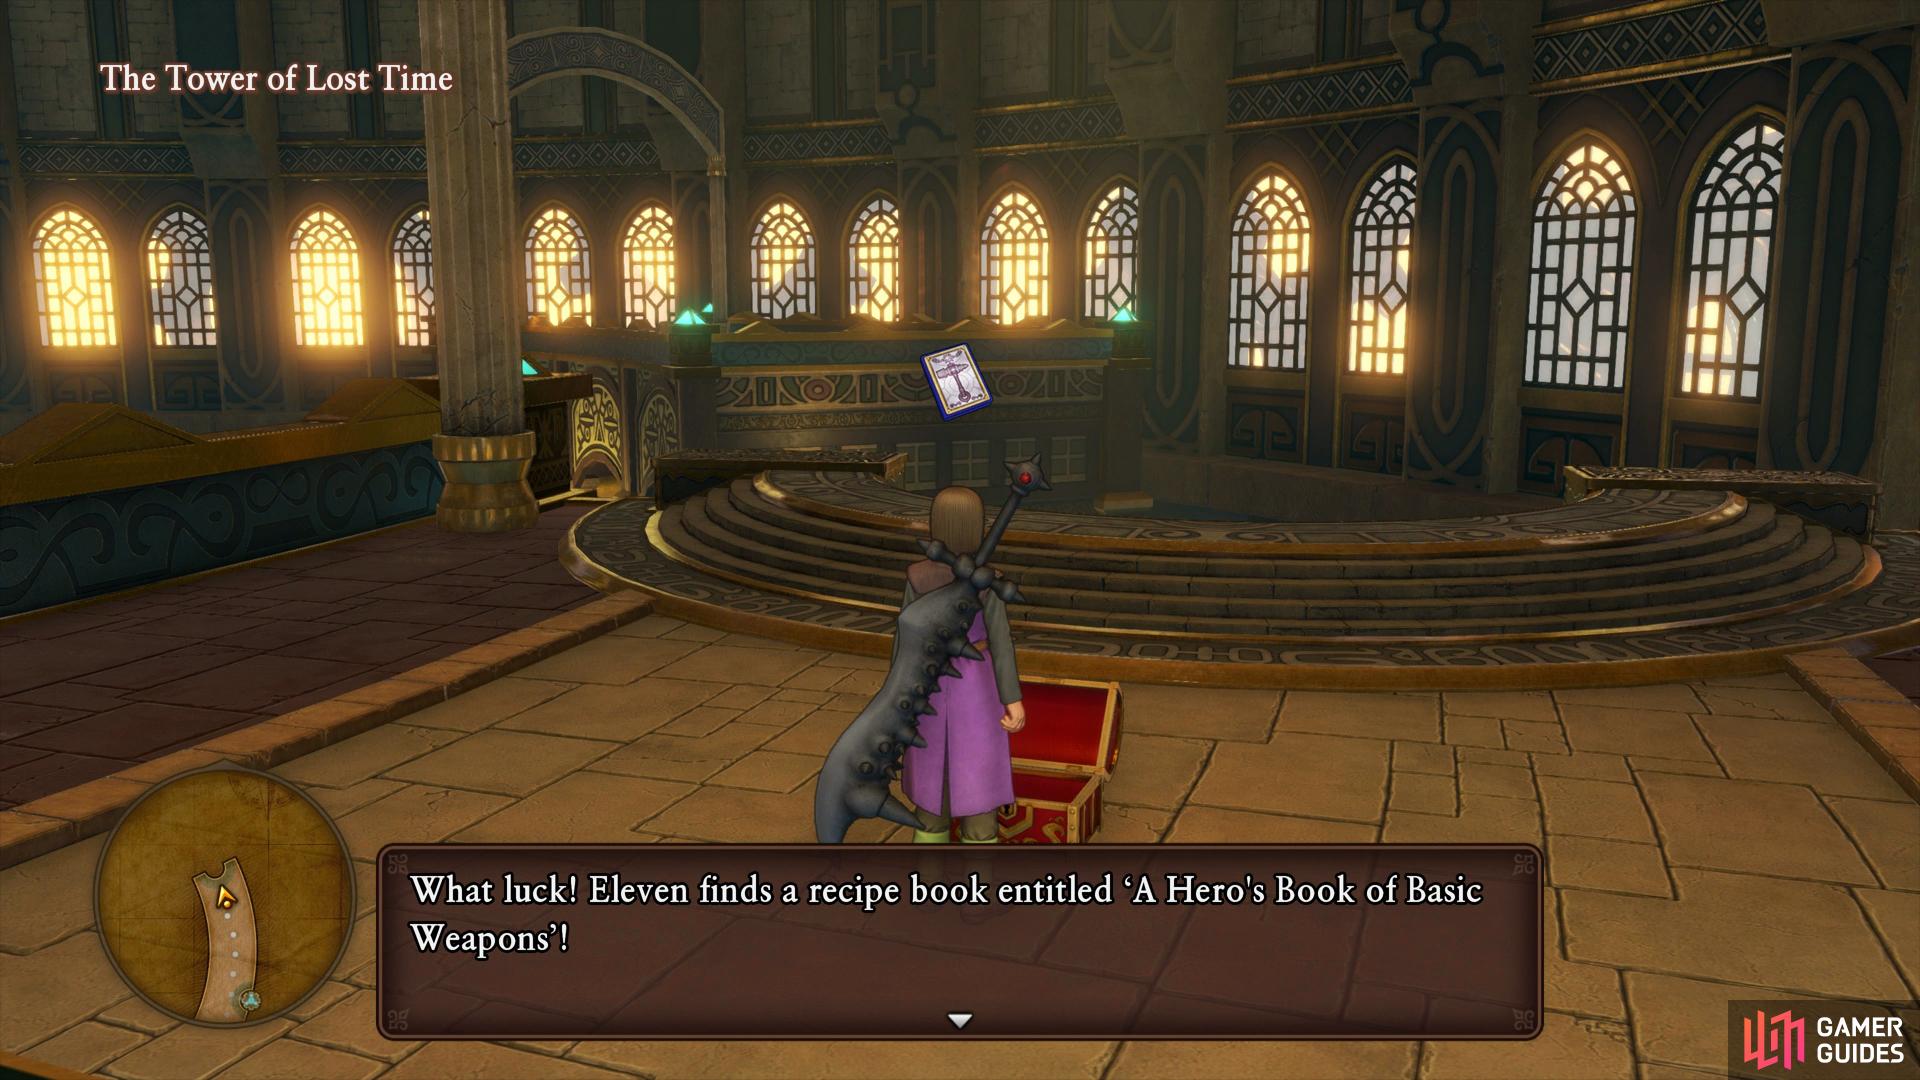
this Recipe Book will allow you to upgrade your Evolution weapons.
Head forward and speak to the large spirit in front of you to learn that in order to bring Veronica back, you must turn back time itself, back to the day that Yggdrasil fell. You also learn that only the Luminary has this ability and in order to travel there, must leave his friends behind in your current timeline. You’ll have to decide if your willing to accept the terms.
Step forward and your companions will attempt to stop you, speak to all of them to hear their thoughts and then speak to Erik to agree to turn back time. You learn that your items and the Hero’s present state will survive the trip, with that in mind, step foward and shatter the Time Sphere.

A Momentous Decision
Awarded for making a difficult decision at the end of an already long and arduous quest.

10
Arboria
You’ll find yourself back in the Arborian Highlands with the Sword of Shadows having survived the trip. Head up the stairs and make your way into the Cathedral to find Veronica praying to her ancestor, Serenica. The rest of your companions enter, remarking that you went missing for a short while.
Take a look at your party, you’ll see that they’ve reverted to the state they were in the first time you made your journey to the First Forest. Don’t panic, following the main plot for a little will restore their levels to you. Do however, equip them with the gear they were using when you finished Act II.
The First Forest and Yggdrasil
Make your way back through the Arborian Highlands, looting the chest to the north containing a Mini Medal along the way. The First Forest is unchanged and there’s no need to waste your time fighting battles to increase your level. Instead, follow the path to the altar at the top and use the Orbs to gain access to Yggdrasil again (don’t forget the Mini Medal behind the altar).
Be sure to loot the Yggdrasil Dew and Superior Medicine on your way to the heart of Yggdrasil. As Jasper attempts to ambush the party once again, the Hero has other plans, this time things will be different.
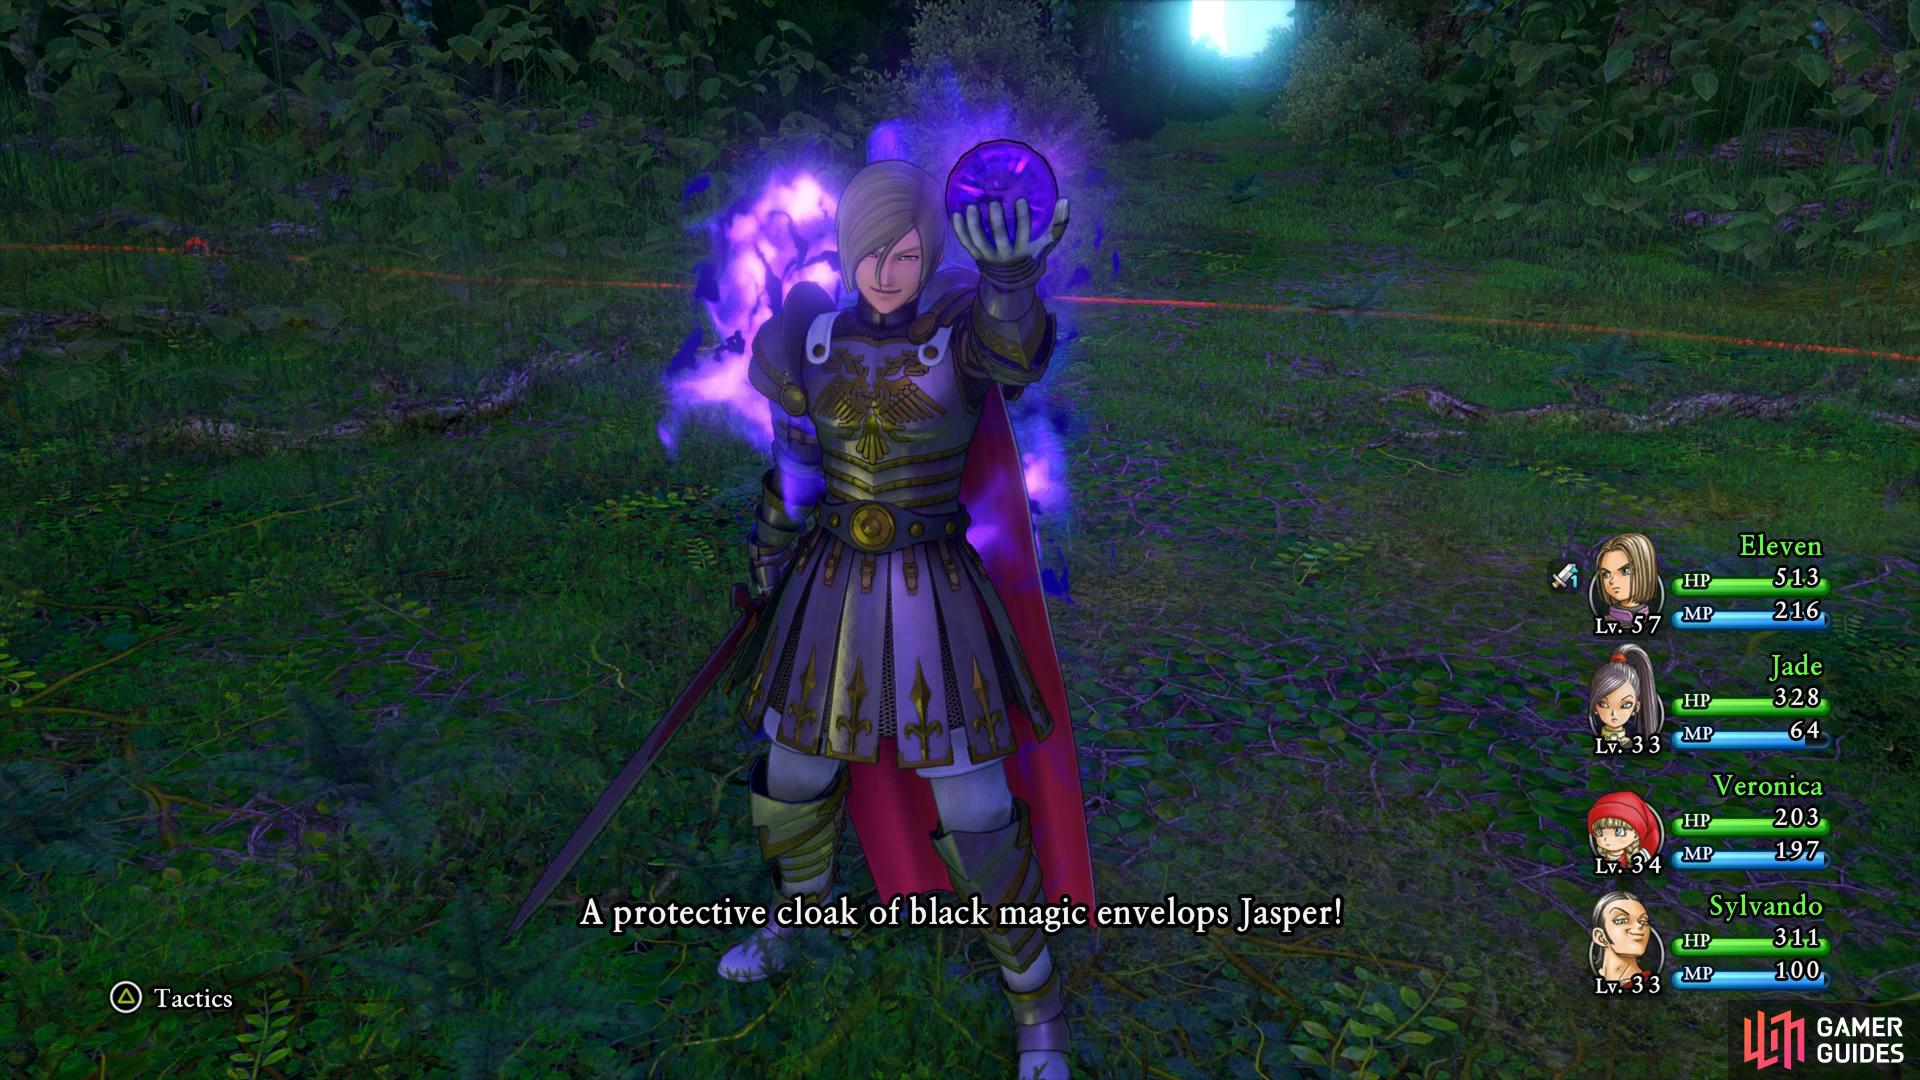
If Jasper uses the Orb to cloak himself
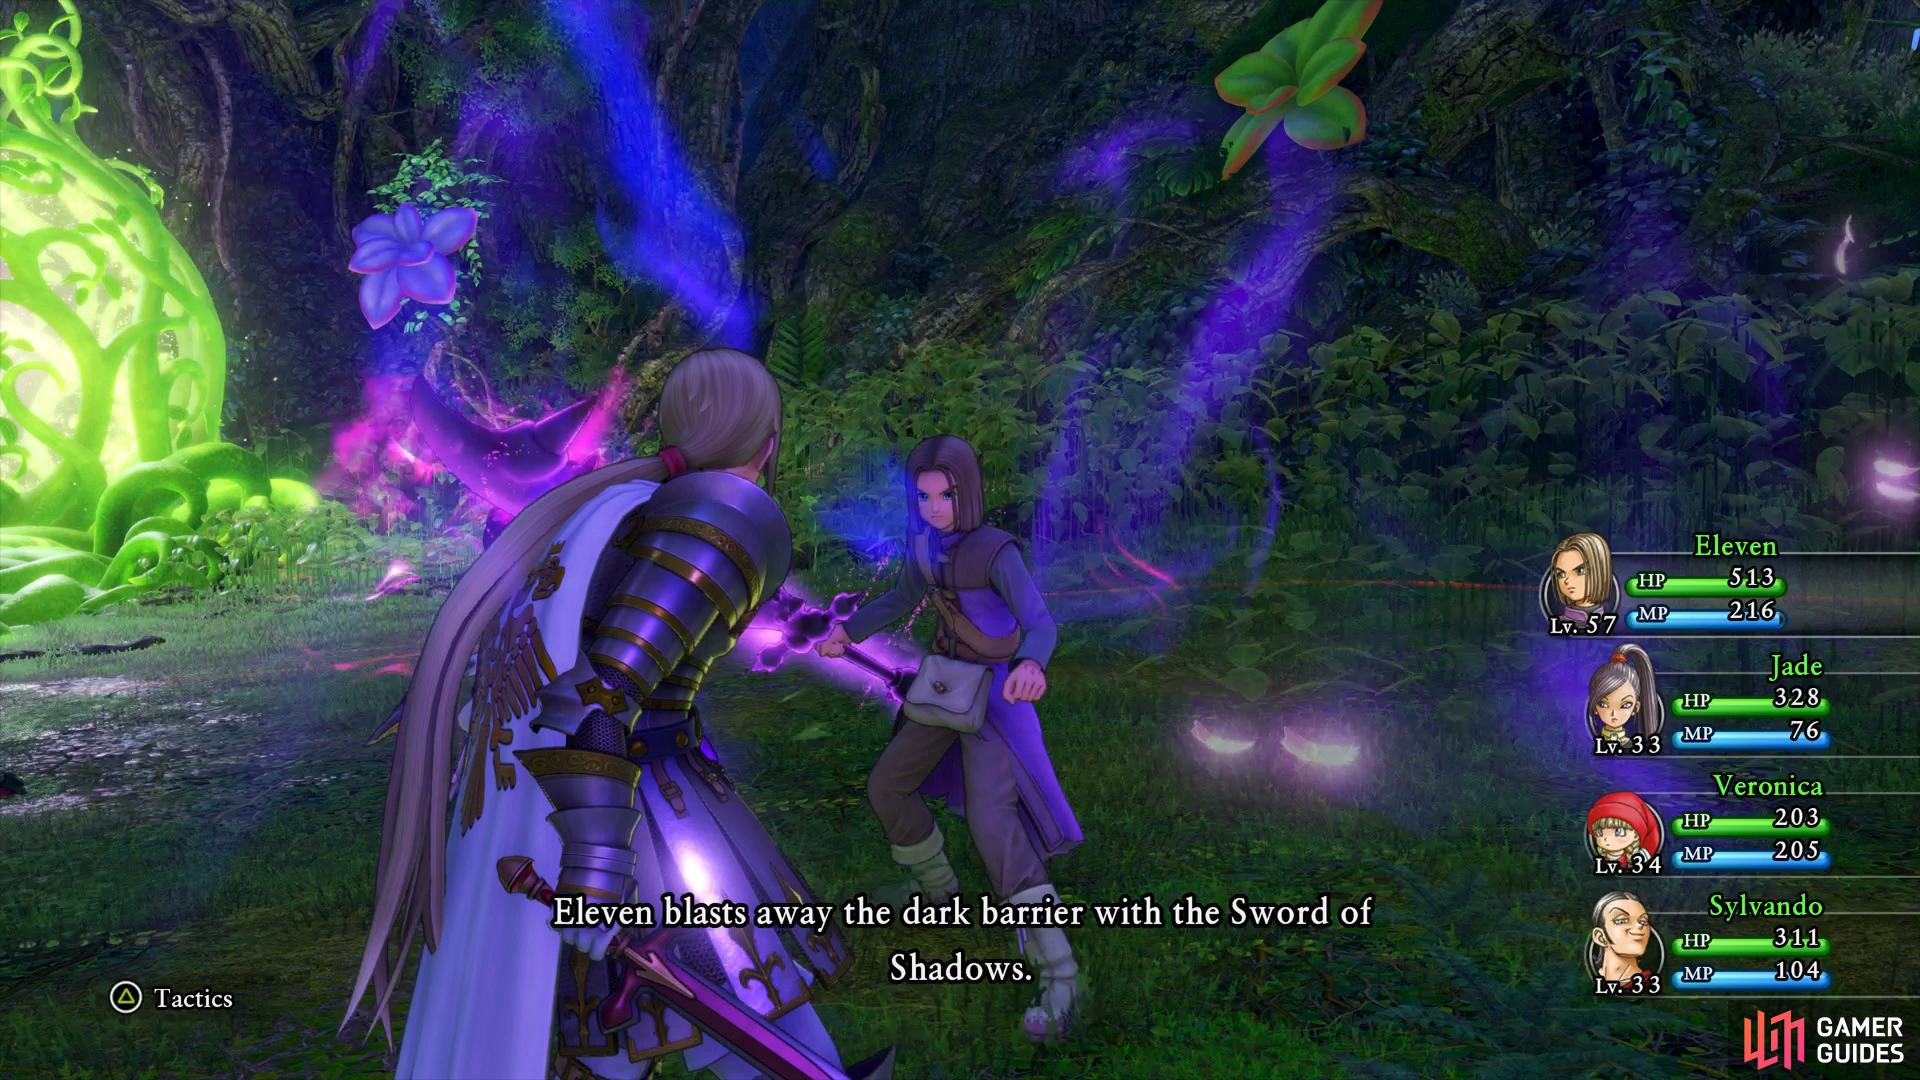
you’ll need to dispel it by attacking with the Hero.
This time you can win the battle against Jasper although with your current equipment and Level of the Hero, it’s hardly a fair fight. Have the Hero use Sword Dance, this should be hitting for at least 550 HP and Jasper only has around 2055 HP. Make sure Sylvando keeps your HP up and any other party member can chip in with damage. If Jasper uses his Cloak from the Orb then you’ll need to attack with the Hero to pierce it before the others can deal damage to him.
The following events take a different direction than the previous time you were here at Yggdrasil. With Jasper defeated, the King of Heliodor wishes to thank the party and invites them back to the Castle to celebrate.
Heliodor Castle
| Items | Area |
|---|---|
| Seed of Defense | Bottom Floor, kitchen side room, barrel |
| Mini Medal | Bottom Floor, kitchen side room, barrel |
| Mighty Armlet | Bottom Floor, Hendrick’s Quarters, chest |
| Boxer Shorts | Bottom Floor, Hendrick’s Quarters, wardrobe |
You can’t go off exploring just yet so for now, head up the stairs and enter the Throne Room. You’ll be reunited with the people from Cobblestone and the festivities will begin. When you regain control, exit through the northern door and through the eastern door to find some barrels to smash containing a Seed of Defense and a Mini Medal.
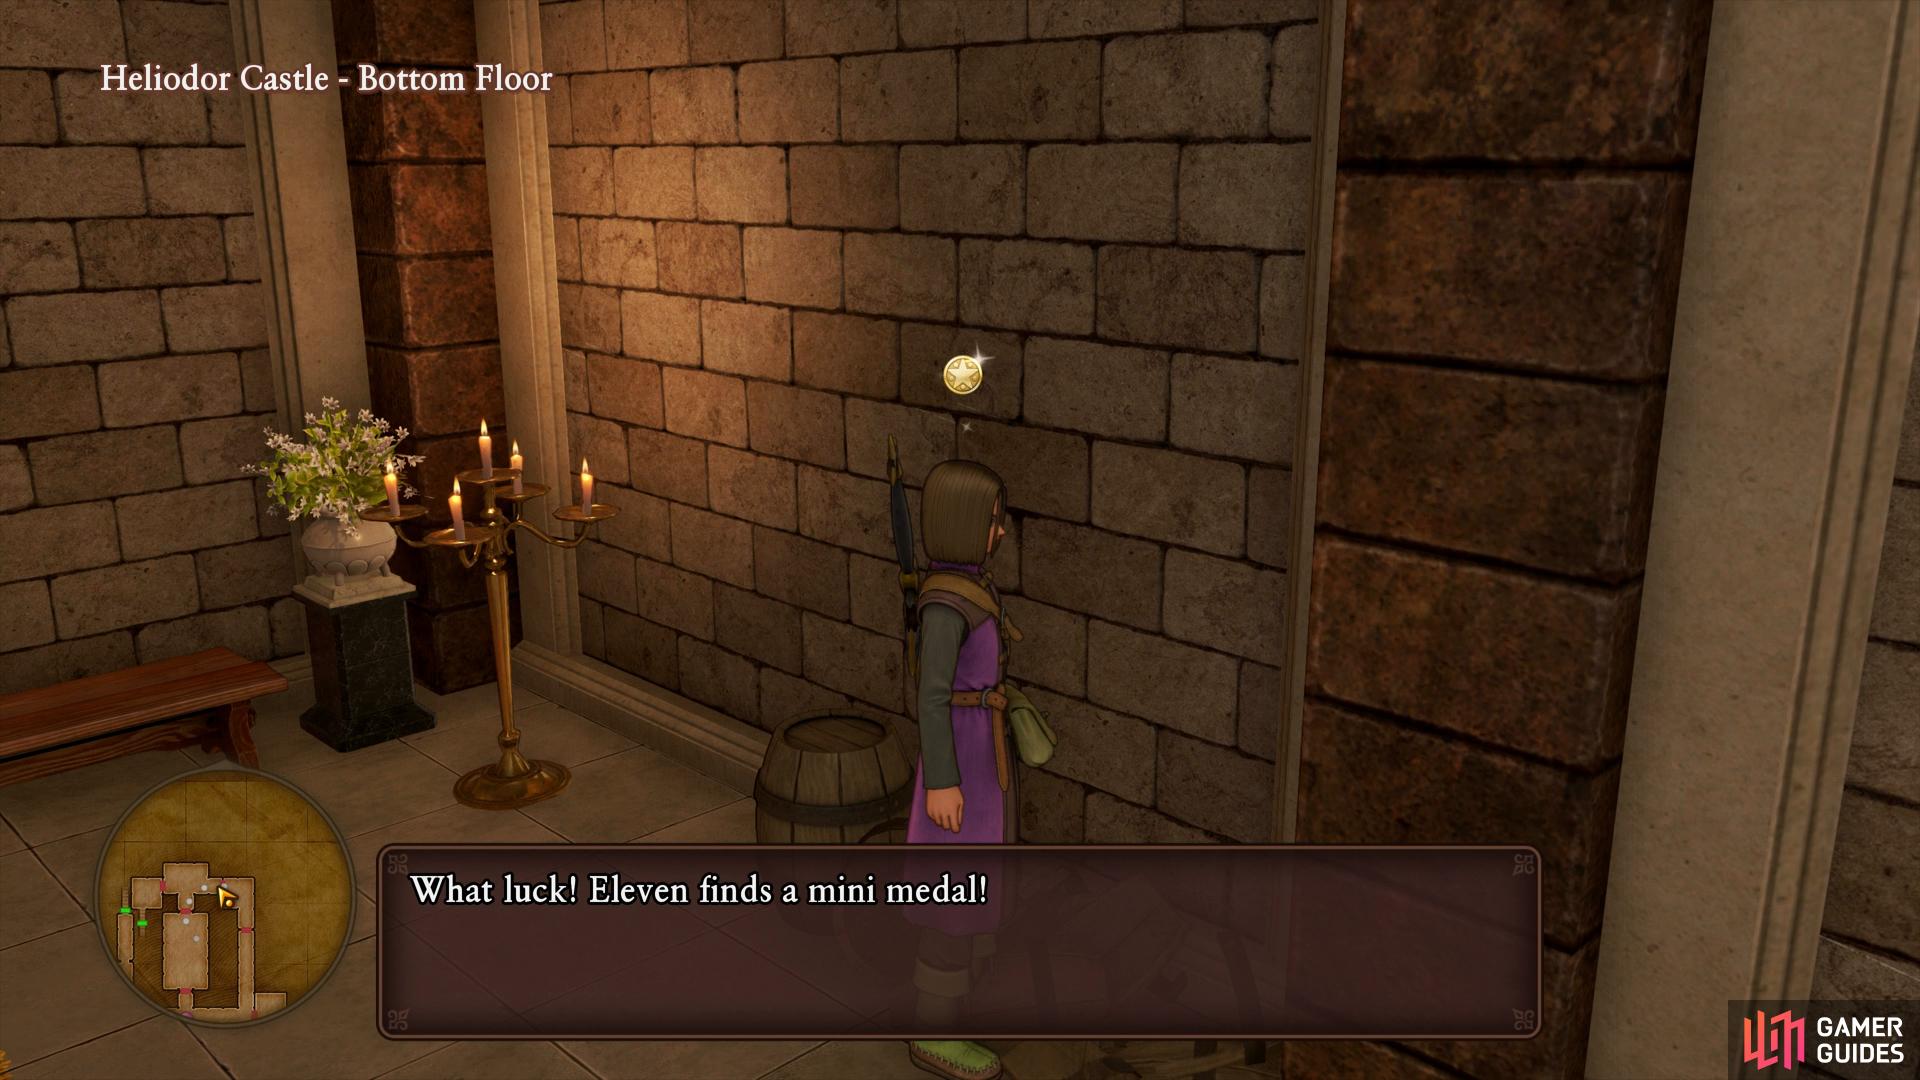
Be sure to loot a Mini Medal in the side room from the Kitchen
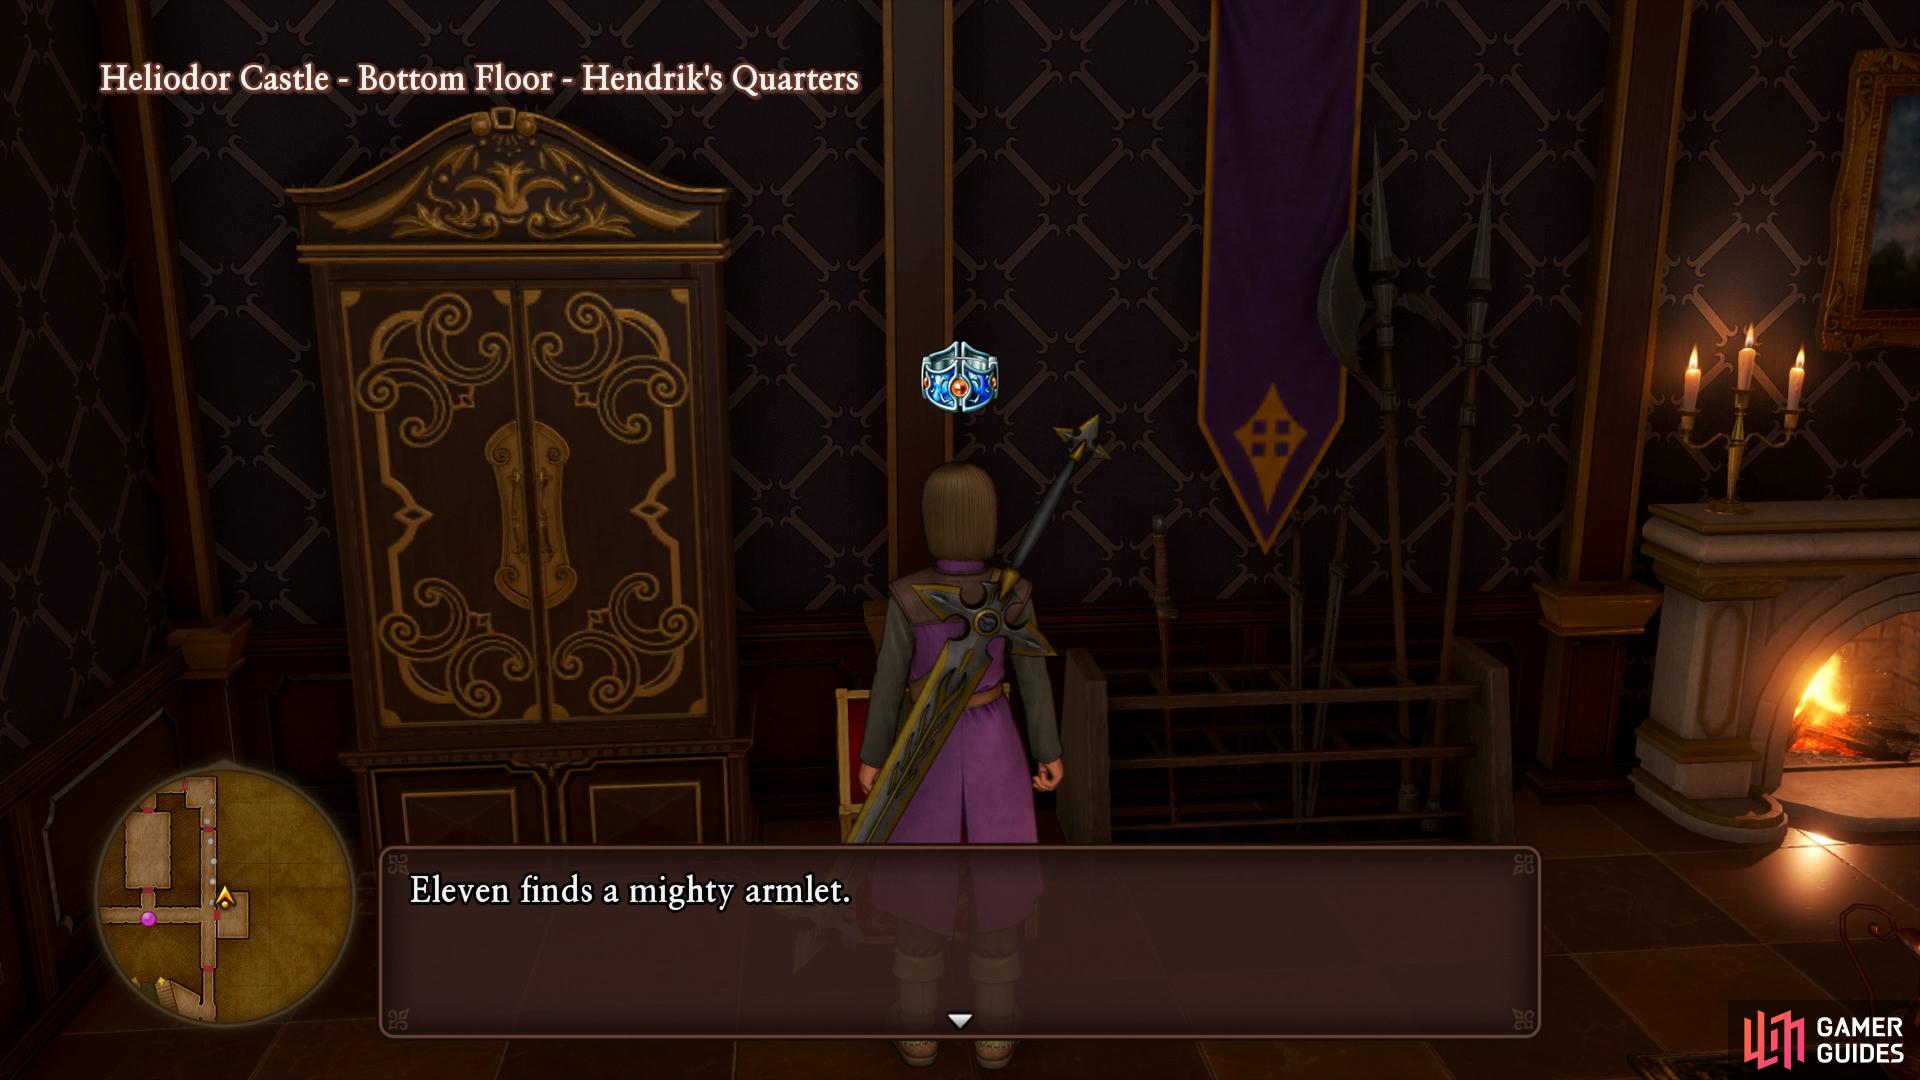
while you’ll find a Mighty Armlet in Hendrick’s room.
Head down the eastern corridor and search the first room you come to, there’s a chest here containing a Mighty Armlet along with a wardrobe containing a pair of Boxer Shorts. Make your way up to the Middle Floor and head to the Guest Chambers to rest up. The King returns to your chambers to attempt to steal the Sword of Light once more as another black Spirit prevents him again. Be sure to use the Priest nearby to save your game and then head into the Throne Room to unmask Mordegon once more.
Boss: Mordegon

You’ll be fighting Mordegon in his original form this time and he has some new tricks up his sleeves. To begin with, he will summon Staves to attack you, ignore these unless you’re using abilities that hit all enemies, Mordegon only has 2500 HP. He’ll use spells such as Kazam and Zammle to deal heavy dark damage along with regular attacks. His most interesting ability however is Purple Mist, this will reverse the effects of healing spells and other beneficial effects so make sure you don’t use any healing spells until it disappears.
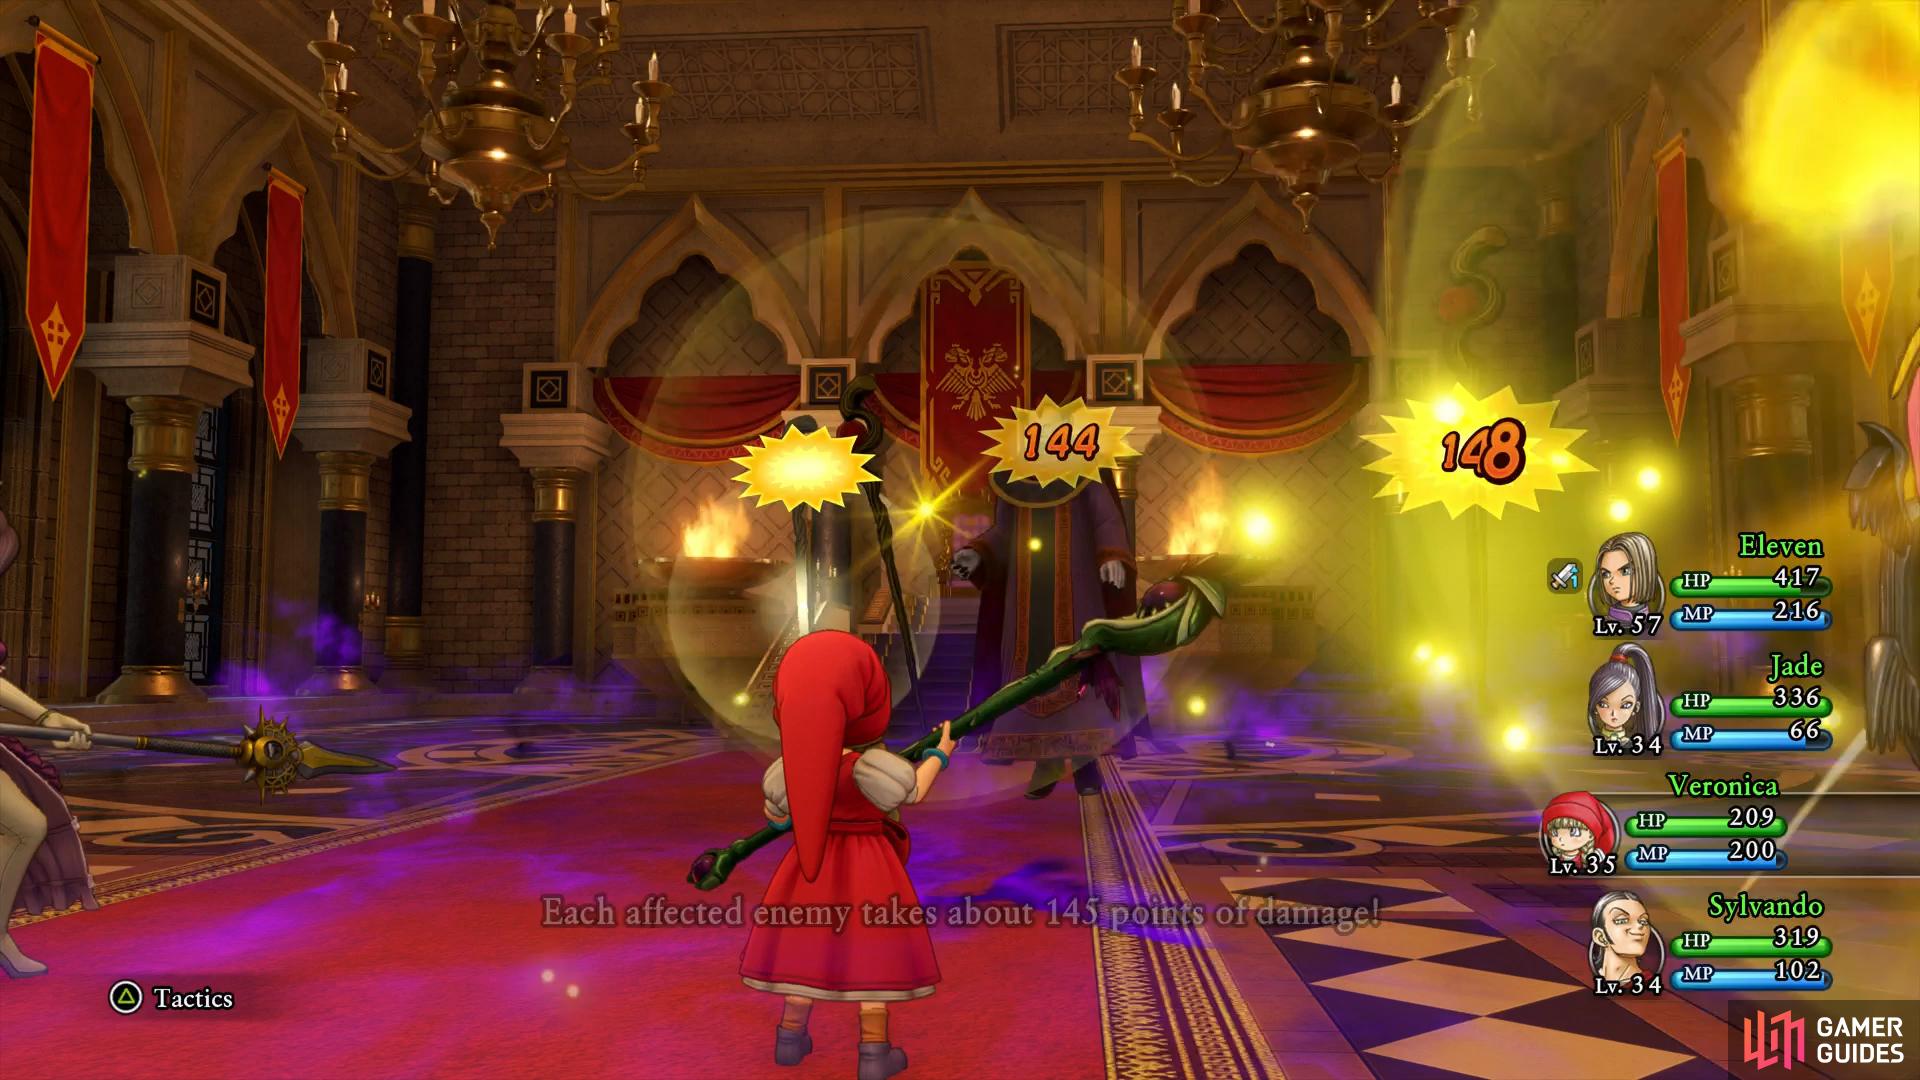
Boom is useful to hit all of the enemies for large damage
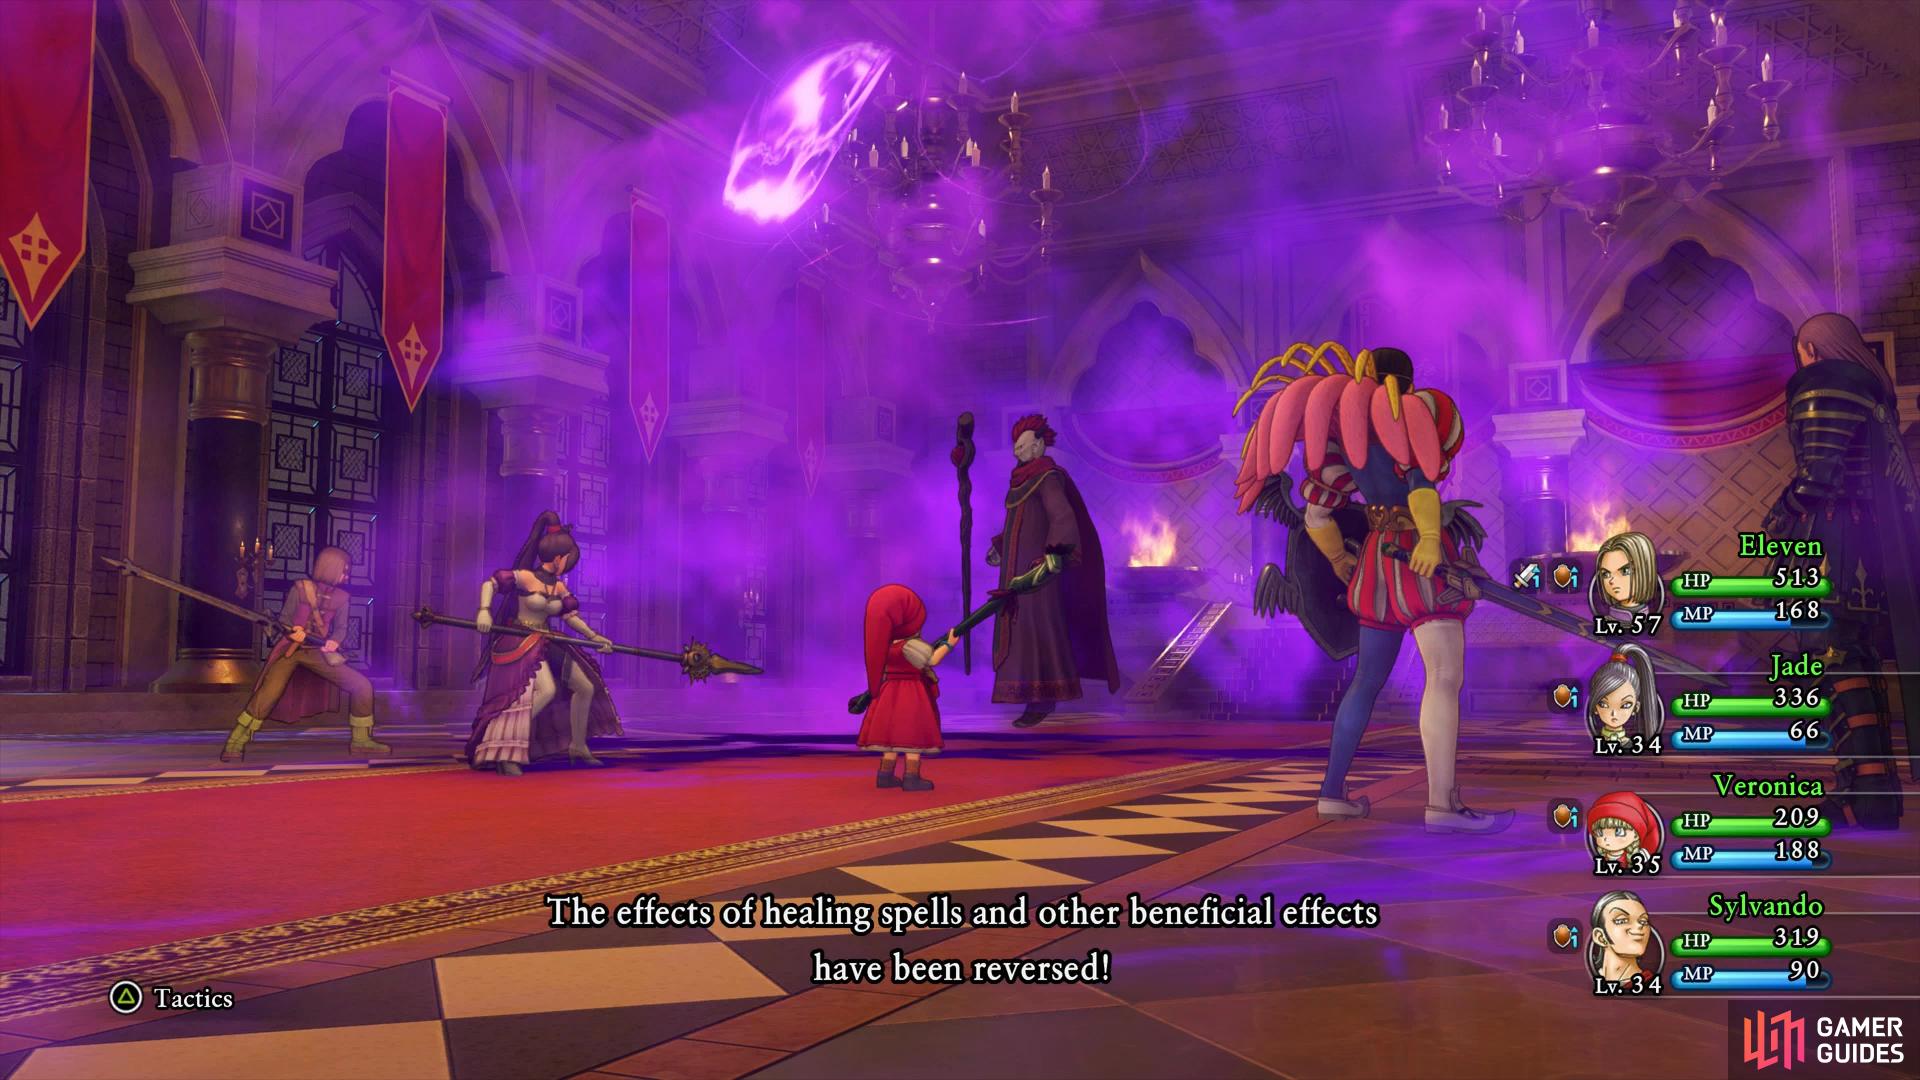
stop healing while Purple Mist is active.
Hendrick joins as a guest for this battle and will occasionally use Kabuff and other useful support skills. The Hero will be your main source of damage, have Sylvando or Veronica Oomph him and then use Sword Dance or Unbridled Blade. Veronica is also useful for Boom when the Staves are out as is Jade for Multithurst if you have it unlocked.
Mordegon is vanquished at long last however he leaves a cryptic message behind before his death, that you may not be the only one to meddle with time.

The next morning, make your way back to the Throne Room and speak to the King. As you enjoy your victory, a guard rushes in, screaming about Erdwin’s Lantern. Make your way up to the Top Floor and out to the balcony to witness some major events. Hendrick will rejoin the party at this point and you’ll have a new task on your hands. Save your game and exit the castle to begin your journey back to the Emerald Coast.
As you travel through the Heliodor Region to reach the Emerald Coast you may have noticed that many monsters now have green eyes. The previous Vicious monsters have now been replaced with even more deadly Malicious variants. Likewise, killing any Malicious monster will unlock its regular and Vicious variants in the Bestiary.
As the party looks on at the ominous presence in the sky, the Seer appears before them once again and leaves a cryptic clue. Veronica hands over the Calamus Flute which allows you to summon Cetacea once more to fly into the skies. Fow now, fly back to the floating island in the northeast and land.
Havens Above

| Items | Area |
|---|---|
| Technicolour Dreamcloth | Inn, pot |
| Saint’s Ashes | Southeast island, barrel |
| Sainted Soma | Outside Item shop, pot |
| 100G | Item shop, pot |
| Perfect Panacea | House west of Church, barrel |
| Ultimate Key | Place of Legends, chest |
Havens Above looks completely different in this timeline now that Mordegon never destroyed it. Head west around the outer ring and take the platform over to where the Inn is located, you’ll find a pot inside containing a Technicolour Dreamcloth. Take the eastern platform on outer ring now to reach the southeast island. Head inside the house here to find some barrels containing a Saint’s Ashes and then take the northern platform.
Search behind the bush to your east to find a pot containing a Sainted Soma and then head into the Item shop to find a pot containing 100G. The shop here offers an assortment of useful equipment and materials but hold off on them for now unless you really need them, you’ll be obtaining a lot of Recipe Books shortly.
You’ll find many items in the pots and barrels around Havens Above
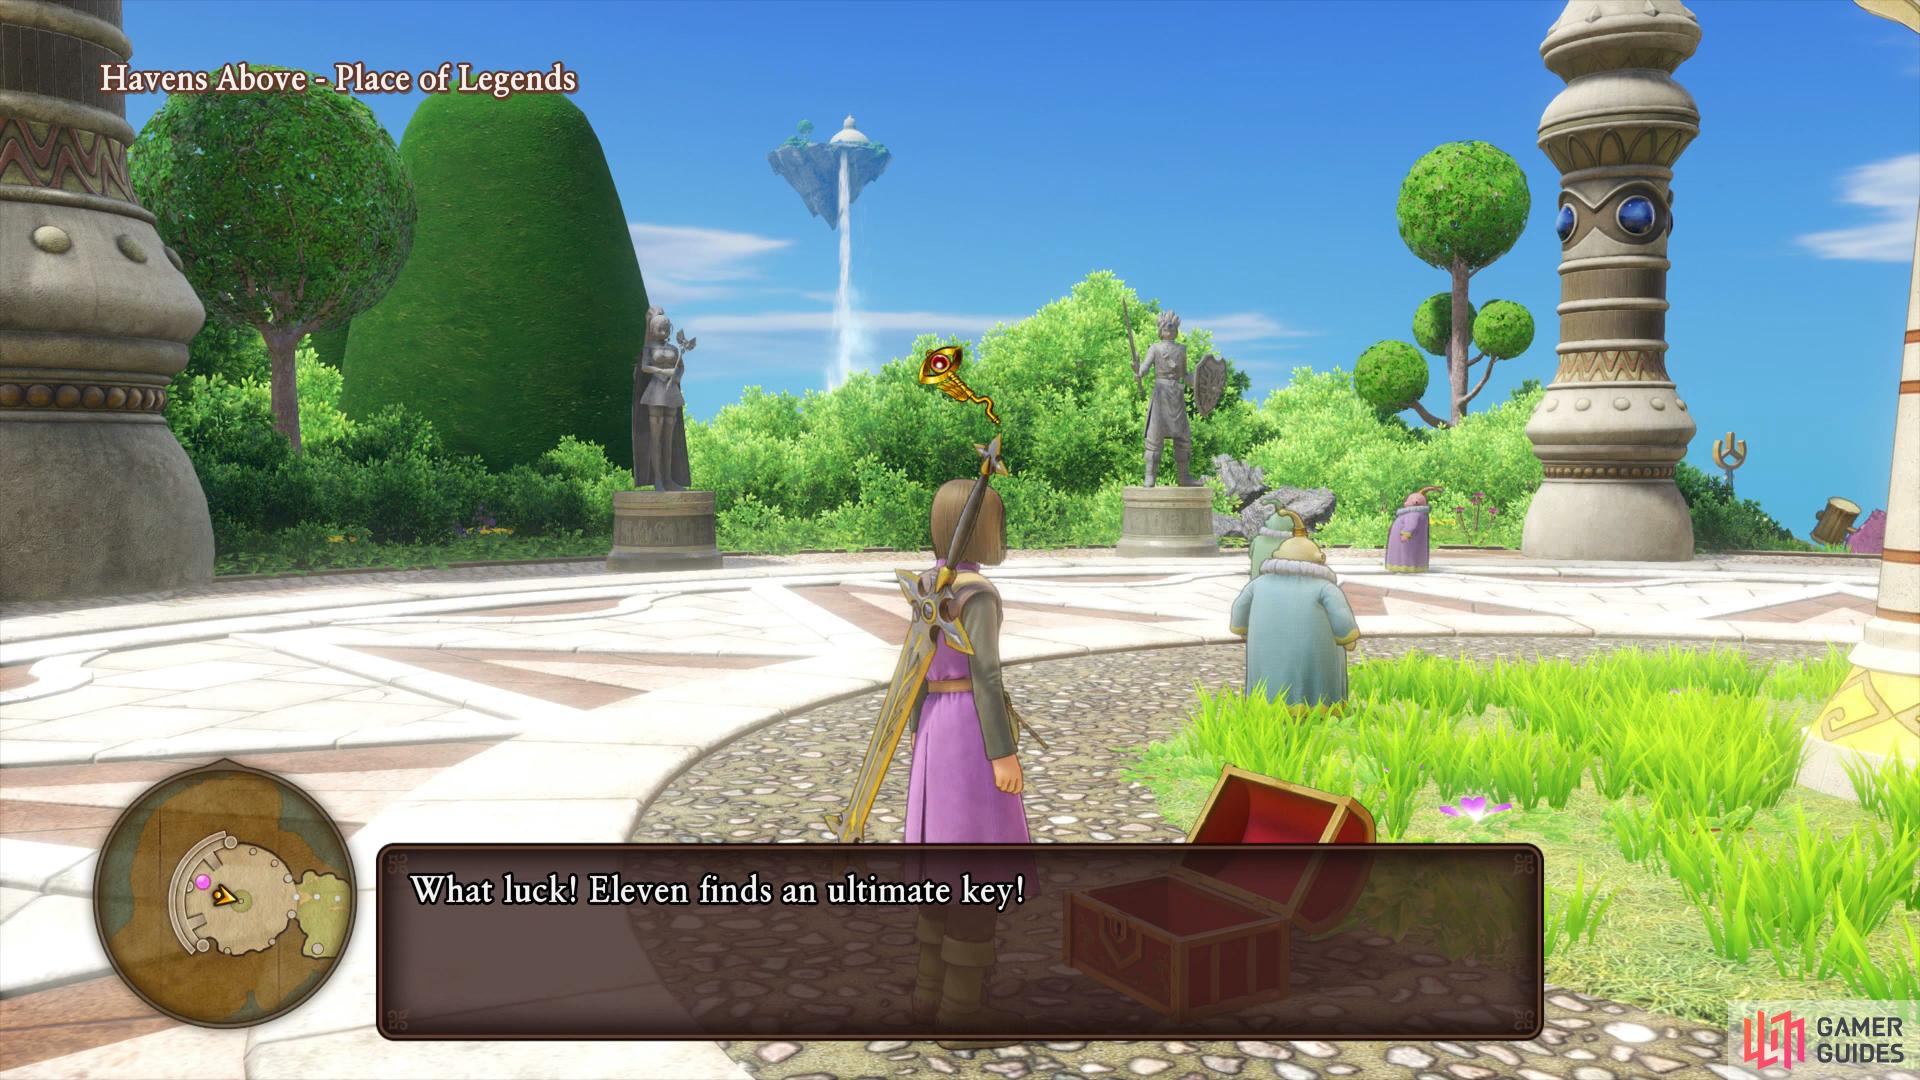
you’ll find the Ultimate Key at last in the only chest here.
Take the northern platform once more and head to the house west of the Church to find a barrel containing a Perfect Panacea. Follow the path west to reach the Place of Legends and speak to the Elder. Following the story of Calasmos and the Heroes of old, the Elder suggests viewing the Seedlings in the Temple of Dawn. Before you head there, loot the nearby chest to obtain the Ultimate Key which will finally let you open up all those locked doors you’ve seen throughout your journey.
Make your way to the Temple of Dawn and obtain the Guiding Light once more. The Elder will return and unlock your companions abilities, restoring their Levels to their previous state at the end of Act II along with all your Zoom destinations. The Hero will learn the Splitter series of abilities for Swords at this point and now is a good idea to take a look at your Character Builders again.
With the Hero, you should have unlocked Pep Up and Sword Dance by now and be working along to unlock Gigagash in the Swordsmastery tree. Erik should still be working on reaching the Dually Deadly passive found at the bottom of his Character Builder between Swords and Knives. Veronica should be heading towards the Mystery Panels in the Vim tree to unlock Kaboomle, Kafrizzle and Enchanting Echo. For Serena, work on unlocking Wand panels to unlock Grace of the Goddess and Divine Restitution.
Sylvando should learn That’s Amore, Pink Pirouette and Gold Rush before you save the rest of his remaining points for now. Relearn the important skills for Jade such as Lightning Thrust and Multifeet before working your way down to Crushed Ice. Ignore Lightning Storm and begin working your way through the Allure tree towards Pink Typhoon. Take Rab through the Enlightenment tree to the left and unlock Clear Your Mind followed by Kacrackle. Finally, Hendrick should stick with Axes a little longer (he’ll be switching to Swords when you obtain a certain one) and relearn the important Shield skills. You’ll want to pick up all of the Axe skills and then save any left over points.
Leave the Temple of Dawn and you’ll discover that two quests have become available here. Head to the southwest island first and speak to the Watcher there, agree to assist him to begin Quest 48 - Wisdom of the Warrior King. You’ll need to find four hidden tomes across Erdrea and in return, the Watcher will power up Hendrick’s Blind Man’s Biff ability.
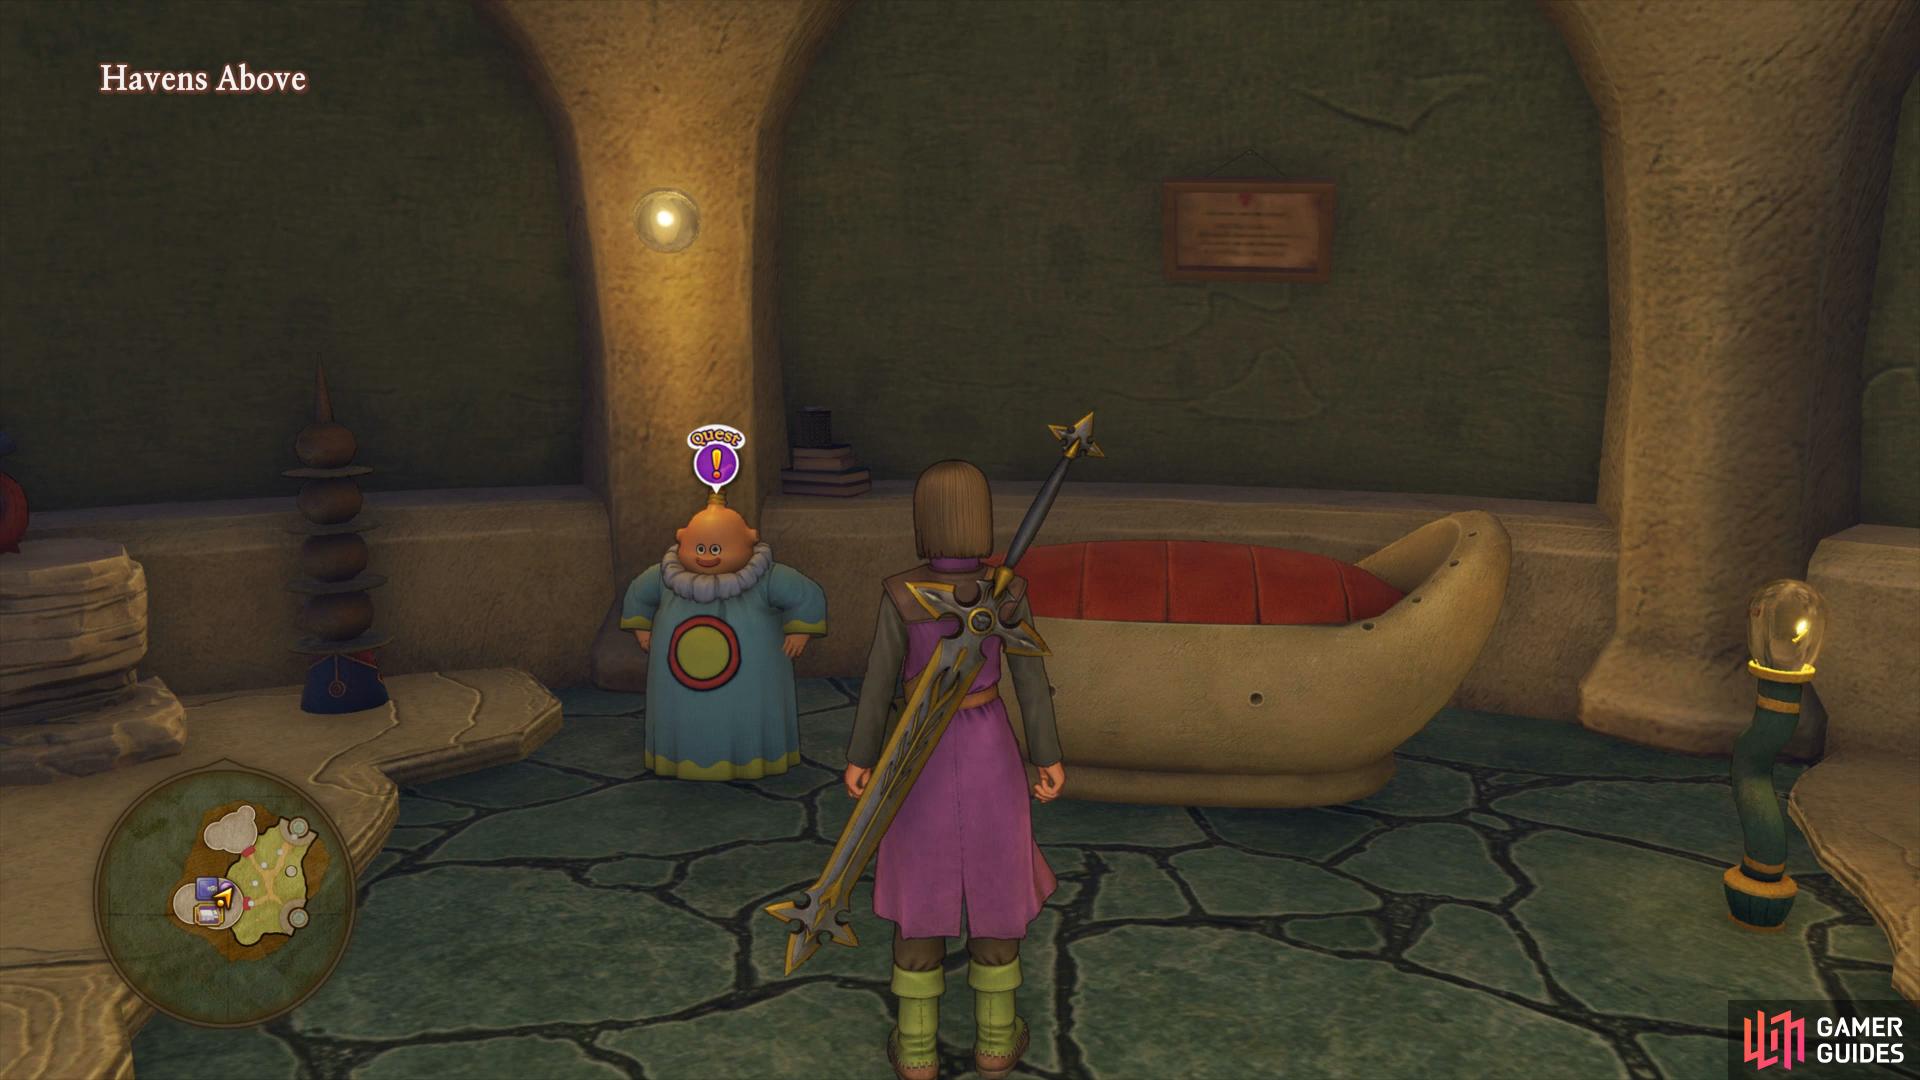
You’ll find a quest related to Hendrick in the southwest
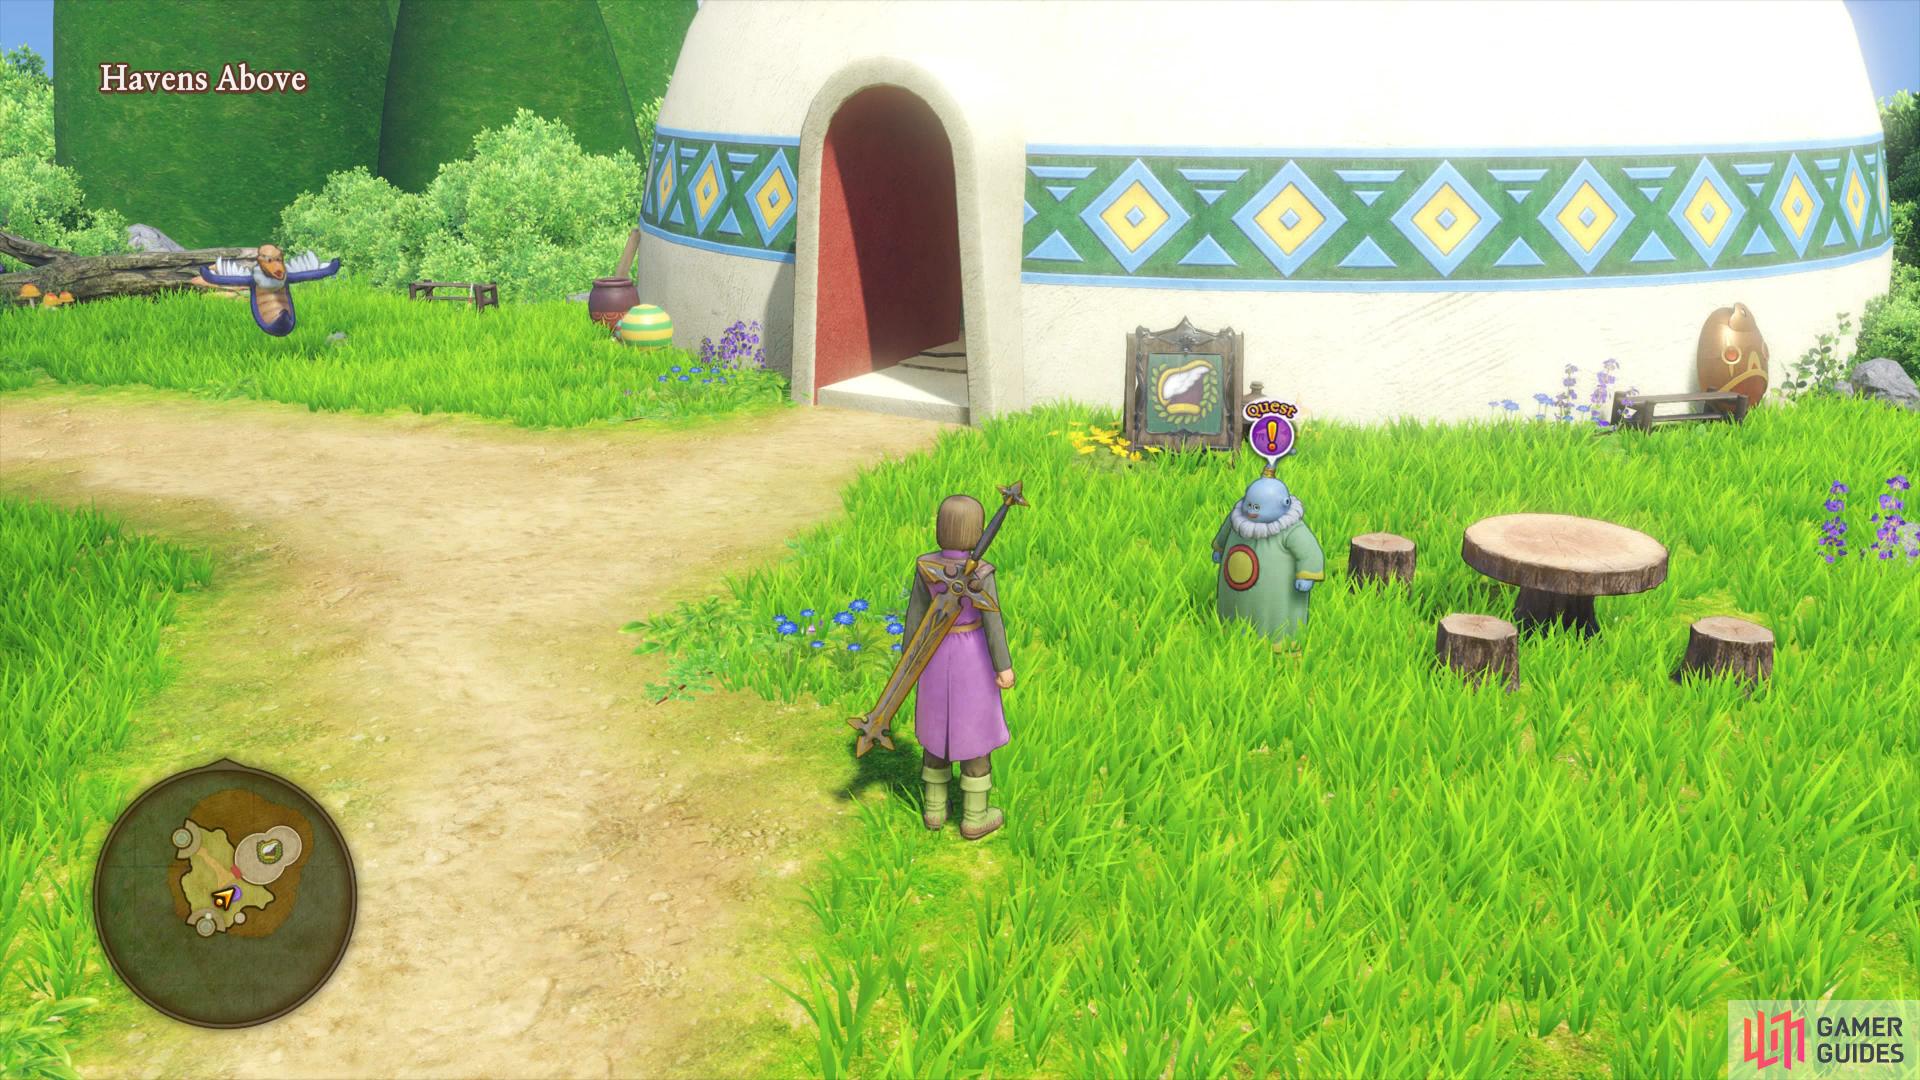
while a Serena related quest can be found to the northeast.
Make your way to the northeast island now and speak to the Watcher just outside the Item shop, agree to assist him to begin Quest 49 - The Holiest of Harps. You’ll need to defeat a difficult beast to obtain the required item however doing so will permanently increase Serena’s Magical Mending stat.
With that all said and done, your journey becomes completely open ended at this point. You have an objective but across all of Erdrea you will now find events with difficult bosses and great rewards, all of which will prepare you for the final battle. To begin with, it’s time to open the Ultimate Key doors and loot them for their goodies.
Quest 48 requires Hendrick to have learnt Blind Man's Biff (probably worth mentioning in the "heres how you build Hendrick" section immediately above, since it's not in one of the skill trees mentioned...)
Quest 48 requires Hendrick to have learnt Blind Man's Biff (probably worth mentioning in the "heres how you build Hendrick" section immediately above, since it's not in one of the skill trees mentioned...)