
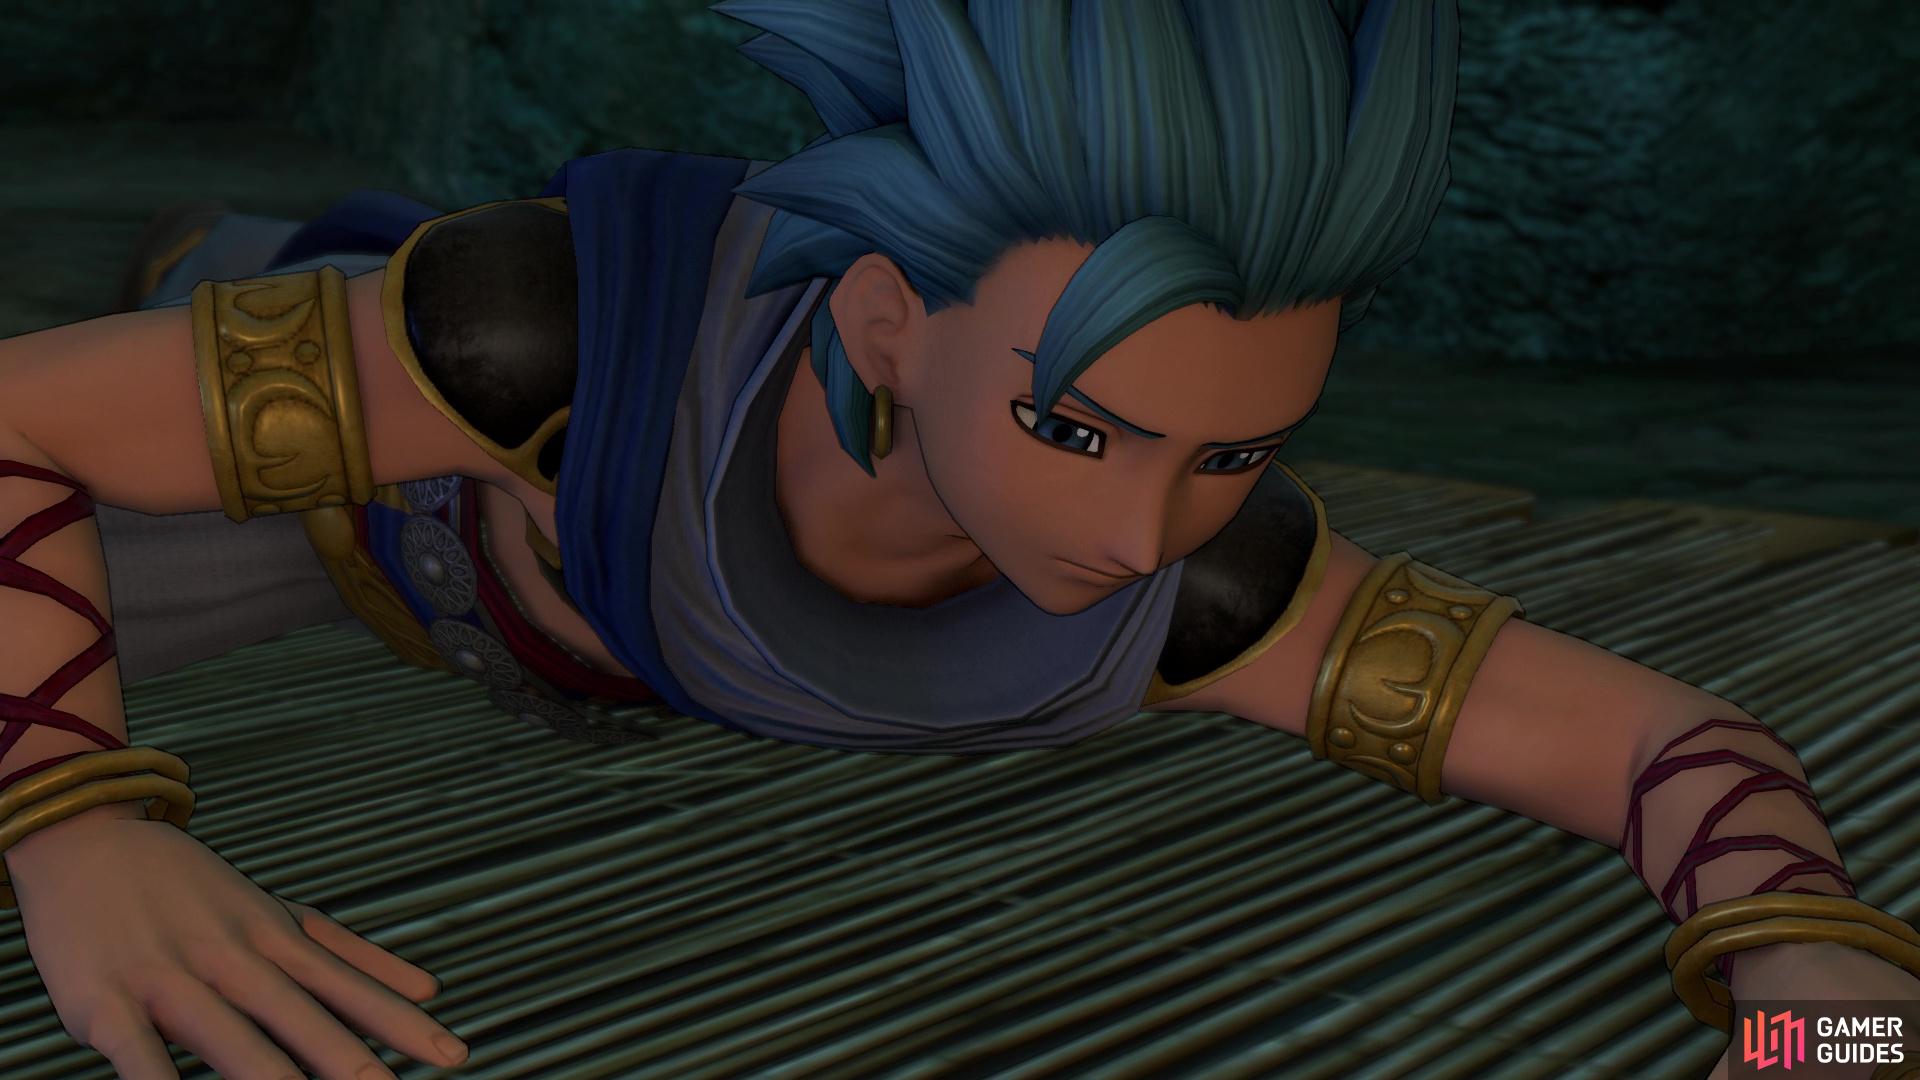
Erik wakes up in a cell and while pondering about a jailbreak, he hears his cellmate’s voice, who turns out to be a Healslime. He ends up healing Erik and introduces himself as Healijah. He also opens the cell door, as well as giving you your stuff back that the guards nabbed from you. As with the other interludes, only the items equipped to Erik prior to the major event are included here, as you won’t be able to access your main inventory at all during this. You can also use the mat on the ground to rest, if you need to do so.
Erik’s Interlude
| Items | Area |
|---|---|
| Steel Broadsword | Right before first hole you crawl through |
| Seed of Skill (Cannibox) | Northwest chest in room with five chests |
| Seed of Skill (Cannibox) | Southeast chest in room with five chests |
| Soarin’ Steel | Southwest chest in room with five chests |
| Batterfly Knife | Northeast chest in room with five chests |
| Hideout Key | Center chest in room with five chests |
| Seed of Deftness | In room with save statue after big lift |
| Agility Ring | In room with save statue after big lift |
| Disturbin’ Turban | In Great Hall, on top of western wooden platform |
| Sparkly Spot | Area |
|---|---|
| Rockbomb Shard | In room with enemies just after climbing down vine near save statue |
| Superior Medicine | In room after second lift |
| Superior Medicine | In tunnel past Living statues |
| Rockbomb Shard | In Great Hall, behind one of the wooden platforms |
| Monsters | HP |
|---|---|
| Drackyma | ~100 |
| Grinade | ~150 |
| Grublin | ~60 |
| Hunter Mech | ~155 |
| Liquid Metal Slime | ~3 |
| Living Statue | ~300 |
| Miasma | ~80 |
Exit the cell to see two doors in the next room, although the northern one is locked. You will see random encounter enemies throughout this interlude, although there is really no need to fight any of them. For now, take the exit in the southeast and open the chest there for a Steel Broadsword, then crawl through the opening next to it. Follow the path behind it, until you see a crack in the wall, where you can listen in on some guards. They will mention the location of a key, saying it’s in the middle chest, which will come in handy very soon.
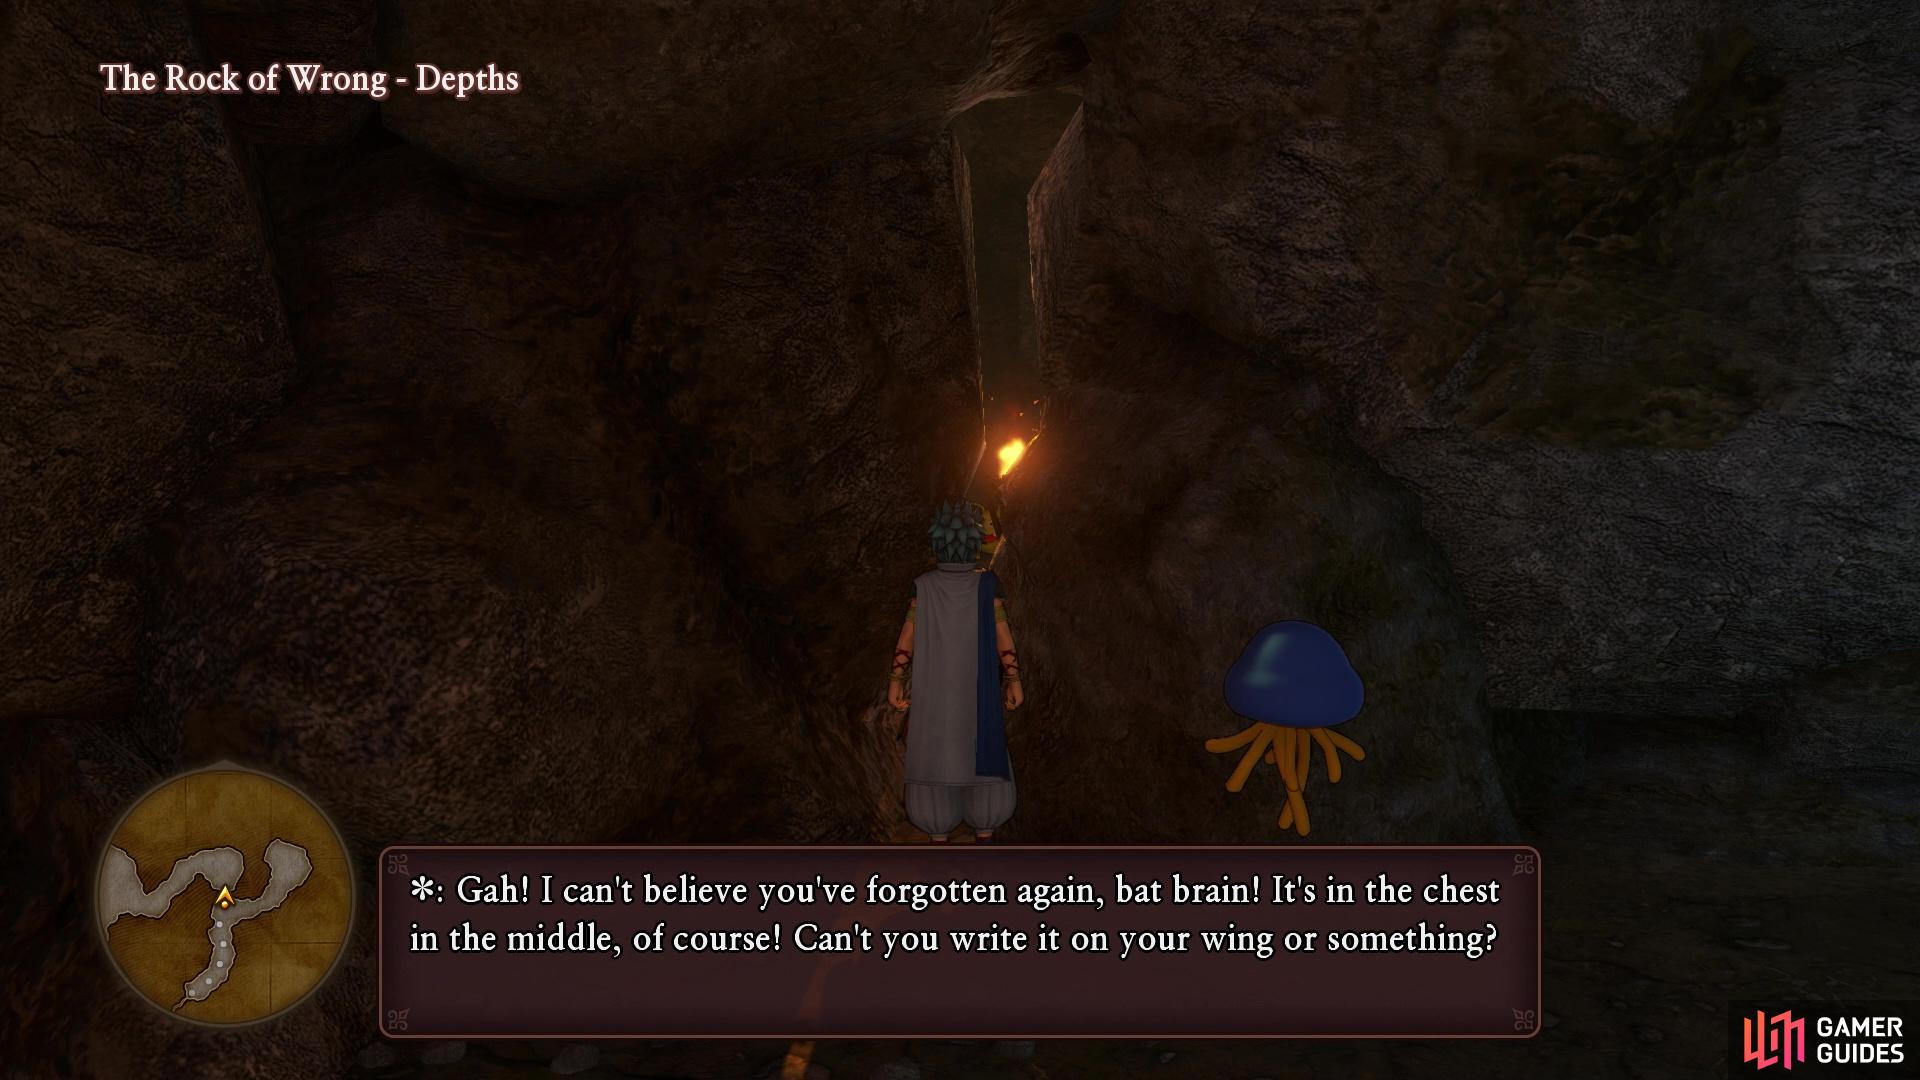
Eavesdrop on the guards behind this crack to learn where the key is located
You can use the Peep spell to learn is a chest is trapped or not
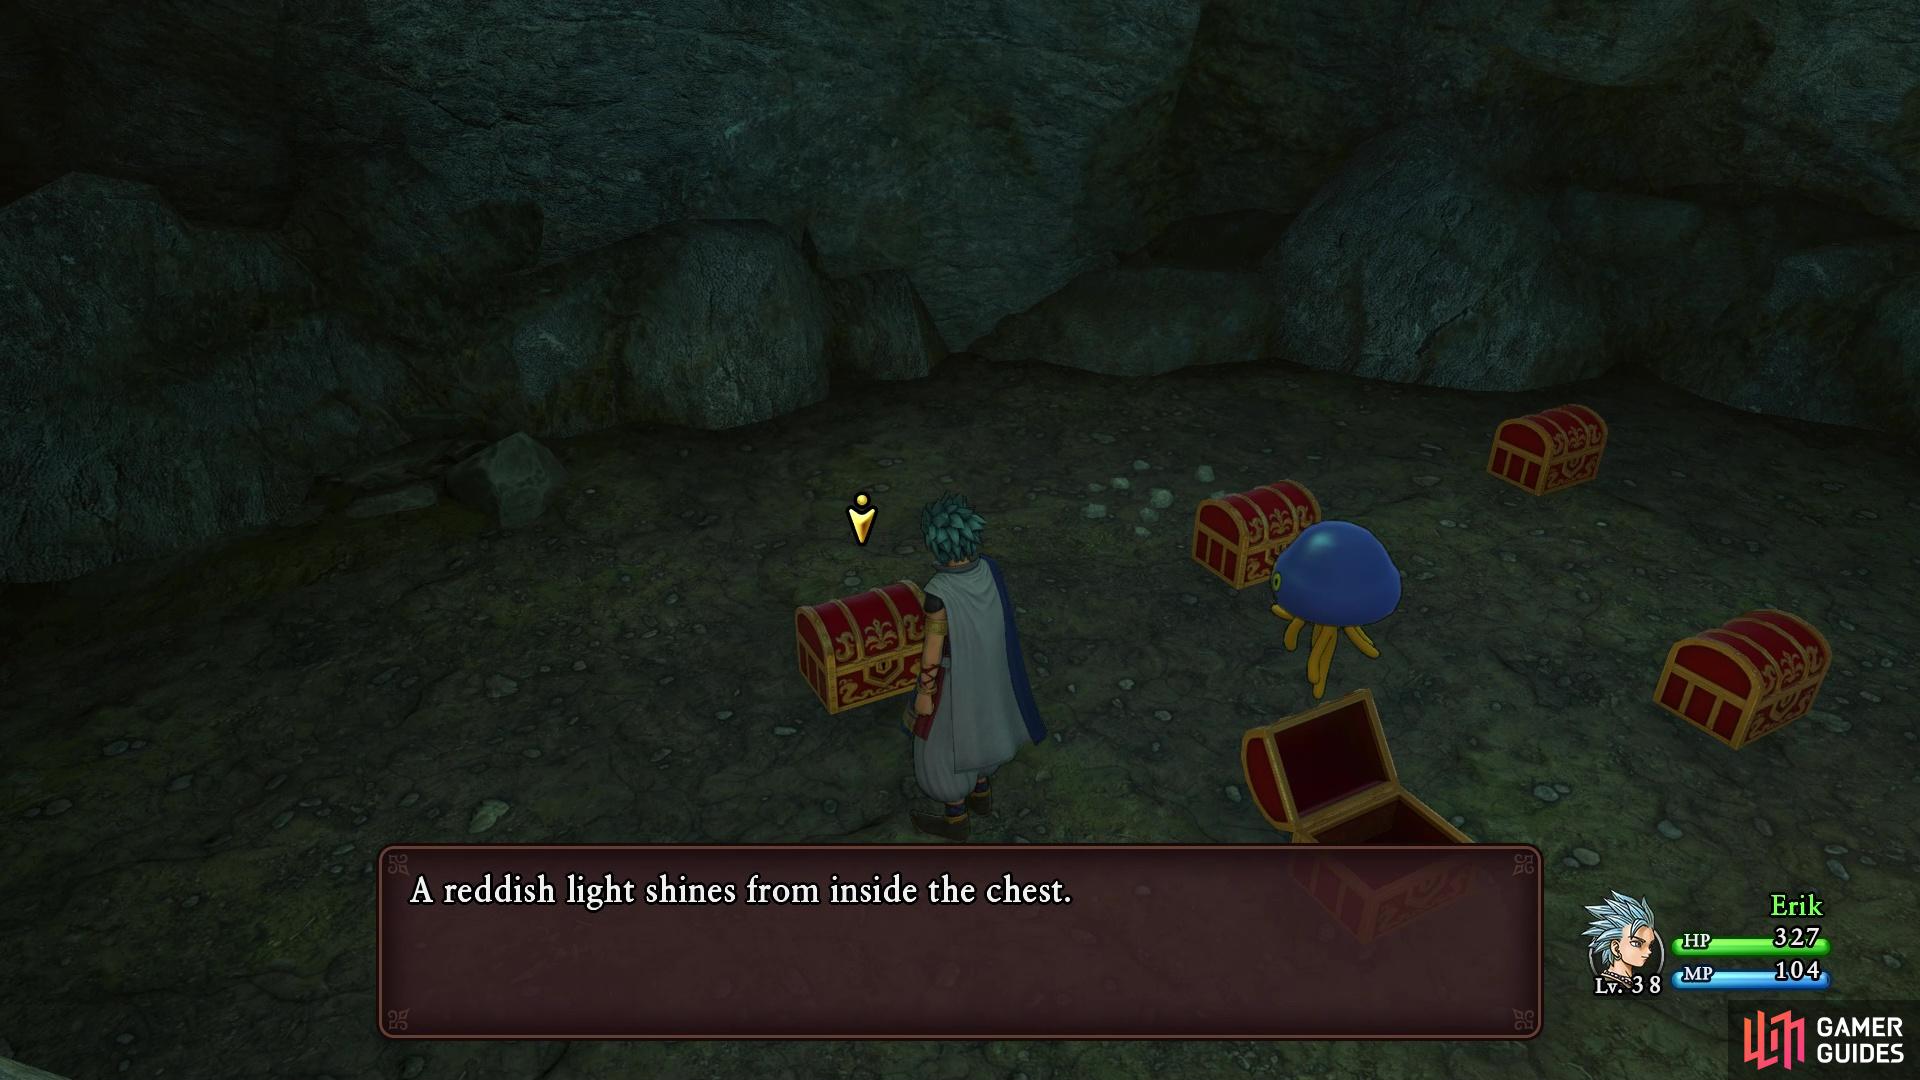
Continue down the path and you will reach a deadend with five chests. If you remember the clue from the guards just a second ago, then you know the key you need is in the central chests. However, the other chests contains more goodies, although two of them are Canniboxes (northwest and southeast). Defeat those two and you will receive 2 Seeds of Skill. The southwest chest contains a Soarin’ Steel and the northeast one will be holding a Batterfly Knife. Open the middle chest to find the Hideout Key, which is needed to open that one locked door from before.
Return to the first room and open the northern door to find more paths to take. The eastern one just takes you to where you overheard the monsters from earlier, who will fight you if you decide to speak to them (just normal monsters). At this point, it should be briefly mentioned that Healijah joins you in battles, where he can heal you, cast Oomphle, and Kasnooze, so he’s a pretty good ally here. Return to the previous room and continue north, until you run into some more monsters talking to one another. Thankfully, you don’t have to fight them, as the pair concoct a plan to distract them and knock them out.
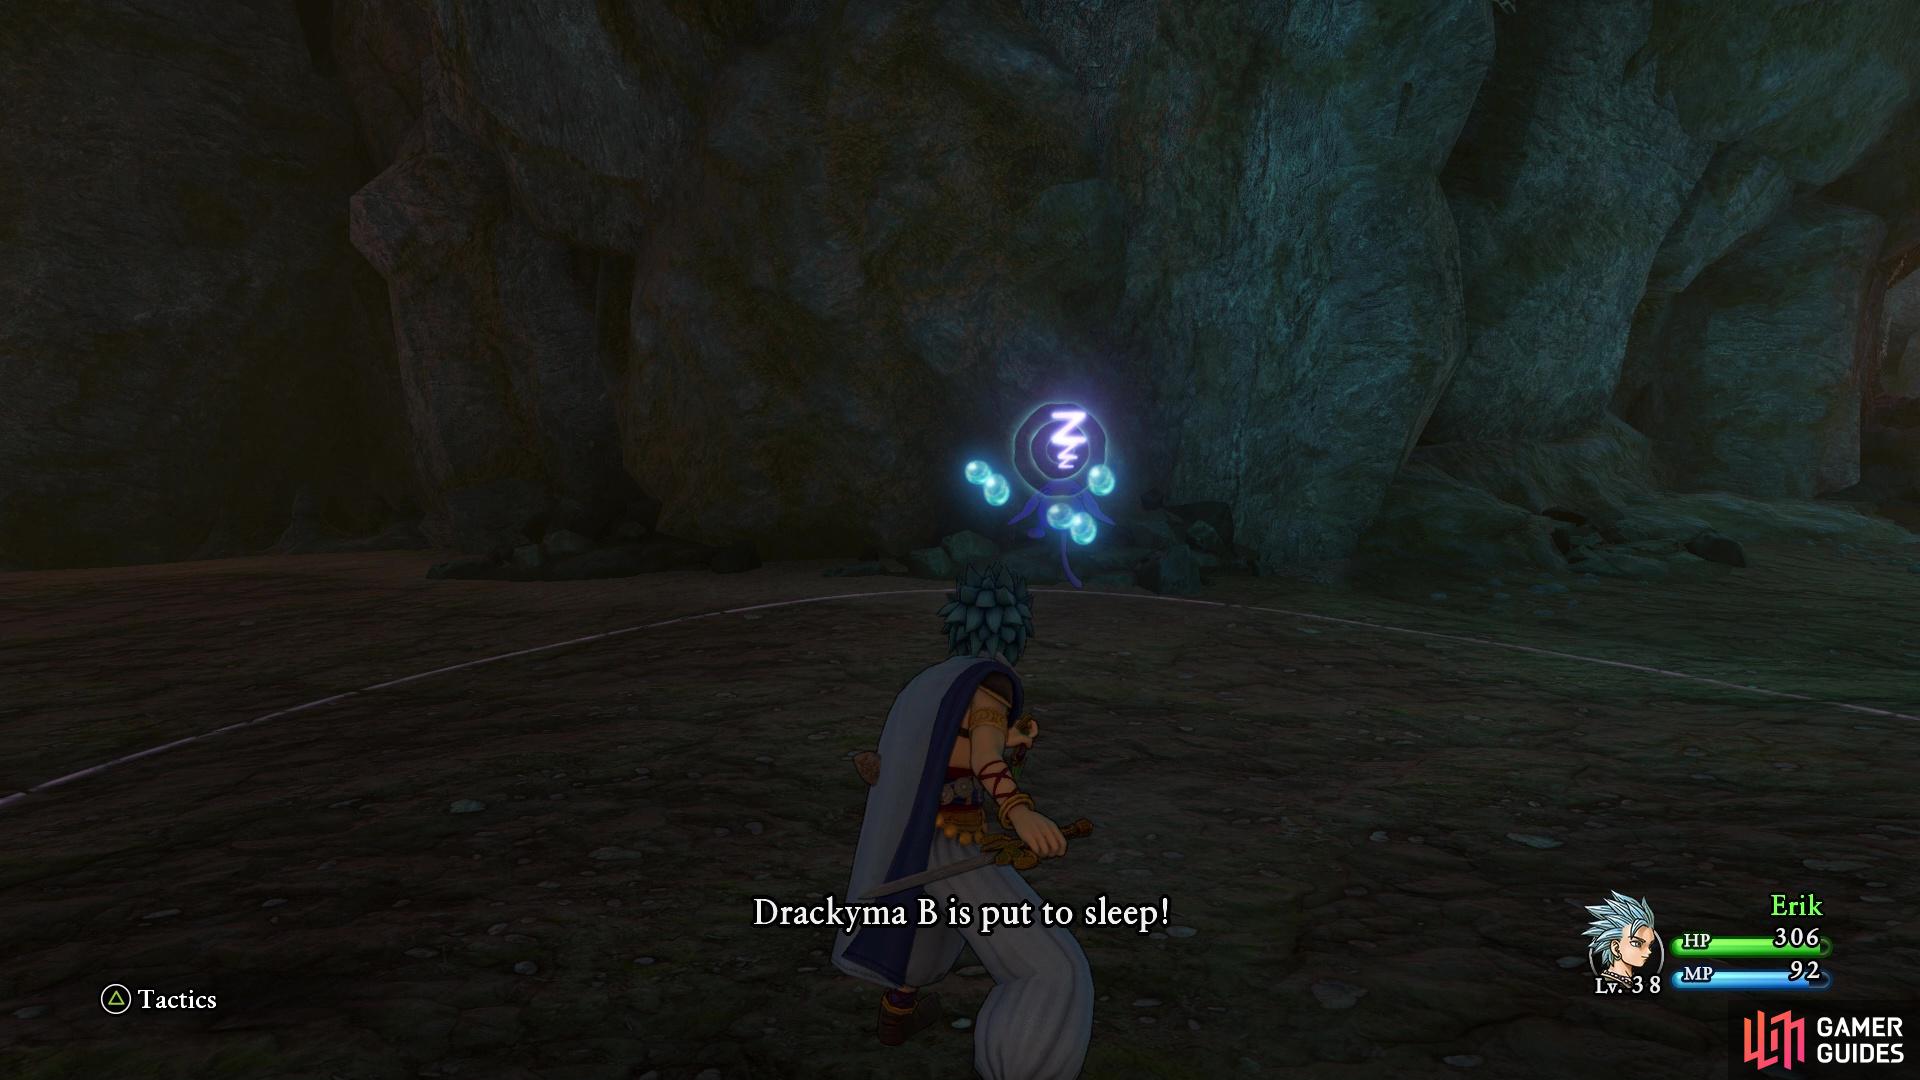
Healijah can put enemies to sleep
as well as buff your attack
Once you regain control, keep moving north, ignoring the doors here, as they are locked. Instead, climb the ledges and move onto the next area. You’ll see a bunch of enemies below you, meaning you aren’t going to go that way. Keep to the upper ledge and follow it to another small hole you can crawl through, leading to the Ancient Ruins.
The Rock of Wrong - Ancient Ruins
This tunnel here is straight, so follow it to the end and step on the ornate platform to see that it moves straight across the chasm. You will find a statue on the other side, where you can not only save, but it also restores your HP and MP. Nearby will be a vine that you can use to descend (you will get that Sparkly Spot on the upper ledge in a little bit). Enter the open area with enemies and grab the Sparkly Spot here (Rockbomb Shard). Ride the next lift and loot the Sparkly Spot (Superior Medicine) in the next room, which is the one right above the previous vine.
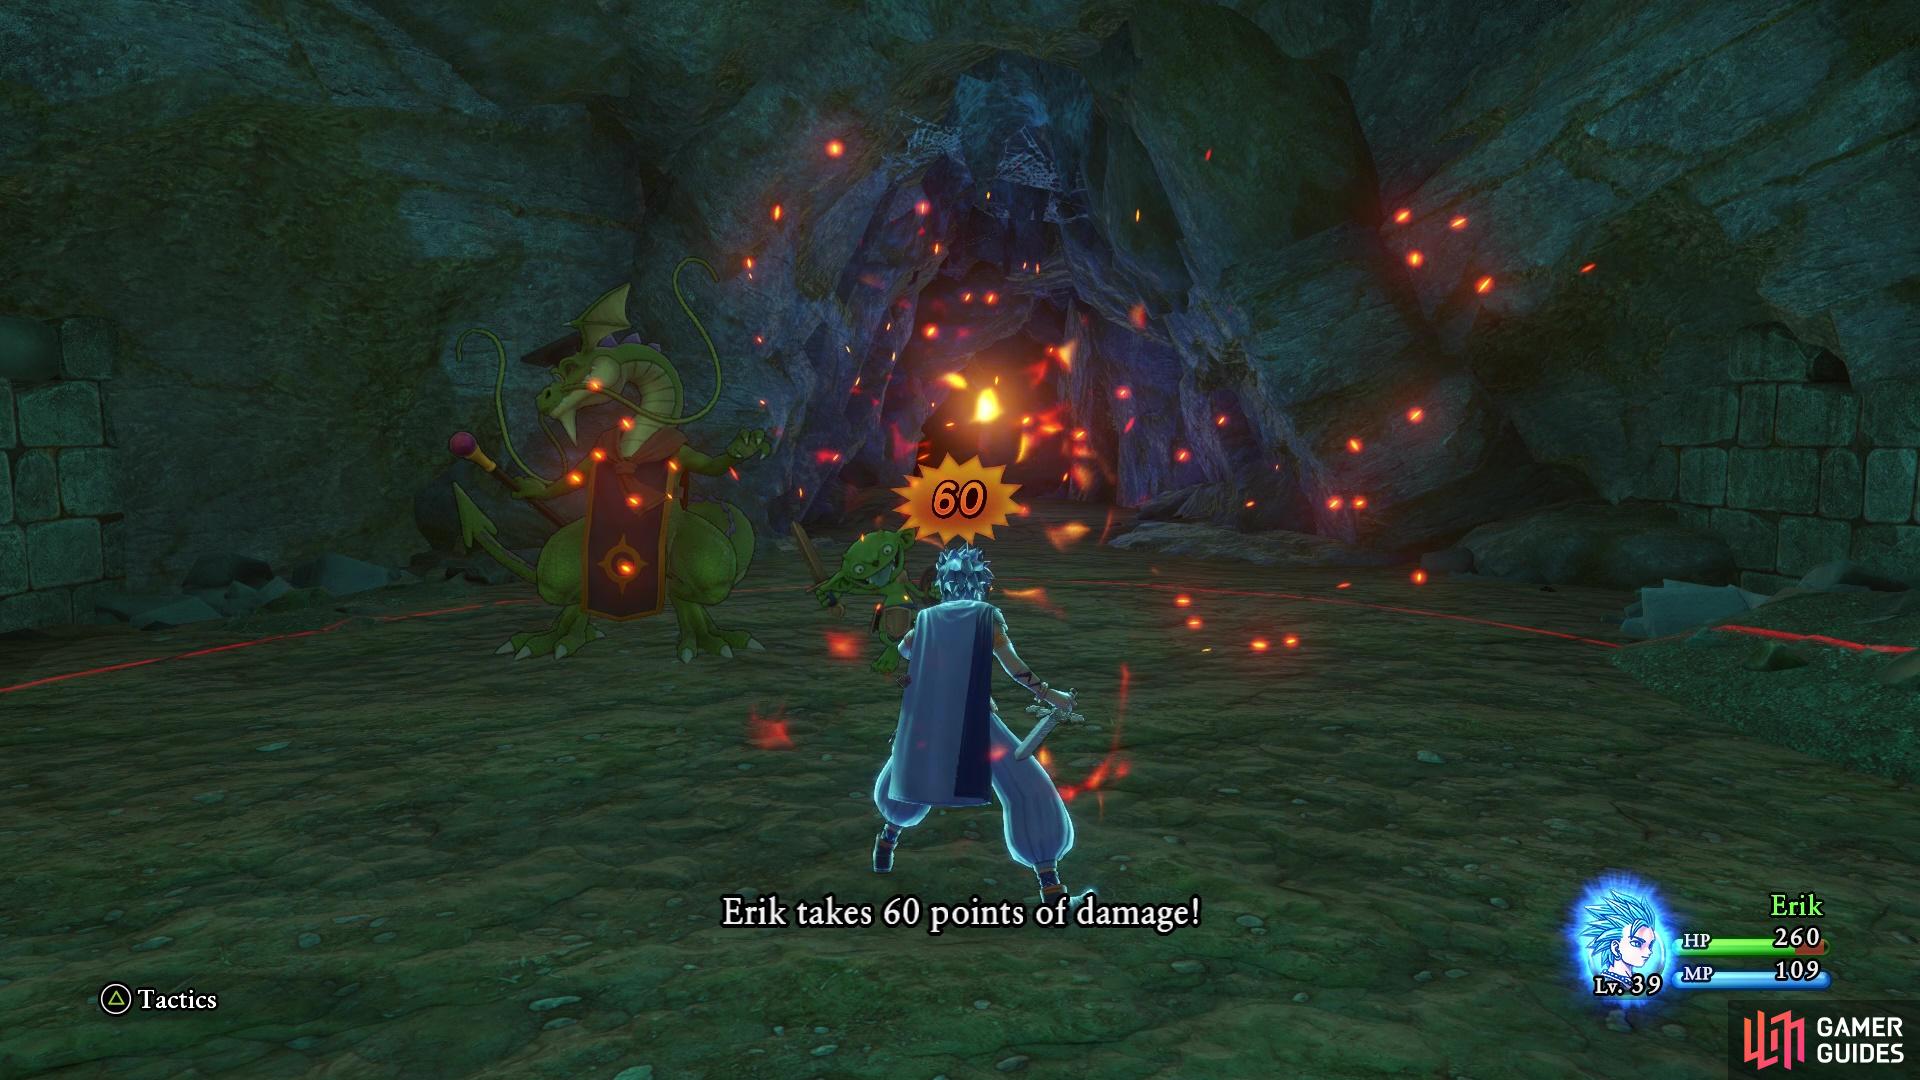
Continue past the Living Statues, looting the Sparkly Spot (Superior Medicine) along the way to the next lift. You will find yourself at what looks like a deadend, but there is an inactive lift here. It needs some power to make it run, which Healijah volunteers to do, but of course monsters appear to disrupt your plans. You will have to fight through three sets of enemies, although you can choose how to go about them. Simply approach each set of monsters to initiate combat with them. The Grublins are easy enough enemies that should go down quickly, while the Professaurus has some magic in its arsenal.
The Professaurus can use Frizzle to deal some good damage
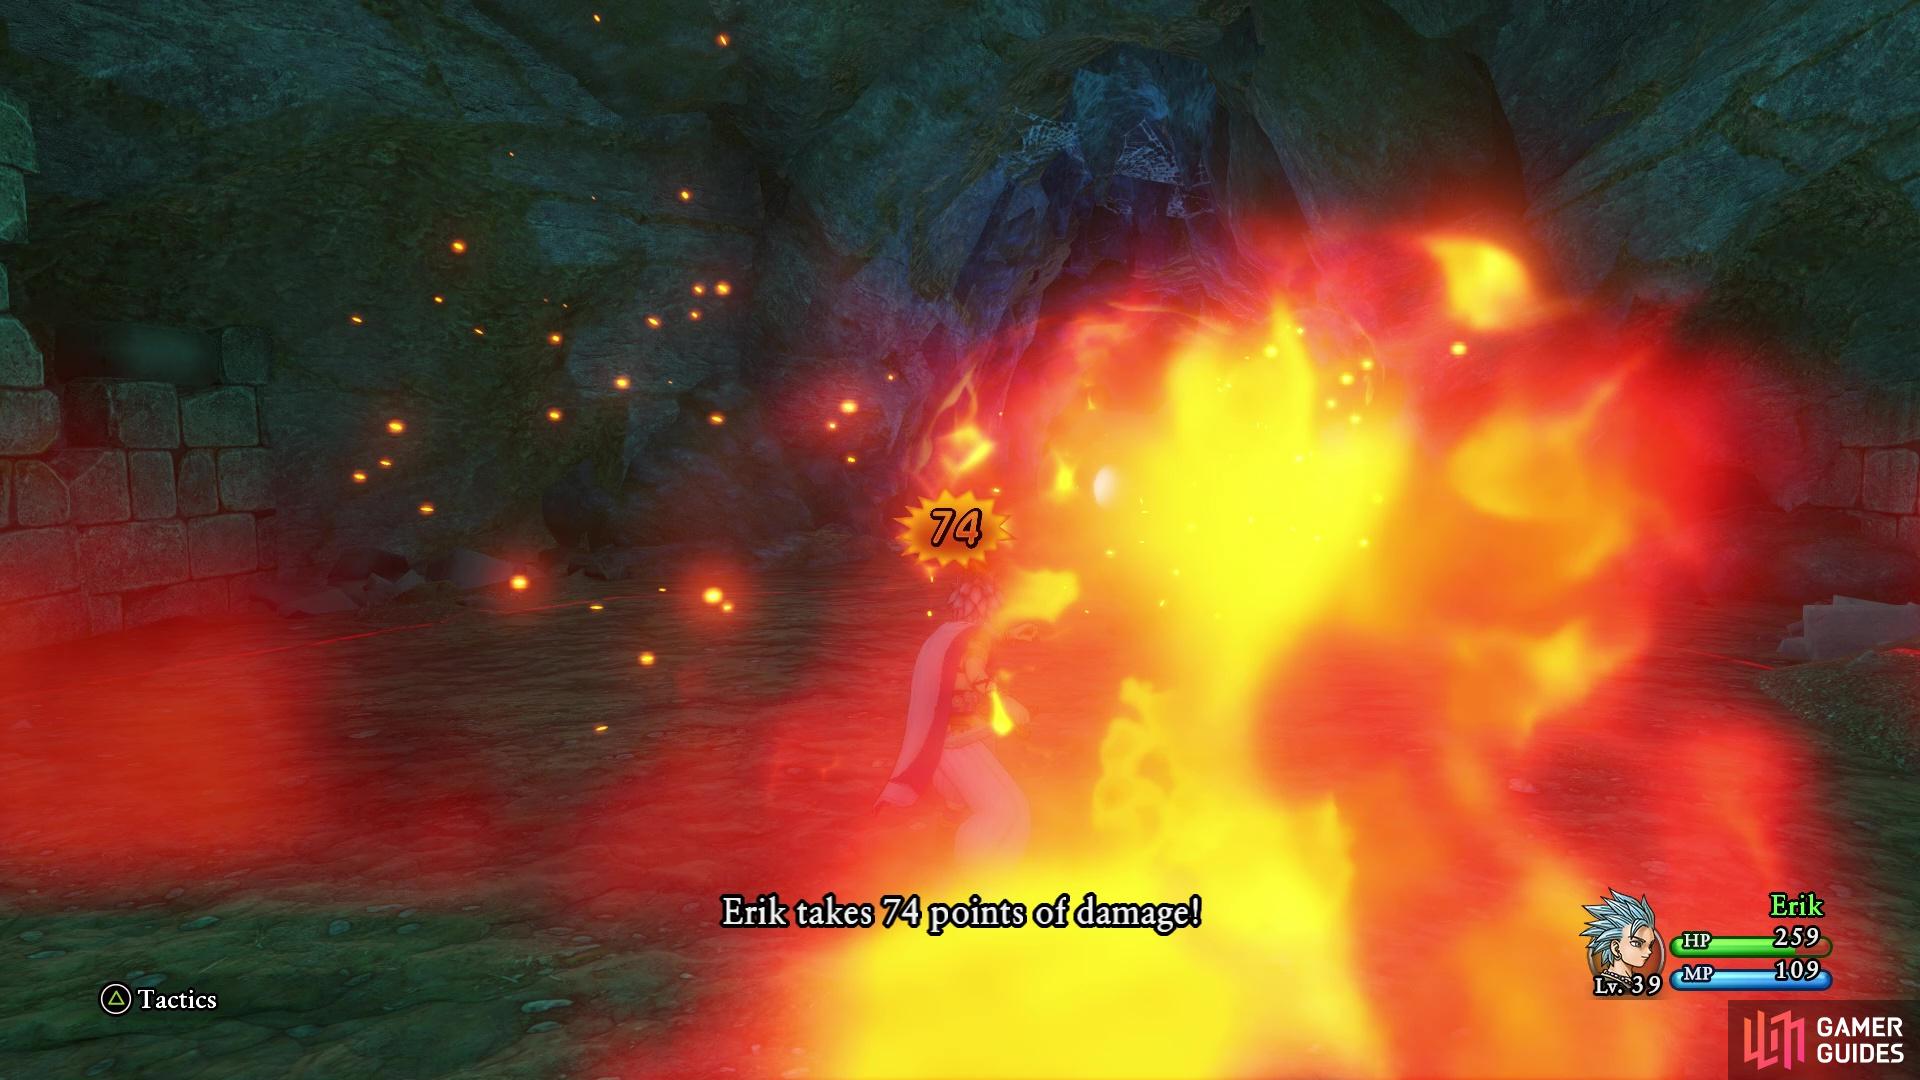
as well as the Bobonga and its fire breath
The Diethon can poison you, although that shouldn’t be much of a problem. The Bobonga can breath fire at you, which does around 70+ damage, so keep an eye on your health. It should be mentioned that Healijah doesn’t join you for these fights, but he does fully restore your HP and MP in between the bouts. After defeating all three sets of enemies, Healijah gets the lift running, so you can take it to the next area. Here, you will find another save statue that heals HP/MP, as well as two more chests on the ledges, containing a Seed of Deftness and an Agility Ring. The hole in the wall next to the latter treasure will lead to the Great Hall.
The Rock of Wrong - Great Hall
This is the giant room that had all of the monsters in it earlier, but it’s pretty empty now. Go on over to the wooden stage and behind it will be the final Sparkly Spot (Rockbomb Shard). Also, on the western wooden platform, at the atop, will be one final chest, that contains a Distubin’ Turban. You can also go through the big, double doors on the eastern side, leading you to the other side of that one locked door from earlier. However, there’s no reason to do this, as this area is inaccessible after you’re finished with it, meaning you won’t be coming back at all.
Exit to the north to discover an open area, as well as the fact that you’re pretty high up in this fortress or whatever it is. Before you can do anything, the master of this place, Indignus, appears and sics some enemies on you. You are up again a Dragon Rider, Vicious Chihuawyrm, and a Skelegon, all of which are enemies you will encounter later on, but they’re a little weaker here. Go for the Chihuawyrm first, then the Skelegon second, and Dragon Rider last. When you defeat those, watch the following scene, then it’s time to take on the big man himself, Indignus.
BOSS - Indignus
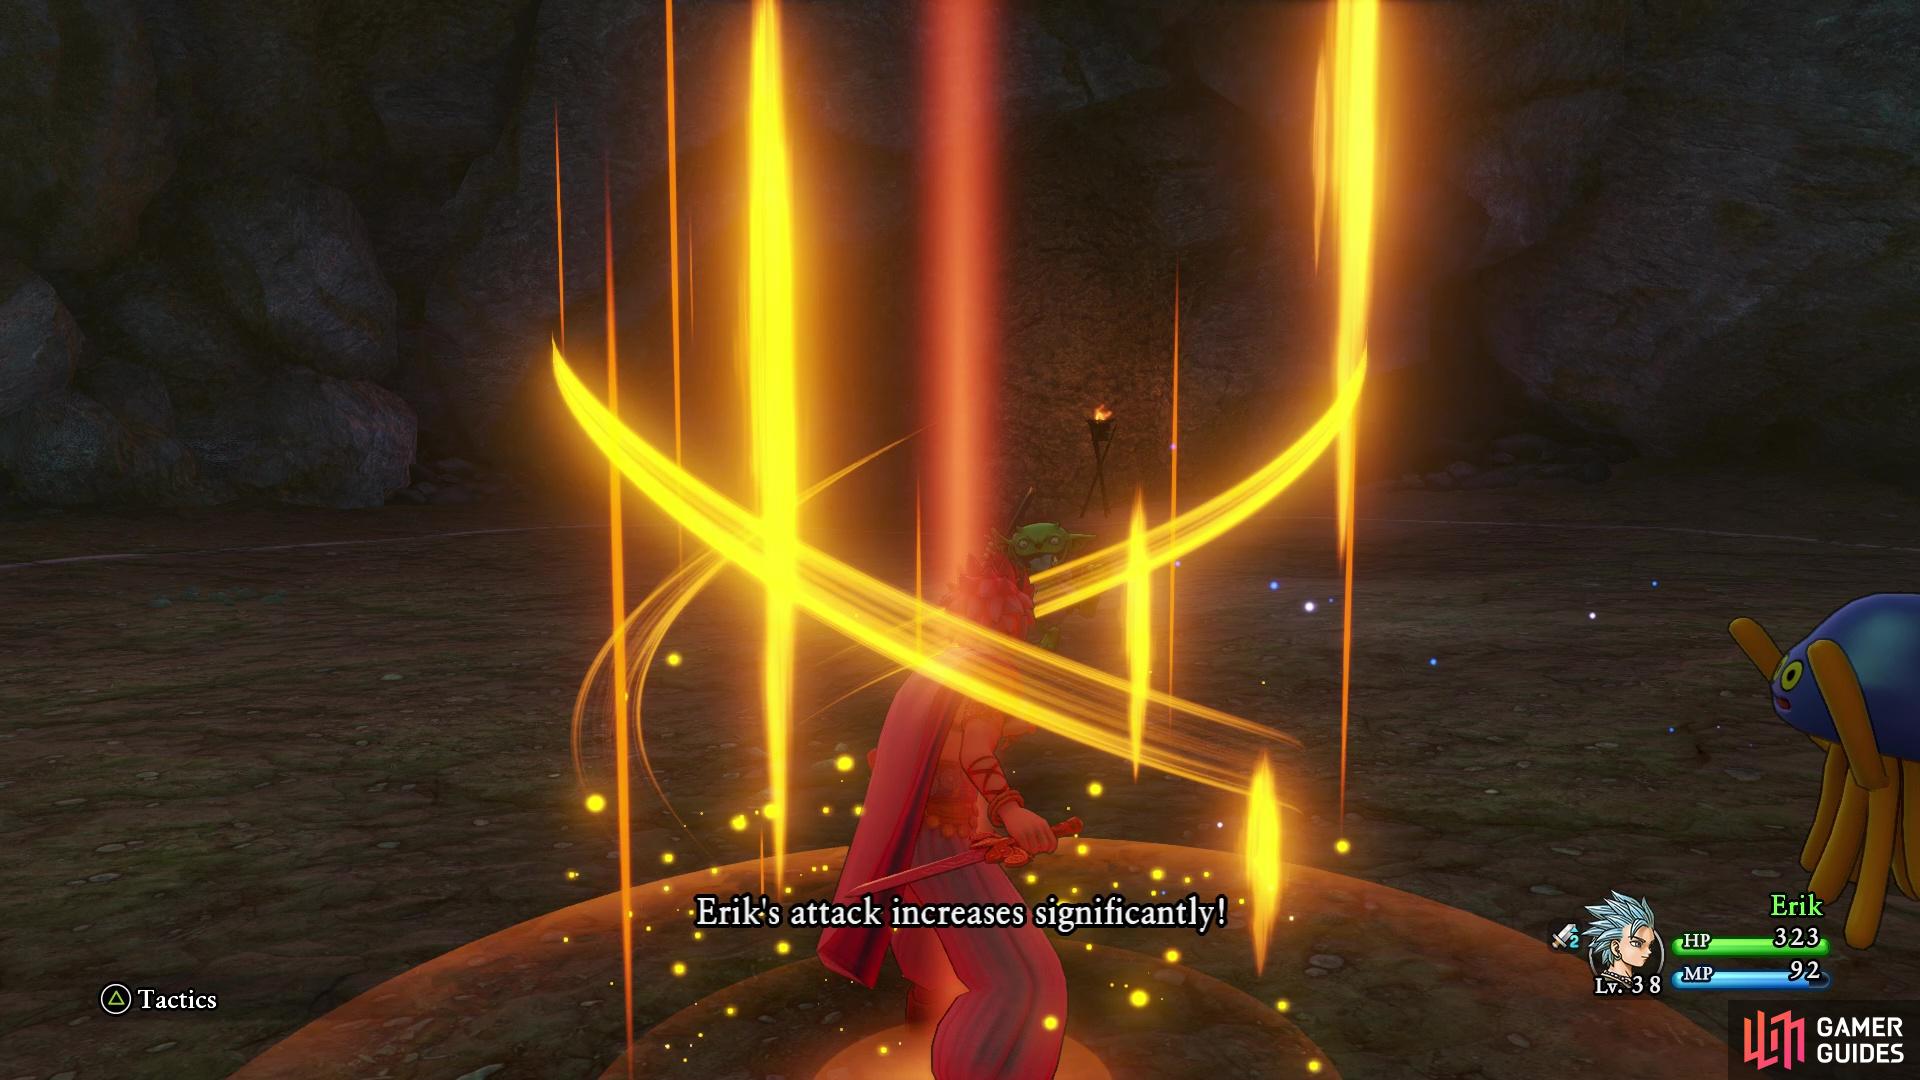
Well, it’ll be pretty difficult to lose this battle, considering you have more stats than normal, as well as crazy regeneration for both HP and MP. Unless you are ill-equipped or something, where Indignus does more damage than your regen, this is a good fight to test how Erik plays. Divide is one of Erik’s best abilities, since it basically allows him to triple his damage output. Combine this with something like the ailment skills to see some huge damage.
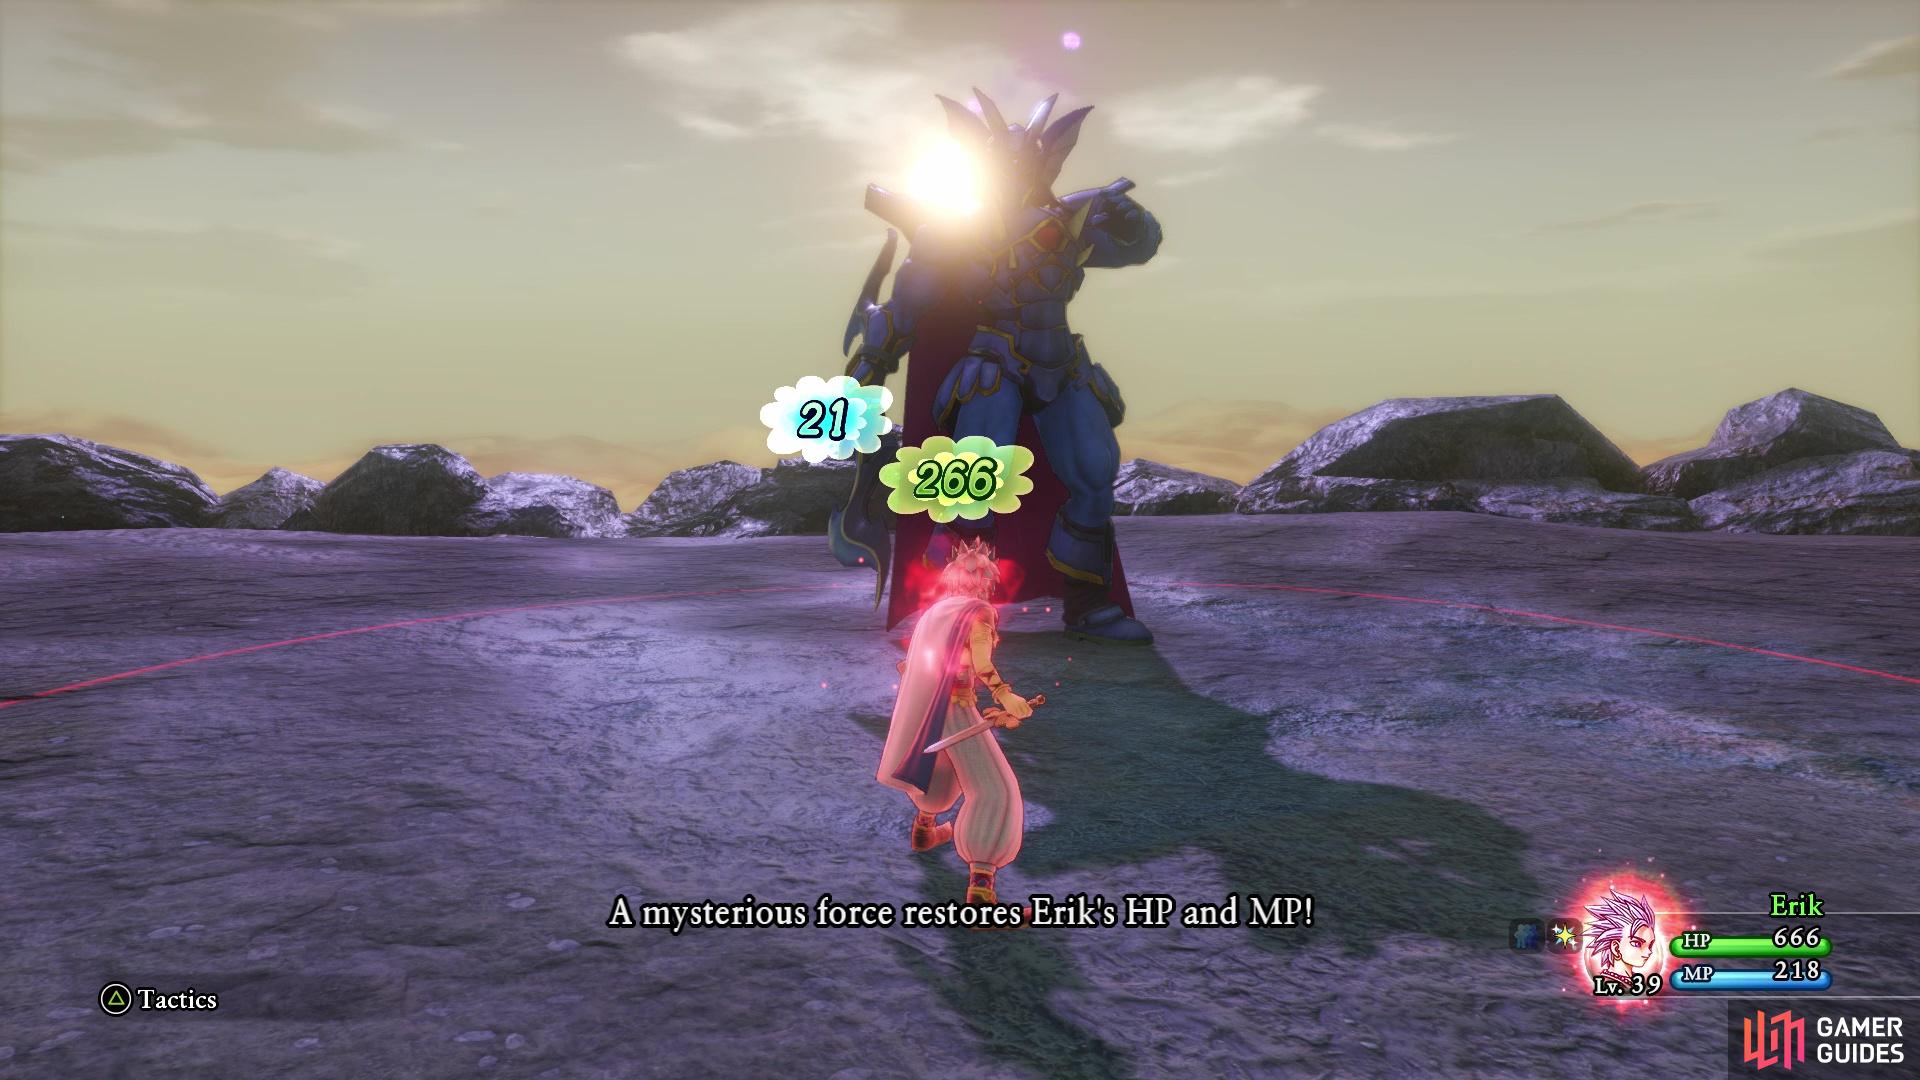
Your regeneration makes this battle impossible to lose
Upon winning the battle, watch the scenes that follow and you will be finished with Erik’s interlude.
No Comments