

Sniflheim (Frozen)
| Items | Area |
|---|---|
| Magic Beast Hide | Port, barrel |
| Magic Beast Hide | City, next to market stall, pot |
| Seed of Deftness | City, western wall of house left of the entrance |
| Permasnow | City, Outside northeast house, pot |
| Sparkly Spot | Area |
|---|---|
| Permasnow | North of the back entrance |
As you disembark from the ship you can see immediately that all is not quite right in Sniflheim. Head towards the entrance to the city and the Rainbough will glow once more indicating that the final Orb is here. As you approach the doors you’ll notice that they’re frozen shut and not even Veronica’s magic is enough to melt it. Before you head around back, take a step back onto the pier and search to the east side for a pair of barrels, inside one you’ll obtain a Magic Beast Hide.
Head around the back to the west and take a quick rest at the Camp. With all of the Recipes you picked up from your travels opening the Magic Key Doors, take a look at the new equipment you can forge. The Hocus Locus Heavy Wand is a nice upgrade for Veronica and Rab along with the Princess’s Robe for Veronica, you can purchase any needed Silkblossoms from the merchant at this Camp. If you have Serena Dual-Wielding Wands then consider picking up the Spryggdrasil Wand for her too.
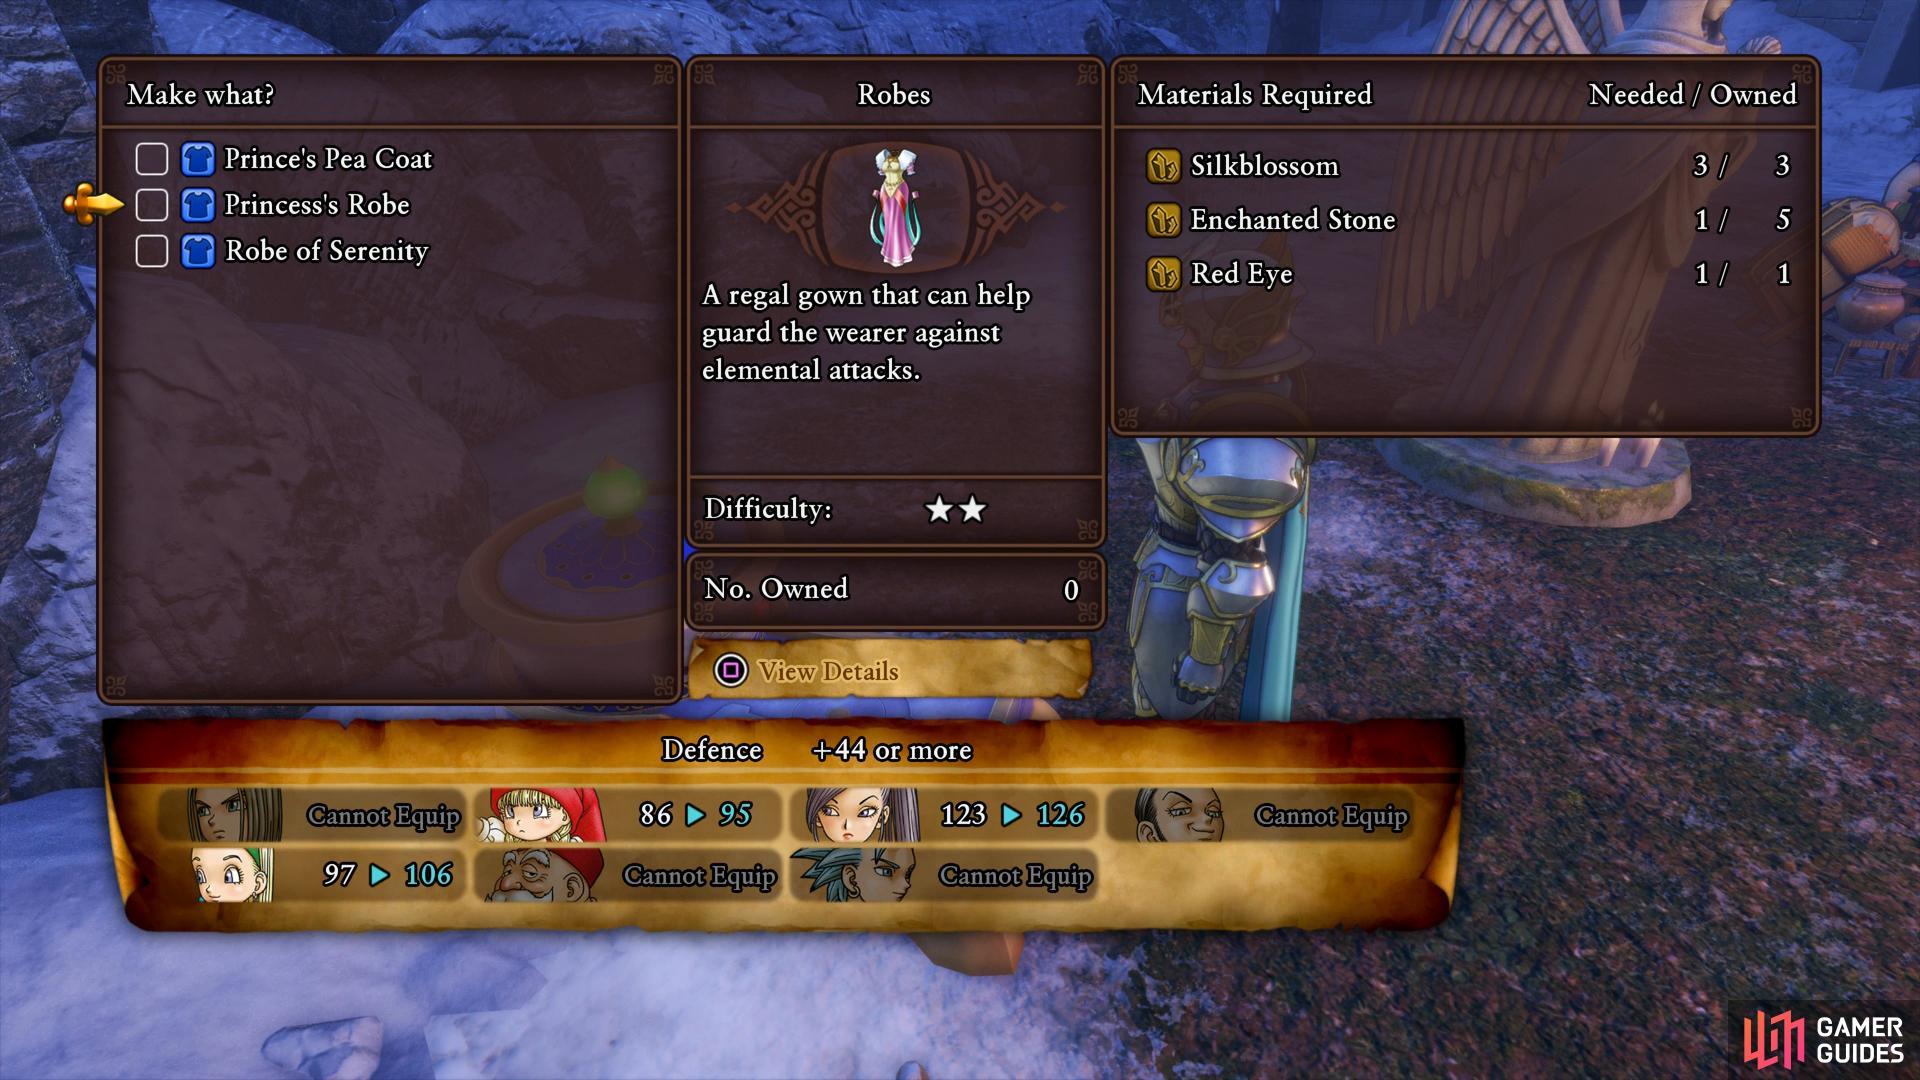
Consider forging a Princess Robe to boost Veronica’s Magical Might
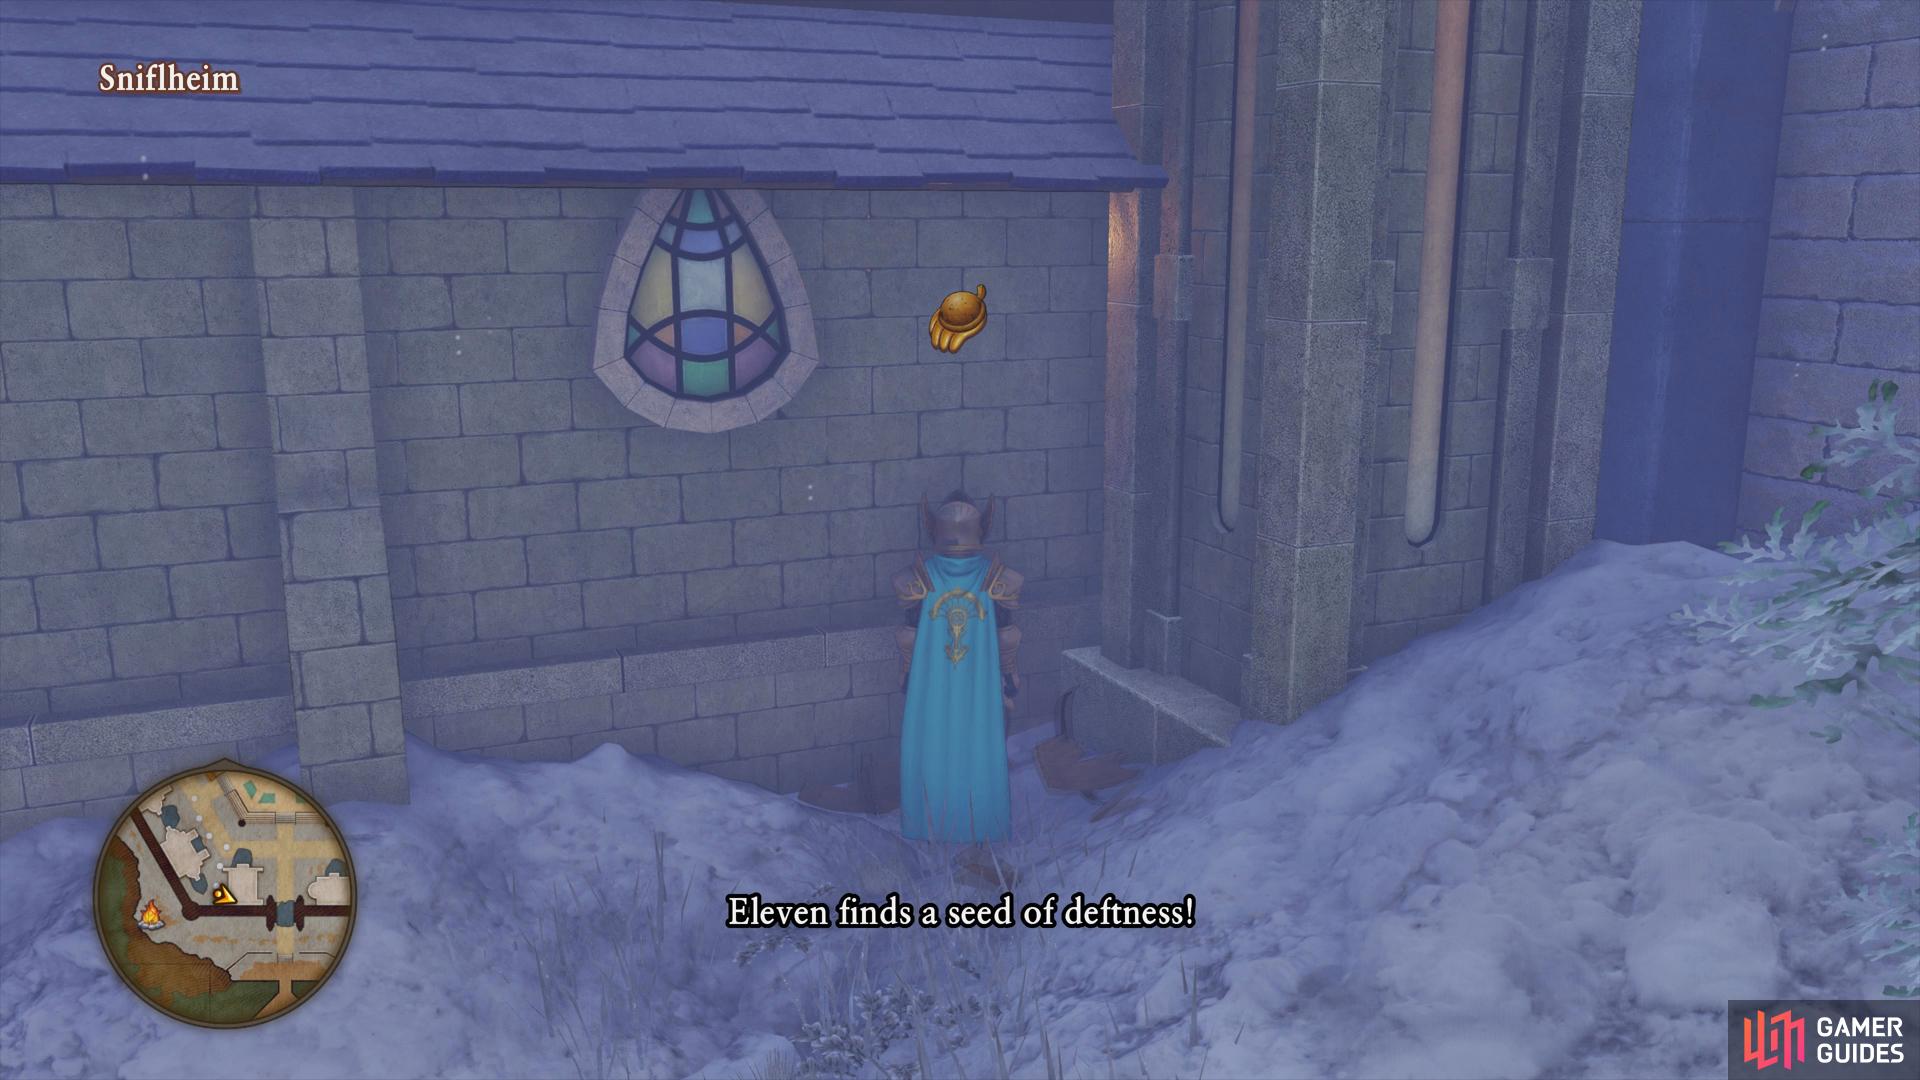
search along the side of the Church to find a barrel with a seed in it.
Once you’re ready, continue around the back to find a Magic Key Door you can unlock to enter the city itself. The party notices that the entire city has been frozen, the people and animals included. Take a look behind the tree to your immediate left to find a Sparkly Spot containing Permasnow and then head south to the first market stall, a pair of pots can be smashed here for another Magic Beast Hide. Head now to the west side of the first house to the west of the main entrance, a barrel is hidden here housing a Seed of Deftness. Finally, head into the far northeastern corner and search along the wall for more pots to smash with one containing more Permasnow.
With all the items looted for now, head to the only person not frozen in town to the right of the entrance and speak to her. The woman turns out to be none other than the Queen of Sniflheim and she informs the party of the situation. In order to get your hands on the Blue Orb you’re going to need to defeat the Witch in the Hekswood. There’s nothing left for you to do here for now so exit Sniflheim by way of the eastern gate.
Sniflheim Region
| Items | Area |
|---|---|
| Mini Medal | Northwest of the City, chest |
| Seed of Sorcery | Southeast of the City, chest |
| Sparkly Spots | Area |
|---|---|
| Platinum Ore x2, Silver Ore | North, Ore gathering point |
| Permasnow | North of the Snaerfelt entrance |
| Avabranche, Permasnow, Sparkly Sap | South, Tree gathering point |
| Silkblossom x2, Glimmergrass | Southwest, Flower gathering point |
| Monsters | HP |
|---|---|
| Ursa Minor | ~260 |
| Ursa Panda (Rare) | ~1105 |
| Chillanodon | ~138 |
| Silver Sabrecub | ~109 |
| Luminous Lampling (Night) | ~105 |
| Bongo Fandango | ~156 |
| Chihuawyrm | ~513 |
Your destination lies through the Snaerfelt to the east but first there’s some items to loot and Crossbow Targets to strike. It’s also a good time to take a look at how your characters are progressing through their Character Builder.
If you’ve taken the Hero through the Greatswords route (which is recommended) then you should have unlocked Frost Fangs by now as well as worked your way up to the Counter When Blocking/Parrying node. Unbridled Blade should be your next unlock, this remains one of, if not the most damaging Greatsword skill in the game. Consider the Strength +25 and Gigasmash nodes following the unlock of that for the Hero.
Erik is more simple at this point, you should have unlocked Dodgy Character by now and should be on your way to unlocking Divide in the Guile tree, one of Erik’s best skills. Following that, pick up Cobra Strike and victimiser from the Knives tree, Poison is easier to apply to bosses than Sleep. Veronica should have the Vim tree maxed out by now and focusing on the Heavy Wands tree, your order of unlocks there are unimportant so feel free to take any route. Serena likewise should also be done with her Wands tree and working on unlocking the Harpistry skills next.
With Hustle Dance unlocked for Sylvando, pick up the Charm +40 node nearby and then work towards the Have a Ball skill from the Litheness tree, situated between the Cobra Strike and Charm +30 nodes. Hopefully Jade has learnt Multithrust by now, this should be one of your main boss killer skills for a large chunk of the game. Work next on unlocking Lightning Thrust for help with killing metal enemies, you’ll find the node above the Attack Power When Wielding +10 node. Finally, Rab should have unlocked Zing Stick from the bottom of his Heavy Wands tree and working on picking up the rest of the passive skills from that tree.
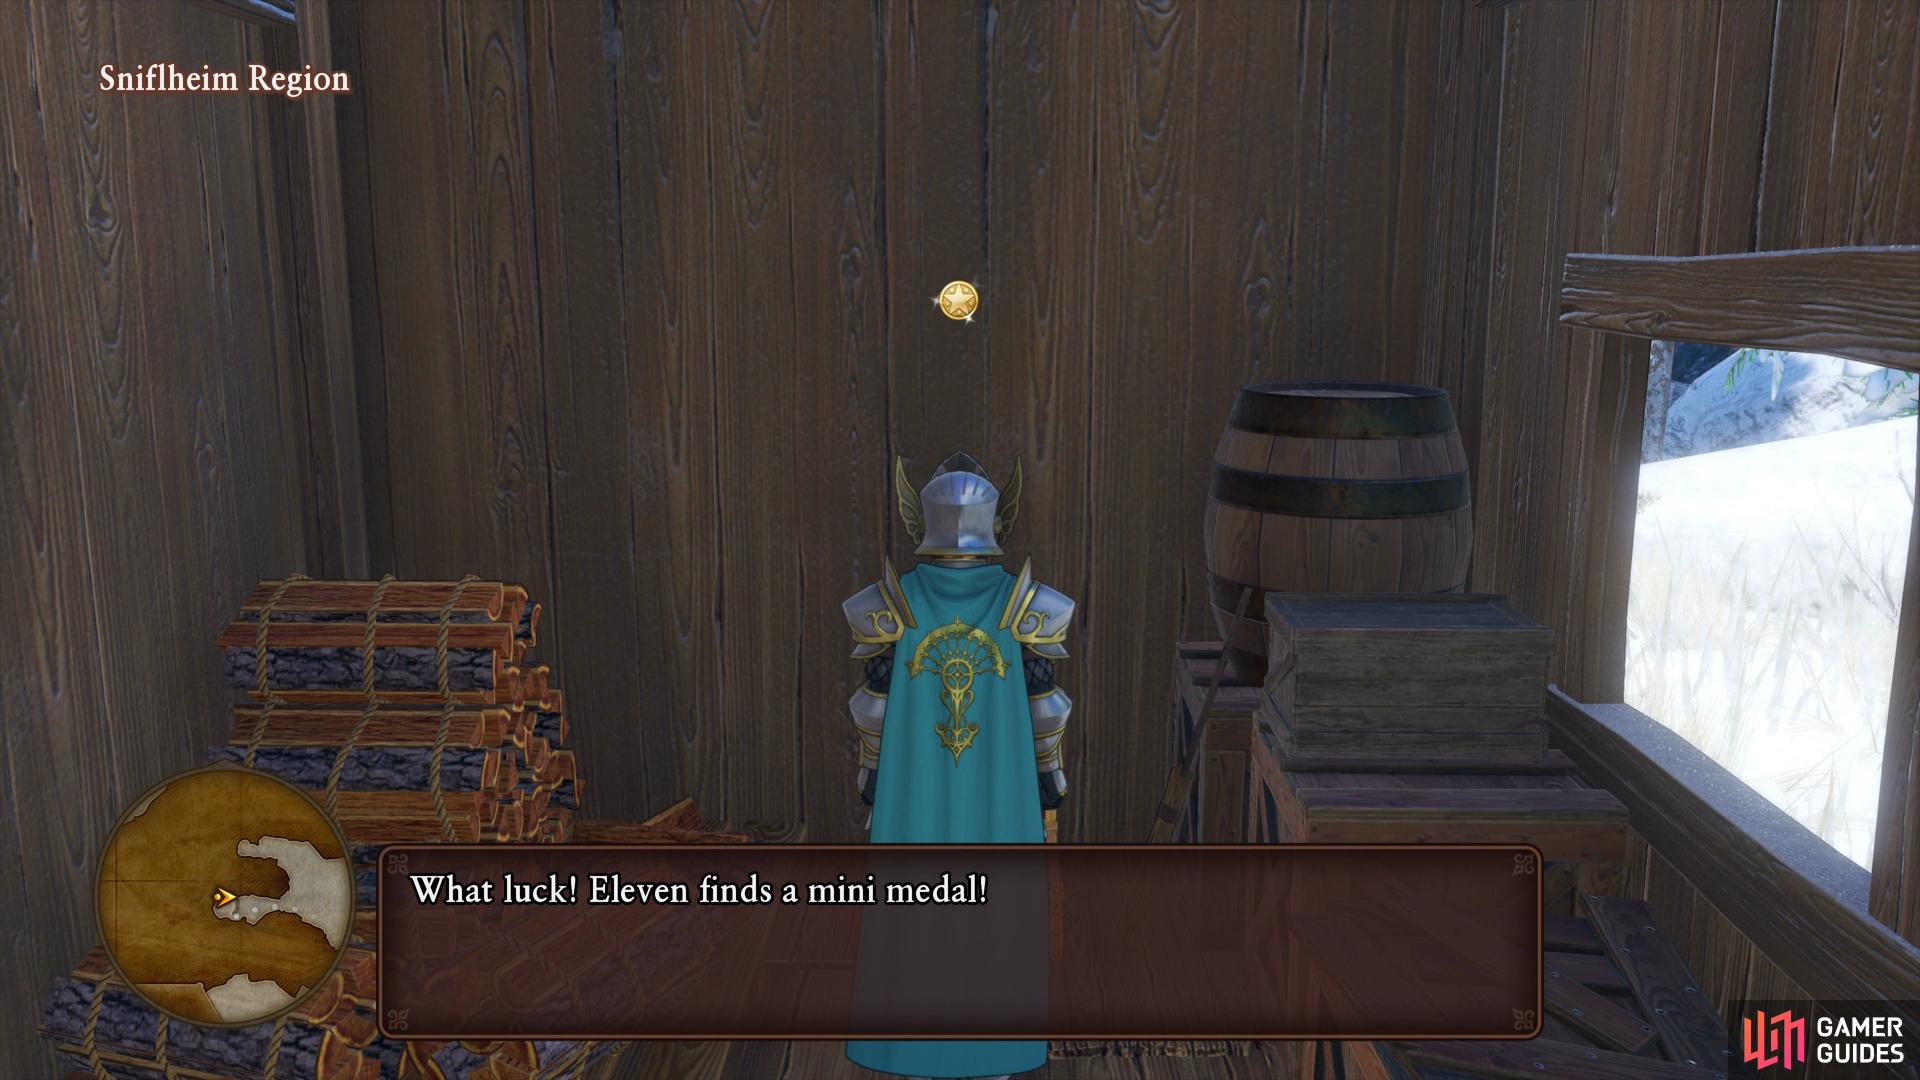
Search in the small cabin to the north of the city to find a Mini Medal
the first Crossbow Target is located in the northwest corner.
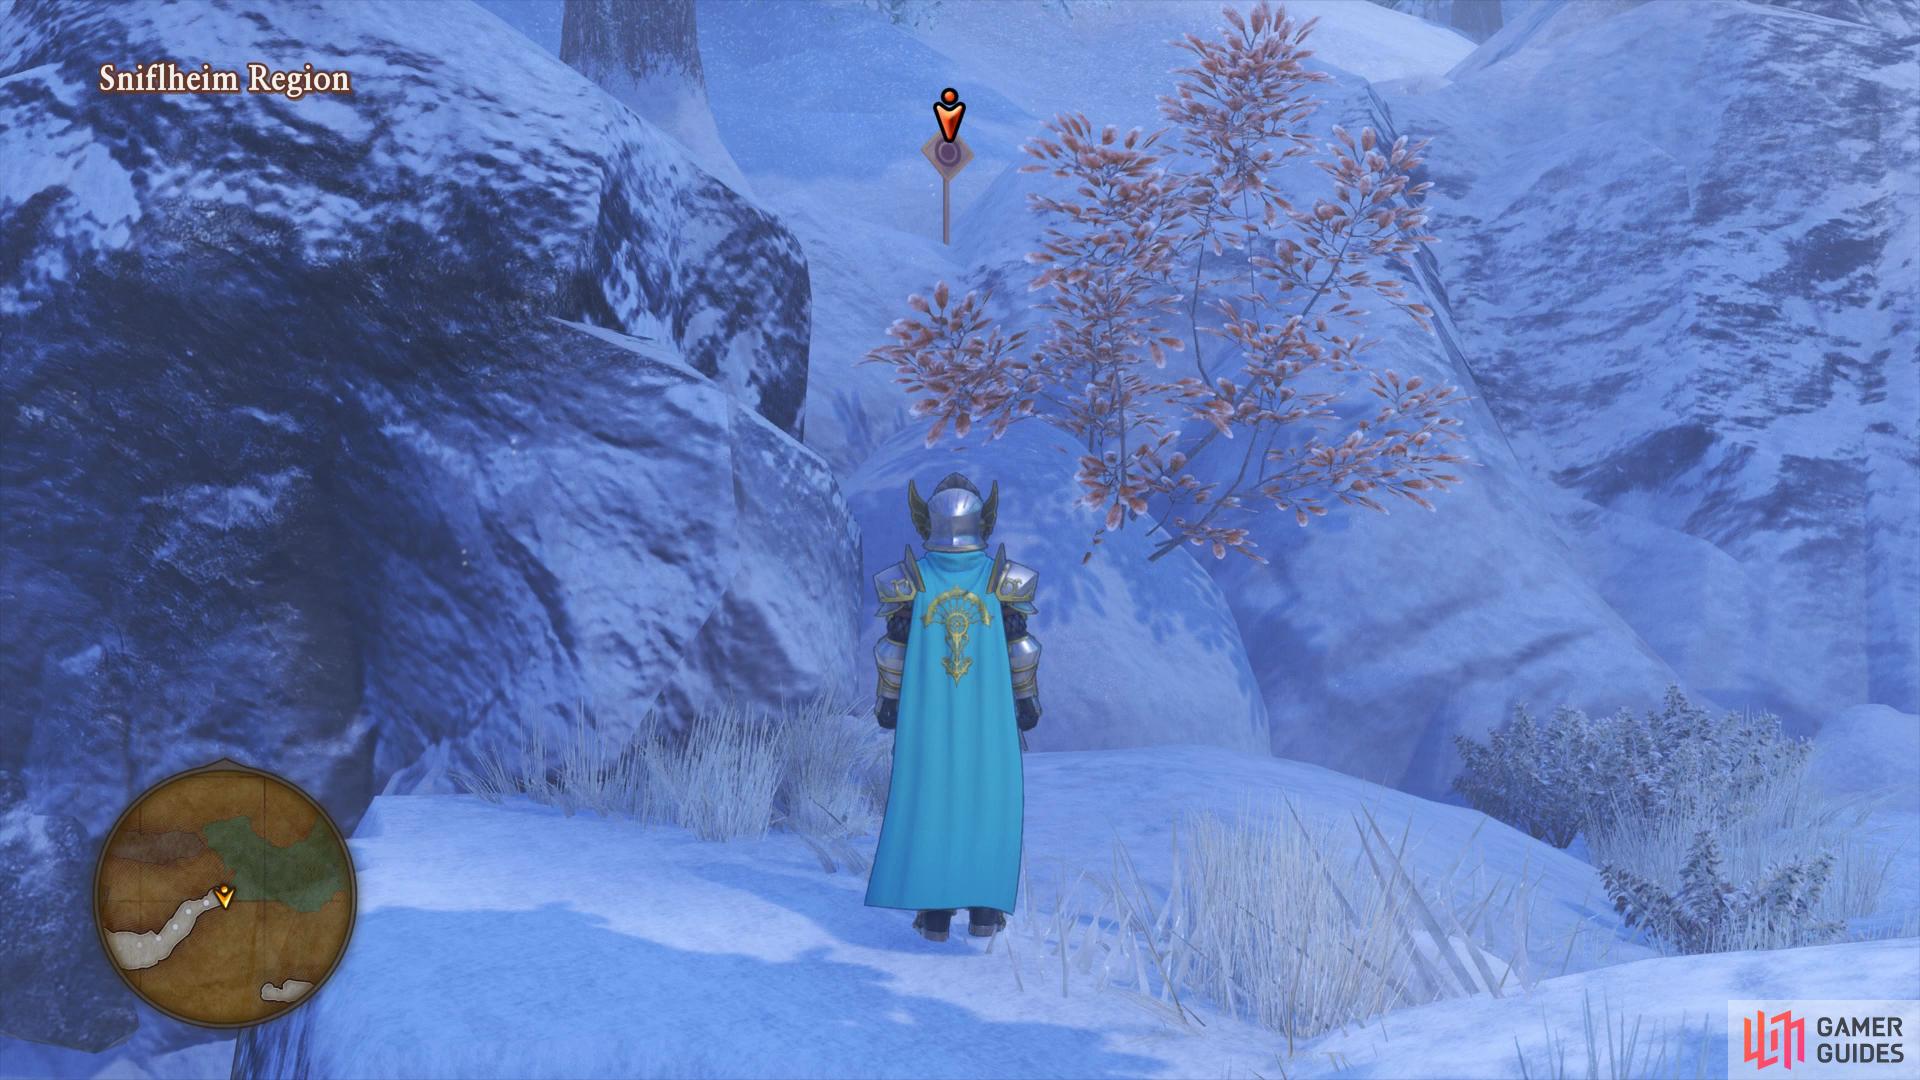
From your starting location, head forward and speak to the latest Weather Cow before hugging the western wall as you head north. As you head west along the short path you’ll come to a cabin with a chest inside, open it to obtain a Mini Medal. Head back and continue northwest into the corner, an Ore gathering point is nestled here containing two Platinum Ores and a Silver Ore. While you’re here, look up at the tree behind the gathering point to find the first Crossbow Target.
Head along the eastern wall now as you come across a Sparkly Spot containing a Permasnow and continue south past the entrance to the Snaerfelt. You’ll come across a short path to the east with a Sparkly Spot at the end containing another Platinum Ore. Turn the camera around to face the southwest to spot the next Crossbow Target for you to strike. Continue south from this location and you’ll stumble upon a Tree gathering point containing an Avabranche, Sparkly Sap and a Permasnow.
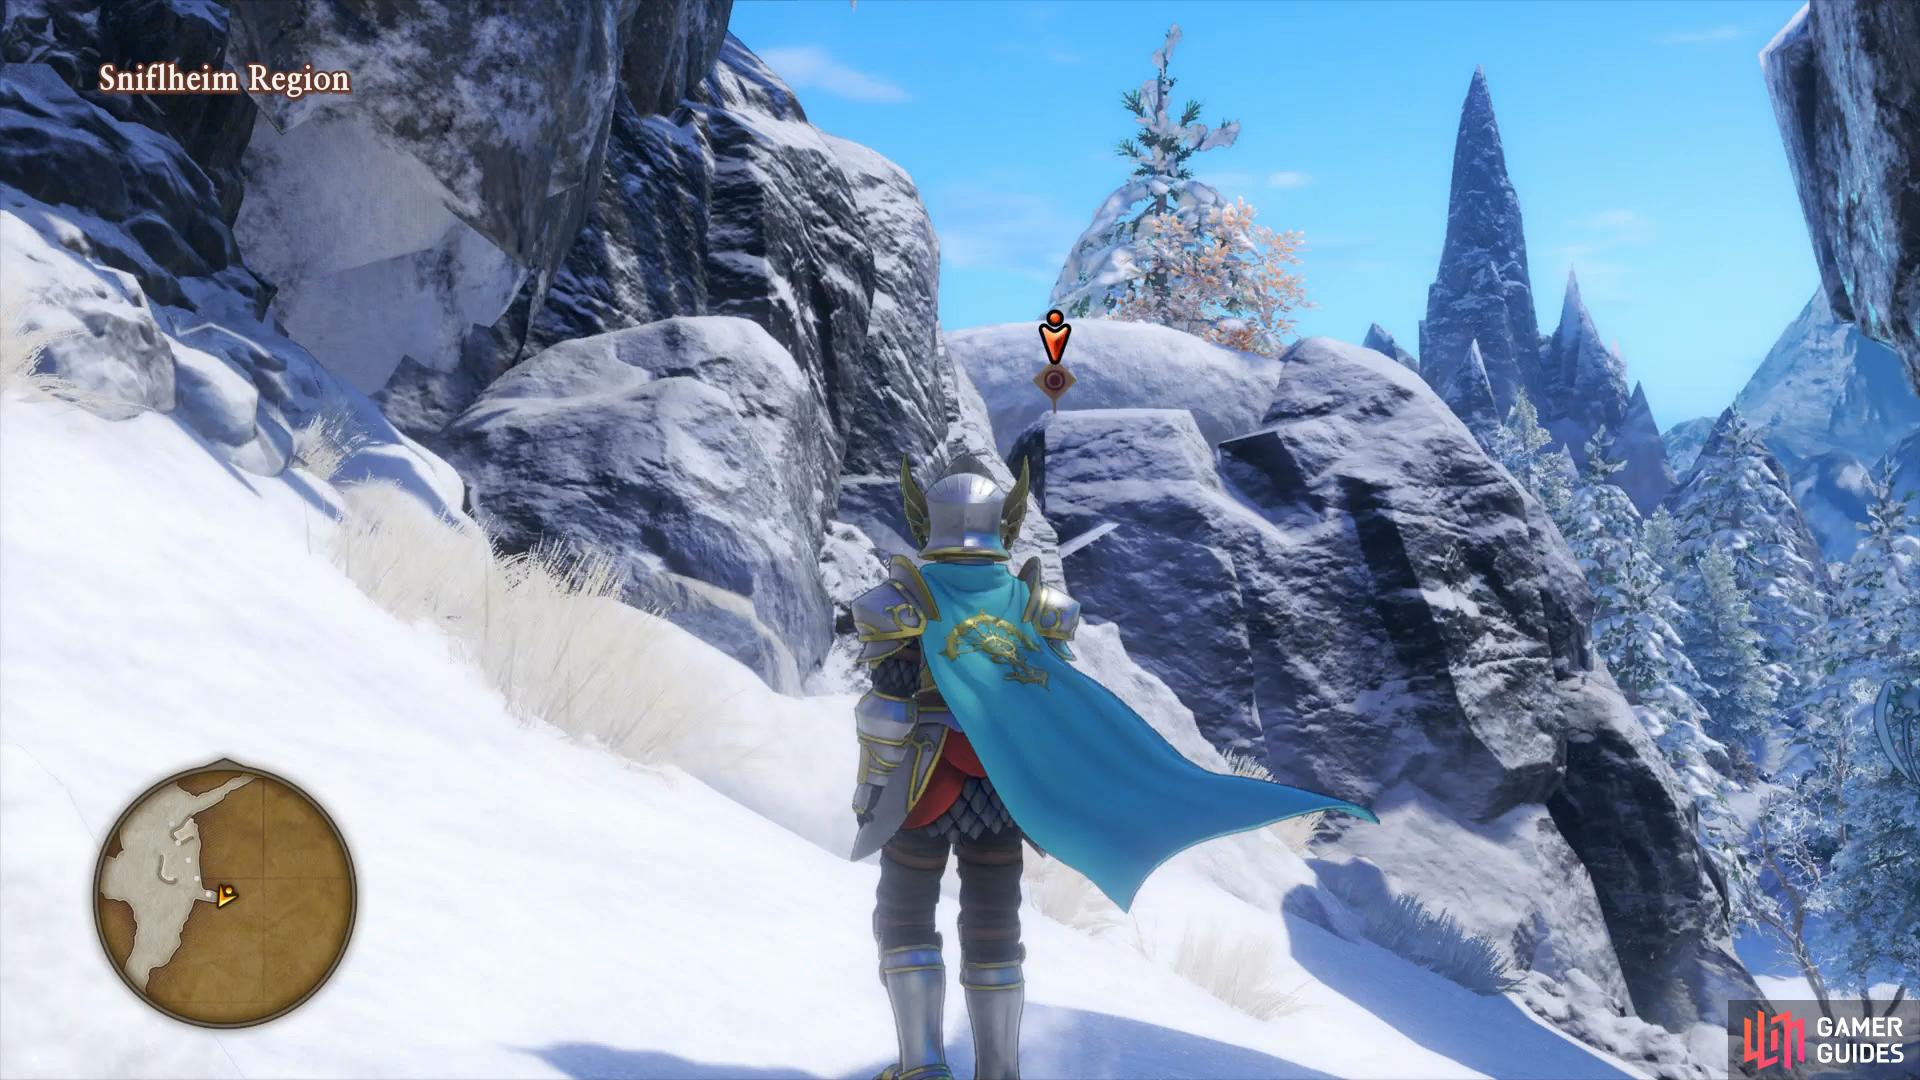
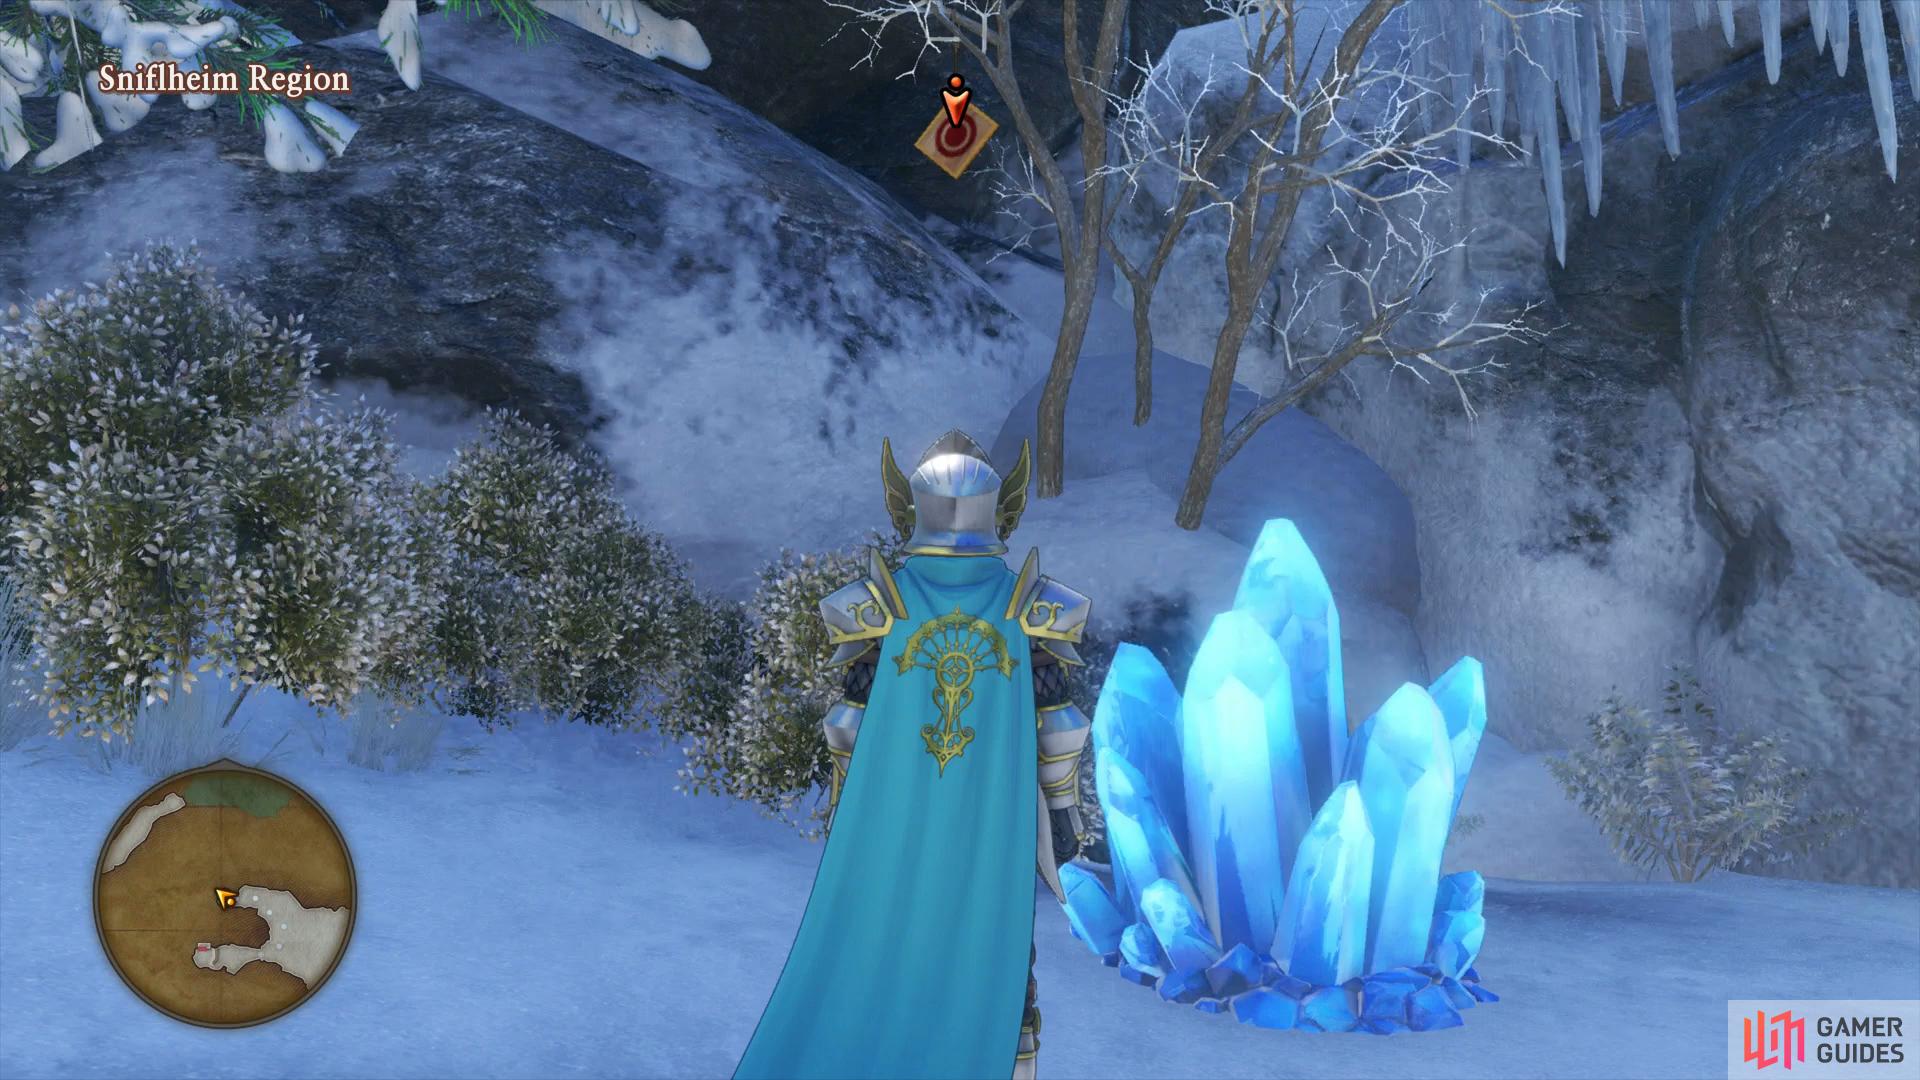
Look up high from here to spot a Crossbow Target

another one can be found dangling from a tree to the southwest.
Continue making your way south while hugging the eastern wall and head up the small hill, a chest is hidden here containing a Seed of Sorcery. Once again, turn the camera to face east to spot another Crossbow Target hanging from a nearby tree. Make your way into the southwestern corner from here and follow the edge to the north to discover a Flower gathering point containing two Silkblossoms and a Glimmergrass. Once more, turn the camera to face the north to spot the final Crossbow Target for now hanging from yet another tree. You’ve gathered all you can for now from this region, you’ll have to hit the last Crossbow Target once you’ve solved the mystery here so make your way south into the Snaerfelt.
The Snaerfelt
| Items | Area |
|---|---|
| Mini Medal | Central, across the archway, chest |
| Anti-Freeze Earrings | East of the Royal Library, chest |
| Supercool Kit | North, behind the cabin, chest |
| Sparkly Spots | Area |
|---|---|
| Mirrorstone | South |
| Platinum Ore x2, Blue Eye | Southwest, Ore gathering point |
| Mirrorstone | Central |
| Glimmergrass x2, Silkblossom | Northeast, Flower gathering point |
| Avabranche x2, Permasnow | North, Tree gathering point |
| Mirrorstone | North |
| Monsers | HP |
|---|---|
| Ursa Minor | ~260 |
| Ursa Panda | ~1105 |
| Troll | ~513 |
| Otter Shambles | ~252 |
| Chillanodon | ~138 |
| Luminous Lampling (Night) | ~105 |
| Bongo Fandango | ~156 |
| Chihuawyrm | ~513 |
| Dragon Slime | ~118 |
| Face Invader (Mount) | ~175 |
| Crack-Billed Platypunk | ~134 |
| Hunter Mech | ~155 |
| Slimecicle | ~148 |
| Shadow | ~100 |
The Snaerfelt is considered a separate region to that of Sniflheim and for that reason, there’s a whole new set of Crossbow Targets to track down. Your destination is the Hekswood to the north but ignore that for now to begin searching for items.
Continue along the path from the entrance and under the archway, you should see a glittering Face Invader, defeat one and mount it. Head back towards the archway you just passed under and head up a small hill to find a Sparkly Spot containing a Mirrorstone. Continue east to find a chunk of Ice blocking the path south, ram into it by holding down the [R2] button whilst riding the Face Invader to smash it open. Dismount from the Face Invader and head west along the top of the archway to find an Ore gathering point containing two Platinum Ores and a Blue Eye. Stand on the edge of this walkway and face the western wall to spot the first Crossbow Target.
Use the Face Invader to reach the top of this archway and spot the first Crossbow Target
the second can be found far to the east of the Snaerfelt.
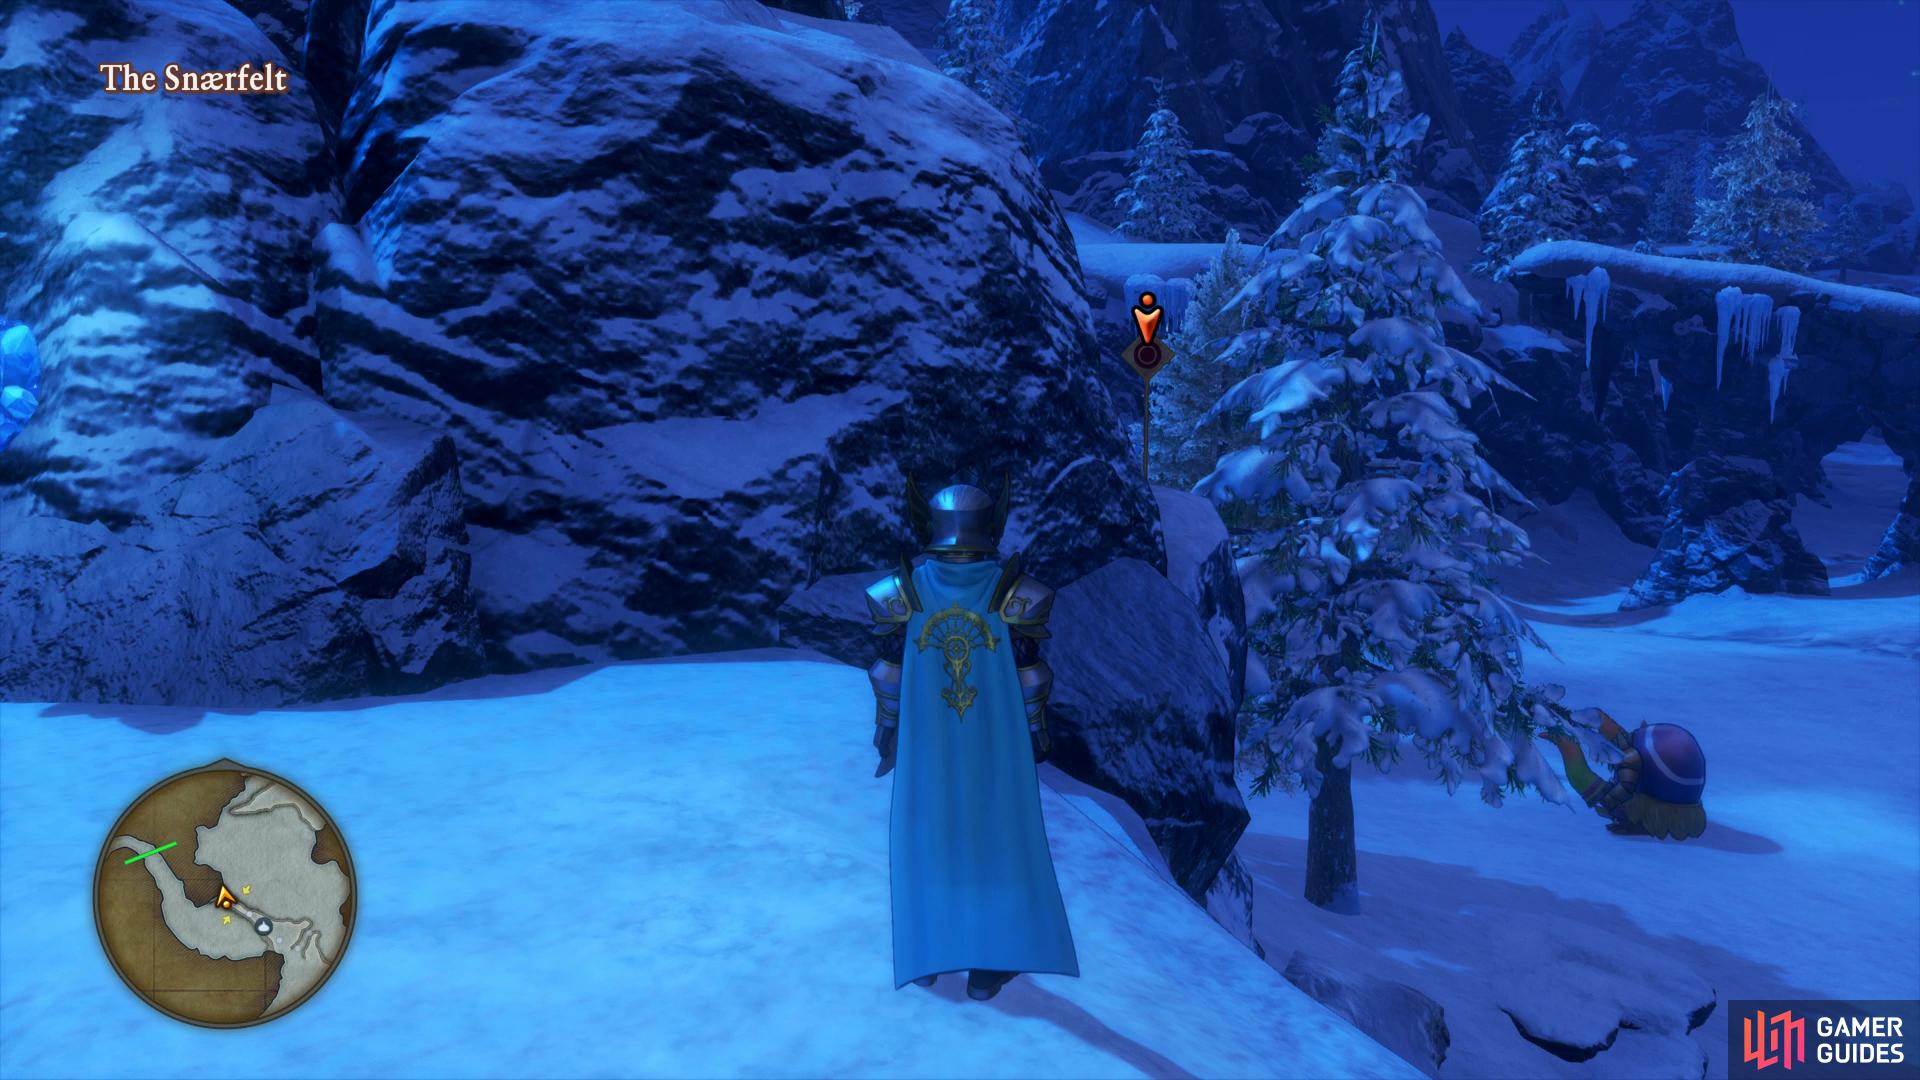
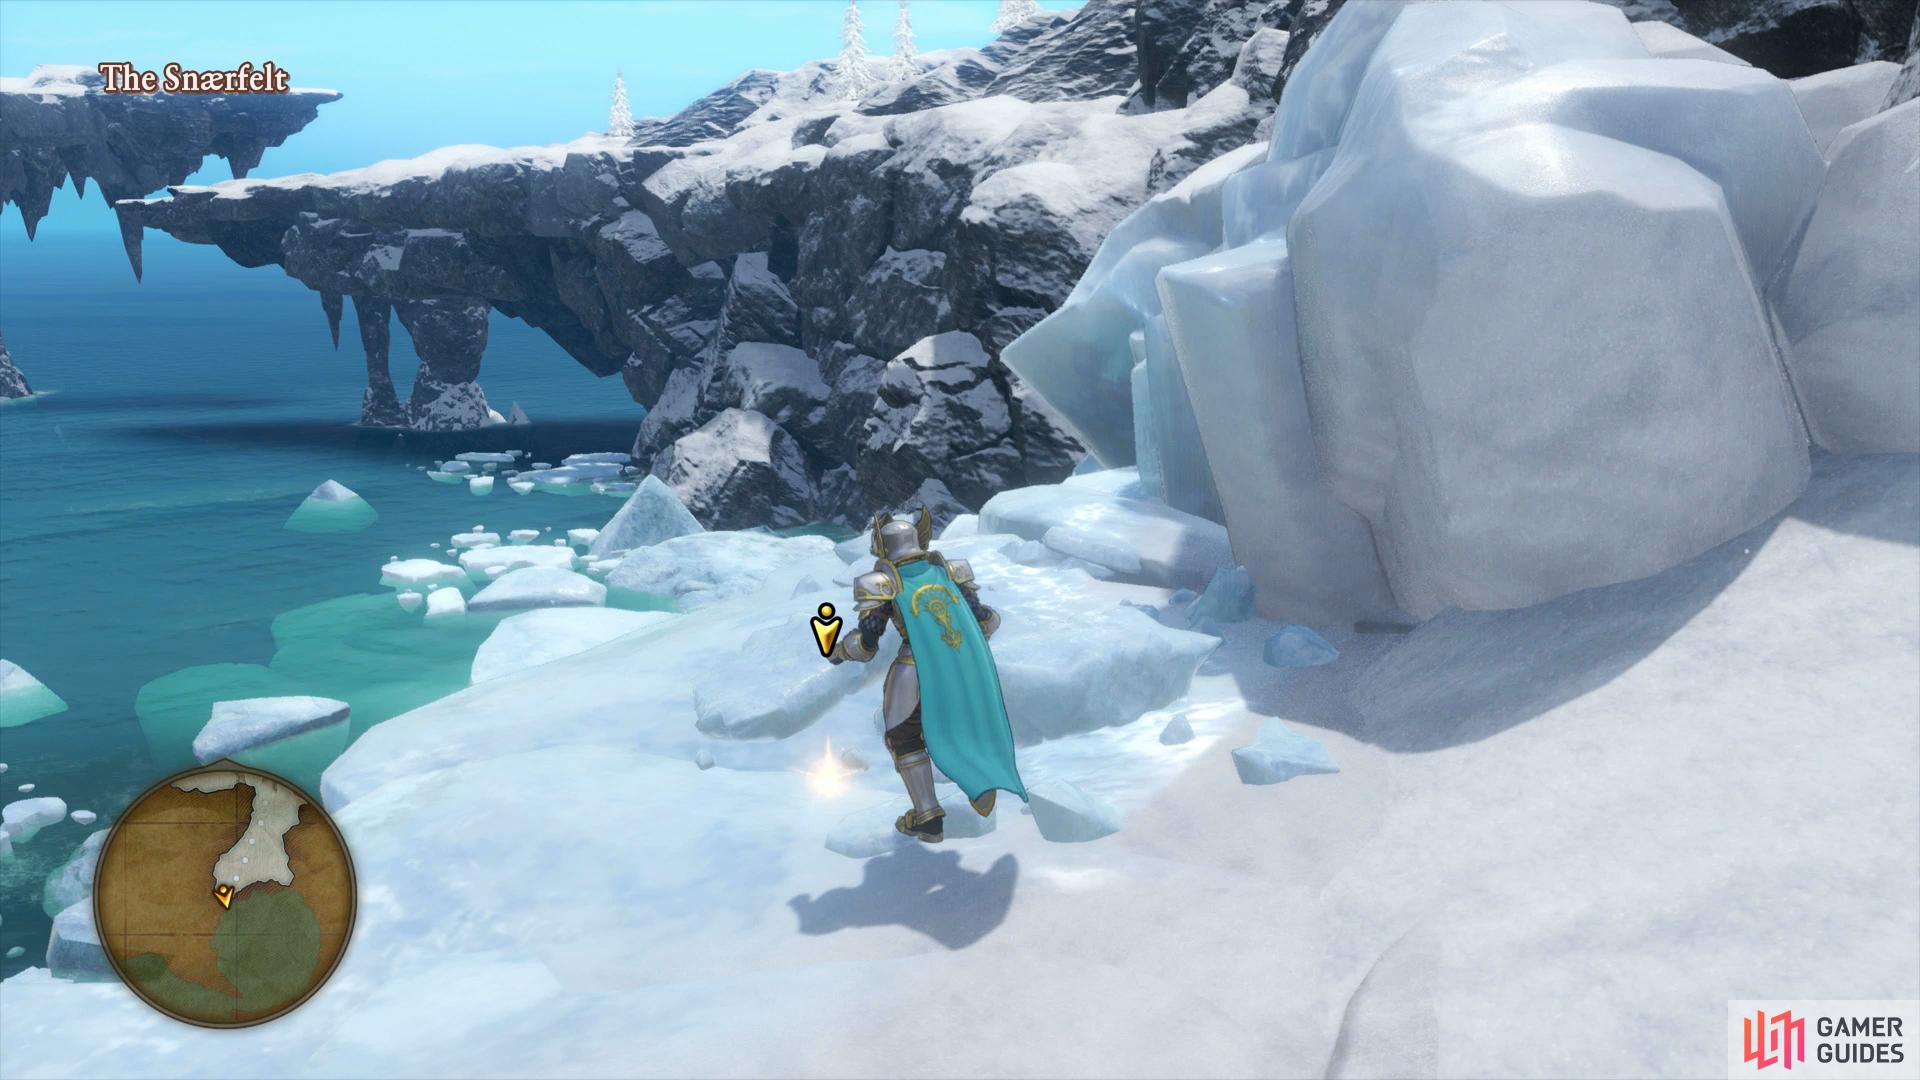
Drop down from the archway and follow the path to the east and rest at the Camp to save your game and recover your HP and MP. Continue east, past the Frozen Fjord and into the next open field to the east. Hug the western edge as you head south and look up high between the two large icicles to spot the next Crossbow Target. Return to the Camp and head northwest towards the trees to spot a Weather Cow, if you’ve been following this walkthrough then it should be the last one you need to find and unlock the Trophy.


Cross the bridge to the west from the upper area to find this chest
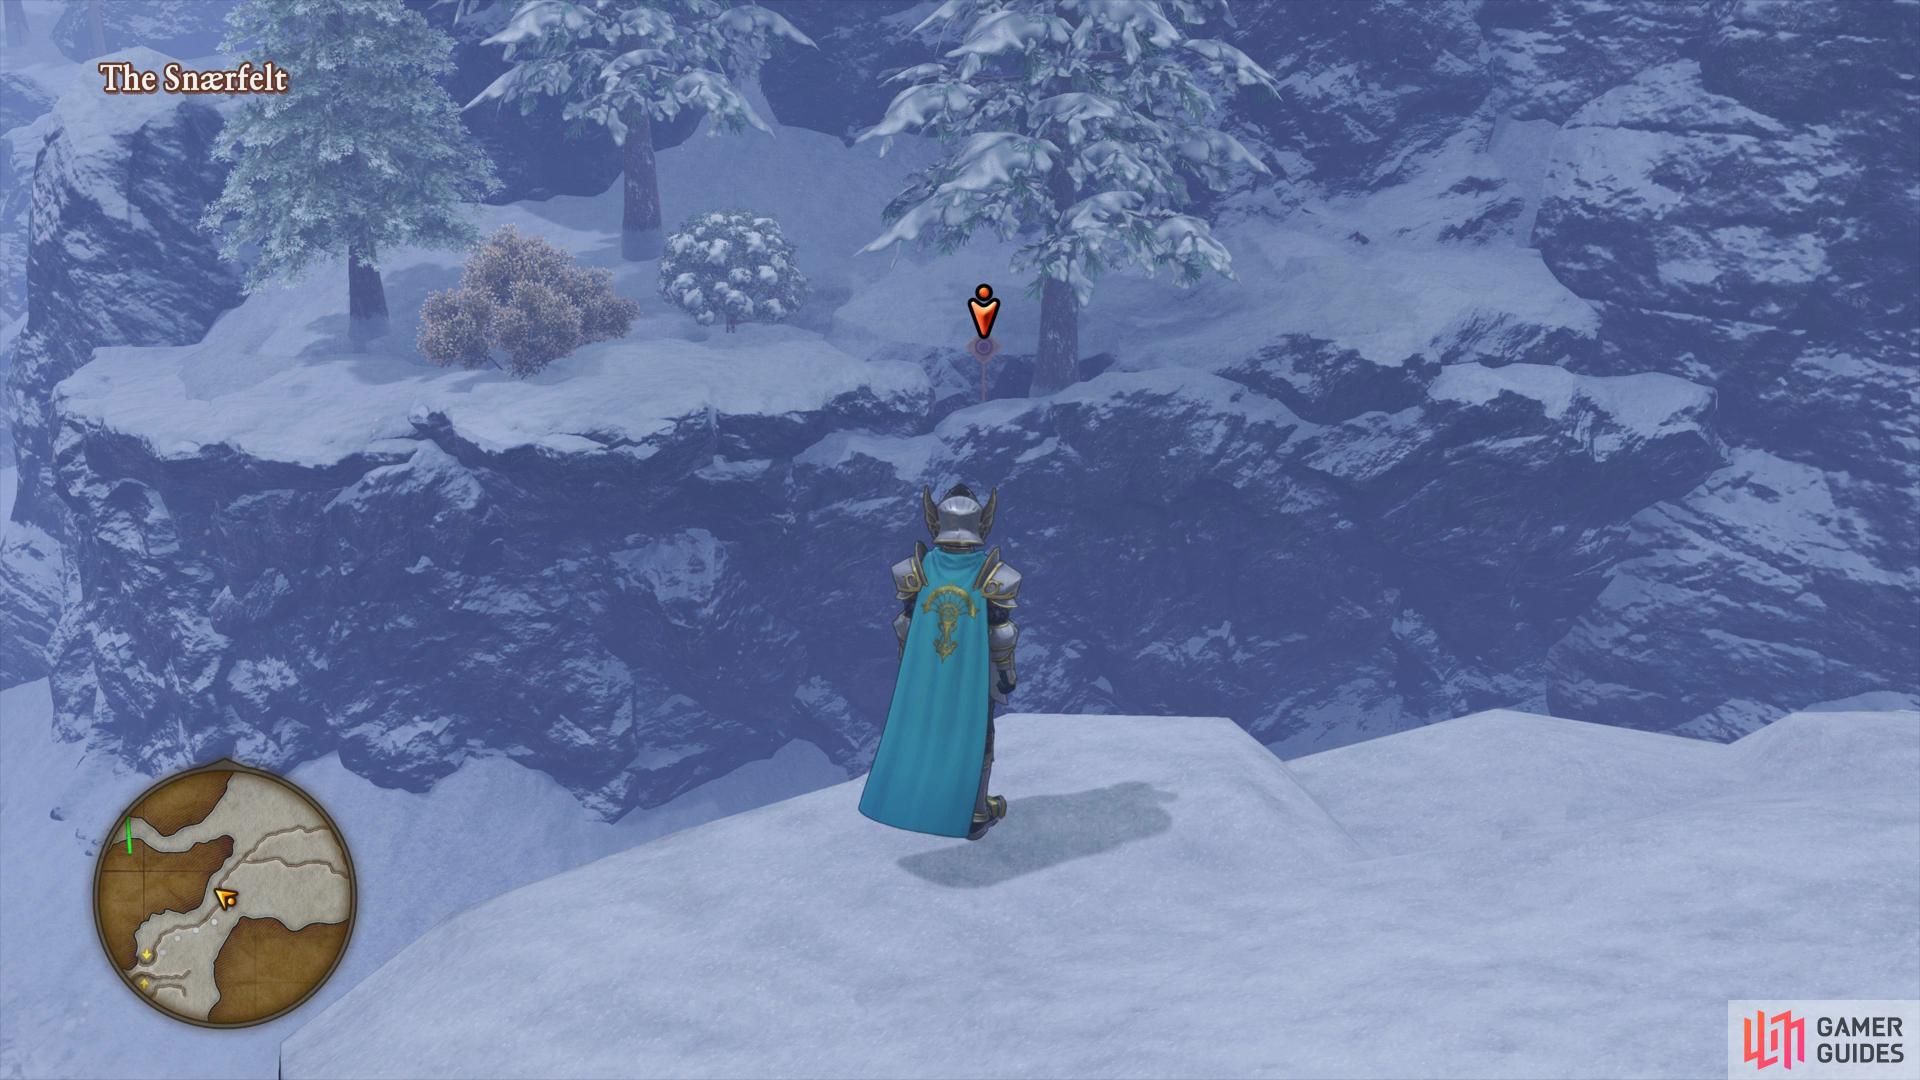
follow the western edge to find the next Crossbow Target.
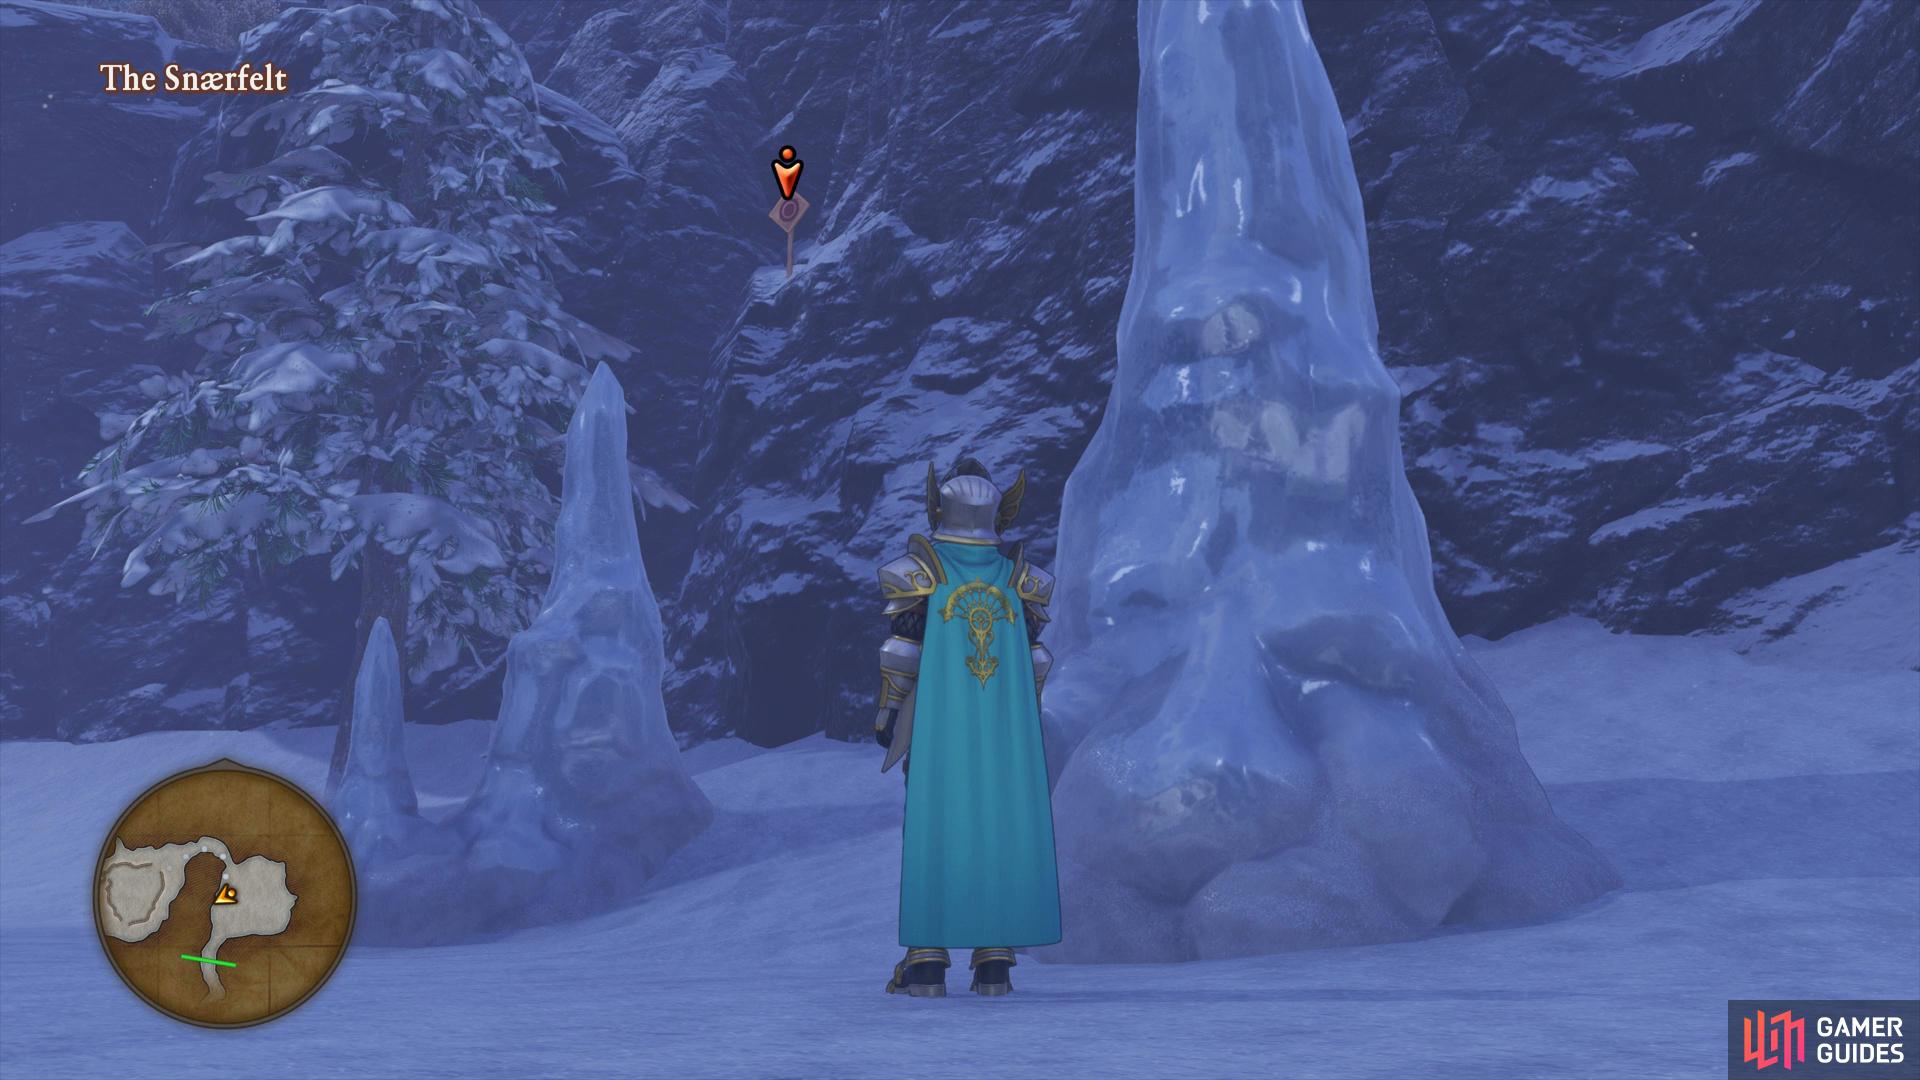
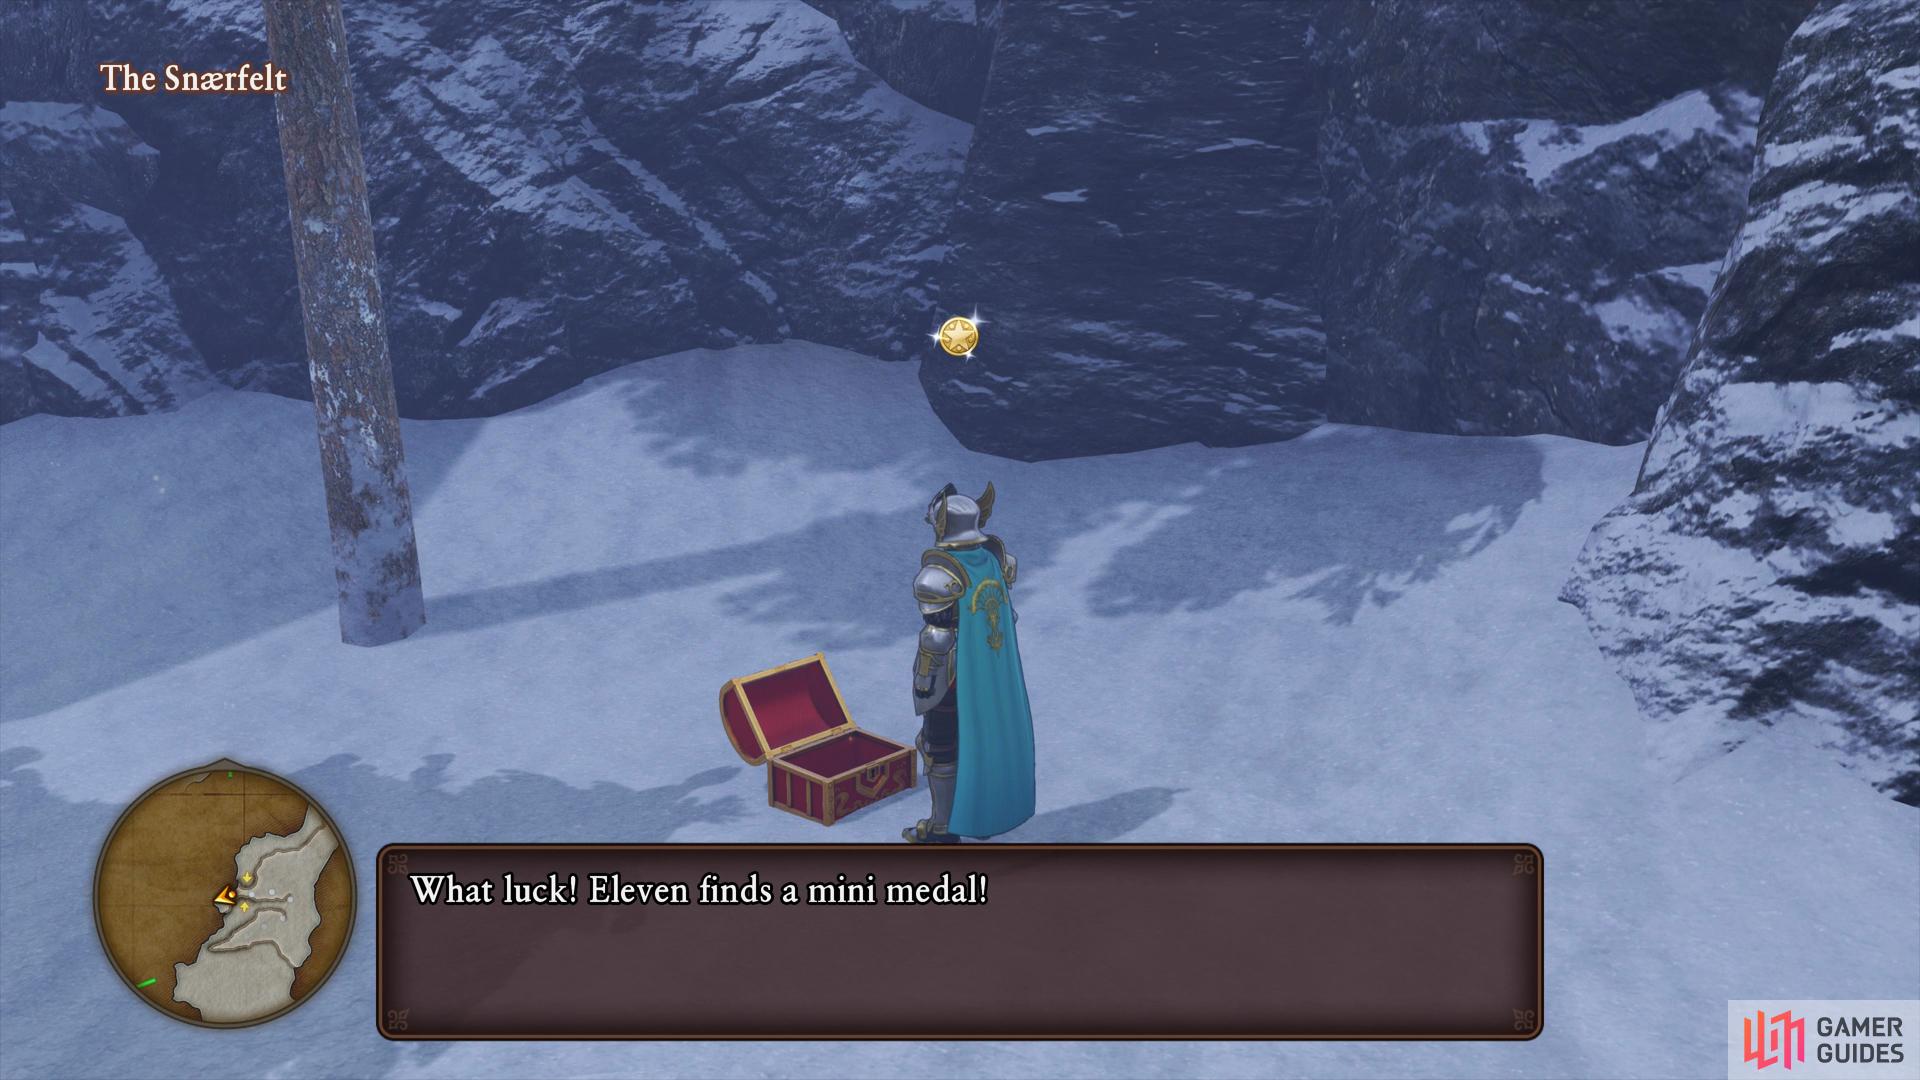
Follow the path north and head up the hill to the east as soon as you can. Go south and onto the archway you just passed under to find the next Sparkly Spot containing another Mirrorstone before heading north and crossing the next archway to your west to a chest containing a Mini Medal. Head back across the archway and follow the western edge north, keeping your camera facing the western wall to spot the next Crossbow Target.
Follow this plateau to the east and cross the next archway over towards the building situated here. Search northeast behind the back of this building to find another Crossbow Target dangling from a tree. Follow the path east still all the way to the end to find another chest, this one containing a pair of Anti-Freeze Earrings. Drop down to the ground to find a Flower gathering point containing a Silkblossom and two Glimmergrass before looking up at the tree to the west to find the final Crossbow Target.
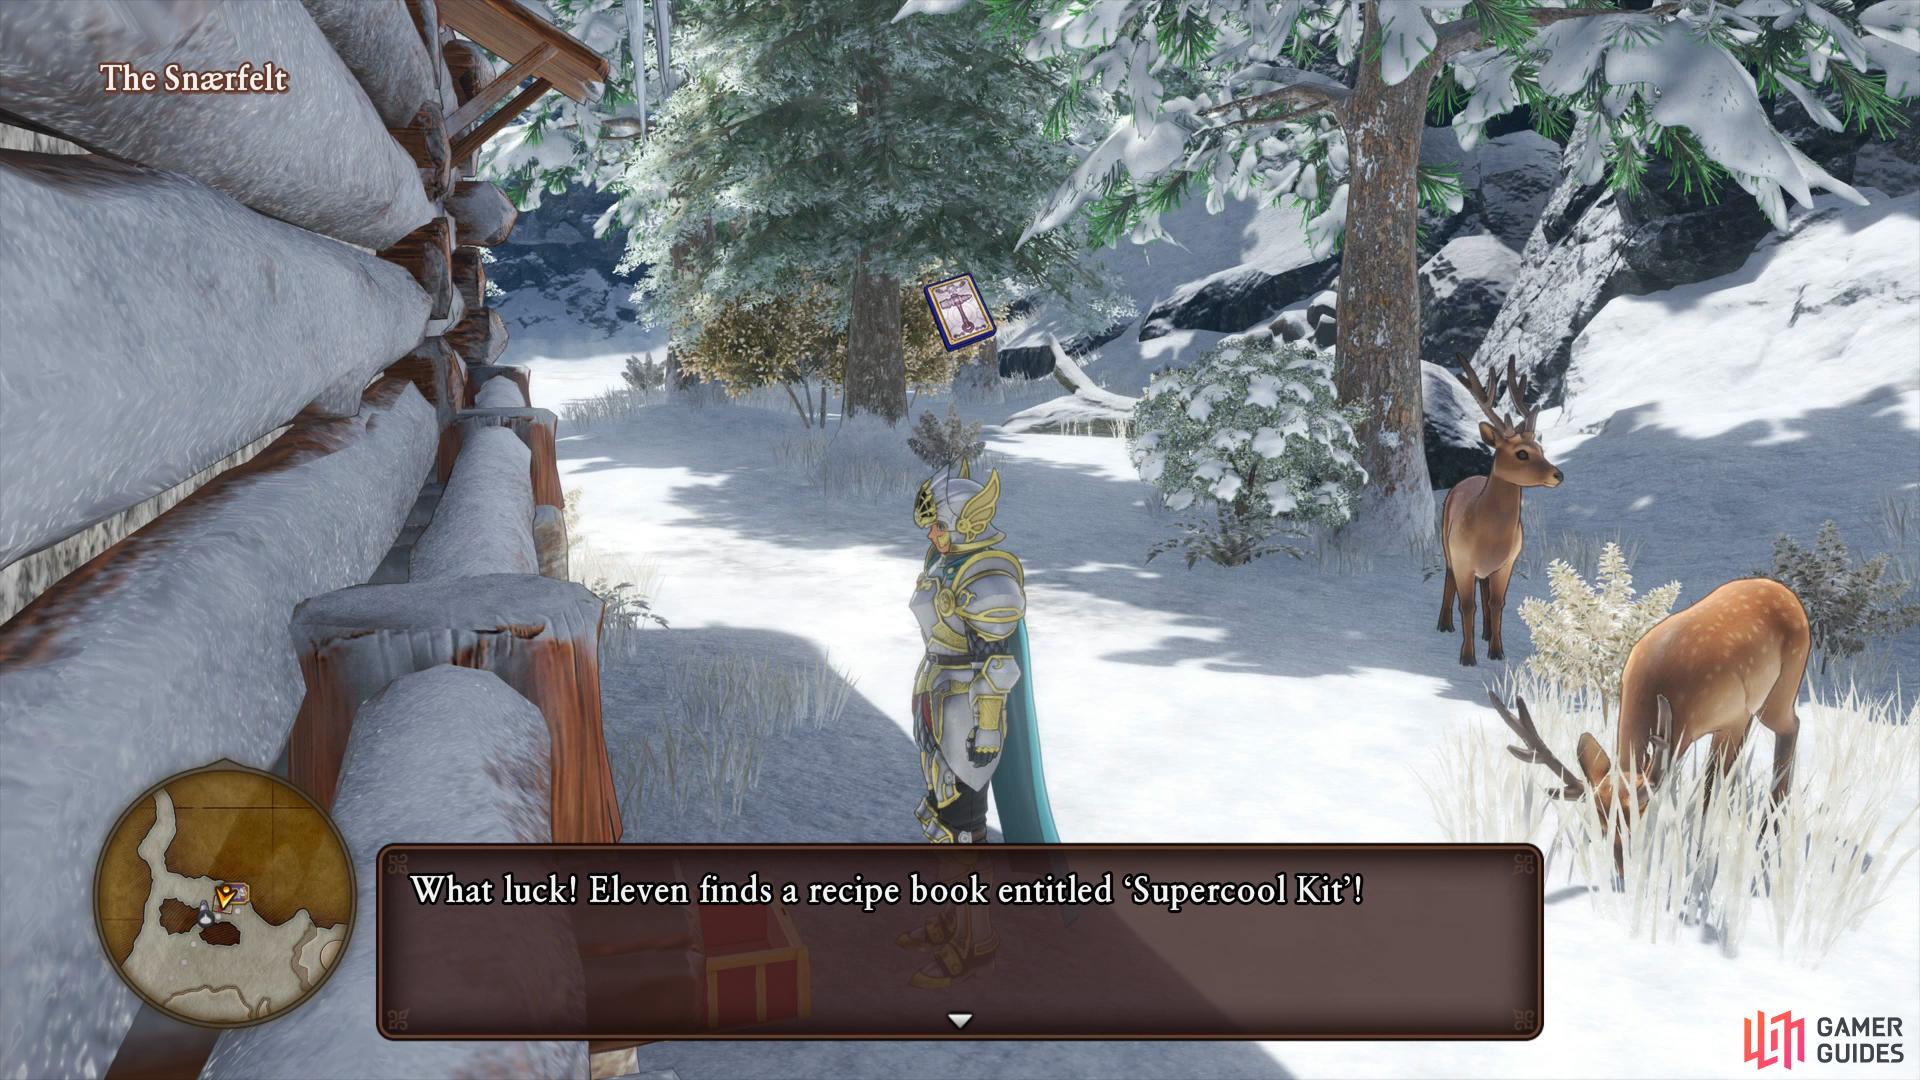
search behind the cabin near the Hekswood to find a new Recipe Book.
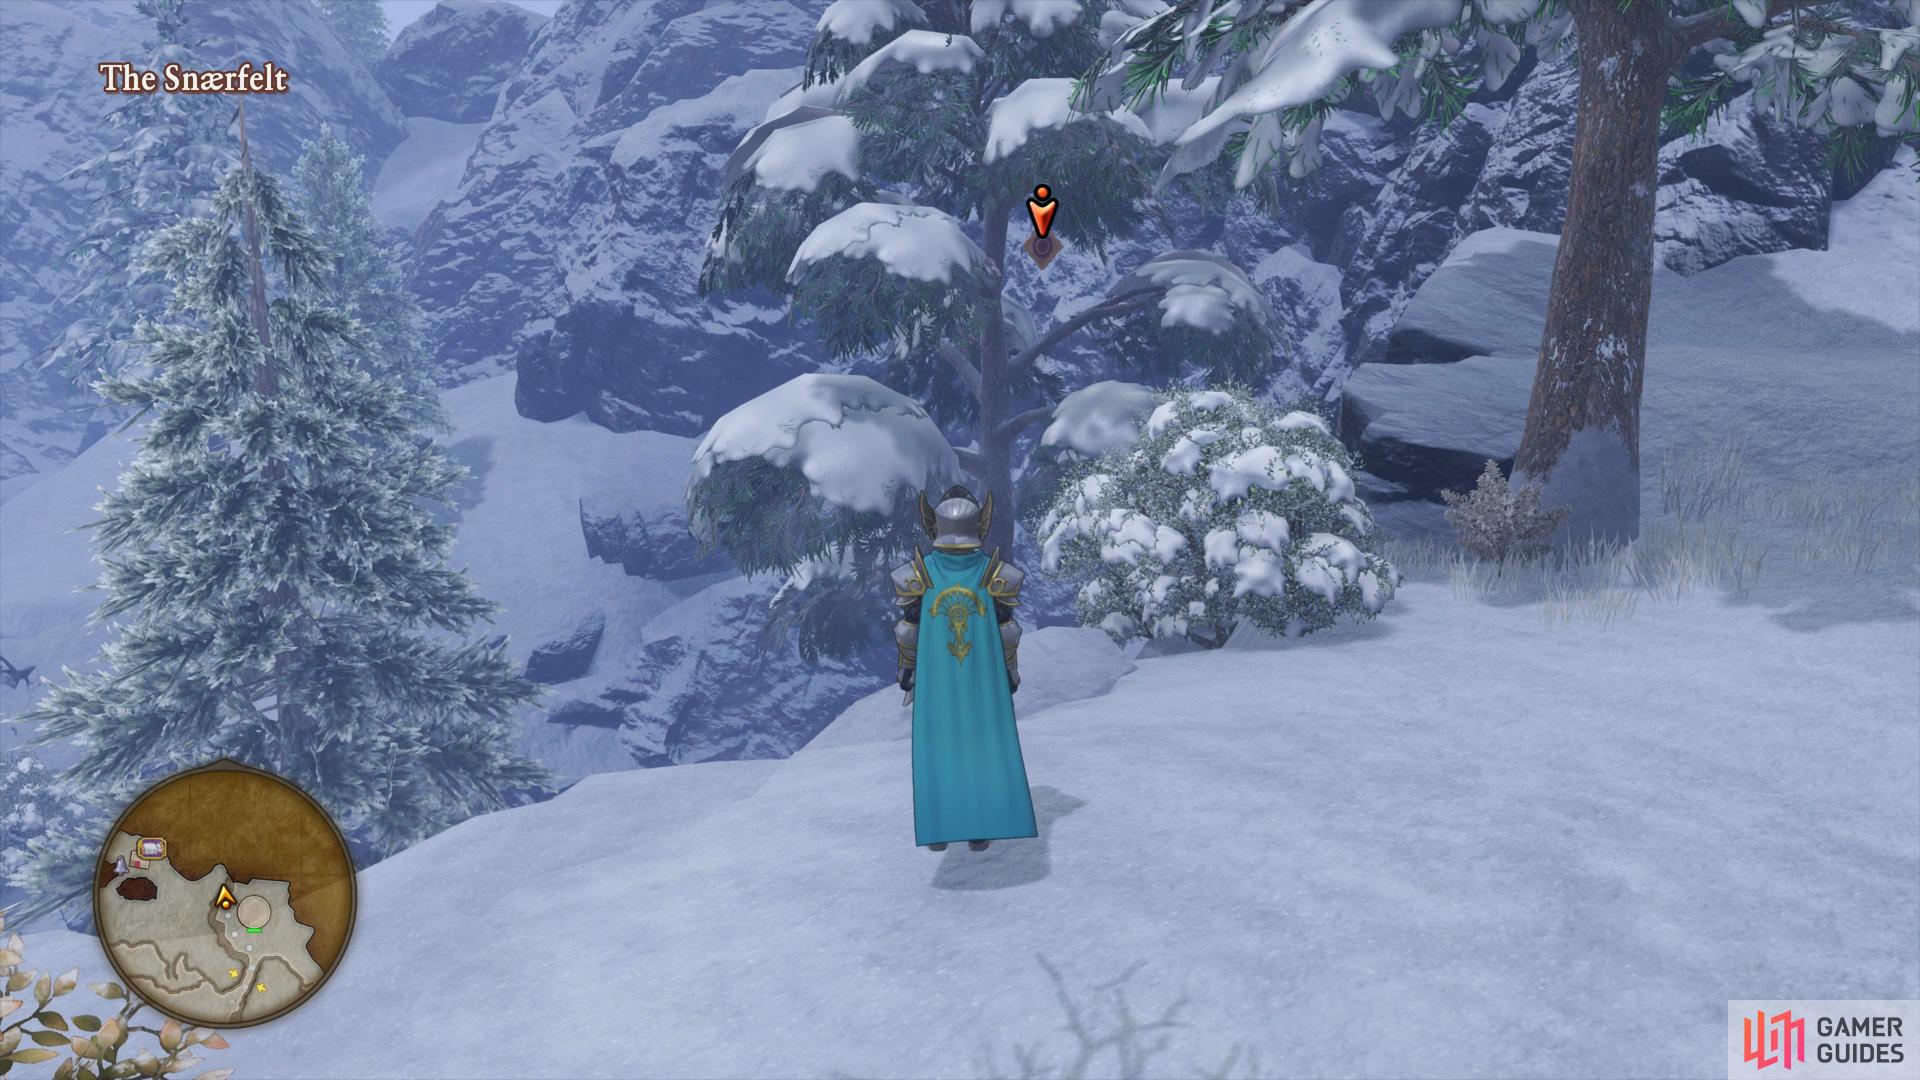
Look northwest from the plateau the Royal Library sits on to spot this Crossbow Target
Grab a nearby Face Invader and ride it west to smash another chunk of ice where a Tree gathering point is situated containing two Avabranches and a Permasnow. While still up here, head east to final Sparkly Spot containing a Mirrorstone before heading north to the nearby cabin. Search around the back of it for a chest containing a Supercool Kit Recipe Book and save your game should you need to. Before heading into the Hekswood, Zoom back to the Camp here to deliver the results to the Bodkin Bowyer and obtain four Pretty Betsy’s. Once you’re fully prepared and rested up, head north from the cabin into the Hekswood.
The Hekswood
| Items | Area |
|---|---|
| Seed of Agility | Eastern path off the central intersection, chest |
| Platinum Protection | Western path off the central intersection, chest |
| Sage’s Elixir | North of the central intersection, chest |
| Sparkly Spots | Area |
|---|---|
| Avabranche | Southwest |
| Platinum Ore | Southeast |
| Permasnow | East |
| Avabranche | Central |
| Lucida Shard | North |
| Blue Eye, Gold Ore, Platinum Ore | North, Ore gathering point |
| Monsters | HP |
|---|---|
| Orc | ~105 |
| Dragon Slime | ~118 |
| Crack-Billed Platypunk | ~134 |
| Bodkin Bowyer | ~105 |
| Drackyma | ~108 |
| Orc King | ~220 |
The Hekswood is a relatively short area with not too much going on but as soon as you enter you’ll notice the presence of Heliodorian Soldiers. Ignore them for now and follow the path to the first intersection and head west to find the first Sparkly Spot, an Avabranche. Continue east along the path and then take a south as soon as it heads north, another Sparkly Spot awaits here containing a Platinum Ore.
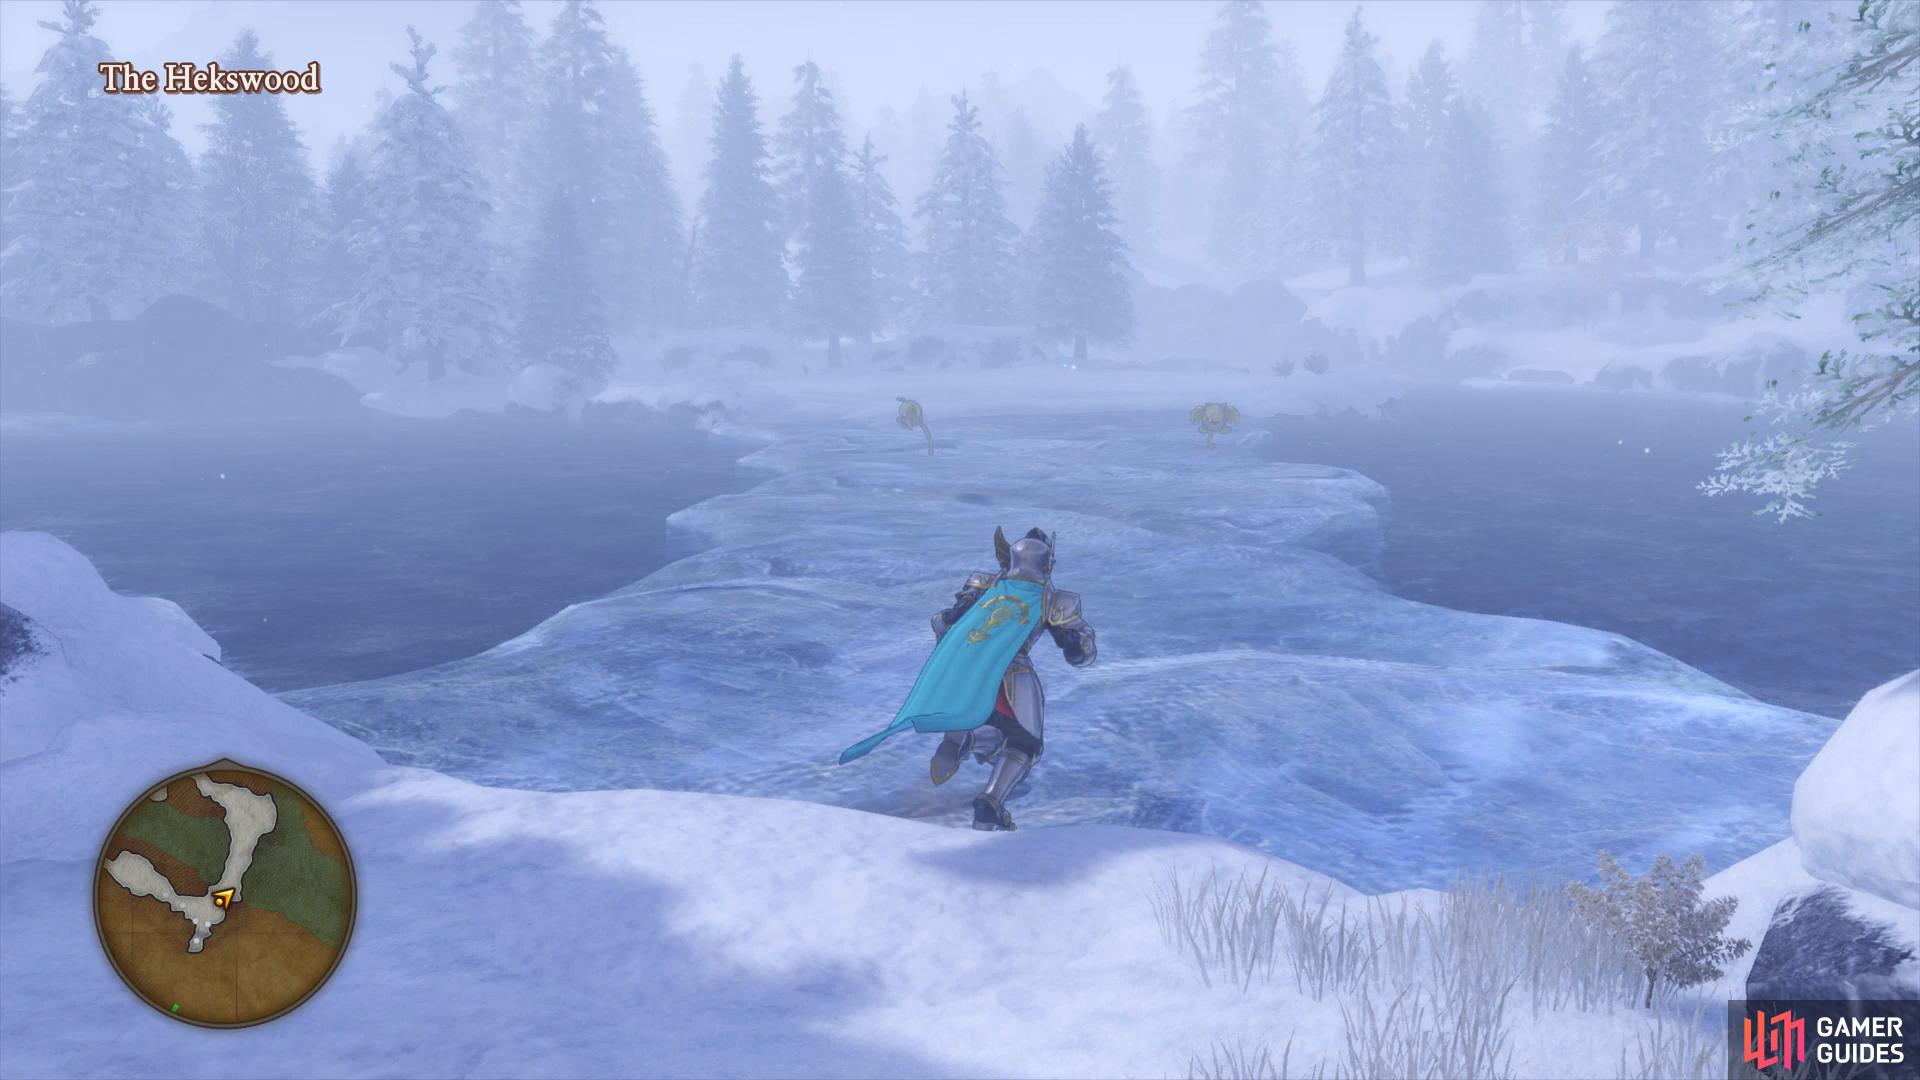
Continue north and snag the Sparkly Spot containing a Permasnow before following the linear path west to the end, another Sparkly Spot can be looted here containing another Avabranche. Head north a short distance and take the first path to the east, a chest is hidden here containing a Seed of Agility. Return to the previous intersection and head west, following the path south across the ice to another chest, this one containing the Recipe Book Platinum Protection.
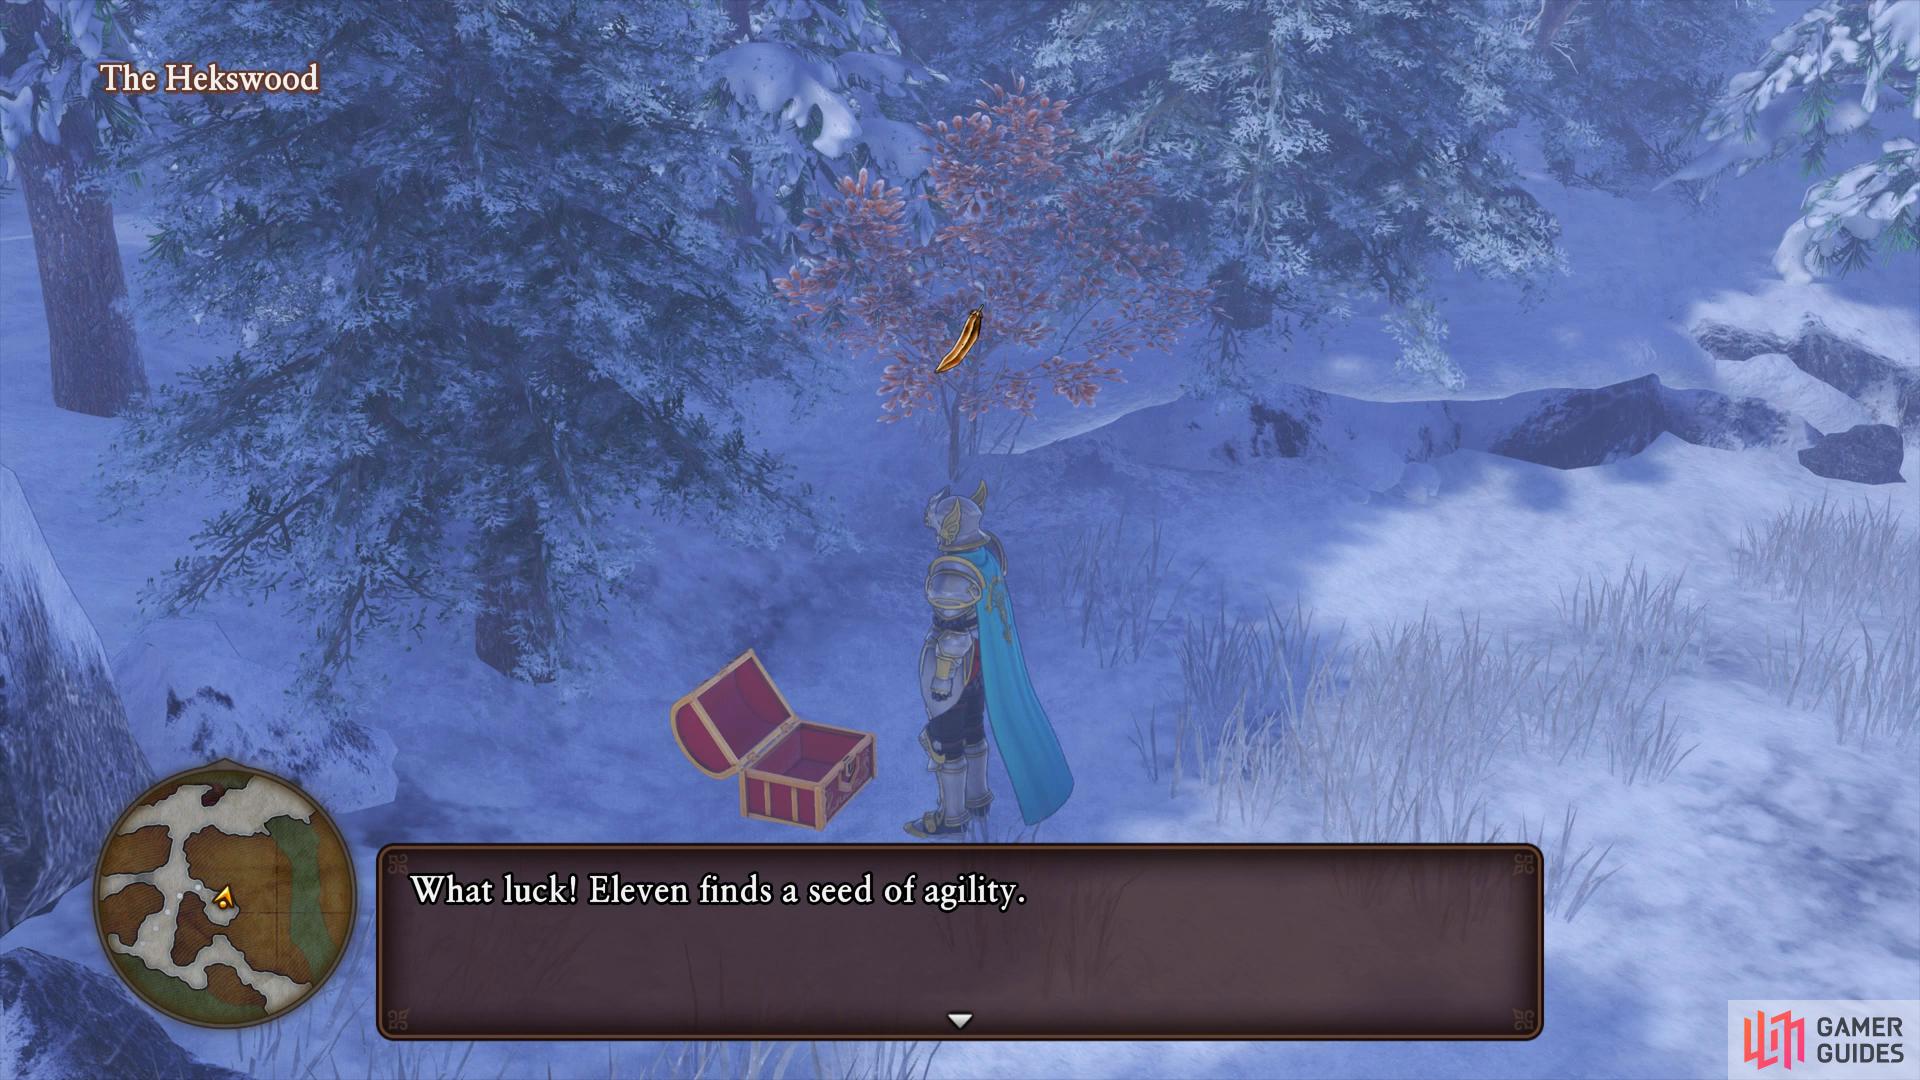
Head east at the first intersection to find a chest with a seed
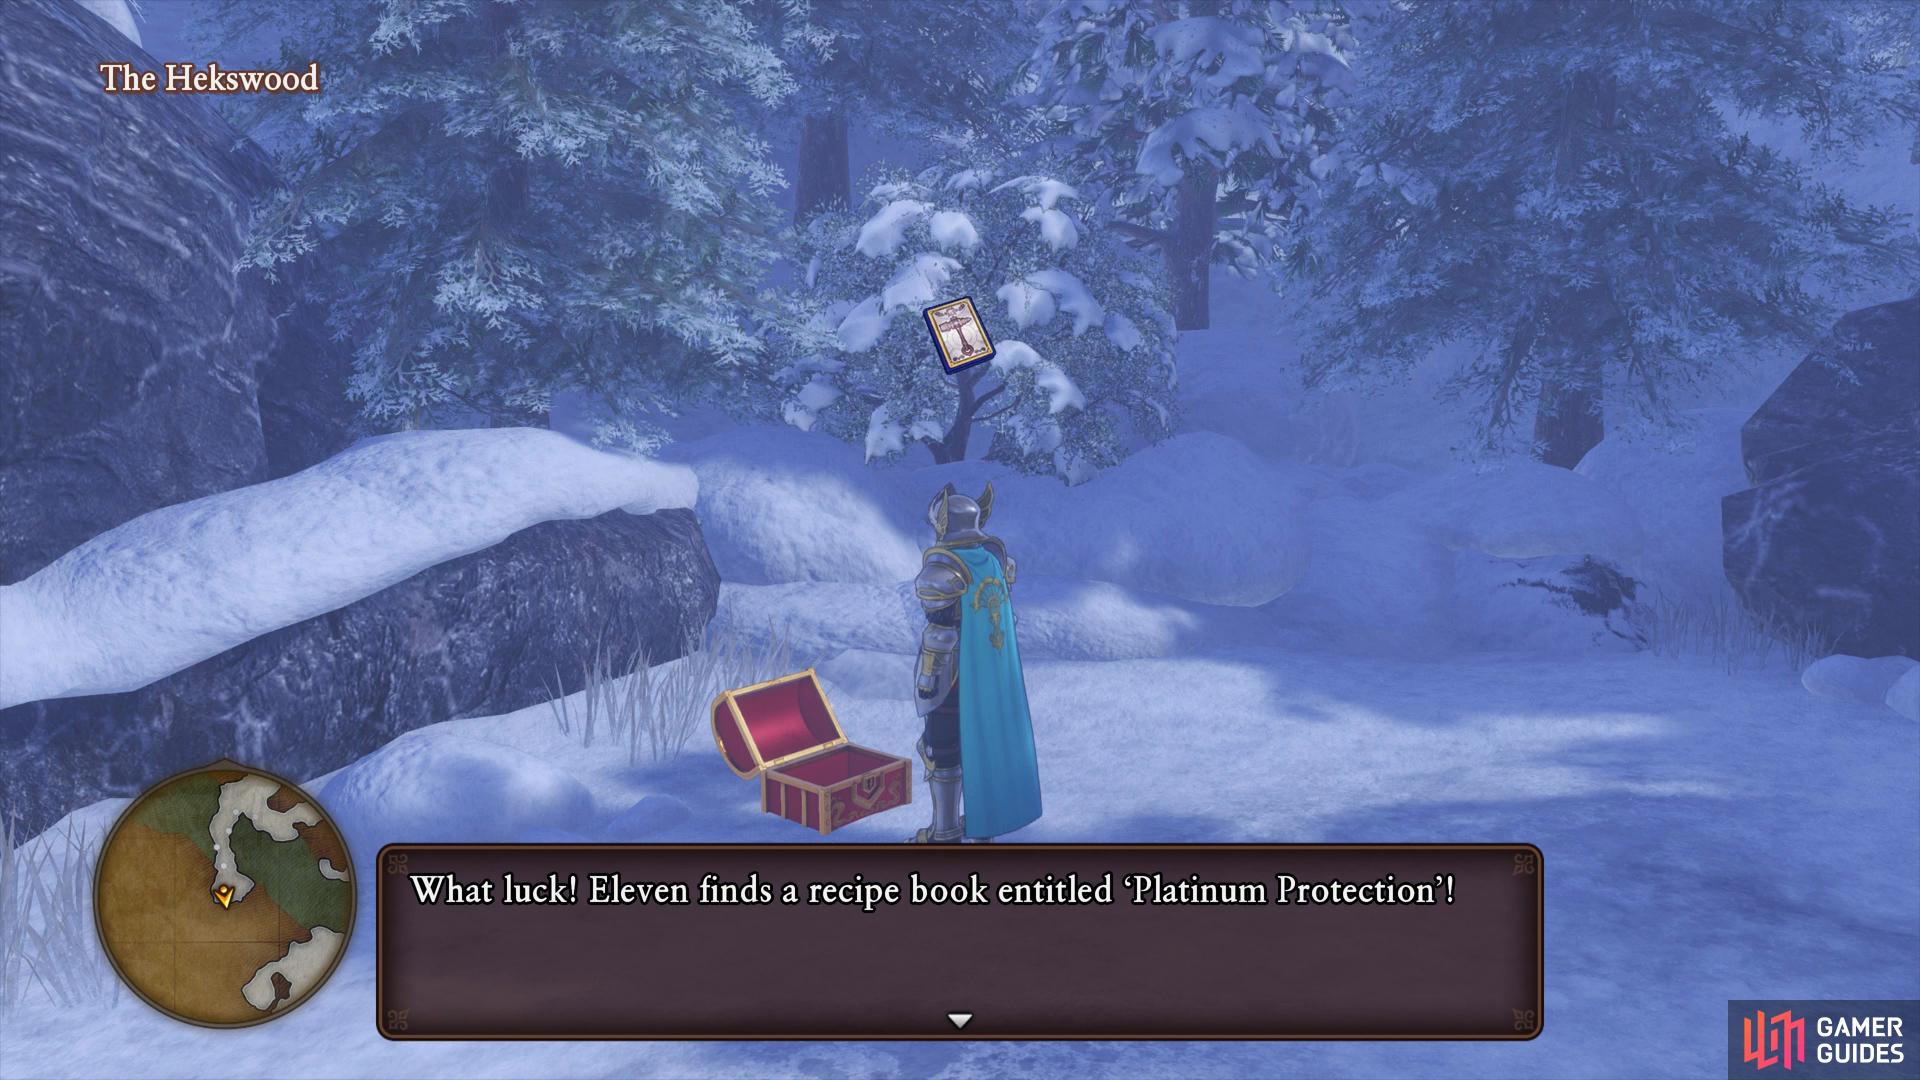
follow the western path to the south to find a new Recipe Book.
Return north across the ice and ignore the first path to the east, continuing to follow the path to a Sparkly Spot containing a Lucida Shard. As you reach the center of the next intersection, search behind the trees near the river to find the final chest, a Sage’s Elixir. Follow the path east across the ice to the Ore gathering point containing a Blue Eye, Gold Ore and a Platinum Ore. With all the items gathered, head west to the Goddess Statue to save your game and when you’re ready, proceed north. As the snow gathers pace and you become separated from the rest of your party, continue pressing north to find an unexpected person.
Boss: Jormun
Although you’re up against Jormun alone, your adversary should still be a pushover. It only has 820 HP and if your Hero has Unbridled Blade already, you should make short work of it. The only attacks of any concern are it’s regular attacks after doing it’s jolly jig, it’ll hit for over 60 HP but at the same time, it’s defense will drop allowing you to deliver the killing blow a lot easier. Keep your HP above 100 and you should have no trouble felling this beast.
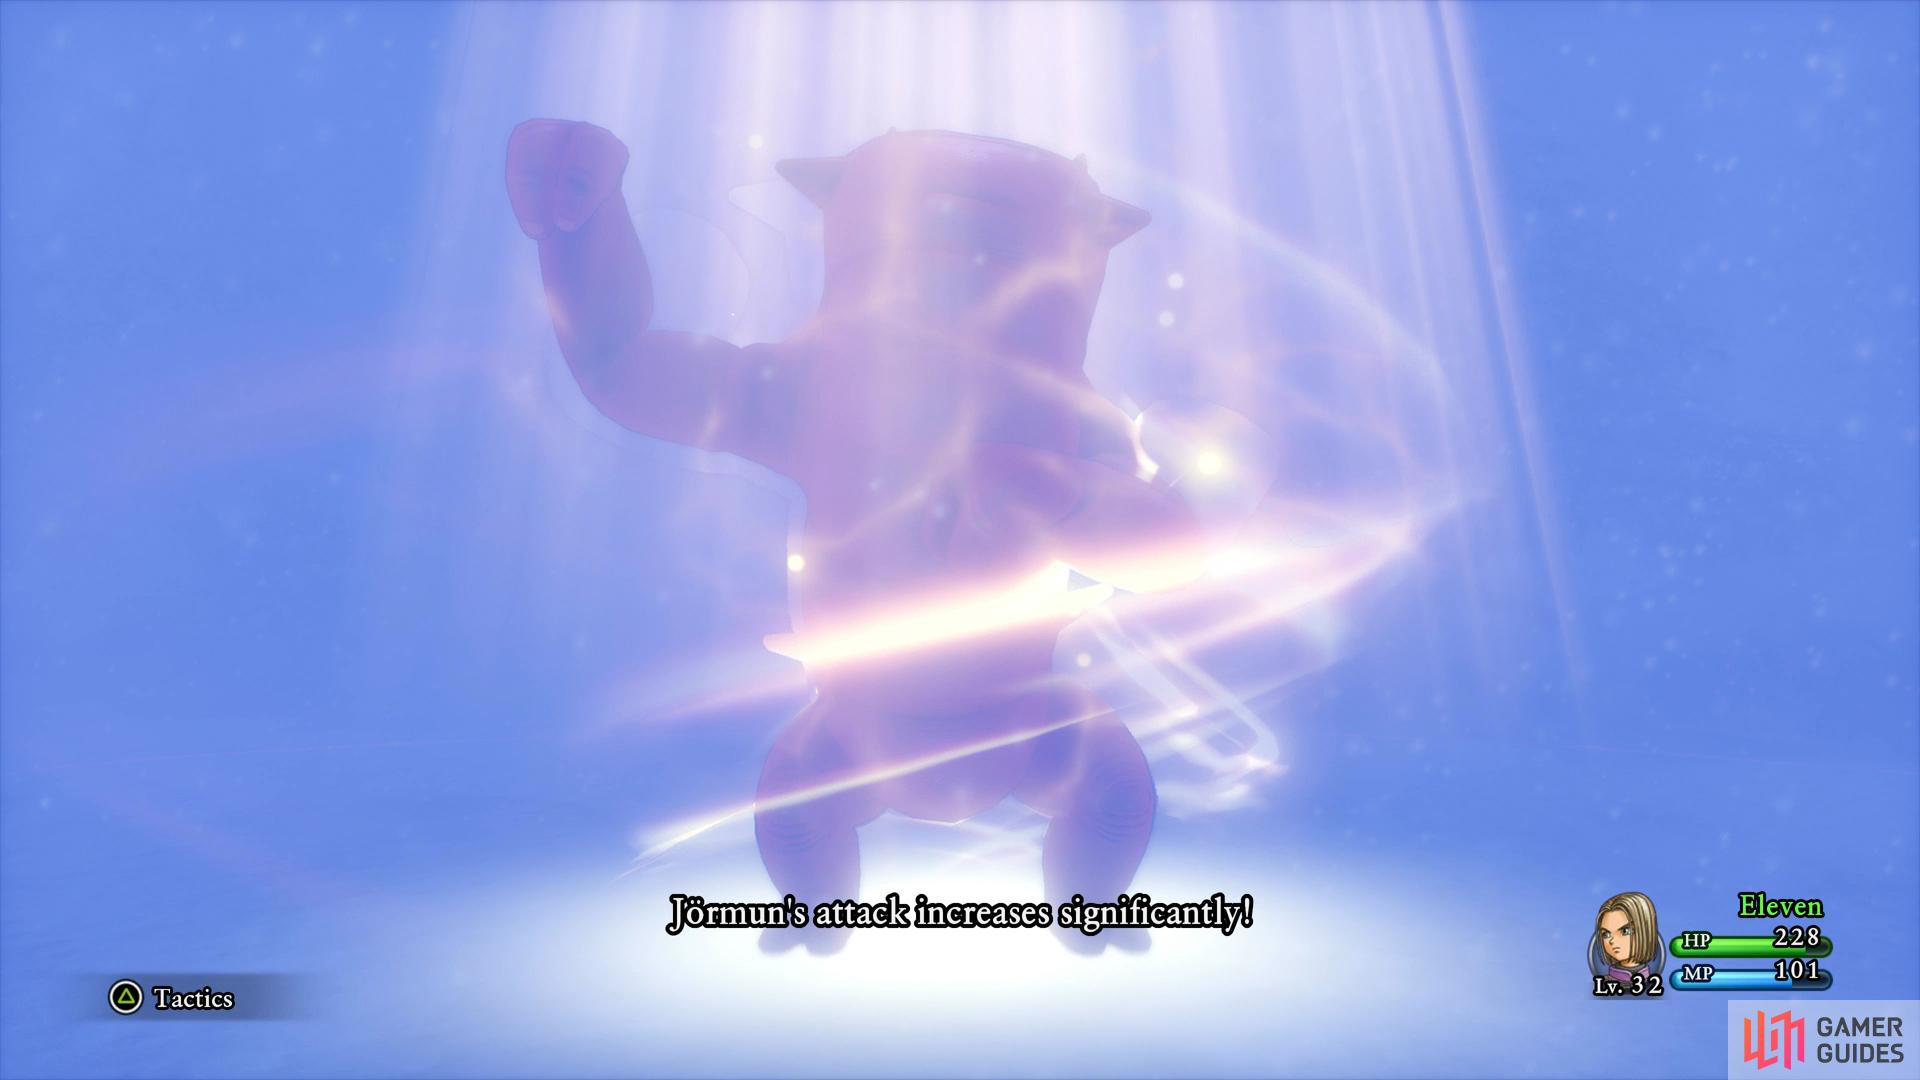
The Jolly Jig skill will increase it’s attack but drop it’s defense
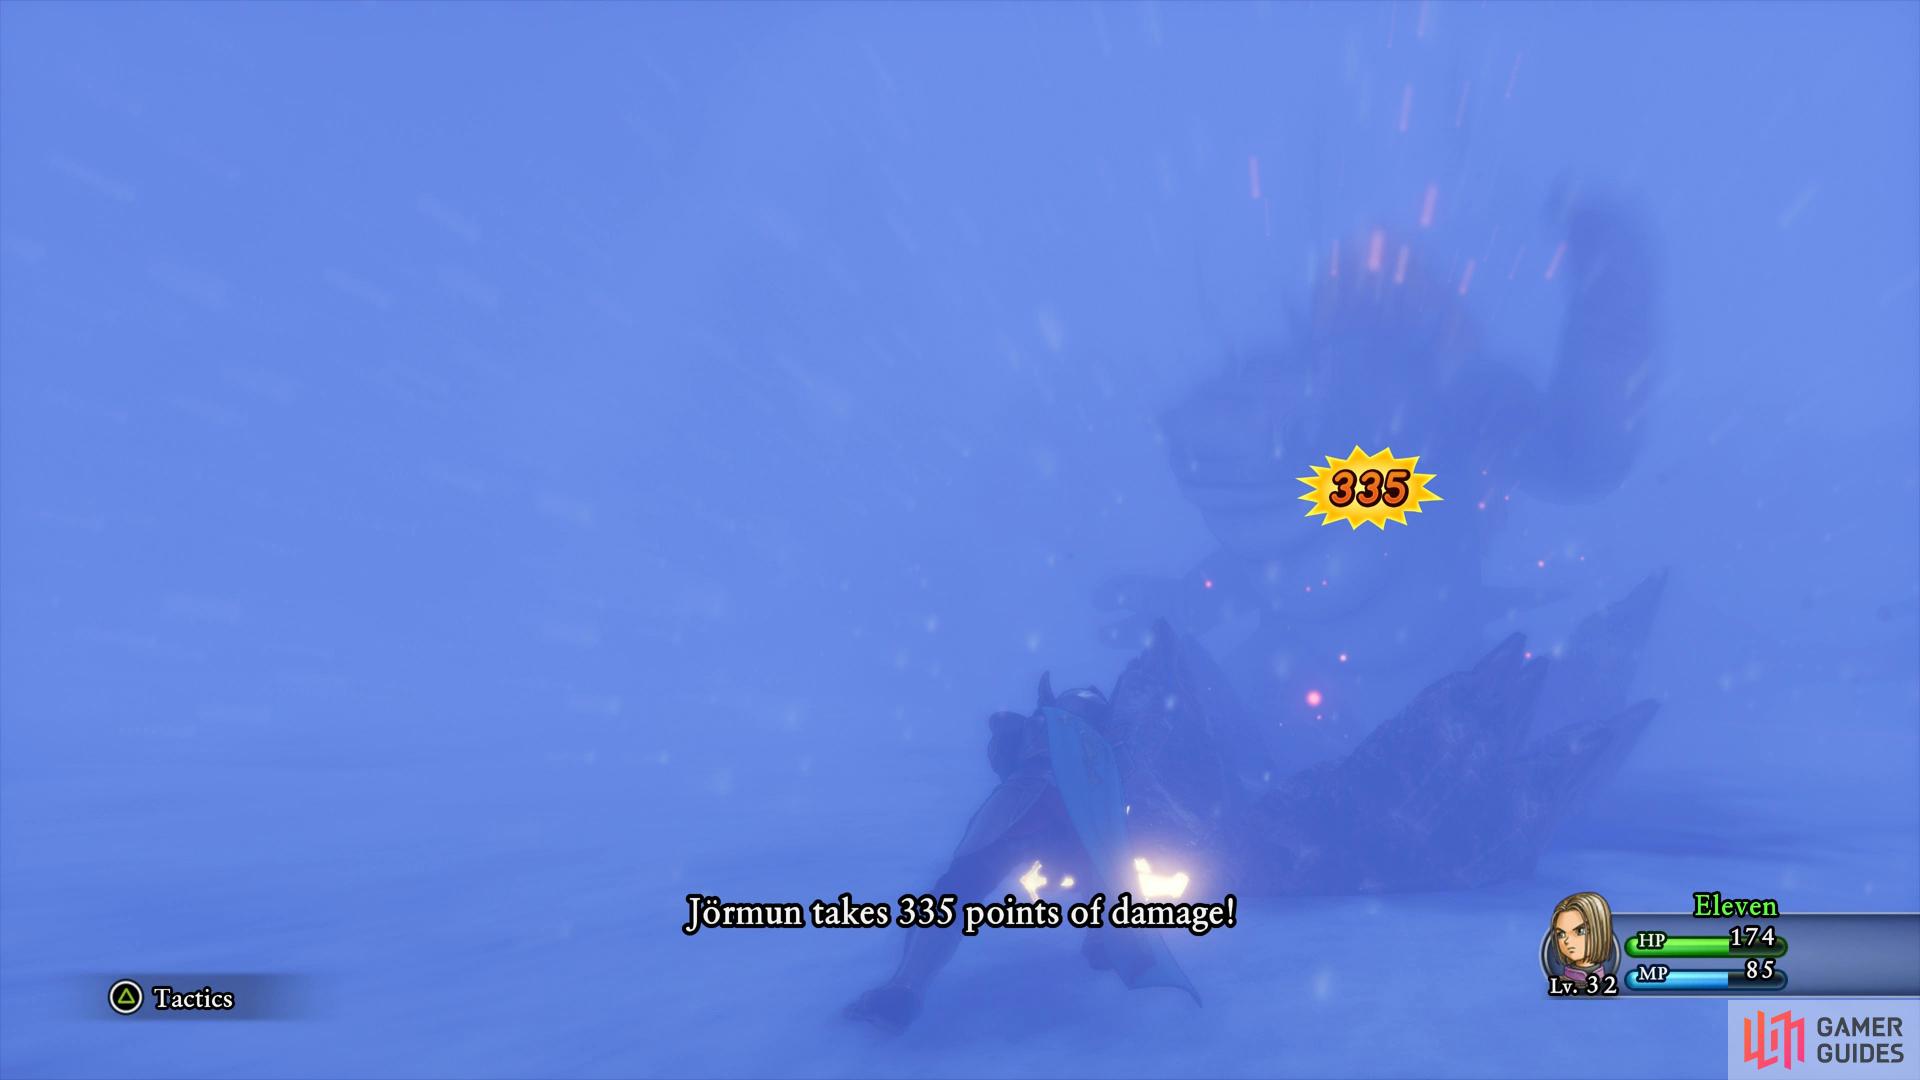
this will allow Unbridled Blade to deal devastating damage.
Following your exploits with the beast and the subsequent encounter with the Witch, the Hero will pass out due to the cold. When you awake, you’ll find yourself in the Scholar’s Cabin back in the Snaerfelt. Attempt to leave the Cabin and you’ll meet the owner, the scholar Snorri. You learn that the Royal Library to the east should house the secrets to defeating the witch Krystalinda and you’re to escort Snorri back there. Make your way south until you find the way up to the area above, following the path back north and over the bridge to the Royal Library.
The Royal Library
| Items | Area |
|---|---|
| 4000G | Level 1, chest |
| Saint’s Ashes | Level 2, chest |
| Favourite Fashions of the Masters of Magic | Level 3, bookshelf |
| An Anthology of Elemental Earrings | Level 3, bookshelf |
| Seed of Skill (Mimic) | Level 4, chest |
| Mercury’s Bandana | Level 4, chest |
| Ethereal Stone | Level 3, chest |
| Molten Globules | Level 1, chest |
| Monsters | HP |
|---|---|
| Liquid Metal Slime | ~8 |
| Hunter Mech | ~155 |
| Shadow | ~100 |
| Hat Hamwitch | ~108 |
| Wrecktor | ~124 |
| Professaurus | ~320 |
| Living Statue | ~305 |
| Mimic | ~720 |
The Royal Library is infested with monsters and to make matters worse, you’ll have to navigate through numerous switch puzzles to reach the top. Begin by heading to the north end of the room and into the room hidden between the bookshelves, at the end you’ll find a chest containing 4000G. Come out and head west to speak to the Slime, it will give away the hint that the switches will alter the arrangement of the bookshelves. Hit the nearby switch and then head to the southeast of the floor to find another switch to hit. This will shift around the bookshelves opening up the nearby path to the stairs leading up.
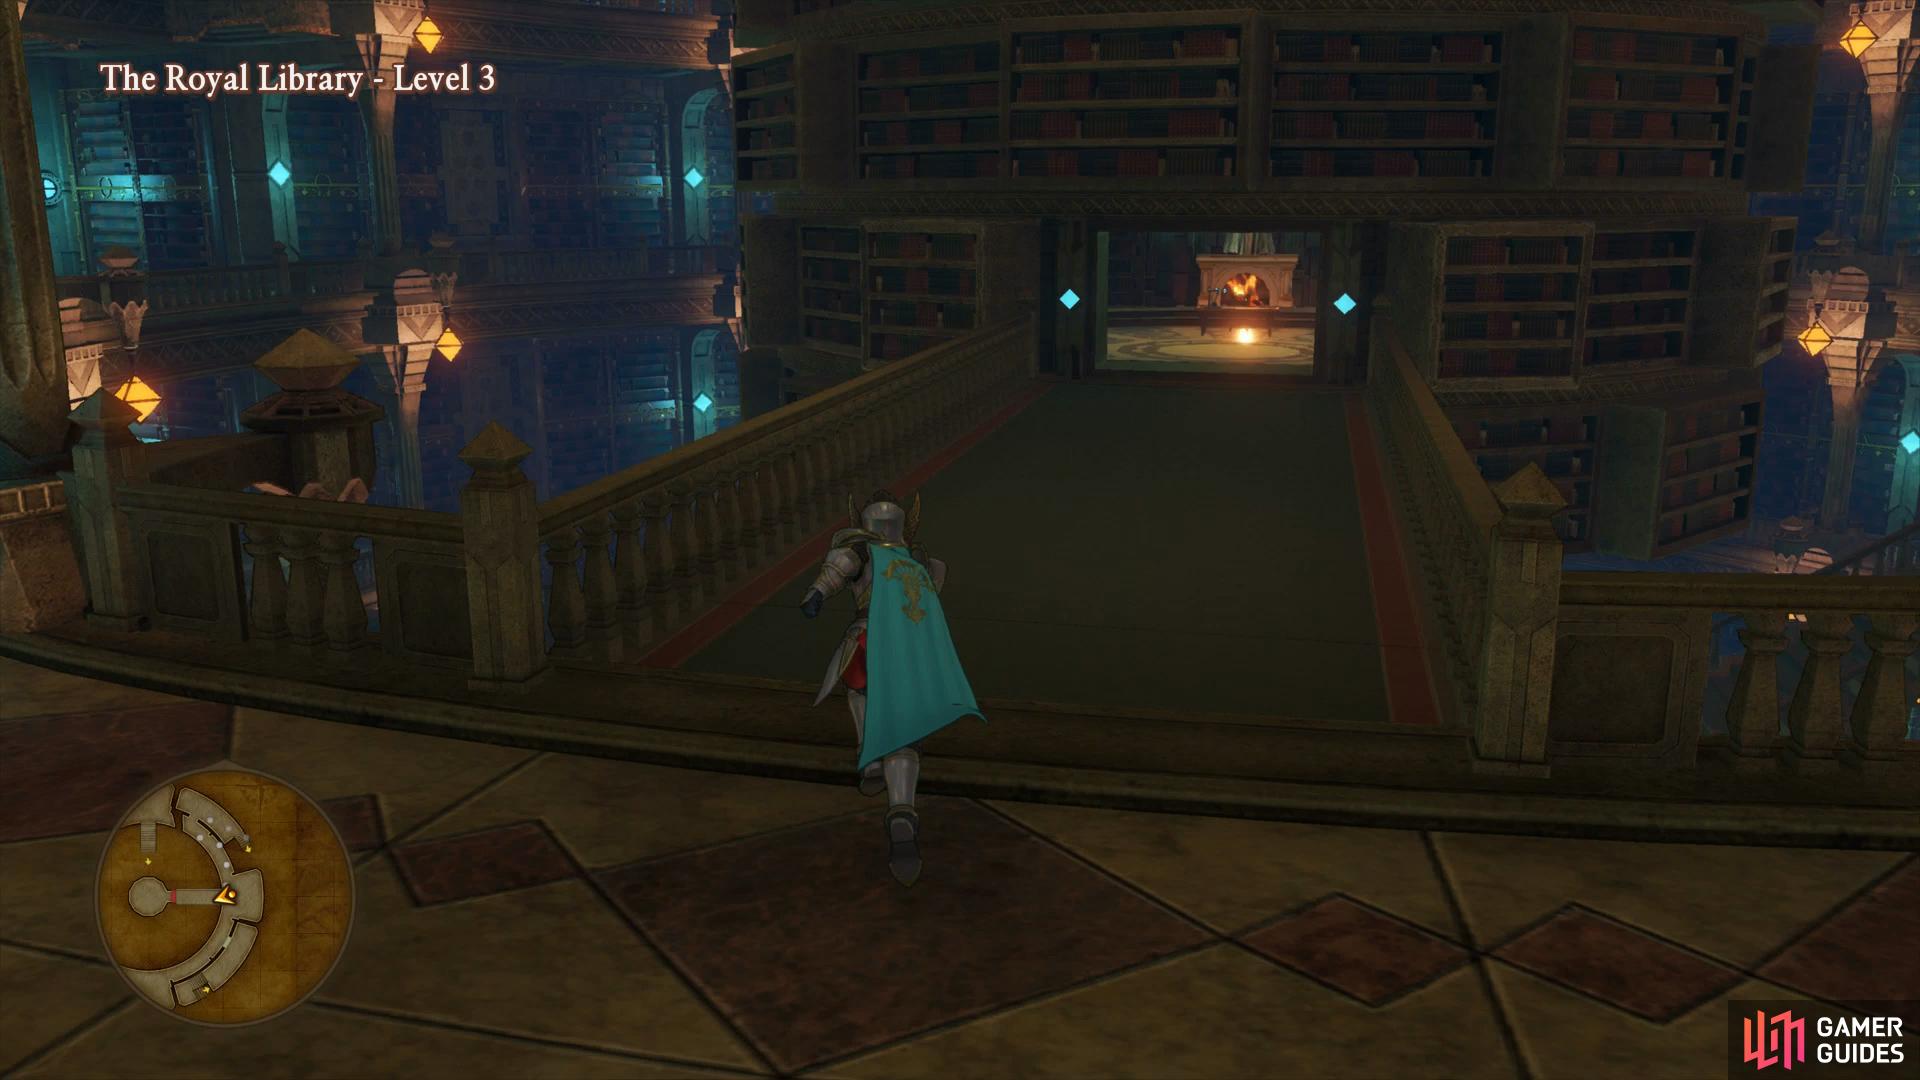
On Level 2, head out of the bookshelf passage and then across the bridge to the western side of the floor. Take the southern path to the end to find a chest containing a Saint’s Ashes and then follow the path north to the next switch to raise the stairs and allow you to access Level 3.
Defeat the enemies as soon as you reach Level 3 and then check the bookshelf behind them to find the Recipe Book Favourite Fashions of the Masters of Magic. Follow the path all the way around to the western side of this level now to find another bookshelf you can check containing a second Recipe Book, An Anthology of Elemental Earrings. Return to the southeast of the floor now and head through the bookshelf to find more stairs leading up to Level 4.
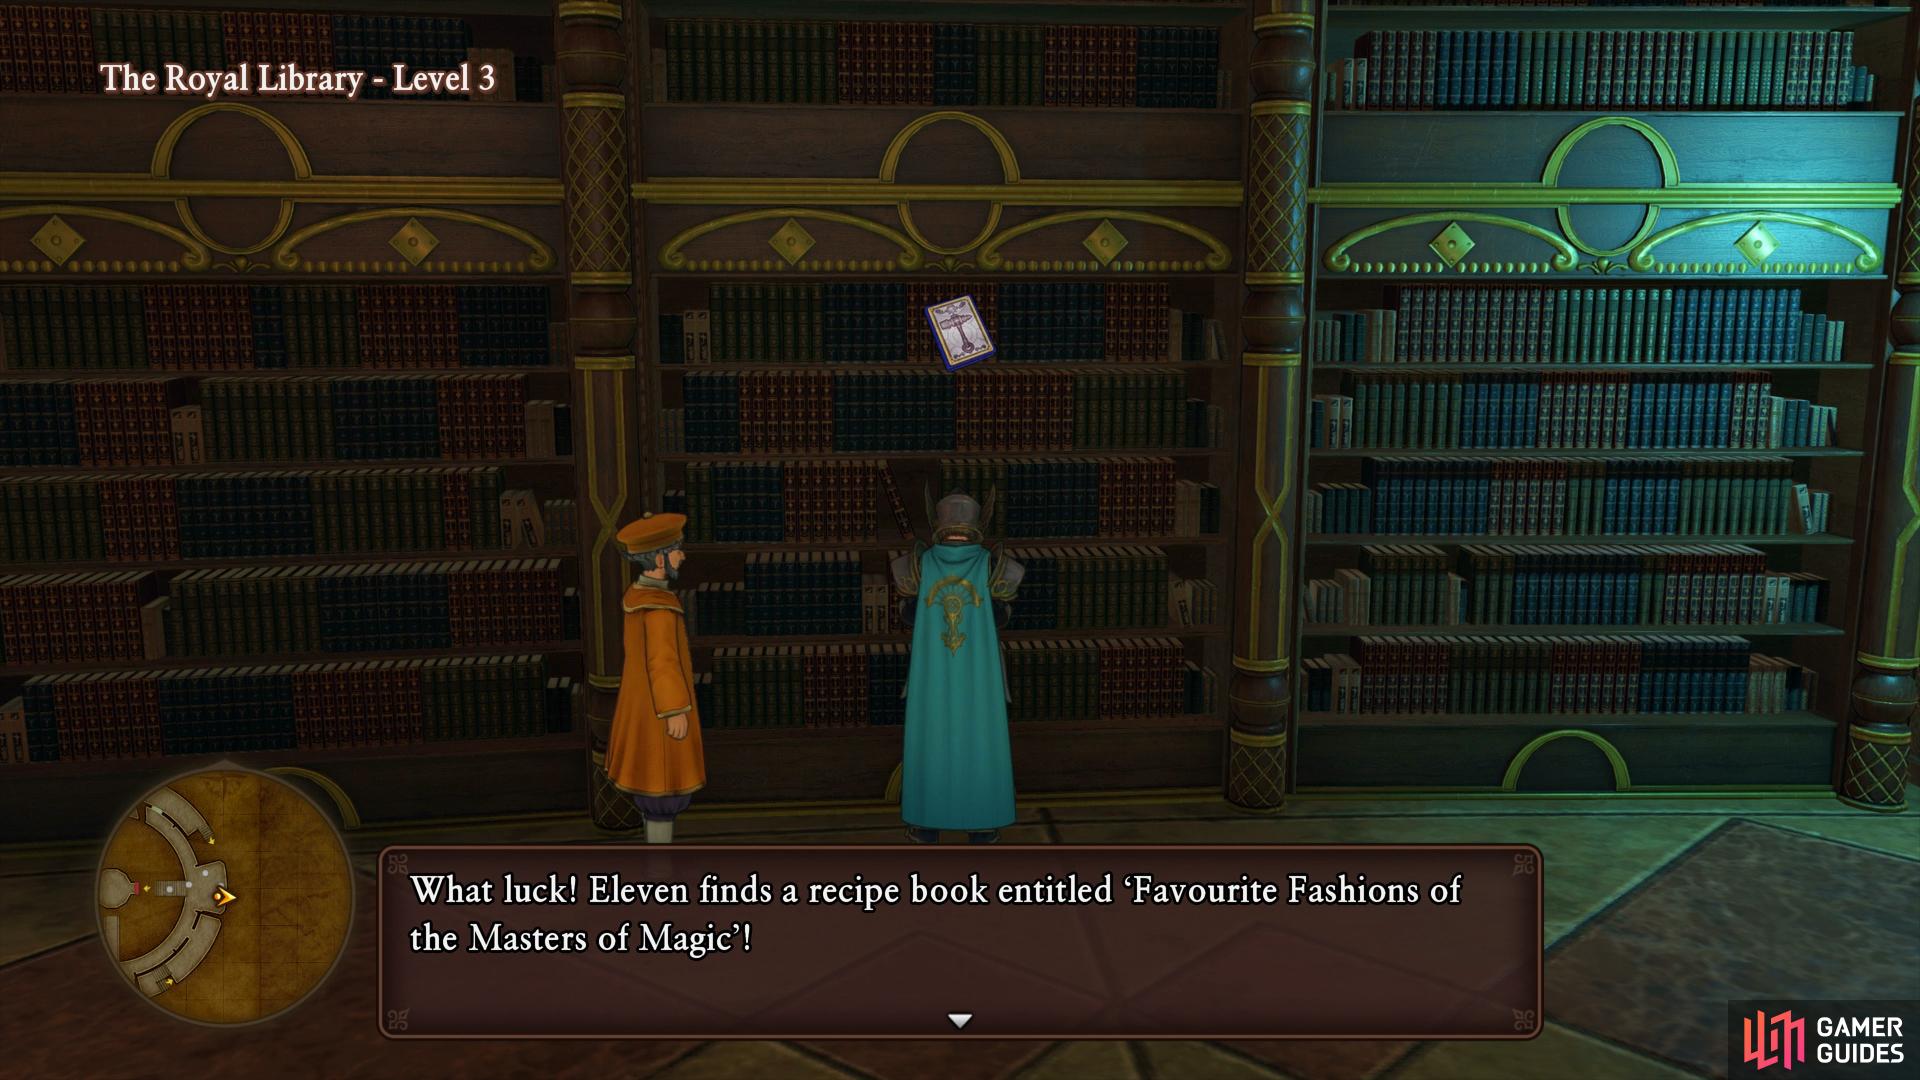
Search the bookshelf on Level 3 as you come up from Level 2

a second Recipe Book can be found on the southwest side of the Level.
Head west across the beam to find a chest which, when opened, reveals itself to be a Mimic. Like the Cannibox’s you’ve already fought, you’ll want to take the Mimic down as quickly as possible to avoid it’s Thwack ability. The Mimic has around 720 HP so consider using Veronica to Sap it while the Hero and Jade use Unbridled Blade and Multithurst, following it’s defeat you’ll obtain a Seed of Skill. Continue to follow the path around to the north where another chest is resting, open it up to obtain a Mercury’s Bandana. Head across the bridge in the center of the room now and hit the switch to alter the bookshelves on the previous floor before taking the stairs down to the north.
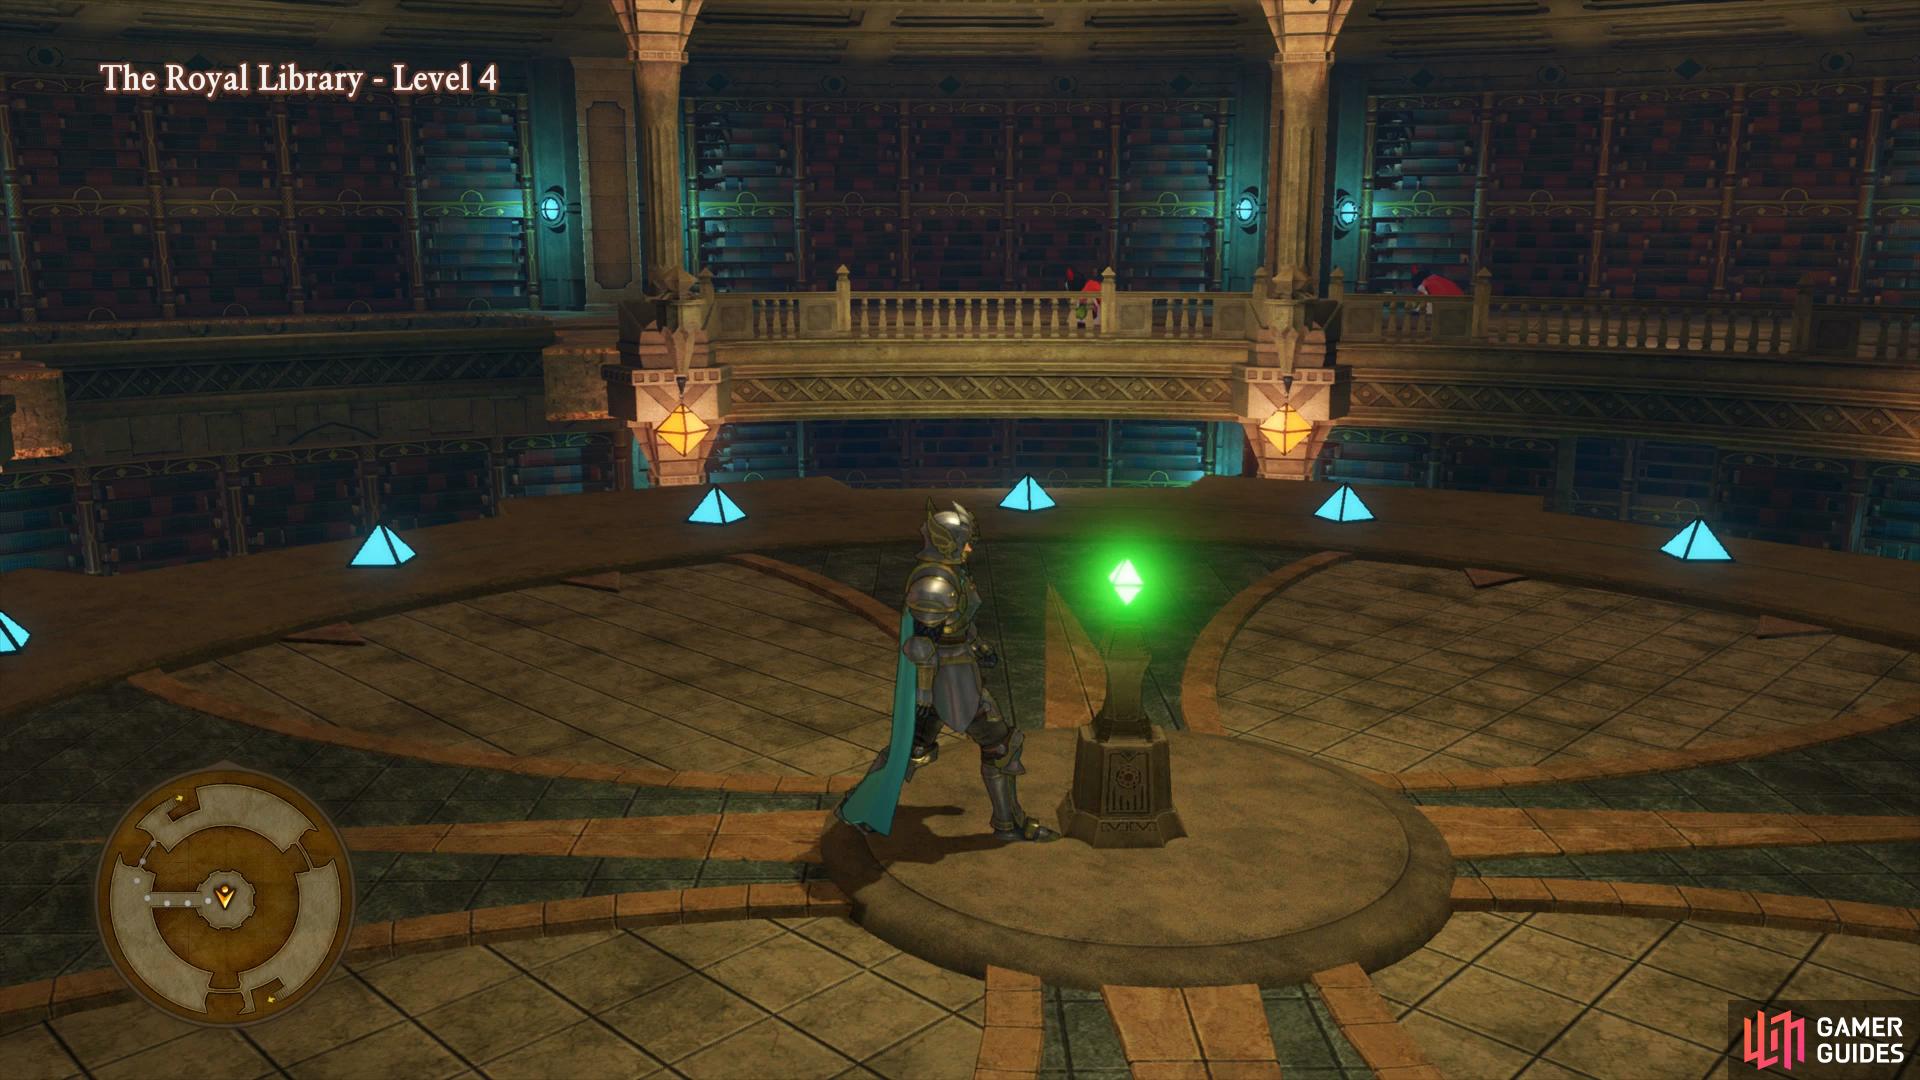
Hit the switch in the center of Level 4
to begin the process of opening up the central room in Level 3.
Back on Level 3, head north to find the next switch to hit before taking the stairs back down to Level 2. Follow the path around the floor to reach stairs leading back up to Level 3 in the northeast. You can now head across the bridge and into the open room to find the book that Snorri was looking for at long last. It appears that you was tricked into defeating the beast that was sealing the Witch’s power, something that prompts a bit of insight from Veronica.
Hold off on Zooming back to Sniflheim just yet and instead hit the switch in this room. Head back across the bridge and around to the southwest corner of the room where you can now enter through the bookshelves to find a chest containing an Ethereal Stone. Take the nearby stairs back down to Level 2 and then make your way around to the stairs leading down in the southwest corner where you’ll find the final chest of the Royal Library containing some Molten Globules. With the Library fully looted, Zoom back to Sniflheim and rest at the camp to save your game and recover your HP and MP. When you’re ready, head back into the City and speak to the Queen once more, all is not as it seems.
Boss: Krystalinda

Krystalinda is not as difficult as you may expect if you find yourself fighting her around Level 31+. Although she has 1800 HP, by now you should have skills that will put a large dent into that very quickly. Krystalinda will attack twice a combat round as should be expected by this point and will attack your party with group wide attacks such as Crackle. You can limit this damage with Magic Barrier from Veronica should you need to. More concerning however is the fact she has the abiltiy to turn one of your party members into a Snowman, rendering them useless until the effect dissipates. Finally, she can conjure up a snowstorm that will decrease your accuracy and increase the damage Ice related abilities such as Crackle inflict. Keep your HP above 100 and buff up your defenses and you shouldn’t have too much trouble dealing with her attacks.
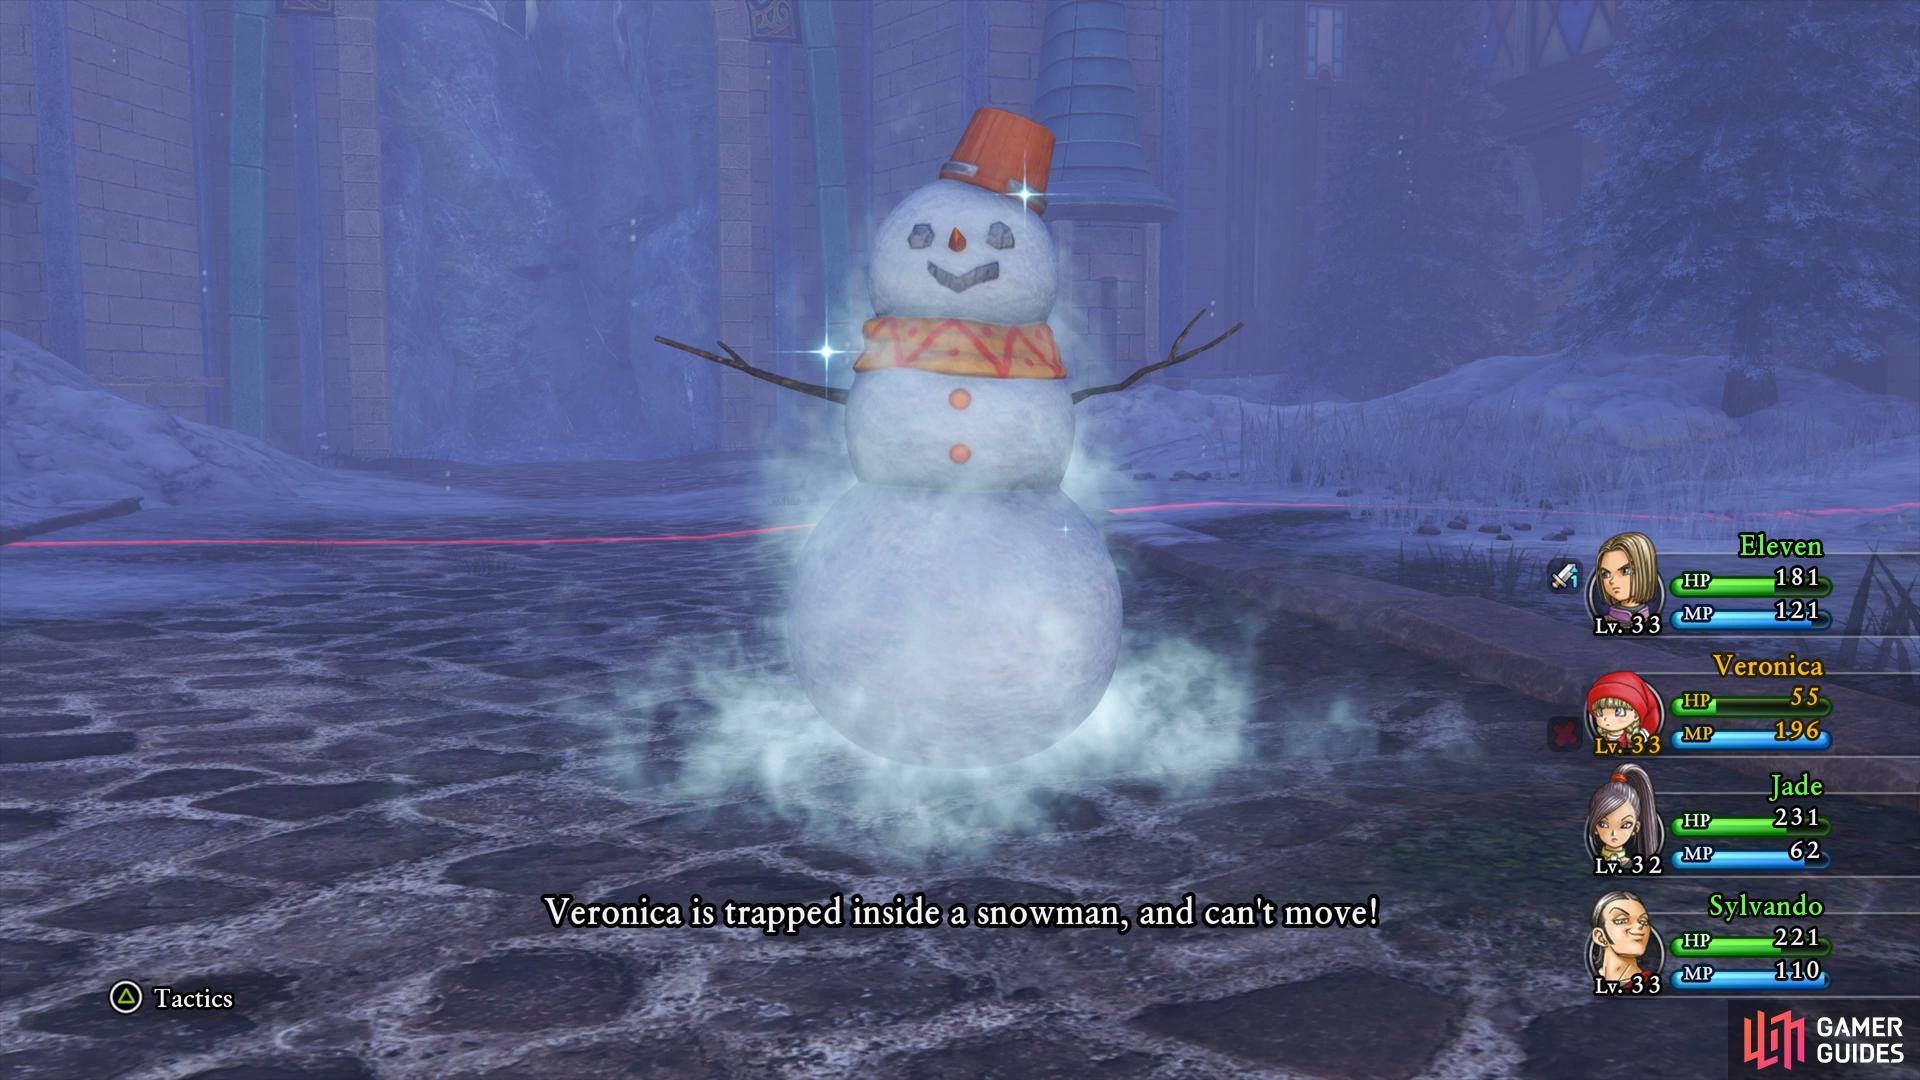
You cannot cure the Snowman effect, you’ll have to ride it out
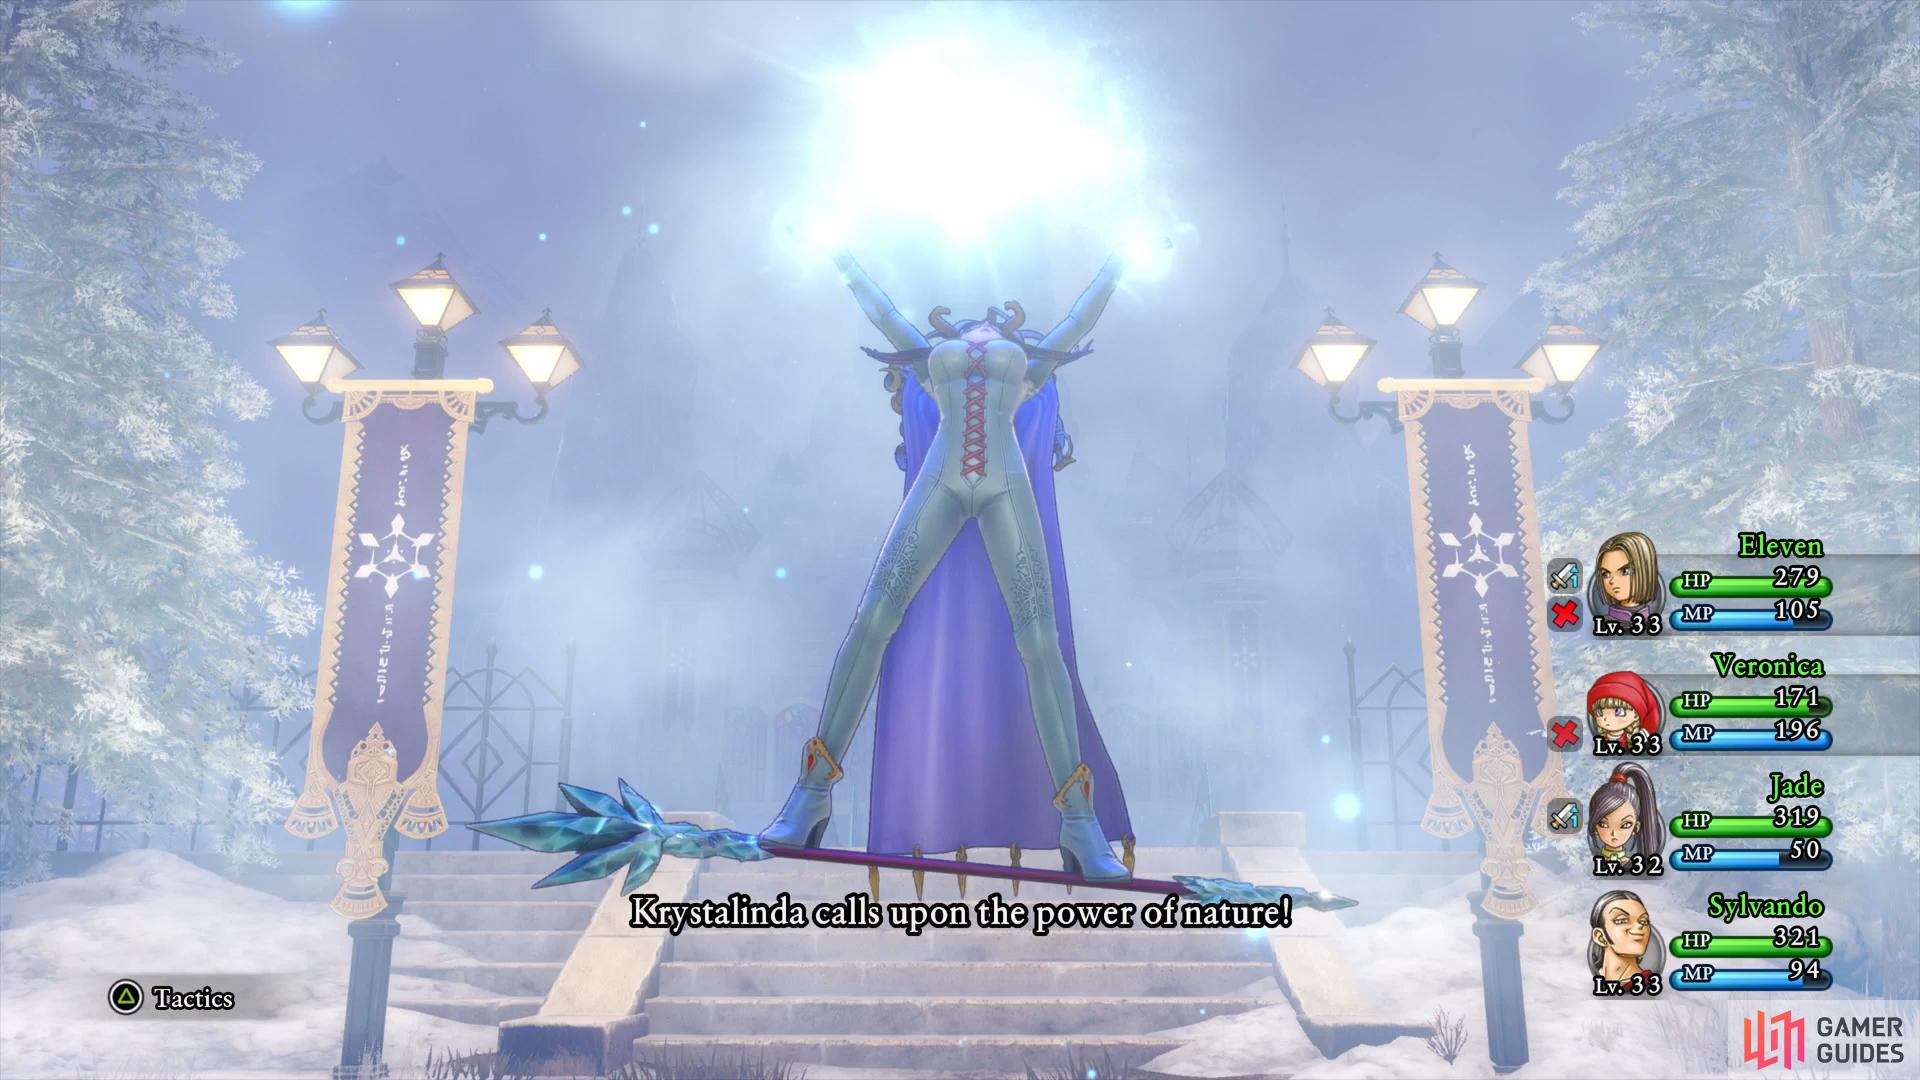
beware of Crackle and Chilly Breath once she creates a Snowstorm.
As for dealing damage yourself, have Veronica or Rab Sap her and then Oomph (or Oomphle) the Hero and Jade, following up with Unbridled Blade and Multithrust. Keep Sylvando on Hustle Dance duty, when he doesn’t need to heal he can dish out Oomph to your two damage dealers and you’ll want to avoid using magic against her if possible unless it’s a Fire related spell such as Frizzle.
Following her defeat, Snorri manages to trap Krystalinda back into the book and the ice in Sniflheim at long last thaws. Queen Frysabel wishes to reward you at the castle as Veronica hands over the Witch’s Grimoire. Hold off on exploring the city for now and head into the castle.
Sniflheim Castle
| Items | Area |
|---|---|
| Nobleman’s Knife | Queen’s Bedchamber, wardrobe |
| Lunaria | Basement, barrel |
| Seed of Sorcery | Basement, pot |
| Mini Medal | Basement, pot |
| Panacea | Basement, pot |
| Savvy Saphire | Basement, chest |
The castle itself is not very large but there are a few items to snag first. Head west into the Queen’s Bedchamber to begin with and search the wardrobe for a Nobleman’s Knife before taking the lift down to the east. Head forward to find a pair of barrels waiting to be broken, inside you’ll find a Lunaria.
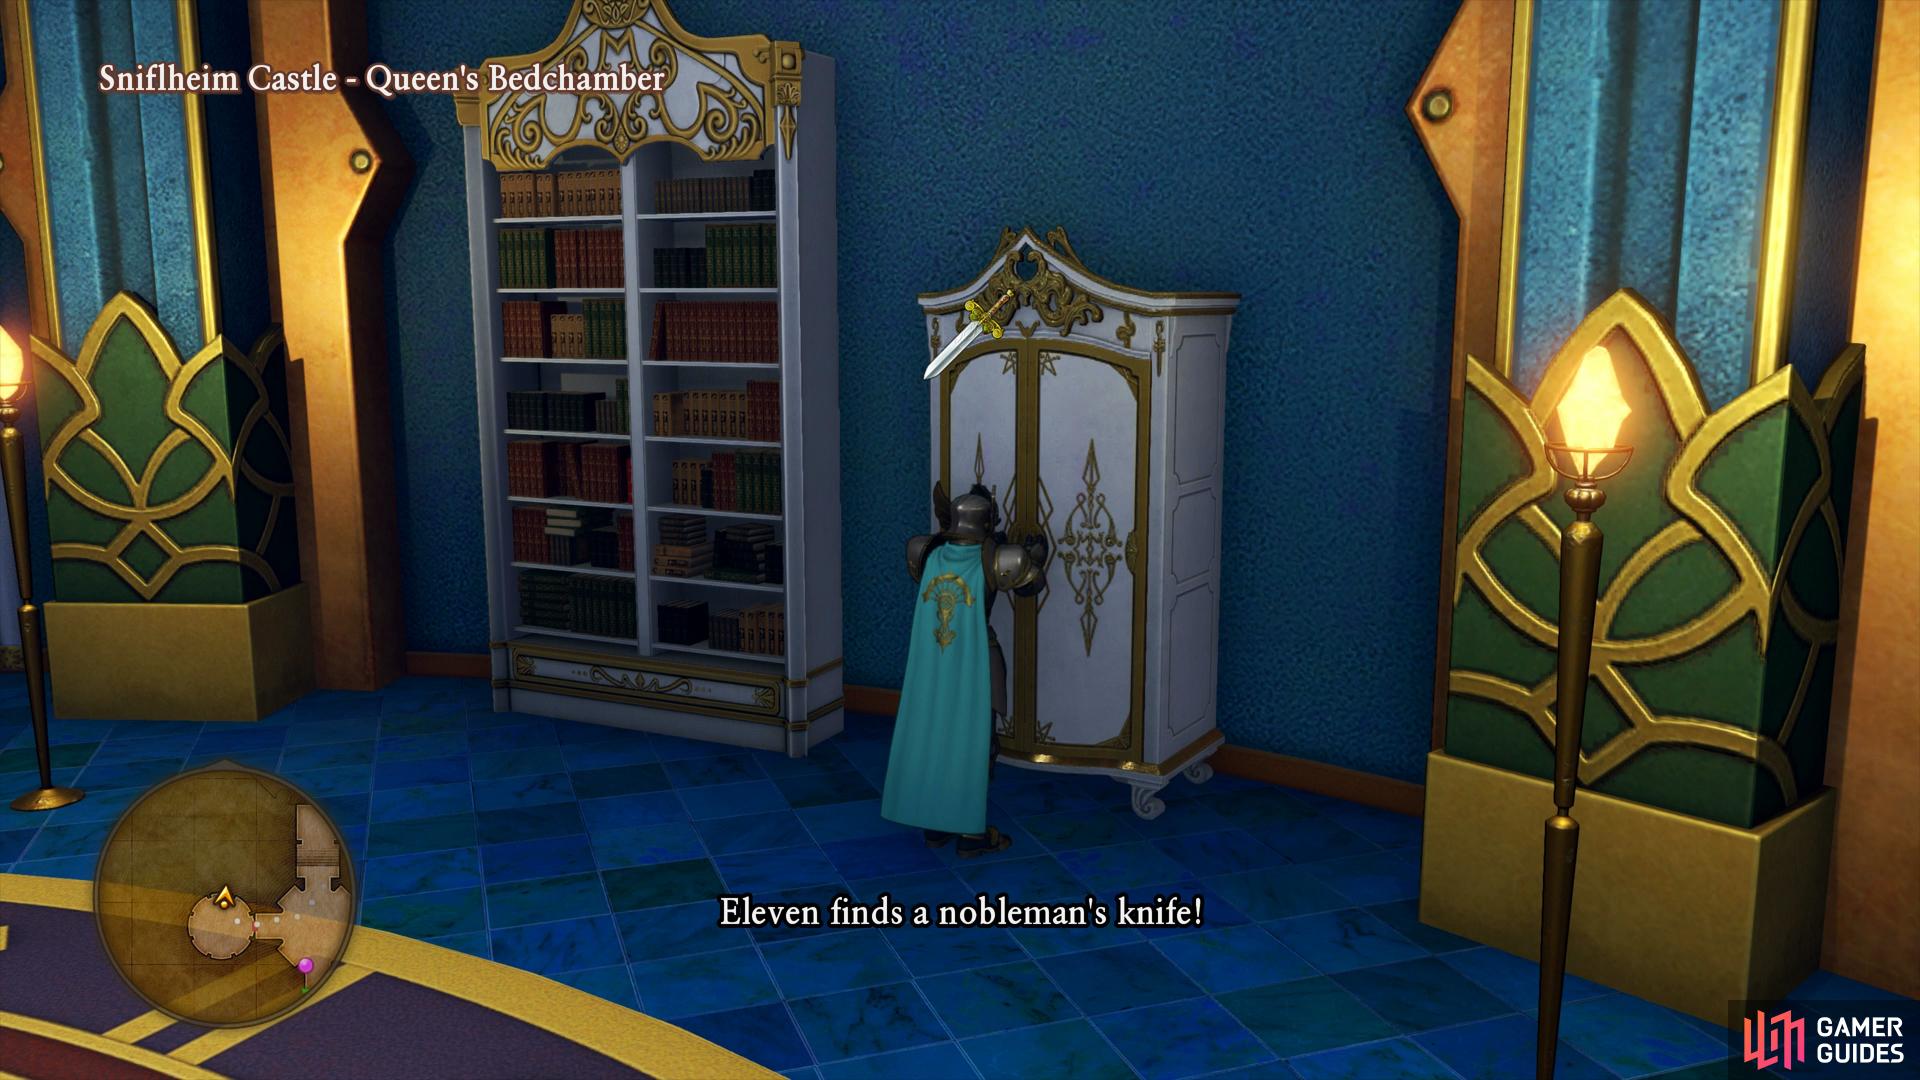
The Nobleman’s Knife should be an upgrade for Erik
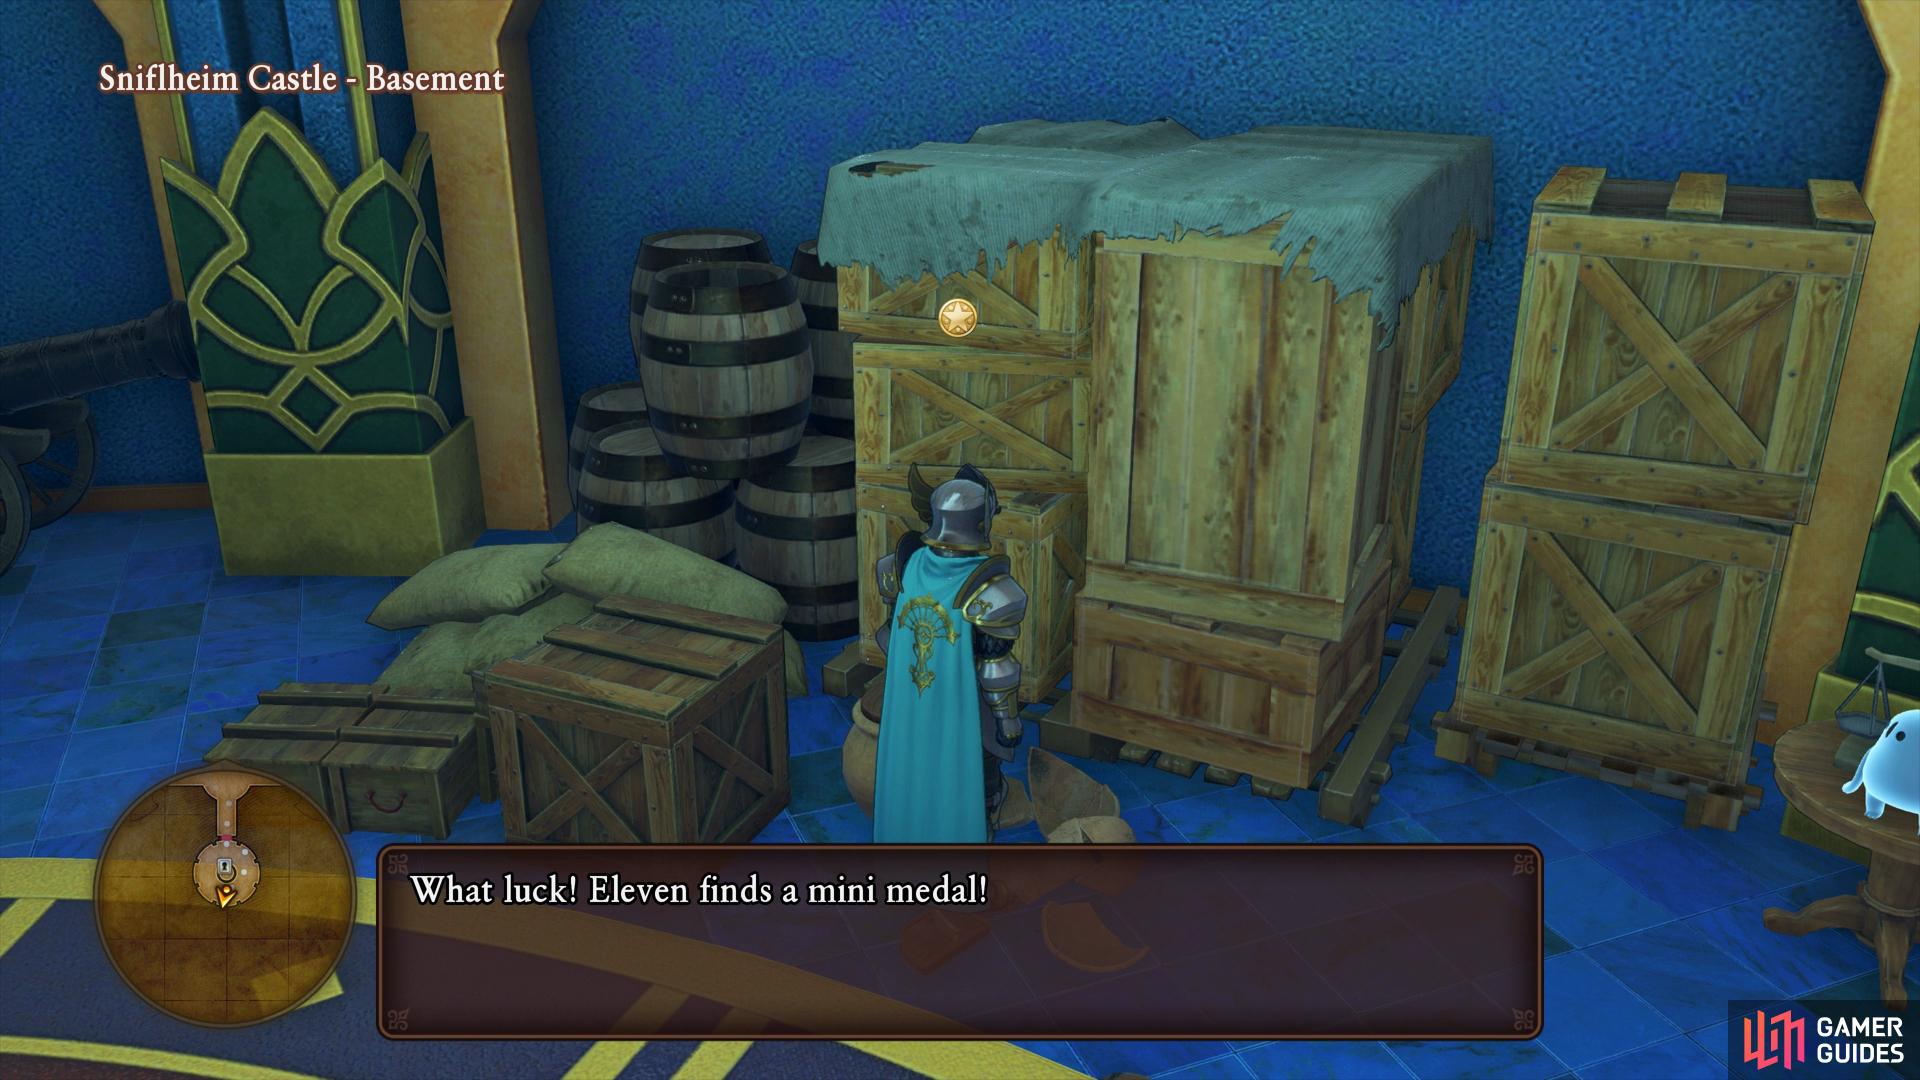
you’ll find a Mini Medal in the pots down in the dungeons.
Head south into the door to find some pots to smash to obtain a Seed of Sorcery, a Mini Medal and a Panacea. Finally, open the chest here to obtain a Savvy Saphire. Return to the first floor and head north into the Throne Room to watch more events unfold regarding the Queen and Krystalinda. Following the events you’ll find yourself finally in possession of the final Orb, the Blue Orb. Exit out of the main entrance of Sniflheim to meet up with Erik once more as the party finally set off to make their way to Yggdrasil at long last (and Rab’s secret is let out).

Questing around Sniflheim and the final Crossbow Target
Your destination lies to the east, through the Arborian Highlands but first things first, more quests have opened up and your’re one Crossbow Target short of completing this region. Begin with fully exploring the City for all it’s items.
Begin your exploration north of the Item shop where a pair of barrels can be found behind the horse pens, break them to obtain a Cowpat. Enter the Item shop next, the items will be nothing special but if you head upstairs, you’ll find a man looking for someone to help him. Hear him out to discover that he’s looking for a Viking that is late with his shipment, agree to assist him to accept Quest 24 - The Viking Hoard.
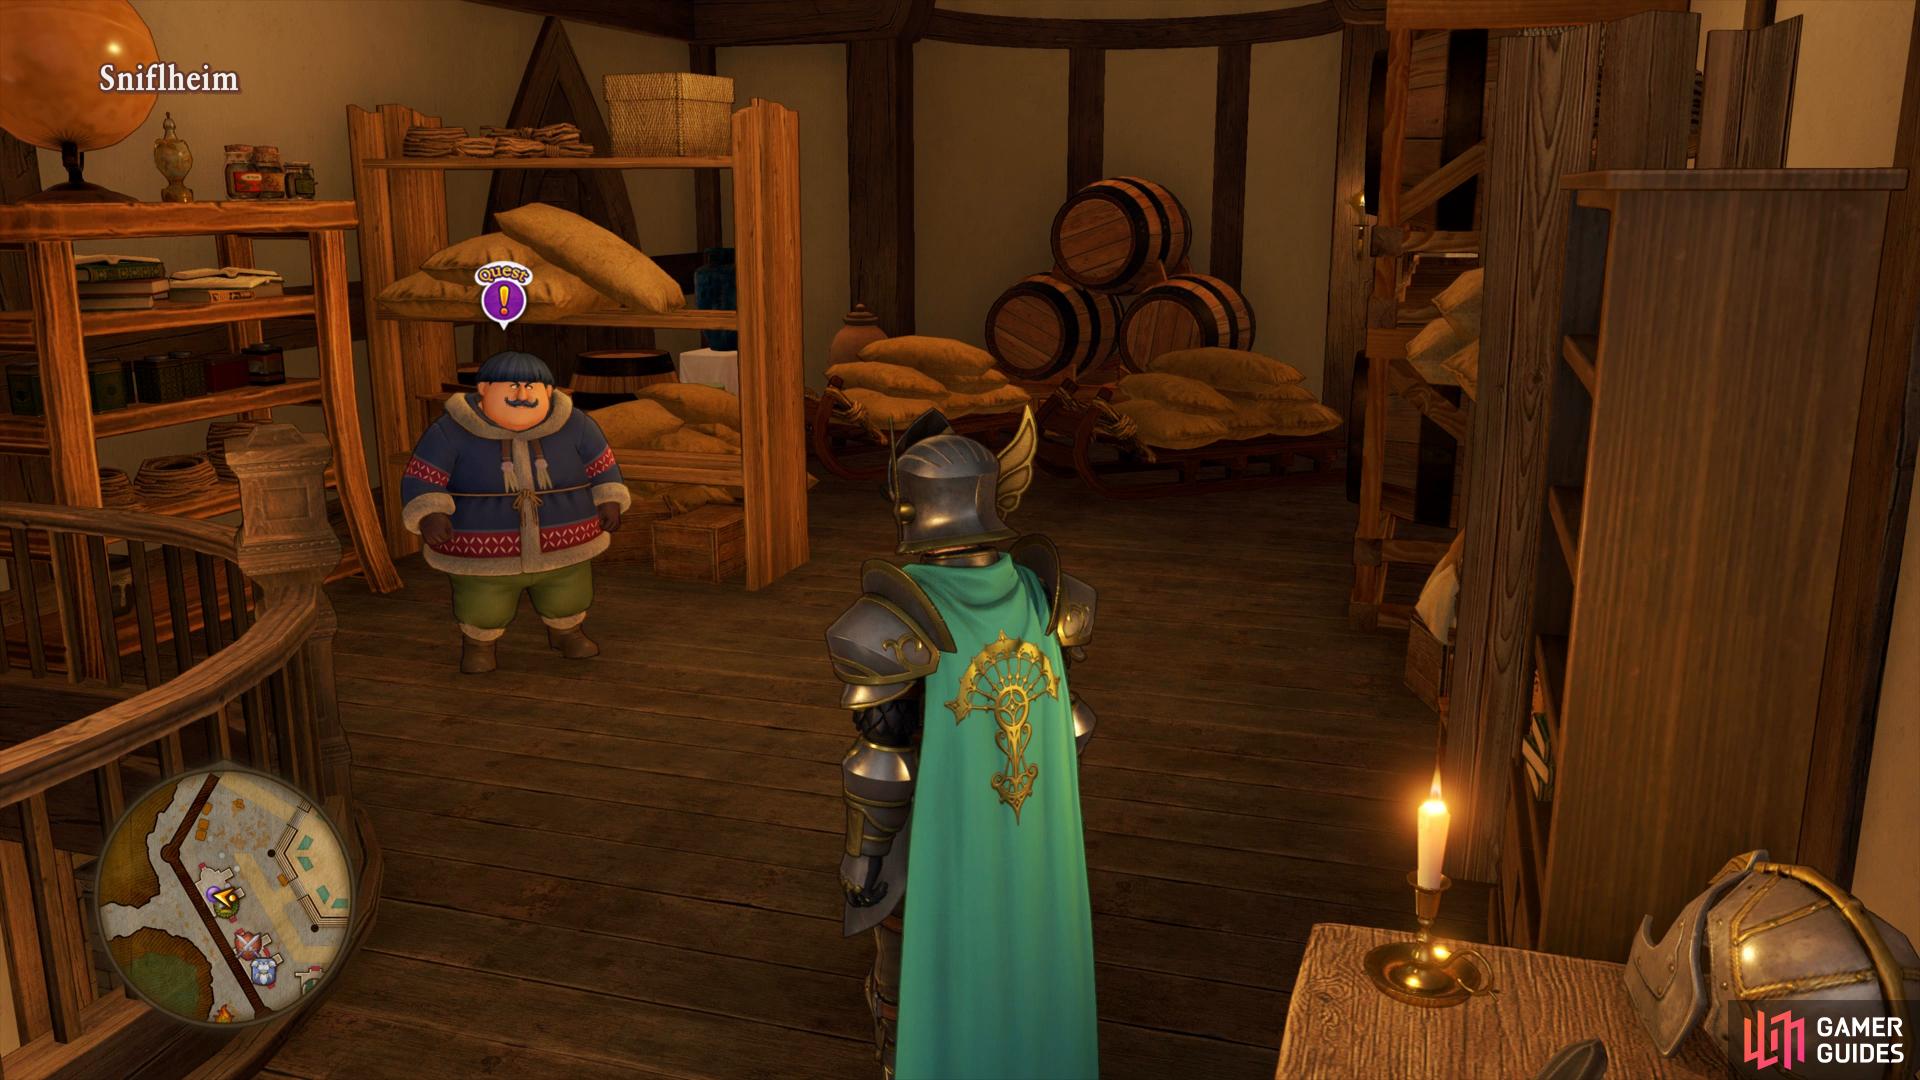
Head to the top of the Item shop to find a man in need of assistance
you’ll find a Recipe Book in the Inn.
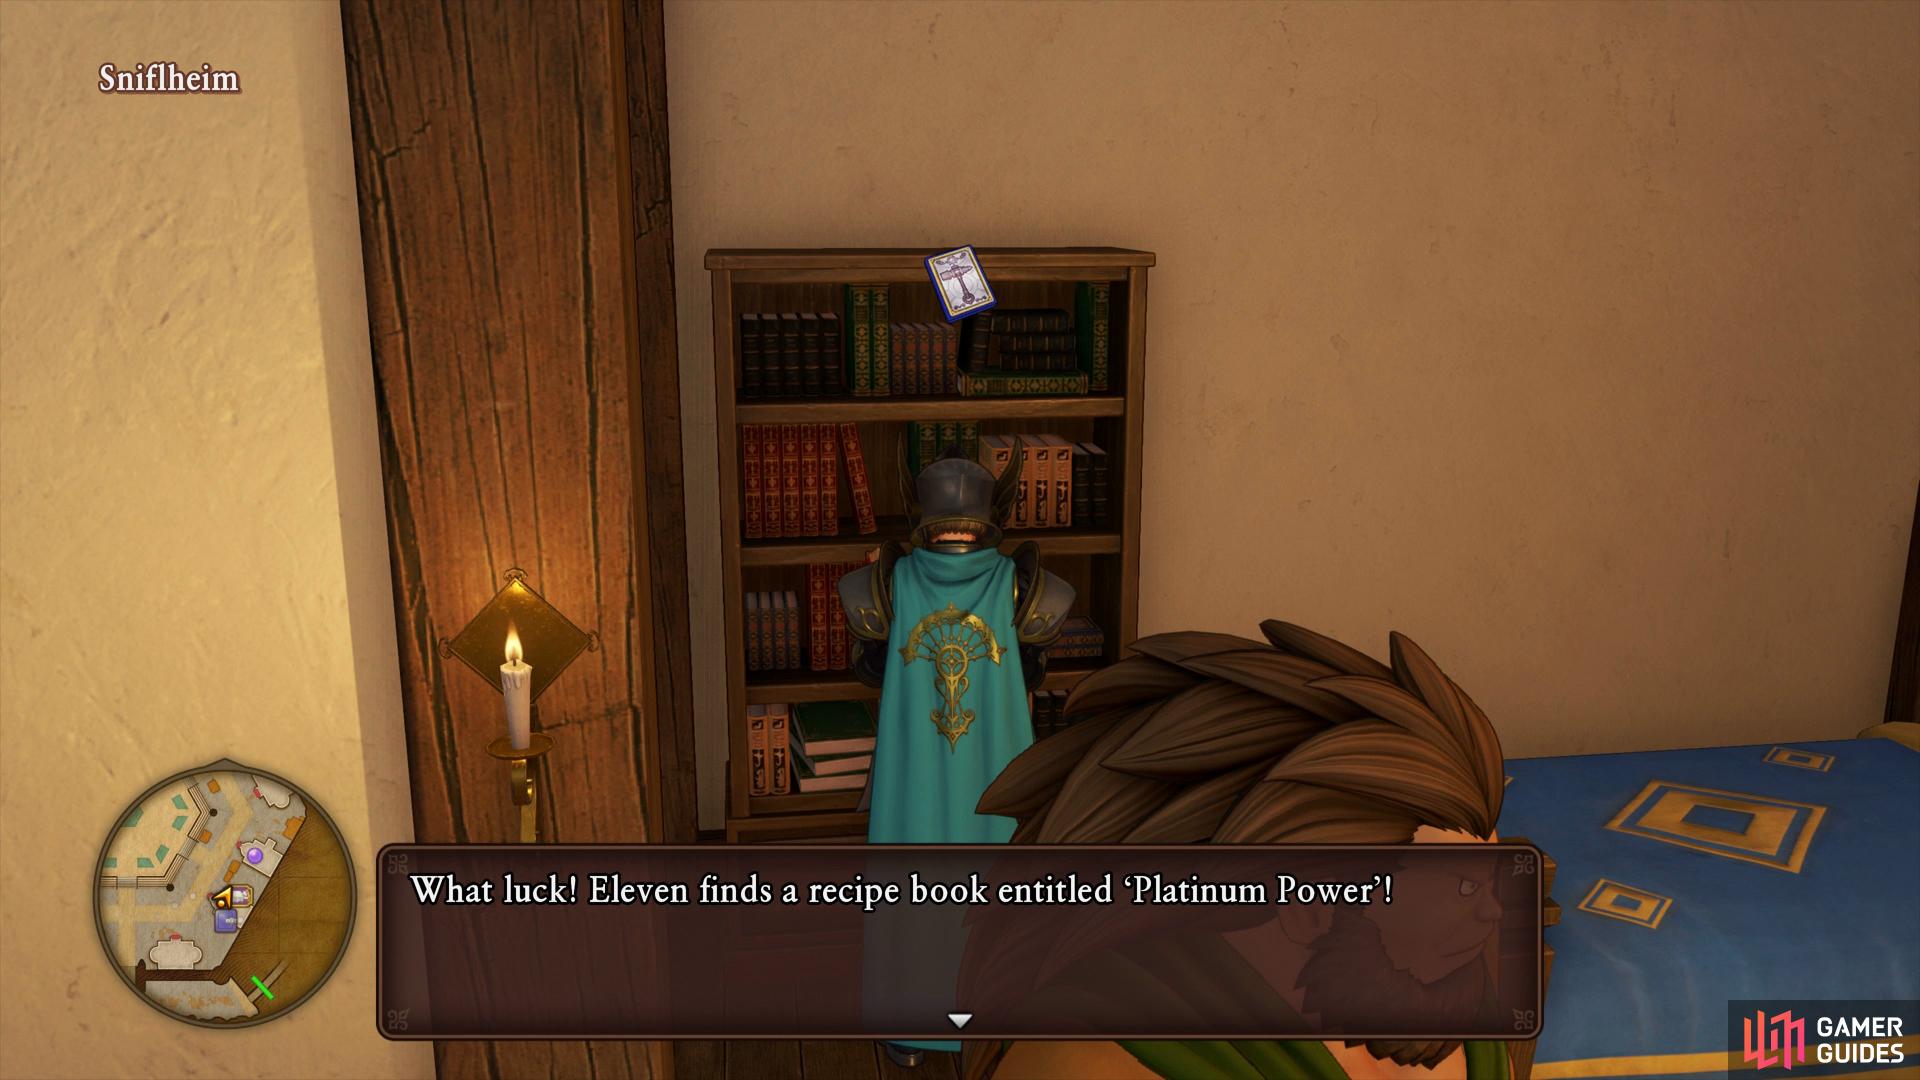
Head into the Equipment shop next and once again, if you’ve been keeping up with your forging then there should be nothing of value for you. Instead, head back outside and enter through the side door to the Weapons shop, you’ll find a chest waiting to be looted containing 3000G. Head over to the Inn now and head to the right of the counter to find the next Puff-Puff girl, agree to meet her tomorrow lunchtime by the harbor bell. Go upstairs now and search the bookshelf in the right room to obtain the Platinum Power Recipe Book.
Exit the Inn and search behind the stall to the east of it to find another hidden chest, this one containing a Mini Medal before entering the Tavern. Go upstairs and break the barrels to obtain 24G before speaking to the man nearby. He wants you to retrieve a Snaerose so that he can give it to Krystalinda, agree to assist him to begin Quest 23 - A Cold Crush.
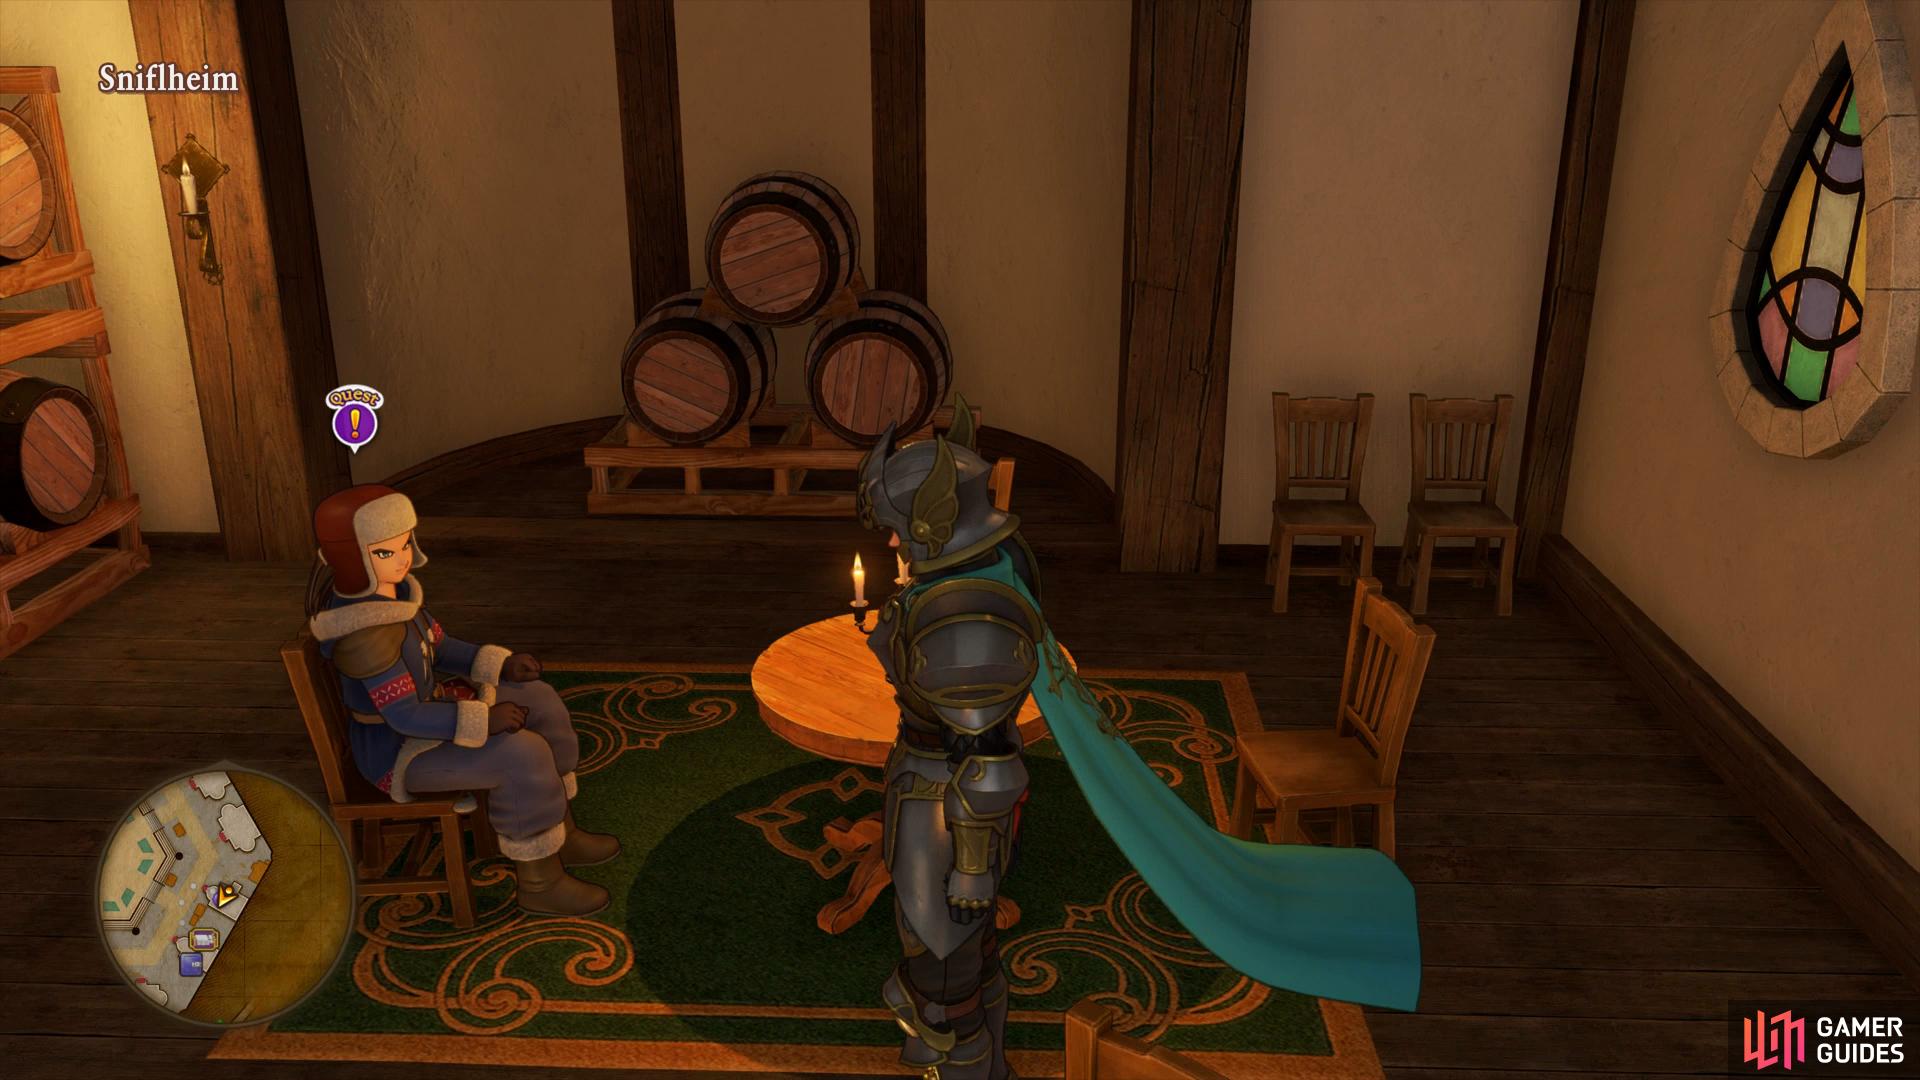
Inside the Tavern you’ll find another quest to accept
you’ll need to advance the time to Noon to meet the girl from the Inn for a Puff-Puff.
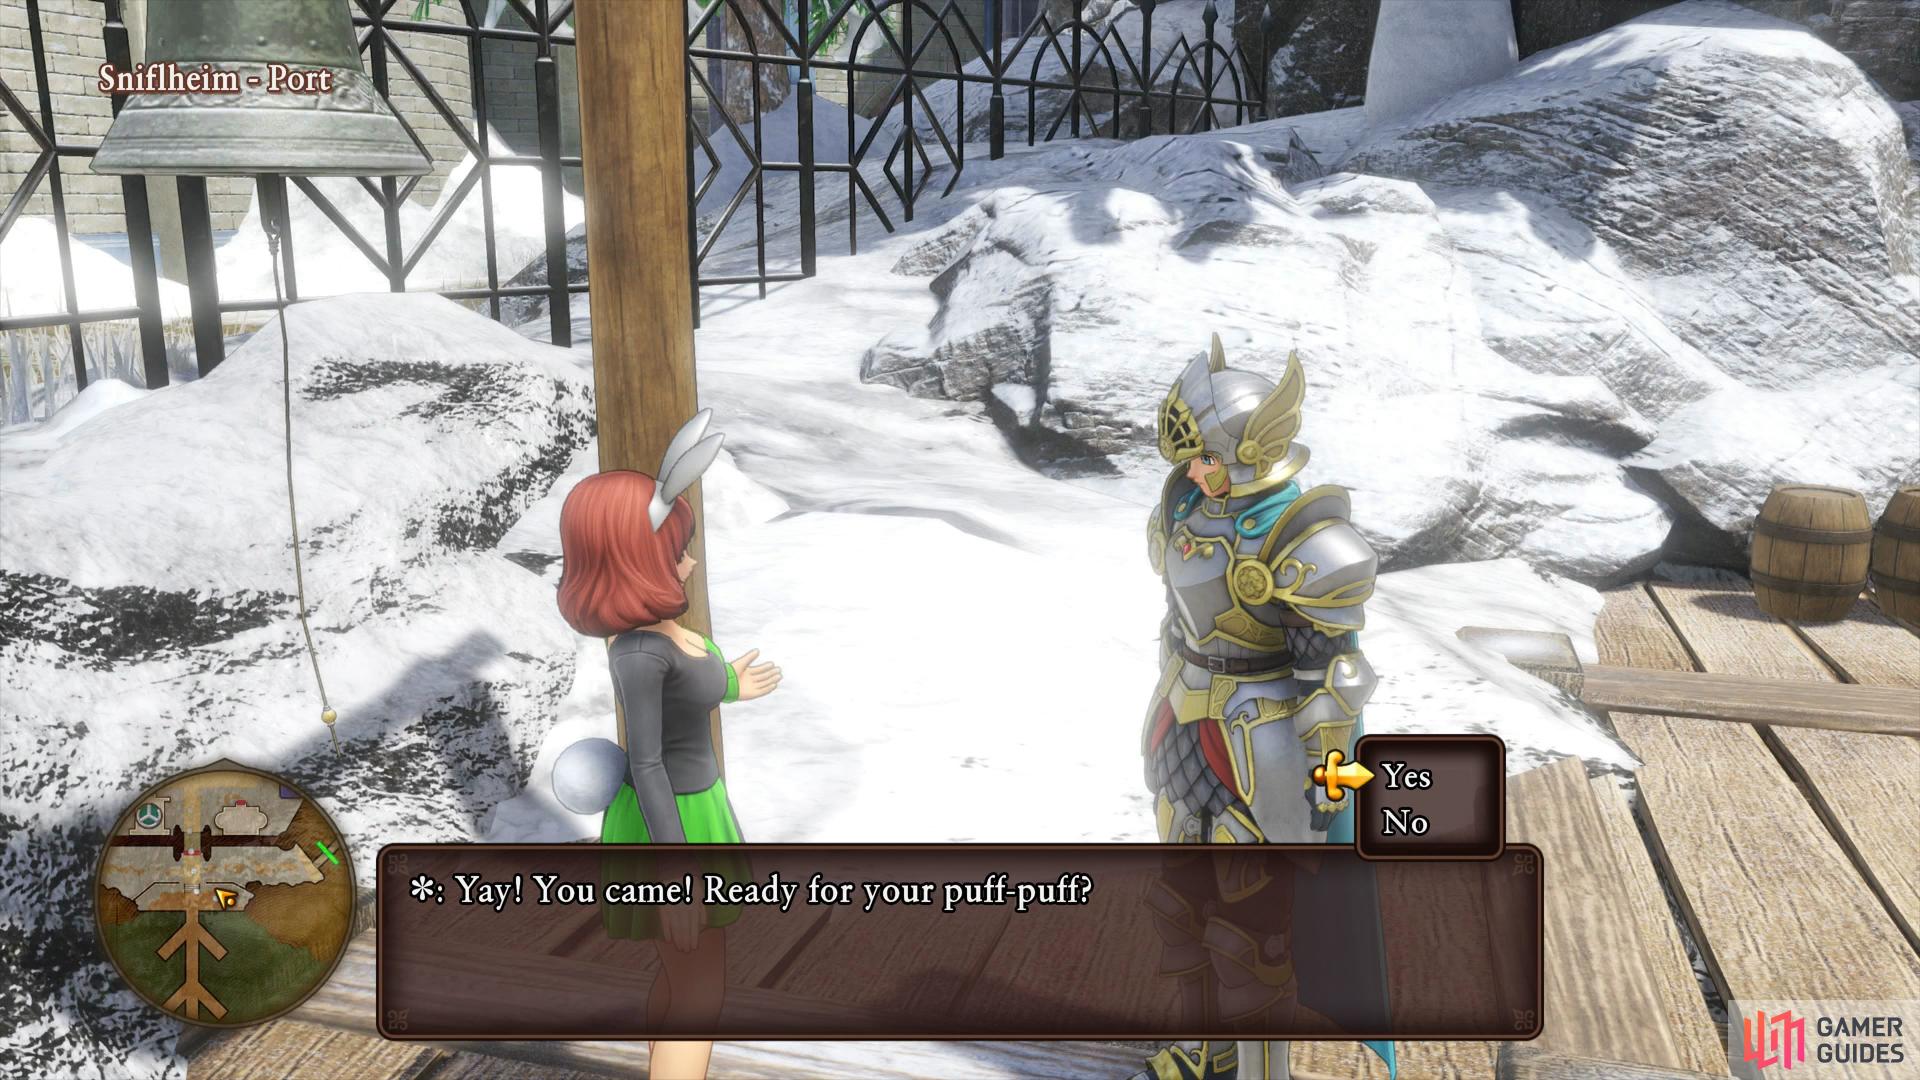
Leave the Tavern and head into the corner next to it, you can climb the platform here to reach another chest, this one housing a Royal Ruby. Enter the next house and dash upstairs to find a wardrobe you can search, inside you’ll obtain a Garter. Finally, enter the last house and break the barrel on the first floor to obtain a Lambswool. With all the items collected, return to the Inn and rest Until Noon. Make your way out the front entrance and over to the harbor bell on the pier to find the girl from yesterday waiting to give you your next Puff-Puff.
Zoom over to the Snaerfelt Campsite and grab a Face Invader mount nearby. Use this to break the Ice Block to the south of the Campsite if you didn’t do it during your first time through the area and head up. Make your way to the southwest corner to find a gold Sparkly Spot containing a Snaerose. Zoom back to Sniflheim and deliver the rose to the man in the Tavern and complete Quest 23 to obtain the That’s Magic Recipe Book.
You’ll find the Snaerose to the south of the Snaerfelt.
Head back to the harbor and board the Salty Stallion once more and sail the ship around the corner to the Viking Hideout. Save your game should you need to and then look in the eastern corner to find some barrels to break, inside you’ll obtain a Mini Medal. Continue north and then check the next eastern corner to find yet more barrels to break open and obtain a Pink Pearl. Enter the main room now and speak to the man in the white with the blue waistcoat to discover that the man who was to deliver the gift to the Queen was his brother and that he’s gone missing stating an island to the north might be where he is.
Before you head off after him, continue north and back outside and search to the west to find a Sparkly Spot containing some Mythril Ore. Head east a little and climb down the well, you’ll find a Sparkly Spot to the east containing a Brighten Rock. Return back to the surface and make your way all the way to the eastern edge now and loot the final Sparkly Spot in Sniflheim to obtain another Brighten Rock. Turn the camera to face south from this location and look up to find the final Crossbow Target, you’ll find the Bodkin Bowyer on your way back to the Viking Hideout. Speak to him to obtain four Seeds of Skill and then Zoom to the Strand to get back to the Open Sea.
You’ll find the final Crossbow Target of Sniflheim just past the Viking Hideout
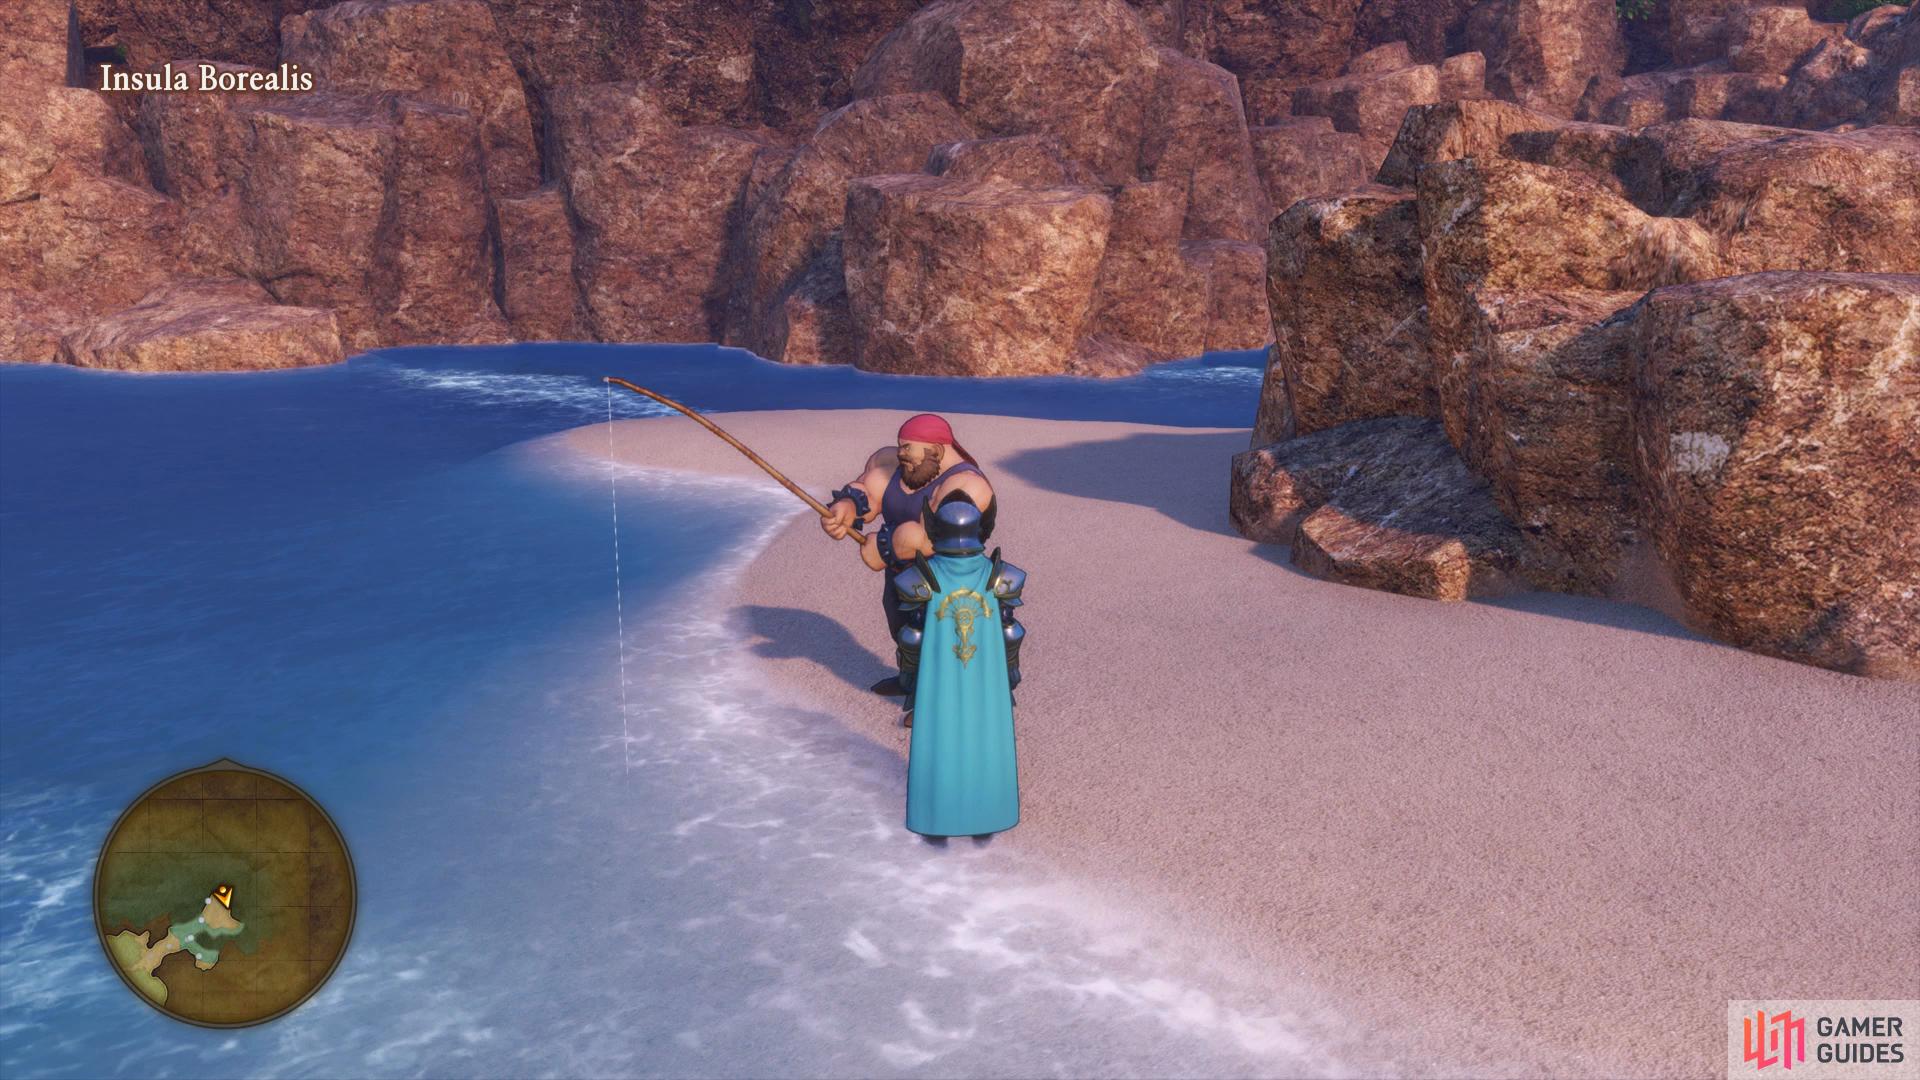
the man for Quest 24 can be found on the northern most Insula Isle, Borealis.
Sail the Salty Stallion all the way to the north or Erdrea and disembark at Insula Borealis once more. Head to the northeast of the island and search the edge of the water to find am an fishing. Upon speaking to him you’ll discover this is the Viking who was to bring a present for Queen Frysabel, he’ll hand over the Scruffy Urchin that was to be the gift. Zoom back to Sniflheim and head into the Item shop to deliver it to the minister to complete Quest 24 and obtain a Pirate’s Hat.
You’re finished with Sniflheim for now so it’s time to make the long journey to Arboria starting by Zooming over to the Snaerfelt Campsite. Save your game if you need to and recover your HP and MP before following the path east through the Frozen Fjord and into the Arborian Highlands.
No Comments