
You’ve braved the Trials and pillaged all there is to discover and obtained the majority of the best equipment in the game. All that’s left to do is defeat the final optional boss and then take on Calasmos himself. Before you begin that, it’s best to take some time out to prepare for the battle ahead along with obtain the remaining Trophies for the Platinum.
Level to 99
Not only is there a Trophy for every character hitting Level 99, it will also make the final two battles a lot easier along with making the final trial of the Wheel of Harma a lot more manageable. The best method to achieve this is by using the Electro Light Pep Power combined with the Haulellujah Pep Power, here is what you’ll need:
- The Hero must learn the Pep Up skill from the Luminary Tree.
- Jade needs to learn Lightning Thrust
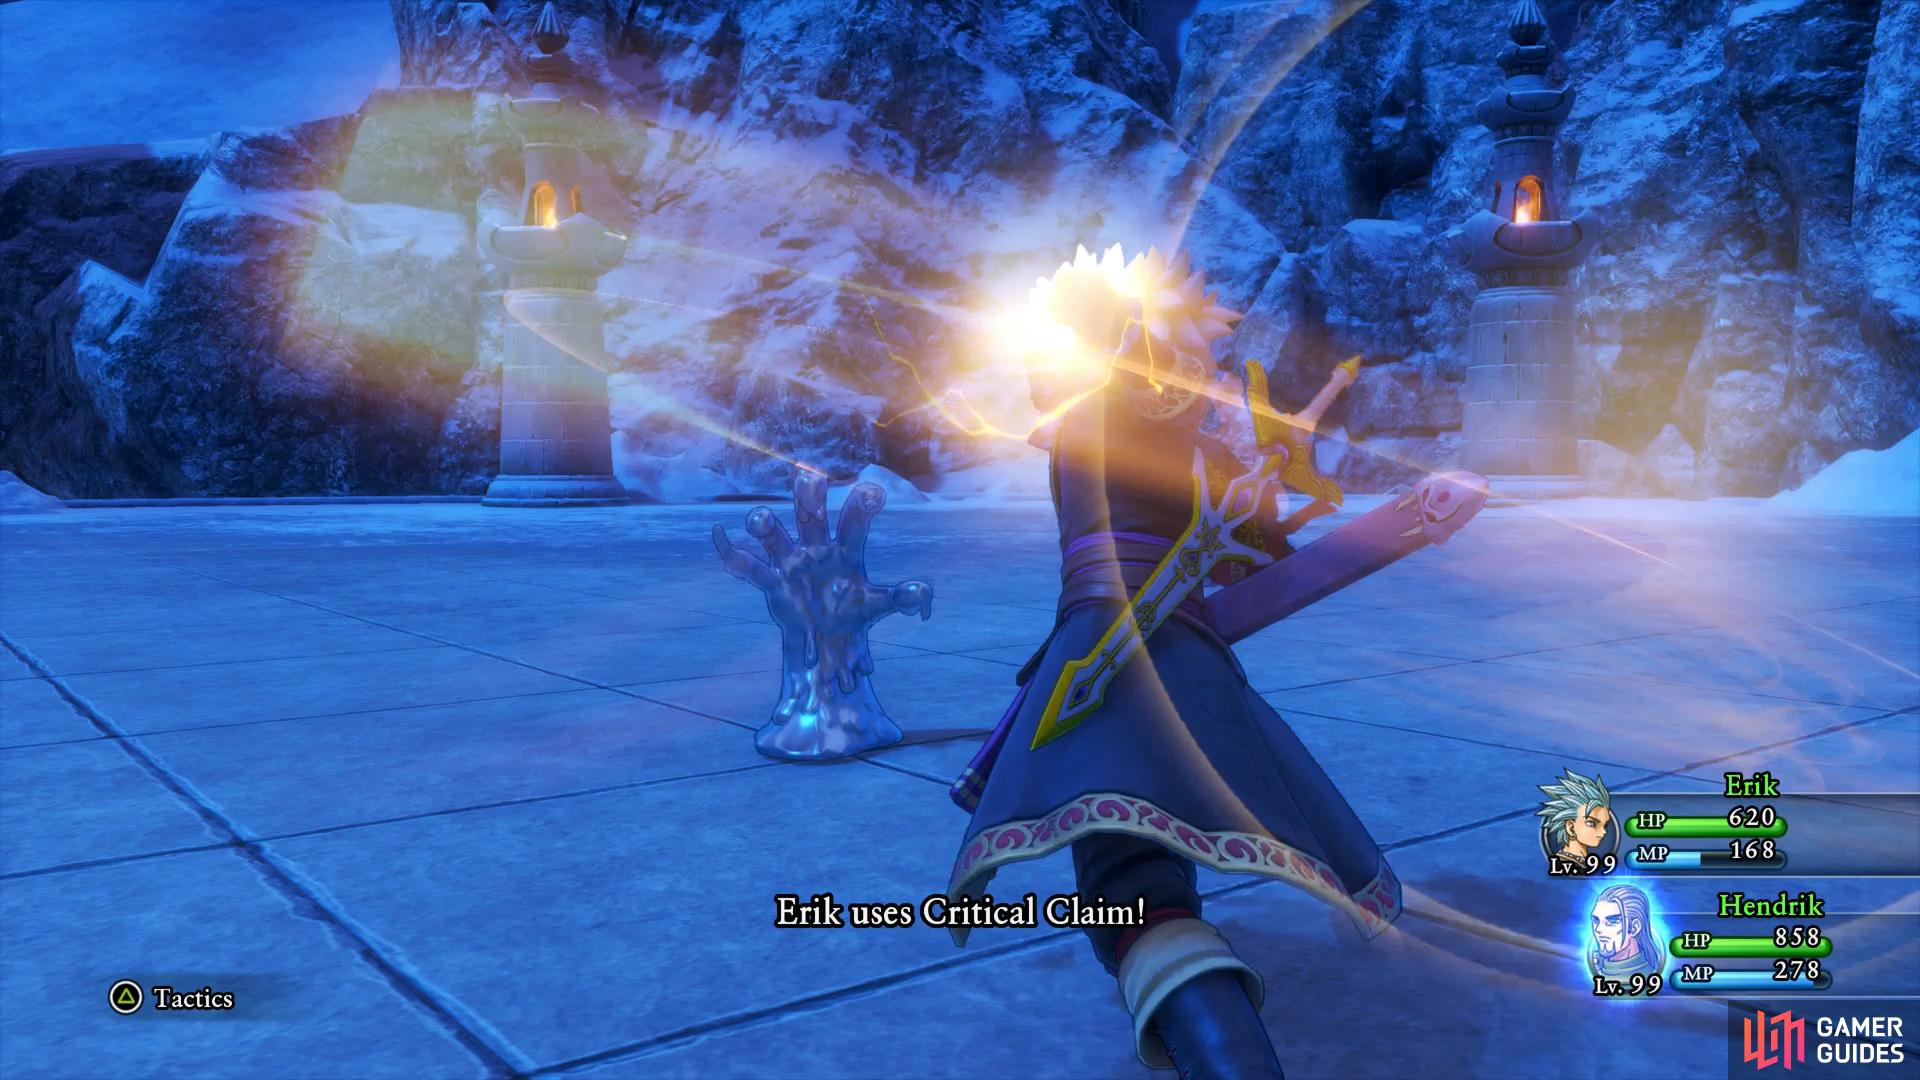
- Erik needs to learn Critical Claim
- Pep Pips below Level 70 (after Level 70 you’ll obtain a Pep Pip from the battle)
Once you have all of this (and you should have plenty of Pep Pips by now) head to a Camp somewhere and then get into a battle. Spend time defending on the spot so that Erik, Jade, Sylvando and Rab are Pepped Up before ending the battle by the Hero using Pep Up on himself. Return to the Camp and save your game, before handing a Pep Pip to Sylvando and save your game. Initiate a battle with the Hero, Erik, Jade and Sylvando in the party and cast Haulellujah. Switch Erik for Rab, let the Hero Pep Up again and then let Sylvando use a Pep Pip on Jade again. It’s important to let the enemies have their turn now and on your next turn, cast Electro Light and hope the Metal Slimes turn up, if you don’t get them then reload your game and try again.
Use Haulellujah before Electro Light to boost the Exp gain
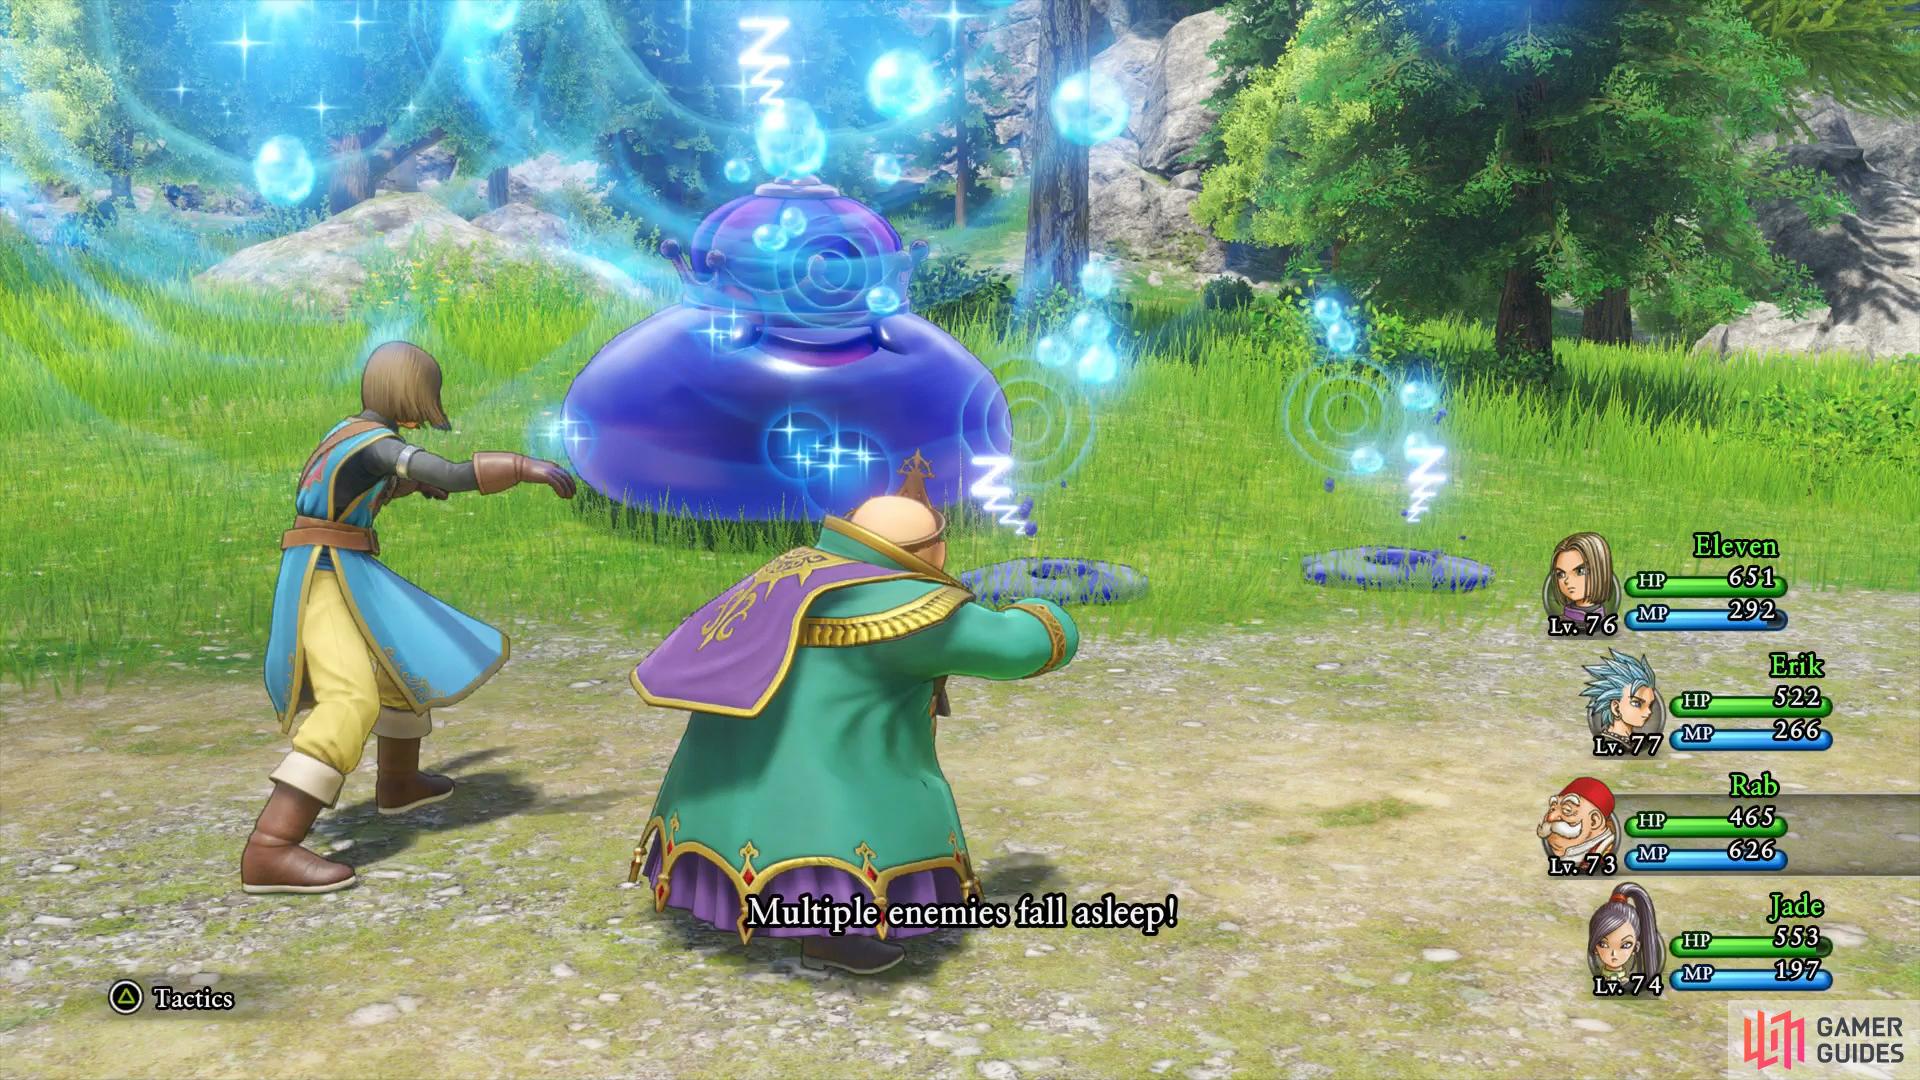
use Dirge of Dundrasil to put the Slimes to sleep.
Once you have the Slimes in the battle, have the Hero and Rab use the Dirge of Dundrasil Pep Power to put them to sleep. This will allow you to use Erik’s Critical Claim and Lightning Thrust with Jade to defeat the slimes and rack in the Exp. With these modifiers on you should get between 4-6 Levels per attempt, use this to get your characters to Level 99 and obtain the following Trophies.


With that out of the way, it’s time to return to Angri-La and take care of the Wheel of Harma at last.
The Wheel of Harma
At this point in the game, the first four trials shouldn’t be too difficult, Veronica makes a huge difference to these trials with Magic Burst and you’re far above the suggested Level.
The First Trial
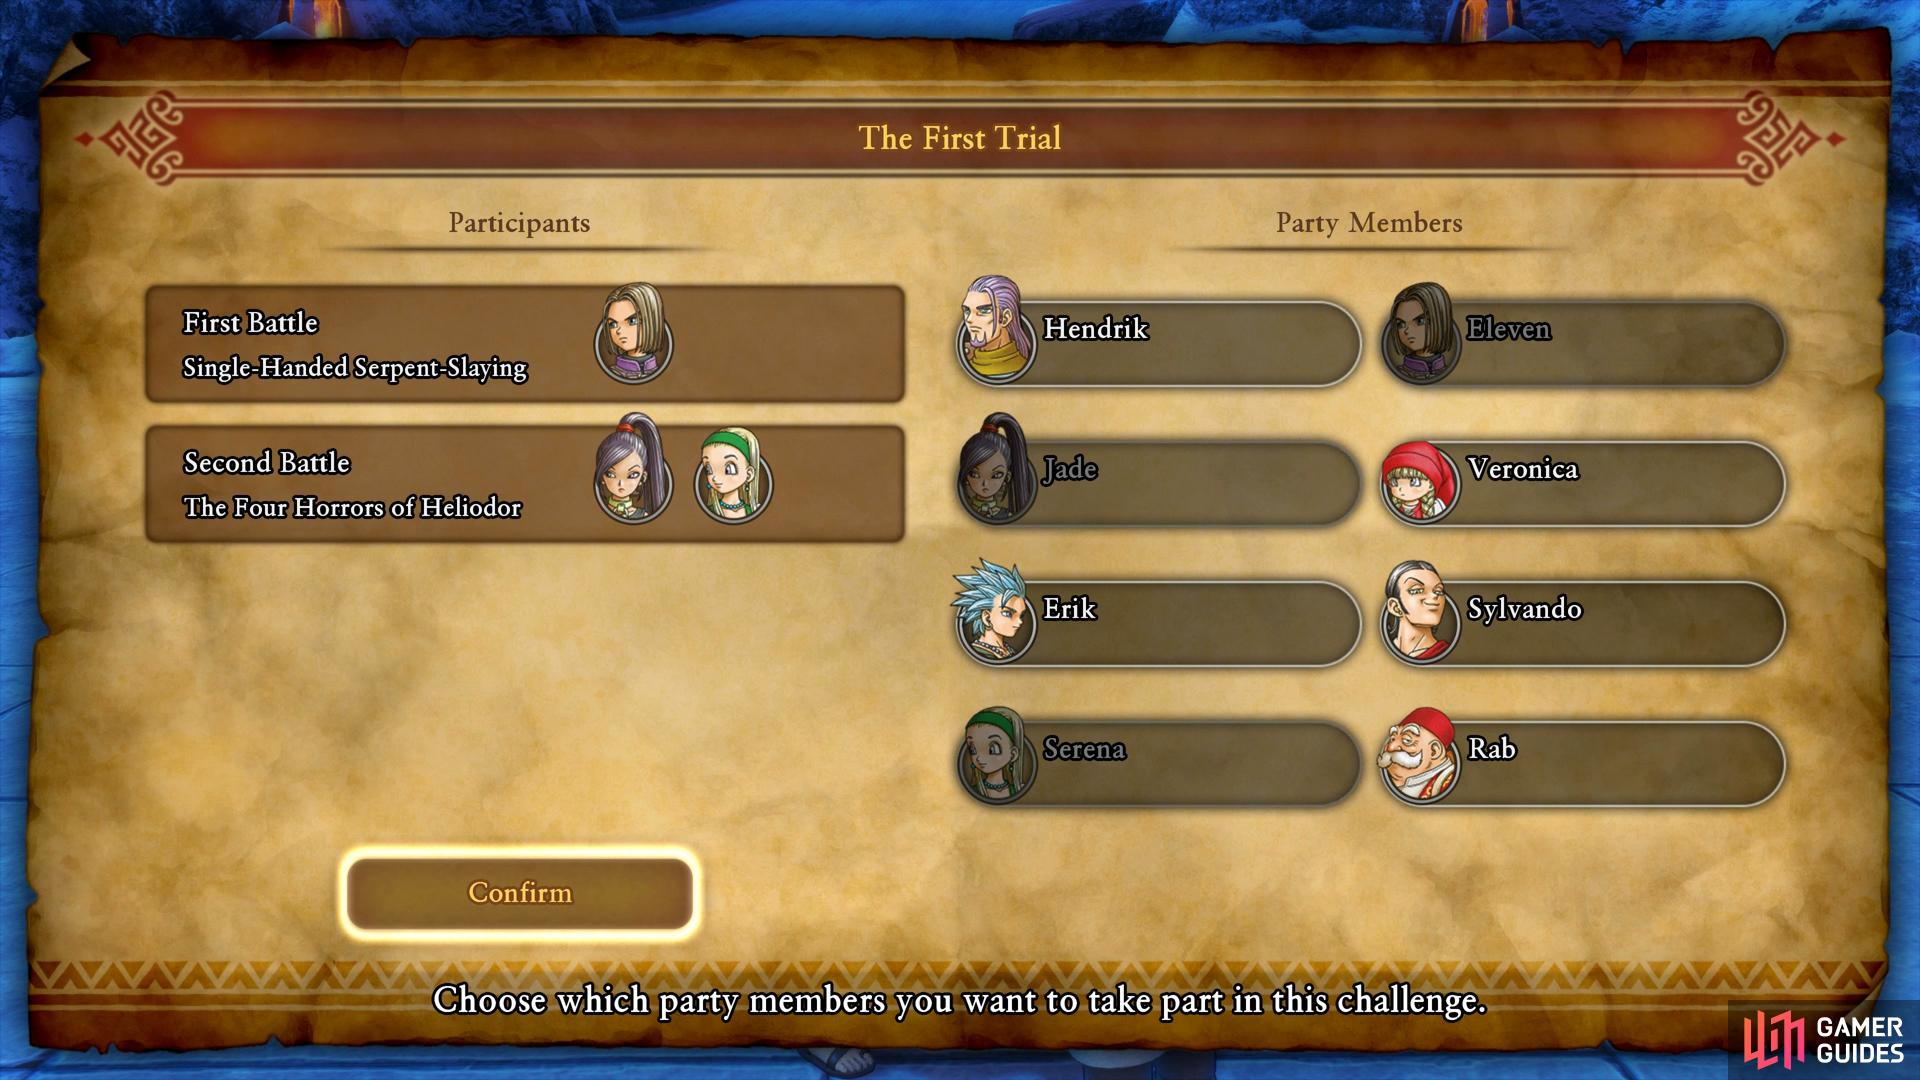
Use this suggested party
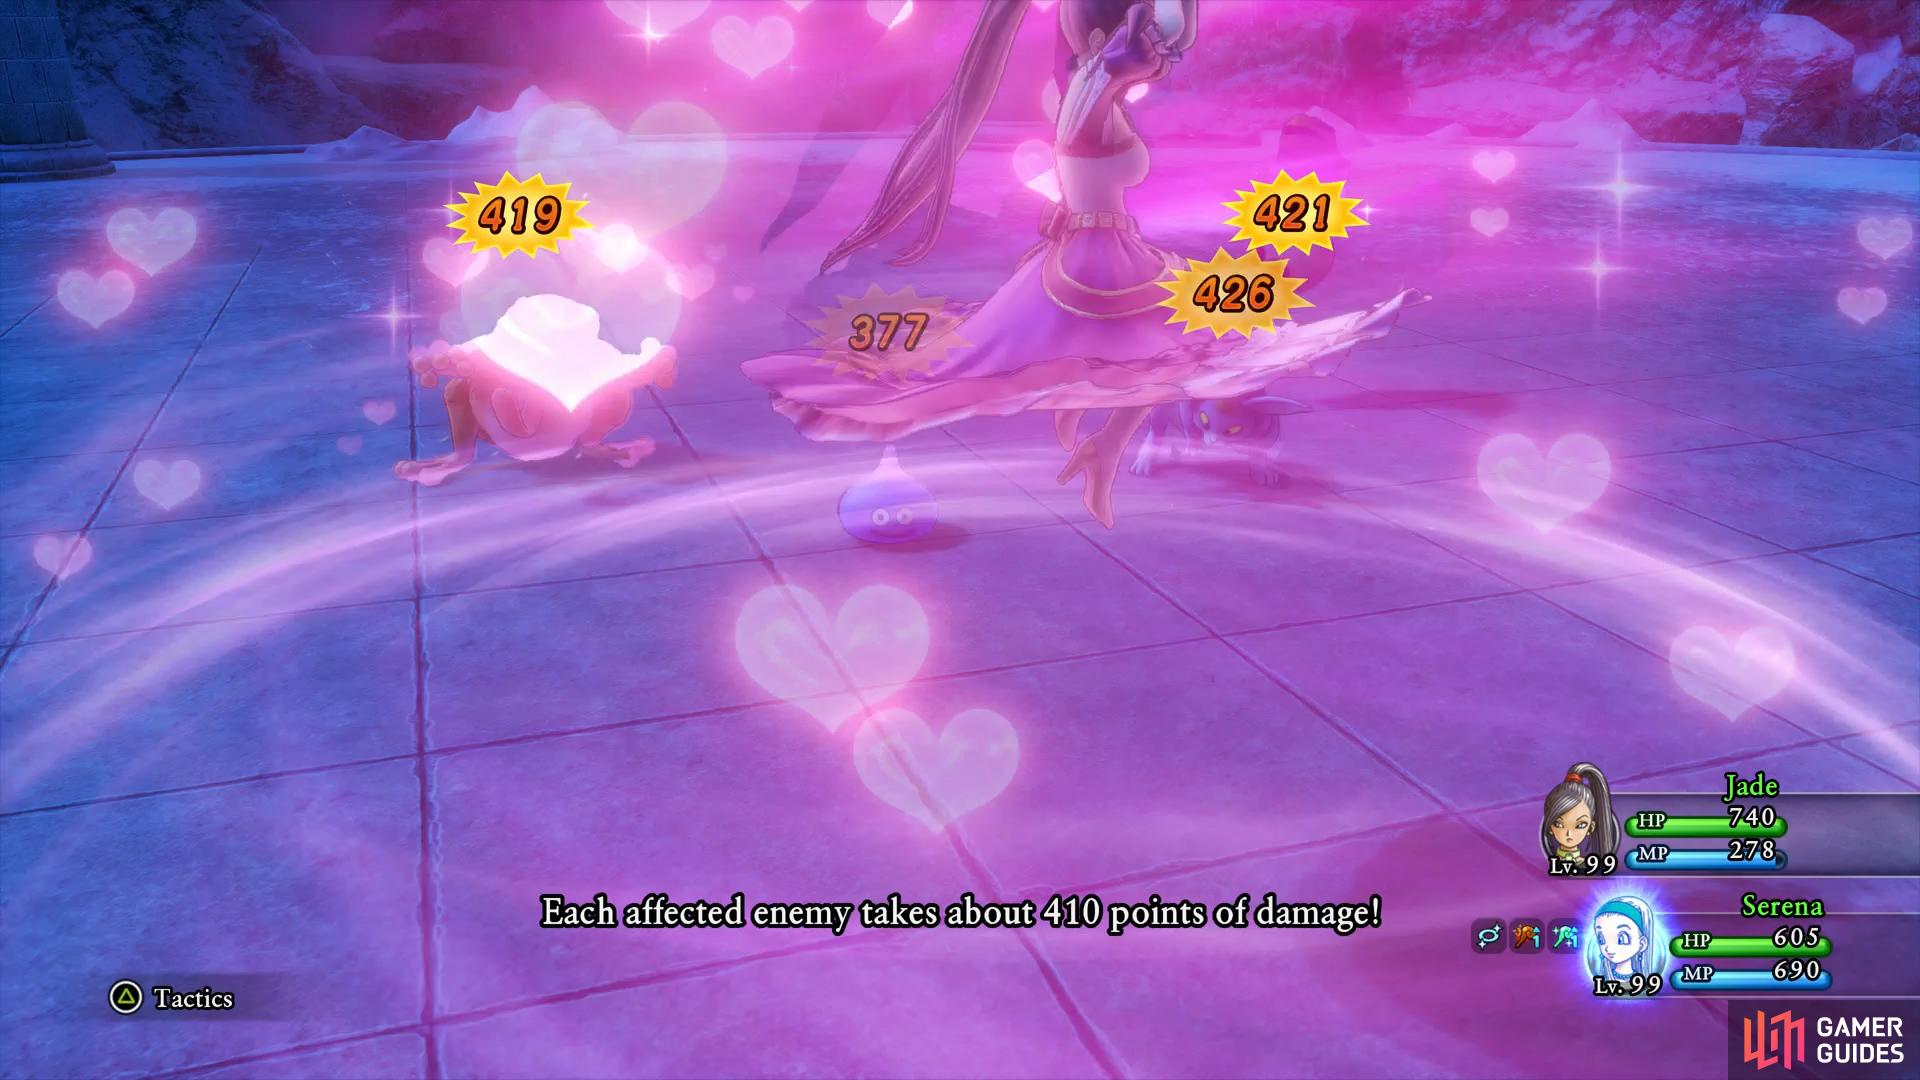
Jade’s Pink Tornado is useful for the second battle.
For the first battle, use the Hero and Sword Dance to take the Deadly Dragon out within one turn (you should hit for over 1000 HP). For the second battle, you’ll want to go with Serena and Jade and begin by using Pink Tornado with Jade. You can then use Serena to use Kathwack, this should take no more than two turns.
The Second Trial
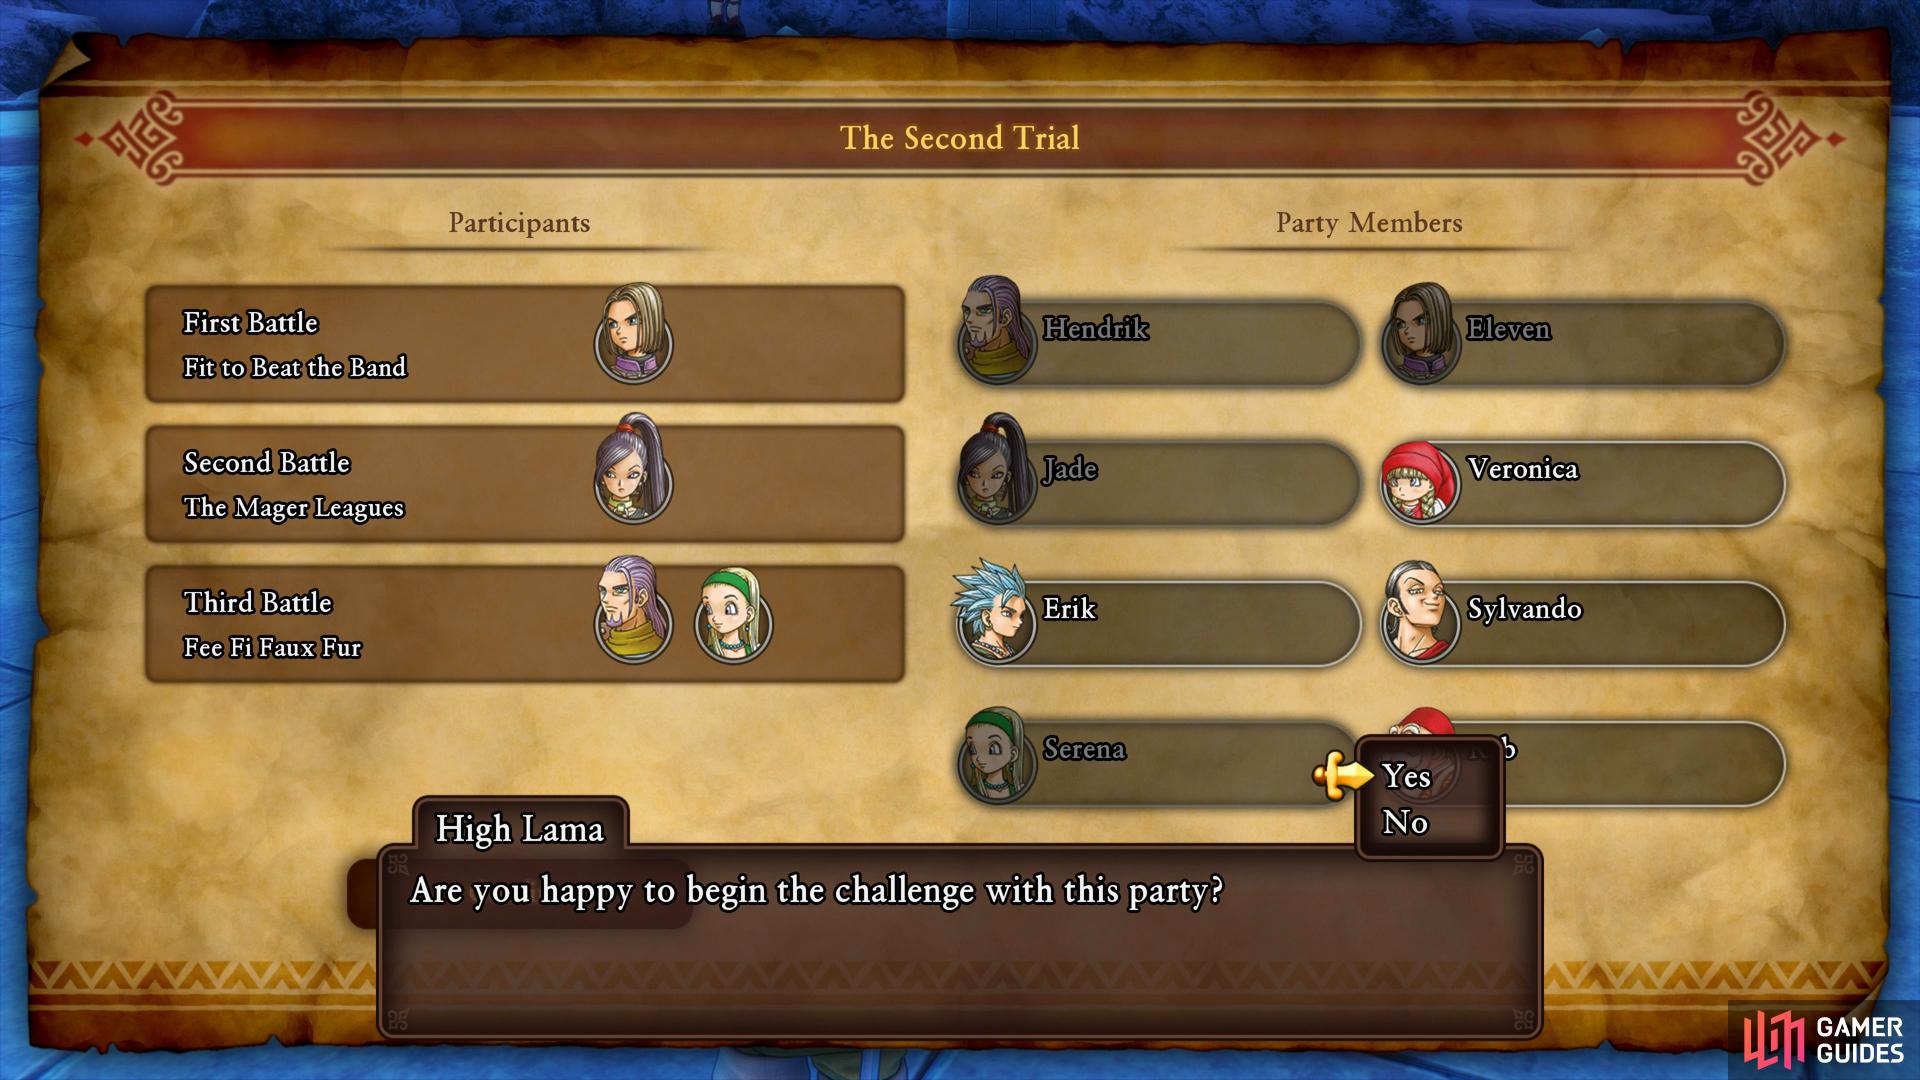
Use this as your party
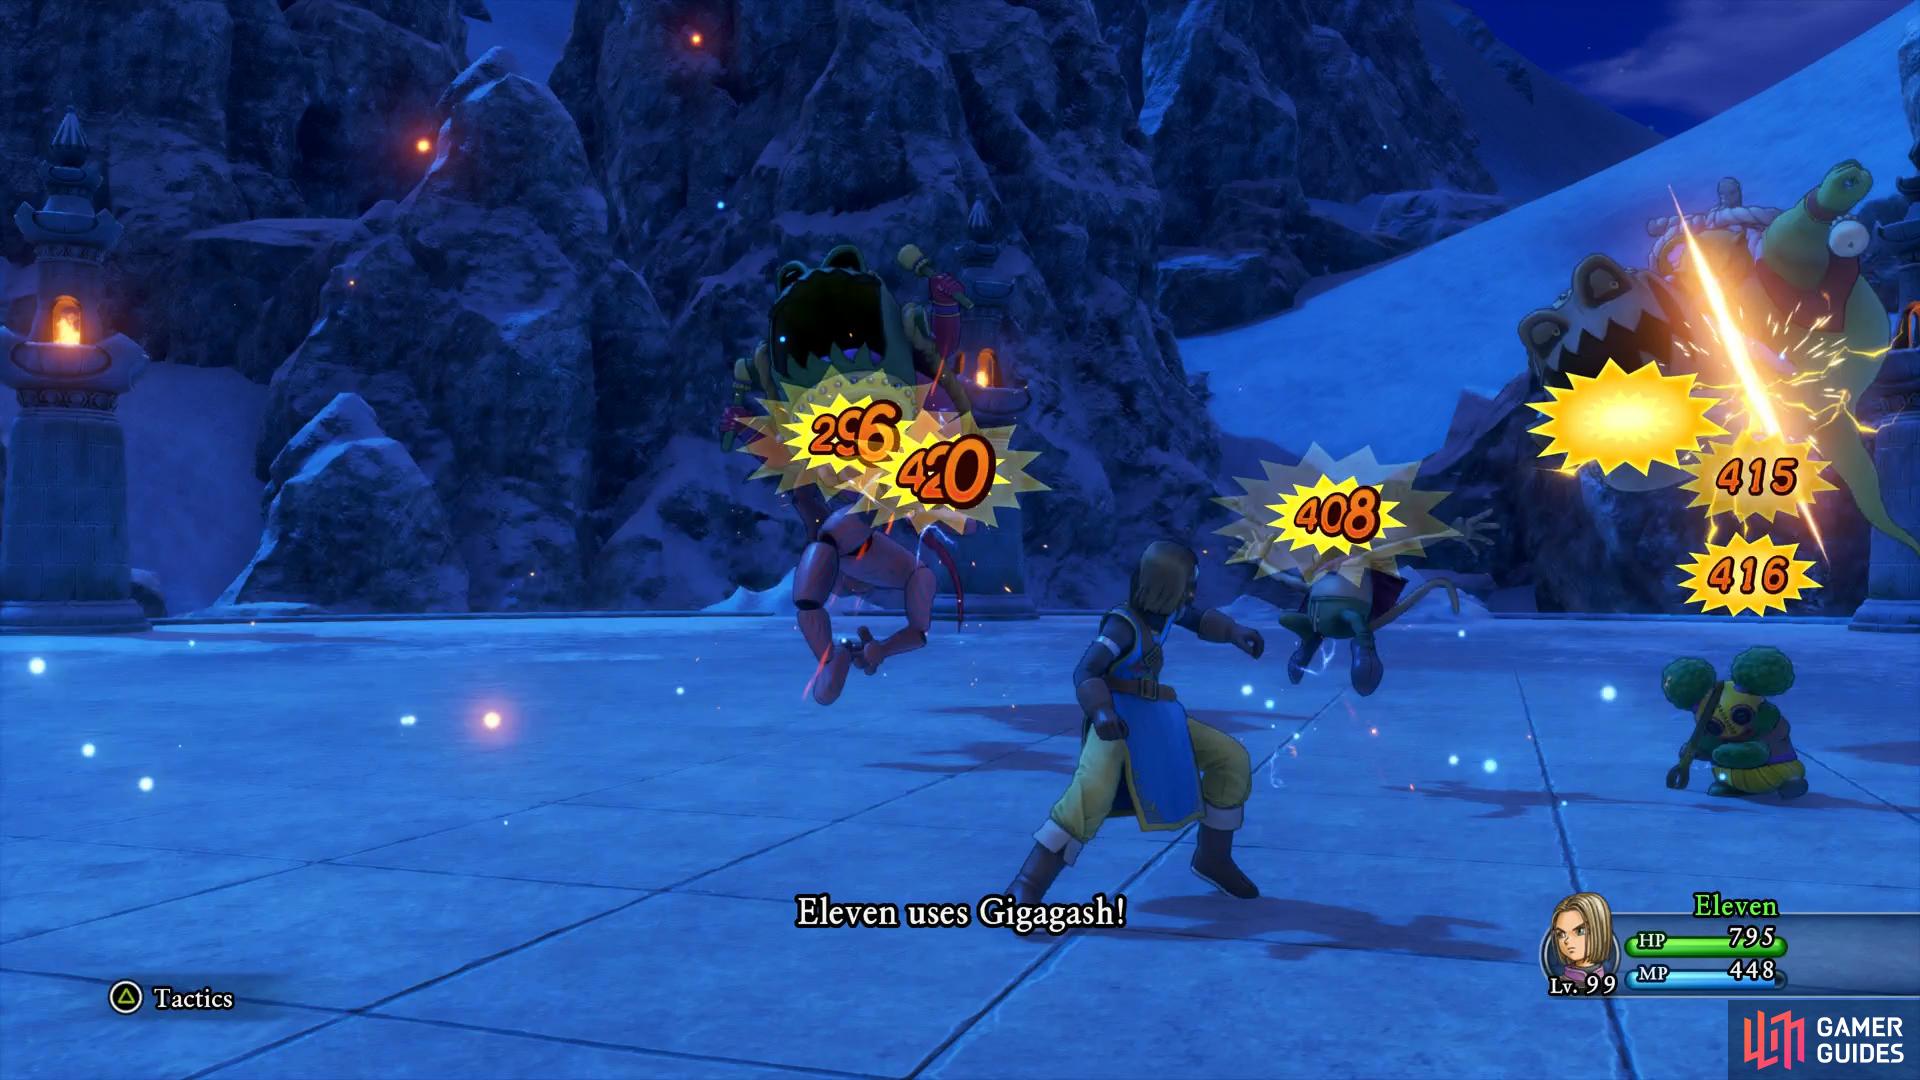
Gigagash should wipe out the enemies in one turn for the first battle.
For the first battle you’ll want to use the Hero, have him use Gigagash to wipe the enemies out. The second battle you’ll want to use Jade and make use of Pink Tornado to hit them all once again. Finally, for the final battle make use of Hendrik and Serena with Serena using Kathwack again while Hendrik uses Gyrfalcon Slash.
The Third Trial
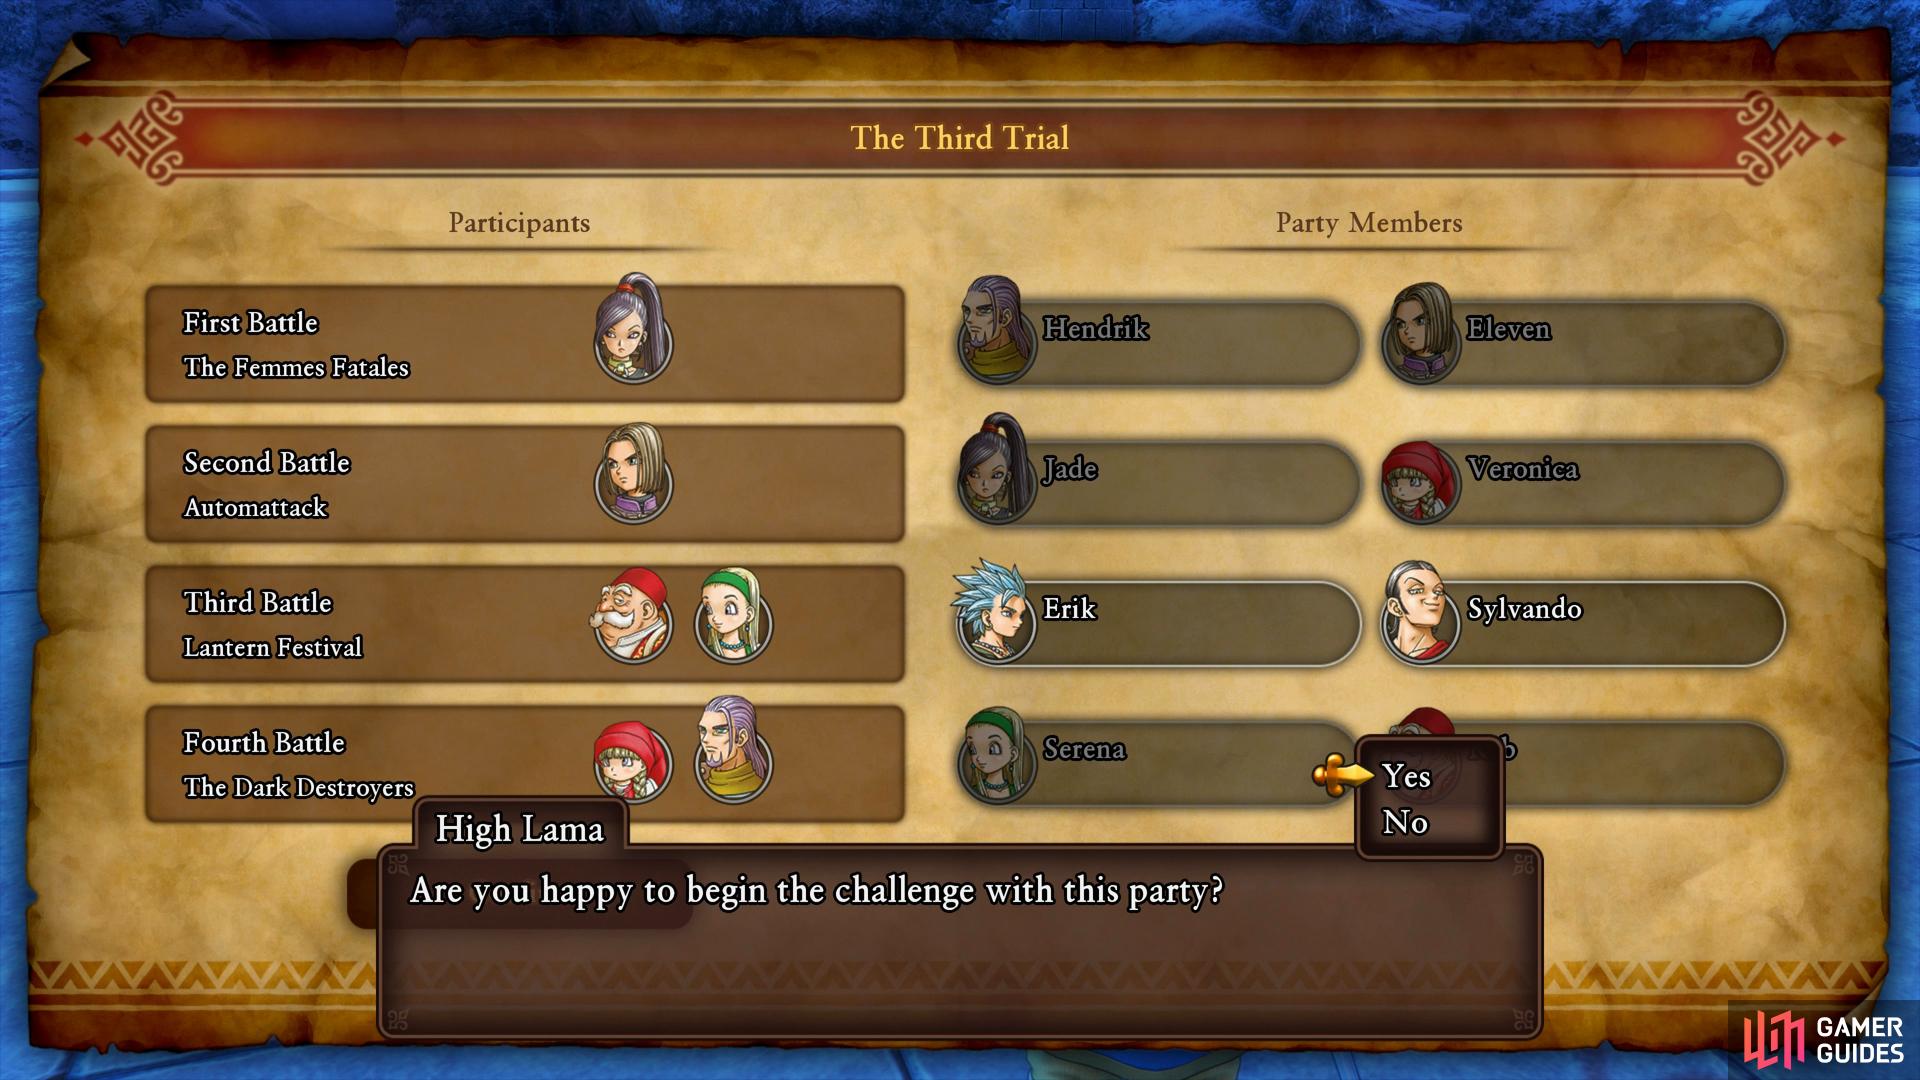
This should be your party for this Trial
one cast of Magic Burst is enough to end the final round.
You’ll have four battles to contend with this time and for the first battle, select Jade. Begin by using Pink Tornado and then finish off whatever is left using a regular attack. For the second battle, use the Hero and make use of Gigagash, the enemies are weak to Lightning. The Third battle you’ll want to go with Rab and Serena, make use of Rab’s Pearly Gates or Kacrackle and use Serena’s Kathwack. Finally, for the last battle go with Hendrik and Veronica, using the diminutive mage to use Magic Burst followed by Hendrick using Gyrfalcon Slash.
The last two trials are a lot more difficult as they’re the ones exlclusive to Act III. Although you’re level 99, you’ll have to make sure you use the correct combinations of characters and abilities to pass them in the required turns.
The Fourth Trial
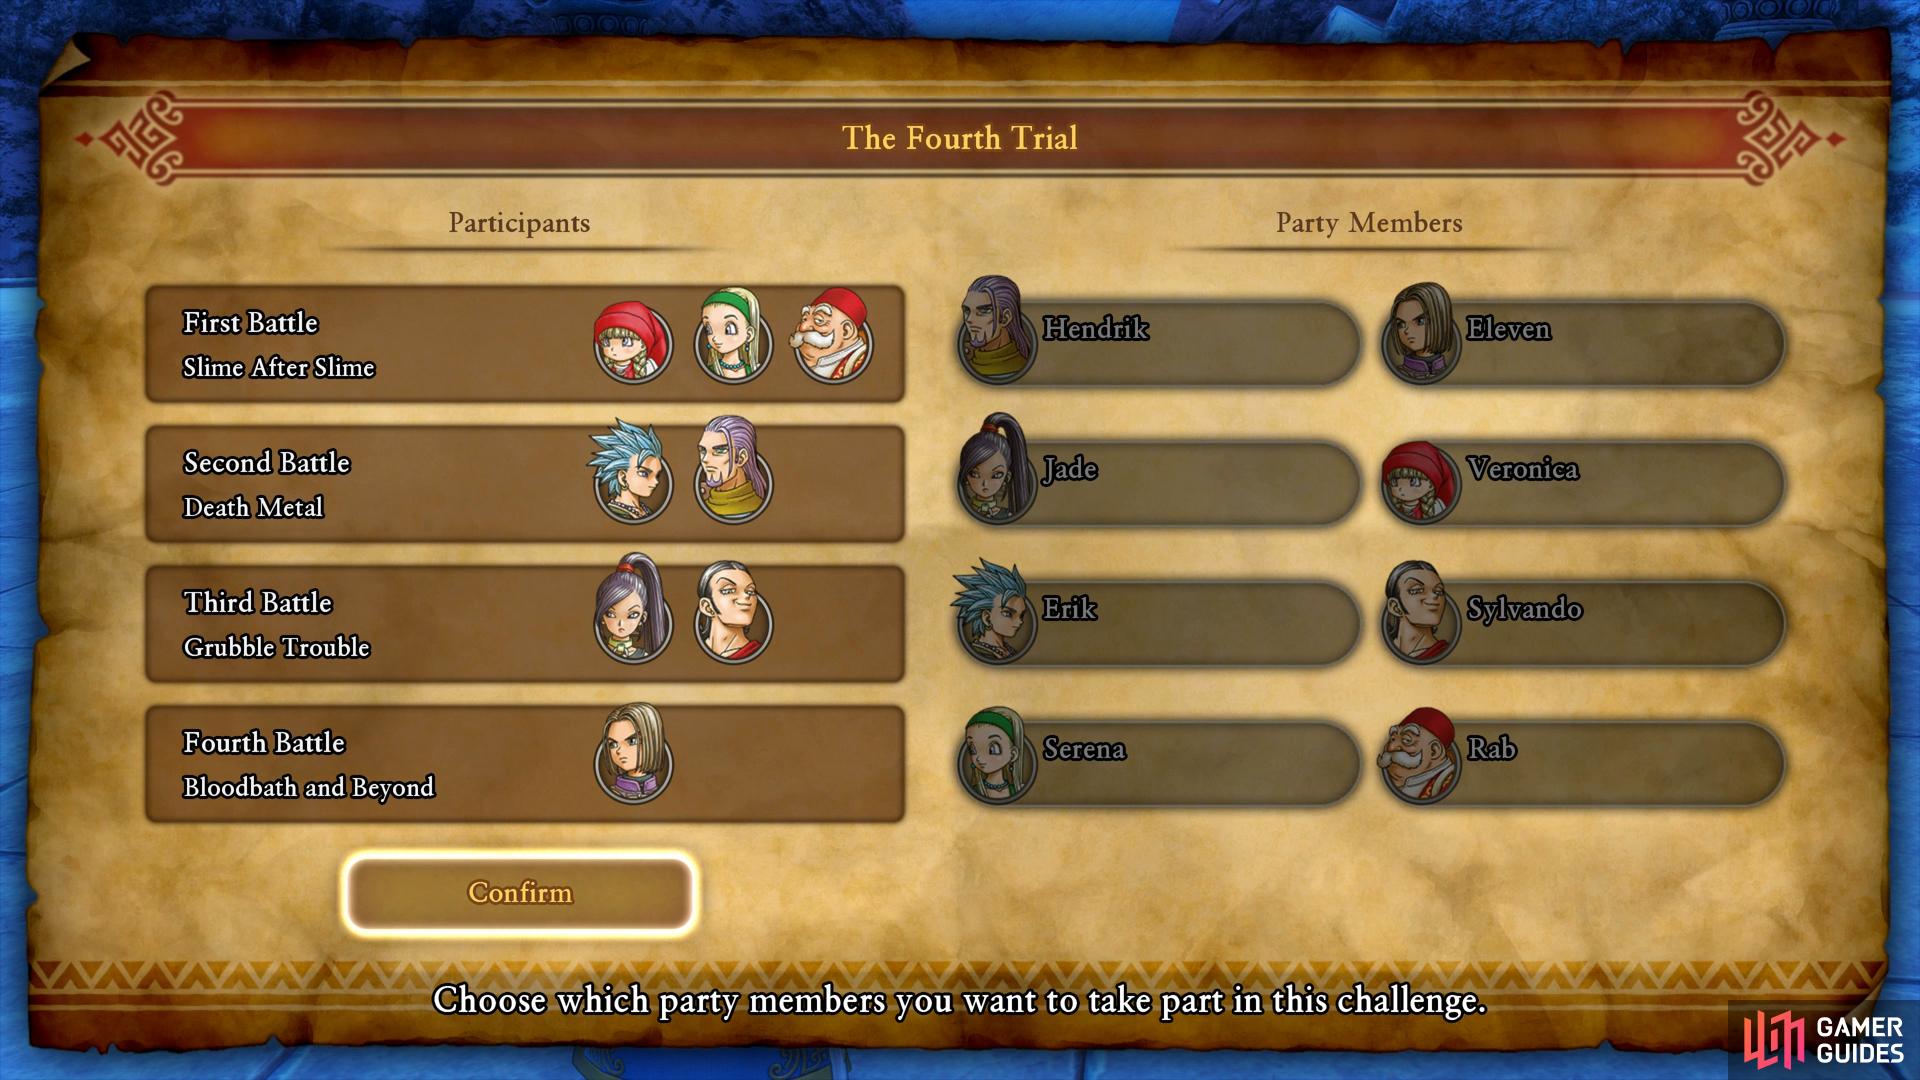
Go with this setup
you’ll have to make use of Erik’s Critical Claim to defeat the Hardy Hands in the second battle.
For the first battle, select Veronica, Serena and Rab while making use of Magic Burst to defeat them all in one fell swoop. For the second battle, you’ll need to use Erik’s Critical Claim on each of the Hardy Hands while Hendrik uses Gyrfalcon Slash on the Clangoustine. On the third battle, use Jade and Syvlando and have Jade use Pink Tornado while Sylvando uses Gold Rush or passes turns back to her. For the final battle you’ll have just the Hero and want to make use of Sword Dance on the Red Giant.
The main reward from the Fourth Trial is the Shine on, Xenlon Recipe Book which contains Jade’s best armor in the game. The Final Trial could take many tries to achieve it in the required turns, especially the first battle.
The Final Trial

Go with this for your party
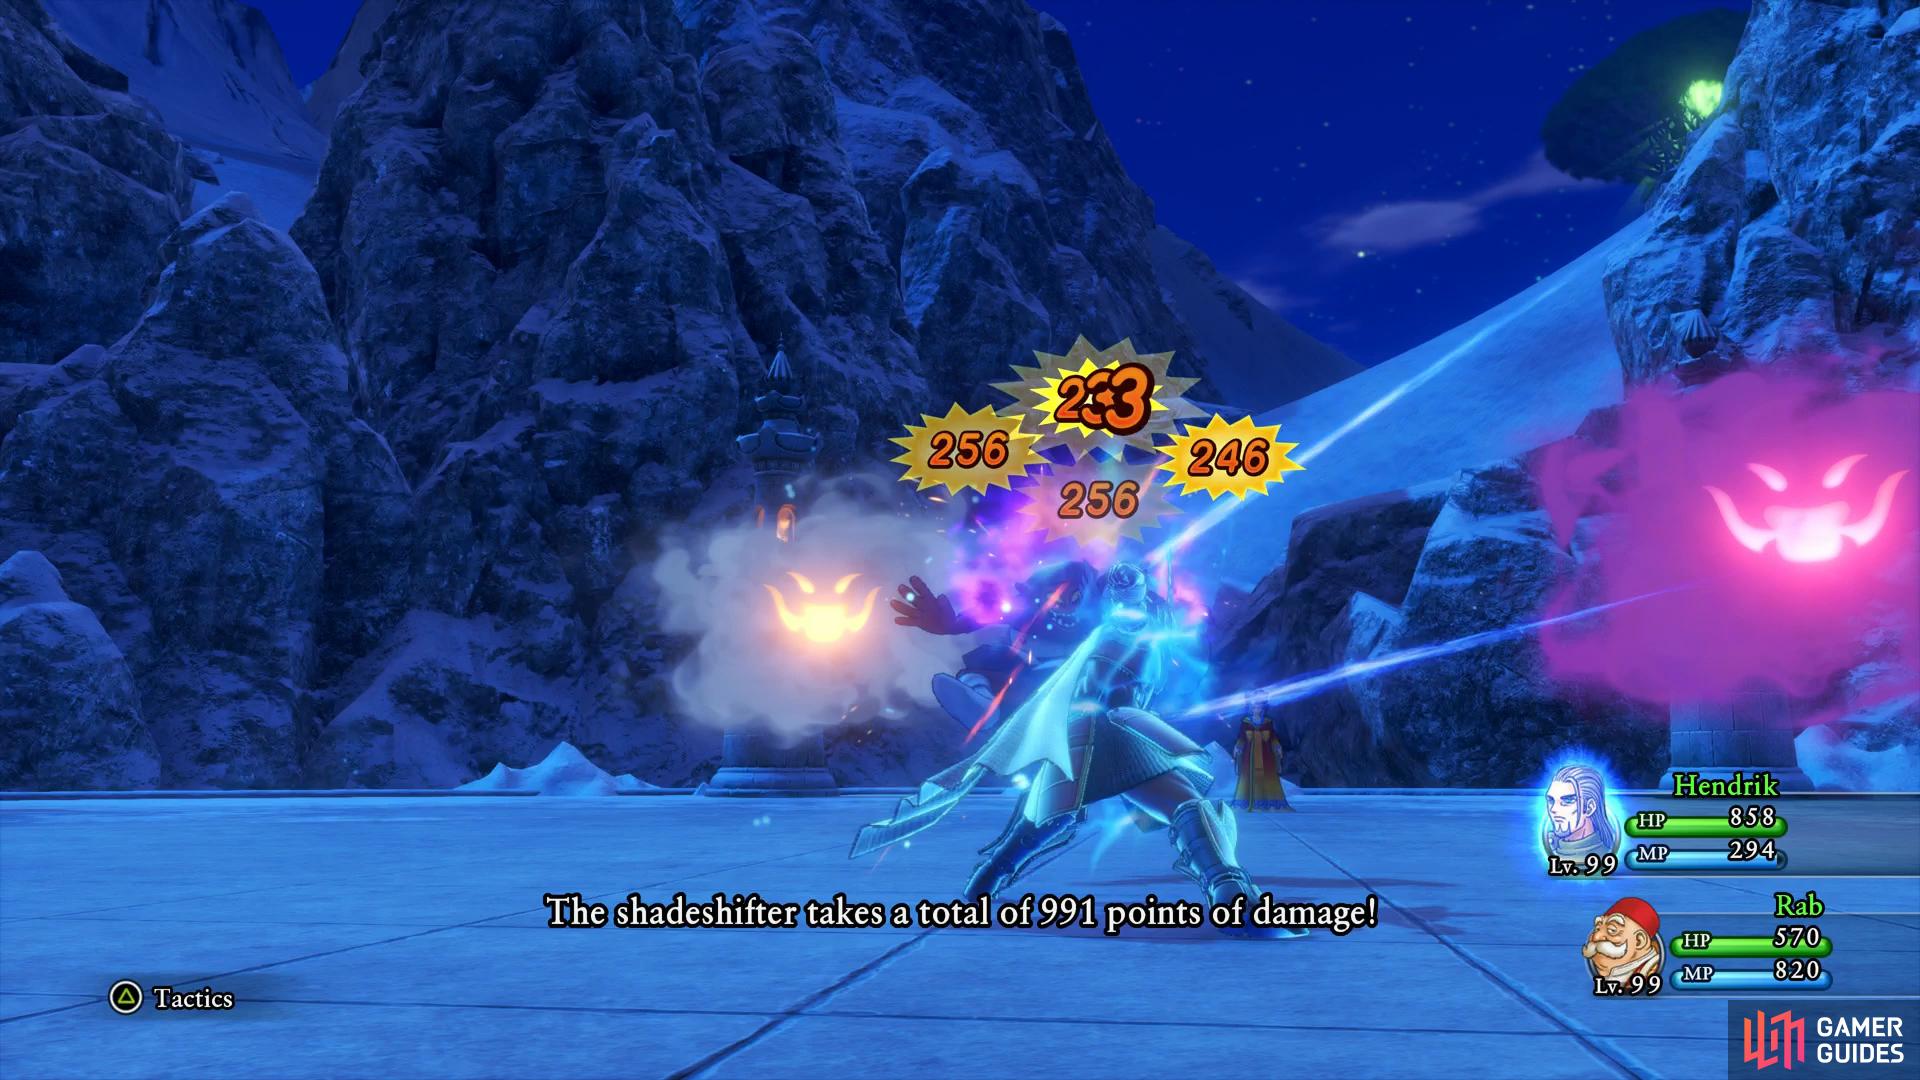
use Gyrfalcon Slash to drain the Shadeshifter’s HP before finishing them all off.
There’s a unique mechanic about the Final Trial, if you don’t kill all the enemies on the same combat round, Grand Master Pang will call in reinforcements, it’s for this reason that you’ll need to make sure you don’t take the easier monsters out too quickly.
For the first battle, take Hendrik and Rab along, the main difficulty of this first battle is the Shadeshifter that has a lot more HP than the Smog and Miasma. You’ll want Hendrik to focus on the Shadesifter using Gyrfalcon Slash while Rab continues to use Pearly Gates. If all goes well then you should take them down on the second turn, using a maximum of four actions.
The second battle is a bit misleading, you won’t be able to kill the first monster in one round so you’ll have to deal with the Reinforcements. Select Serena and Veronica for this and spend their first turns doing Channel Anger and Kaswooshle. On the next turn, Magic Burst from Veronica should be enough to knock all the enemies out. If all goes well, this should take no more than four actions, leaving you with a total of eight so far.
Magic Burst the second battle
Divide and Critical Claim the Pandora’s Big Bad Box in the third battle.
The Third battle is similar to the last one in that you won’t defeat Pandora’s Big Bad Box in one turn. Select Erik and Sylvando and spend the first turn using Divide with Erik and Finger of Justice or That’s Amore with Sylvando. When the reinforcements come in, have Erik use Critical Claim on Pandora’s Big Bad Box while Sylvando uses Gold Rush. If the mimic still lives, use a single Critical Claim or Fatal Flash to finish it off while Sylvando continues with Gold Rush. If all goes well, you should have no more than 14 actions used so far going into the final battle.
This leaves you with the Hero and Jade for the final bout against two difficult opponents. Once again, you won’t defeat the two monsters in the first round so you’ll have to deal with reinforcements. For the first round, have the Hero use Sword Dance on the Infernal Serpent while Jade uses Multifeet on the Manticore. They have 4000 and 3600 HP respectively so they’ll take a while to go down. Once the reinforcements are called in however, you’ll want to use Gigagash with the Hero and Pink Tornado with Jade until they all fall at the same time. You should have more than enough turns going into this battle to cover yourself.
Following your victory you’ll obtain the Recipe Book needed to complete the one quest still unfinished, a Recipe Book for Rab’s best gear along with an excellent Wand and the best Greatsword in the game. On top of this, you’ll obtain yet another Trophy making you one step closer to the Platinum Trophy.

Ultimate Enlightenment
Awarded for overcoming every challenge that the Wheel of Harma has to offer.

30
With your new Recipe Books in hand, head to a camp and forge the Legate’s Blade +3 and hand it over to the monk in the High Hall to complete Quest 58 and obtain ten Seeds of Skill. All that remains now is to defeat the final two bosses and you’ll want to prepare before heading off to fight them.
For one, make sure that every character is wearing the best possible gear that they can, this should include all of their final armor sets. Next, you’ll want to get hold of two Skull Rings +3 for Hendrik, these can be obtained by forging them or a rare steal from the Infanticores in Dundrasil. Once you have both of these, equip them on Hendrik to reduce his dark damage by 100%. Take the time to forge your current gear to +3, you’ll need all the help you can get. Finally, purchase some Elfin Elixirs from the Medal Exchange or the Casino and put them on Veronica and Serena. When you’re ready, enter the Sage’s Trial and make your way back to Drustan one final time, make sure Hendrik has two Skull Rings +3 and begin the game’s hardest battle.
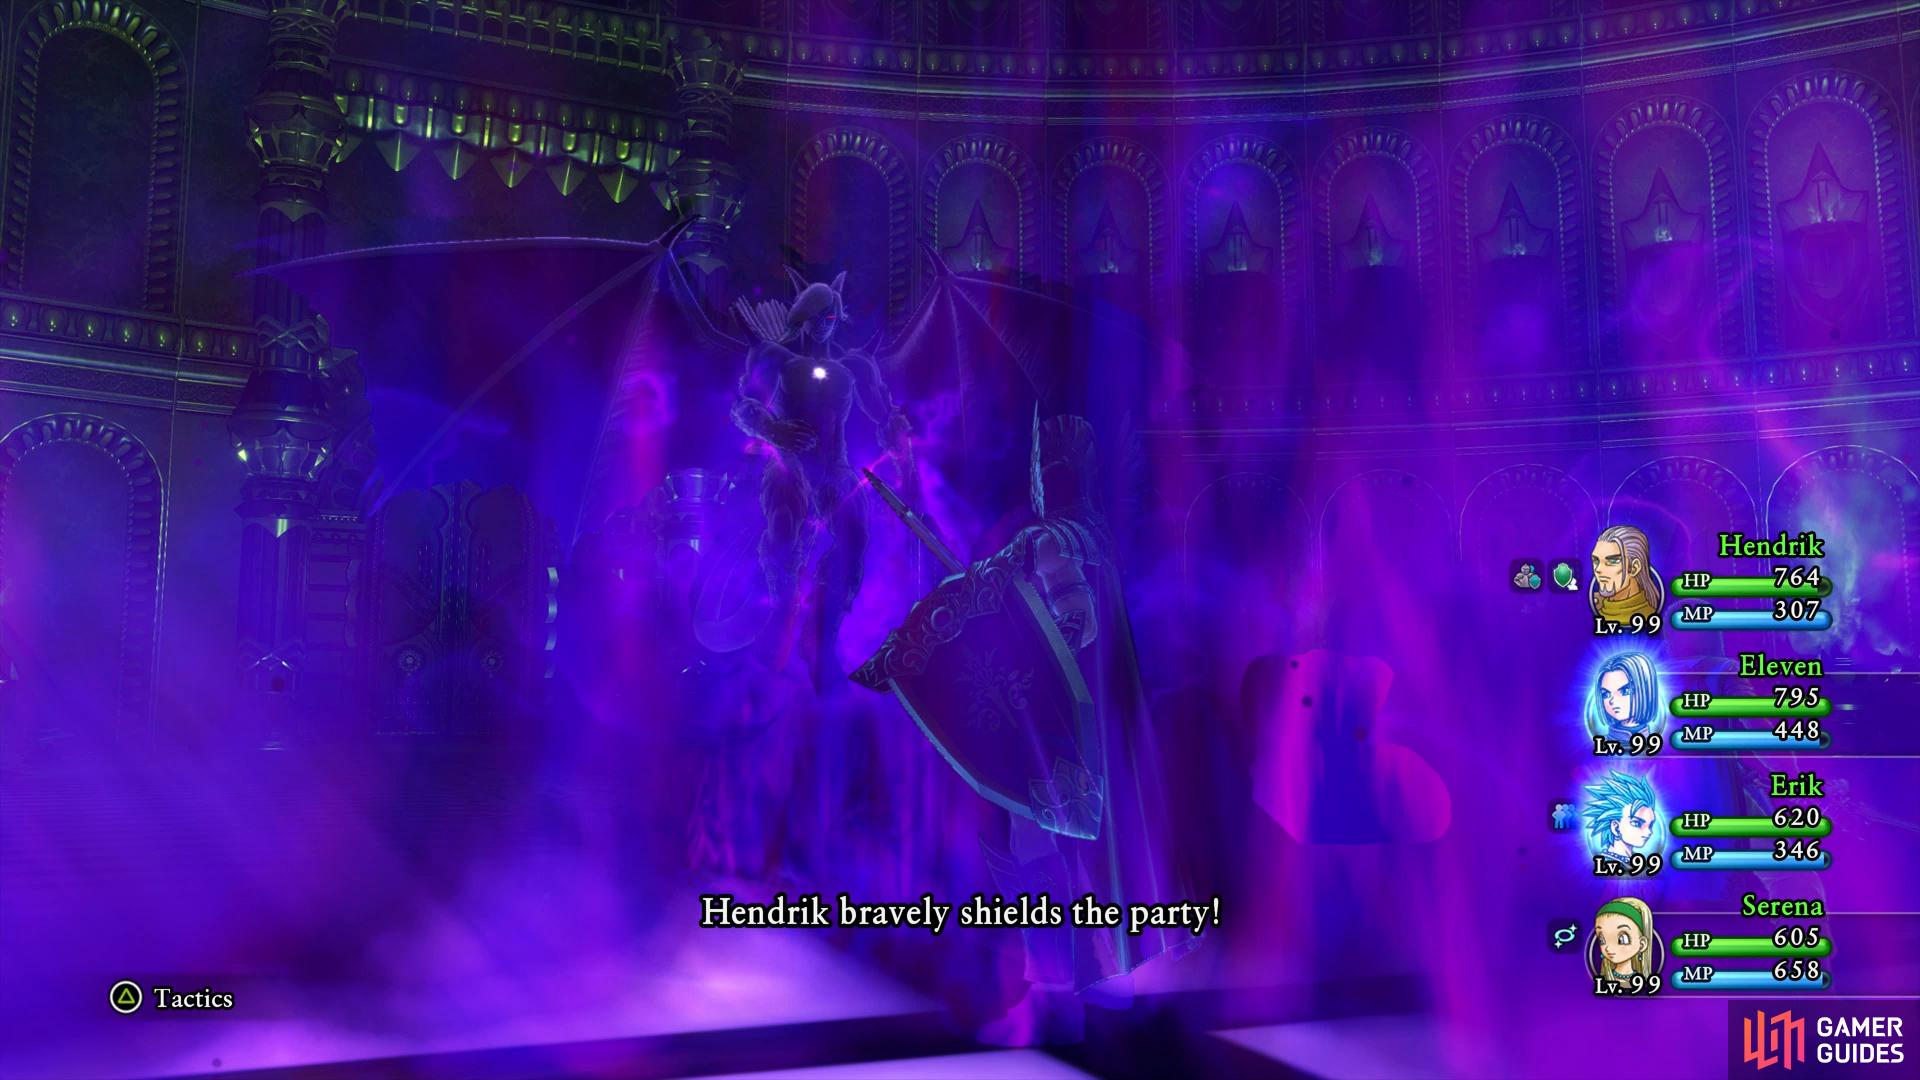
Boss: Overweening Pride (50 Turns)
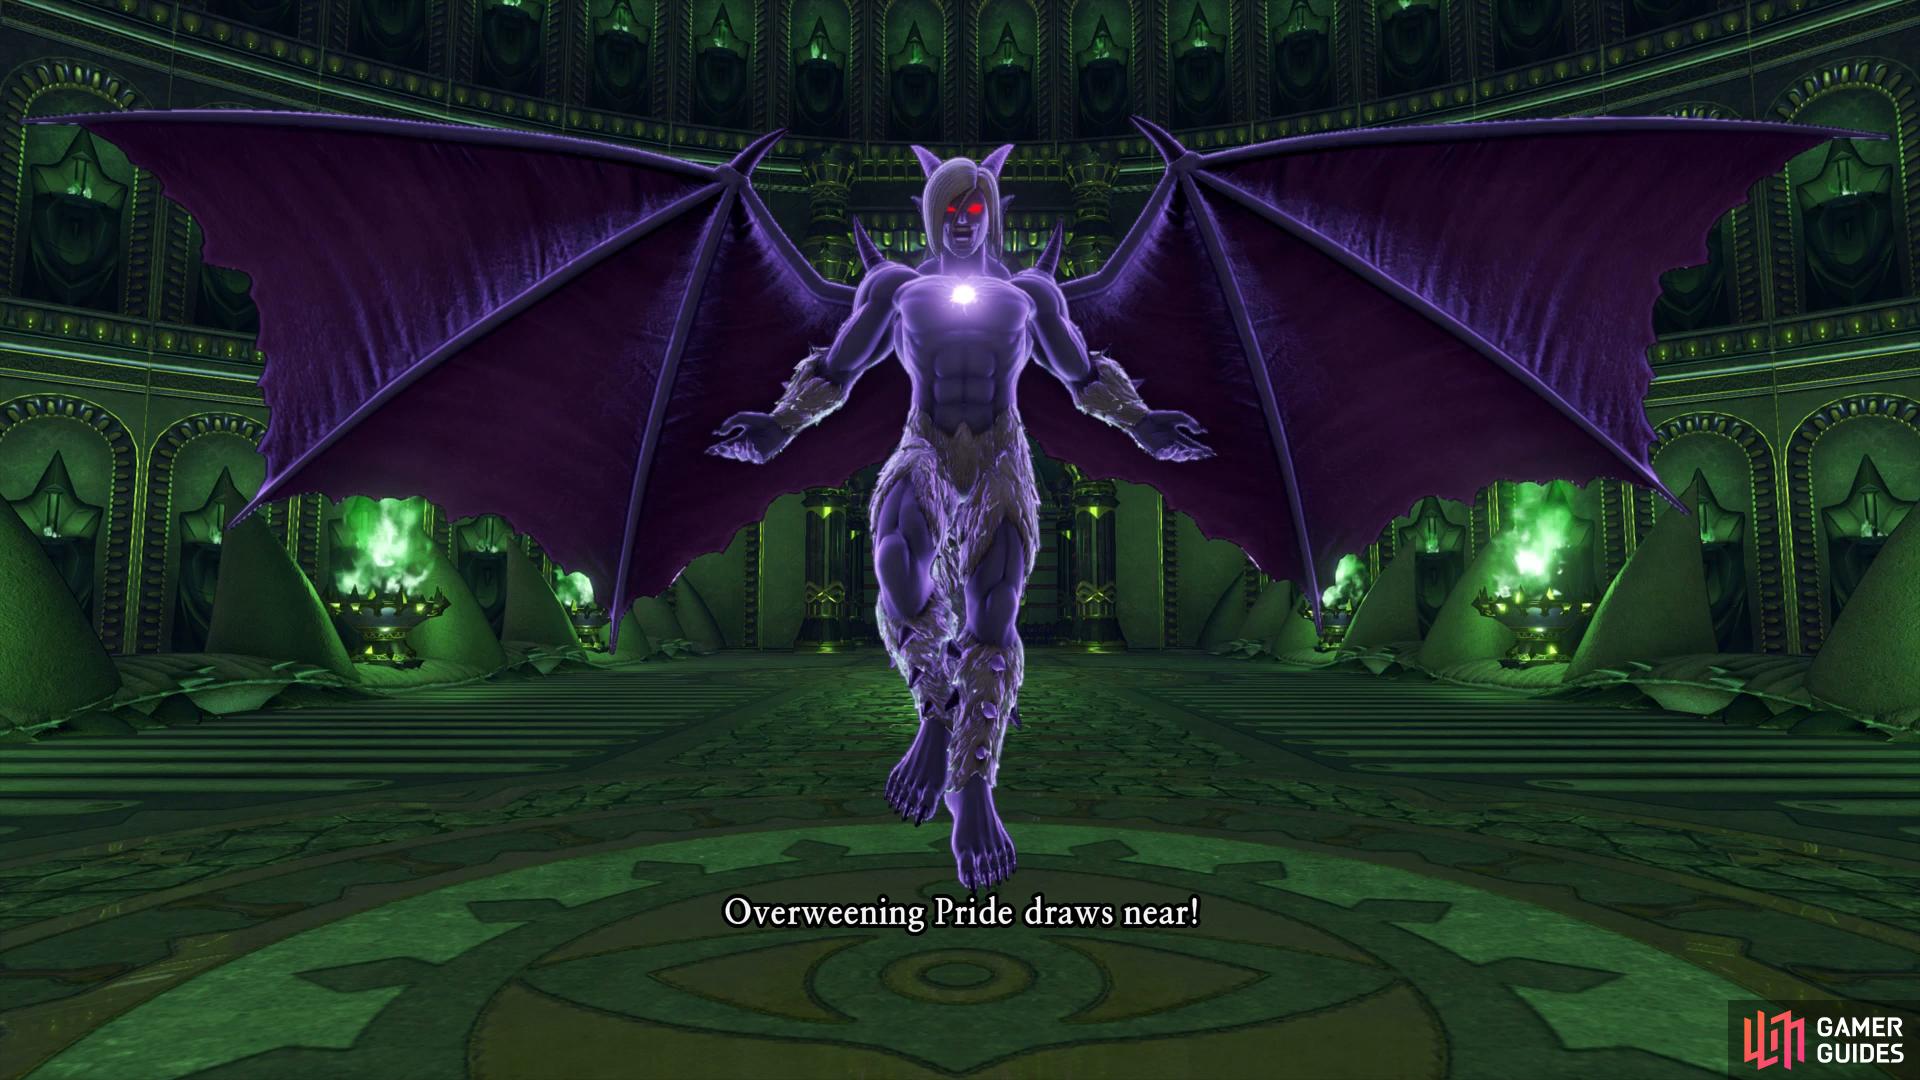
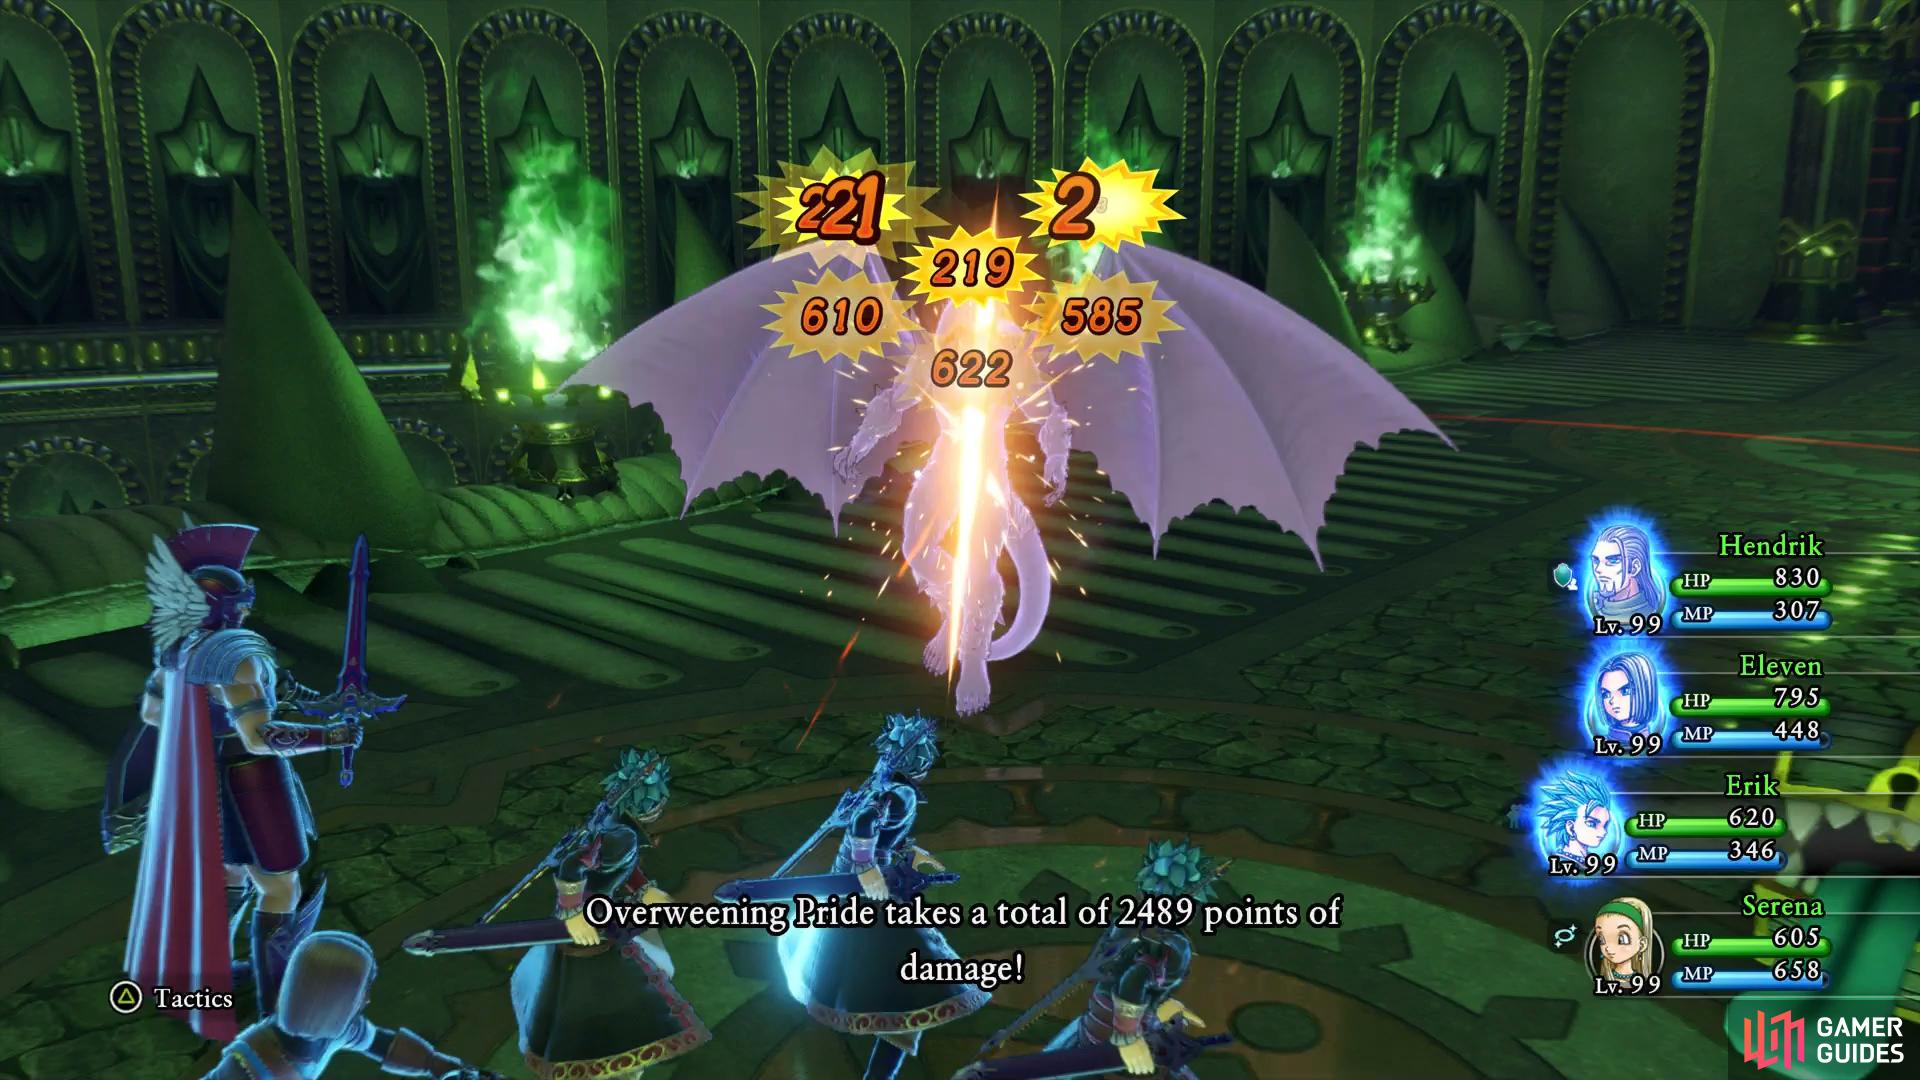
This is the toughest battle in Dragon Quest XI, not only does Overweening Pride have 12000 HP but you also need to kill him within 50 turns. He’ll have two turns every combat round, can and will wipe out any positive status effects with Dirsruptive Wave and constantly call allies including Kathwack casting Pandora’s Boxes.
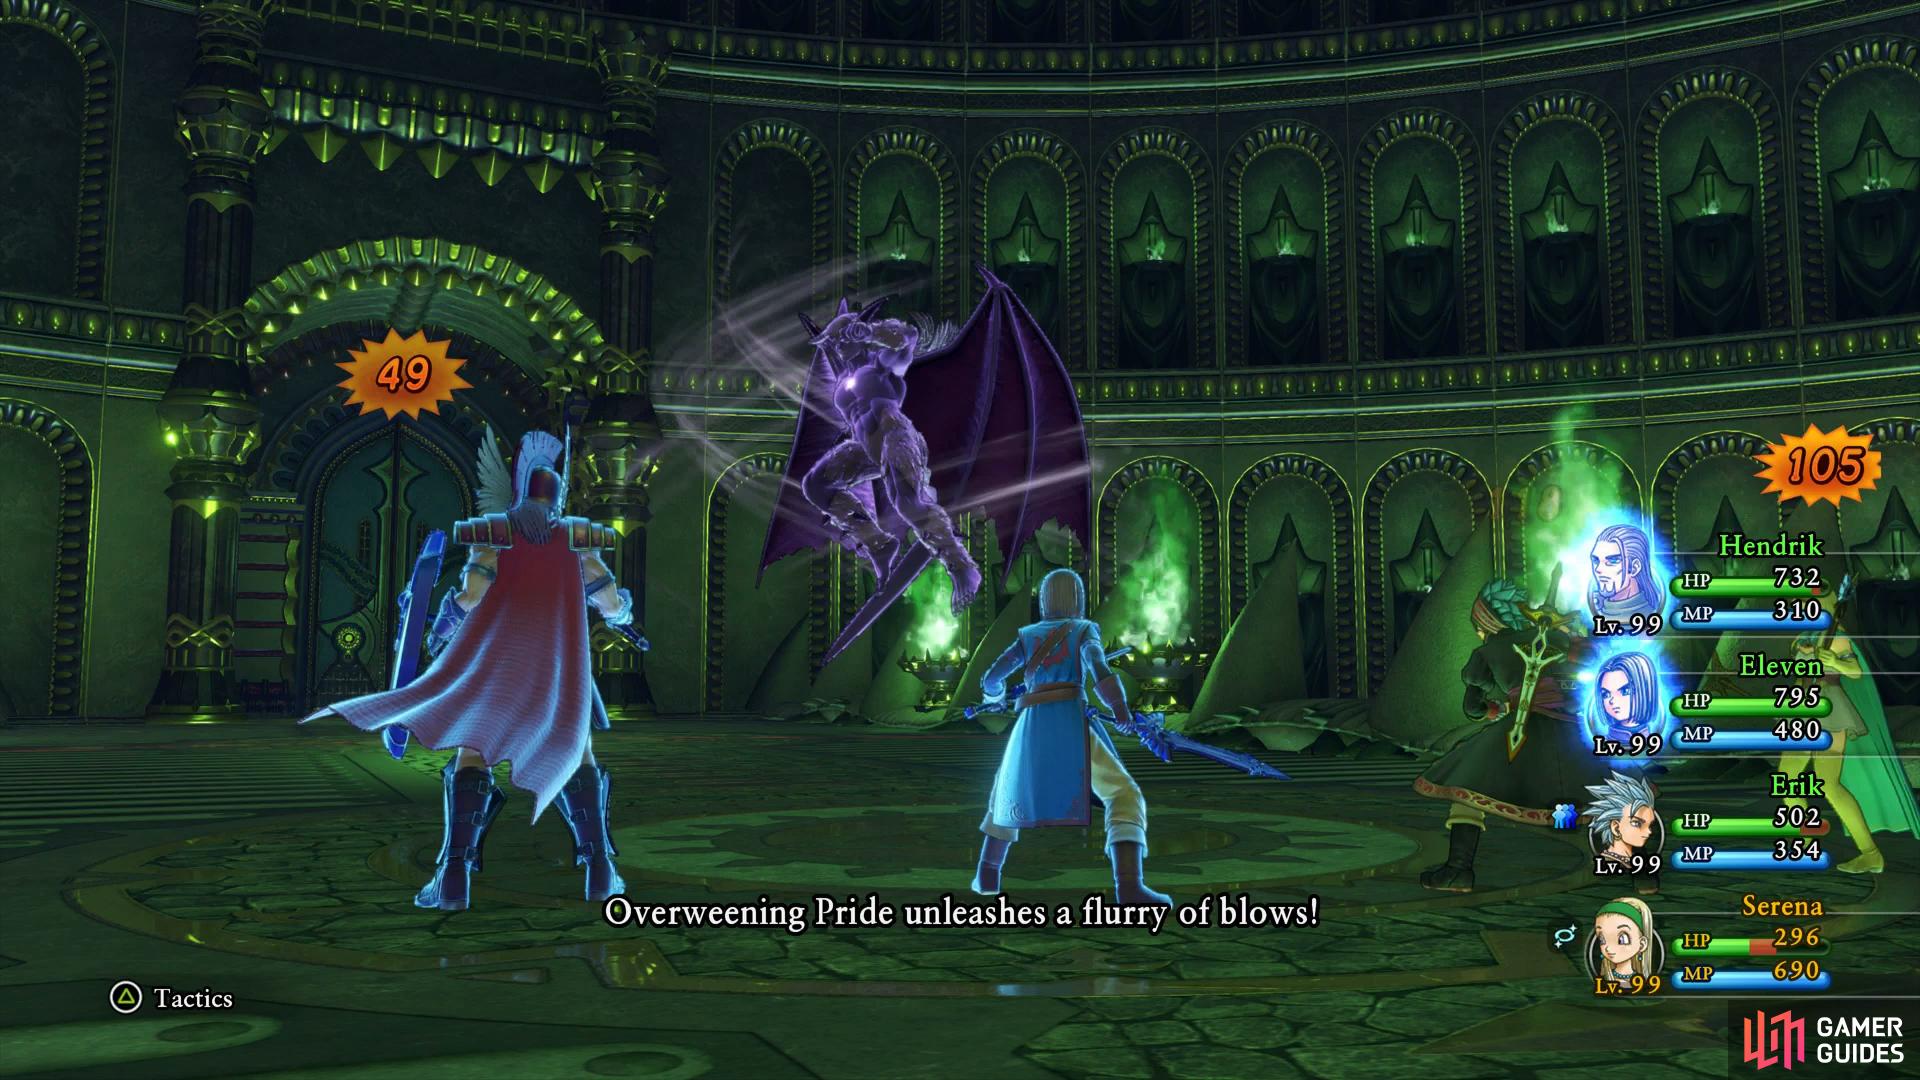
Flurry of Blows is a devastating attack that can wipe you out in one turn if you’re unlucky
with two Skull Rings +3, Hendrik will nullify all damage from Lance of Darkness.
As you can see, there is a lot to handle when dealing with this version of Jasper and you’ll also find he hits very hard too. His attacks are mostly darkness based so Hendrik will soak up most of them if you have the two Skull Rings +3 equipped. His most deadly attack is his flurry of blows, this will hit random characters for upwards of 215 damage and if it’s followed up by his Lance of Darkness or Crash Down then you could find the whole party wiped out in a single turn. To make matters worse, you can’t waste too much time getting caught in a loop of reviving and healing, you need to go on the offensive.
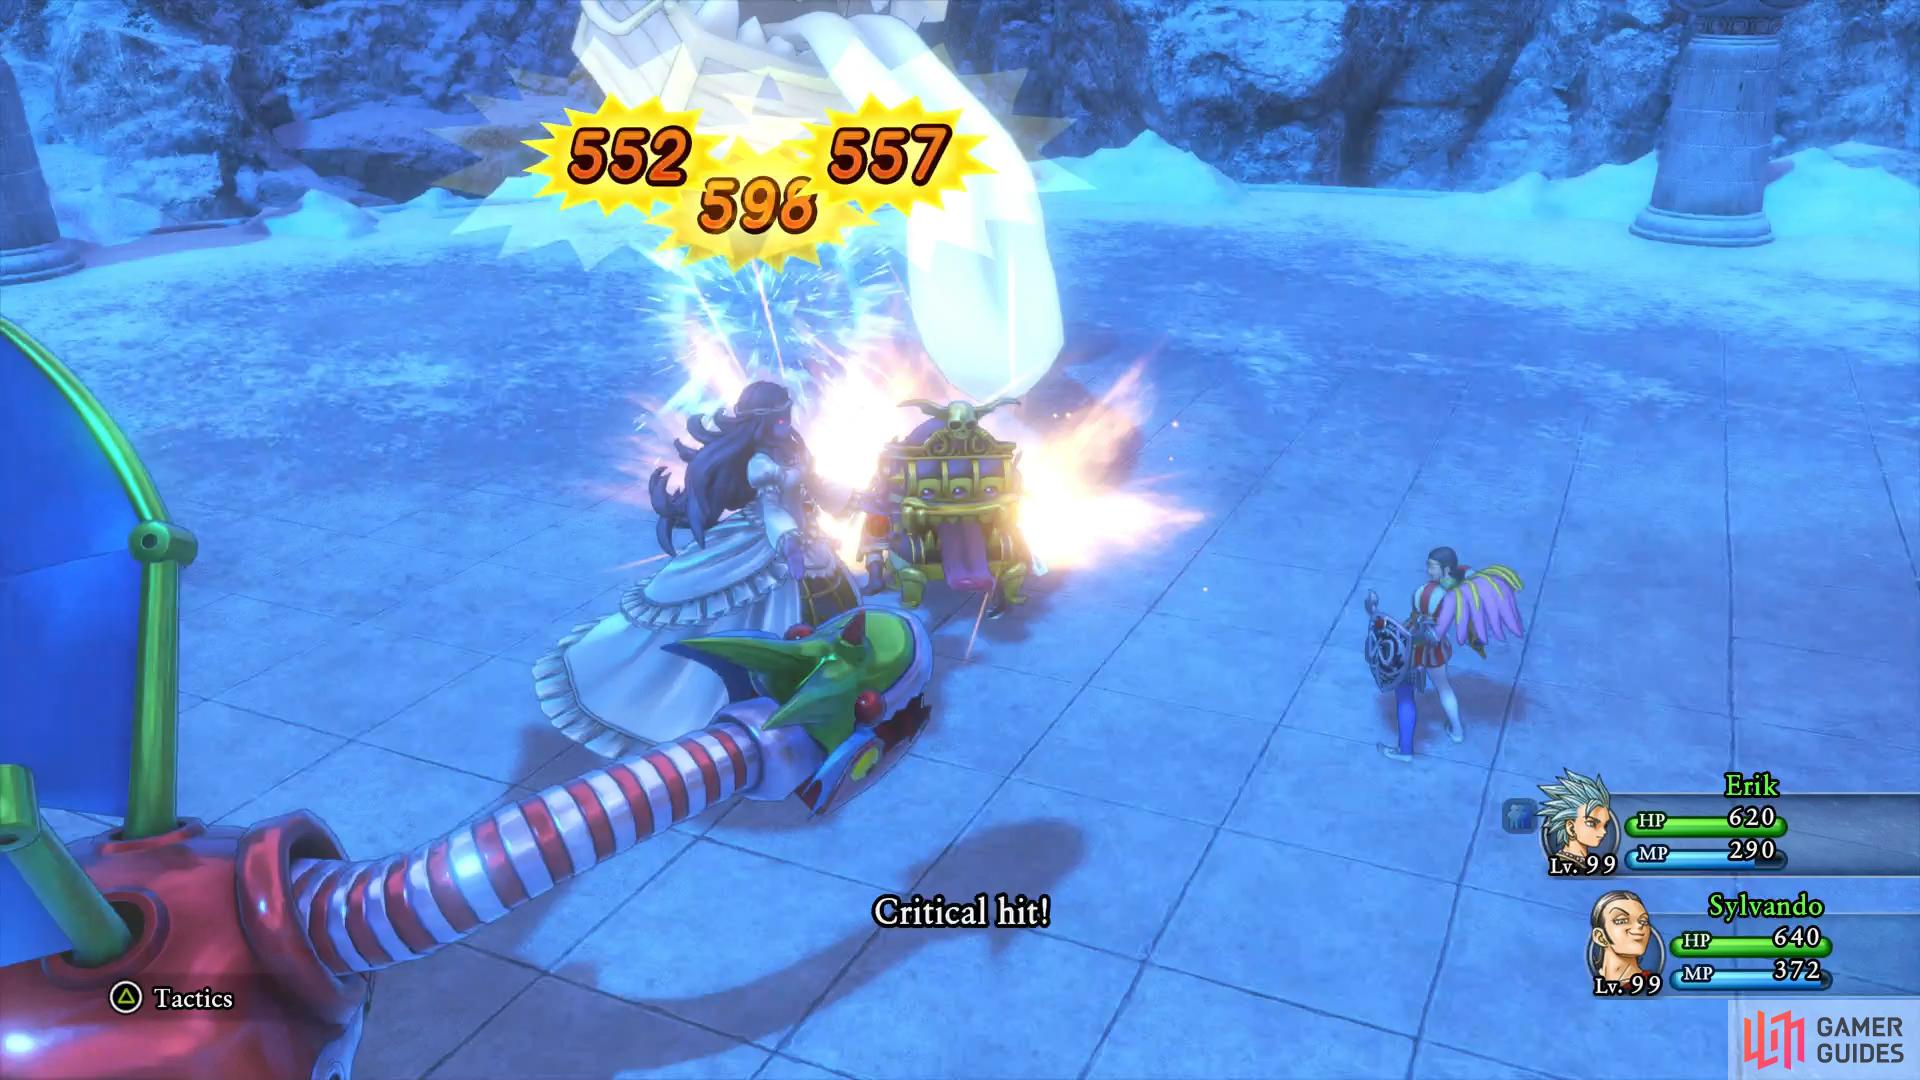
Hendrik is the most important factor to this battle, you’ll need him using Immense Defense and Forbearance without fail to soak up as much of the damage as possible. The Hero should be using Fullheal/Omniheal to help out whenever is necessary while using Gigagash once the reinforcements are out. Erik is a good choice for your third party member, using Dual Swords and making use of Divide + Fatal Slash will deal hefty damage to Overweening Pride constantly. Finally, you’ll want Serena in for this battle, Omniheal is invaluable as is her ability to use Divine Intervention on Hendrik.
Divide and Fatal Flash is deadly against Overweening Pride
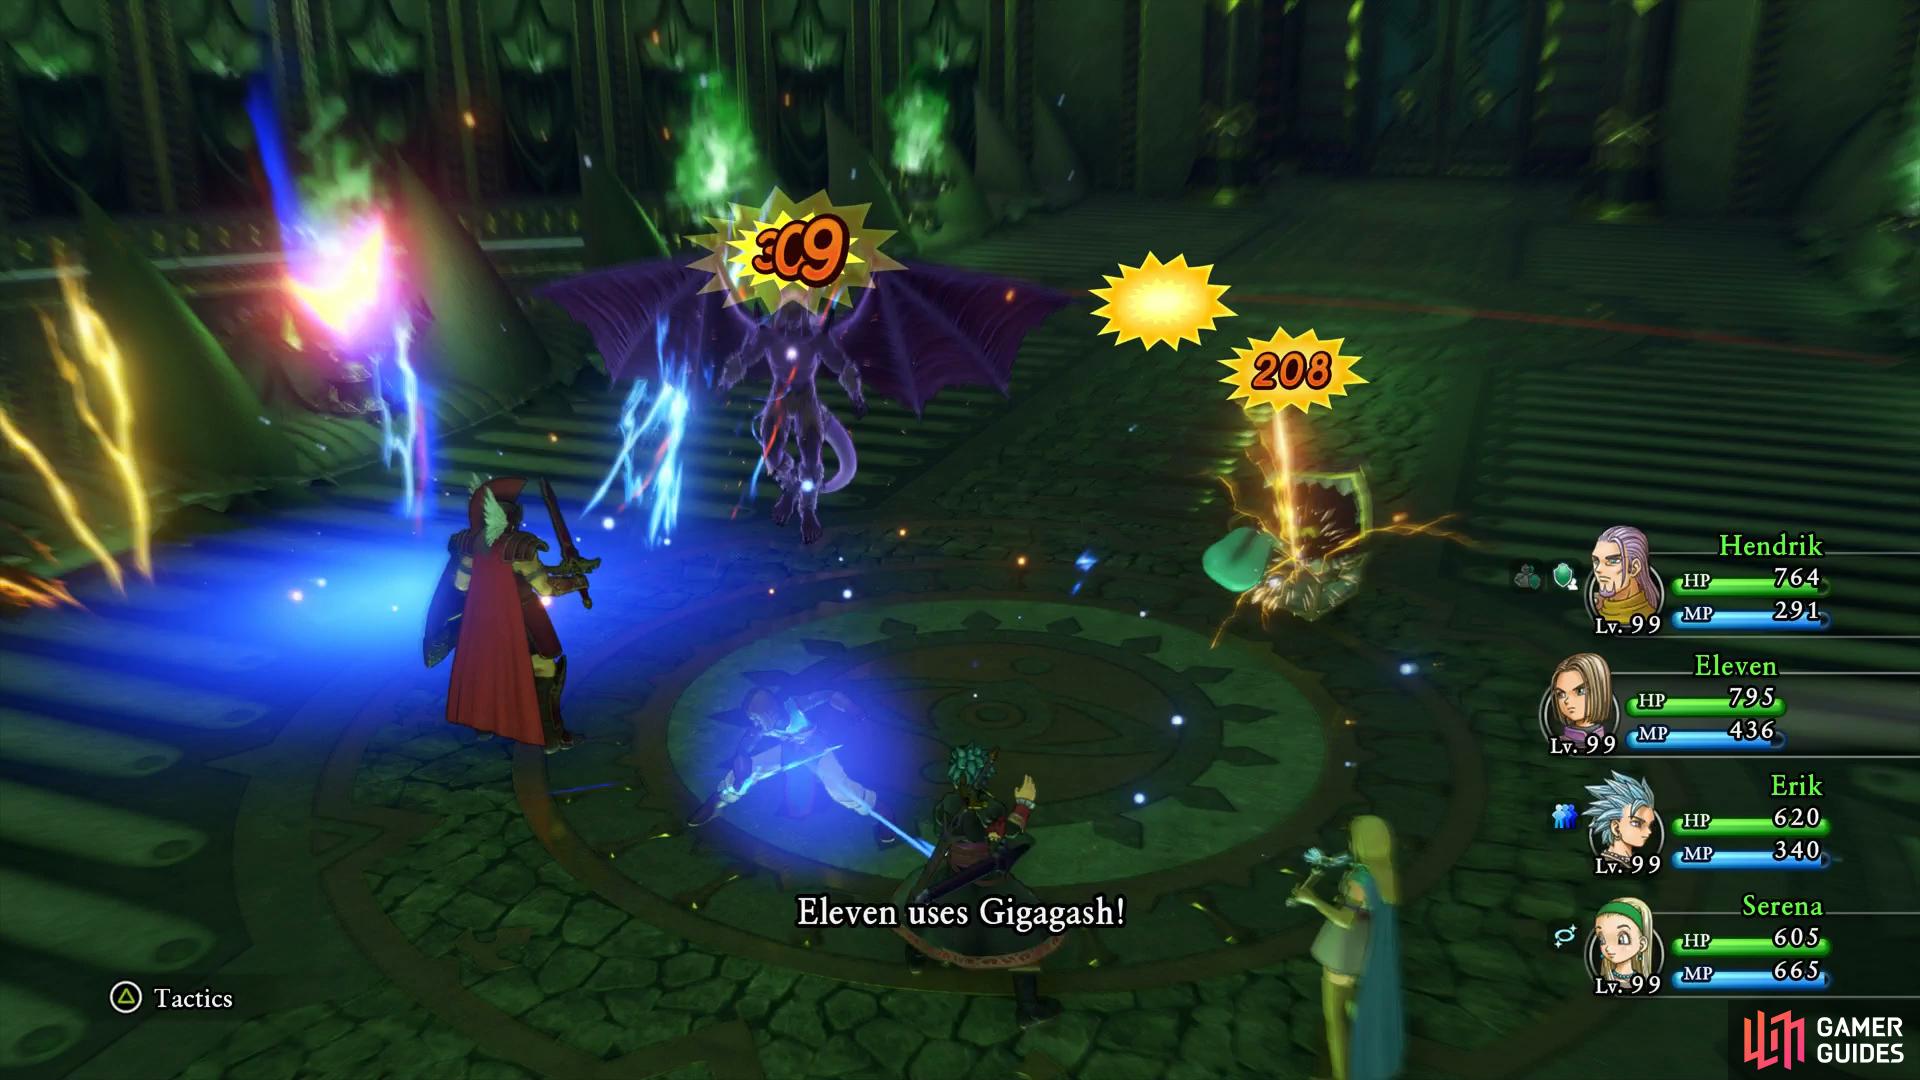
make use of Gigagash and other all hitting abilities when the reinforcements arrive.
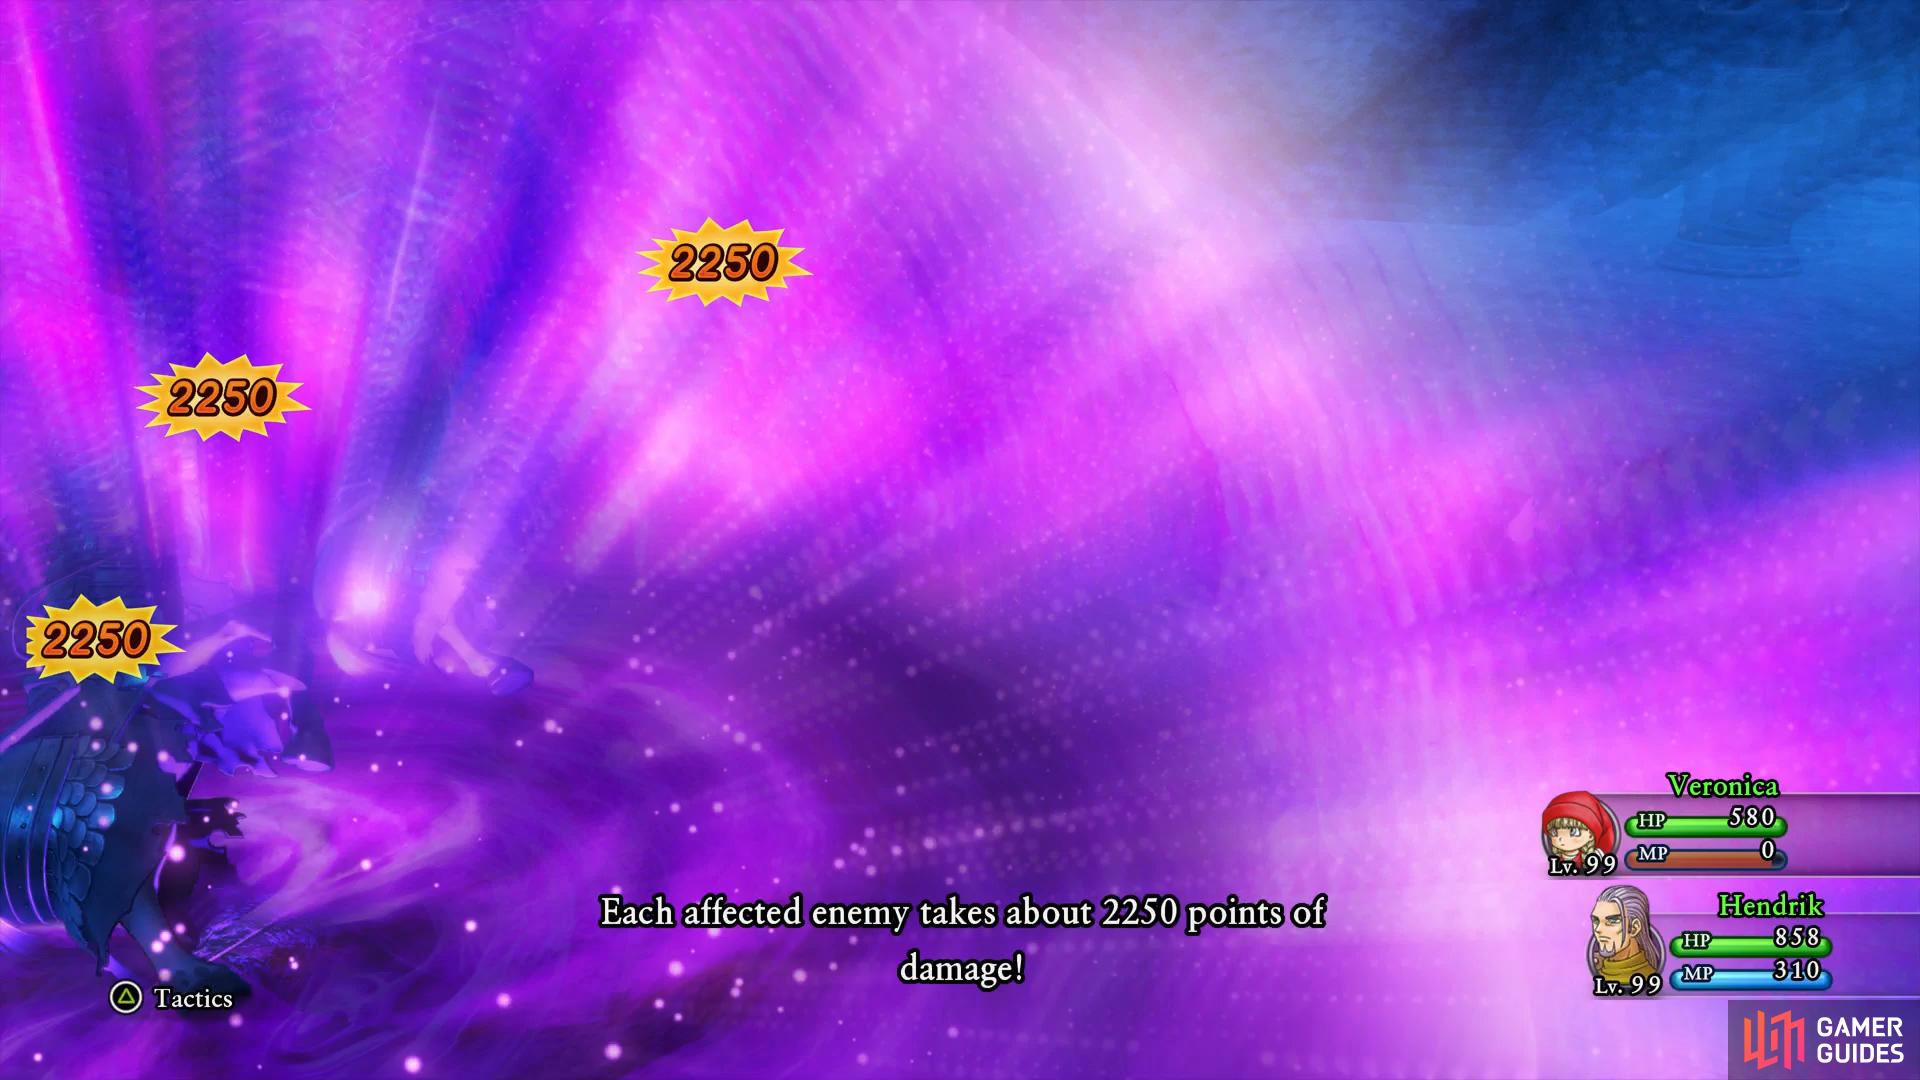
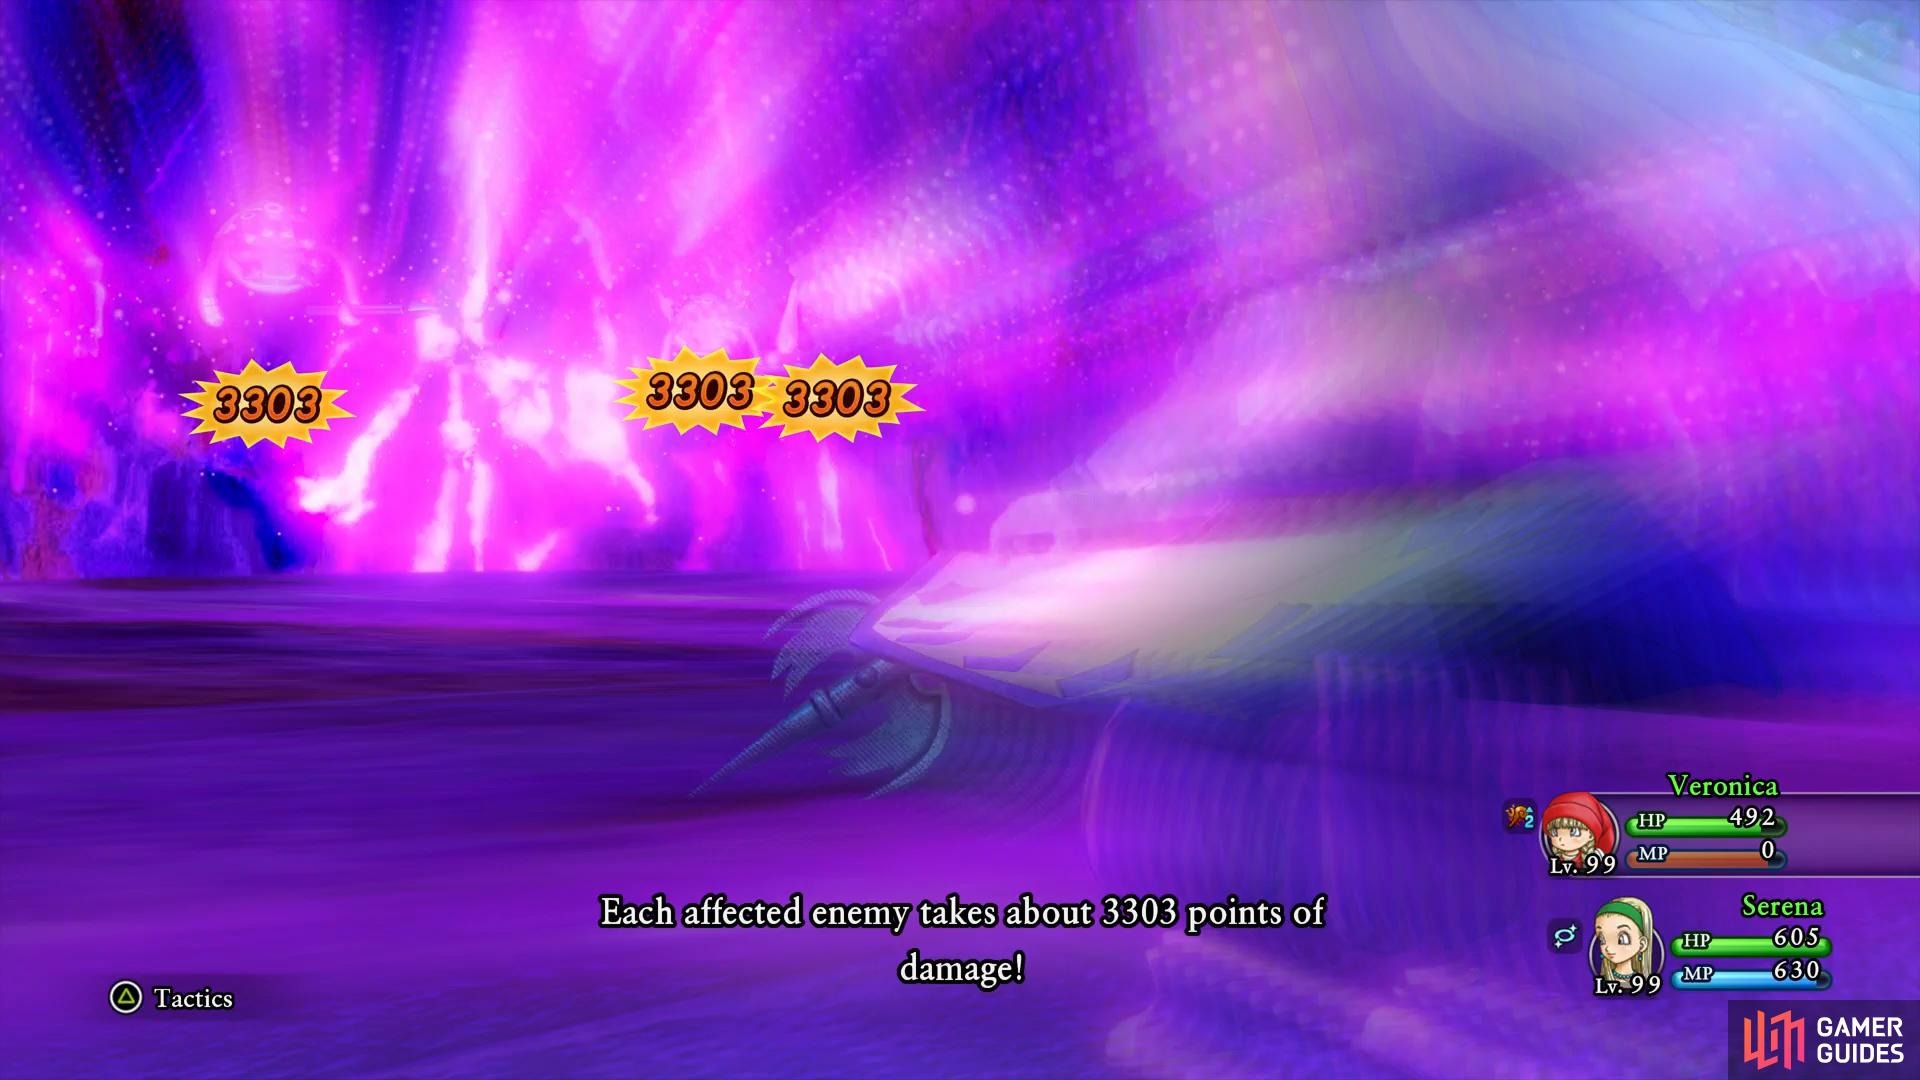
If you find yourself in a situation where there are too many reinforcements then don’t be afraid to call in Veronica and make use of Magic Burst to wipe them out, you can always toss an Elfin Elixir her way to cast it again if needed. Indeed, it may be worth using the Pep Power Mighty Magic Burst if you find both Veronica and Serena Pepped at the same time, this will deal over 4000 damage to everyone including Overweening Pride. Likewise, if you find yourself Pepped, make use of them before Overweening Pride has the chance to remove it with Disruptive Wave, a cast of Yggdragon’s Blessing can turn the tide in your favor. Finally, if you find a lot of your characters dead, make use of Kerplunk from either Hendrik or Serena, this will use the user’s HP and MP to recover everyone else (including those in reserve) back to full HP.
When you finally manage to take Overweening Pride down you’ll get the chance to choose the final wish. For selecting every wish you’ll receive the bonus of a new Recipe Book, A Hero’s Book of Brilliant Weapons which contains the recipes for the best weapons in the game.
Final Preparations
You’ve bested the very toughest that Dragon Quest XI has to offer and wield the most powerful gear, all that stands in your way now is Calasmos himself. You’ll want to make sure you’re fully prepared before heading there and make sure you’ve wrapped up every Trophy. If you’ve yet to buy Jade’s two costumes from the Casino and forged the Hero’s advanced Trodain set then do so now, this should unlock the Trophy related to the costumes provided you’ve forged all the others (owning the Recipes alone isn’t enough).

Make sure your party is outfitted in the very best equipment you can get your hands on. Note that if you don’t wish to head out and grab the materials for the new Recipe Book then what you was using for Overweening Pride is more than enough.
- The Hero: Supreme Sword of Light +3, Super Sword of Light, Erdwin’s Coronet +3, Erdwin’s Tunic +3
- Hendrik: Drustan’s Sword +3, Drustan’s Shield +3, Drustan’s Helm +3, Drustan’s Armor +3
- Erik: Hell Sabre +3, Sword of Judgment +3, Pirate King’s Cap +3, Pirate King’s Coat +3
- Serena: Faerie King’s Cane +3, Sceptre of Time +3, Serenica’s Circle +3, Serenica’s Surplice +3
- Jade: Metal King Spear +3, Xenlon Hair Ring +3, Xenlon Gown +3
- Veronica: Staff of Eternity +3, Crown of Eternity +3, Gown of Eternity +3
- Sylvando: Hypernova Sword, Metal King Shield +3, Tiara Tremendisima +3, Gladder Rags +3
- Rab: Brilliant Staff, Apollo’s Crown +3, Potentate’s Pallium +3
You’ll also want to make sure you have MP restoring items and Yggdrasil leafs in your inventories and it’s crucial that you have the Super Sword of Light on the Hero, be it equipped or his inventory.
Once you’re ready, call upon Cetacea one final time and take to the skies, head towards the dark star to begin the final showdown.
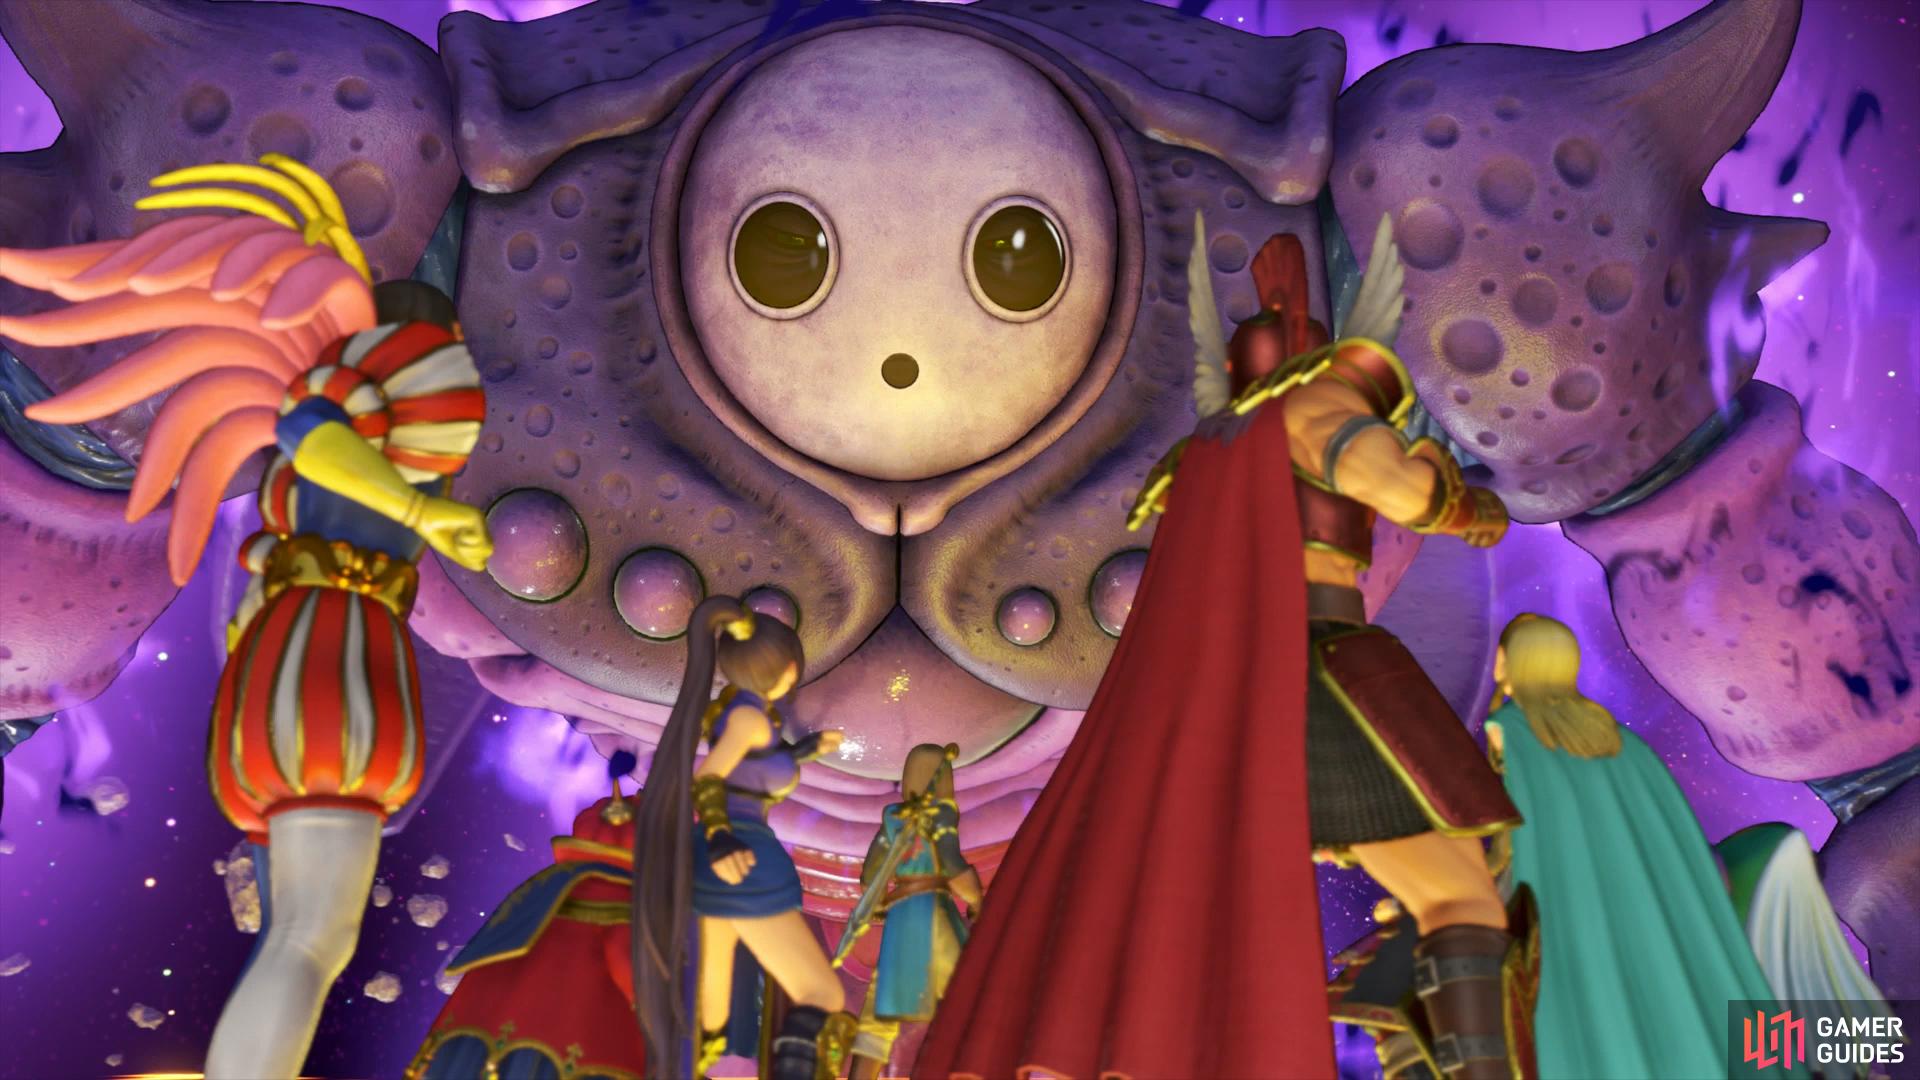
Final Boss: Calasmos
Calasmos is a fearsome foe and he has three main targets, the body, Cannon and Claw. The first thing you should notice right away is the evil darkness surrounding him, this makes him a lot stronger than he needs to be and is where the Super Sword of Light comes into play. As soon as the Hero’s turn comes around, use the Super Sword of Light from your inventory to remove the evil aura making him a lot easier to fight.
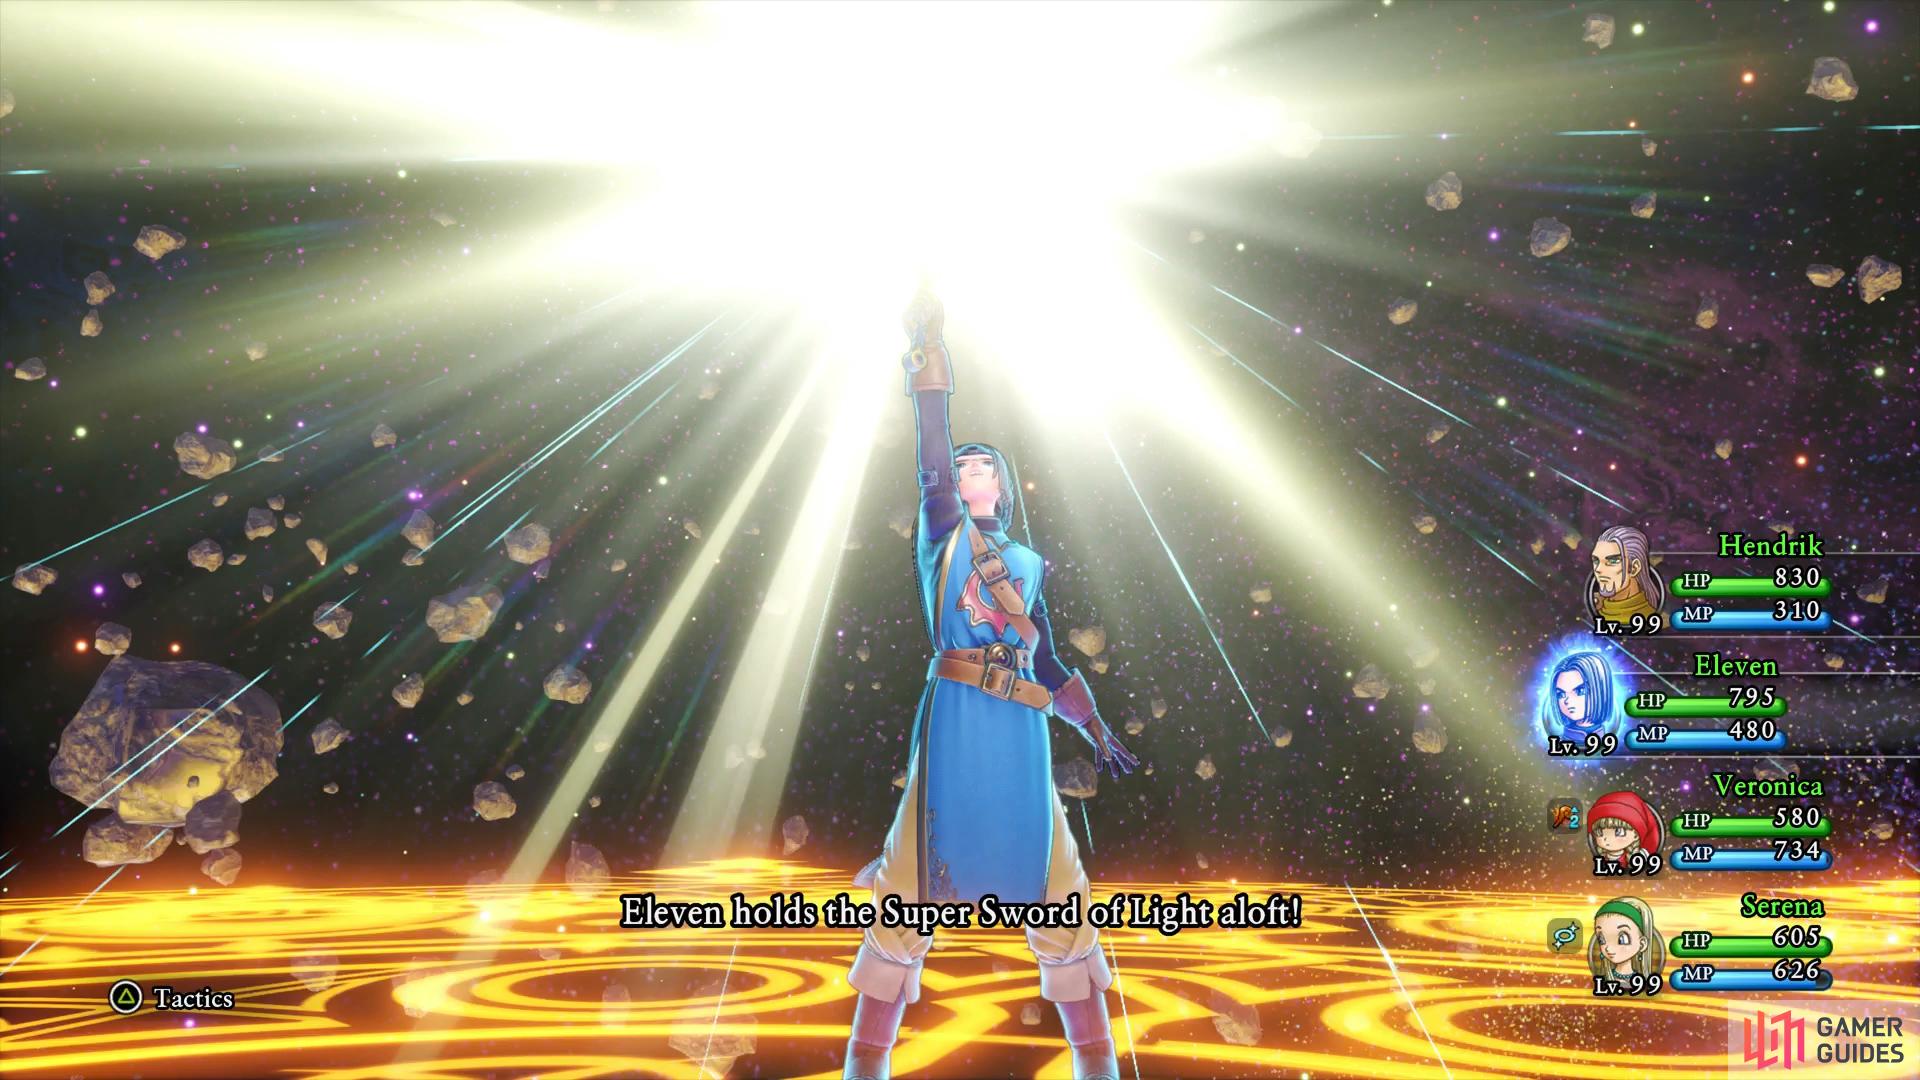
Use the Super Sword of Light from your inventory

this will strip away the Dark Aura and make the battle a lot easier.
The battle can now truly begin and you’ll have to deal around 12000 HP to Calasmos while the Canon and Claws have around 4000-5000 HP. On top of this, Calasmos will call Darklings into battle at times, for this reason you’ll want to have both the Hero and Veronica in your party. Murky Mist will attempt to put Venom and Paralysis on the entire party while Calasmos will cast Kaboomle at will. He’ll also make use of Disruptive Wave and deal heavy regular attacks with his claw, some of which will hit the entire party for over 200 HP. Finally, Projectile of Darkness will hit the entire party for over 250 HP, make use of Magic Barrier if you get the chance.
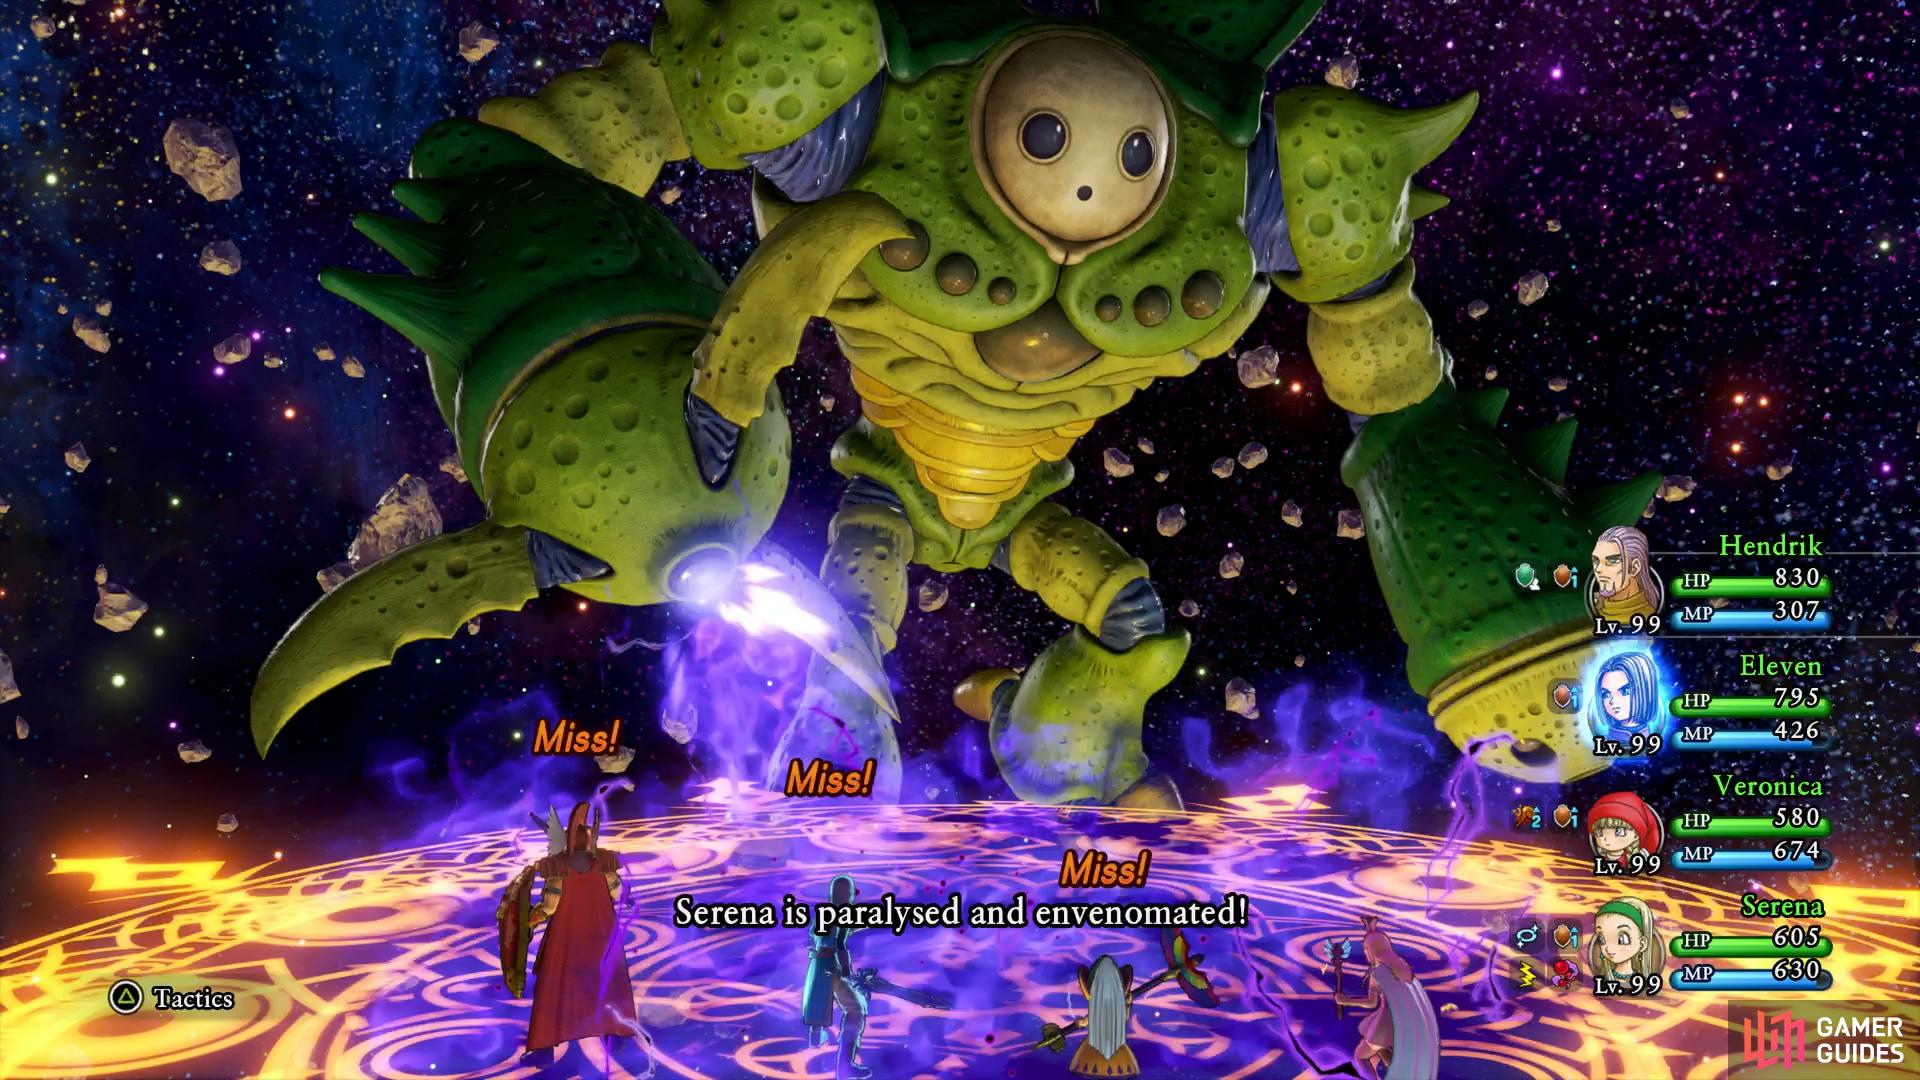
Murky Mist will attempt to inflict Paralysis and Venom on the party
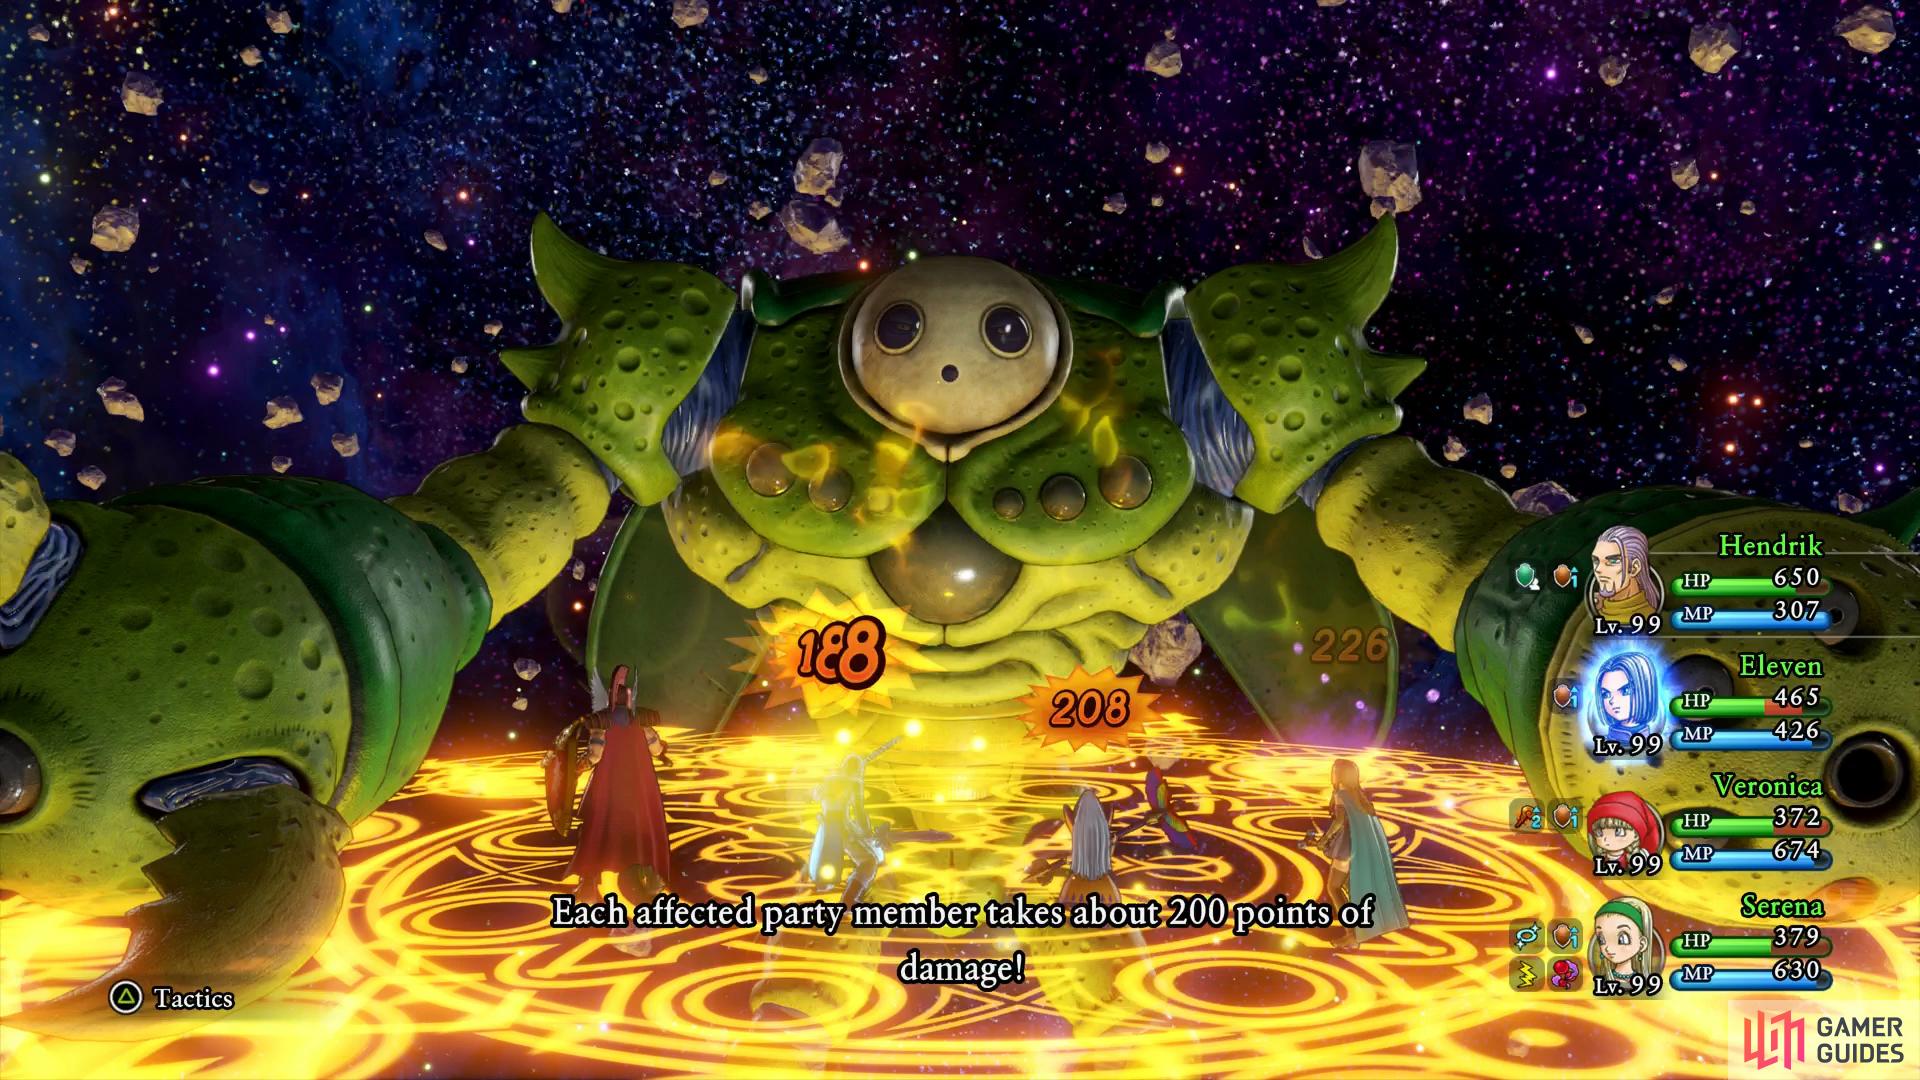
Kaboomle is a devastating spell, use Magic Barrier if possible.
You’ll want Hendrik with the usual Immense Defense and Forbearance combo while Serena acts as your healer, you’ll need Omniheal throughout. For your other two spots make use of the Hero and Veronica for Gigagash and Kaboomle. If you need extra healing then the Hero can help out with Fullheal or Omniheal whenever needed and remember that you have other party members you can bring in such as Erik using Divide Fatal Slash and Jade’s Multifeet. This is the final battle in the game so if you’ve been saving up Pep Pips/Pops, Elfin Elixirs and more, make use of them now.
Enjoy the scenes that follows when you finally slay Calasmos and when you regain control, head to Veronica and Serena at the village entrance to put the Sword of Light to rest at the World Tree, the events that follow harken back to that of Dragon Quest I-III. You should also obtain the last Trophy needed for the Platinum, congratulations!


No Comments