
You have finally come to the fourth, and final, interlude before you can continue your journey after the major events at the end of the first portion of the game. The final interlude centers on Rab, where he will wake up in a white space. Not long after that, Rab will see a bunny girl in front of him and like the old man he is, he decides to try and get some “answers” from her. Chase after the bunny girl and try to speak to her, which should trigger a bright light and change of scenery.

Rab’s interlude
The King of Dundrasil
Rab will now wake up in a familiar place, the Dundrasil of old. Once you regain control, you will have to head to the throne room, which is on the opposite side of where you start. You can’t really explore just yet, so head straight to the throne room. It seems you have an important audience soon, so take a seat on your throne (the one on the left) until it begins. You’ll be joined by your daughter and someone else, so watch the scene and say “yes” when prompted, only for a transition to hit, leaving Rab all alone and with the bunny girl reappearing. While it looks like you can explore, you only get a small slice of it.
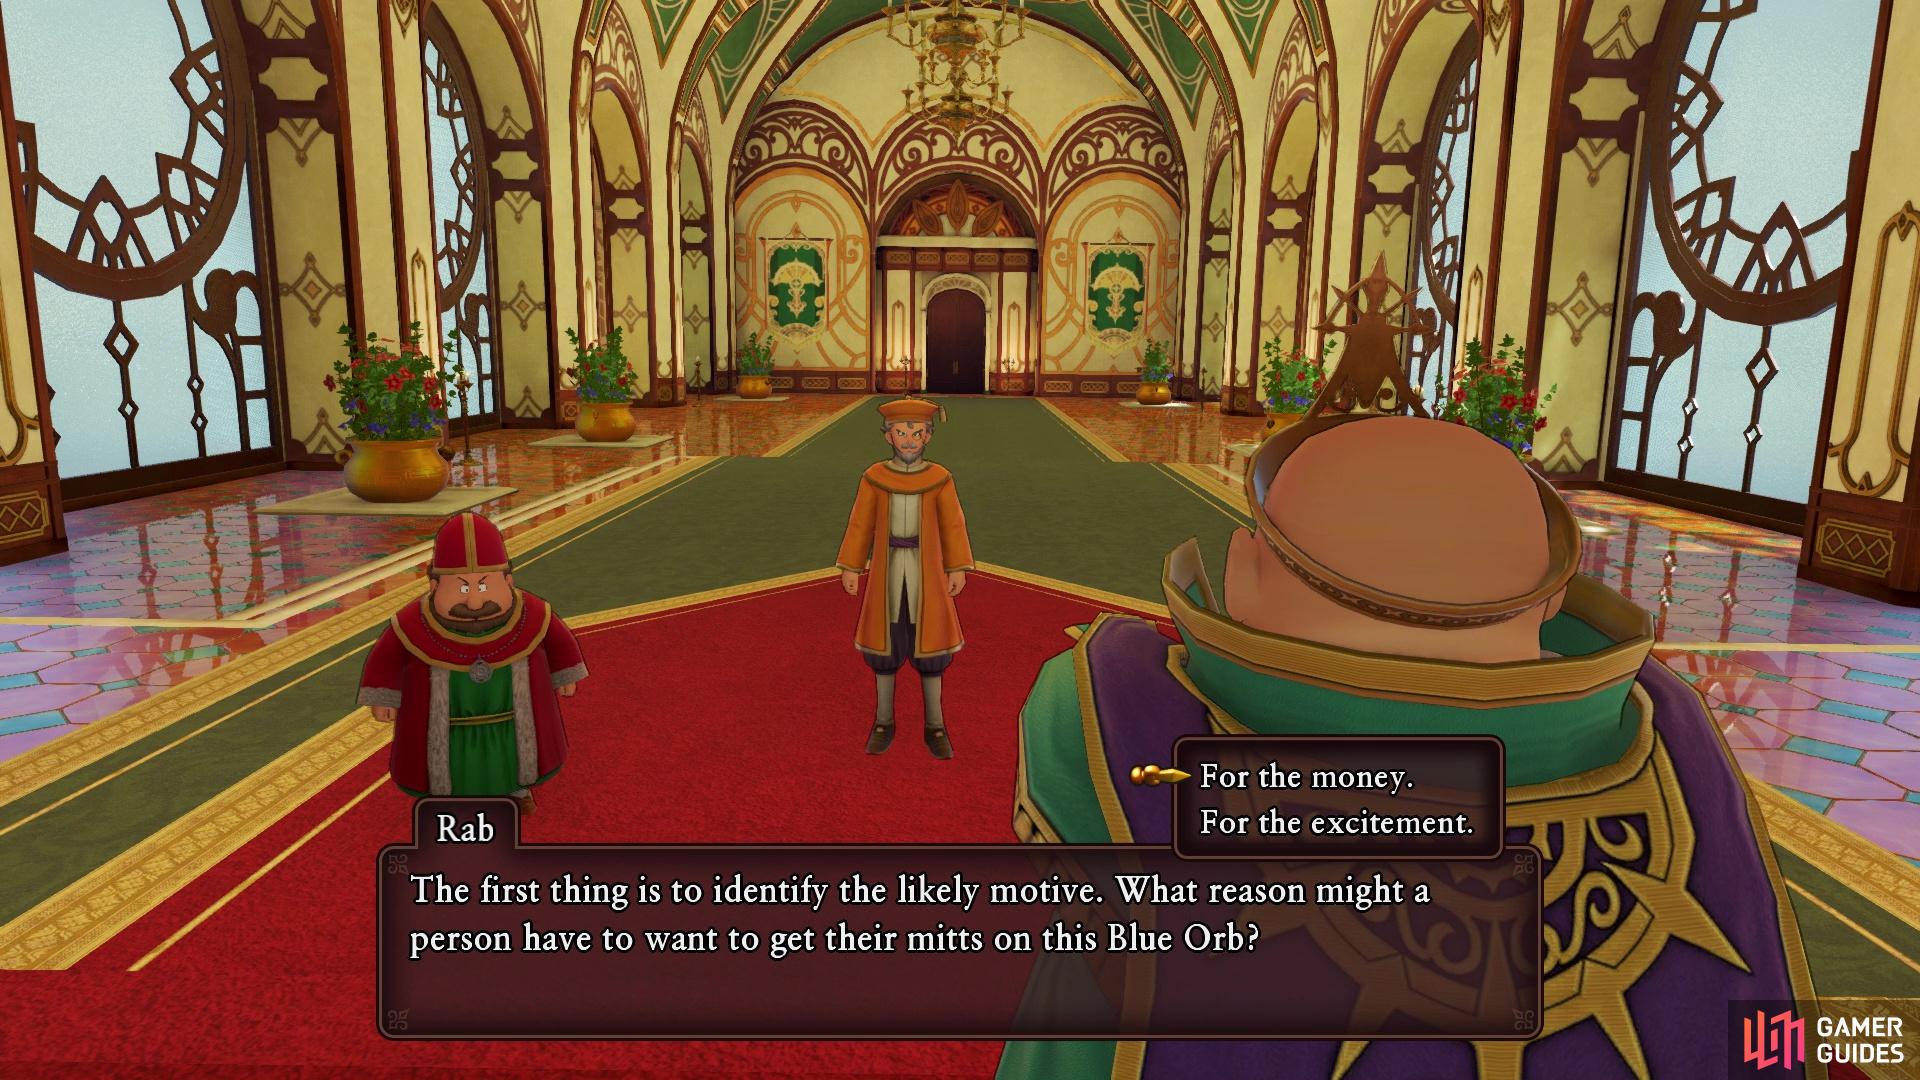
To start off, head into the northern room that is off of the throne room, where you will find a Sage’s Elixir in one of the cabinets there. You can’t enter the room to the south, so exit the throne room all together now to find Irwin standing there. Agree to help him with his problem, then you’ll be placed back in the throne room. Sit back on your throne to get started with the royal audiences. You’ll have three people come to you with their problems, and you will have to give them advice. This has no bearing anything gameplay-related, so you can just say whatever you want here. Note that you will get a confirmation option at the end of your choices, so you do have a chance to change them, if you wanted.
You can choose how you want to answer here
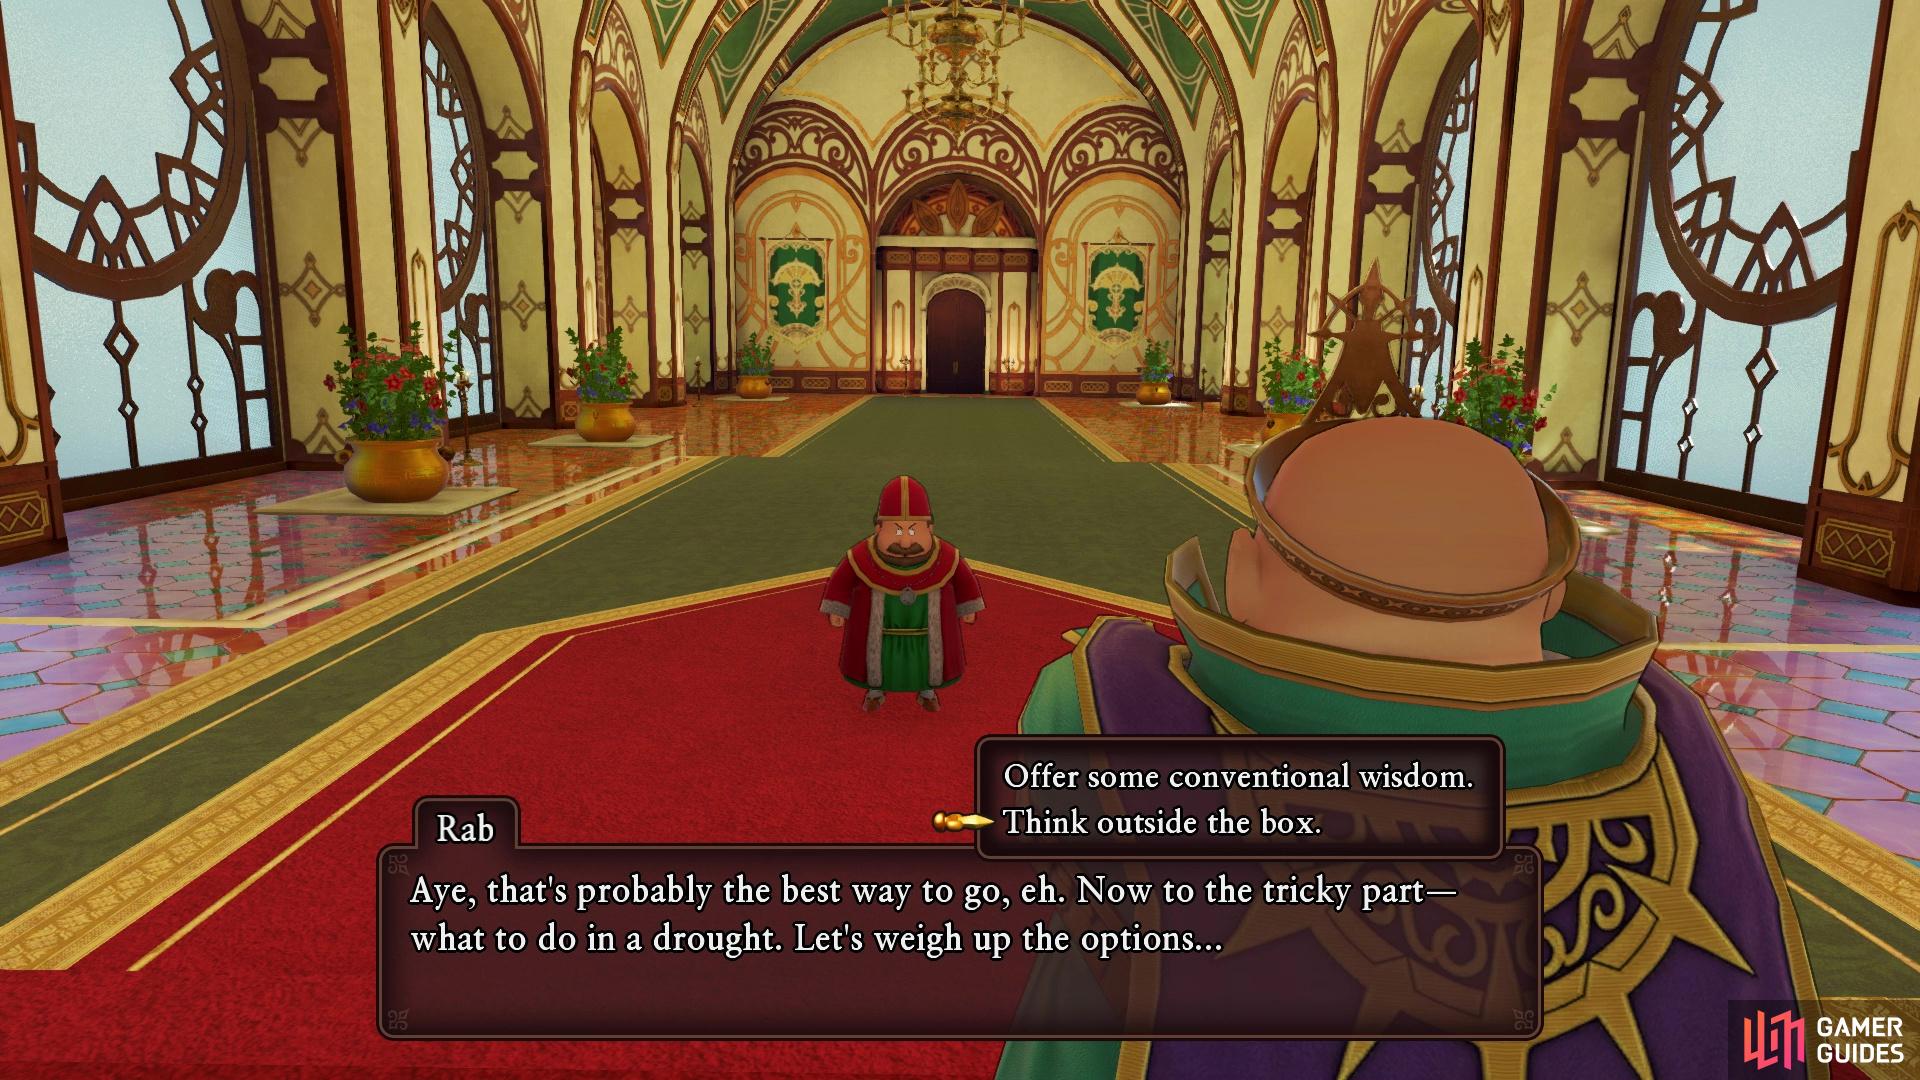
although the outcome has no bearing on anything in the story
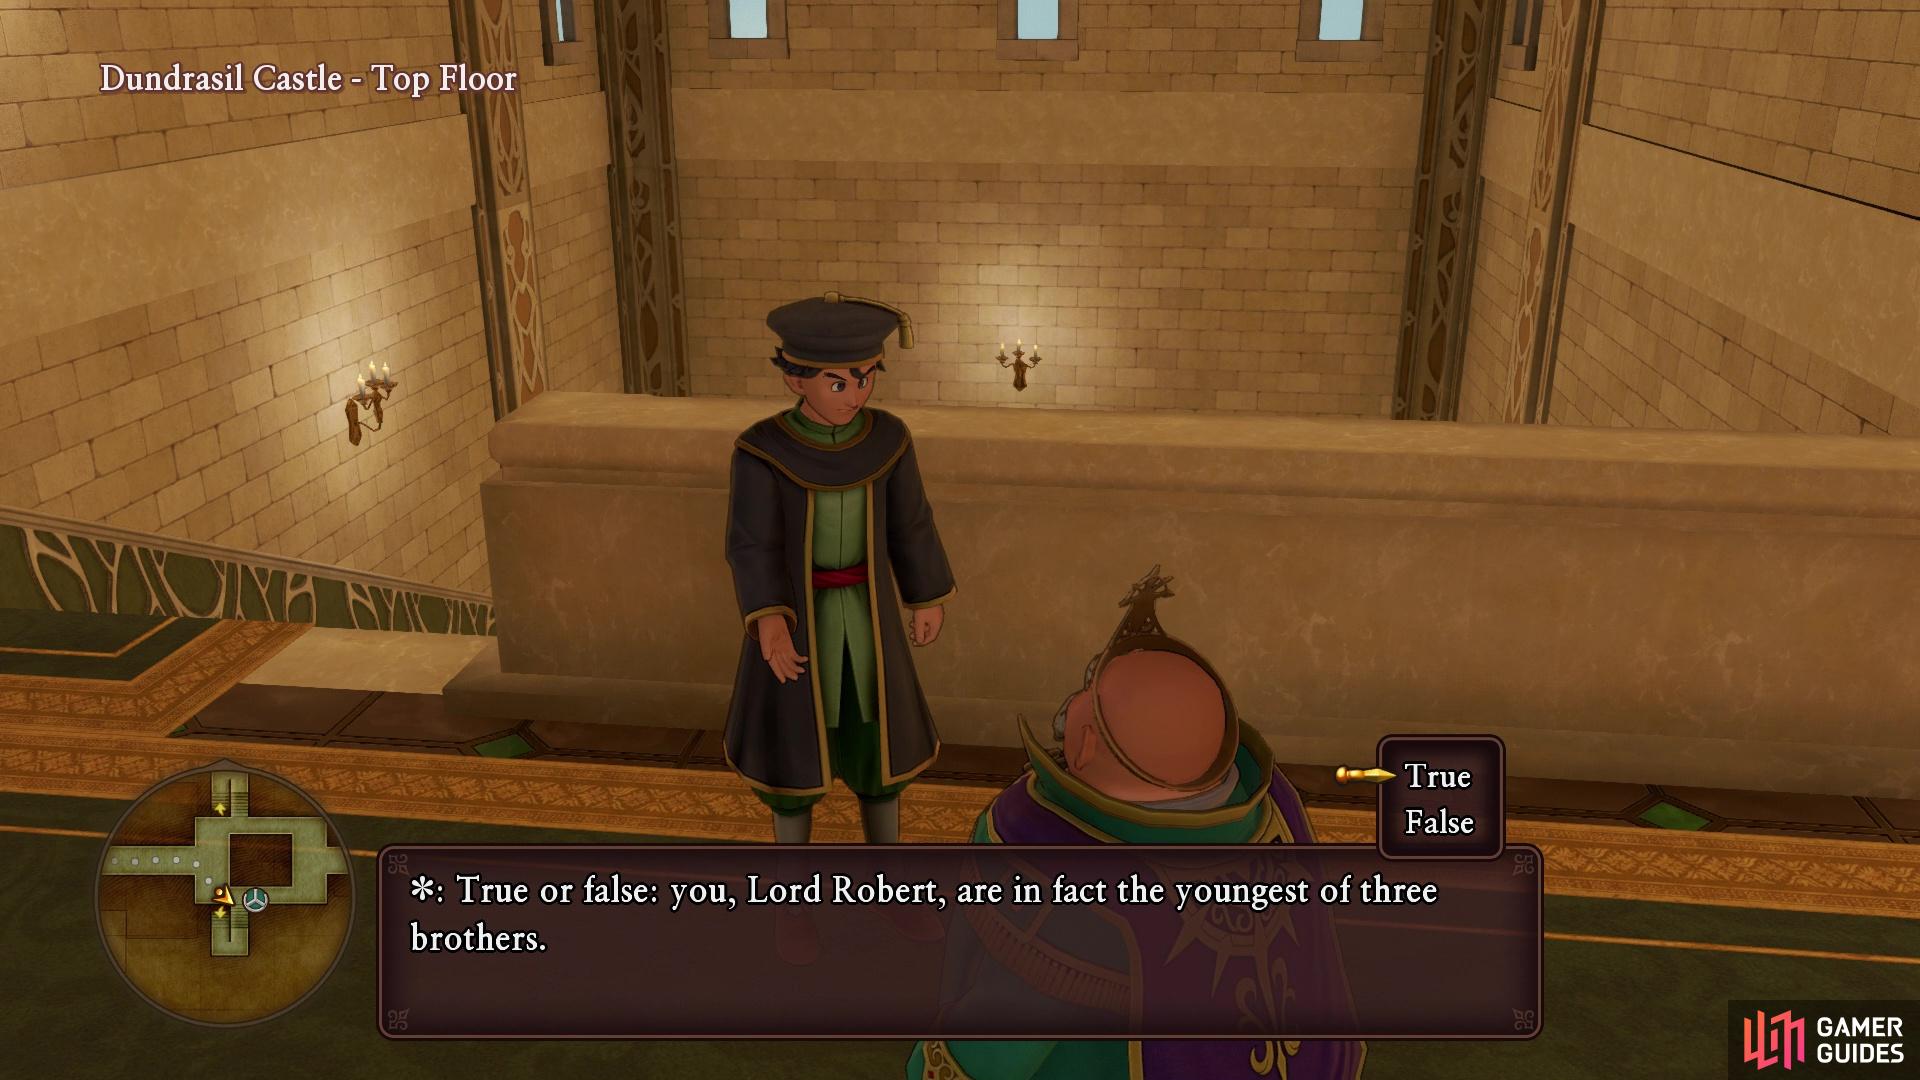
With that out of the way, it’s time to go around the castle and see if anyone needs your help with their matters. Exit the throne room and look for the man at the top of the stairs, right by the priest that saves your game. He wishes to ask you some questions to see your formidable intellect in action, so it’s time for some “trivia.” The answers are as follows:
- True
- False
- True
- False
- True
Getting all of them correct will have him reward you with a Seed of Magic. Head downstairs and look for the one guard standing on the western side of the garden. He is having some problems articulating his feeling for someone in the castle, so he asks you to hand over a pretty posy to the person in question. The only clues you have to go on here is that they are wearing green and have red hair. There are three people that fit this description and giving the flower to any of them will still give you the same reward. The peoples’ locations are as follows:
- Older woman on the eastern side of the same floor
- Man by the fountain
- Maid on the top floor
No matter what you choose, you will be rewarded with a Pretty Betsy. For the last person in need, enter the room on the eastern side of the middle floor. Look in the northeast corner of this room to find two pots, one of which will contain a Special Antidote. Speak to the well-dressed man to find out that the supply of pepper has been accidentally spilled. He wants you to help find a something else from the castle that is nice and pungent. As with the previous request, there are three different options here, although they will all lead to the same reward. Those options are as follows:
- Pie in Rab’s room (north side of throne room)
- Plant on side in hallway leading up to throne room
- Plant in main garden on middle floor
If you have trouble locating any of the above, go to the location listed and look for a yellow indicator once you get close enough. Bring whichever item you got back to the NPC to receive a Seed of Strength. With all of the help requests out of the way, find Irwin in the main garden on the middle floor and speak to him. This will lead to a scene, then you will be alone once more, with the bunny girl once again. While still in the room, check the cupboards in the one corner to find a Dieamend. Exit the throne room and follow the bunny girl as she goes around in a circle on the third floor here. Once you reach the southern stairs, go down them and into the nearby room, where another scene will take place.
When you finally have control again, check the southeast and northwest corners to find some pots, with each of them containing a Wakerobin. You can speak to some of the people in the room, with the results from your earlier audiences being showcased (although it doesn’t really matter). Speak to the young Hero to continue, who will go around the room to said NPCs just described. Talk to him at each point he stops, then it will continue with some more story. Exit the room and speak to the bunny girl, choosing “yes” both times, then it’s time to continue on to the actual good bit. Walk up the stairs and enter the door, then get ready for a boss fight.
BOSS - Grand Master Pang
Note that you don’t really need to win here, as you get two chances to fight Pang and if you lose, then the game will continue. However, you can get some nice experience for Rab if you win. Depending on the equipment you put on Rab prior to the end of the first part of the game, as well as his levels, this could be a hard fight or an easier one. Pang will switch between two stances during the battle, usually separated by a few turns spent in each one. She starts out the battle with a Swordsman Stance, which increases her attack, as well as her dodge chance. While using this stance, she will strike you with a dual-wield normal attack.
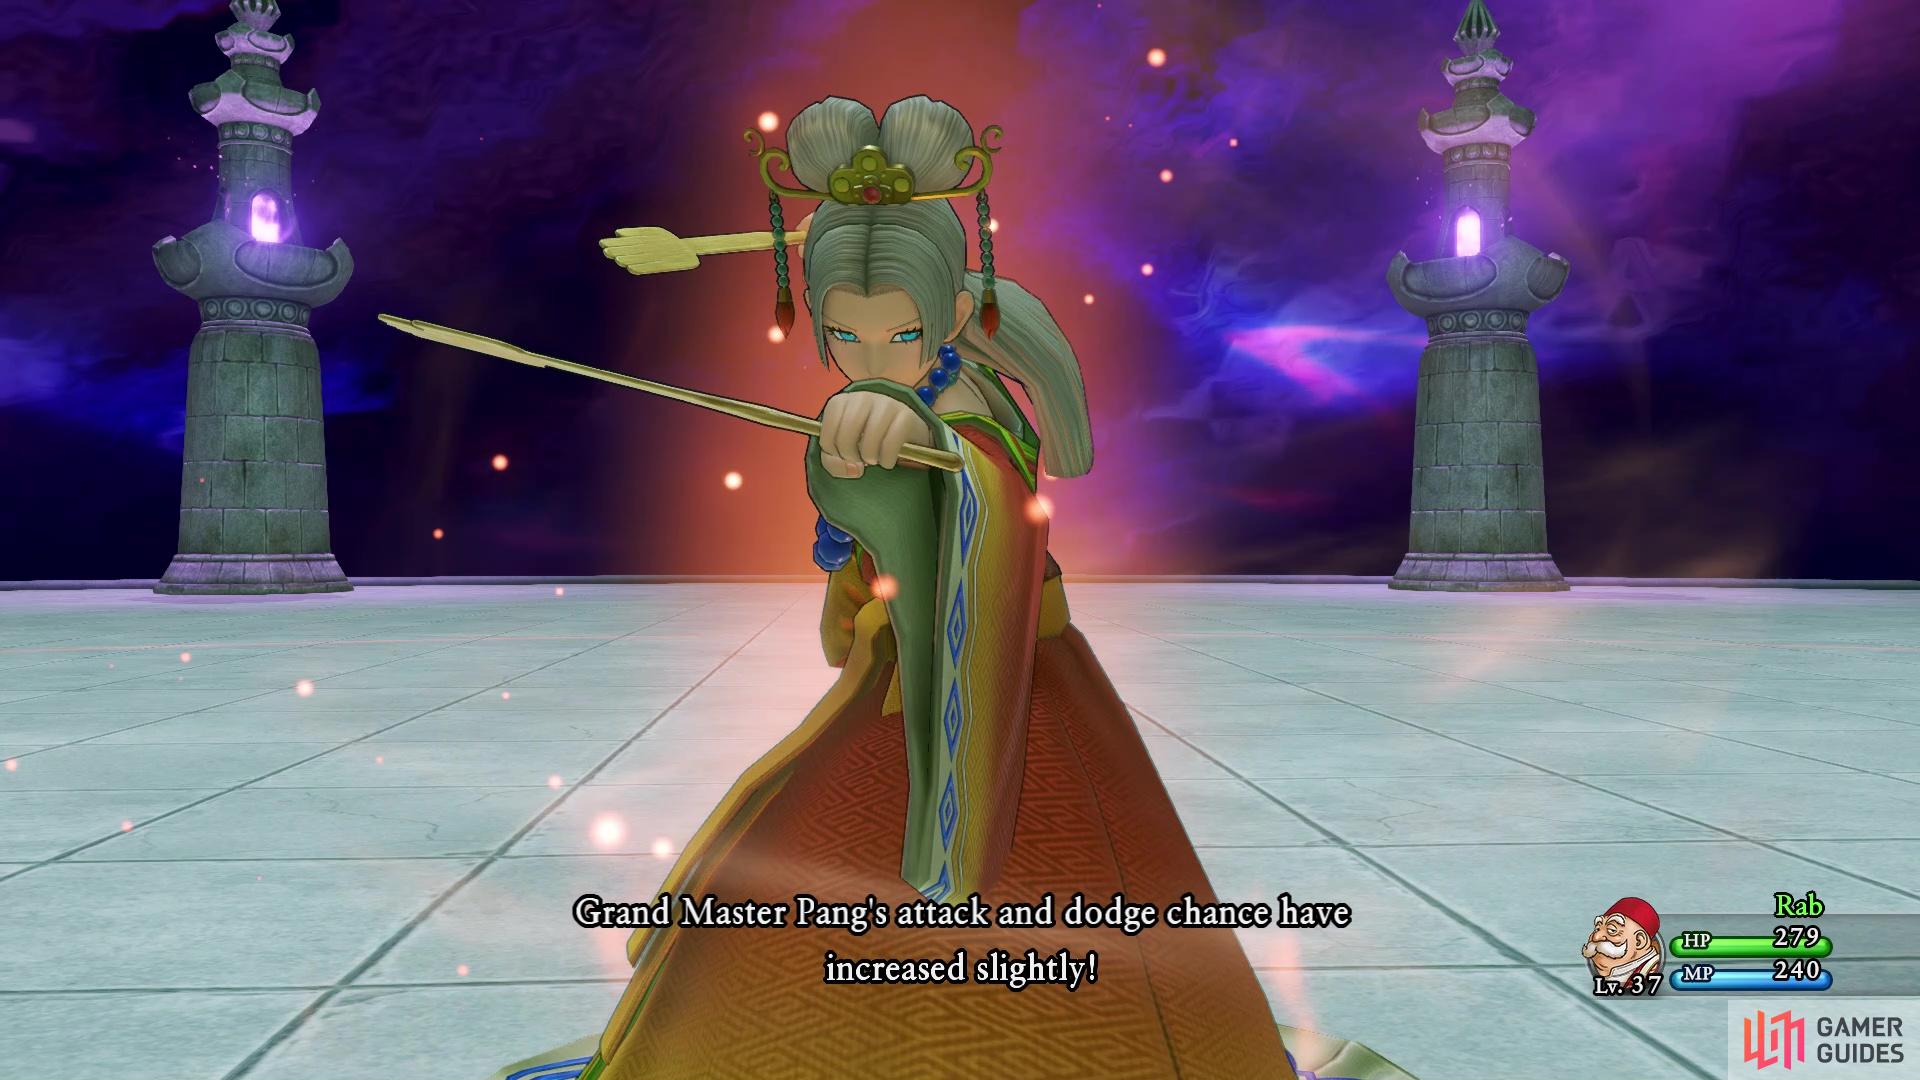
She can also “smile” at Rab, which charms him and makes him lose a turn. At some point, she will switch to a Spellcaster’s Stance, upping her spell resistance, but decreasing her physical defense a bit. While in this stance, she can use Boom, Zammle and Dazzle. The worst spell there is definitely Zammle, which can deal upwards of 100+ damage. You should have the same spell in your list, so you will be using that as your primary form of offense. Should you need to heal, then Moreheal should be more than enough to put you close to full HP. Note that Rab has access to Snooze and Pang is susceptible to it, making it a bit easier to pelt her with your own spells.
At some HP threshold, Pang will take a deep breath and focus her senses, which will dispel any debuff you may have put on her. It is during this time that she will also summon a Tantamount. This only has around 320 HP, so if you want to take it out, do so quickly before it can use any of its skills on you. This includes a fire breath, Frizzle or it might whinny, causing damage and potentially losing a turn. It is also around this time that Pang will begin charging up, which she will do for two turns before unleashing her almighty attack. This will hit you 11 times, causing some heavy damage, so you will want to defend after the second charge. She will continually charge two times, then do the ultimate attack after doing it once, so you can sneak in damage/heal after the first charge.
Whether you bring down Pang or not, watch the scene that follows, bringing an end to Rab’s interlude. You will continue with the main story now.
No Comments