
Level 3 will feature two sets of two bosses each, back to back, with no break or healing in between. It’s important that you take the time during the first bout to make sure you’re ready for the second. As always, after completing Level 2, leave Tickington to go save, then re-enter the place. The equipment on your characters should stay the same as before and you can even use the same team. Make sure you’re stocked up on Yggdrasil Dews, though, as you might lose control of some of your characters in the first bout. Also, Yggdrasil Leaves will also be needed for the second bout, just in case of emergencies.
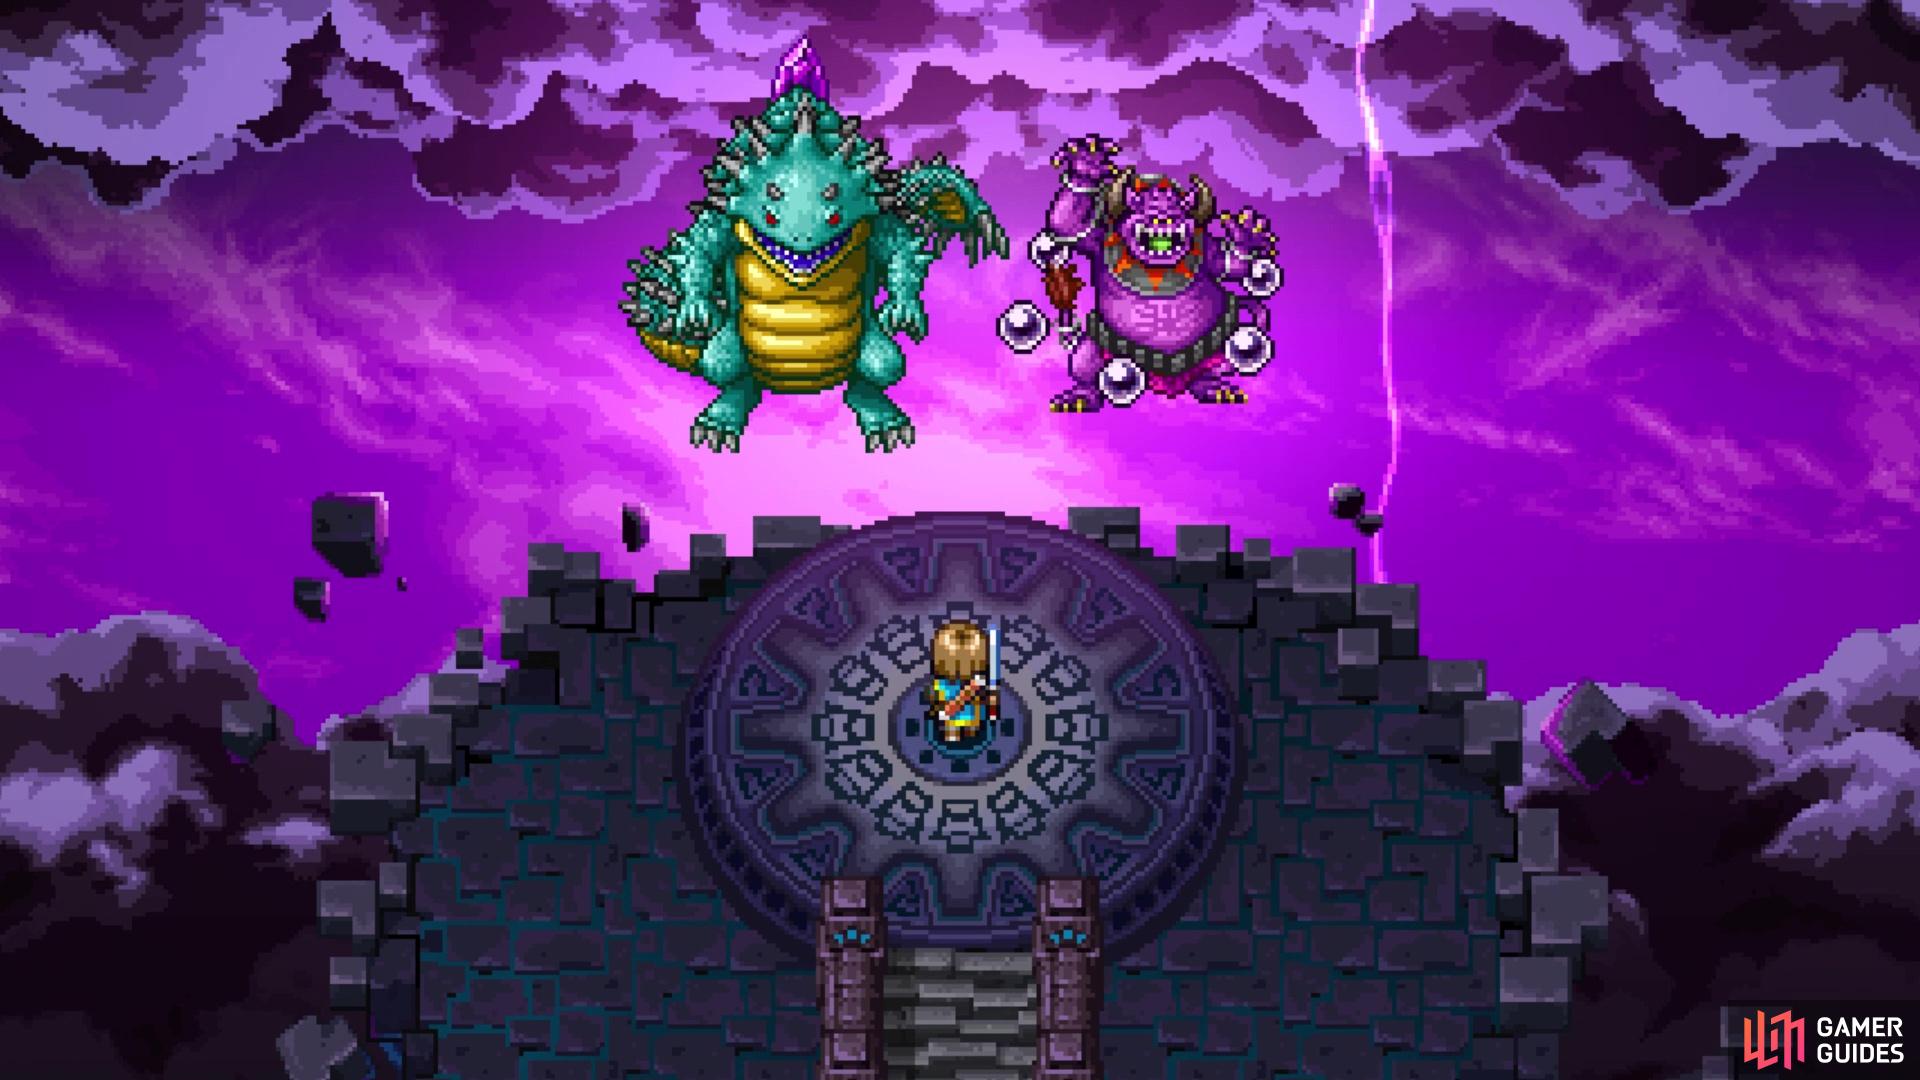
Your first set of opponents on Level 3
BOSSES - Orgodelotl and Hoopthorne
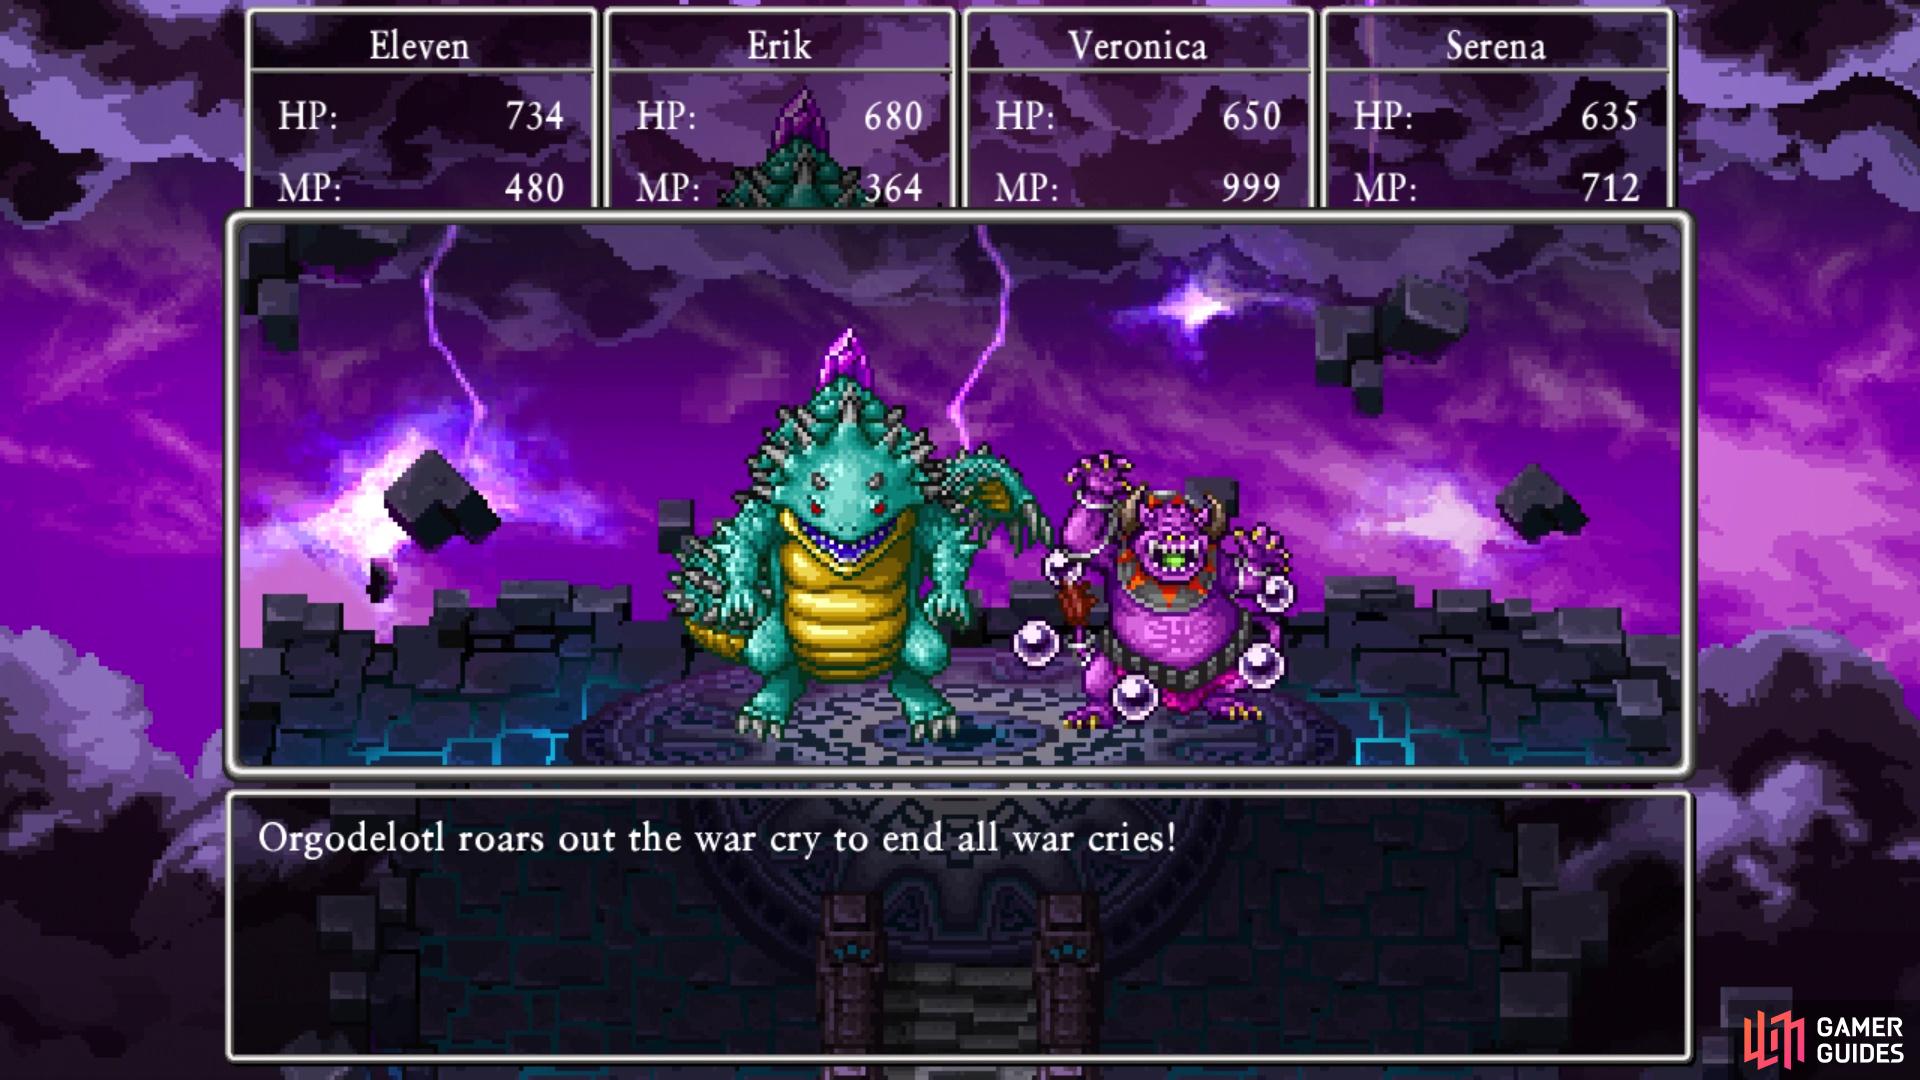
Very clearly, the more dangerous of the two is Hoopthorne, as he can Beguile your characters and you have no protection from that with the Catholicon Rings. Therefore, you should concentrate all your efforts on him first, although the boss you kill second will gain three actions per turn, instead of just two. Hoopthorne can pep himself up at a certain point and can also do desperate attacks. You will see that Hoopthorne has two big attacks here, Magic Burst (he will recover all MP, like with Mortamammoth in the previous level) and Wrath of the Gods. This second attack is similar to Magic Burst, as it deals a lot of damage to the entire party. If he does these back-to-back, then there are some characters that will likely be knocked out.
Hoopthorne can also summon a tornado to deal damage to everyone, and can put a single character to sleep. You might also see him attacking you with his orbs, which can hit multiple times randomly. While Orgodelotl is the lesser of two evils here, he can still be annoying. He has the ability to dispel all of your buffs with disruptive wave, and can do a ferocious roar to not only knock you down, but also deal damage to everyone. Luckily, the Catholicon Rings will protect you from losing a turn. You should also be protected from the ailments produced by the more annoying attack, where he shoots spikes at you. This hits six times on random characters, and each spike has a chance to paralyze, confuse and envenomate you.
Orgodelotl can also shoot a fireball at a single character, and heal himself with Meditation. As with Hoopthorne, Orgodelotl can also pep up and if both of them are at the same time, you will face a combination maneuver. You will have spikes shot at you and each one has a chance to beguile you, which is not good since Catholicon Rings cannot protect against that. Your damage output should be enough to quickly get rid of Hoopthorne, though. Both of them have around 6,000 HP, which is the same as the bosses on the previous floor. Other than dealing with Beguilement, the strategy outlined there remains pretty much the same.
As already mentioned, there are two sets of bosses on this level, so as soon as you beat the two above, another two will take their place. You do not get to heal in between them.
BOSSES - Hunkorvus and Nelgelas
Things definitely aren’t getting any easier on your end, as these two are a pair of challenging foes. Hunkorvus has around 8,000 HP and Nelgelas has about 12,000 HP, so they are a little beefier than the previous ones. Of course, the one with more HP is the more dangerous one, so you should be concentrating on Nelgelas from the start. Note that both get two actions per turn, but when you’ve defeated one boss, the remaining one will gain an additional action per turn (up to three). Depending on how things were left with your team at the end of the last bout, you may need to go on the recovery from the start of this one.
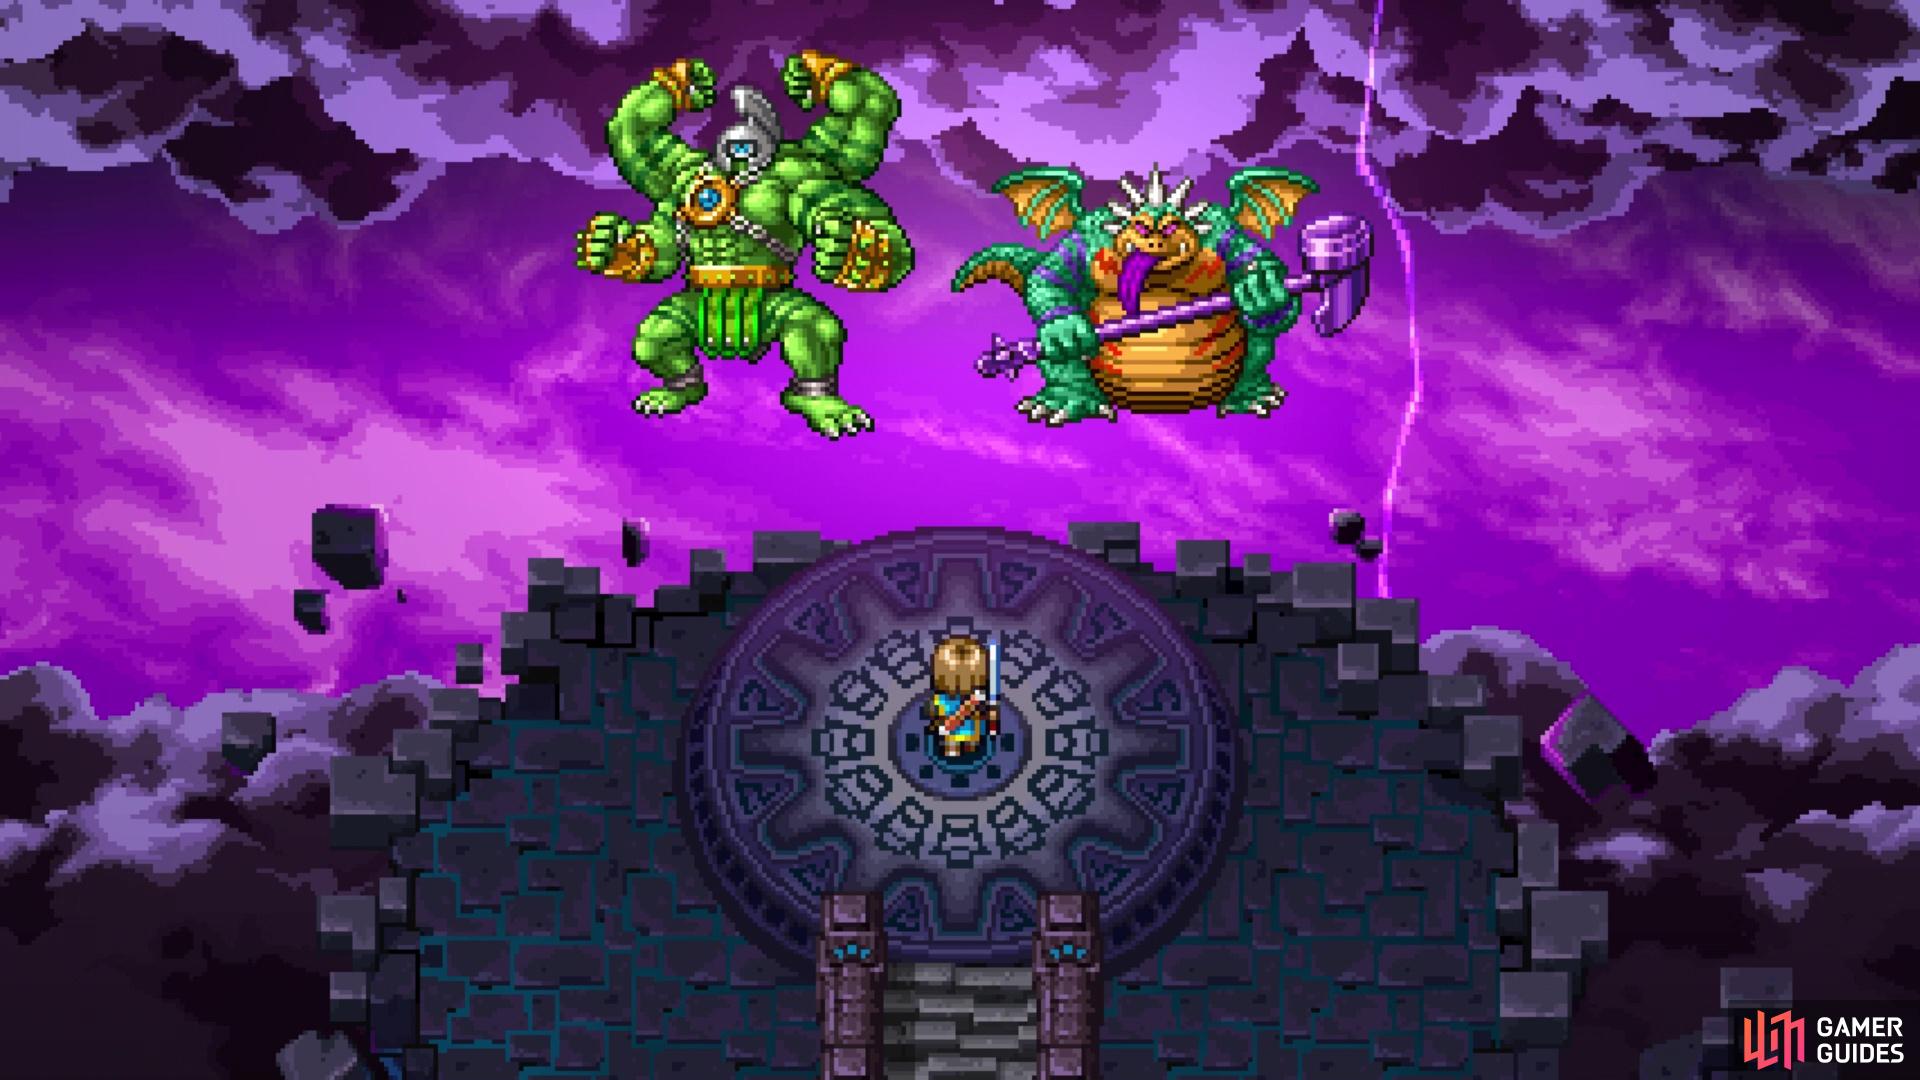
Your second set of opponents for Level 3
Nelgelas has the ability to heal himself with Meditation, as well as dispel your buffs with a disruptive wave. He also has a chance to do a desperate, which is always dangerous, since you can’t block it at all. There is also a fire breath attack, as well as a quake-like attack, where Nelgelas slams down into the ground, hitting all party members. One of the two most dangerous things, though, coming from Nelgelas are when he spews a jet-black fog on your party, which can inflict them with multiple ailments. Thankfully, the Catholicon Rings should take care of the more dangerous ones, so you don’t have to worry. Nelgelas can also use a hammer strike with darkness on it to instantly kill a character, and there’s nothing you can do to block the insta-death. There is also an incinerating flame attack that hits a single character for big damage.
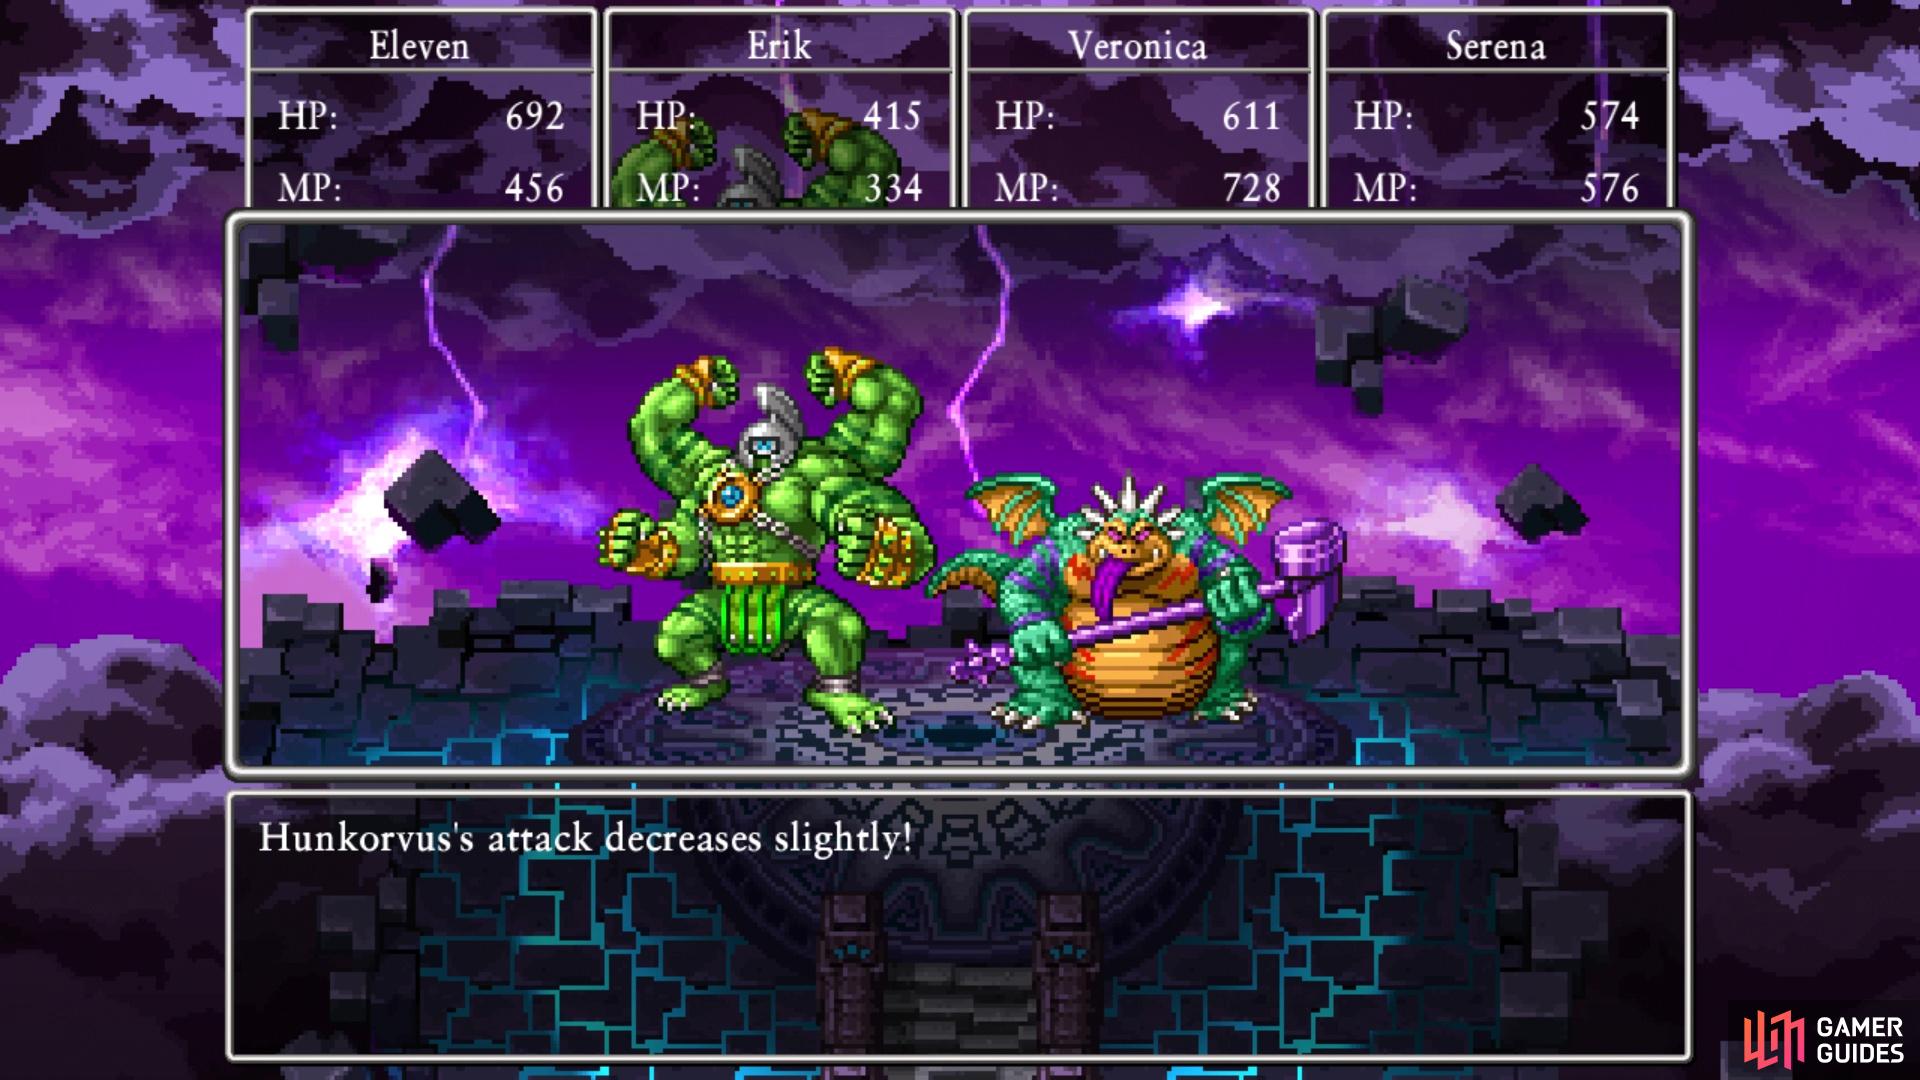
Moving on to Hunkorvus, the general idea is a strong physical build for him, although he has a few other tricks up his sleeve. He can use an action to make his next attack stronger, as well as unleash Multifists, which is something you know all too well, thanks to Jade. He can also flex, which can beguile your characters, so you will need to be on the lookout for that. There is also the war cry that potentially makes them lose a turn, but you should be protected from that with the rings. Of course, Hunkorvus has access to a dark breath attack, as well as the ability to call bolts from the blue (lightning attack).
They have two potential pep power attacks, one of which is a fire attack that can hit a character for major damage, and a strong dark breath attack. In addition to the usual offensive strategy on your party, you can nerf a lot of damage from Hunkorvus by using Blunt on him. With the best equipment and stacking Kabuff, while Blunt is active, Hunkorvus should be doing minimal damage with his physical attacks. Of course, all of your buffs can be negated with the disruptive wave, so you need to be careful how much you do buff. Erik should be using Divide and Double Down, then switching to swords or knives if there’s only one boss left. You don’t really need to change your strategies much from previous bouts here.
Your reward for completing Level 3 is two items, the Godbird Sceptre and the Crimson Catsuit. The former is the strongest Heavy Wand in the game, although the Spell Critical Rate on the Staff of Eternity might be a better fit for Veronica. The latter is a piece of armor, and outfit, for Serena, and it should be her final one, too. The armor portion is ok, as it offers high defense, but her one armor you got from the Citadel of Spite should offer better bonuses overall. You will also unlock the final area in the Hall of Remembrance, the Deepest Recesses of the Past.
No Comments